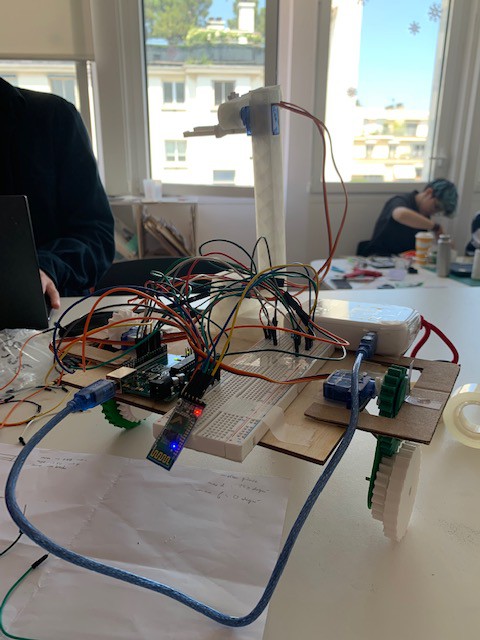
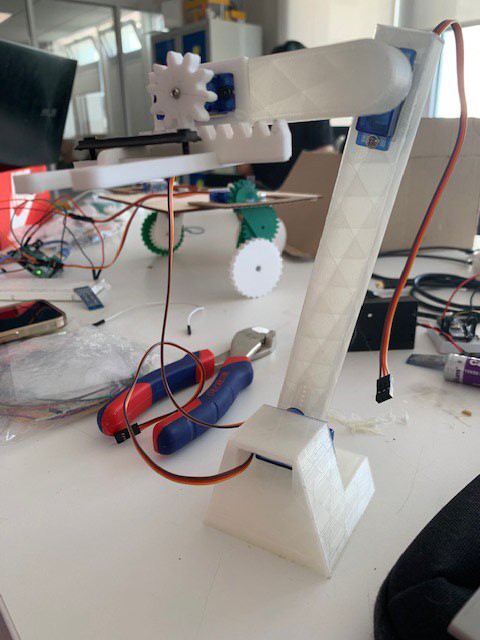
On the first day we had to think about a project idea, that would include motors and movement. We quickly thought about a mechanical arm on tank tracks and started brainstorming on how would it look and function.
On the second day, we started thinking about the dimensions needed and we worked on cardboard to simulate how our project will work. By the end of the day we gathered multiple informations such as how the arm strengh will depend on its size, and we made some modifications on how we imagined the final project to be. For instance, we first thought elevating the first part of the arm and adding a 360° rotation to it, but we concluded that we weren't in need of a 360° rotation under the arm because the tank tracks could be used to pivot the whole arm on itself.
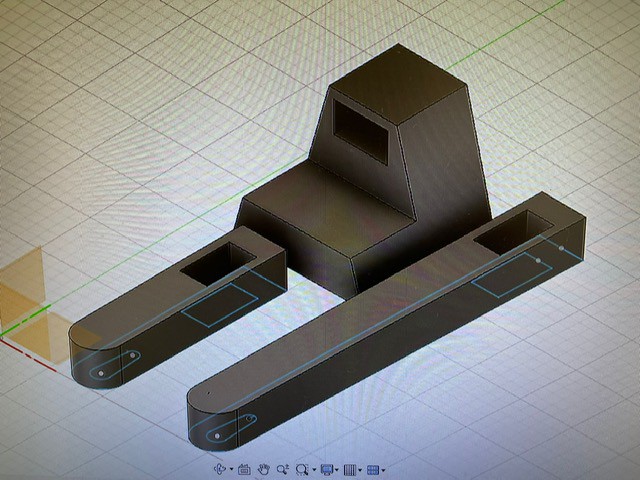
The next session we started modeling using fusion 360. We shared the tasks between our group members, one had to work on modeling the tank tracks, one on how the arm would function, and the last one on a box that will contain the Arduino card safely. We worked on a way to have a steady arm, by modeling 2 triangulare base, or feet, for the arm to rest on. Those bases would connect with the arm using a cylinder that will go through them.
A week later we grouped up to discuss the project and how it was going. We realised we have made a lot of mistakes and we started thinking about easier ways to realise it. We had a lot of issues with how the arm will function, but most of all, how and where the engines would be placed because glue-ing them to a surface was not an option. The 3d printers were surely one of our biggest problems. We couldn't print some pices we designed because they were said « too big » for the 3d printer, and would take too long to create, occupying the 3d printer for too long. Tracks were one of those pieces. We had to think about new ways to replace those pieces and made us lose a lot of time. We decided to change tank tracks by wheels, losing some all-terrain function and overall aesthetics.
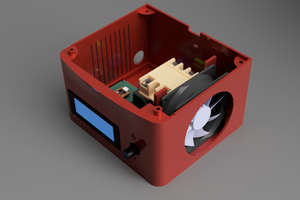
A week has past and we assembled the working arm pieces together. A mistake was made of 0.1cm for the Arduino card protection box, and so the 2 parts couldn’t fit together. We chose to keep only the top part and drilled screw holes to screw the motors to the plateform. We also worked on the Arduino code used to control the arm. Unfortunately these assignments took us the whole 4h session due to the amount of people that were using the school’s lab.
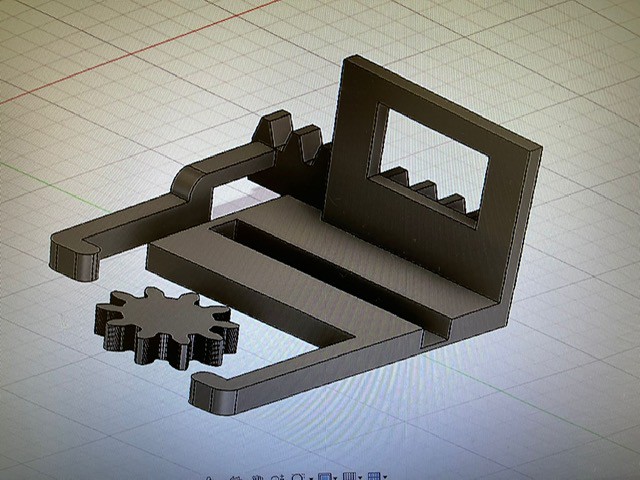
Since, we finished our entire project home by getting together at least once in a week in order to assemble all the different pieces. By the time we started struggling on the Arduino code, the printing of the pliers was done, but didn’t render what we expected. The pliers are able to get a good hold on objects, although it lacked width.
Final day of the project we added a Bluetooth card to it, and finished all the Arduino codes that were needed. We super-glued the arm to the base of the project. The project was far from what we expected and have planed, but even with all the difficulties we encountered, we managed to get a working project.

 Marius Taciuc
 Garrett Brainard

 Saranpää