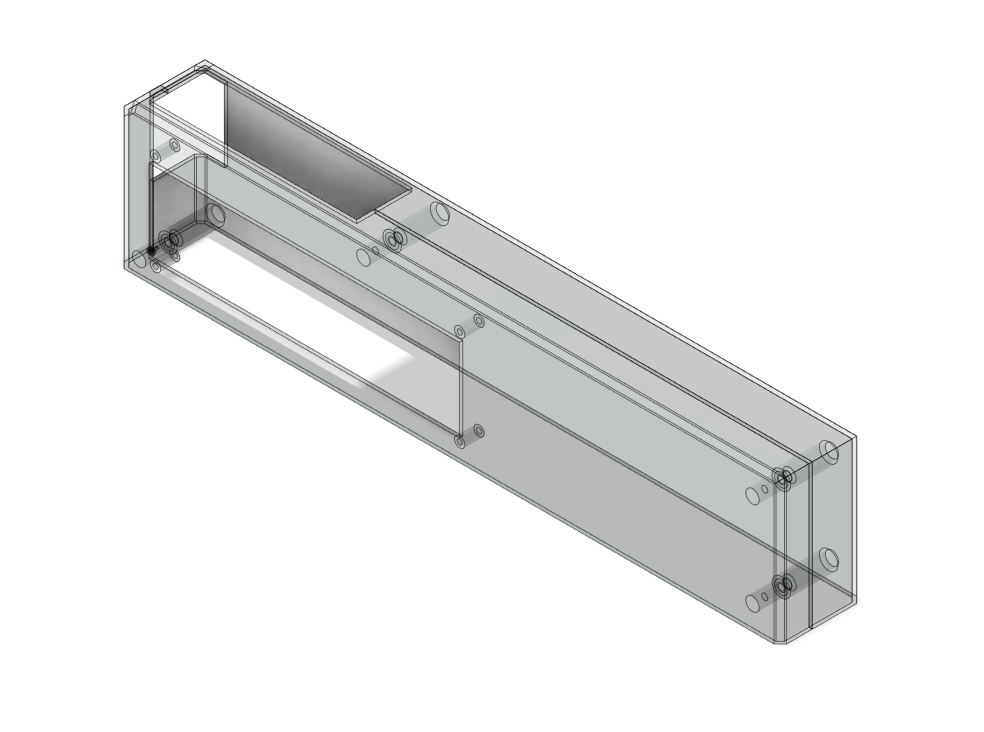
Testing setup
It's Saturday morning and I finally have more time to spend on this. Yesterday I got to cut and tweak a few parts of the basic design that I'm printing right now, so that the printer is budy while I study driver development.

I just cut the upper front and back of the case, where both the raspberry pi and display will be mounted. Added a inner lip and screw posts to hold the two parts together. My goal with this is simply to test if the display and raspberry pi are correctly positioned, but I will use this as my setup for testing the display and raspberry pi communication while developing the driver (if successful dimensioned).
Driver development
Yesterday I was studying driver development and it seems that Linux the kernel changes fast and some resources I was reading before are obsolete. Only now I got to really sit down to code, but I did not want to code on the raspberry pi via SSH, so I created a samba share that I access on my desktop and then I program using Visual Studio Code, which I'm already more comfortable with.
#include <linux/module.h>
#include <linux/init.h>
#include <linux/spi/spi.h>

static int __init gp1294ai_init(void) {
    pr_info("Initializing gp1294ai display!\n");
    return 0;
}

static void __exit gp1294ai_exit(void) {
    pr_info("Unloading gp1294ai driver\n");
}

module_init(gp1294ai_init);
module_exit(gp1294ai_exit);

MODULE_LICENSE("GPL");
MODULE_AUTHOR("Robson Couto");
MODULE_DESCRIPTION("Linux driver for the GP1294AI VFD");
For the time of this log I only have a skeleton module, but I hope to have most functionality from the datasheet in the driver as functions while I go about figuring out how to use SPI from inside the driver.
 RobsonCouto
Discussions
Become a Hackaday.io Member
Create an account to leave a comment. Already have an account? Log In.