 Don
Don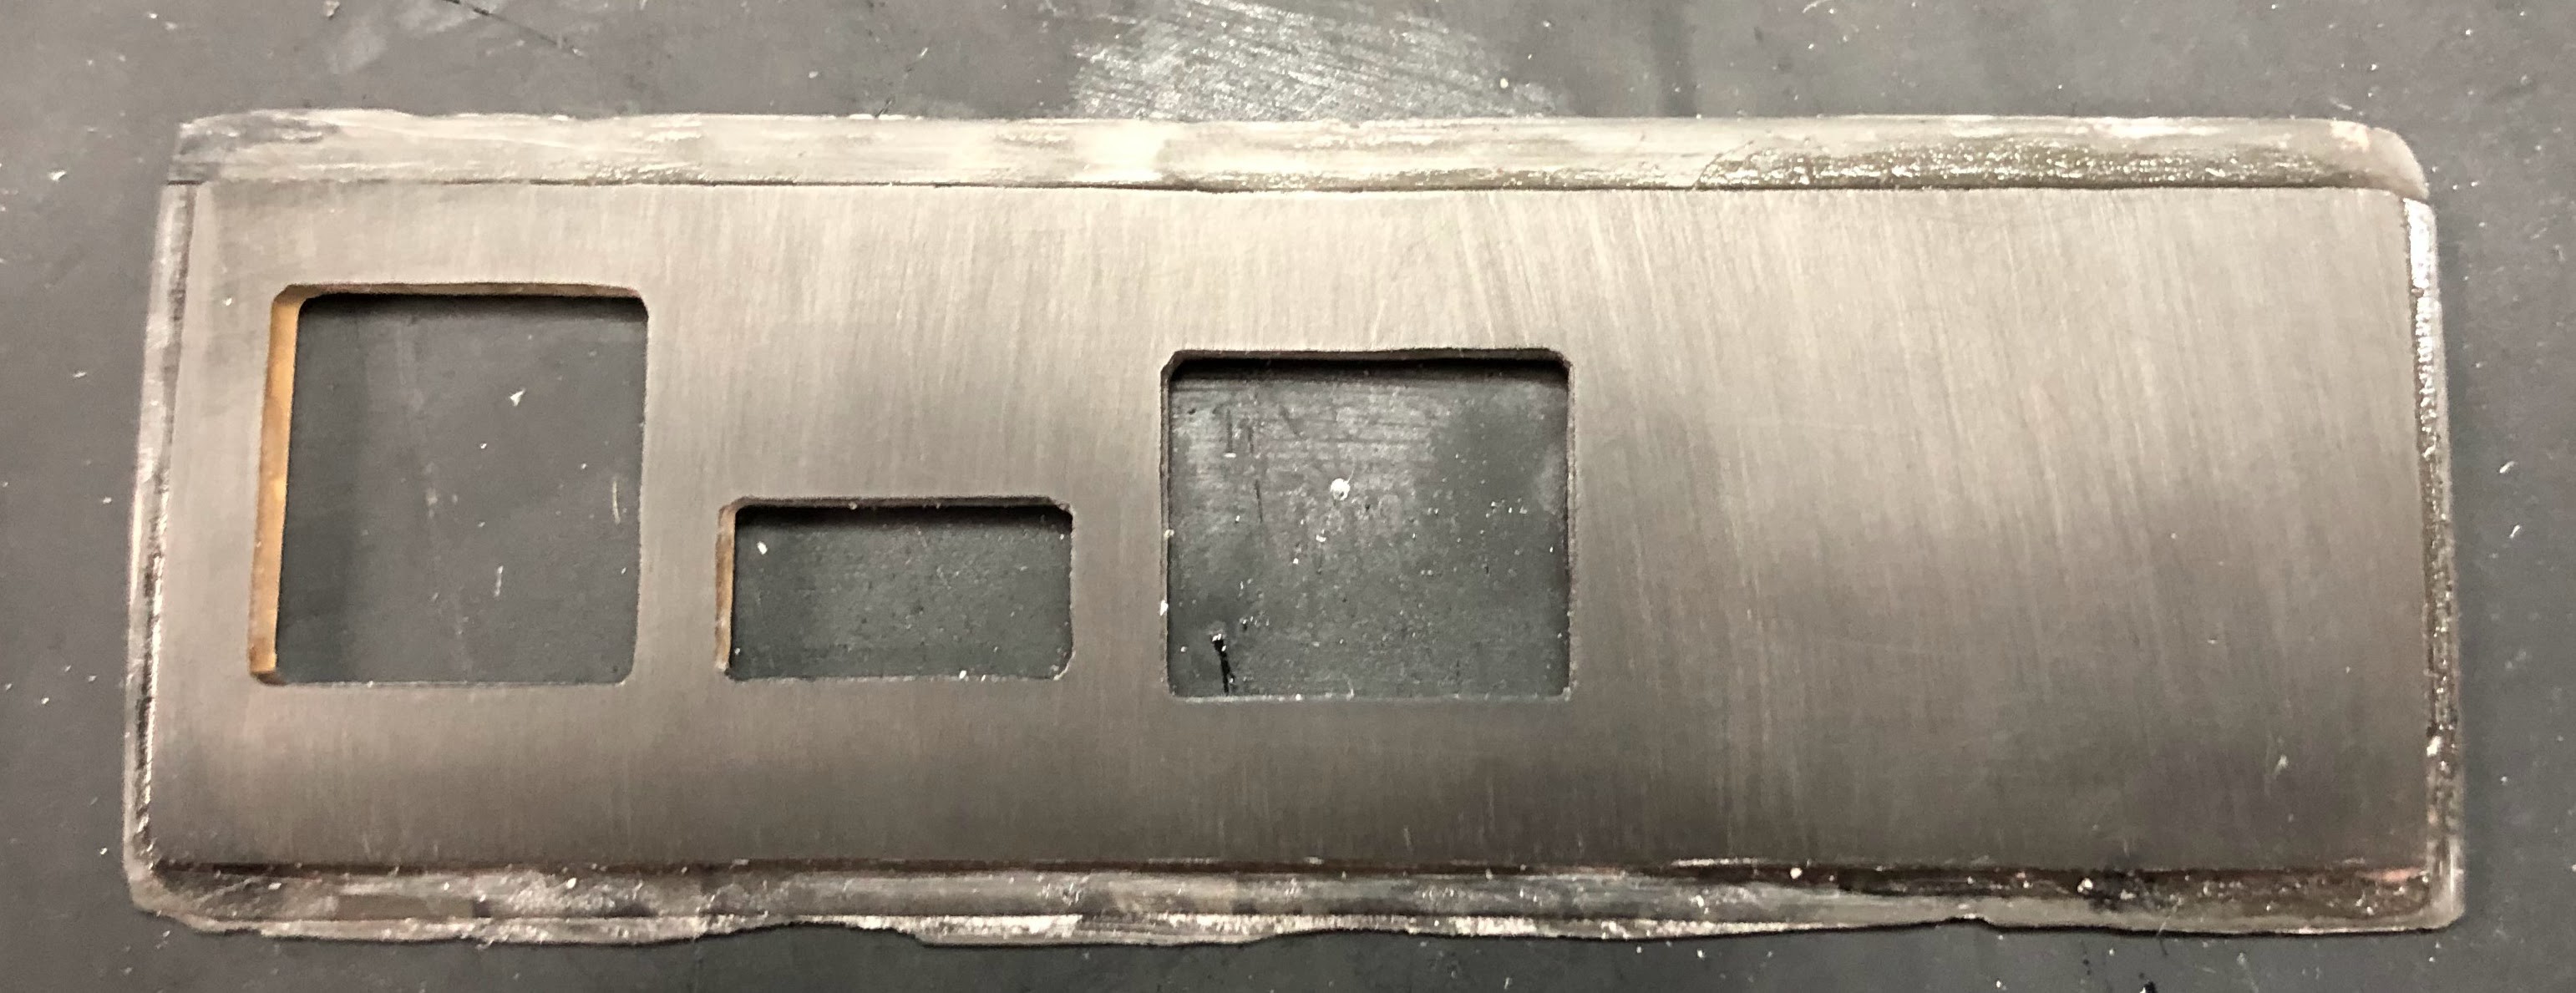
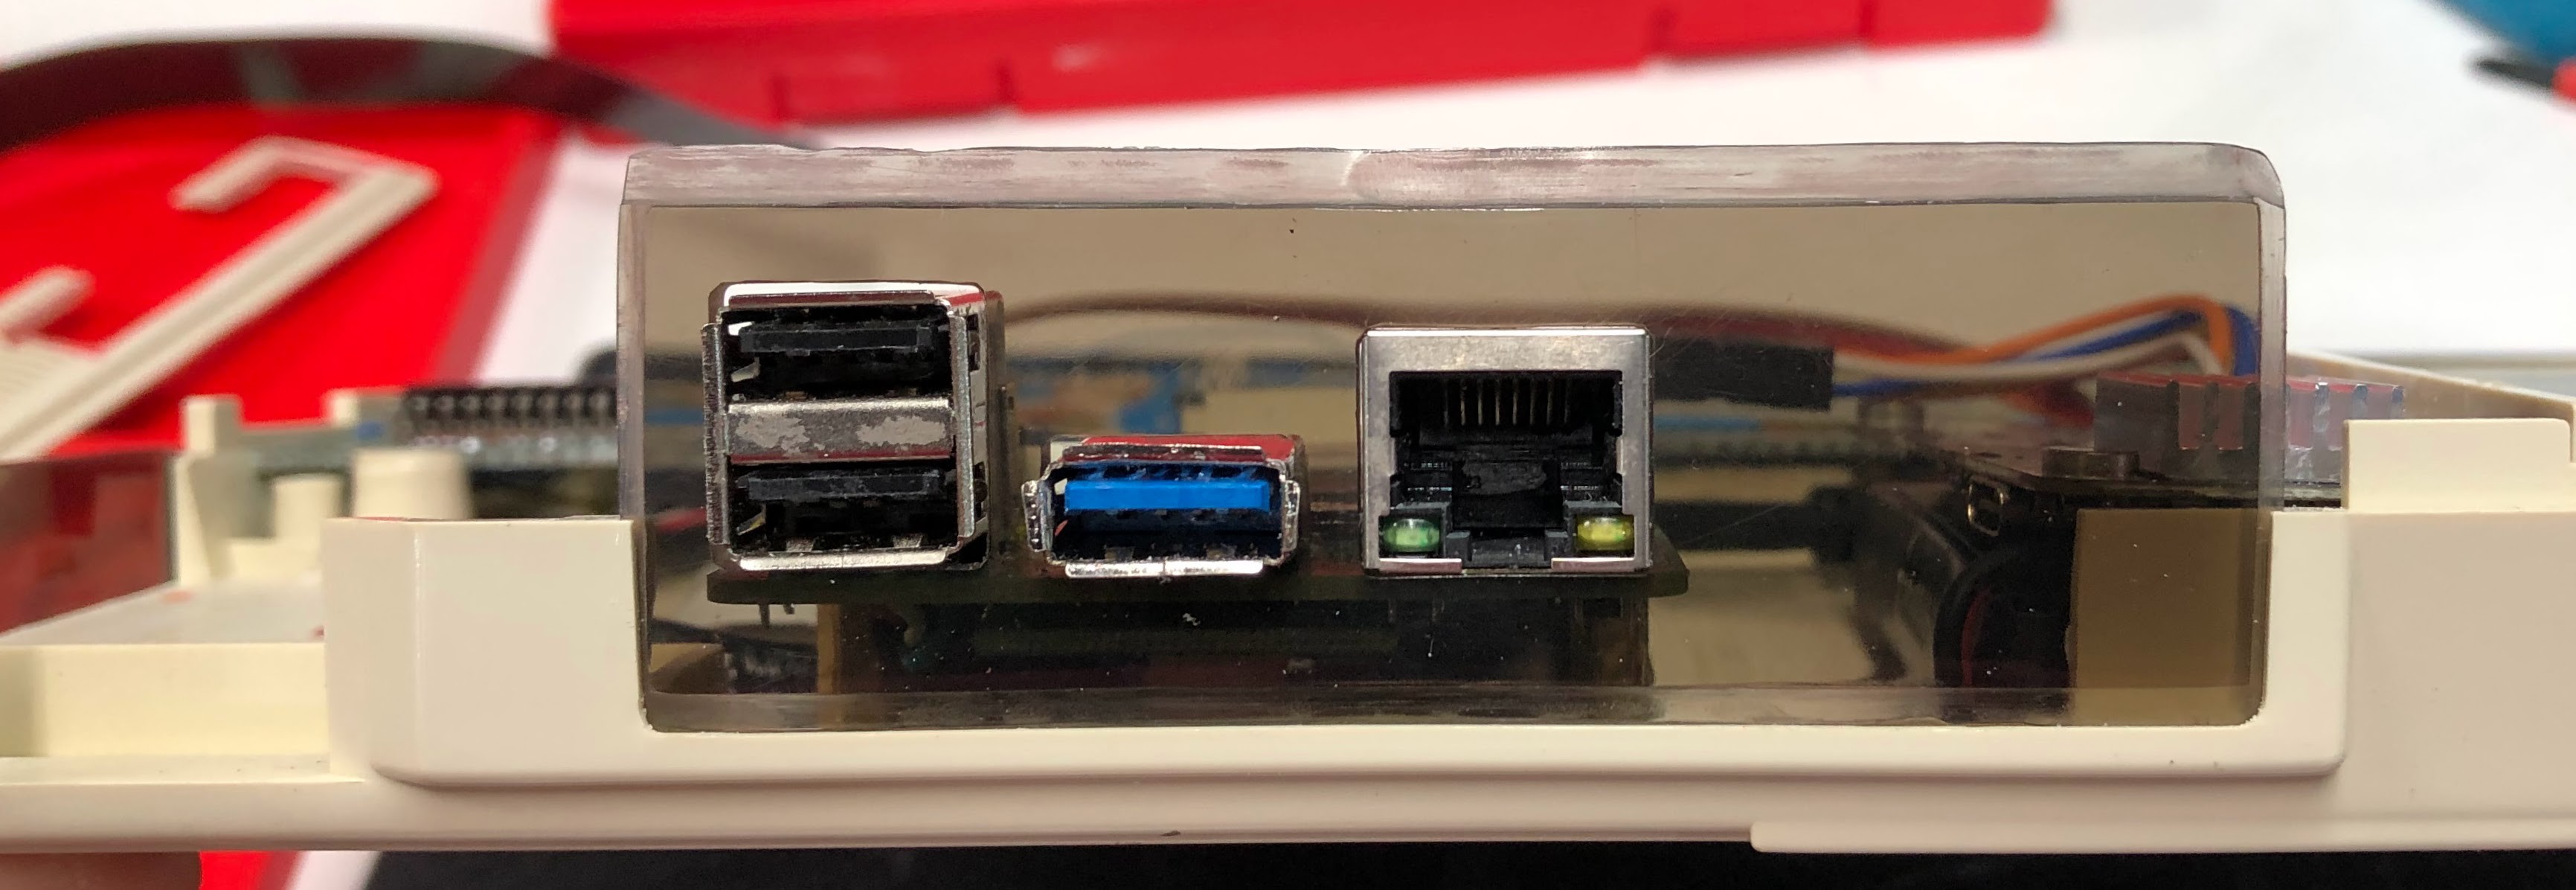
After the polishing there was much rejoicing!
I'm tempted to add some little people and some lights....
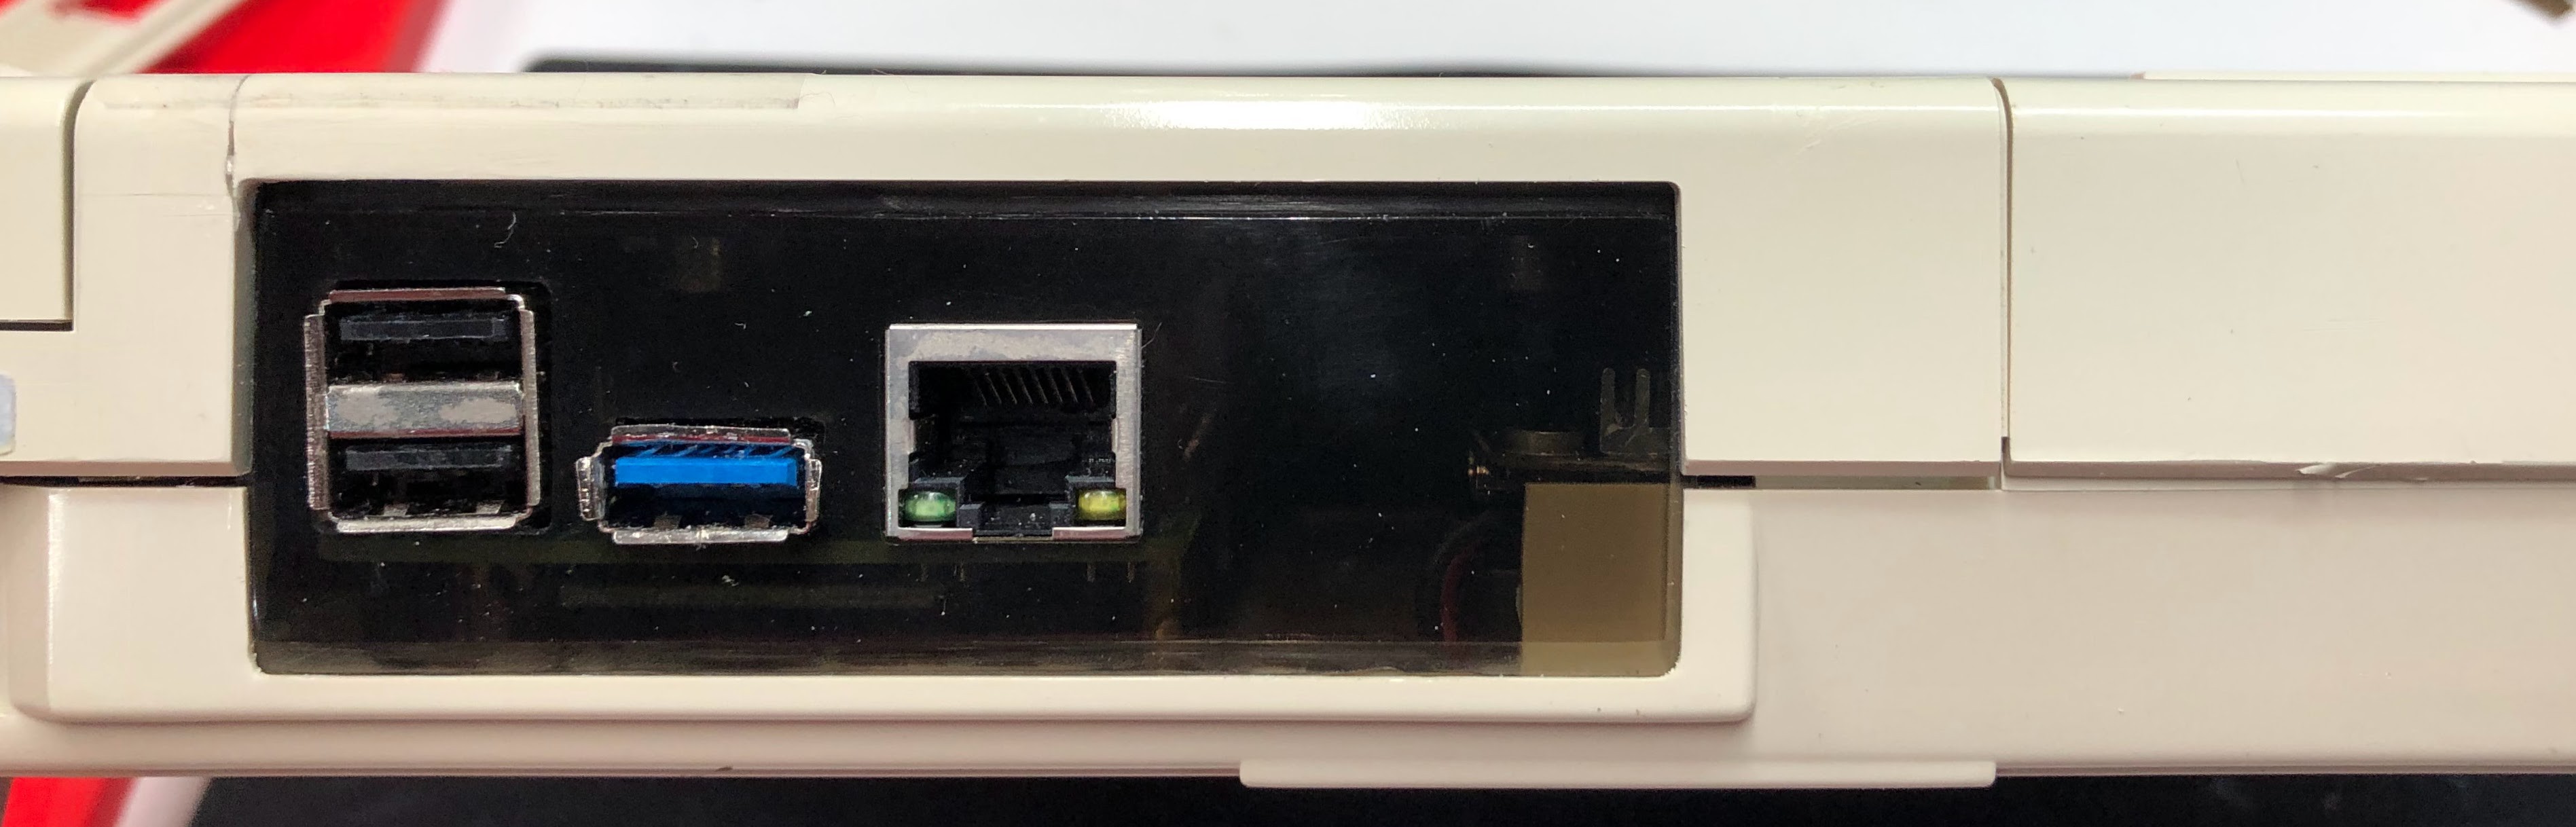
Full disclosure: my cutting and sanding wasn't perfect. I found it easier to re-glue the Pi then try and make a new faceplate. It's lines up 'perfect', just like I measured, yeah. I don't like that the USB 3.0 port sticks out so much. I'll go back and fix that, eventually.
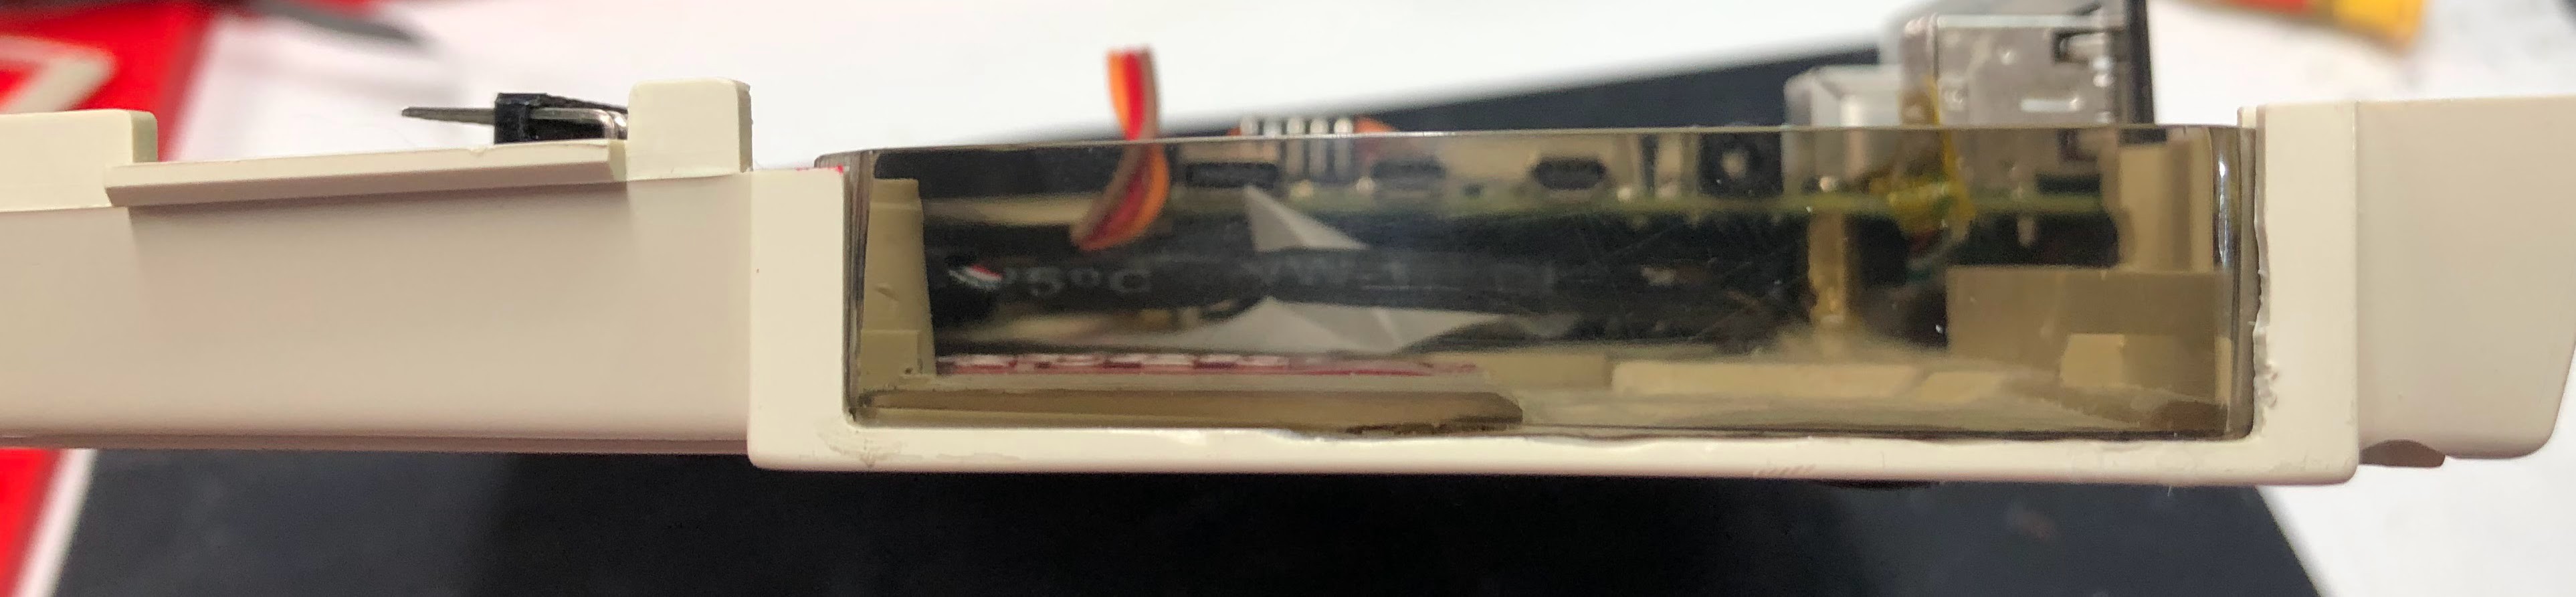
Still need to add the USB C power for the UPS and the HDMI port but it's 99% done.
Discussions
Become a Hackaday.io Member
Create an account to leave a comment. Already have an account? Log In.