 Andy Geppert
The prototypes are here!
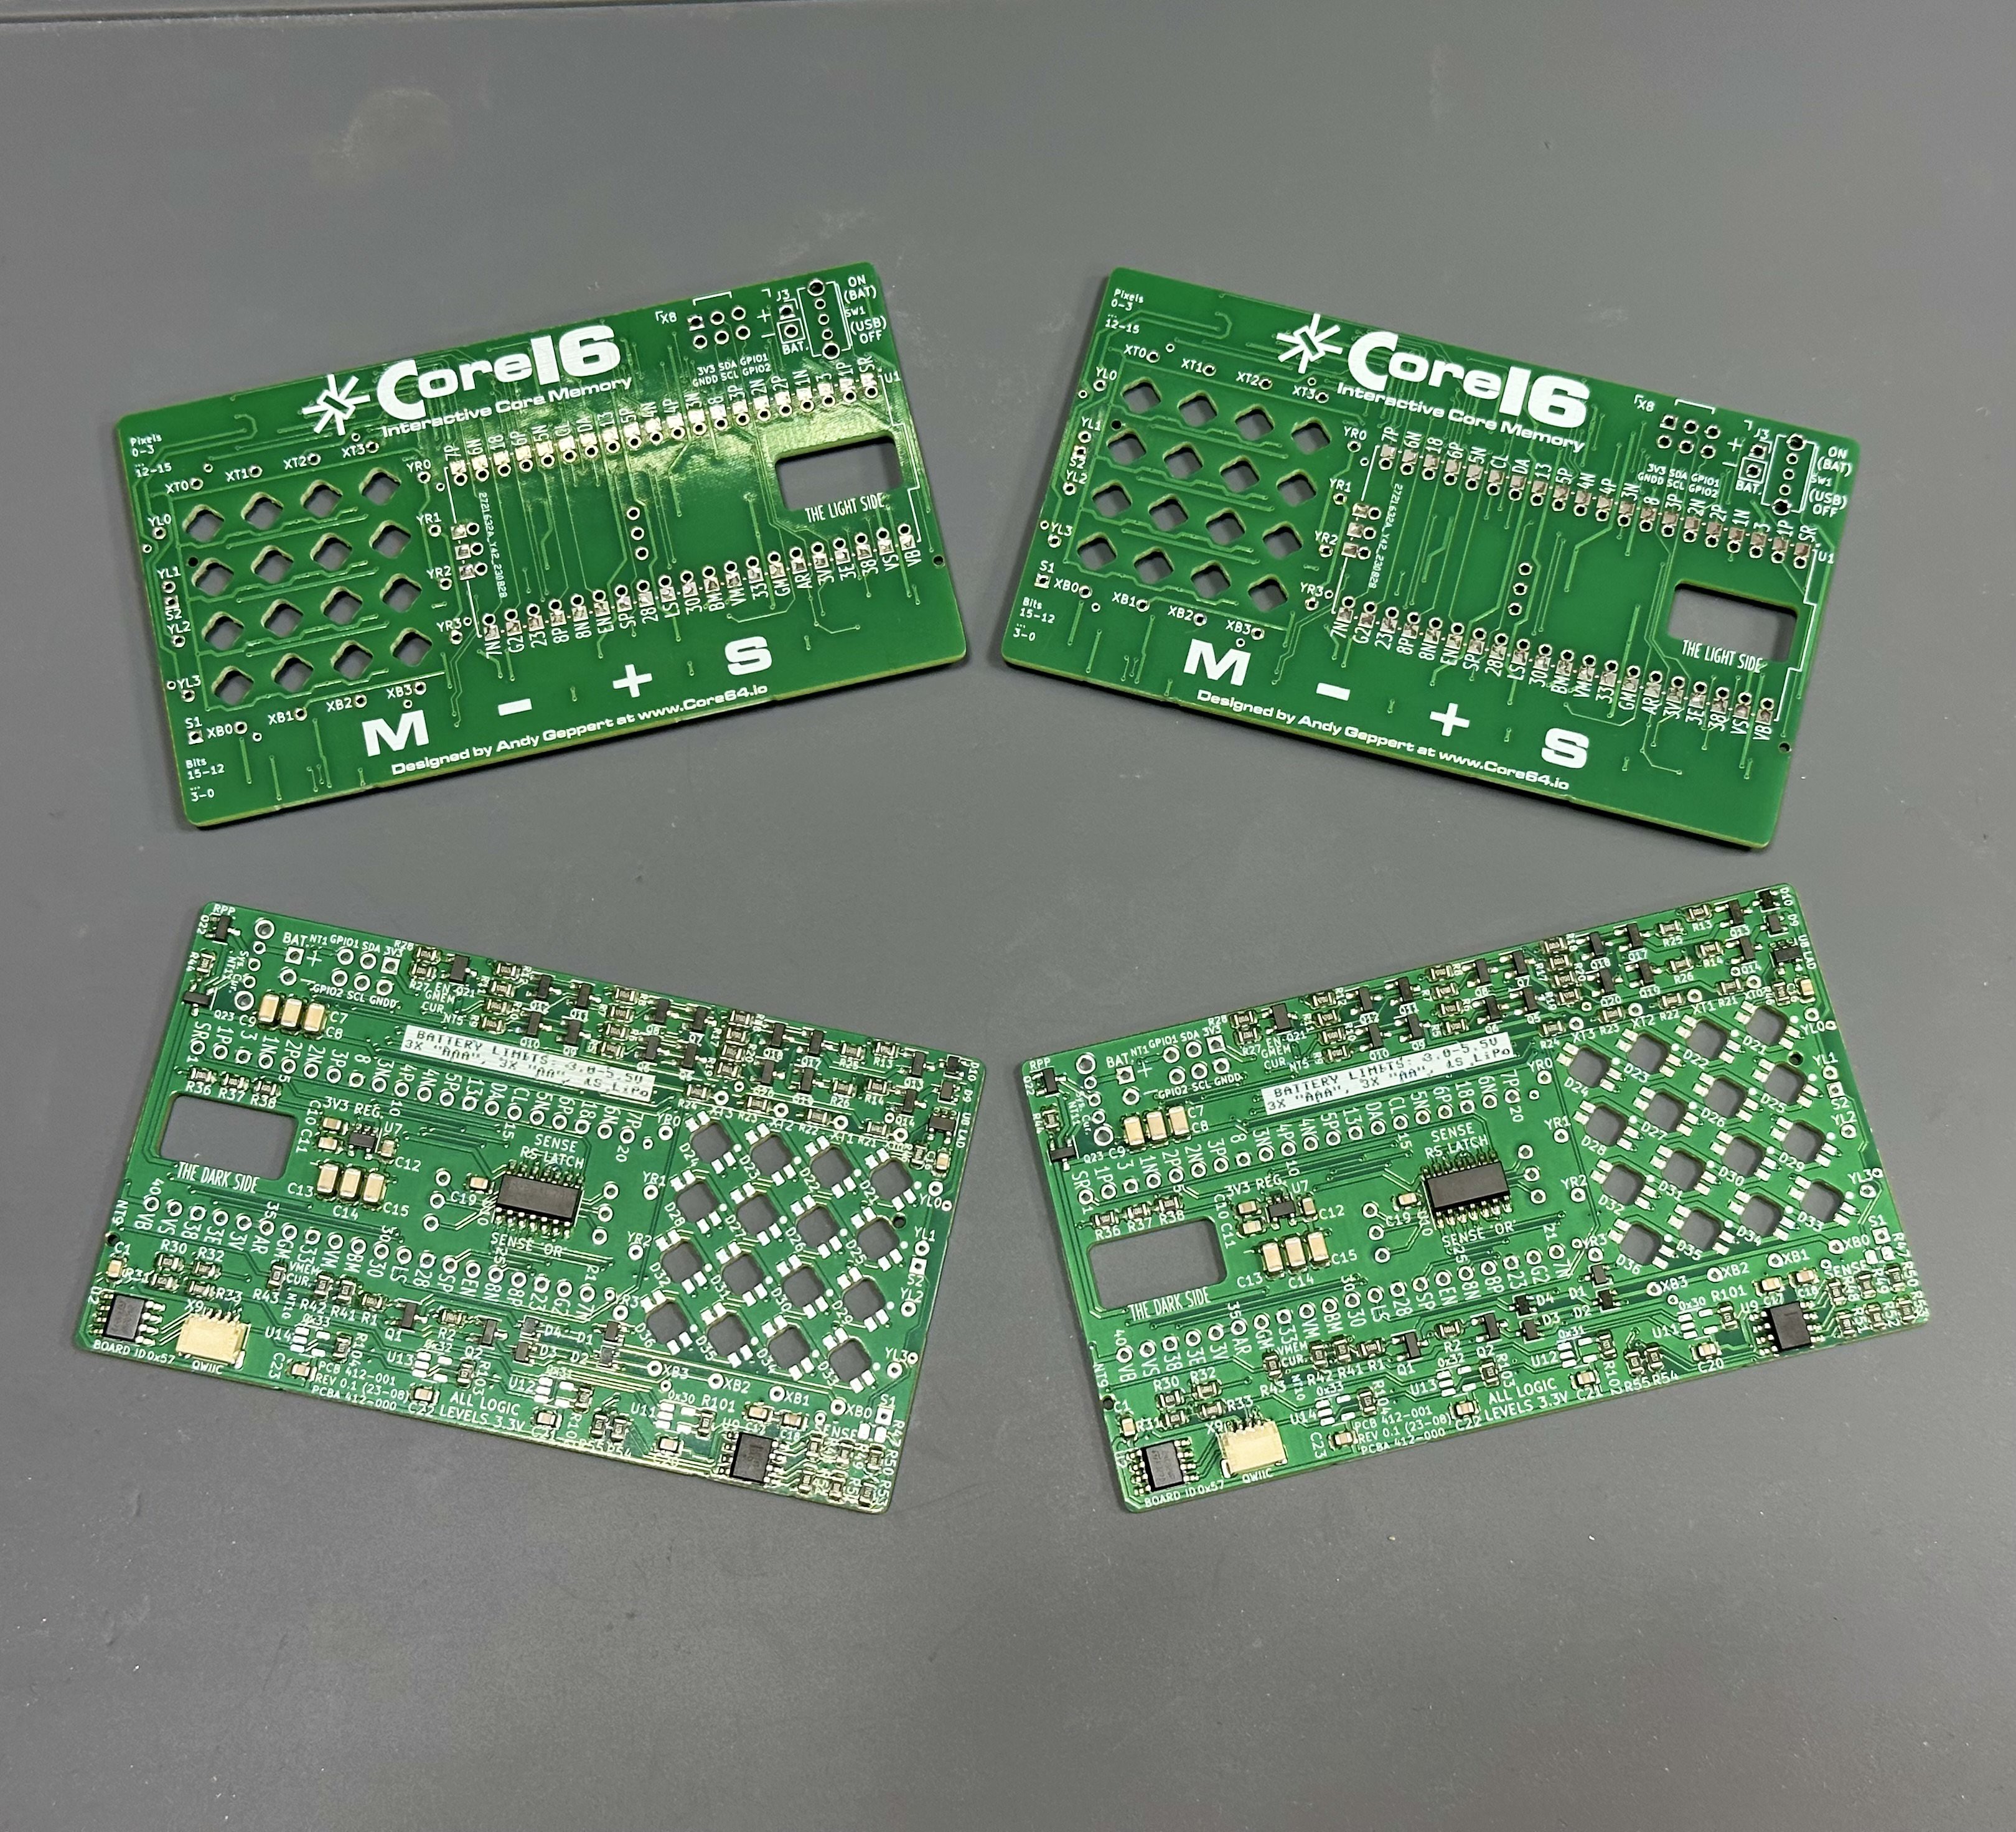
These are 4 of the 5 that were assembled with the JLCPCB service. I had to add the LEDs and four hall sensors since those weren't available with their service. And that is the fifth one show here:
All the LED and I2C circuitry works at this point. Whew!
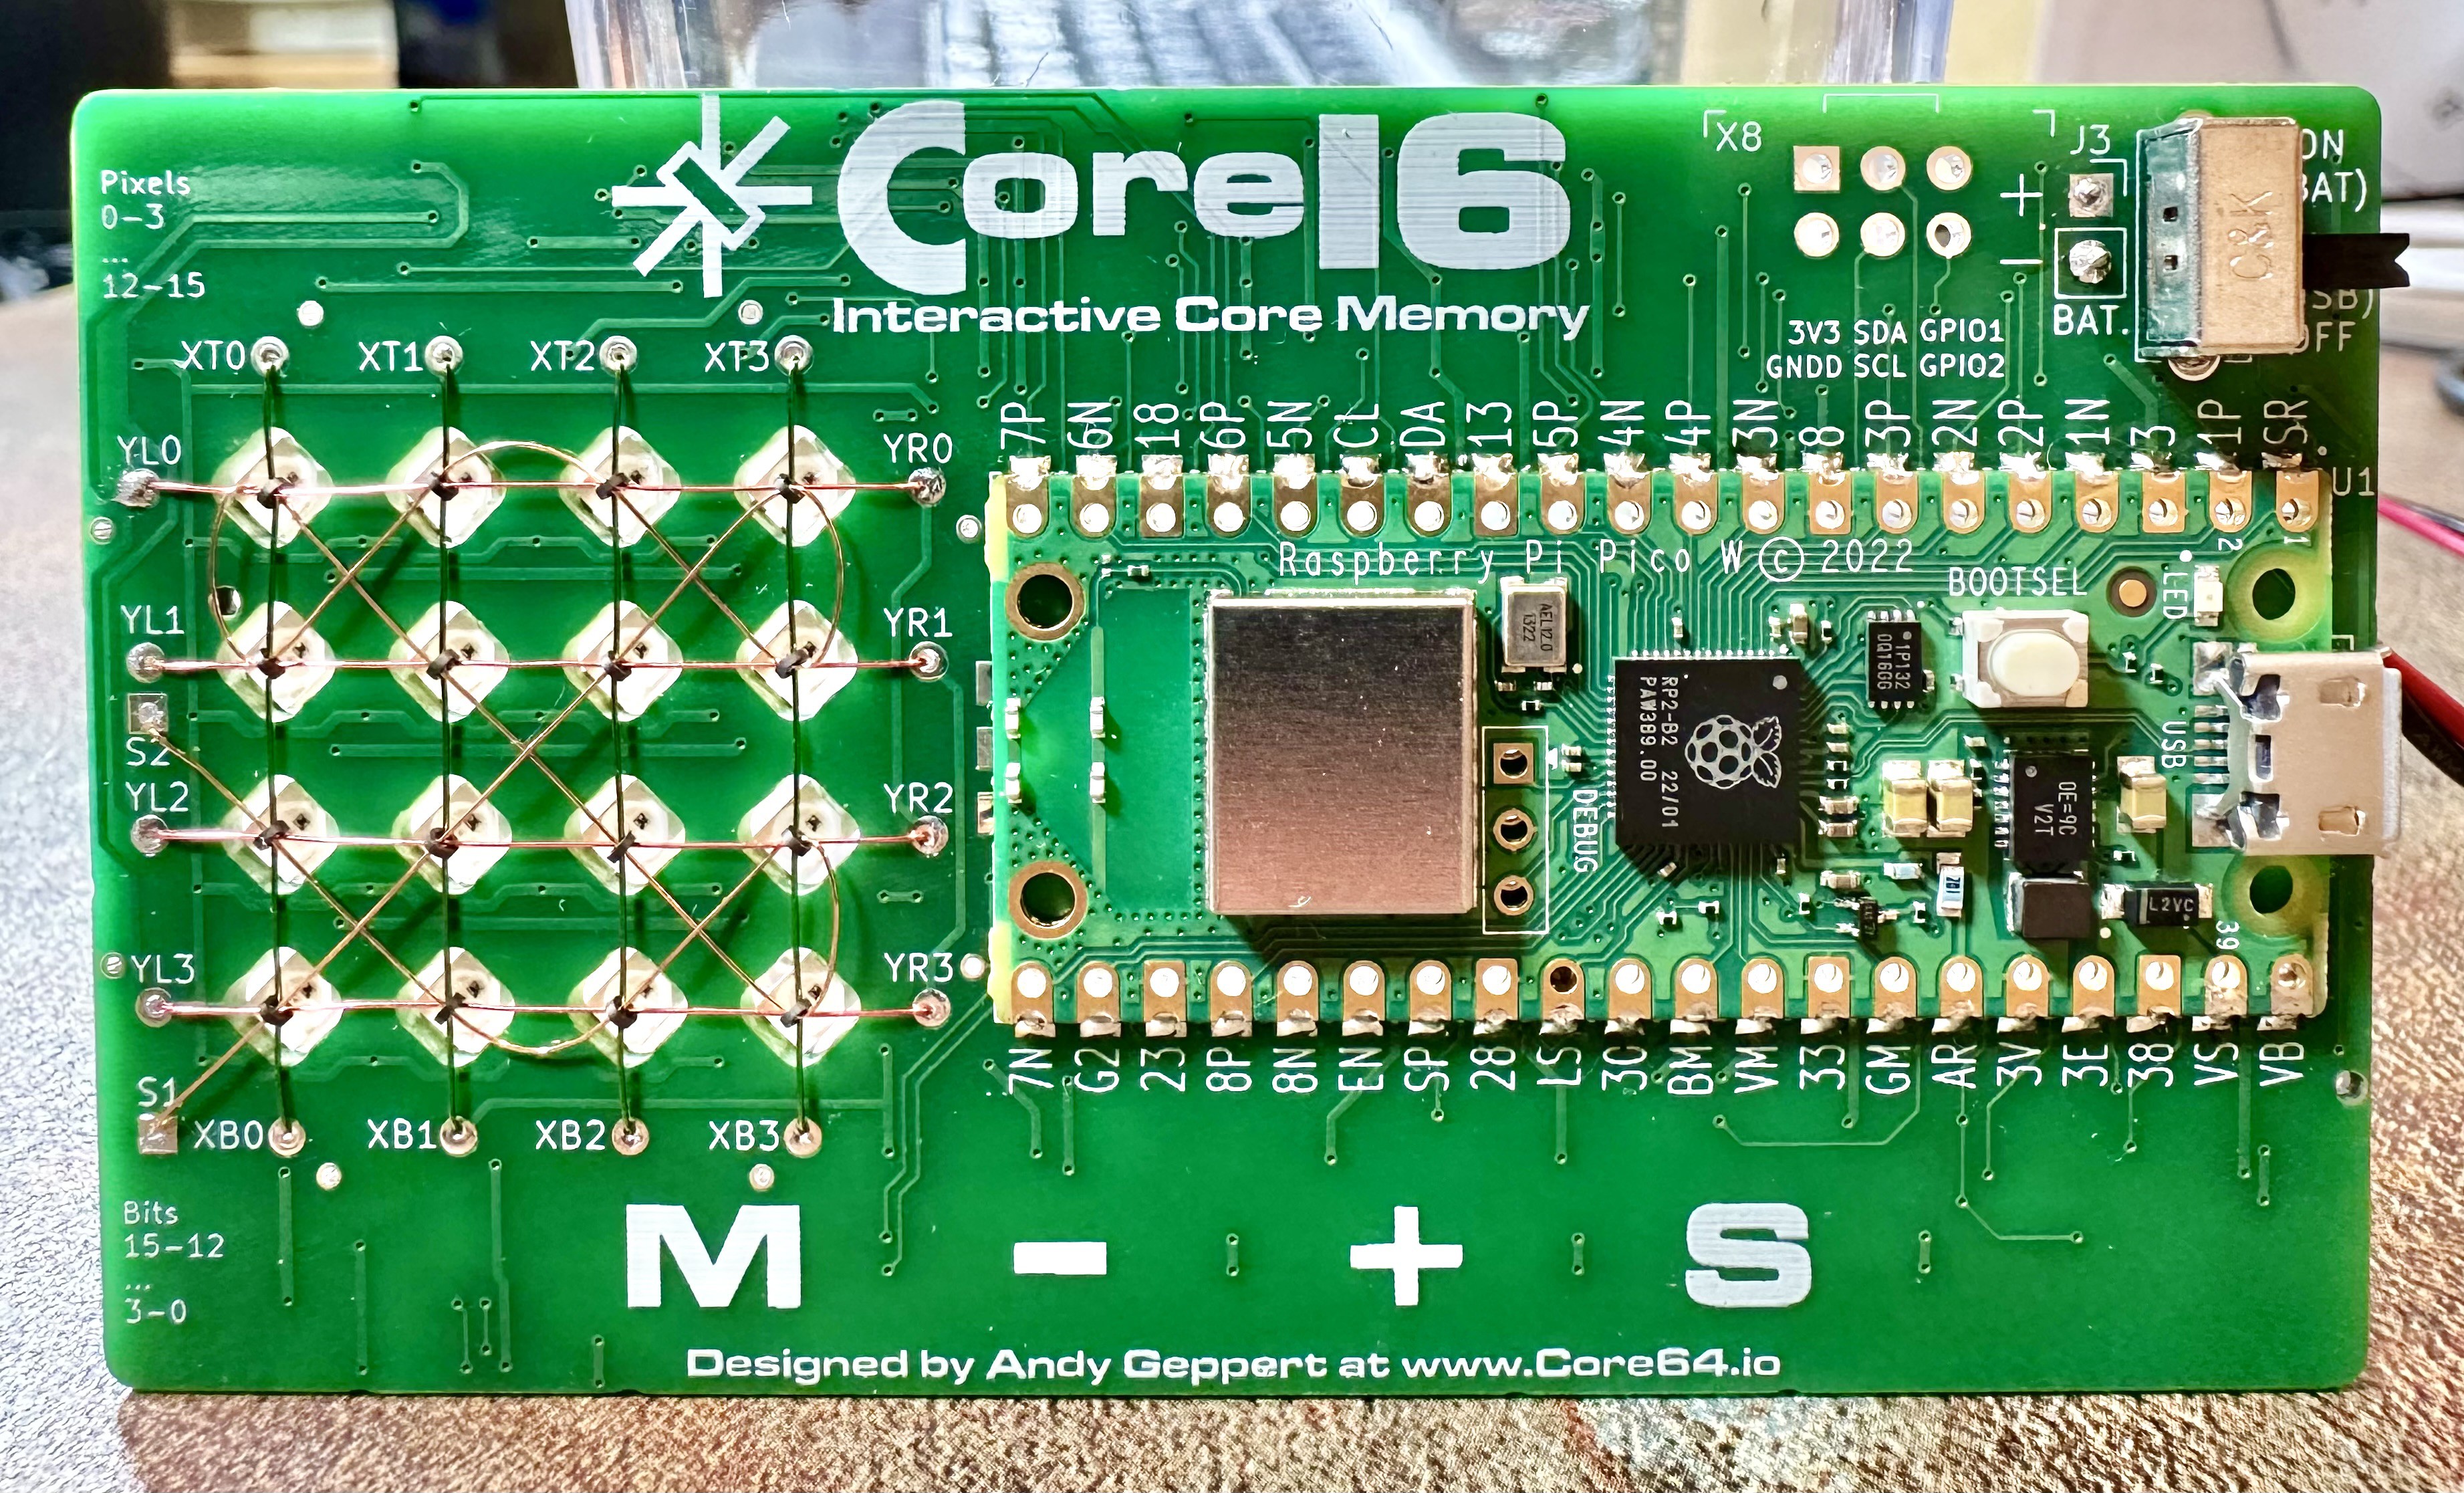
And that's what it looks like when 16 bits of core memory are woven in place over the LEDs. As expected, it went much faster than 64 bits. I have a design for the screen protector (a must!) but I plan to leave the LEDs exposed without a diffuser layer. Because each pixel is already in its own little well, they look pretty good as is. The well also provide a place for the Core Memory to sit just below the surface of the PCB so they are slightly protected.
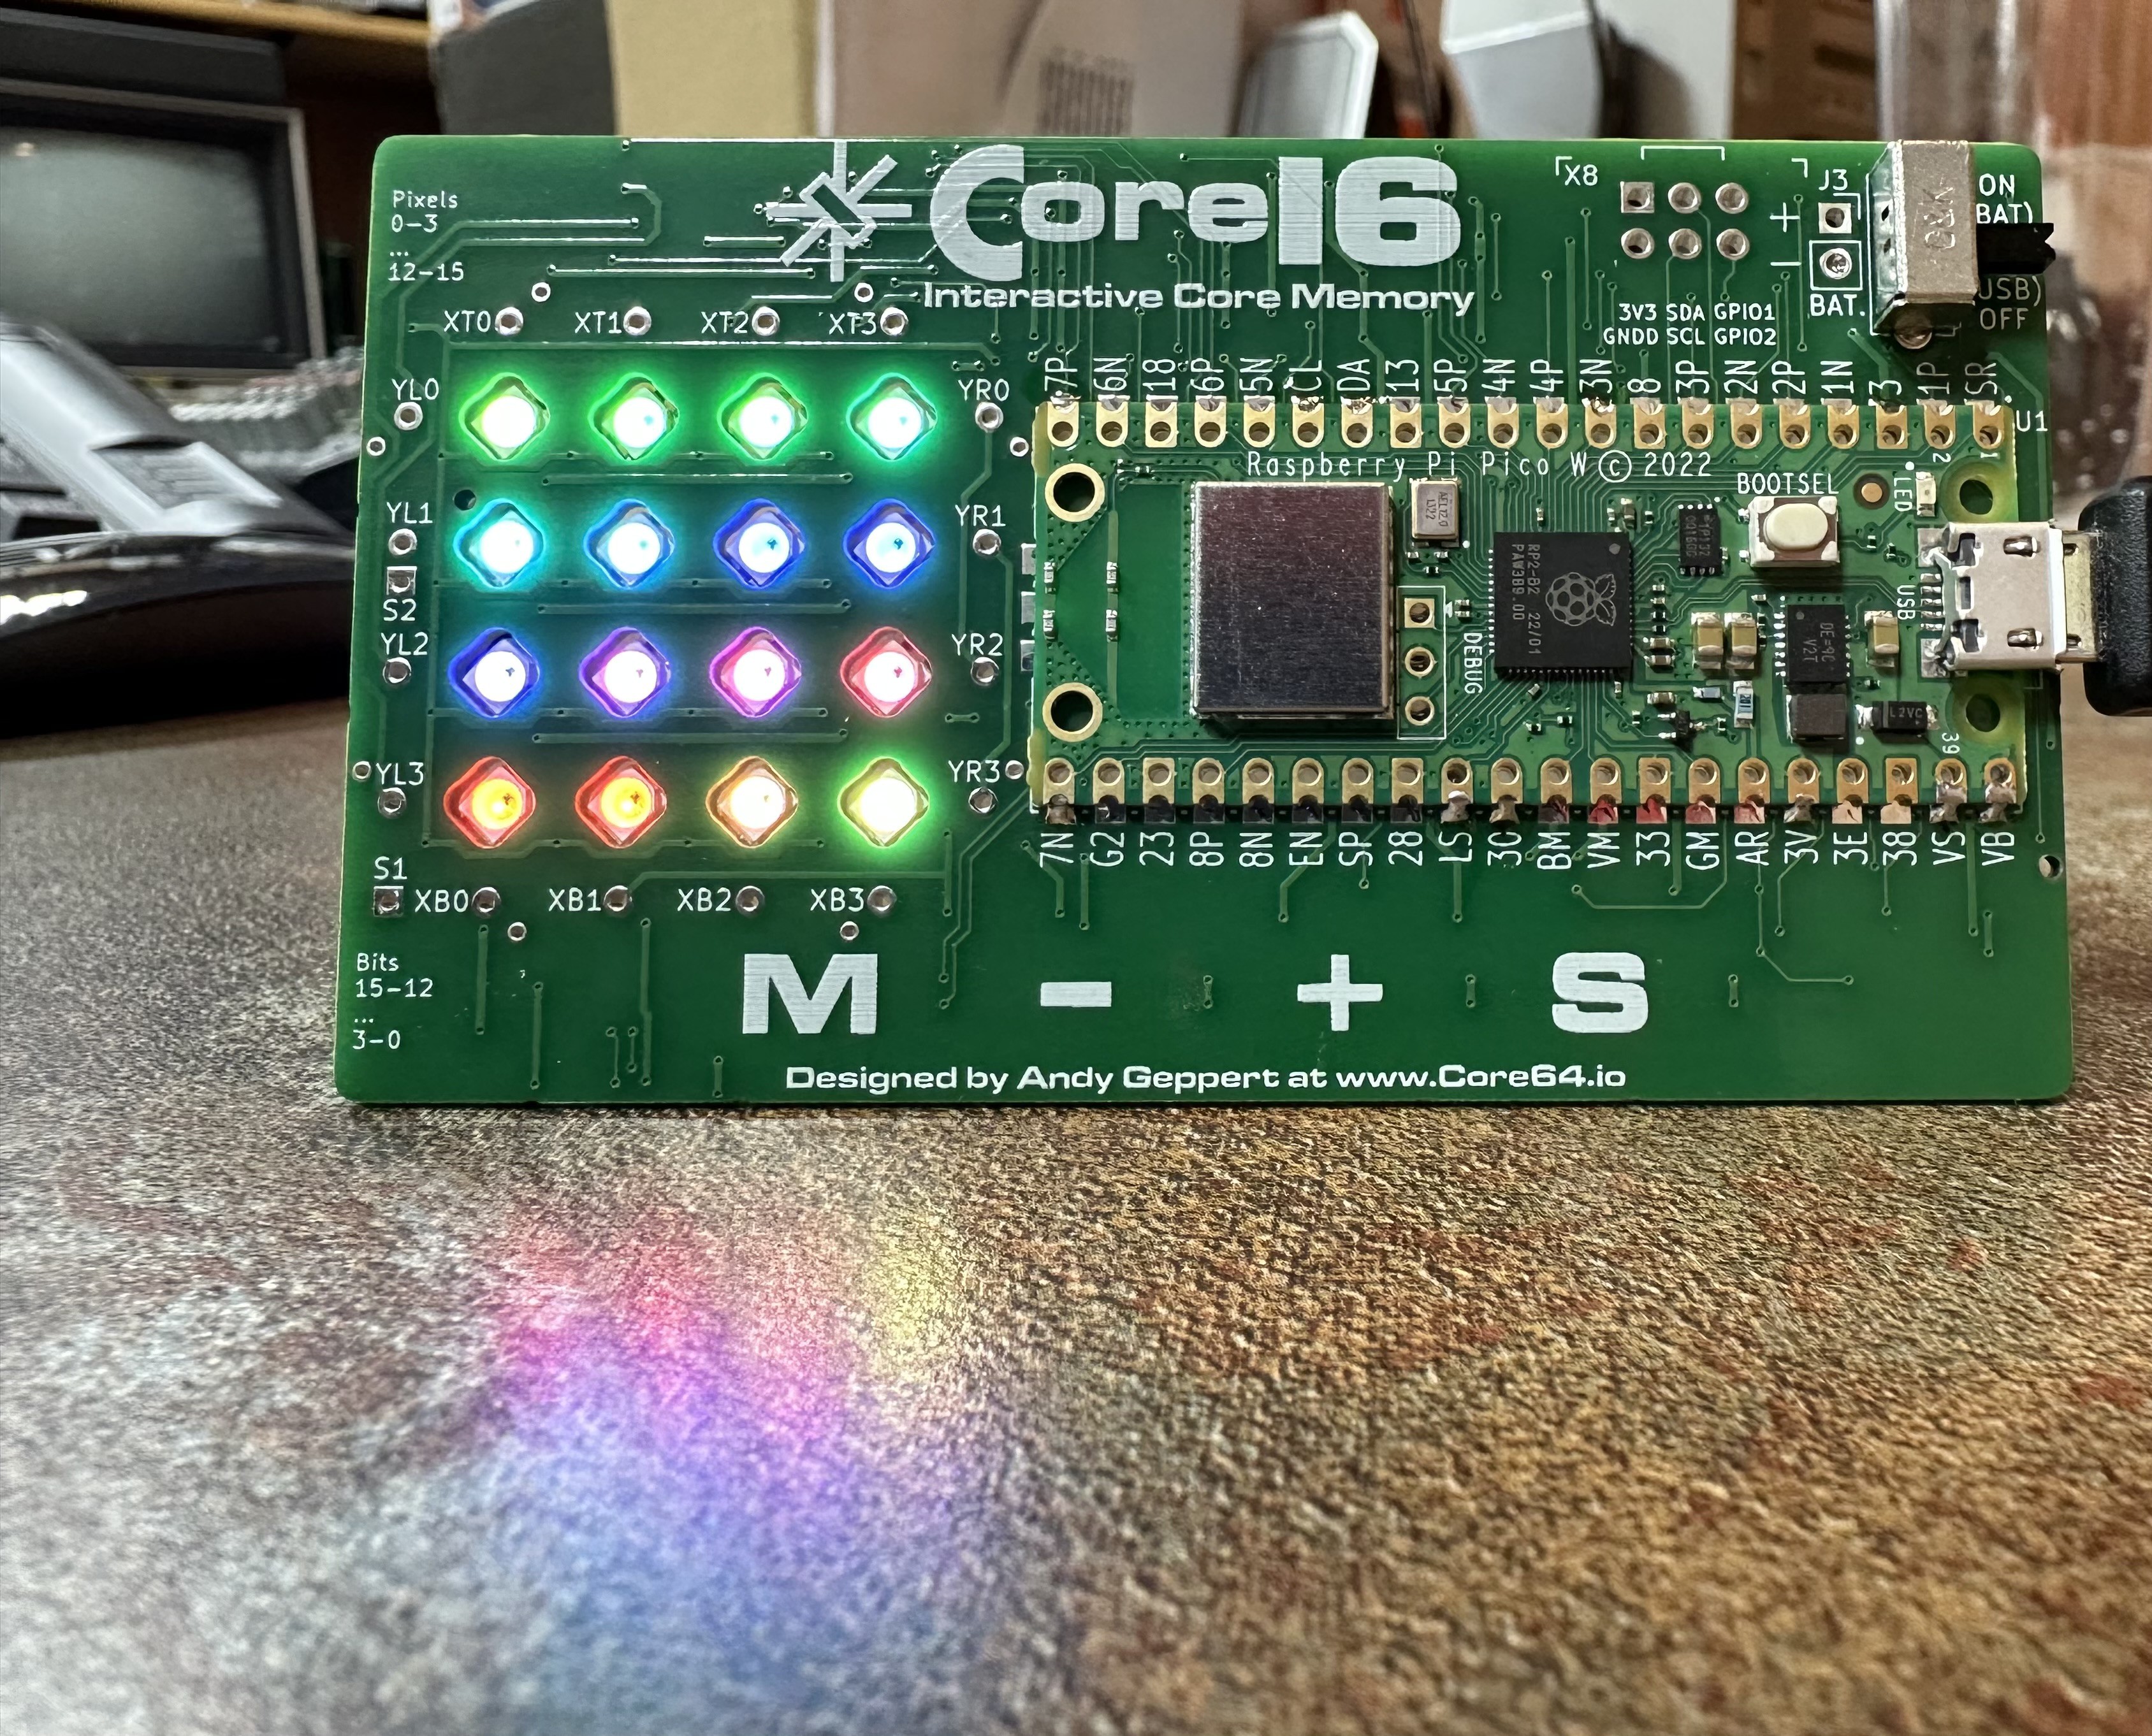
Now I'm working on the firmware, adapting it from 64 bits/pixels down to 16. Even though it's not all complete, it already looks eye catching with the RGB LEDs.
Discussions
Become a Hackaday.io Member
Create an account to leave a comment. Already have an account? Log In.