Version Two

With all the flaws in mind, I redesigned the machine in Fusion 360. This was while I was designing a large scale 3D printer known as the Blackstone Cube (I still haven't published it yet).
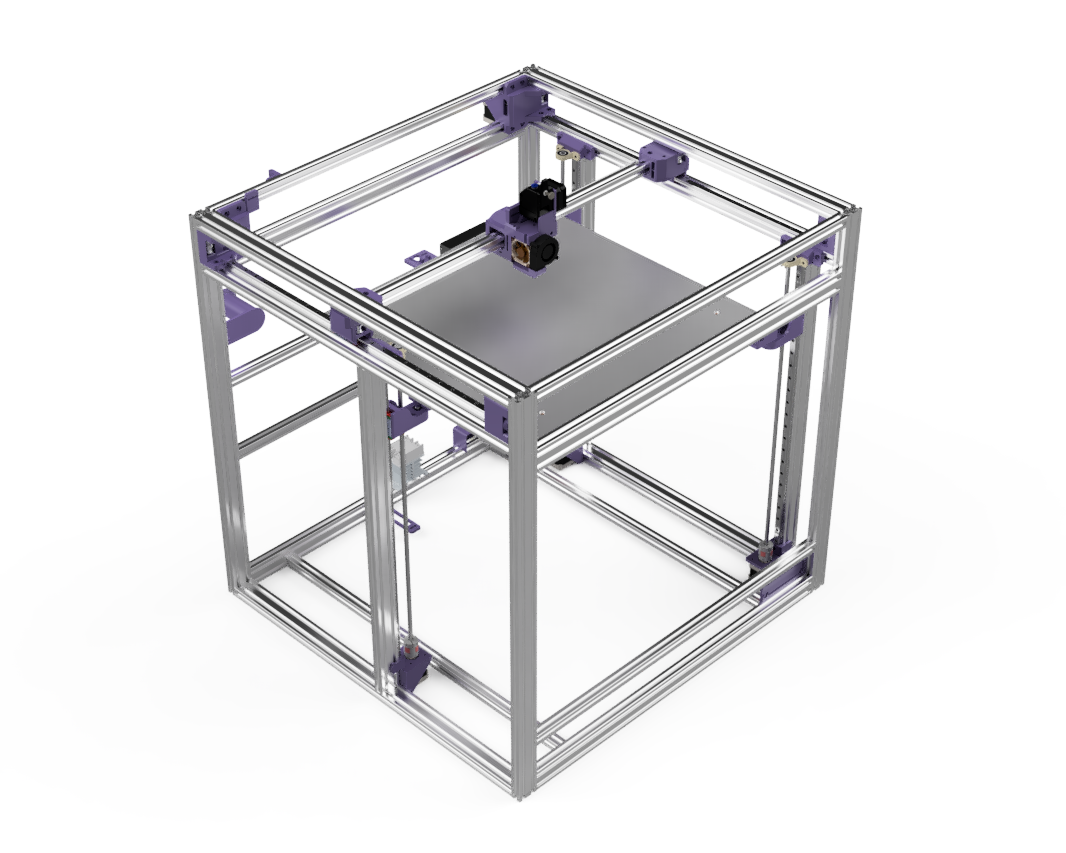
The design went surprisingly smooth. With knowledge from the first version, I was able to finish it and build it within a few months. Of course, no electronics-related project would not be complete without its rite of passage - the magic smoke.
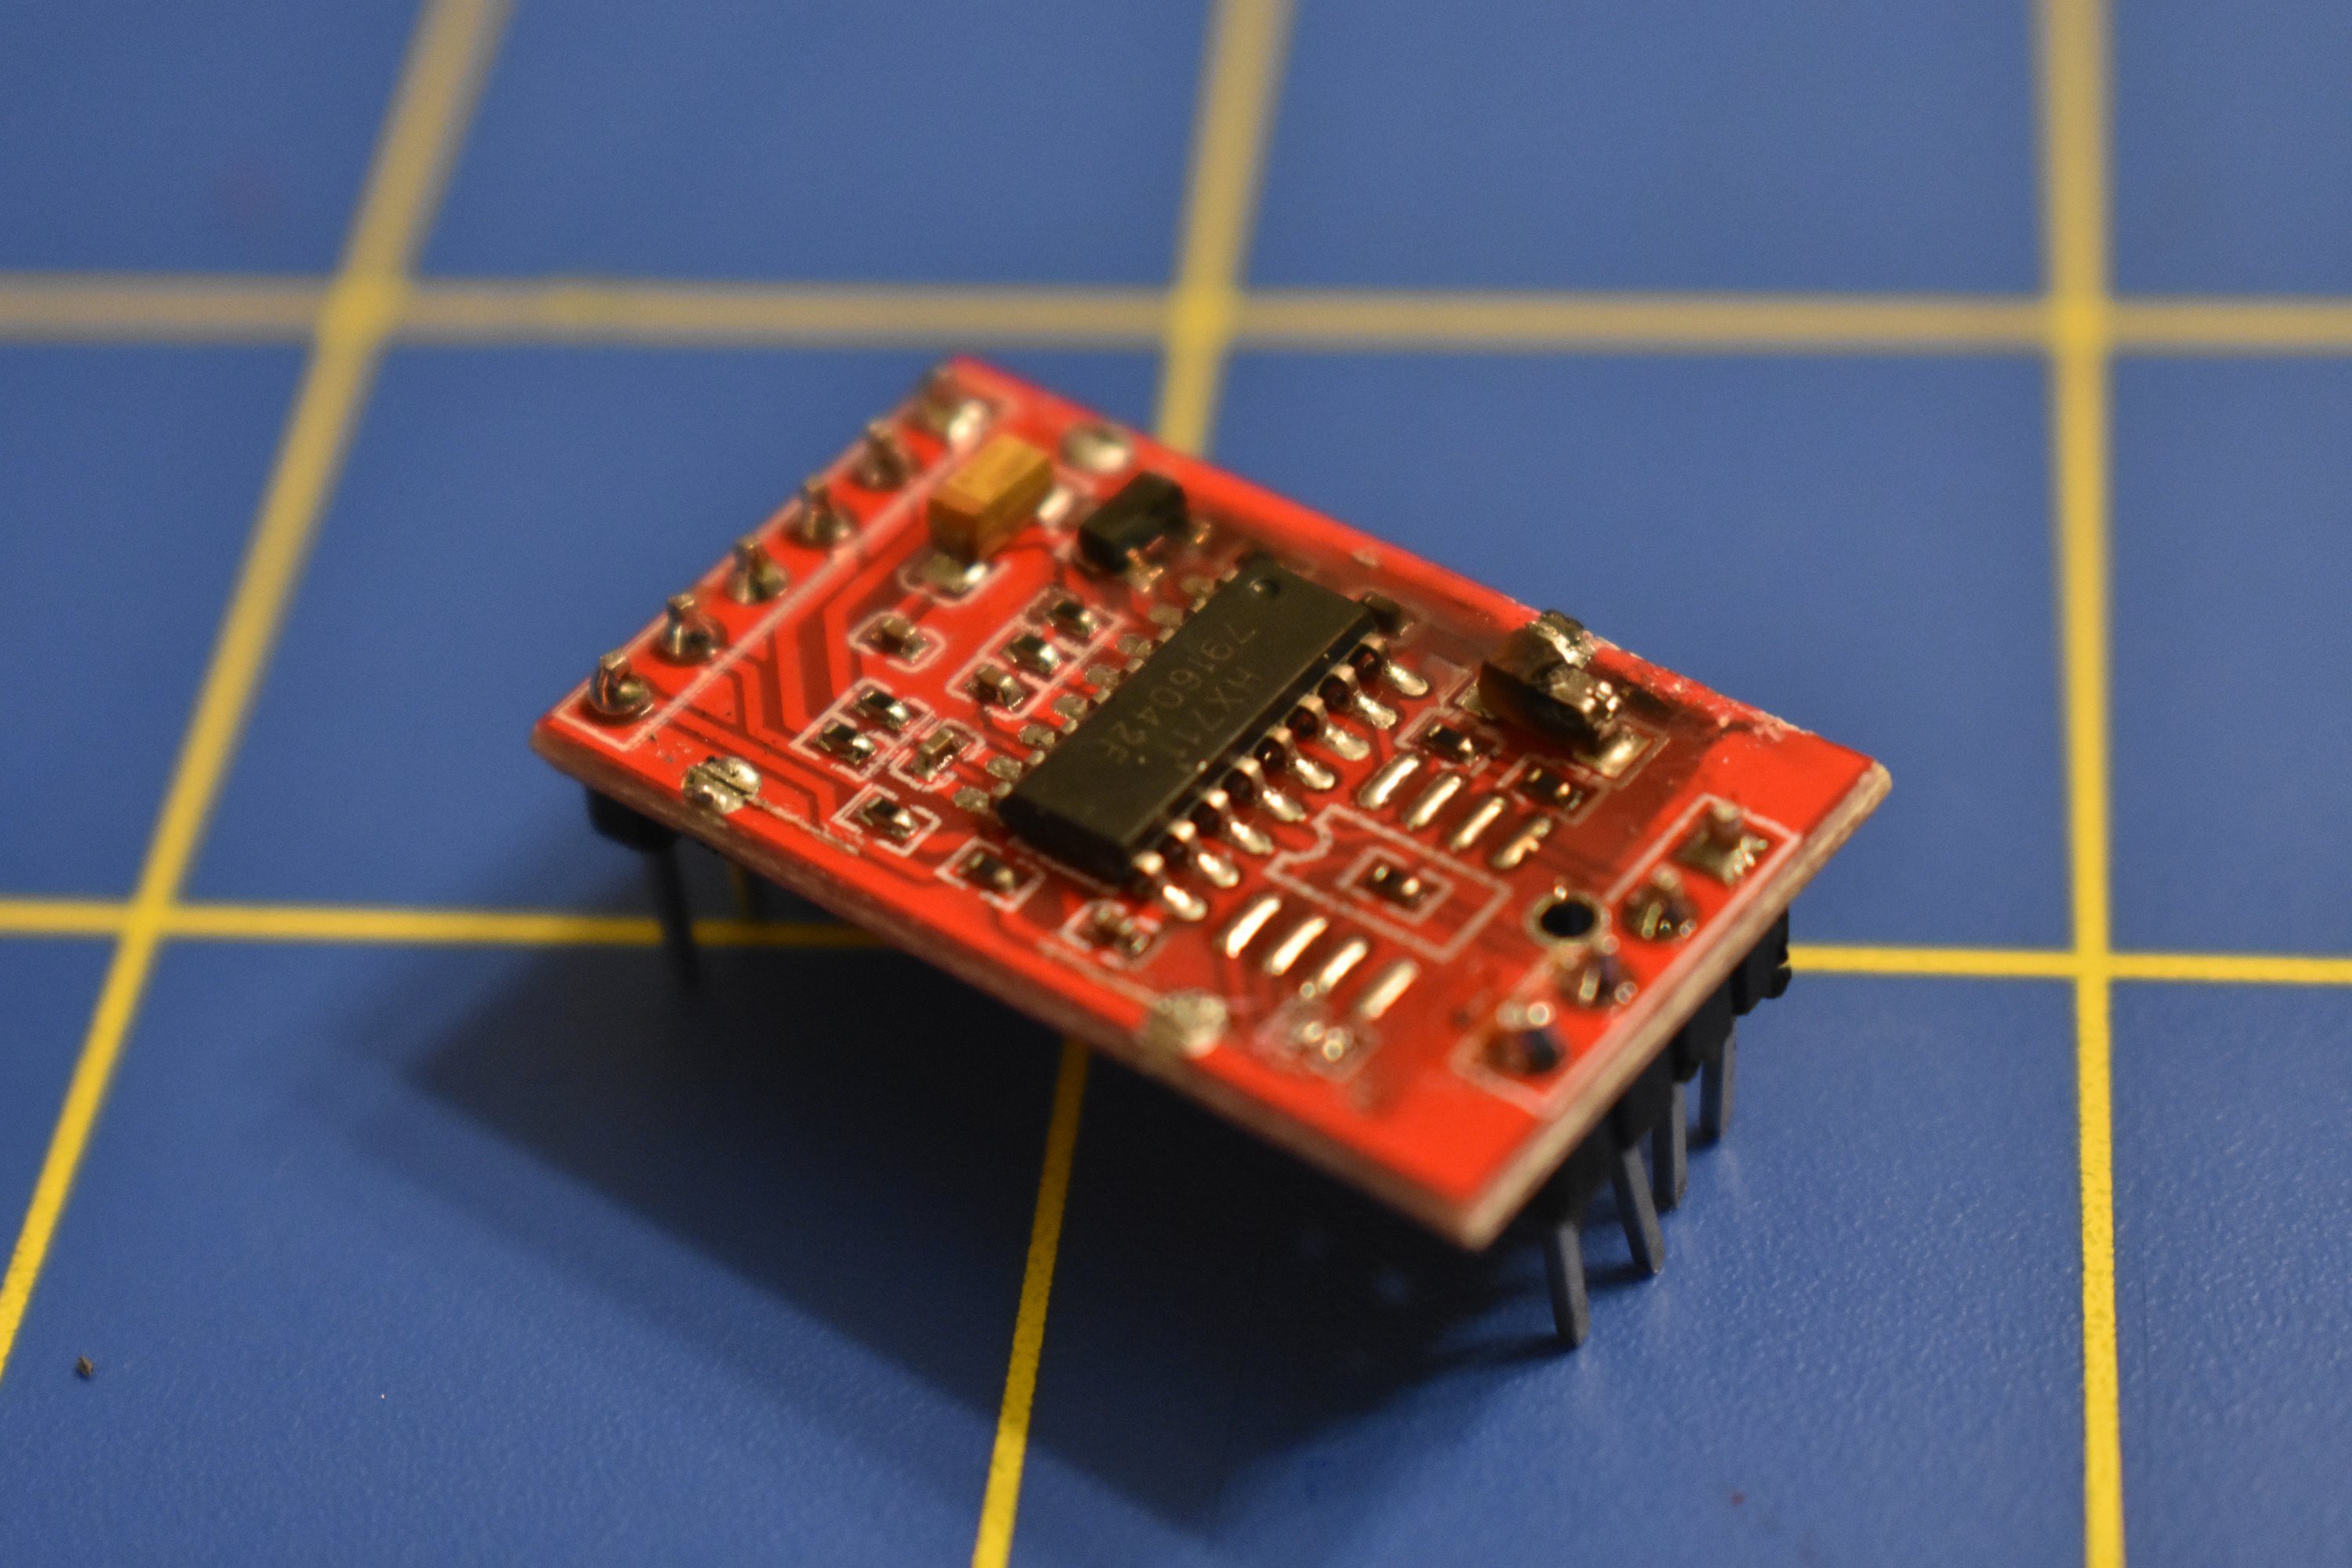
That was not the only component I blew up. I took out an electrolytic capacitor, stepper motor driver, and my mom's computer's USB port, all due to a reverse polarity mistake. It was at this moment I realized the true power of tantalum and electrolytic capacitors.
I developed some temporary trauma due to that.
Now let's get to the serious business and talk about what changed compared to the previous version.
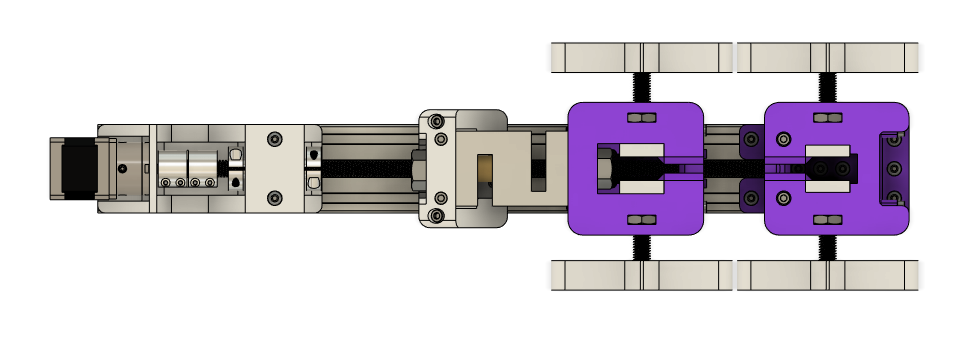
![]() List of Improvements:
List of Improvements:
Hardware:
- Ability to perform compression tests
- Much less fixture deflection due to reinforcements
- Much stronger grips
- Shaft collars instead of flanged nuts to save space
- Higher torque transfer
- Designed in Fusion 360
- More clearance in mounting holes
Electronics:
- Custom PCB for a more permanent electronics solution
- Buttons and OLED display for testing without computer
- Emergency Stop/Reset All button
- Many more testing modes, including speed selection and modulus testing.
- Support for PLX-DAQ data acquisition
- Dedicated ATTiny85 for separate stepper motor controls
- Easy to configure Arduino code
From my testing, this new version is able to handle at least 1kN of load.
Let's look at them in more detail:
One of the previous issues was hull deflection/flex under load. This shouldn't affect the maximum readings to a significant extent until the flex starts to introduce forces not parallel to center line of the specimen. To solve this, I've added bolt reinforcements to the machine and improved the structure.

I'm no physicist, nor have I taken MechE classes, so to be frank, I don't know if the bolt placements are the most optimal. I do know that they should provide at least some reinforcement.
The grip blocks now have nut inserts to aid against stripping and greatly increases clamping force by the fixtures.
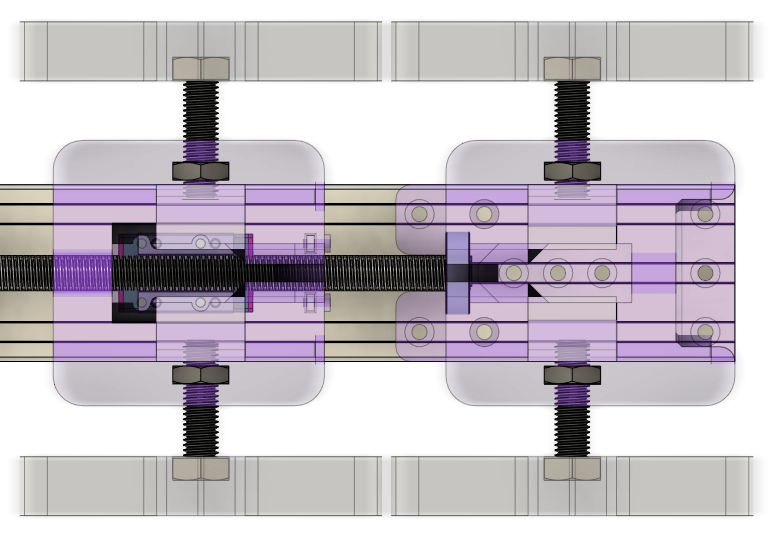
Better pillow blocks using shaft collars allowing longer couplers and higher load.
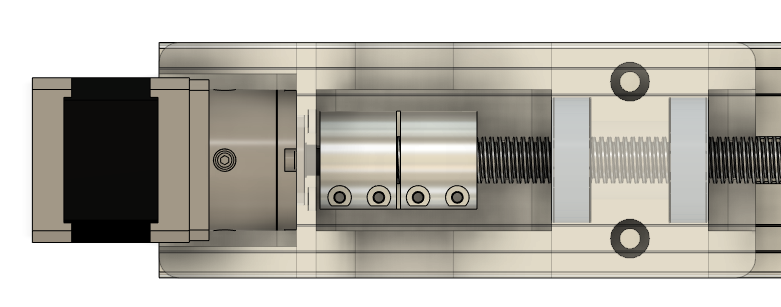
These are just a few of the mechanical improvements.
The electrical improvements center around the PCB.


The old electronics suffered from the motor stopping every time the Arduino reports the load, so as a result I rewrote the code and added in an ATTiny to offload the task of controlling the motors. Although I have to admit that it was tricky to get the ATTiny to work with i2c commands and took me and others quite a few tries.
The new version features an Emergency Stop button (I just recommend unplugging the power if there is an emergency. Emergency Stop freezes the Arduino to prevent it from sending further signals, but the stepper motor is still powered. I'm working on addressing this in the newer versions).
There is also experimental support for PLX-DAQ, a data collecting tool in Excel.
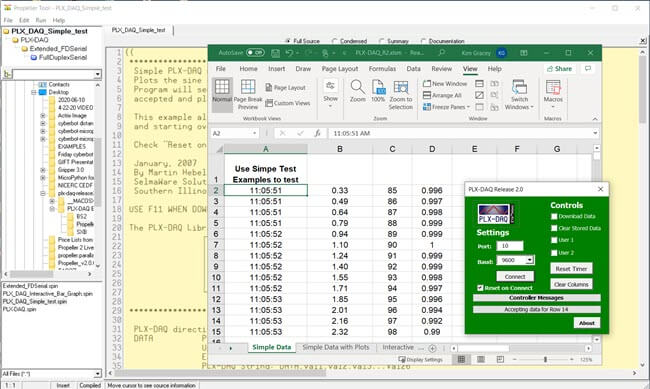 Image credit goes to Parallax Inc., the company that developed this amazing tool.
Once again, I published the machine on Instructables, winning a place as Runner Up on the Instructables 1000th contest, a rather disappointing result considering my efforts.
 Xieshi Zhang
Discussions
Become a Hackaday.io Member
Create an account to leave a comment. Already have an account? Log In.