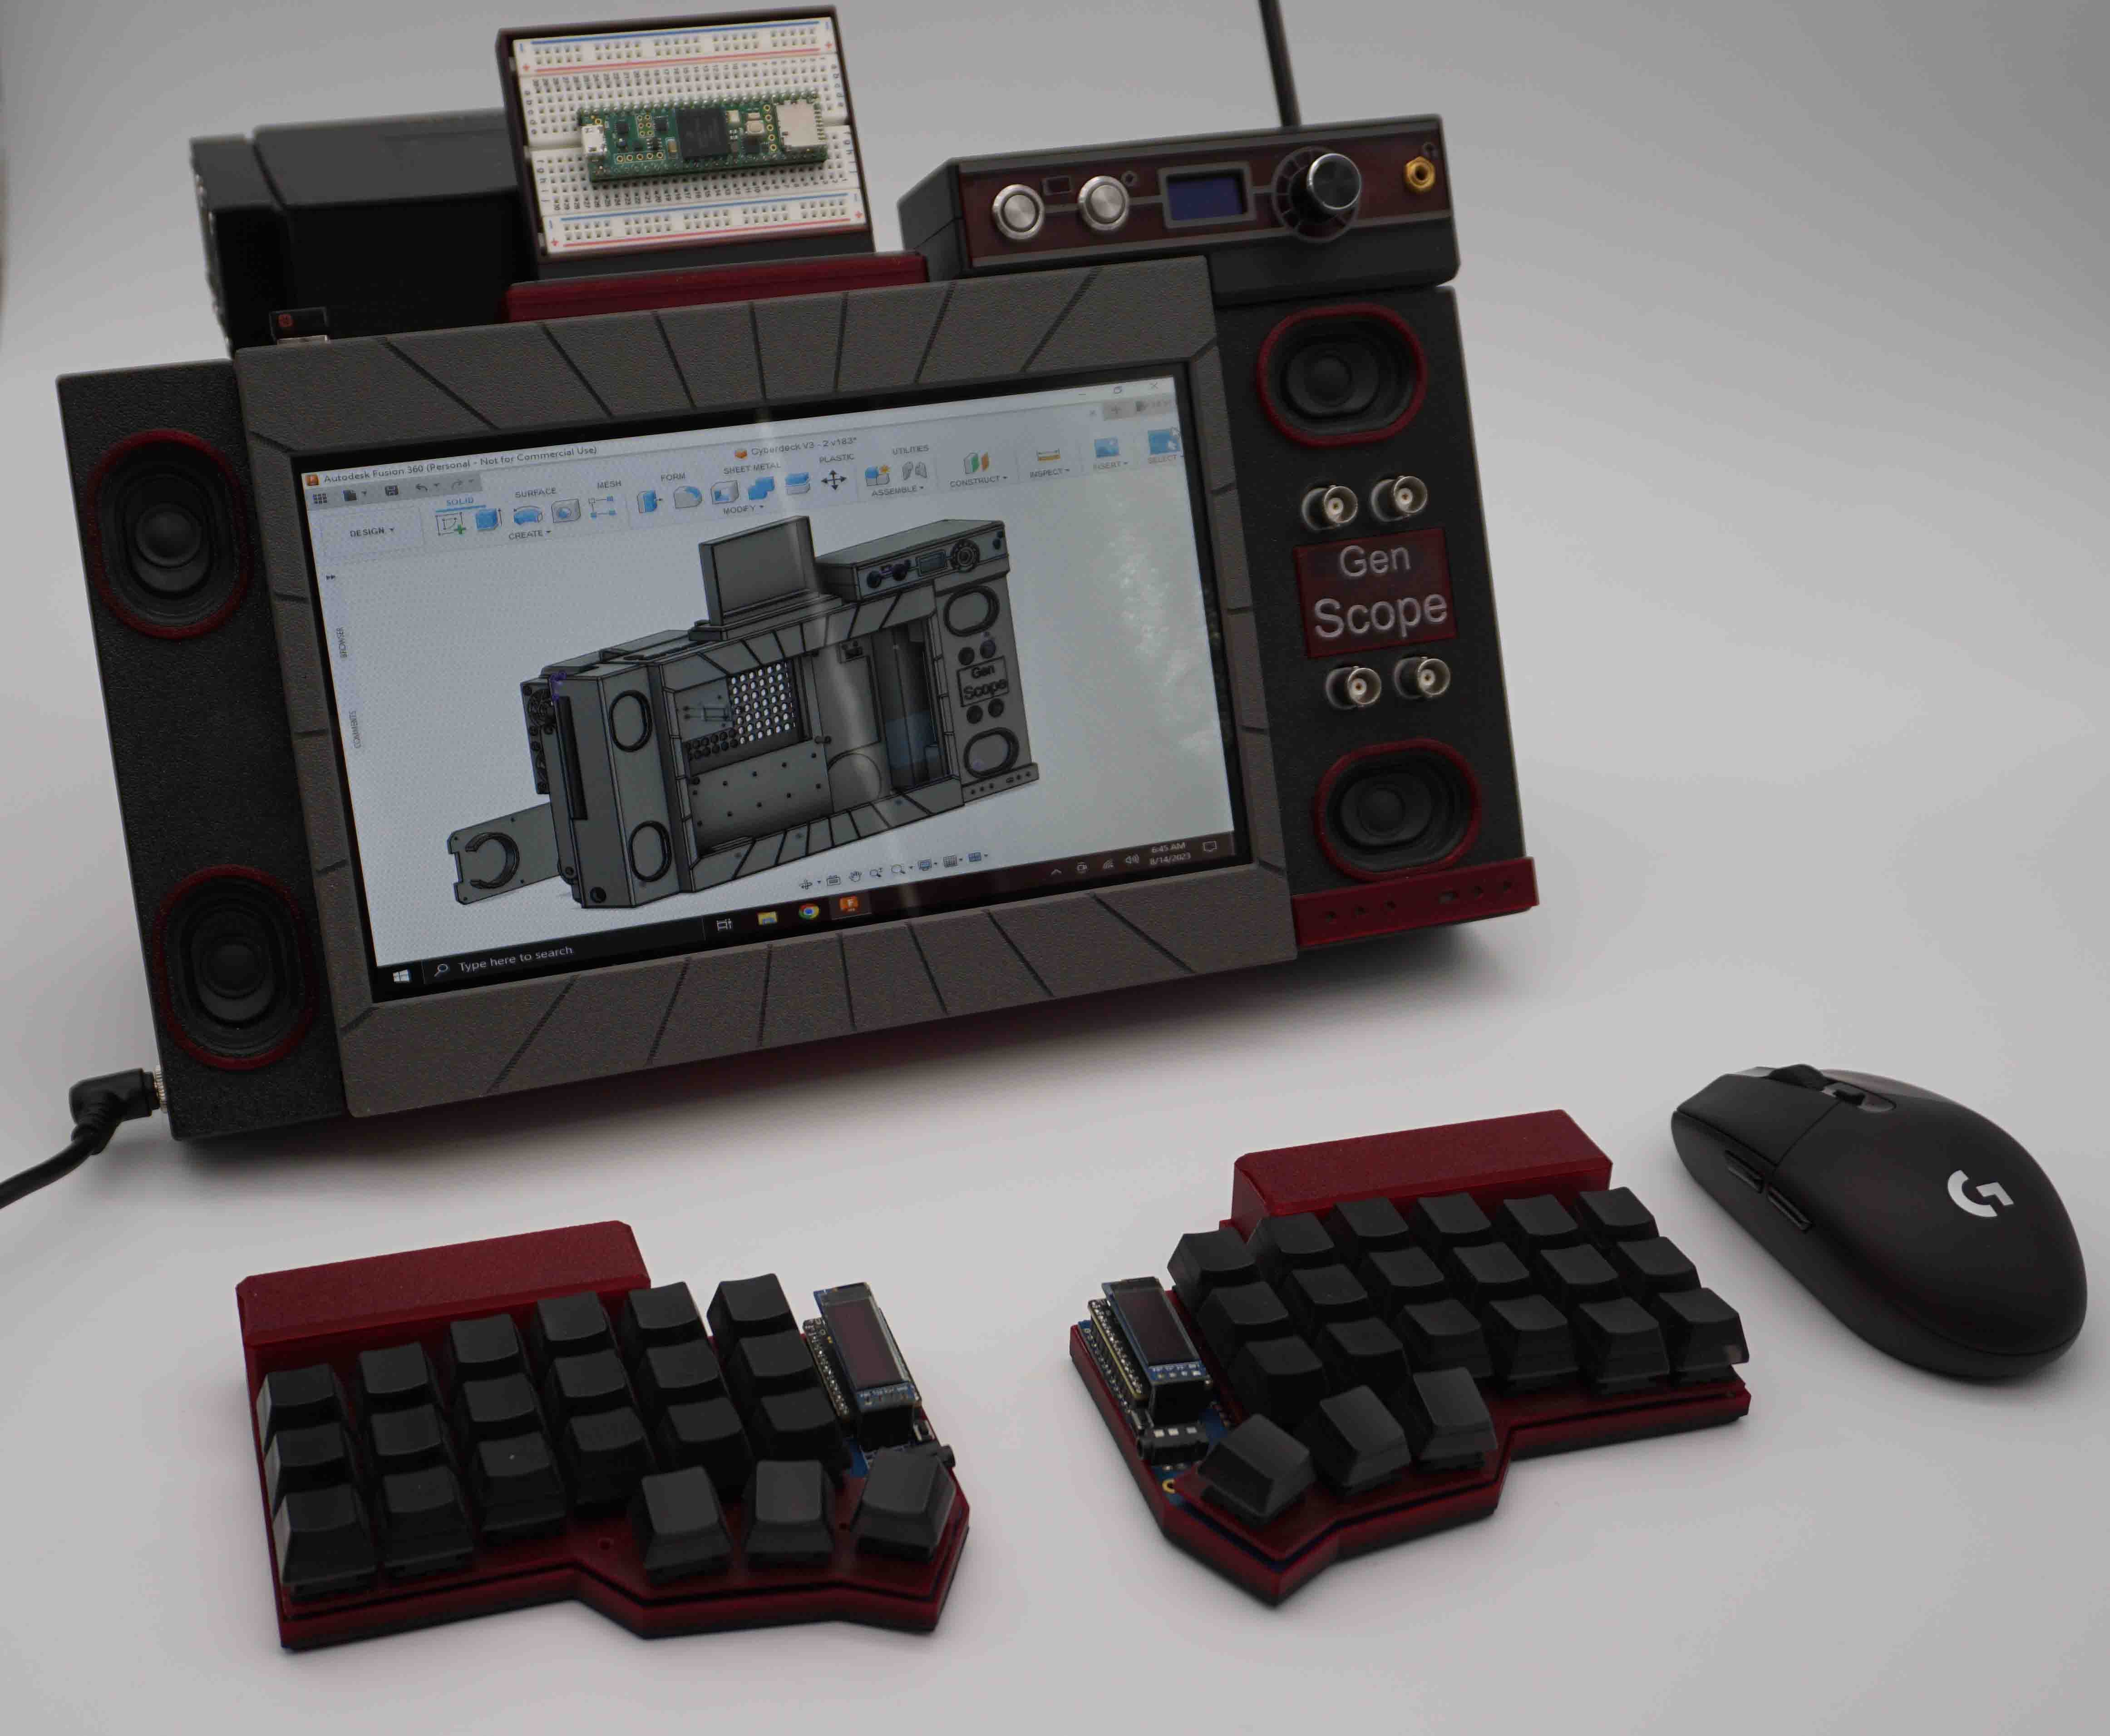
This project is a complete rebuild of the original Cyberdeck Red posted on Hackaday for the first Cyberdeck 2022 Contest.
Although cool, there was a lot about the original that seemed inferior to what it was actually capable of becoming. There wasn't a single item on it that I didn't want to replace or redesign. It sat in the corner for awhile mocking me. Finally I had enough and started work again. Afterall, how long would it take to redo just a of couple parts.
The reality is that even with all of the effort it took to make the first version, this thing wasn't even half way finished.
The original deck was based around the Raspberry Pi 4, which, of course, is Linux based. I think Linux is cool and all but none of the programs I use run on it.
I ended up replacing it with a LattePanda 3 Delta. It comes with Windows installed and as a bonus is considerably more powerful.
I added an M.2 SSD to it and it's actually pretty spunky. If this was my only computer I could get by without much complaint.
The 5W+5W amplifier was replaced with a 15W+15W amplifier and a proper set of stereo speakers. Additionally there are two exciters built into the stand which makes this thing thump.
The original projector was already 10 years old and a bit weak compared to more modern ones. It was replaced with a short throw projector. Between it and the speaker system it makes for a decent home theater system.
A matching custom split keyboard was also added which naturally has Cherry MX Red key switches.
Finally, the entire case was redesigned and reprinted. The ugly front facing screws are gone, and that amateurish center gap in the screen's bezel has mercifully been removed.
The updated features list is as follows:
- LattePanda 3 Delta with built in Arduino Leonardo
- 10.1in 1024x600 Touchscreen
- Analog Discovery 2 which adds …
- 2 CH 30Mhz Oscilloscope
- 2 CH Waveform Generator
- 16 CH Logic Analyzer
- 2 CH Voltmeter
- Network Analyzer
- Spectrum Analyzer
- Data Logger
- Impedance Analyzer
- Protocol Analyzer
- Two programmable power supplies (0.5V to 5V , -0.5V to -5V)
and…
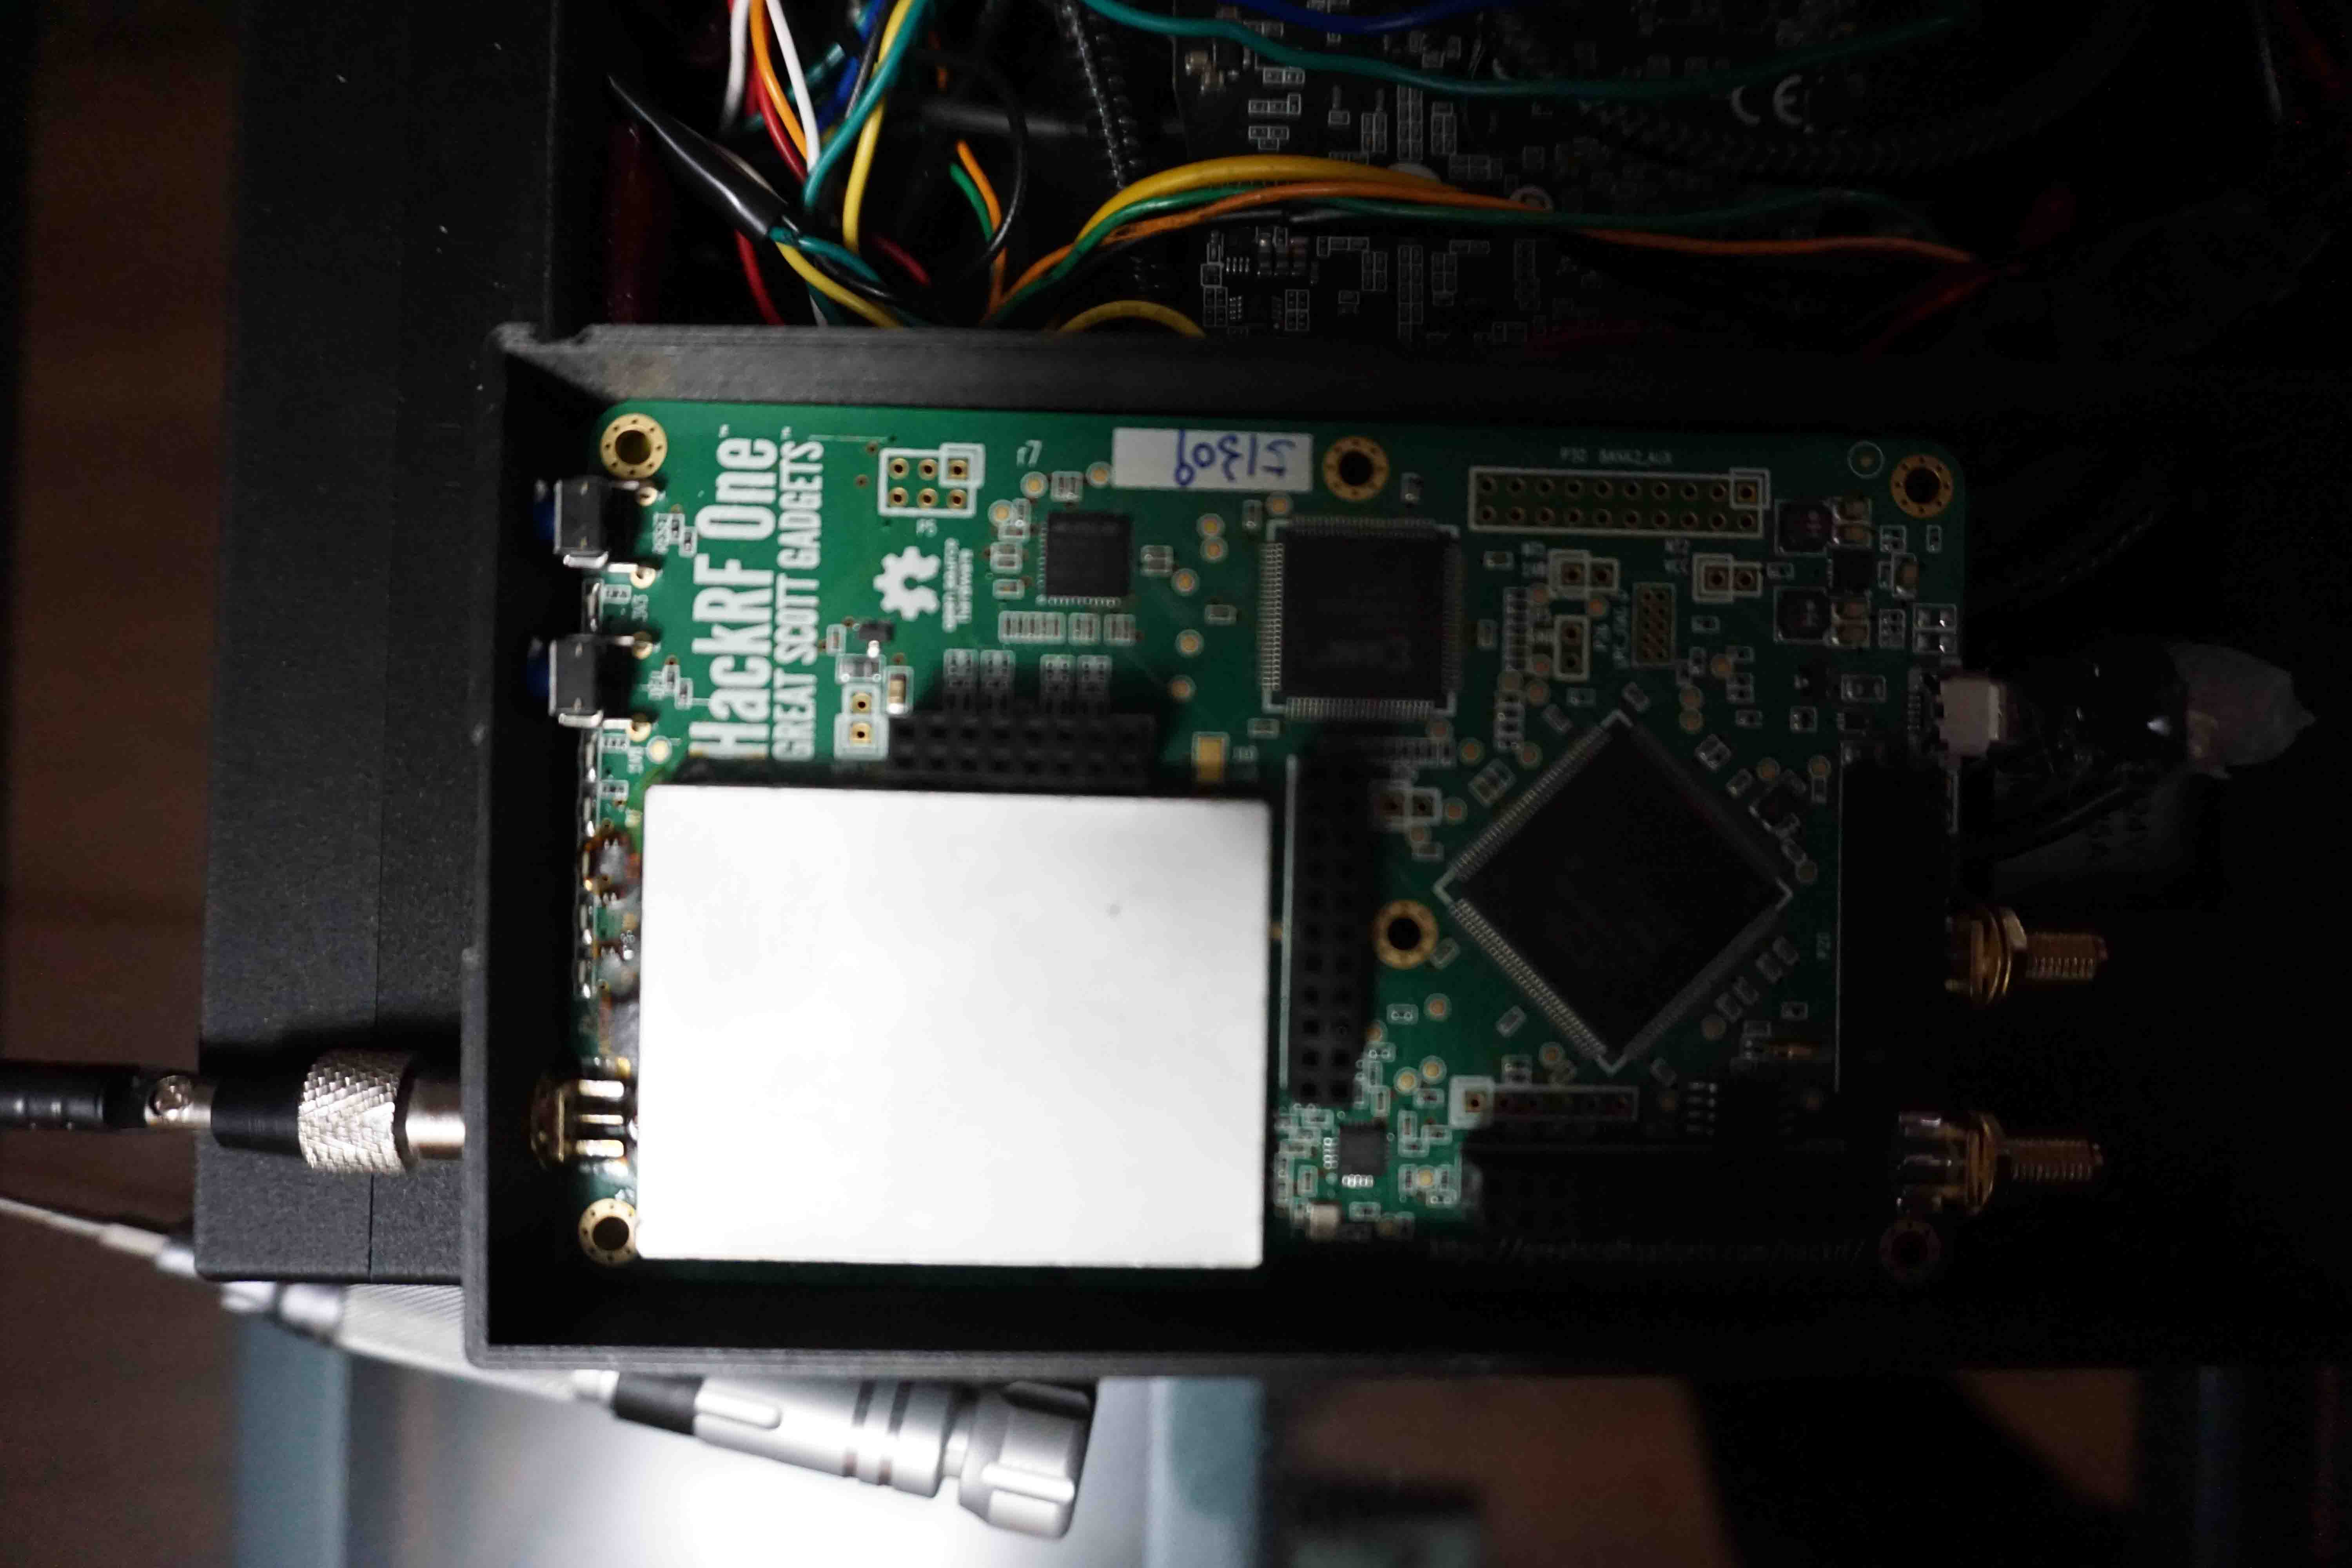
- Great Scott Hack RF One 1 MHz to 6 GHz SDR
- Audio System which has...
- 2 Ch 15W+15W Audio Amplifier
- OLED Display
- Buttons to turn off LCD and for powering on
- 4x Speakers
- Stand with 2x Exciters Built In (It turns the table into a big speaker for epic bass)
- Corne Wireless Split Keyboard
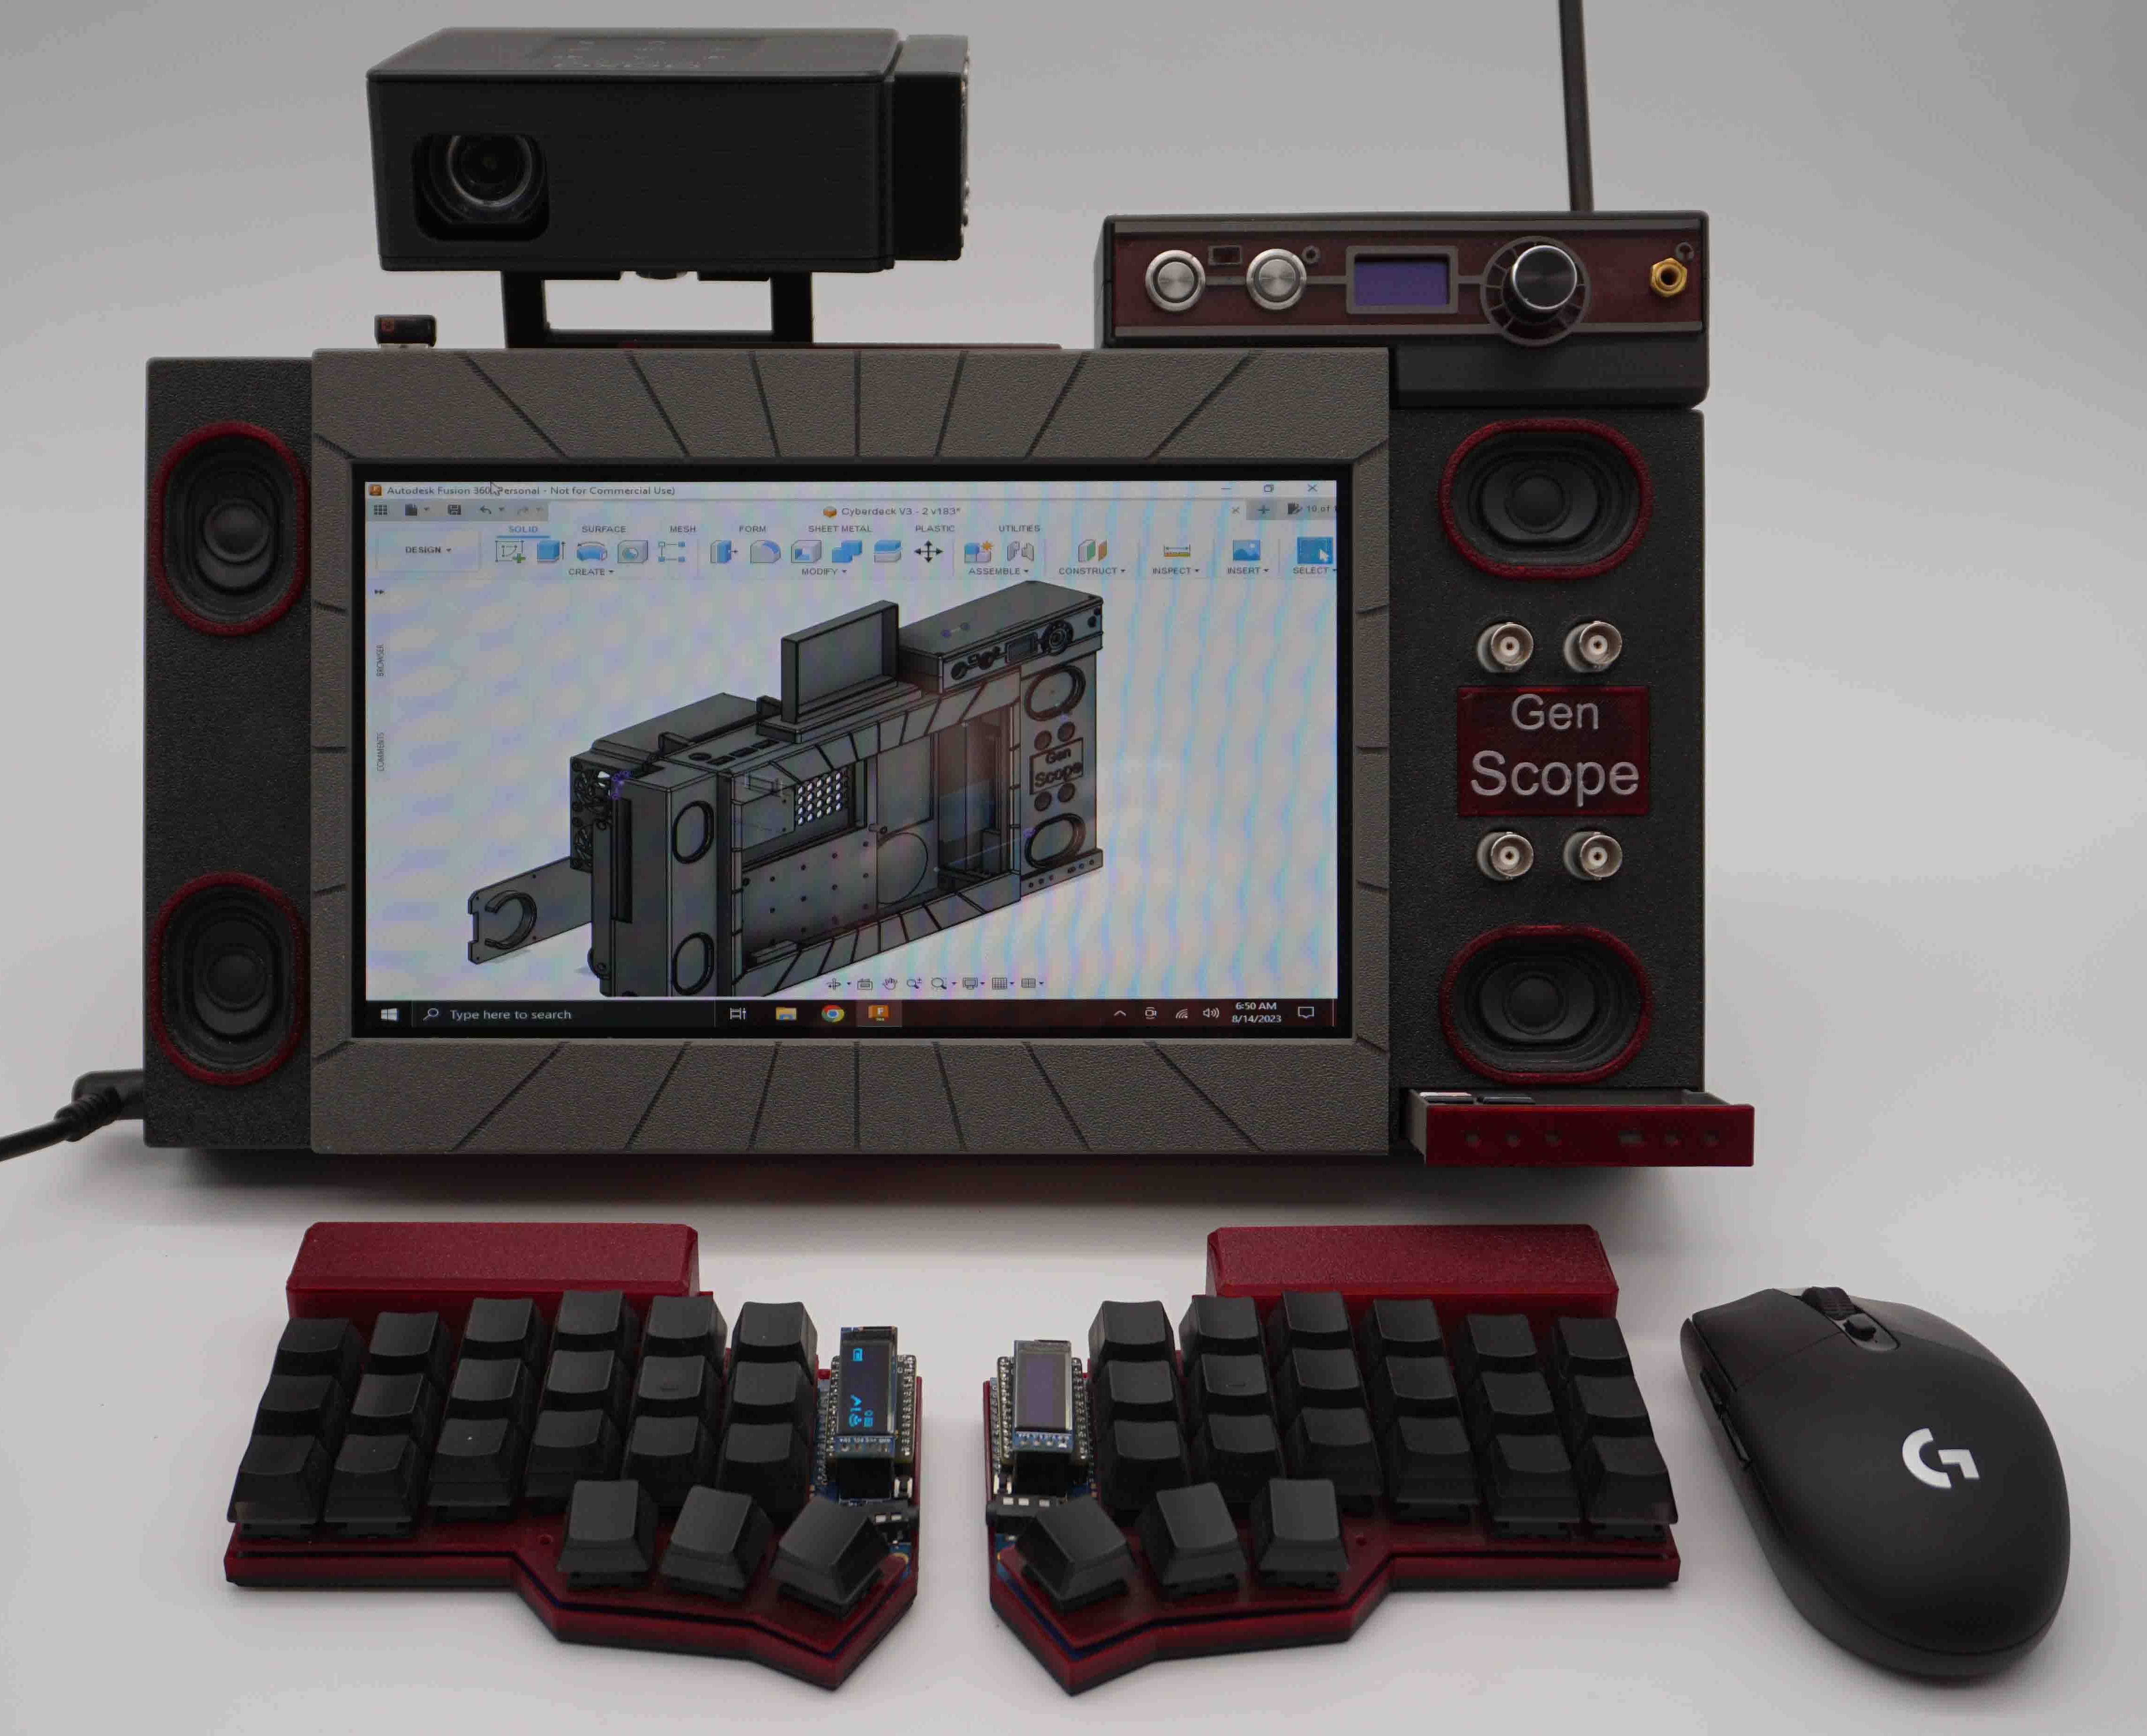
- Projector (for second monitor or just watching movies on the go)
- Magnetic Mount on Top (so I can swap breadboards or add future modules)
- Extra Ports and Things
- 3x Opto-Isolated USB Ports
- HDMI Port (for second monitor or projector)
- Card Reader built in for Micro SD/SD/MS/CF
- Small Drawer (to hold misc. SD cards with alternative operating systems or for extra storage)
- Access to the Analog Discovery 2’s various pins
Front View:
Back View:
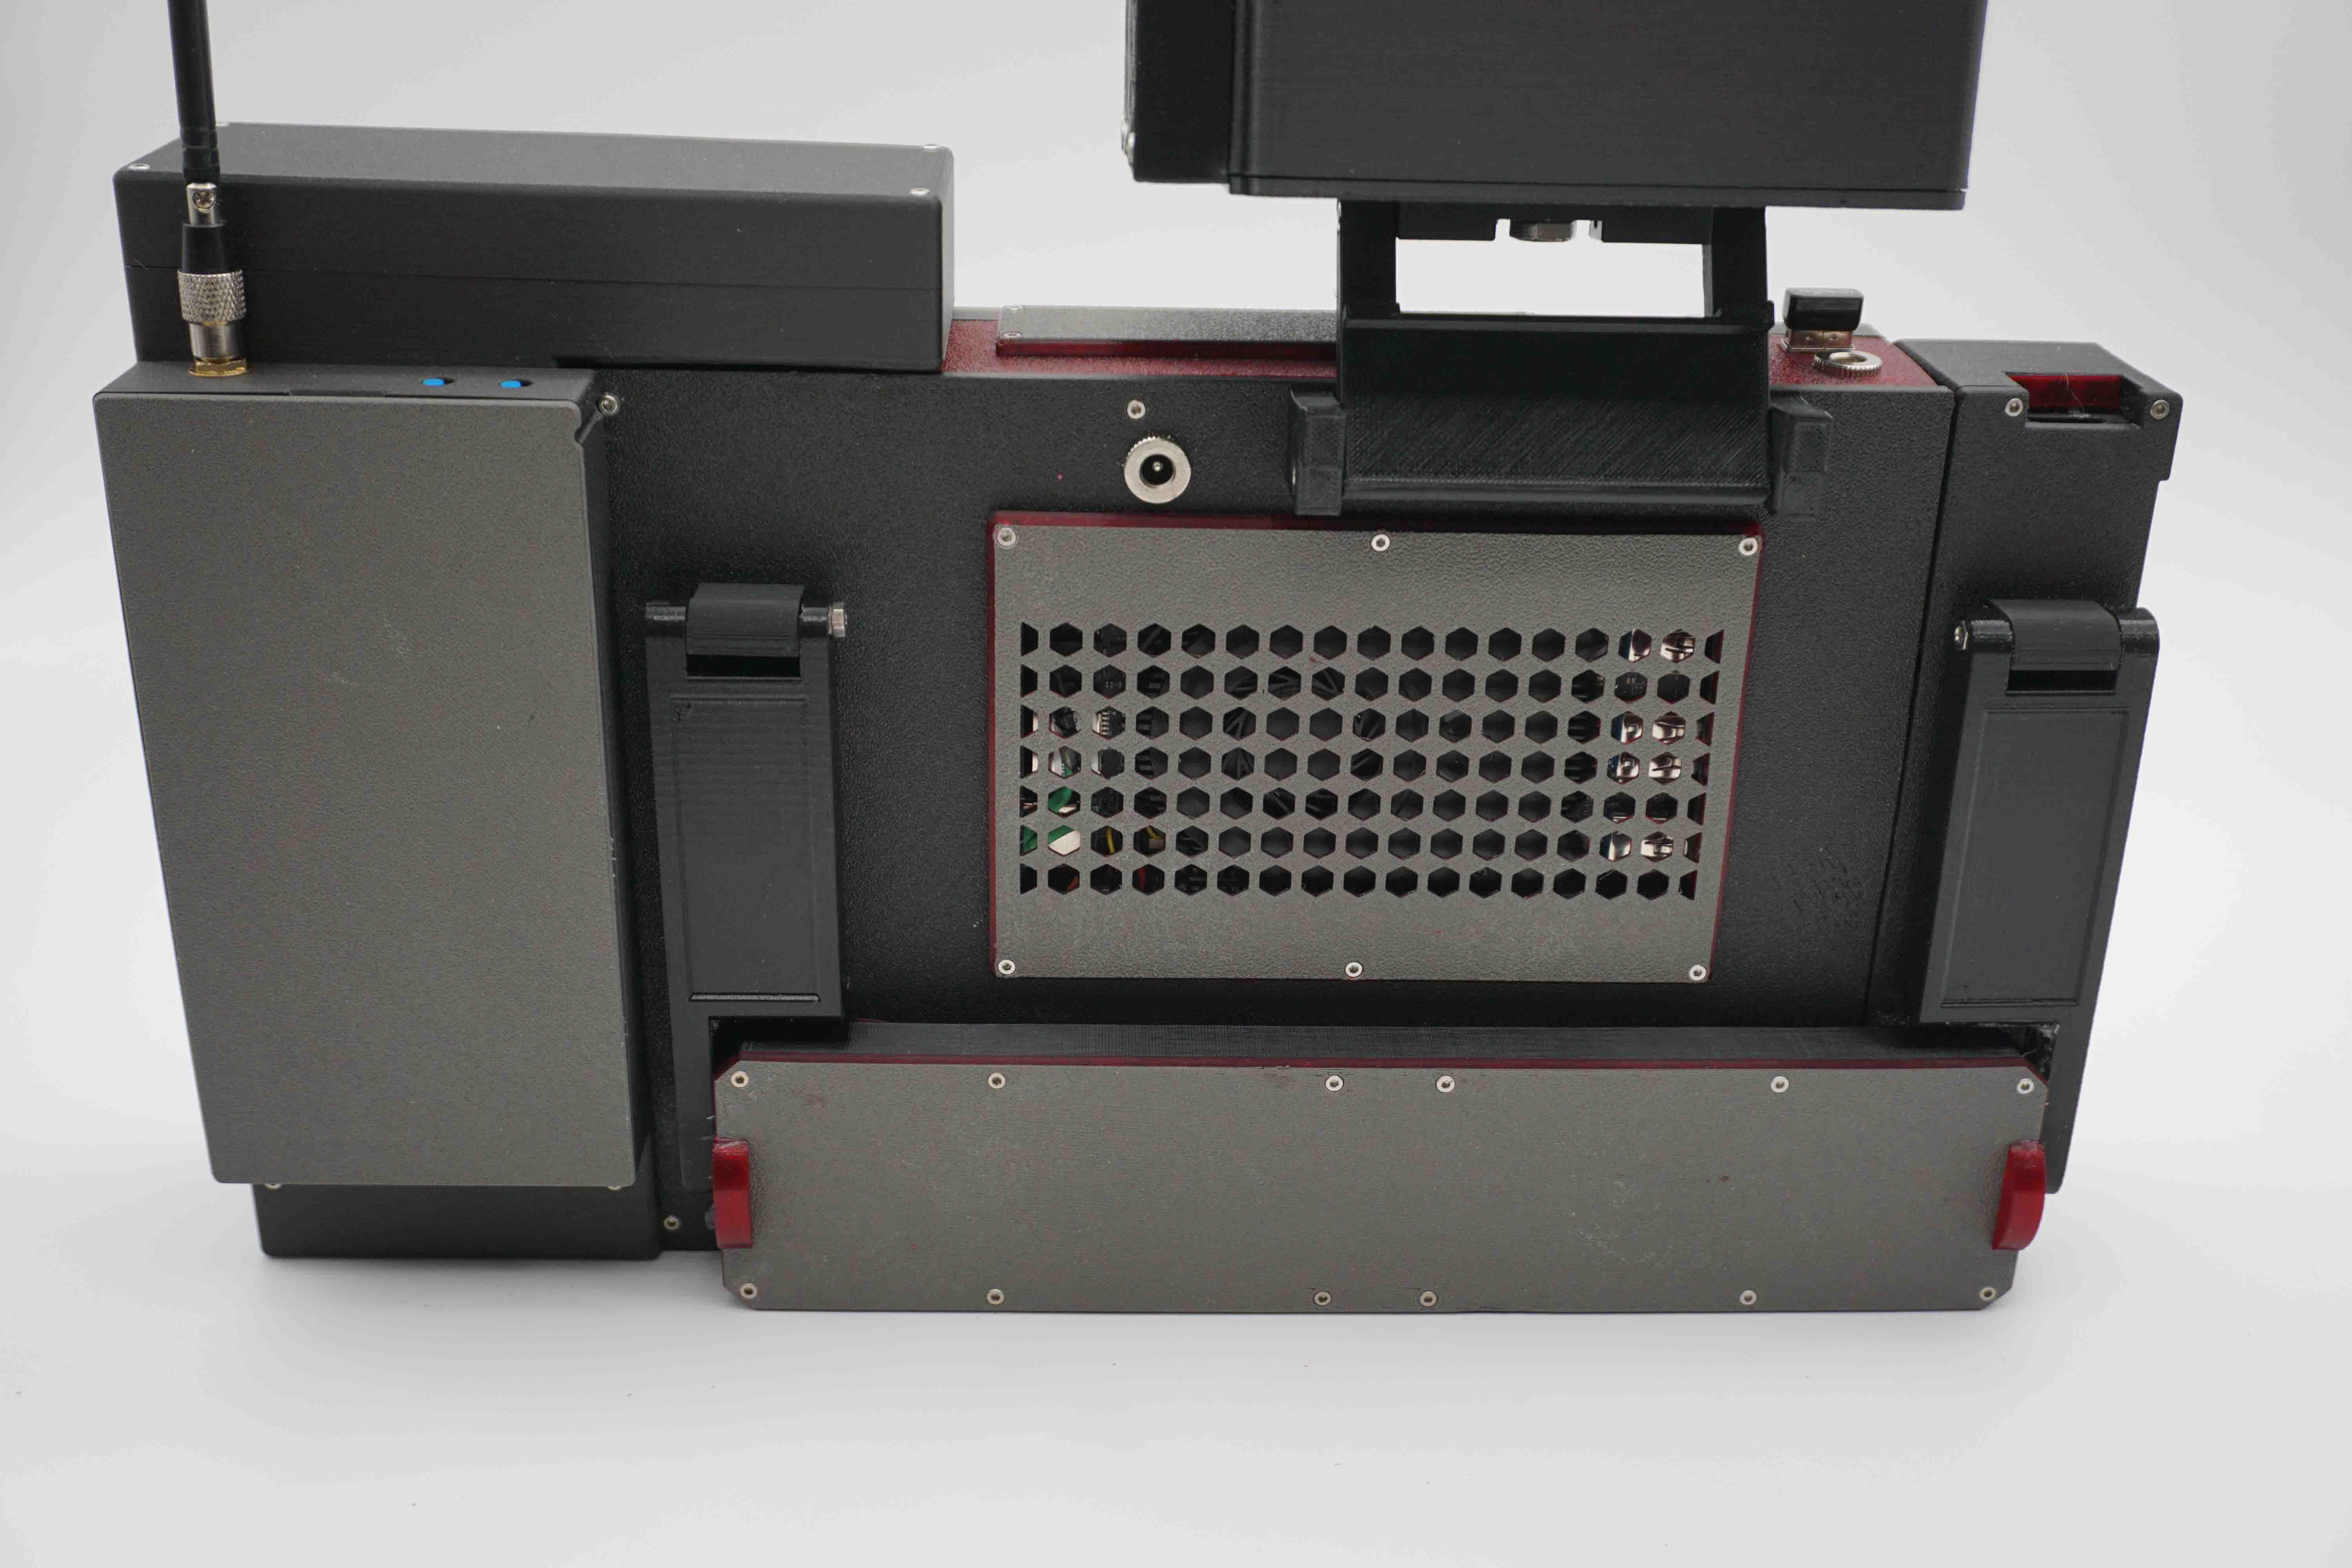
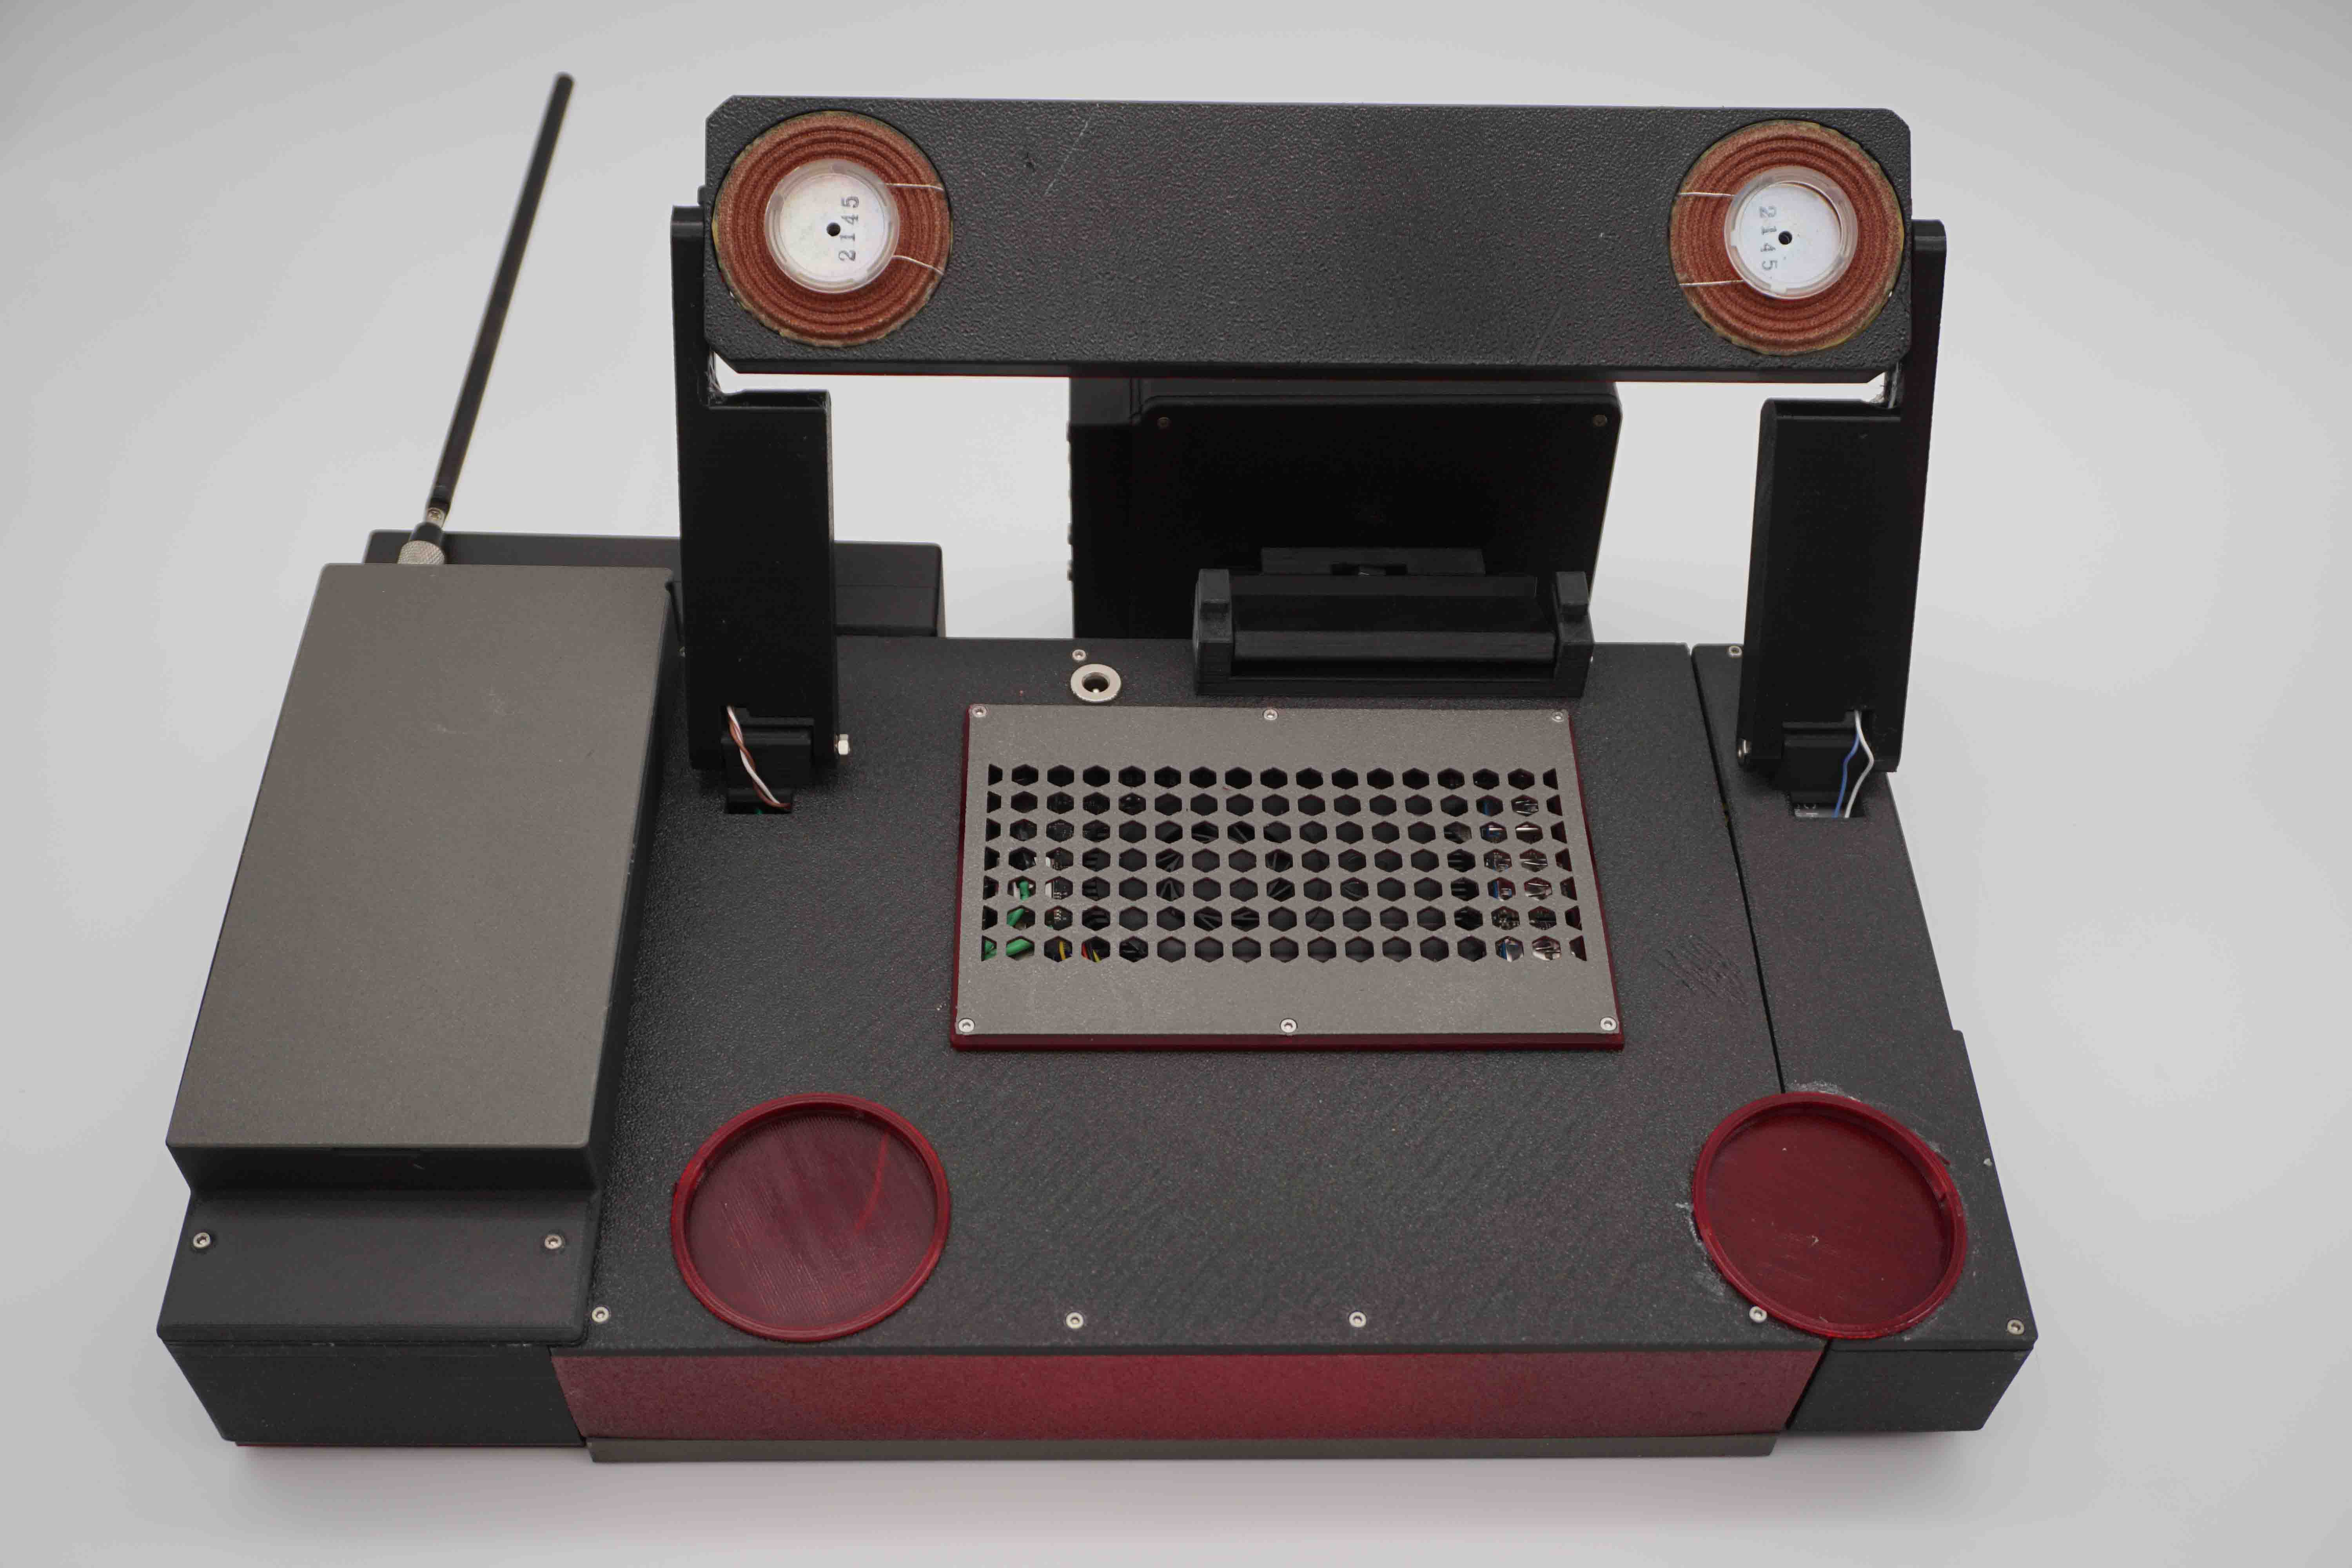
Probably my favorite thing about this deck is the speaker system. The stand has exciters built into it which turns the table it sits on into a big speaker. It is surprisingly loud and has good bass.
Modular Microcontrollers:
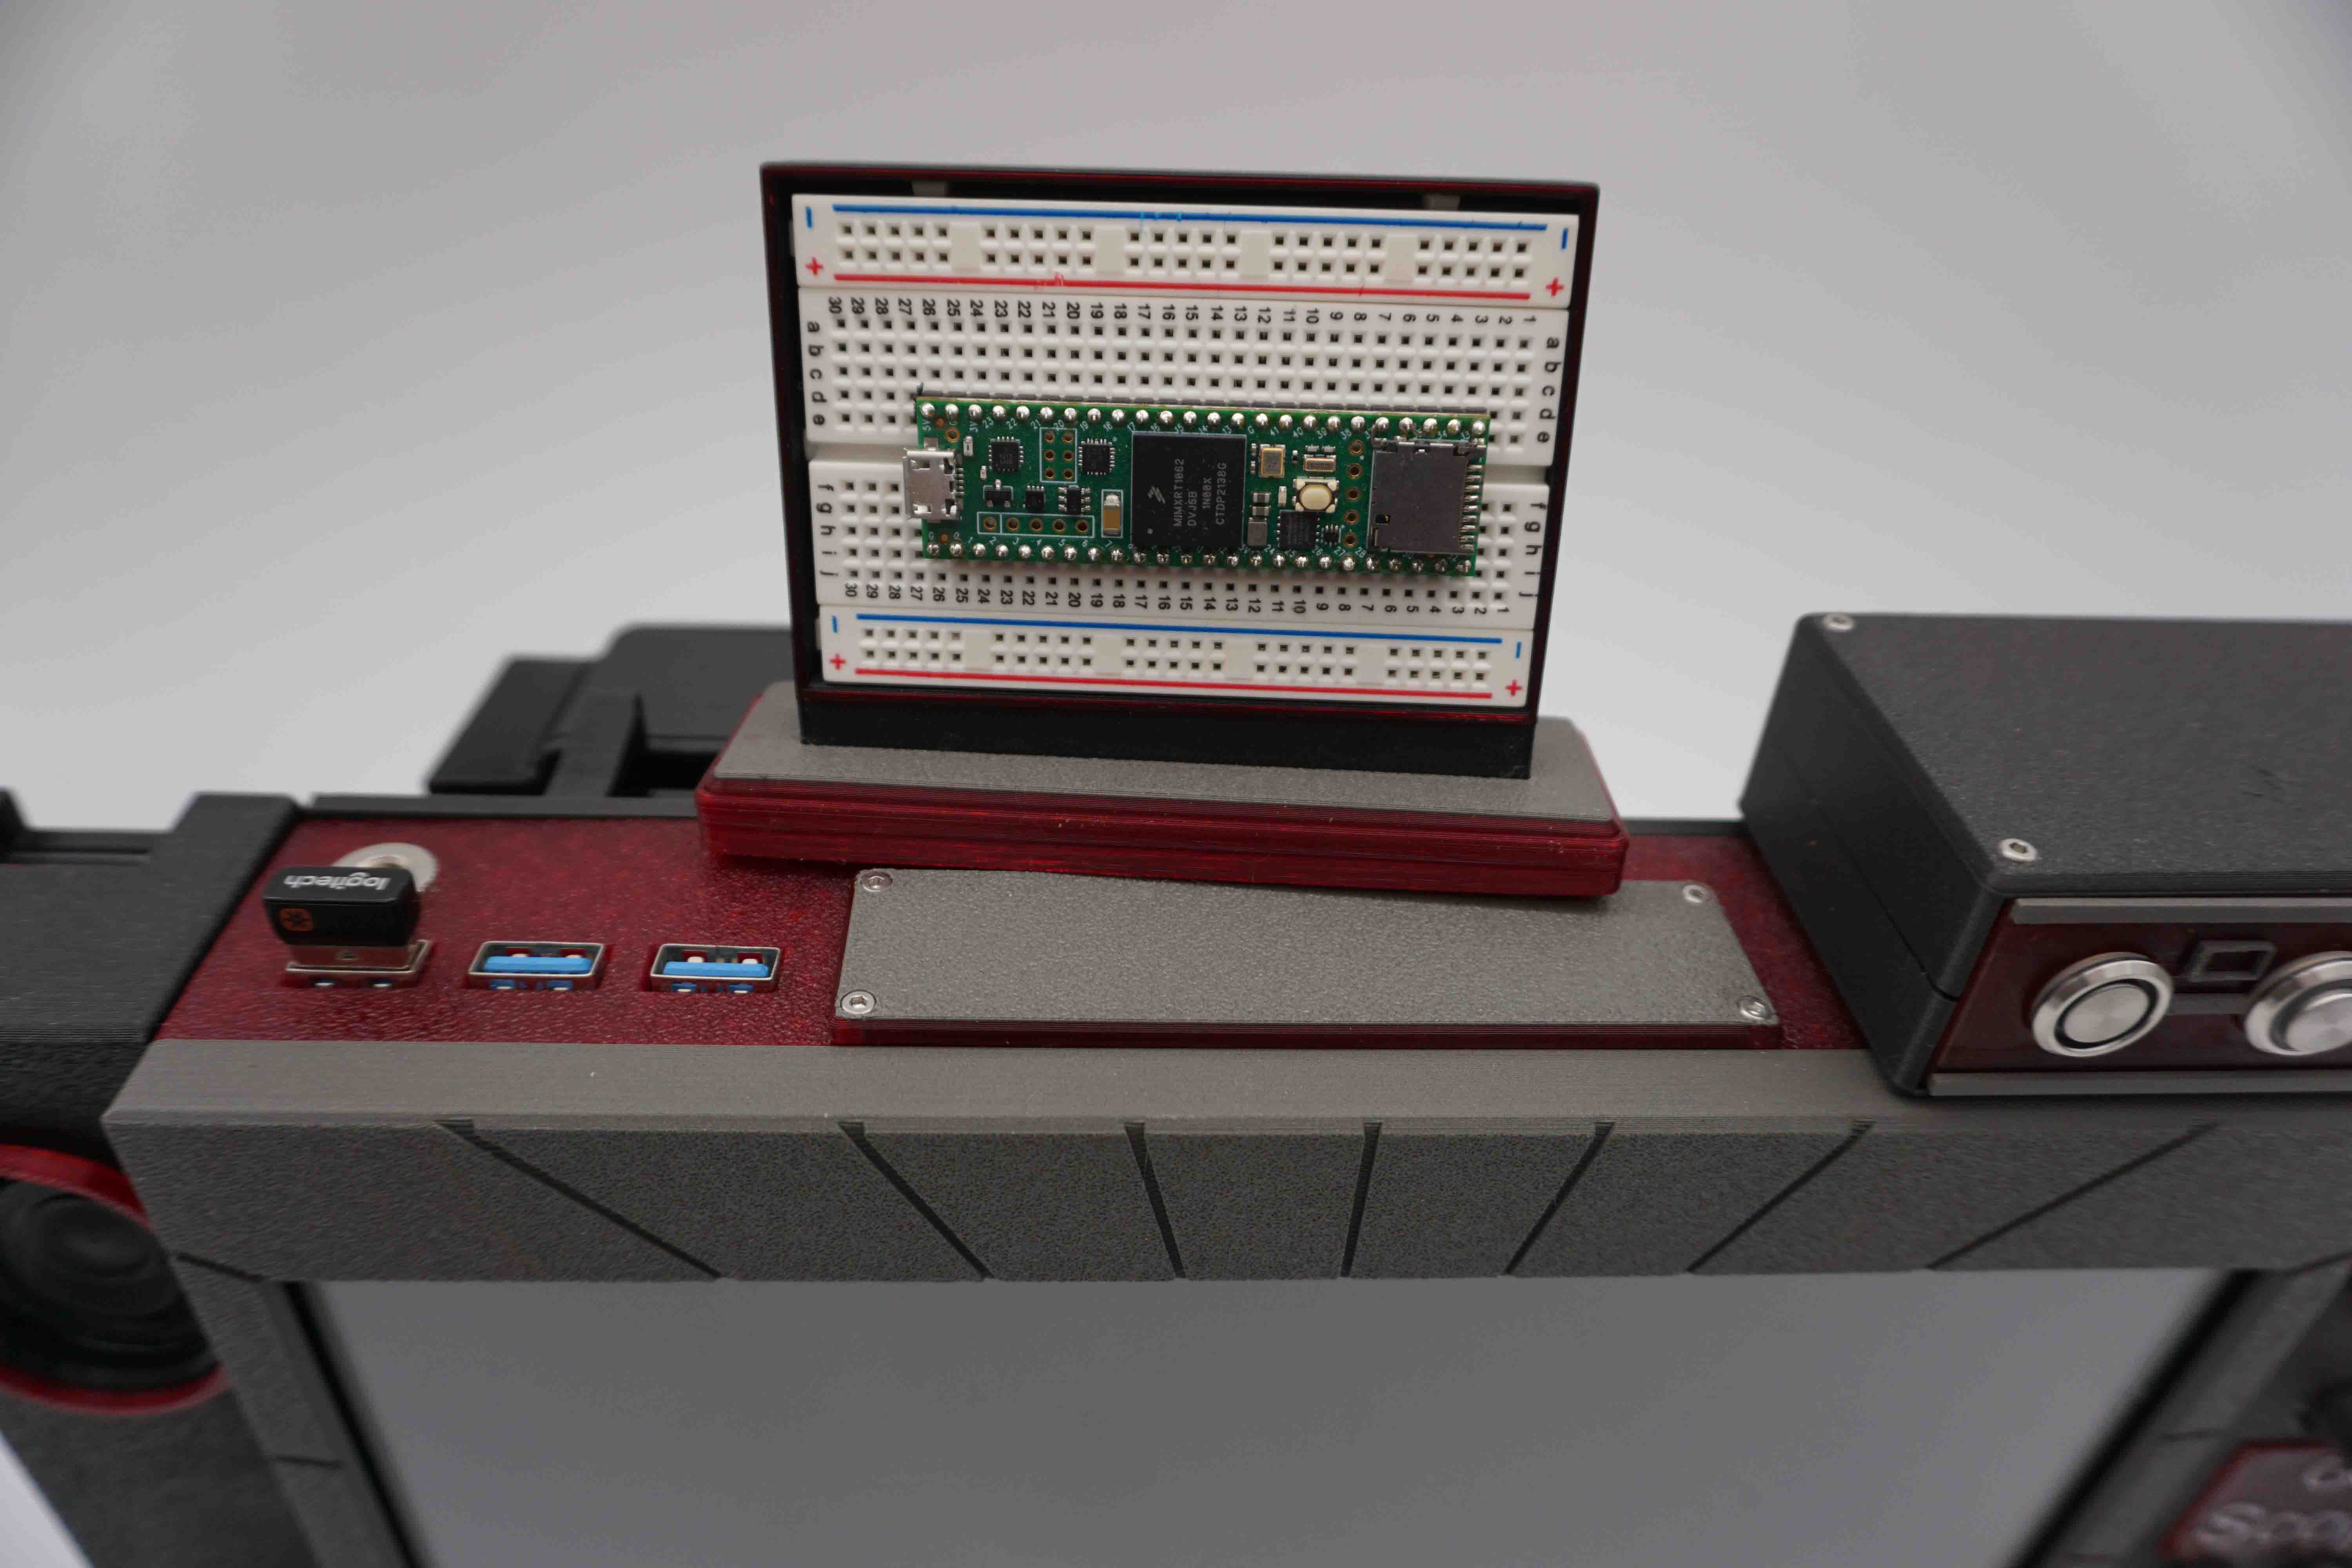
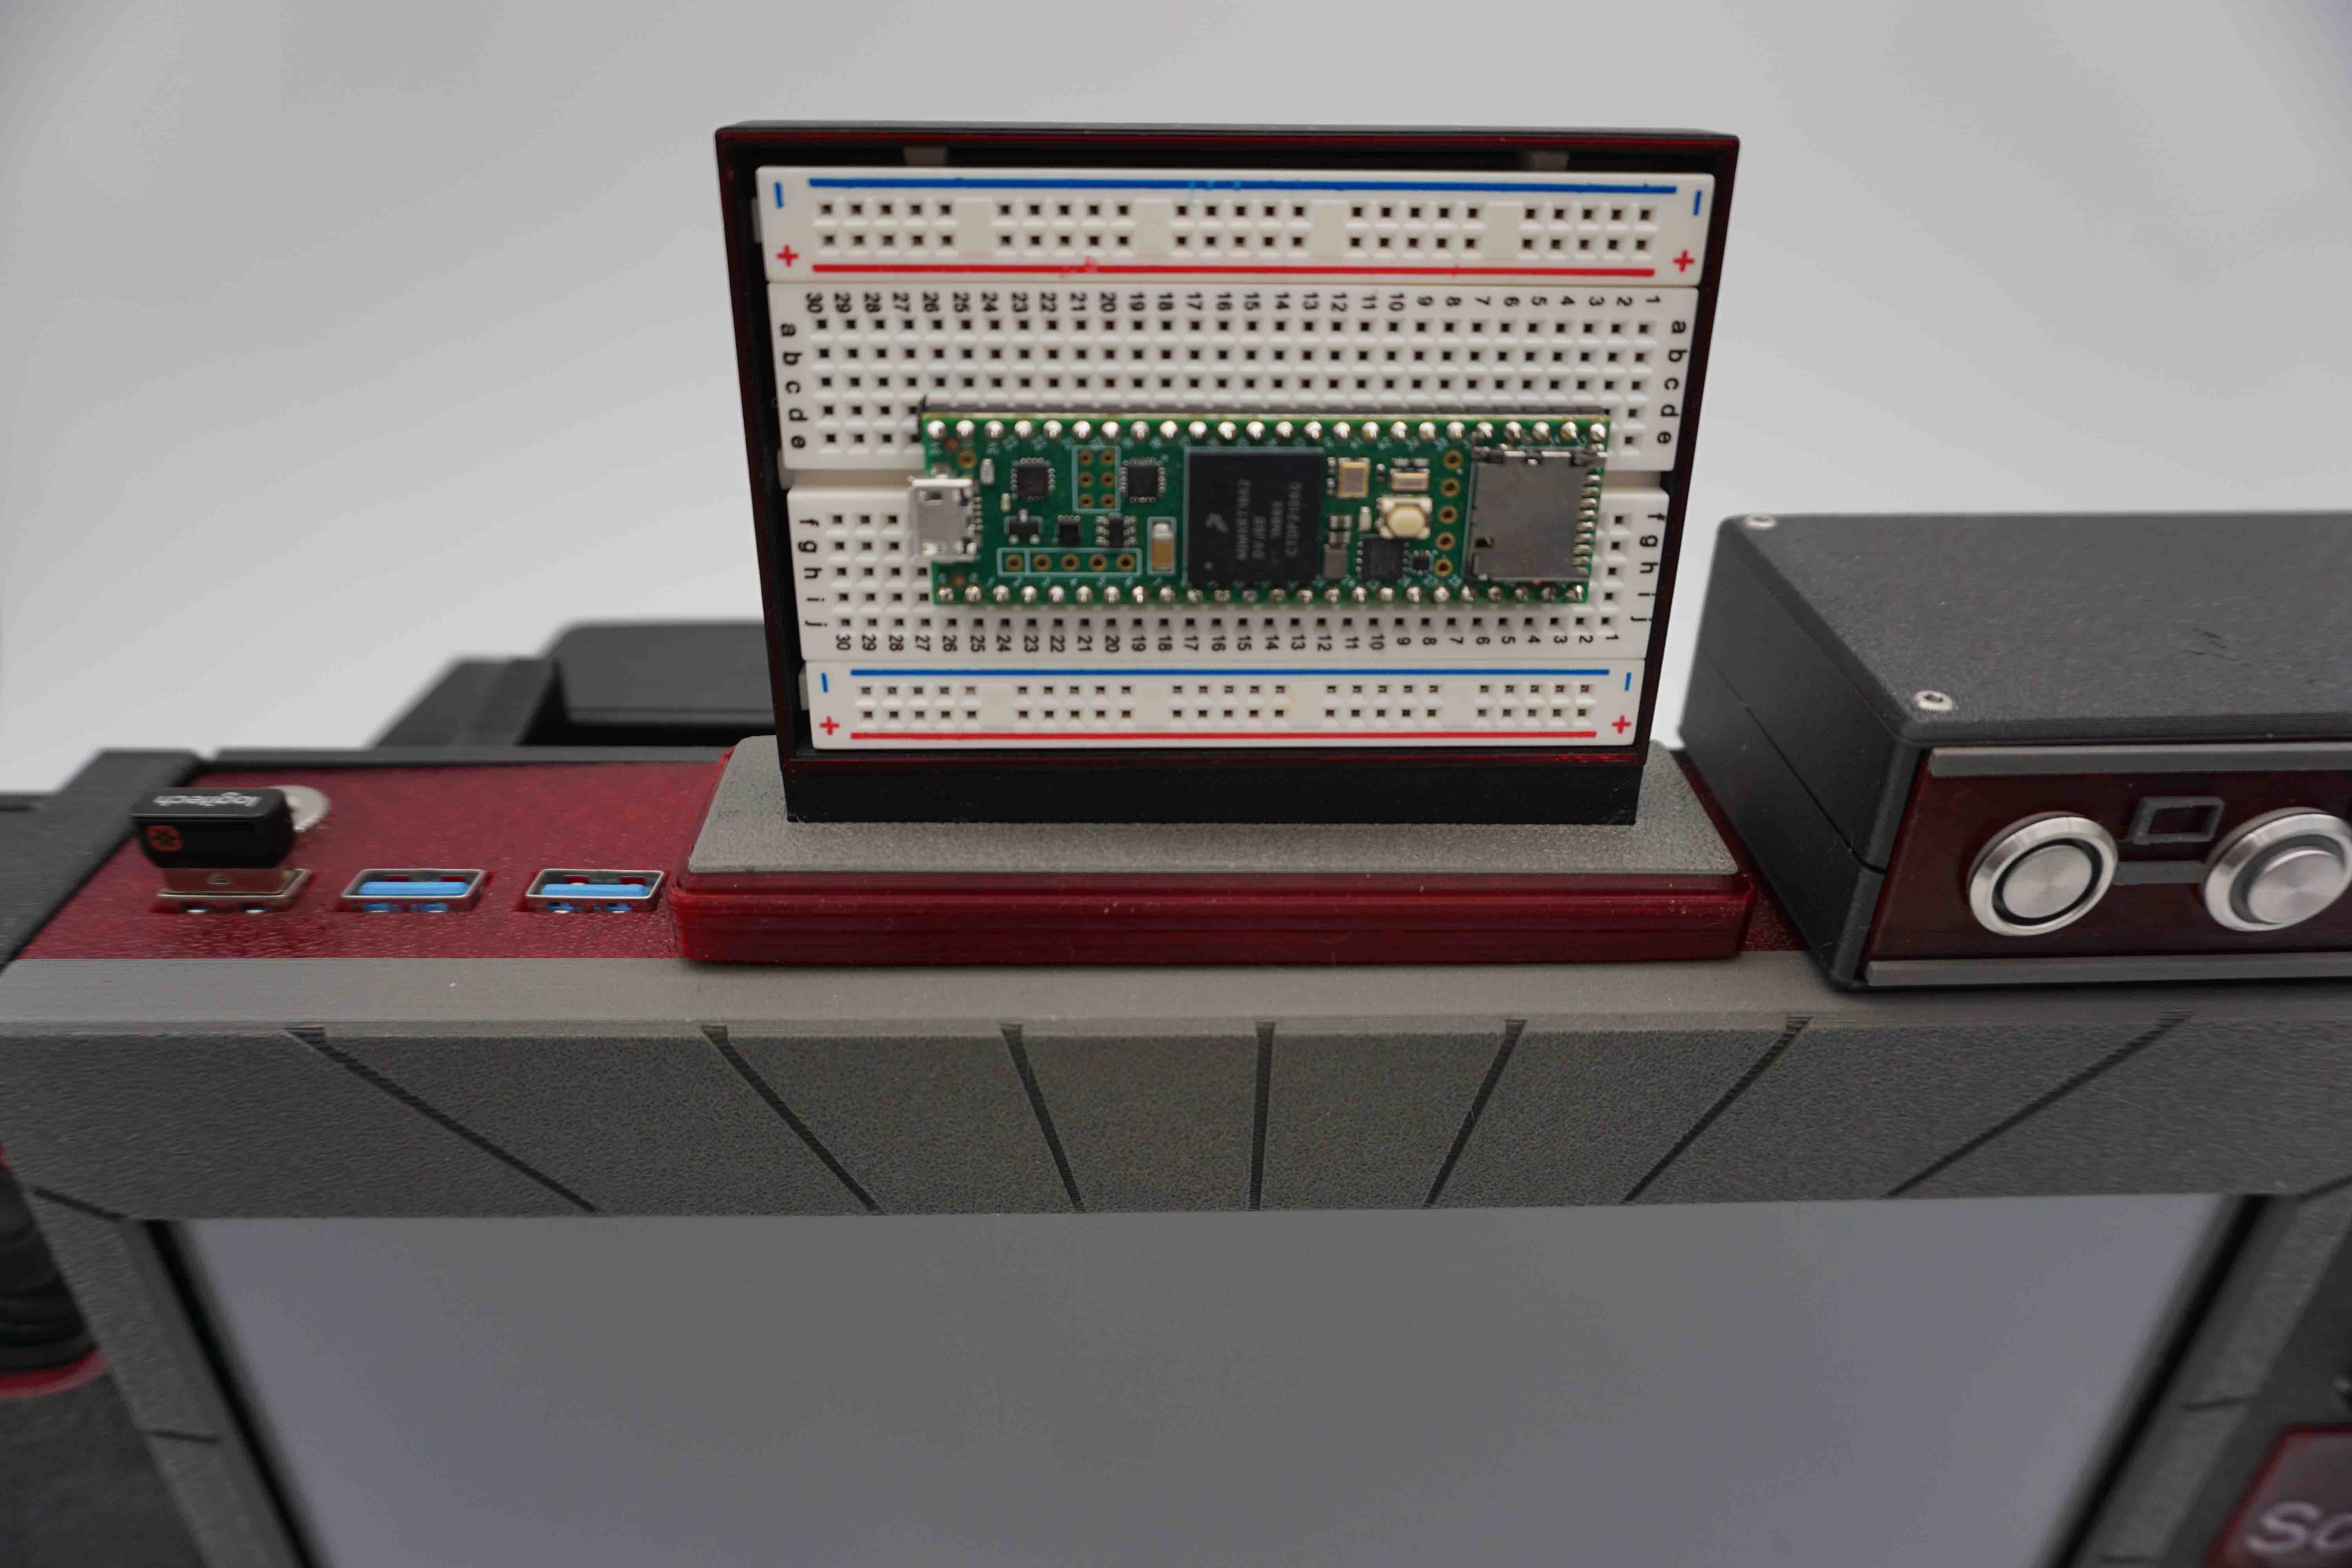
The top has a magnetic mount which can hold swappable breadboards to switch between multiple projects. This is the same Teensy that was in the images for Cyberdeck Red V1 from a year ago, still with nothing actually breadboarded.
Projector:
The projector I used for the first version of this deck was alright, but what I really needed was a short throw projector so that I could be closer to the wall and still have a decent sized image.
It was replaced with an AAXA P400 Short Throw Mini Projector. It originally had batteries and a speaker in it, and was a lot thicker than I wanted it to be. I thus remodeled the case.
You're getting a lot of pictures of this projector because of how much effort it took to integrate it.
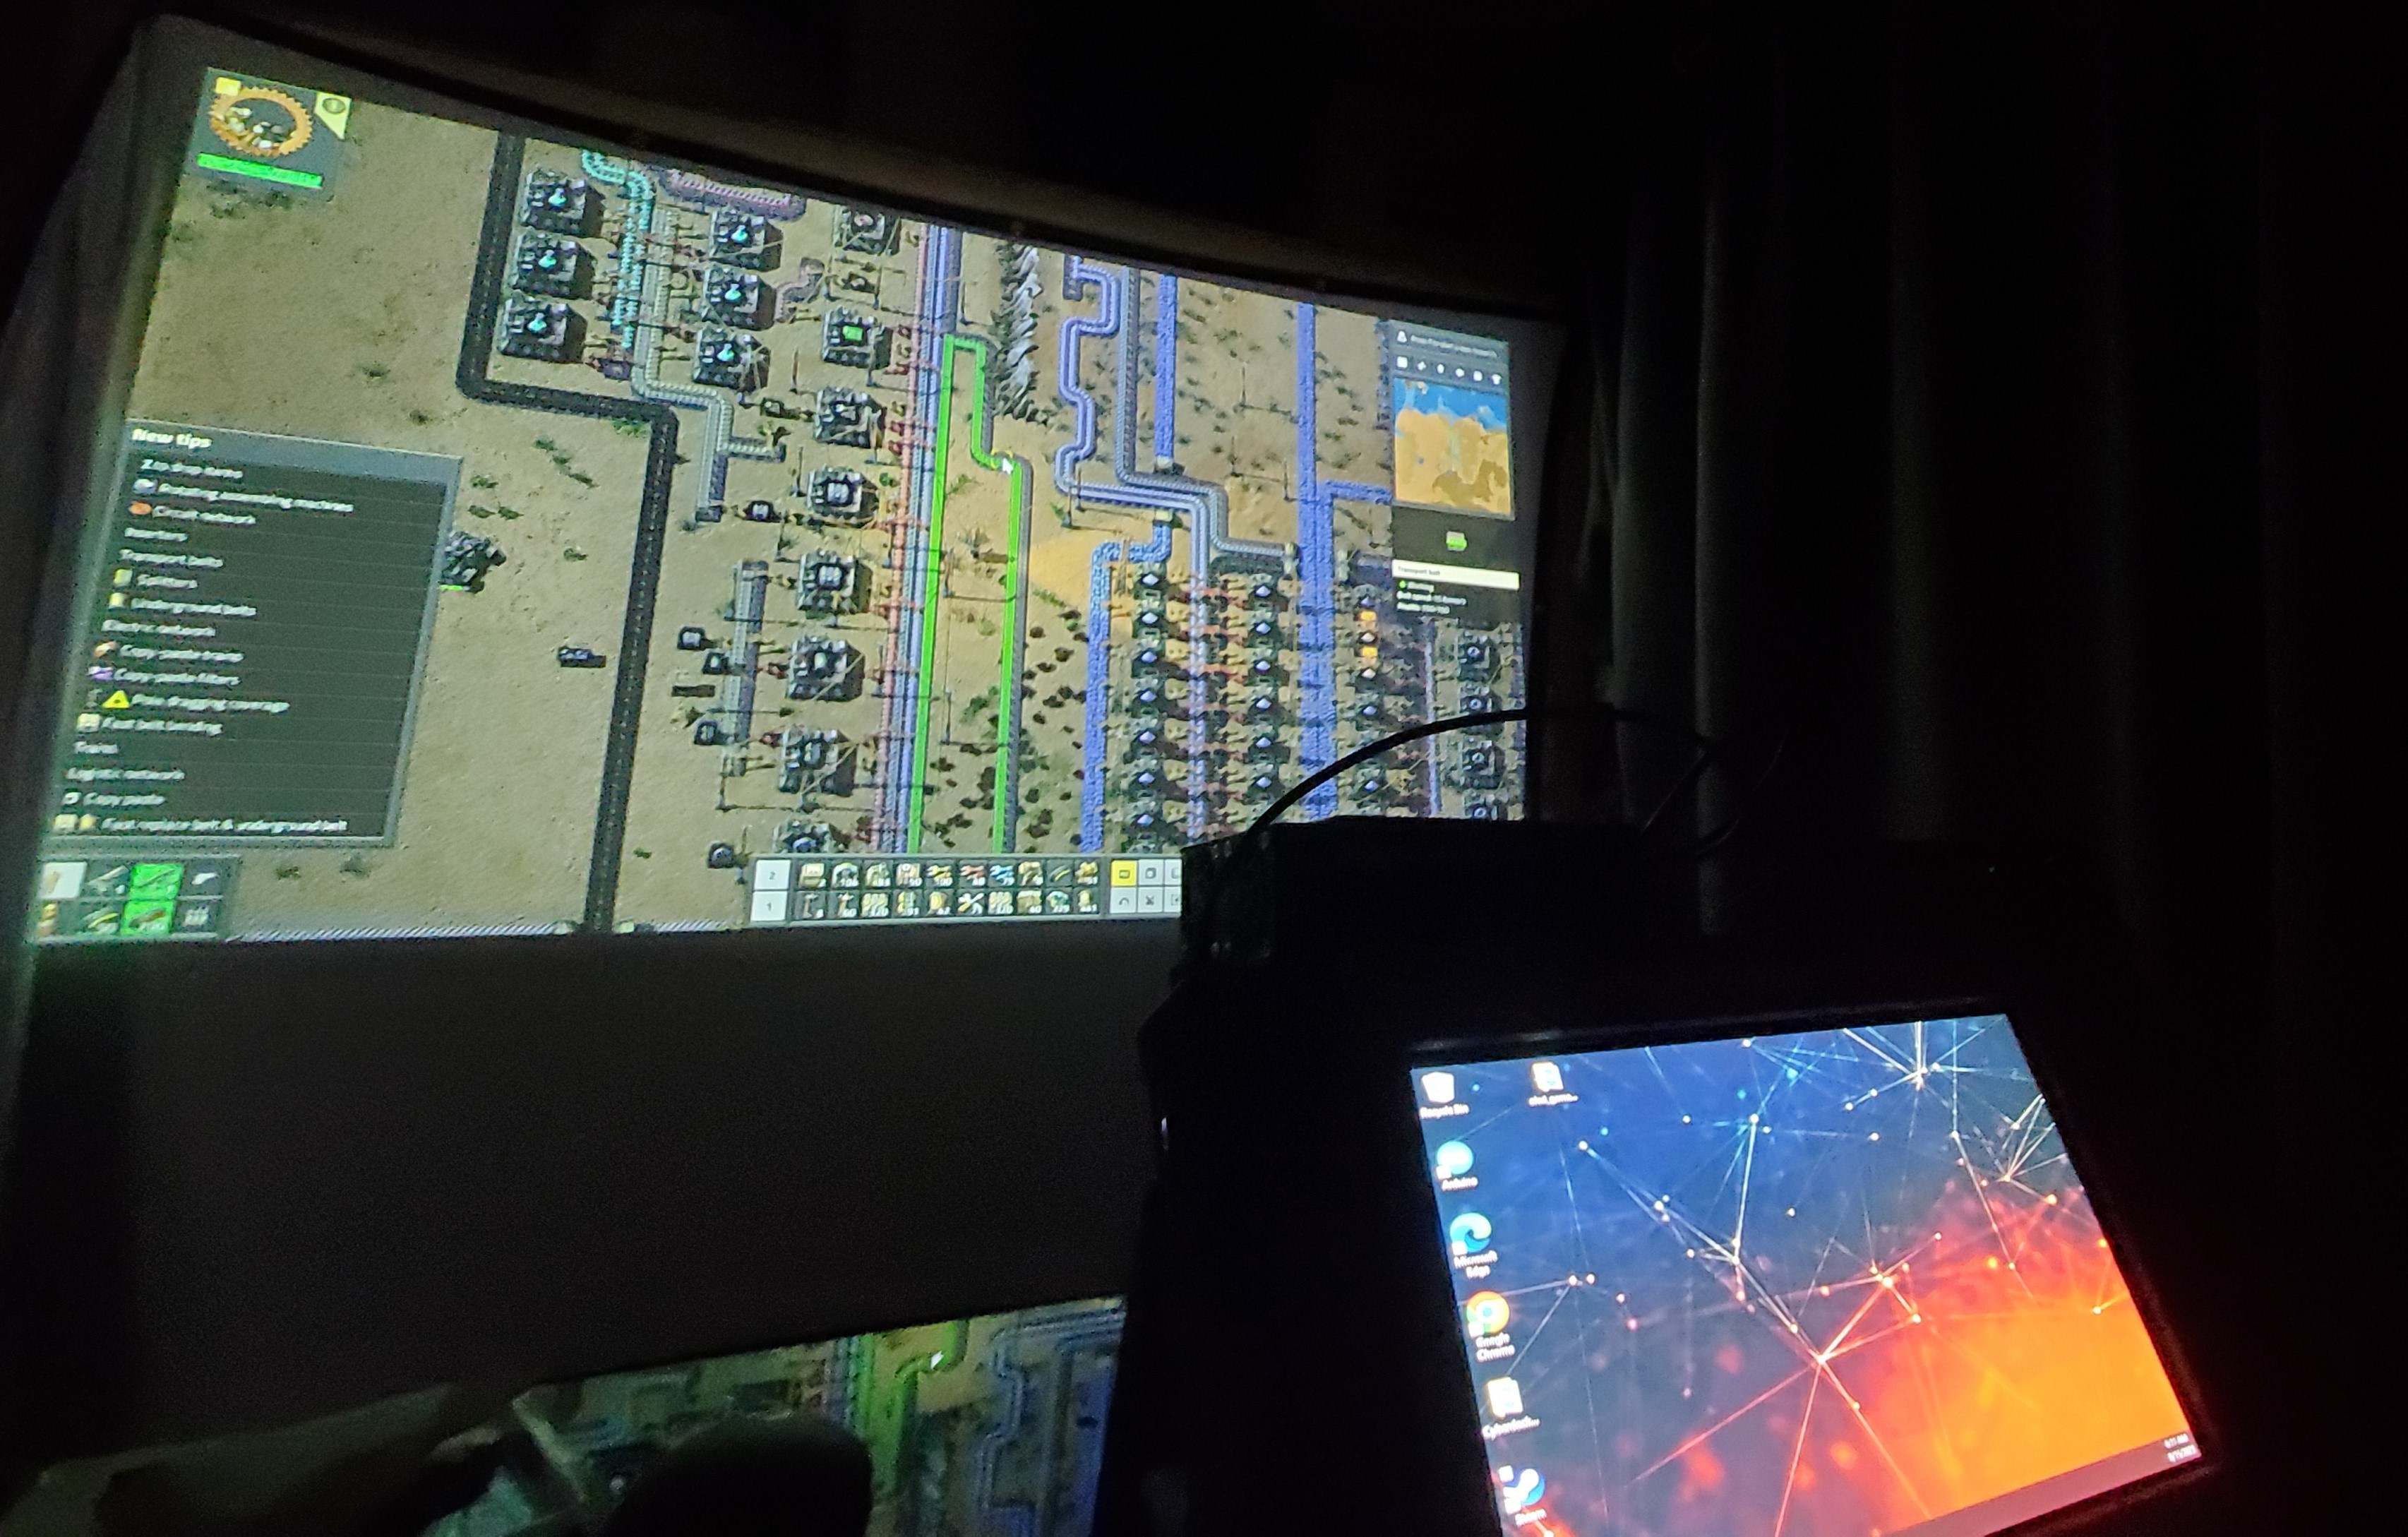
The projector can be pointed forwards, backwards,
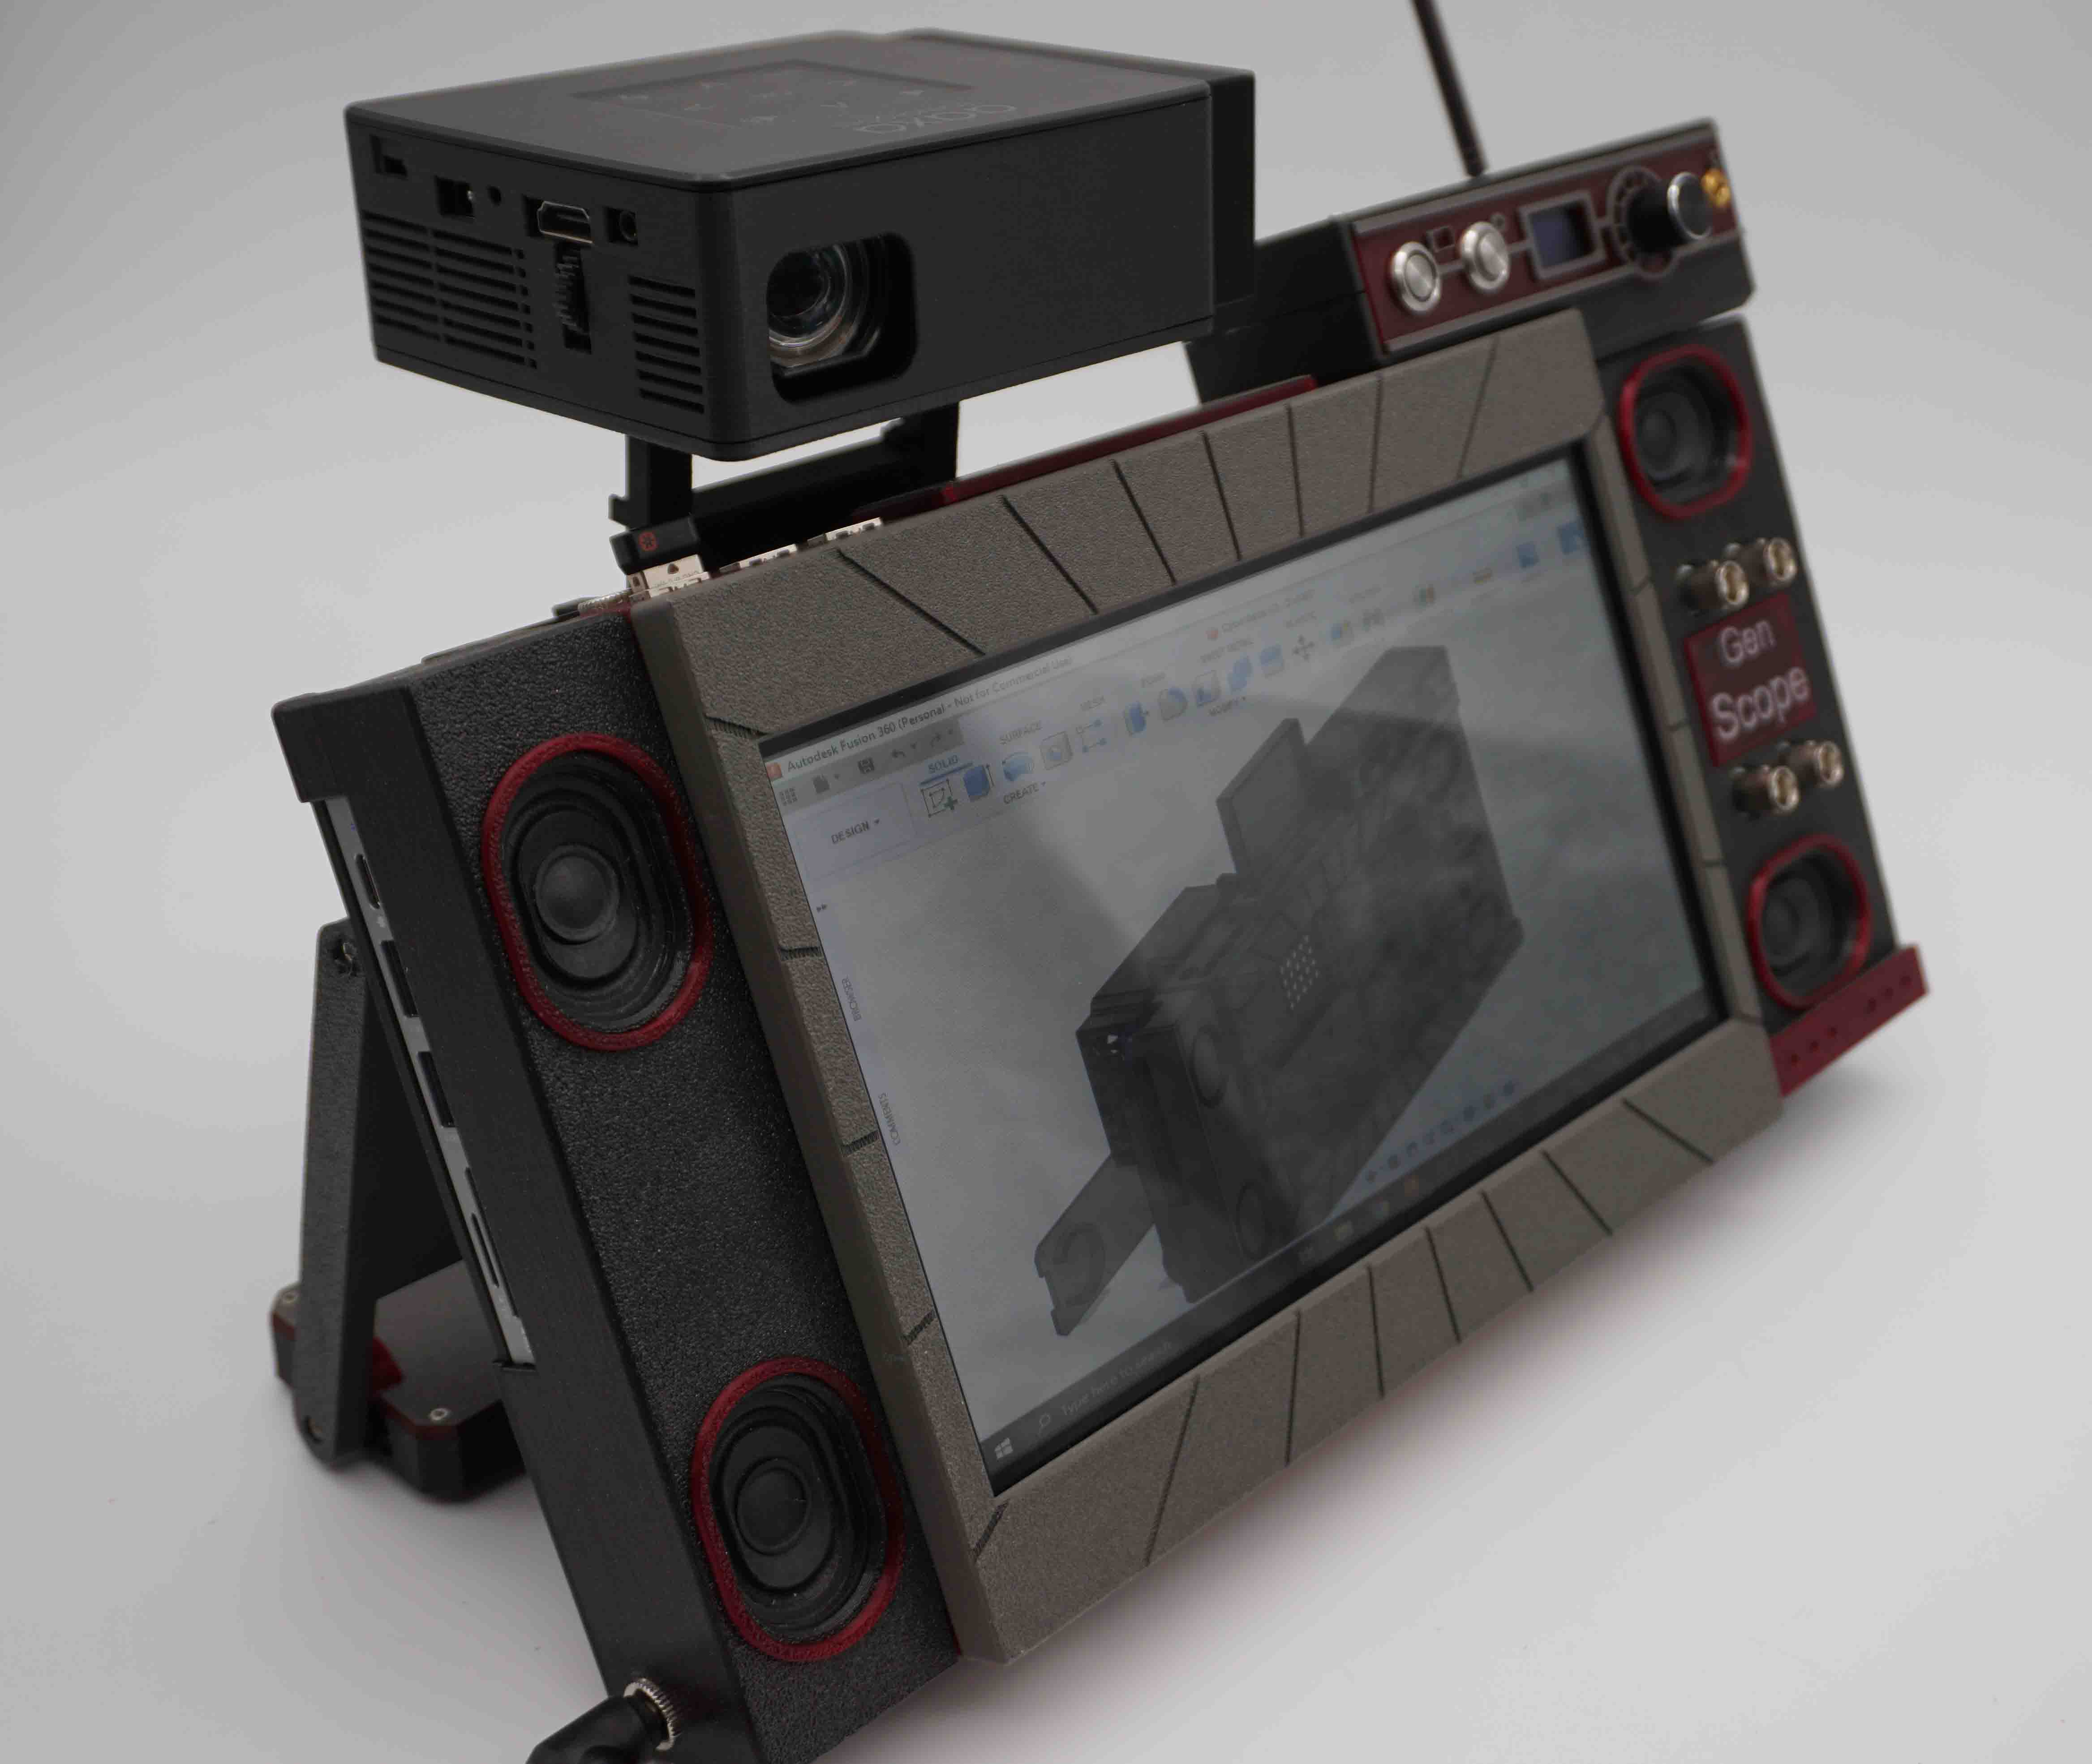
or straight up.
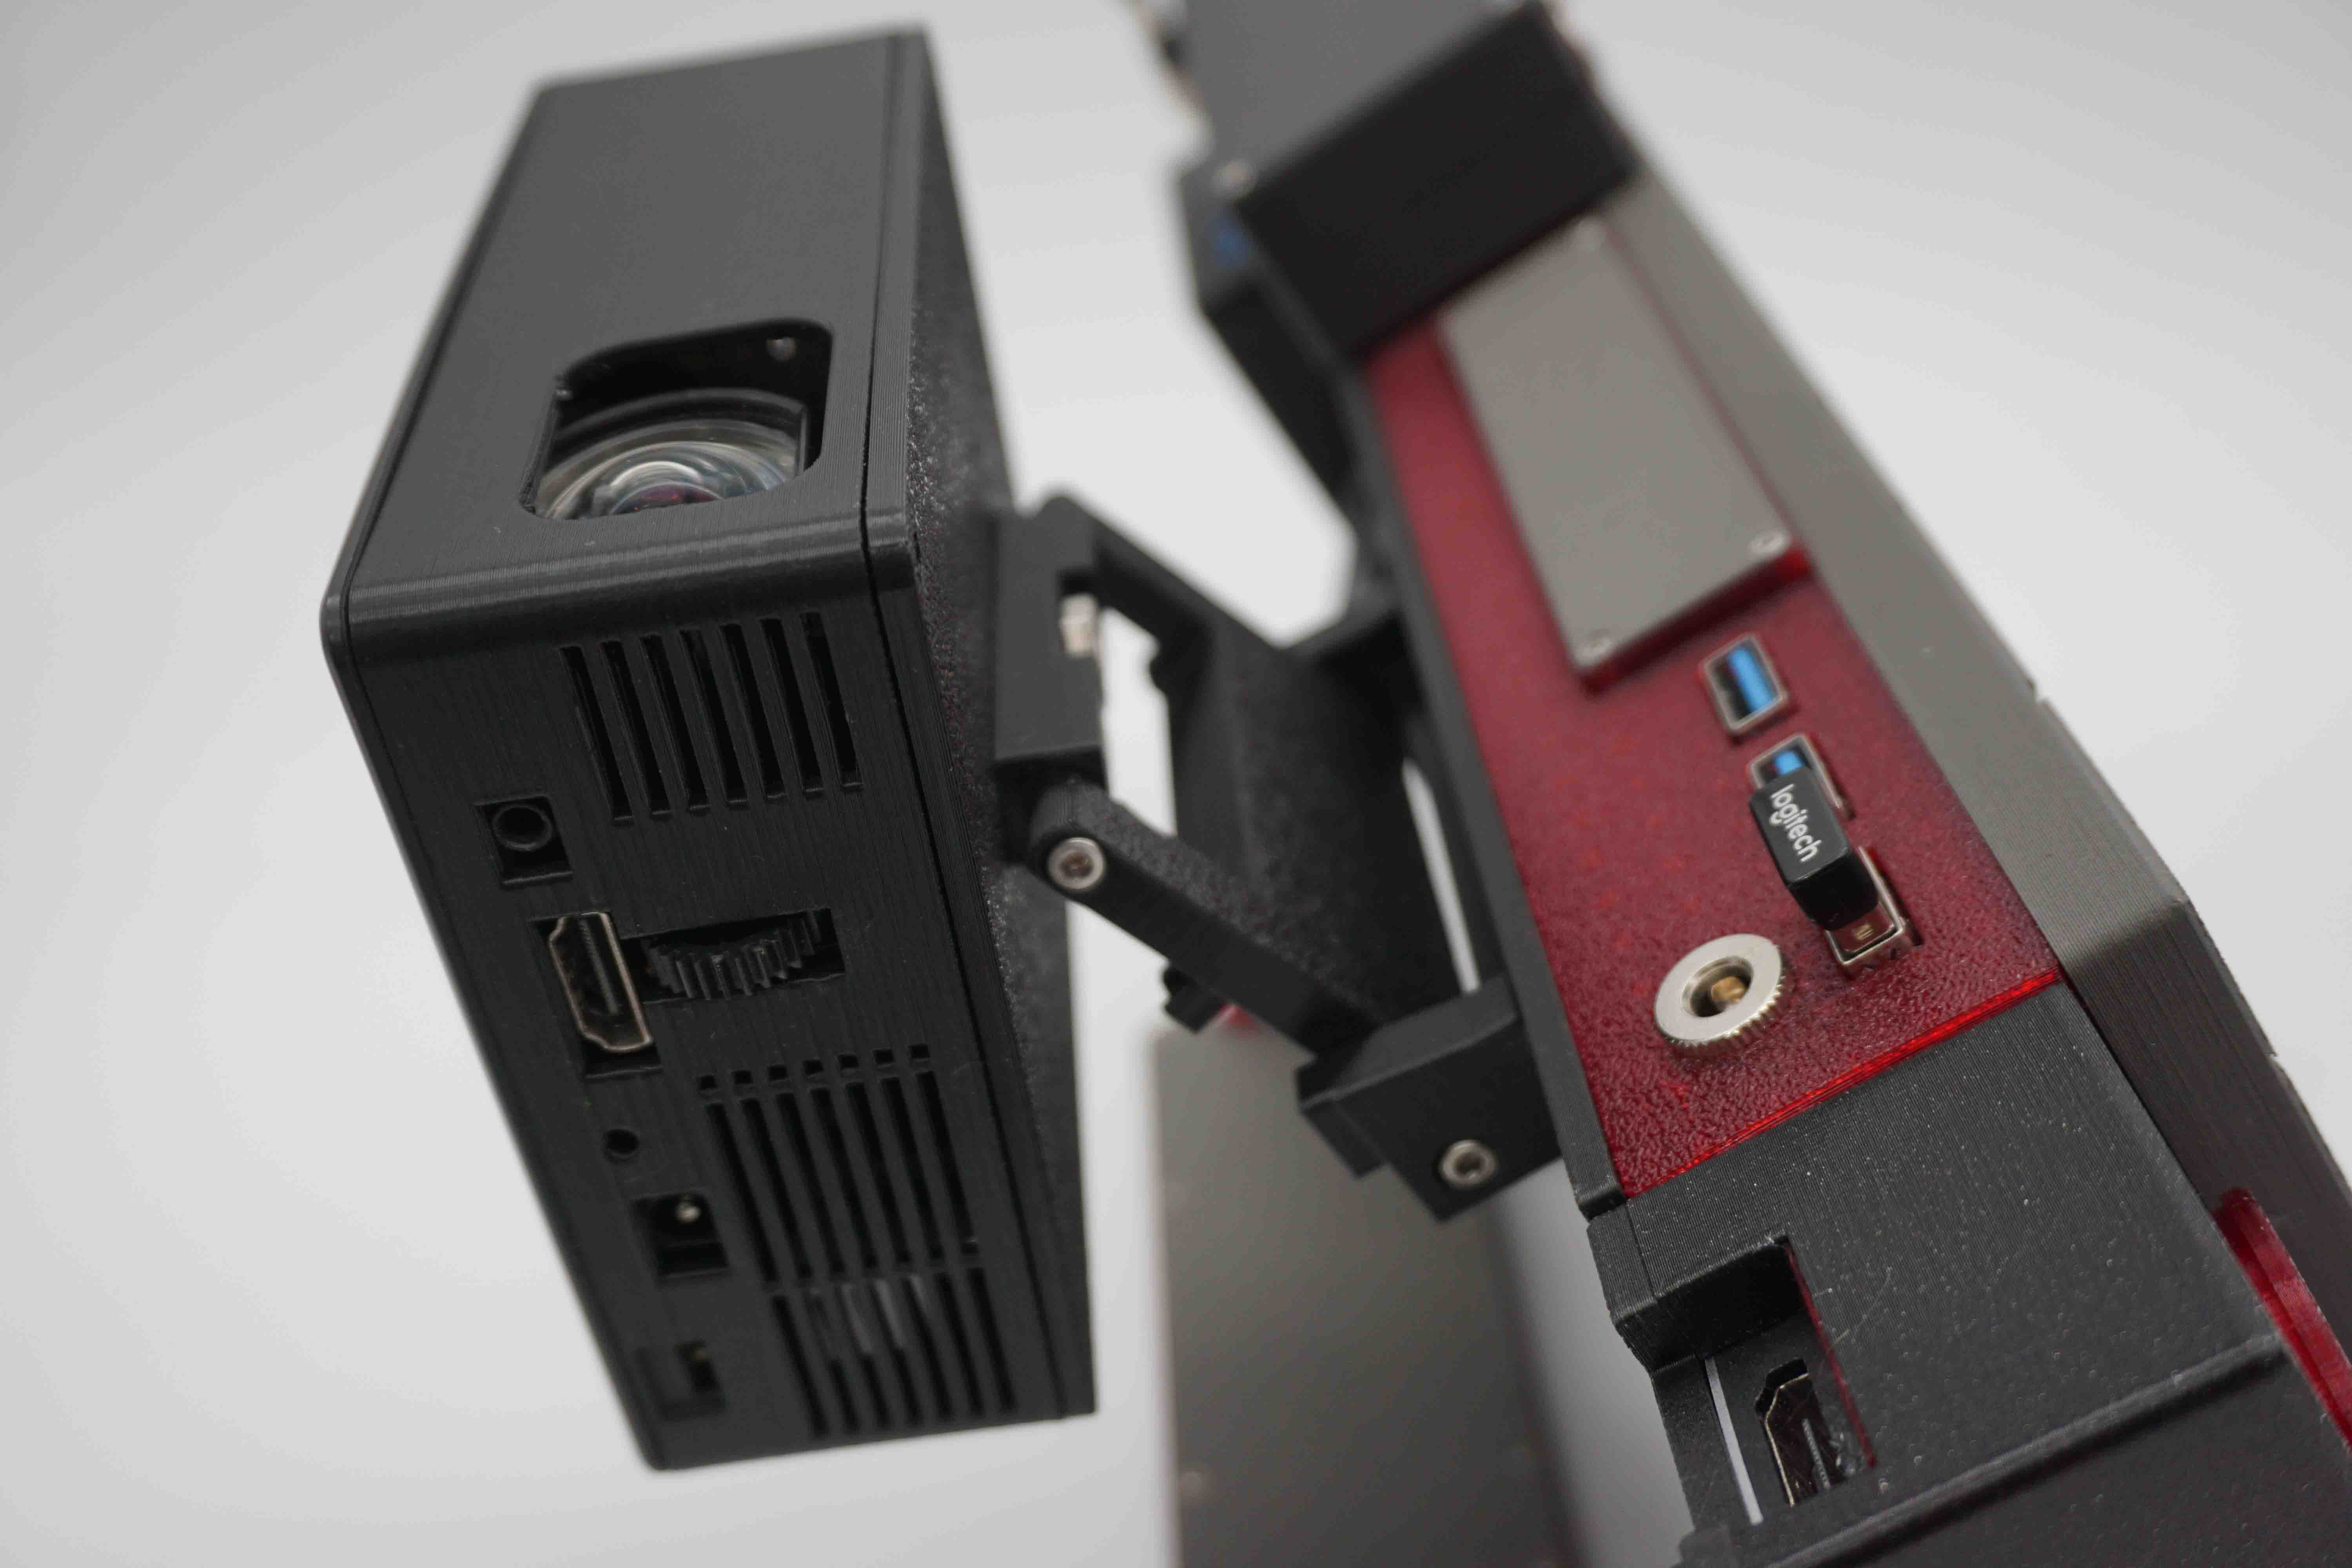
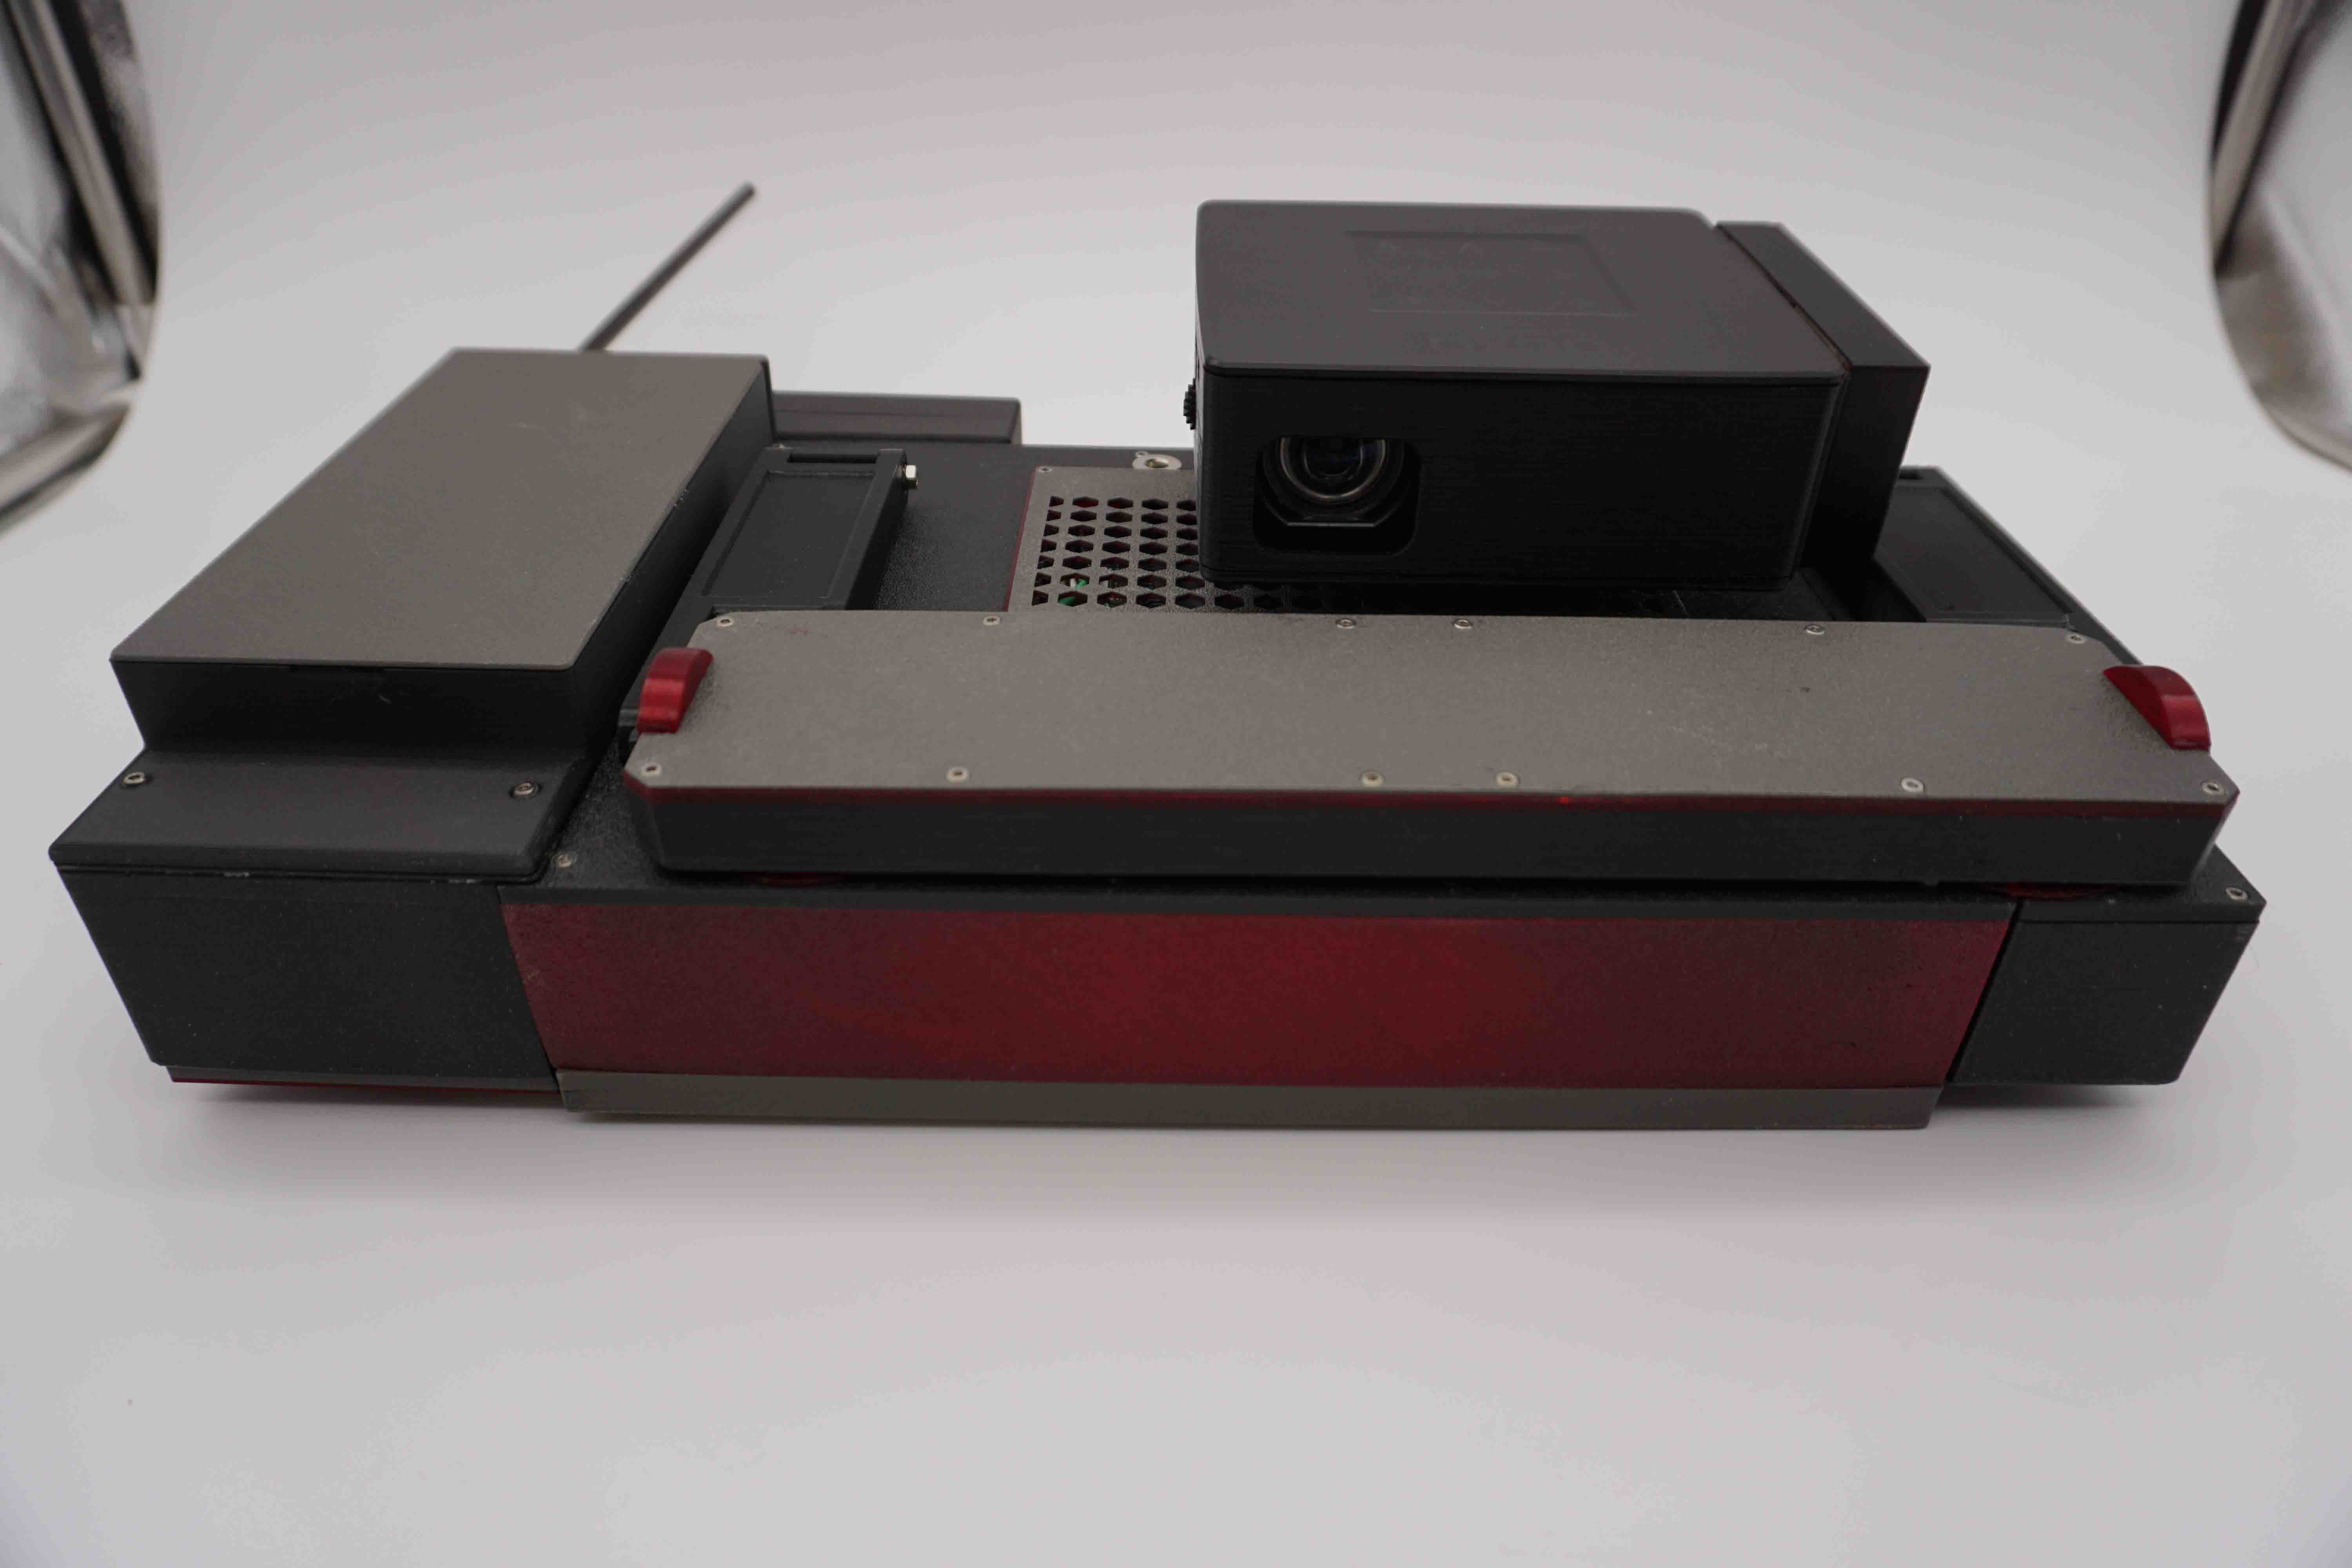
It can also be folded away.
Look at all the ports I had to model. This was rage inducing.
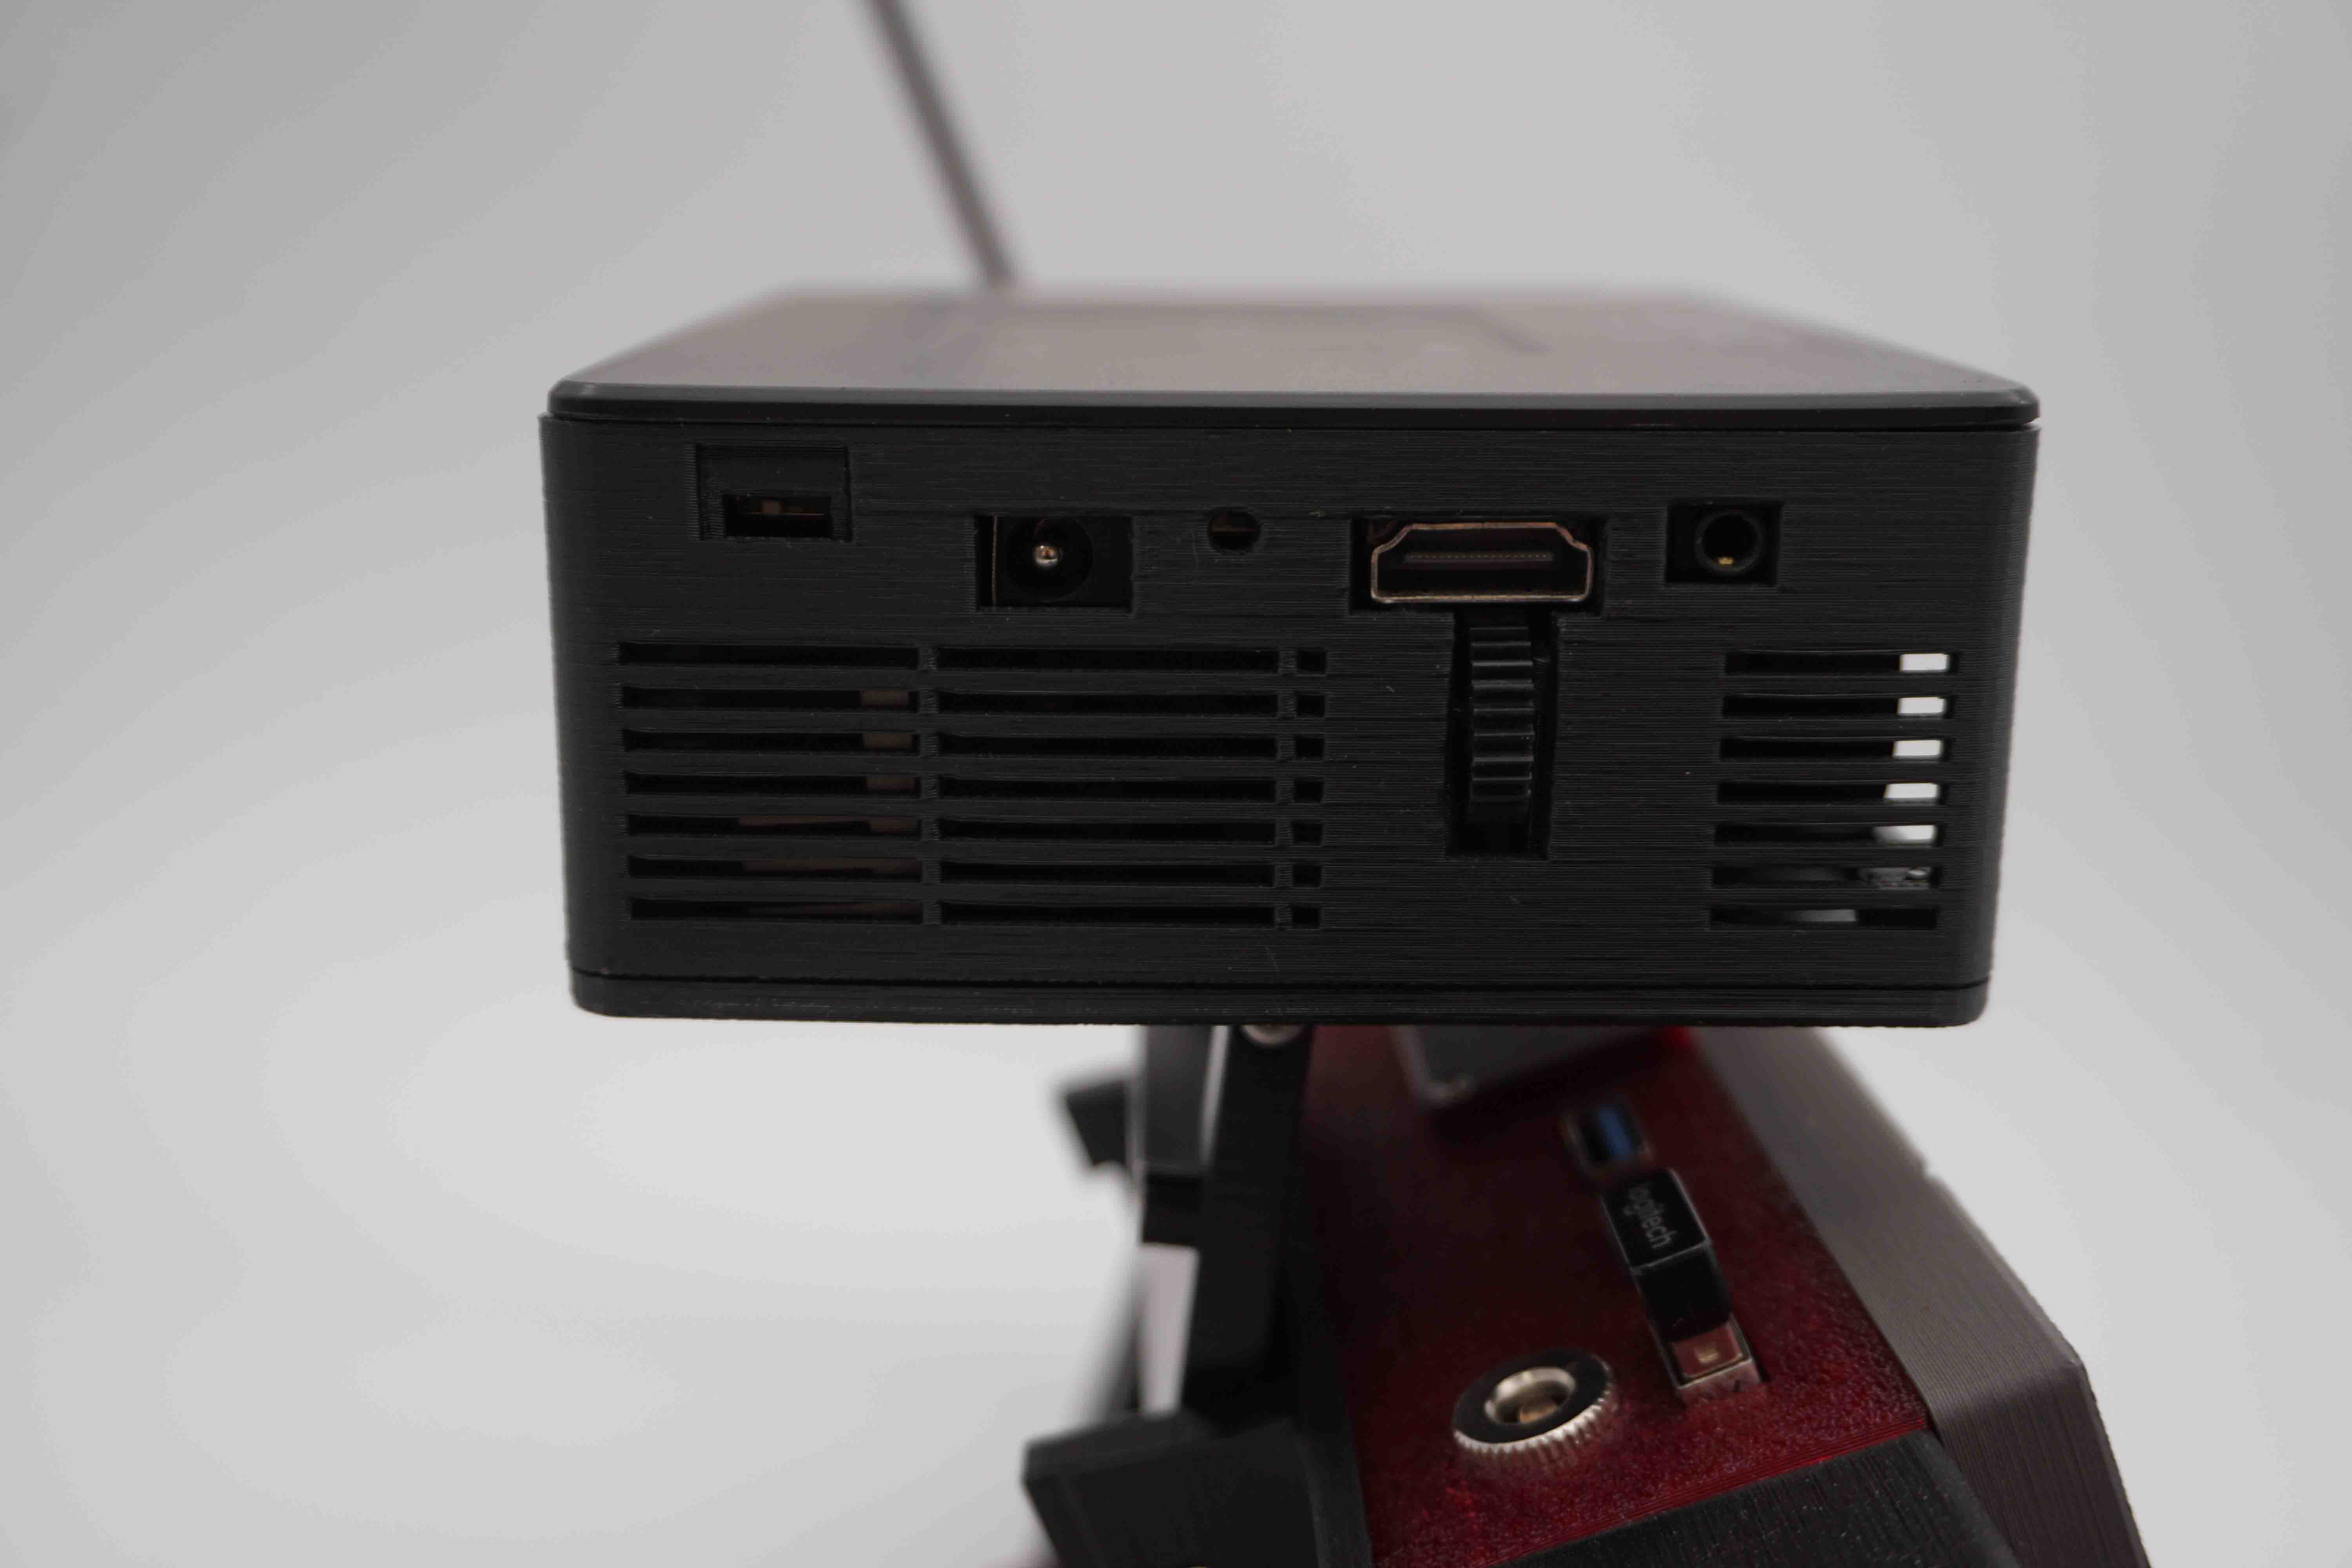
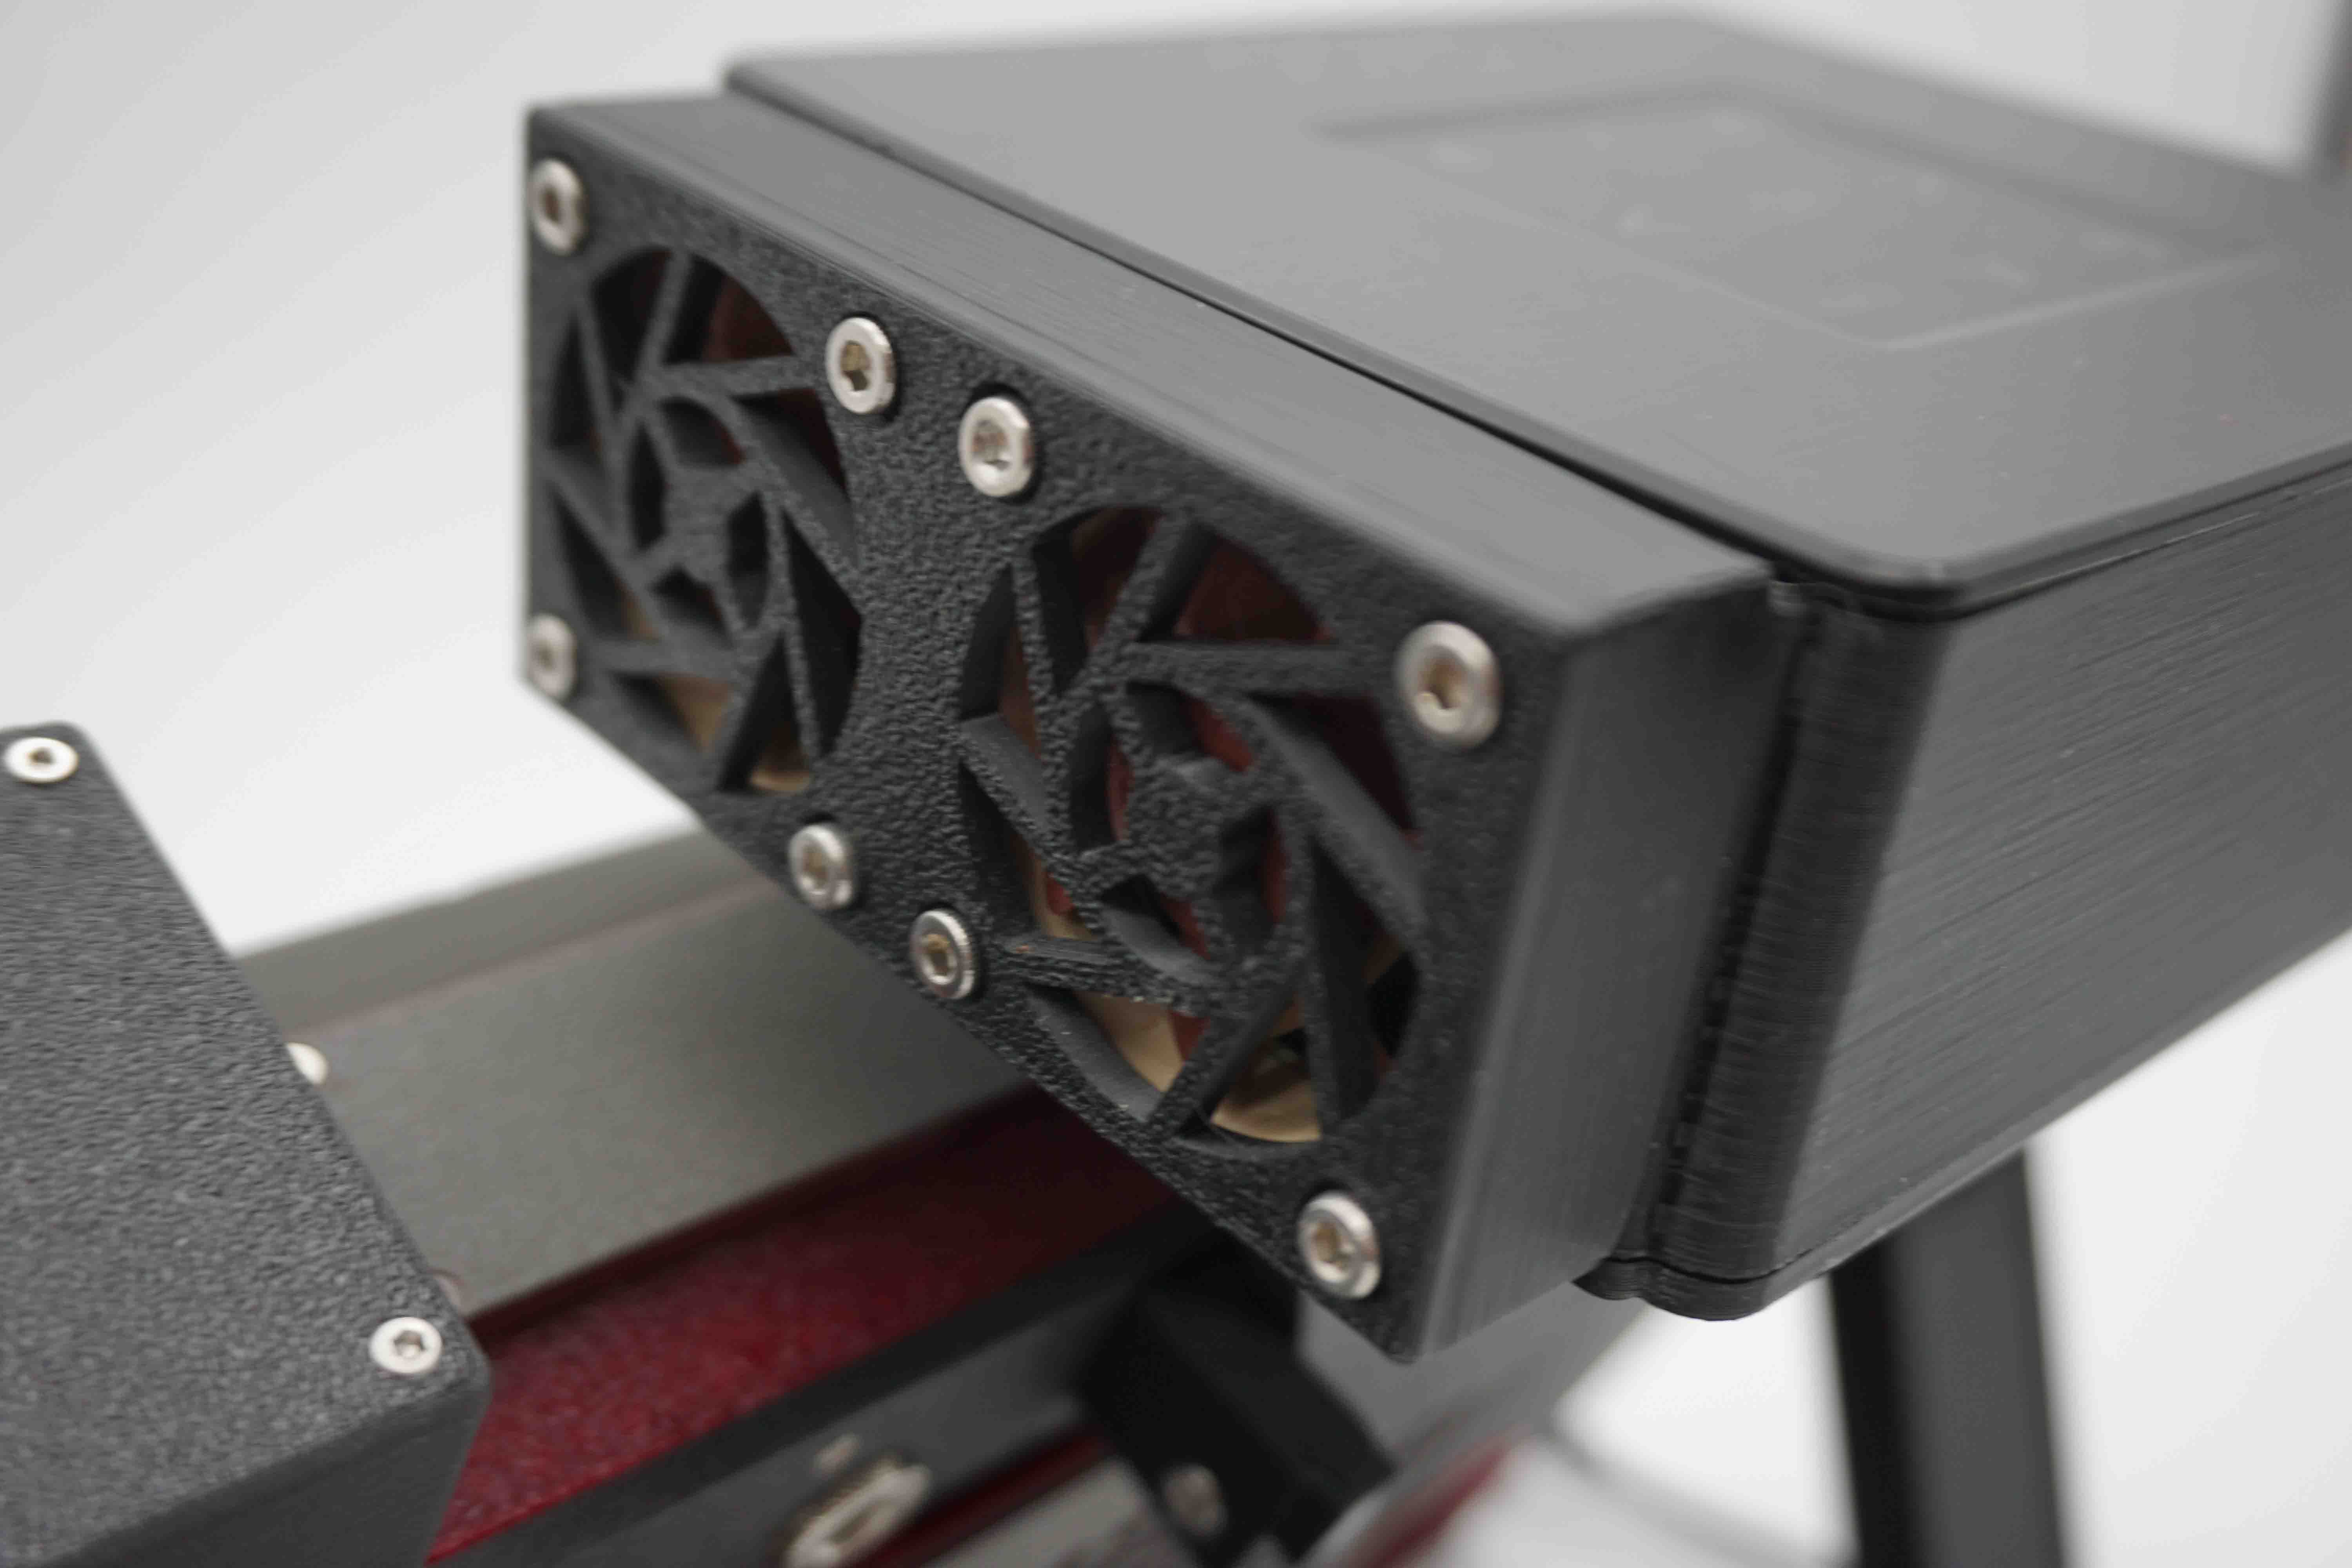
The original fans were obnoxiously loud, so they were replaced with Noctua's which are nice and quiet(ish). This made it all totally worth it.
Keyboard:
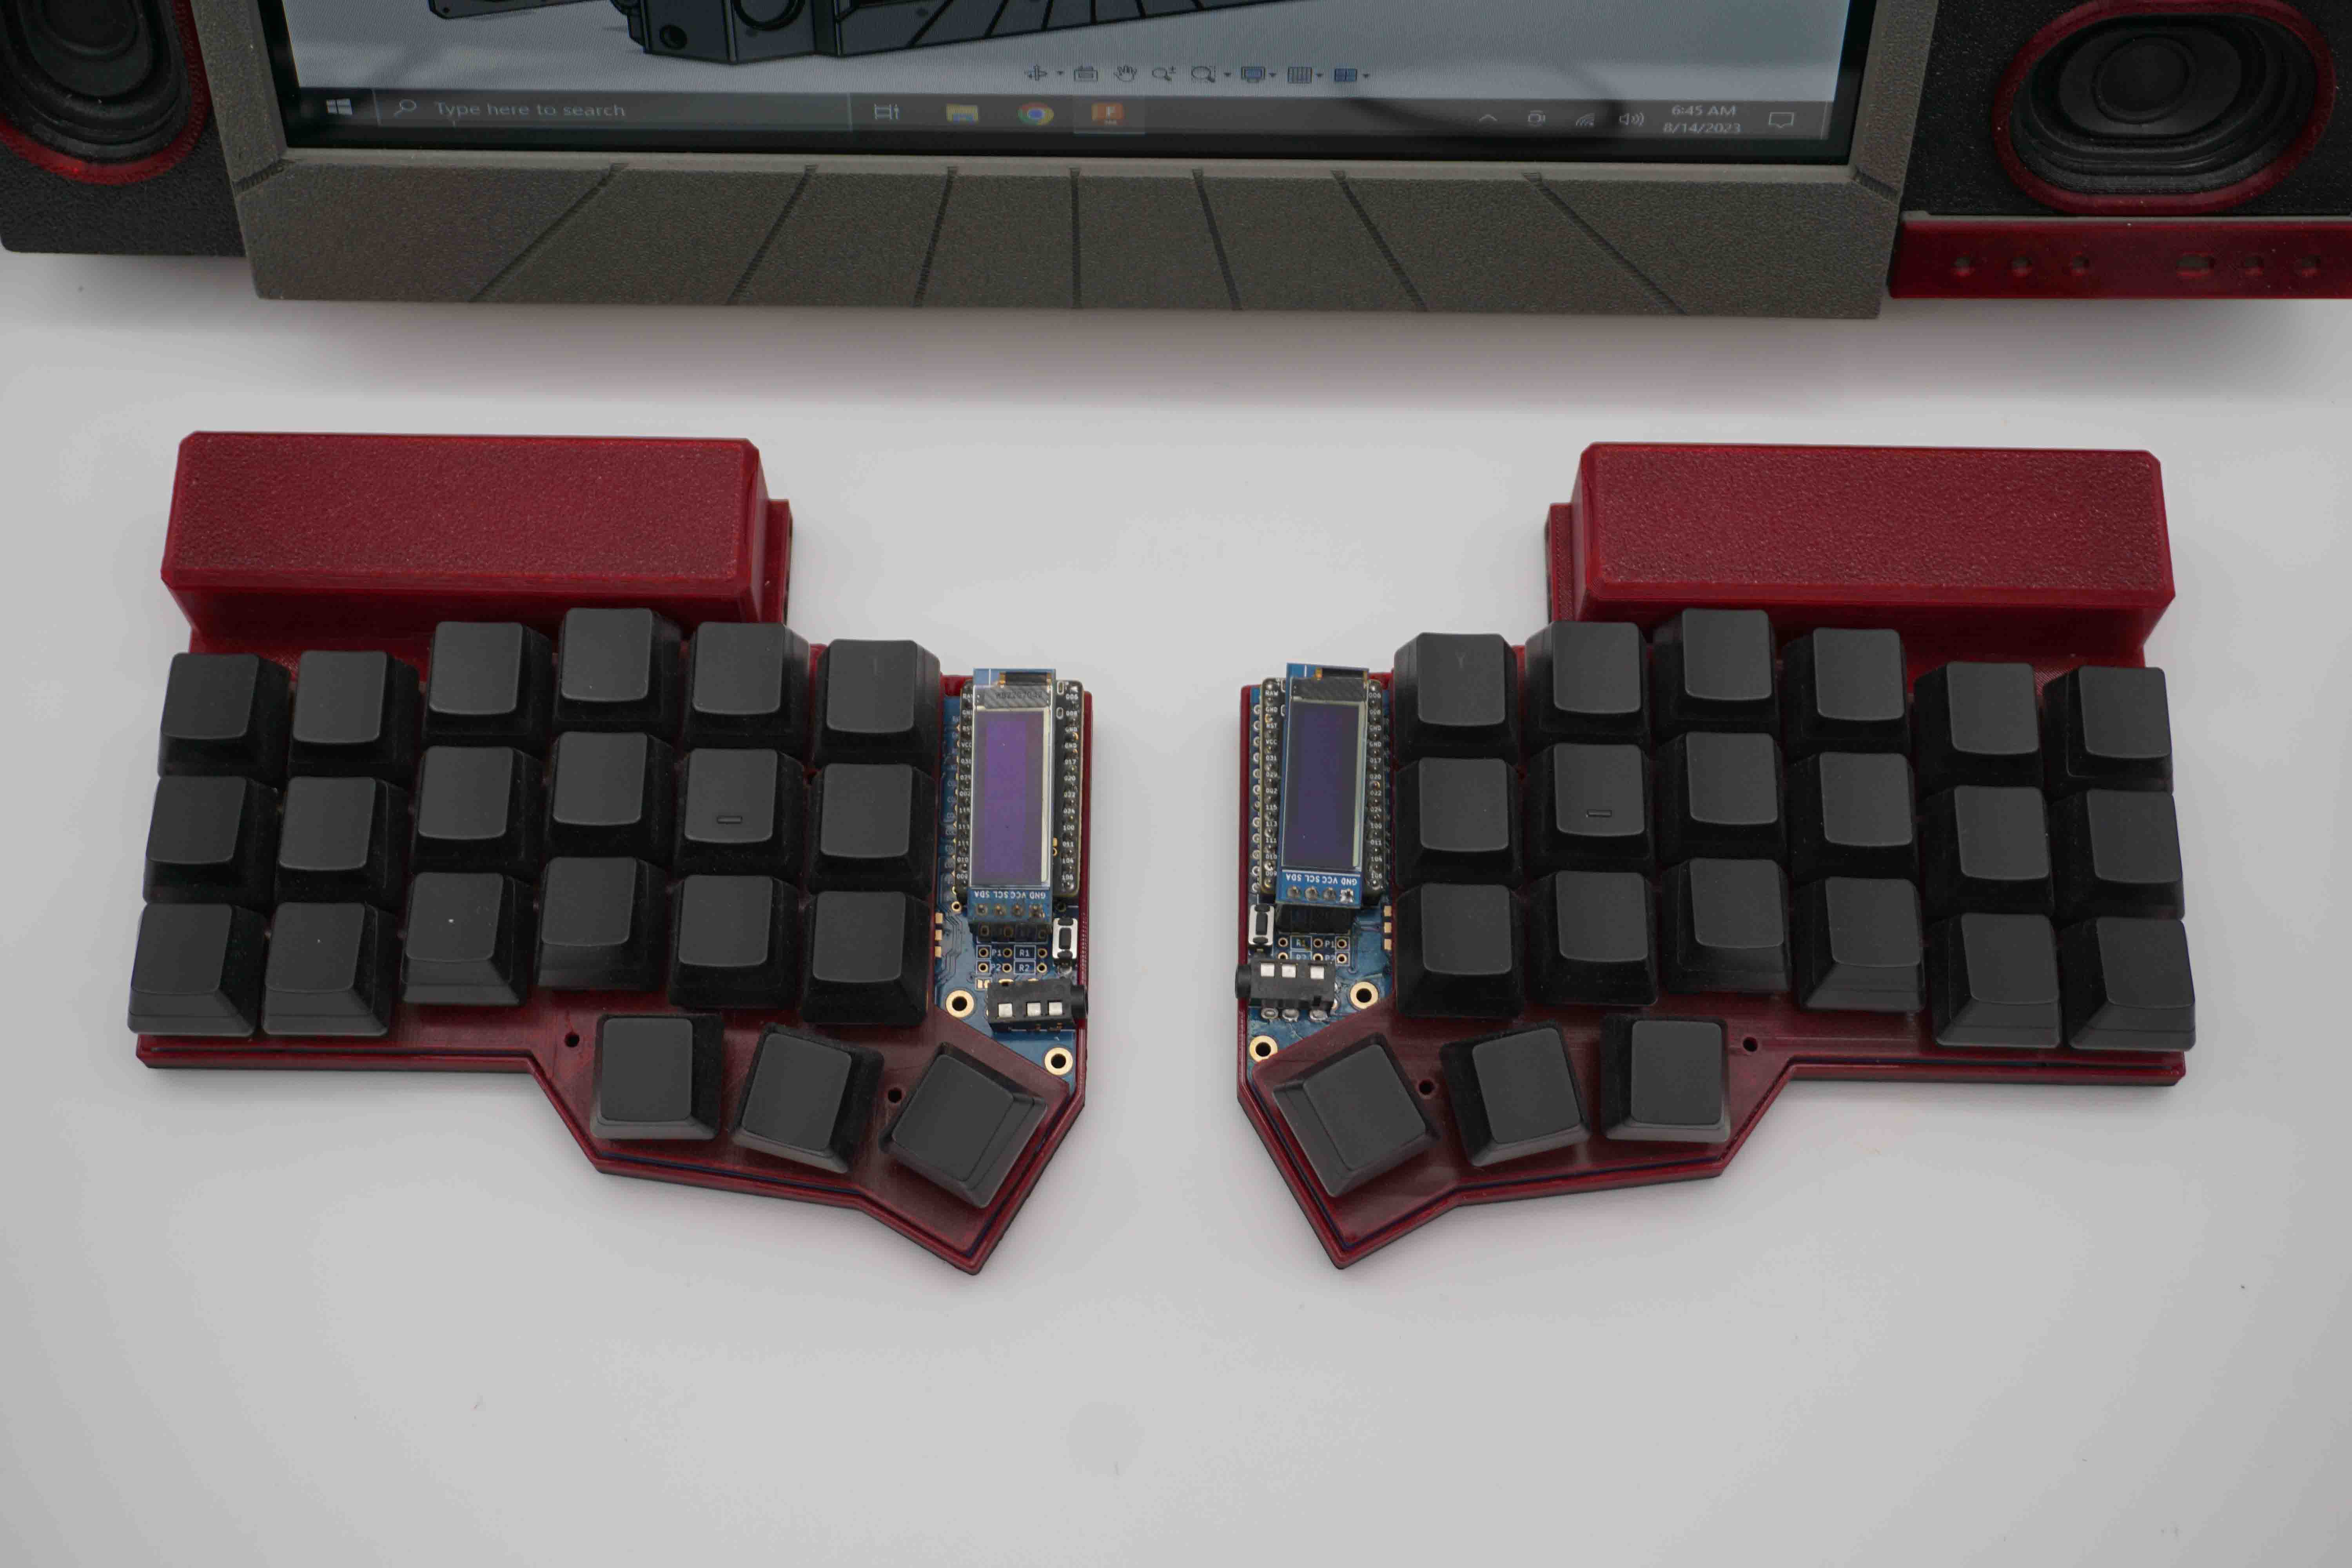
The keyboard is a Corne split keyboard with Bluetooth Nice!Nano boards to make both sides wireless. The original battery most people use with this keyboard was about half the size of a stick of gum. Naturally, the battery goes low, you forget to charge it for a month, the voltage drops even more in storage, and the BMS won't let you charge it anymore.
I replaced the original batteries with 18650s which sit in a normal battery holder to be swapped out and recharged when needed. Also they of course last substantially longer.
The typing action is super smooth, up until the point that I can't remember where I programmed the Delete key.
SD Card Drawer:
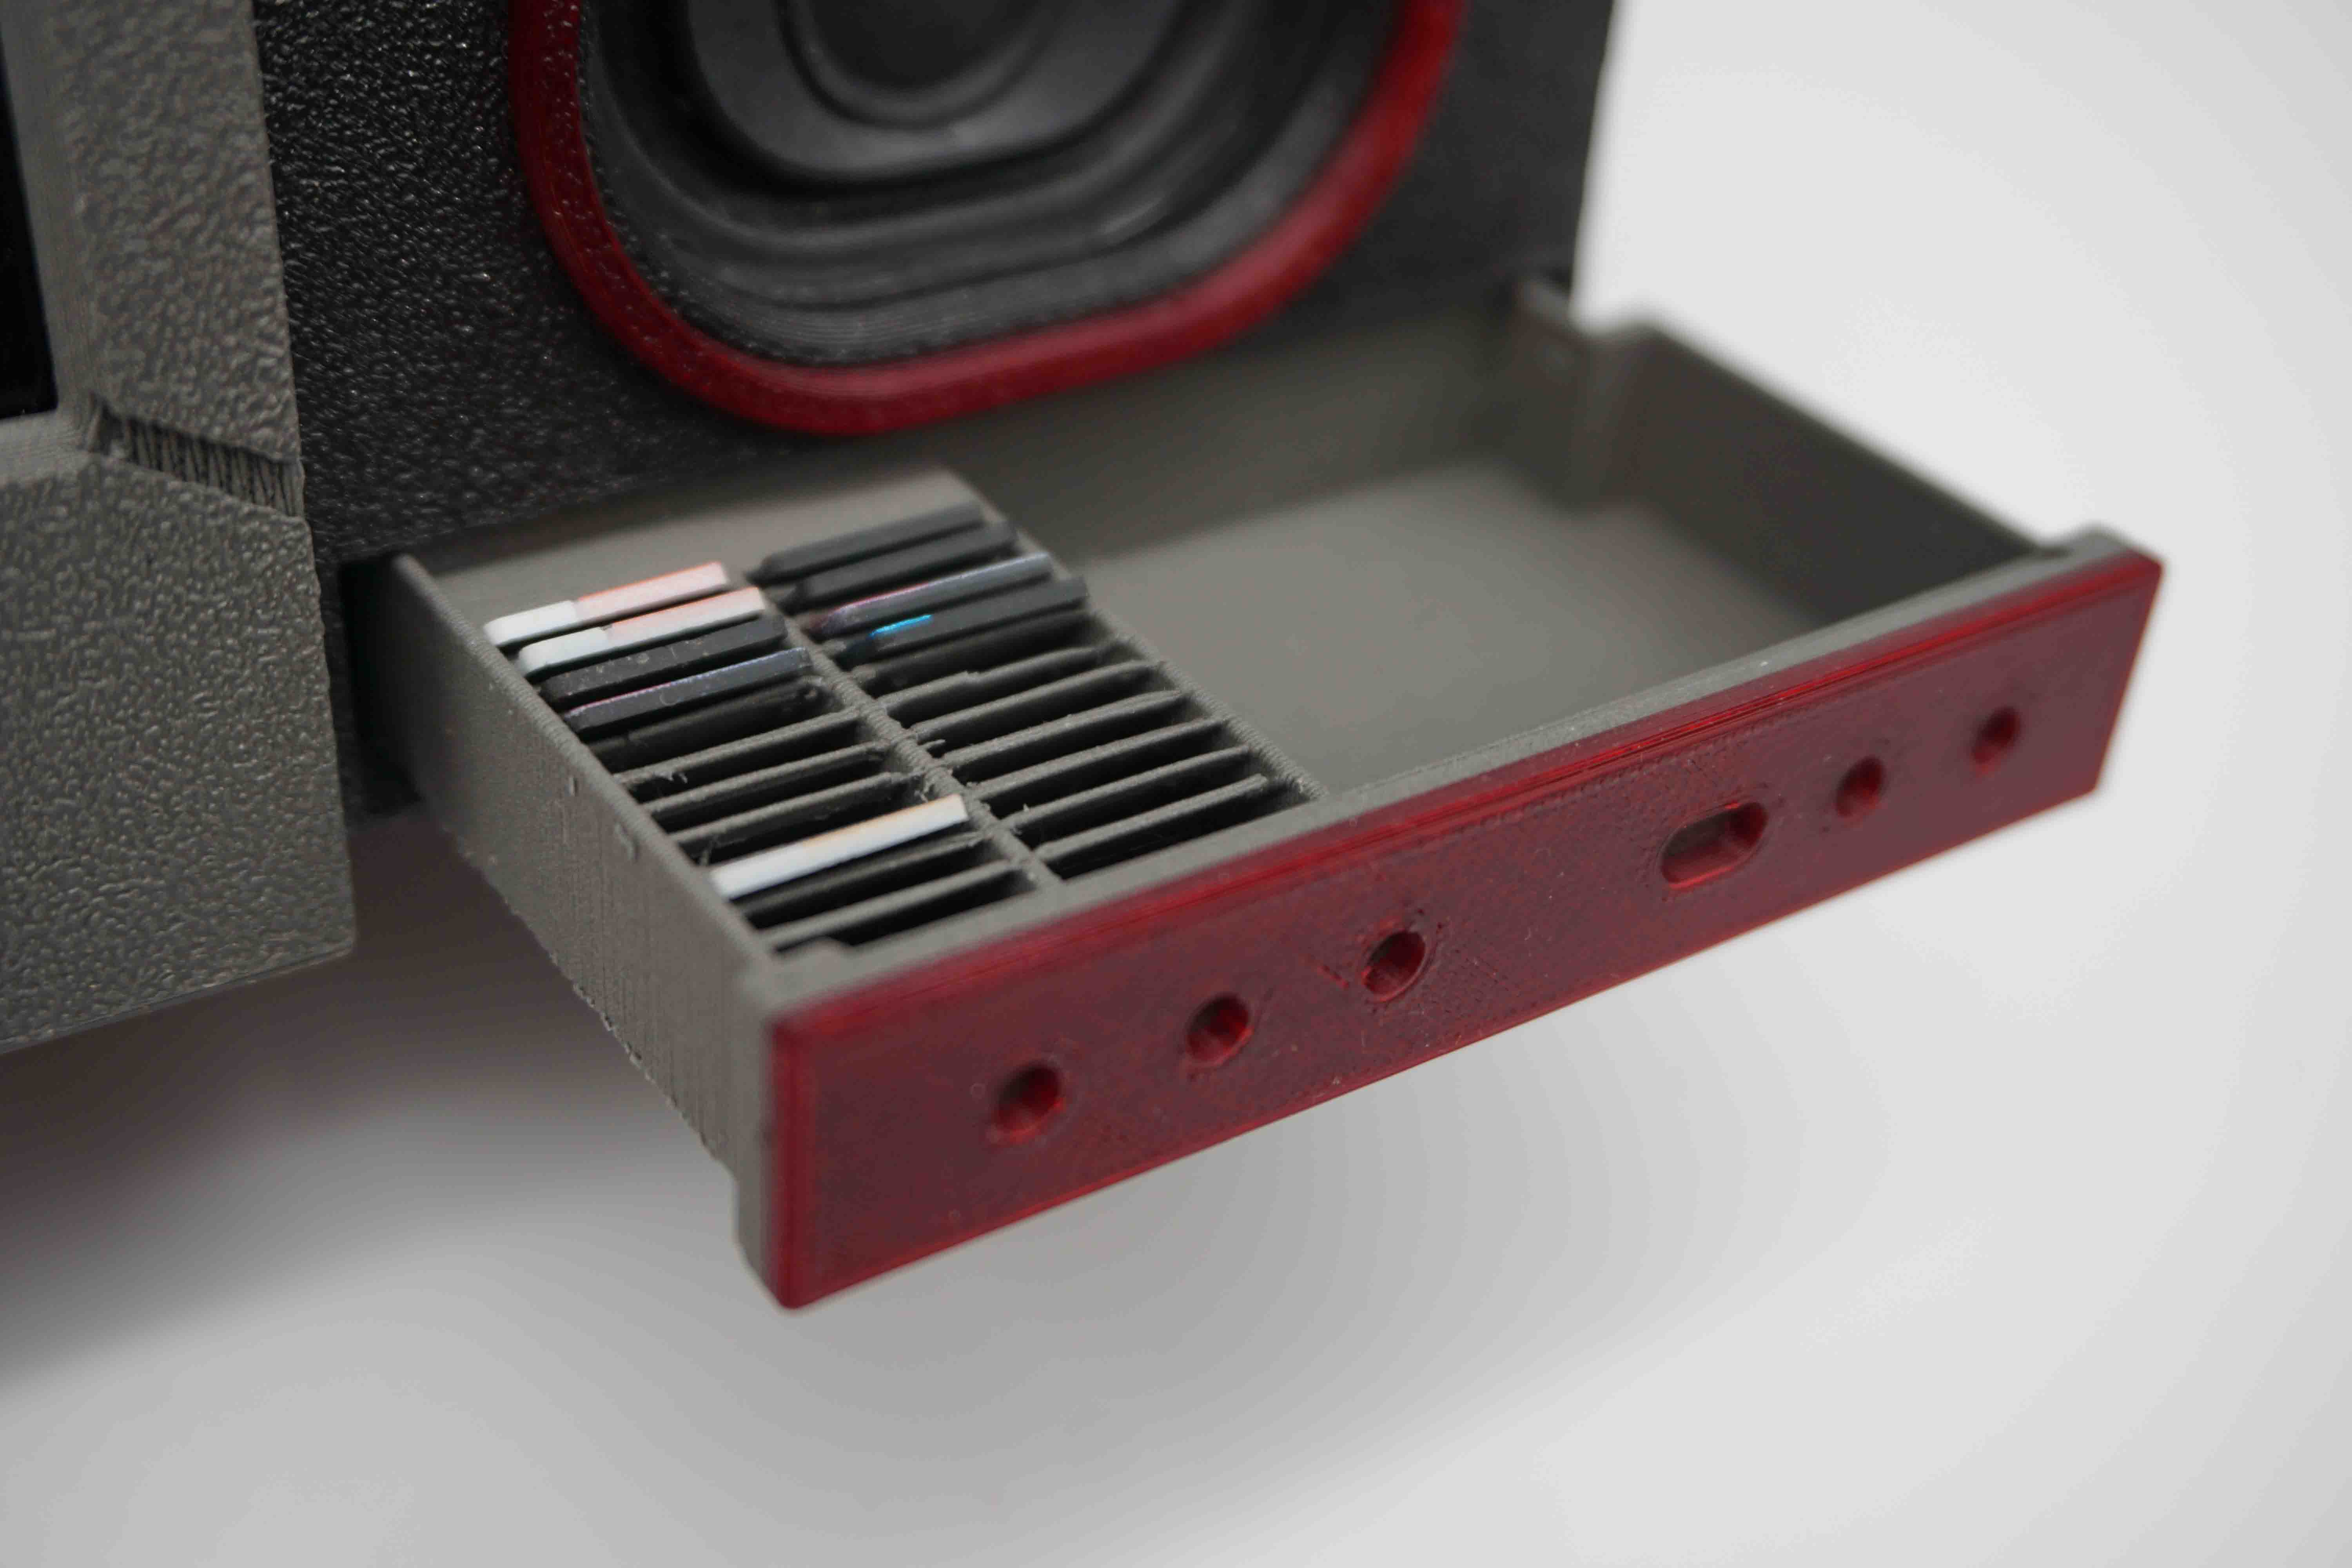
Here is a secret SD card drawer that no one know about.
Controls Panel:
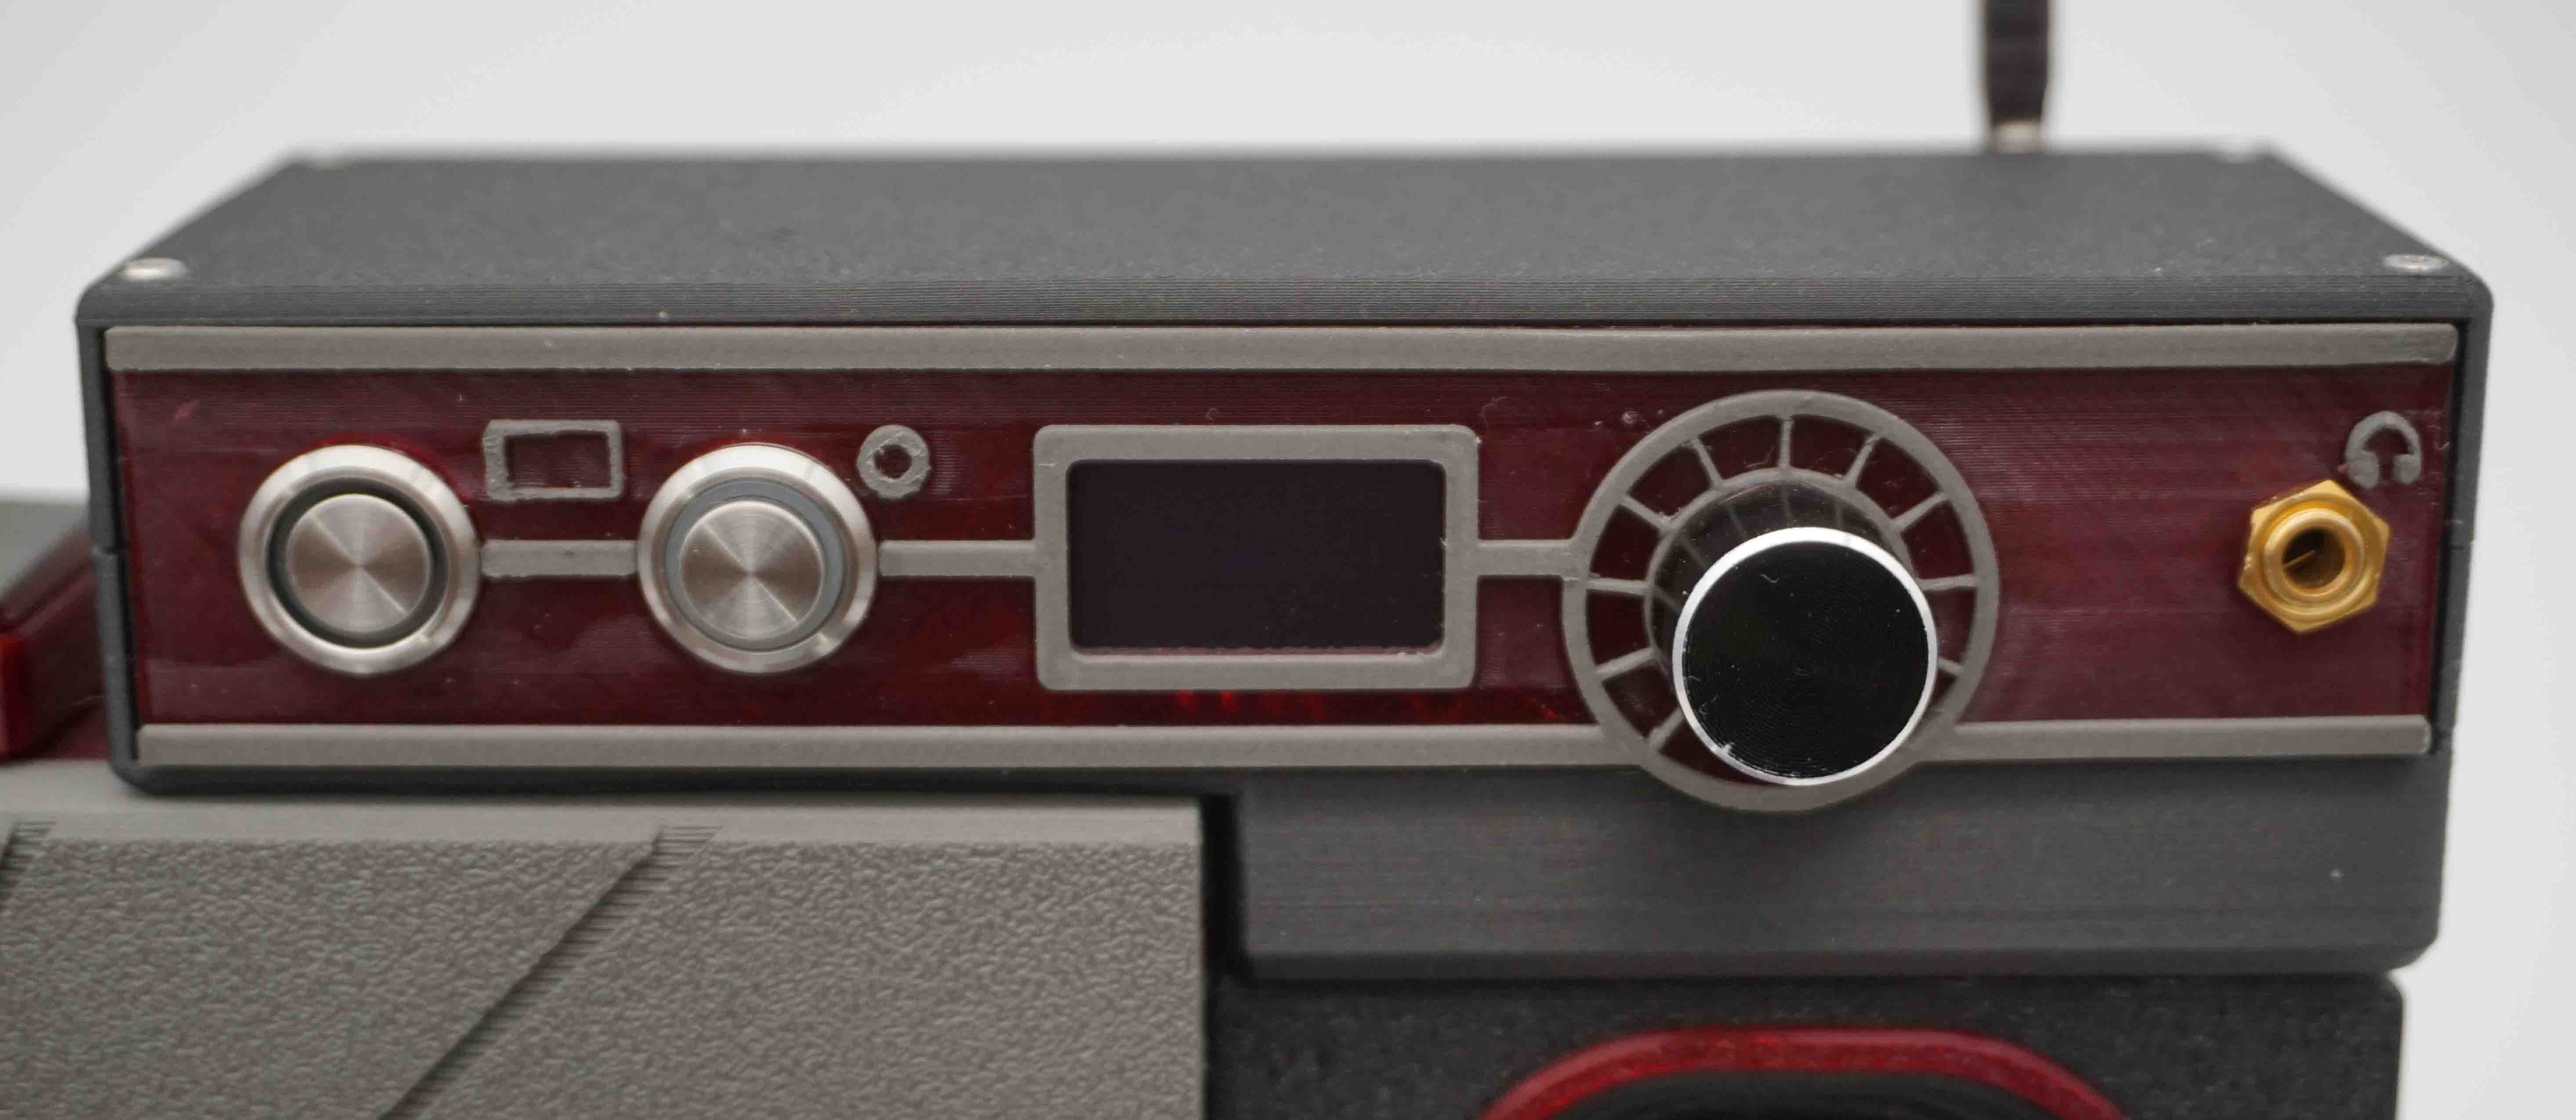
Having actual tactile buttons and knobs is always nice. There is even an OLED built in, which decided to stop working for no reason right before I took the pictures. It did a wonderful job of displaying the Adafruit OLED example script before it died.
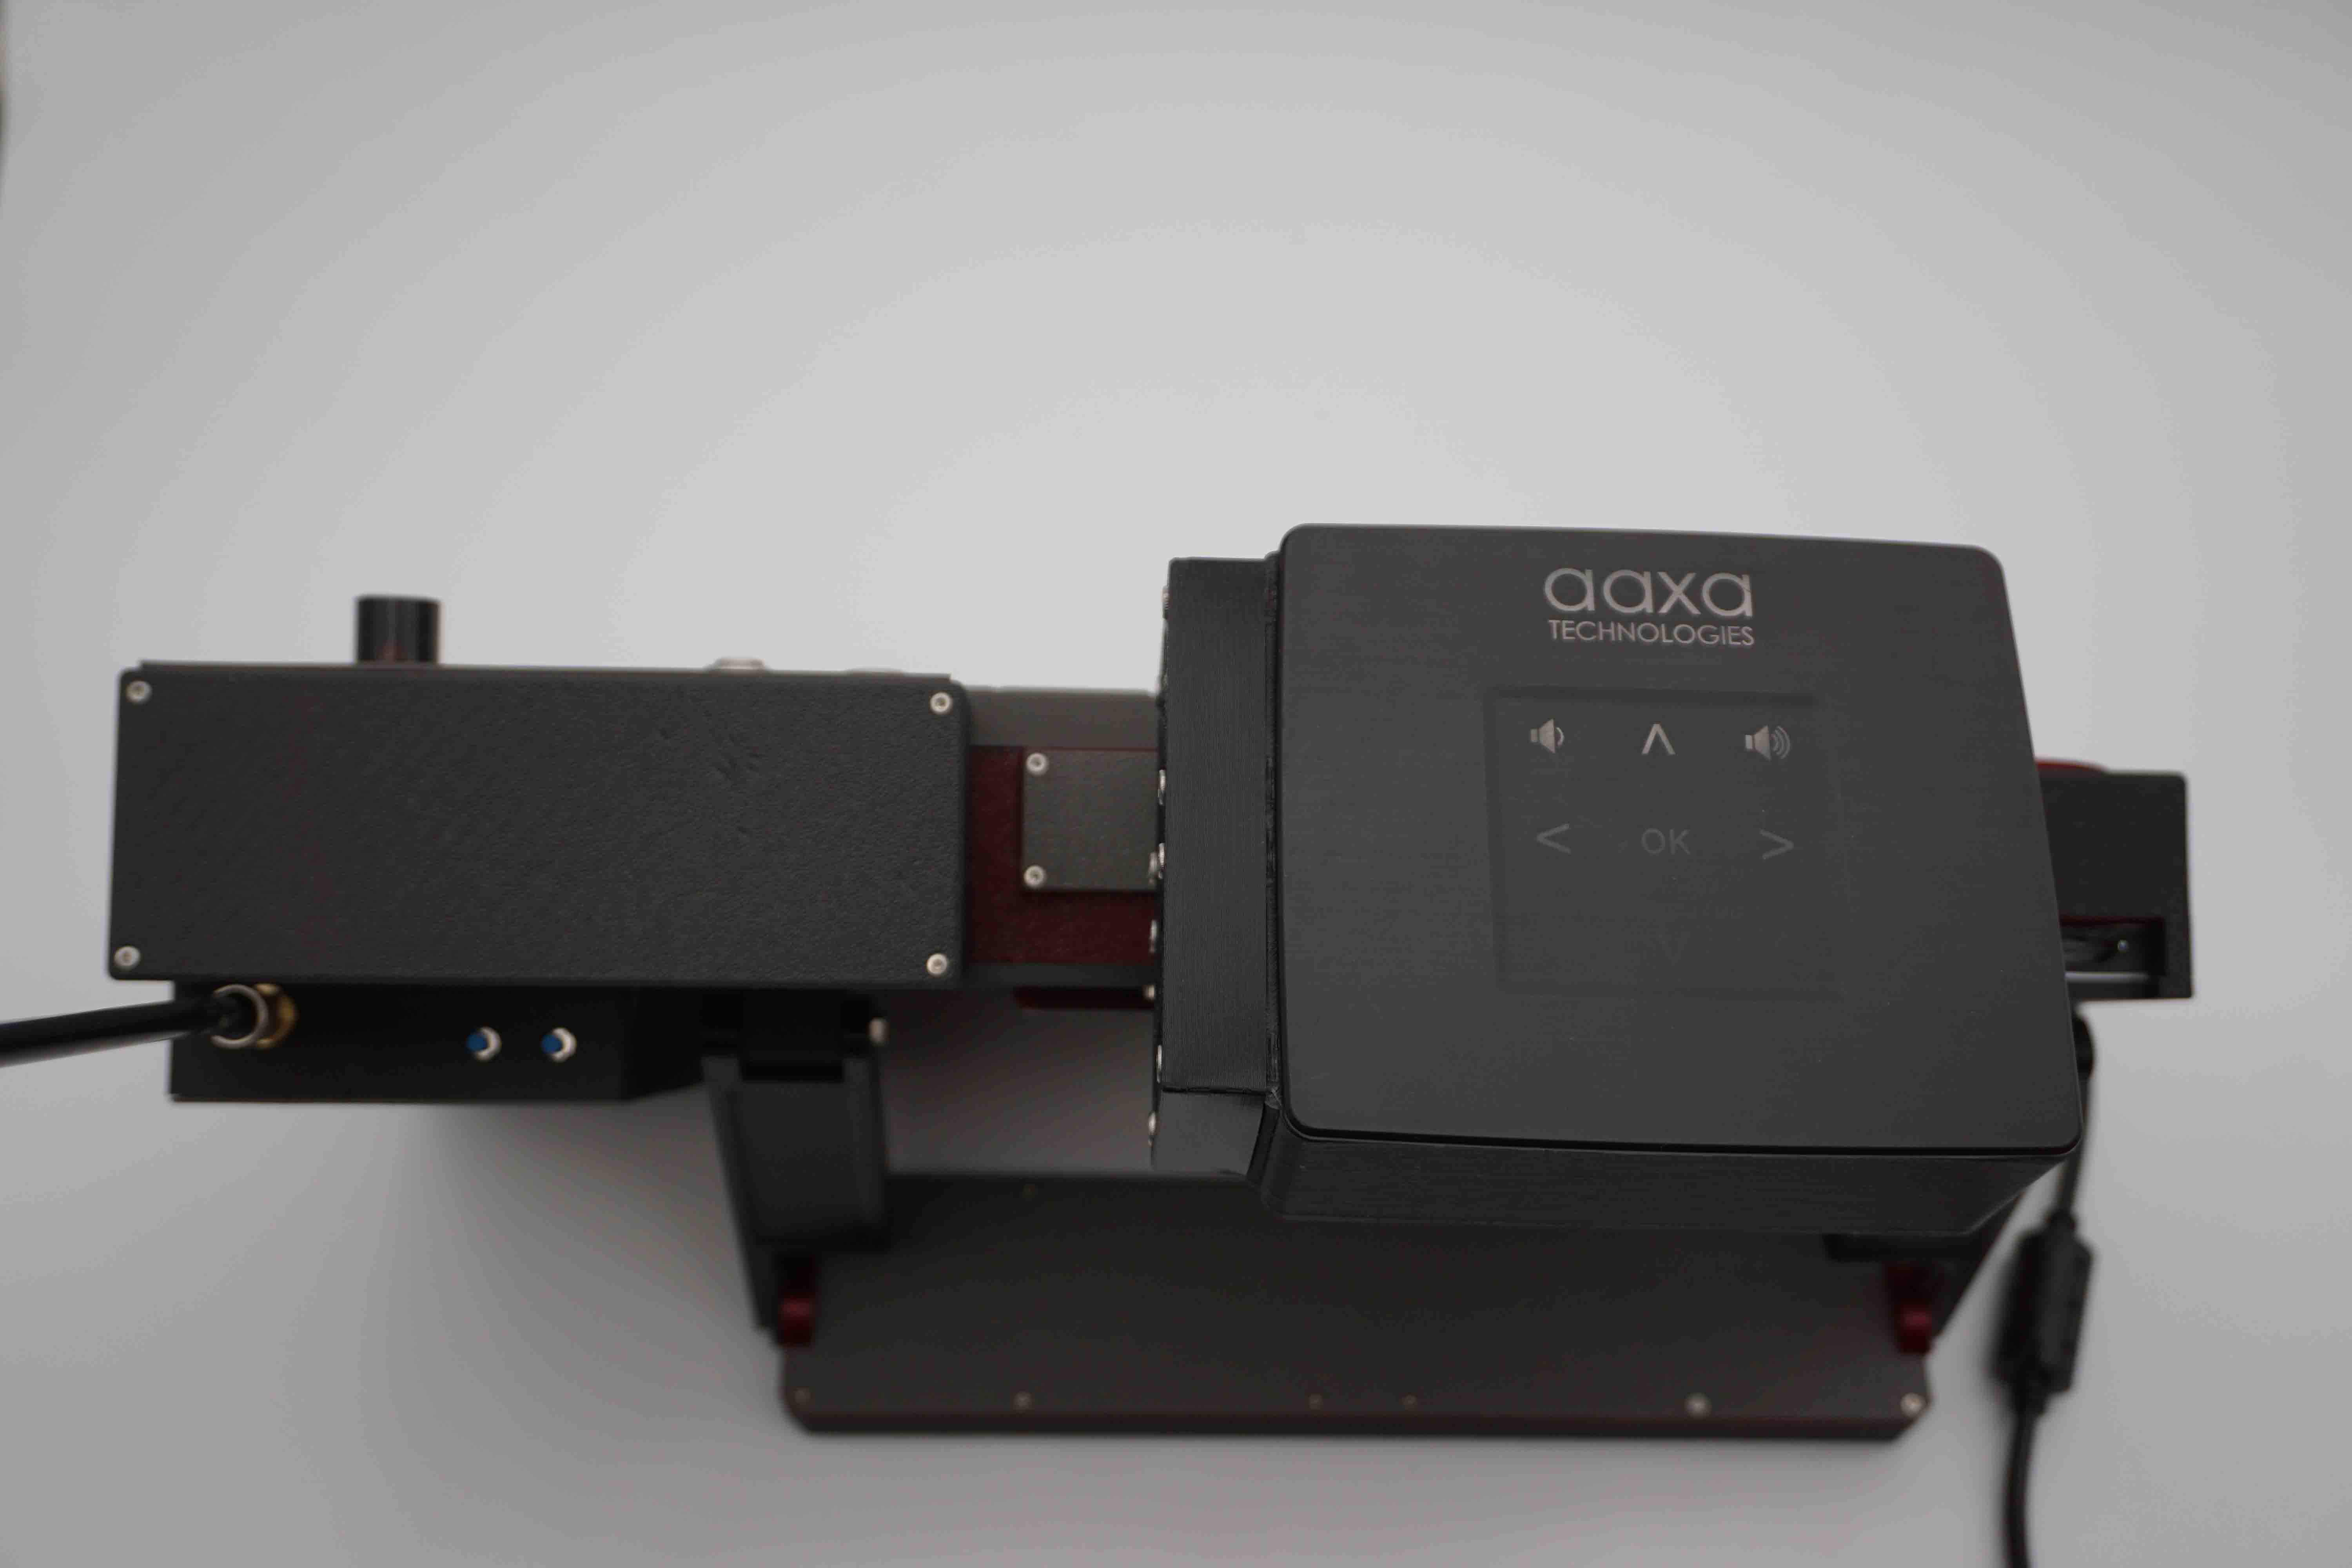
Top View:
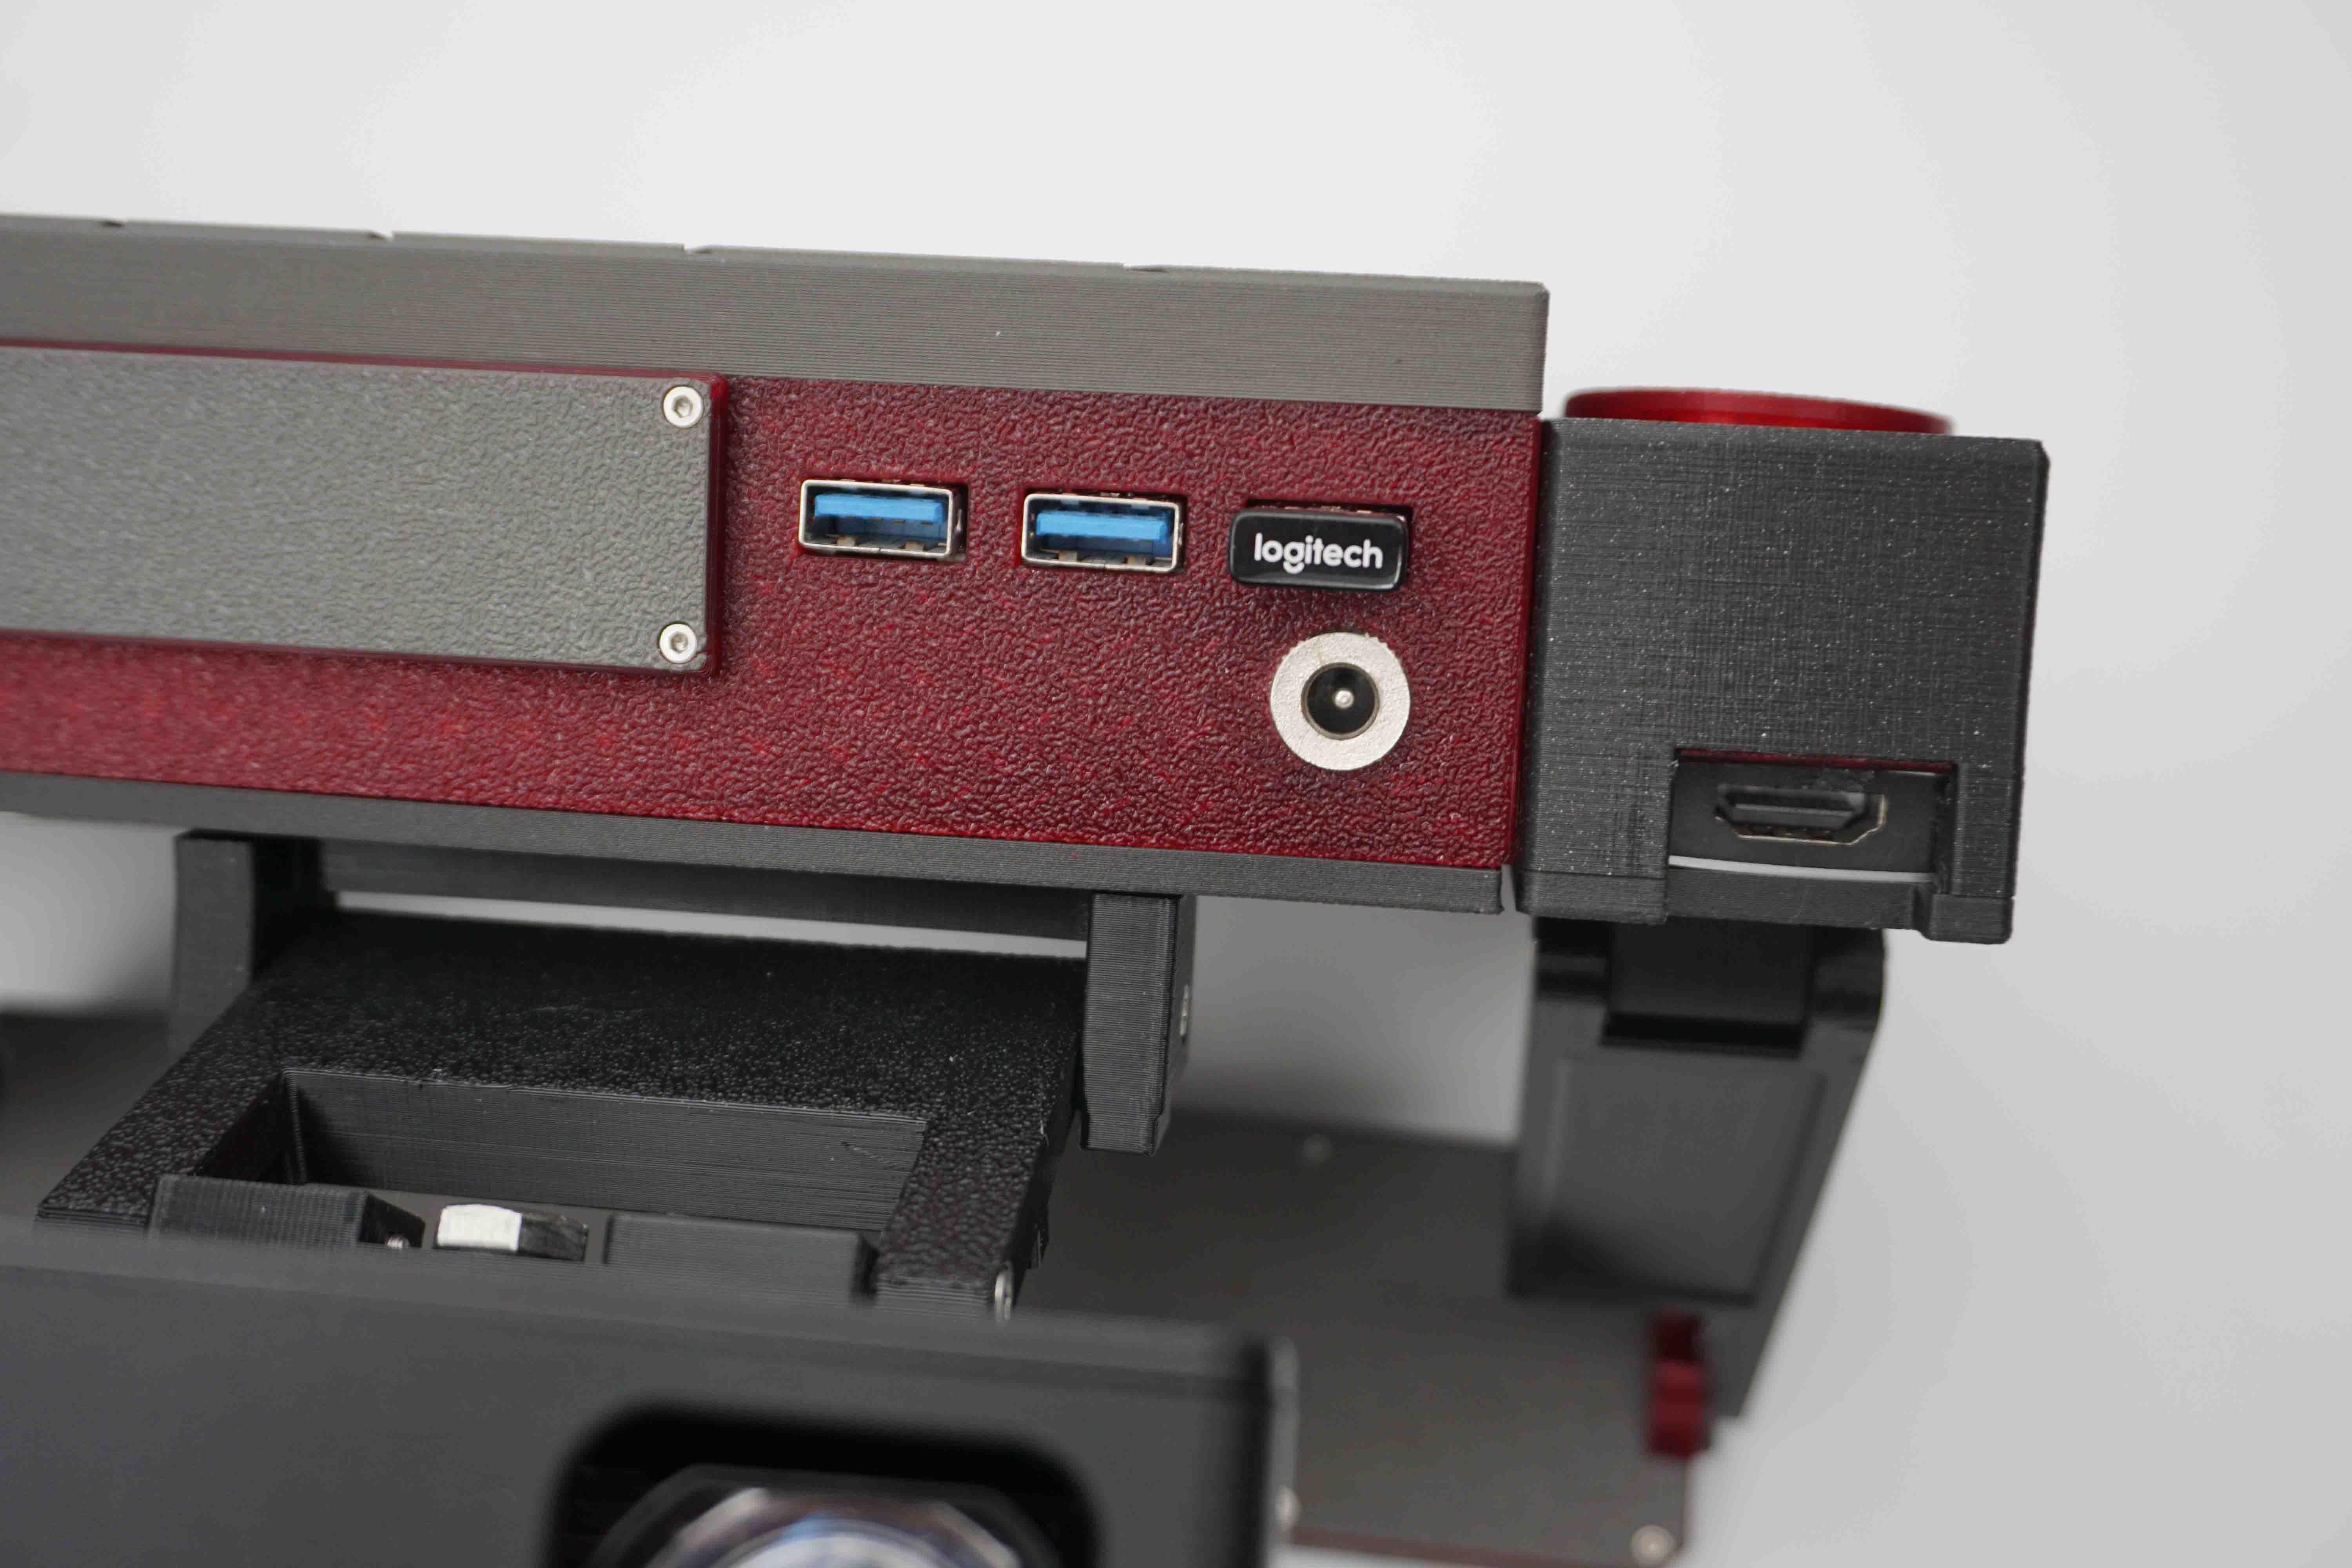
Top Ports:
Here are some USB ports which are opto-isolated for safety, and an unfused 12VDC power output to cancel out that safety. An HDMI output is on the right which is for adding a second monitor or for the projector.
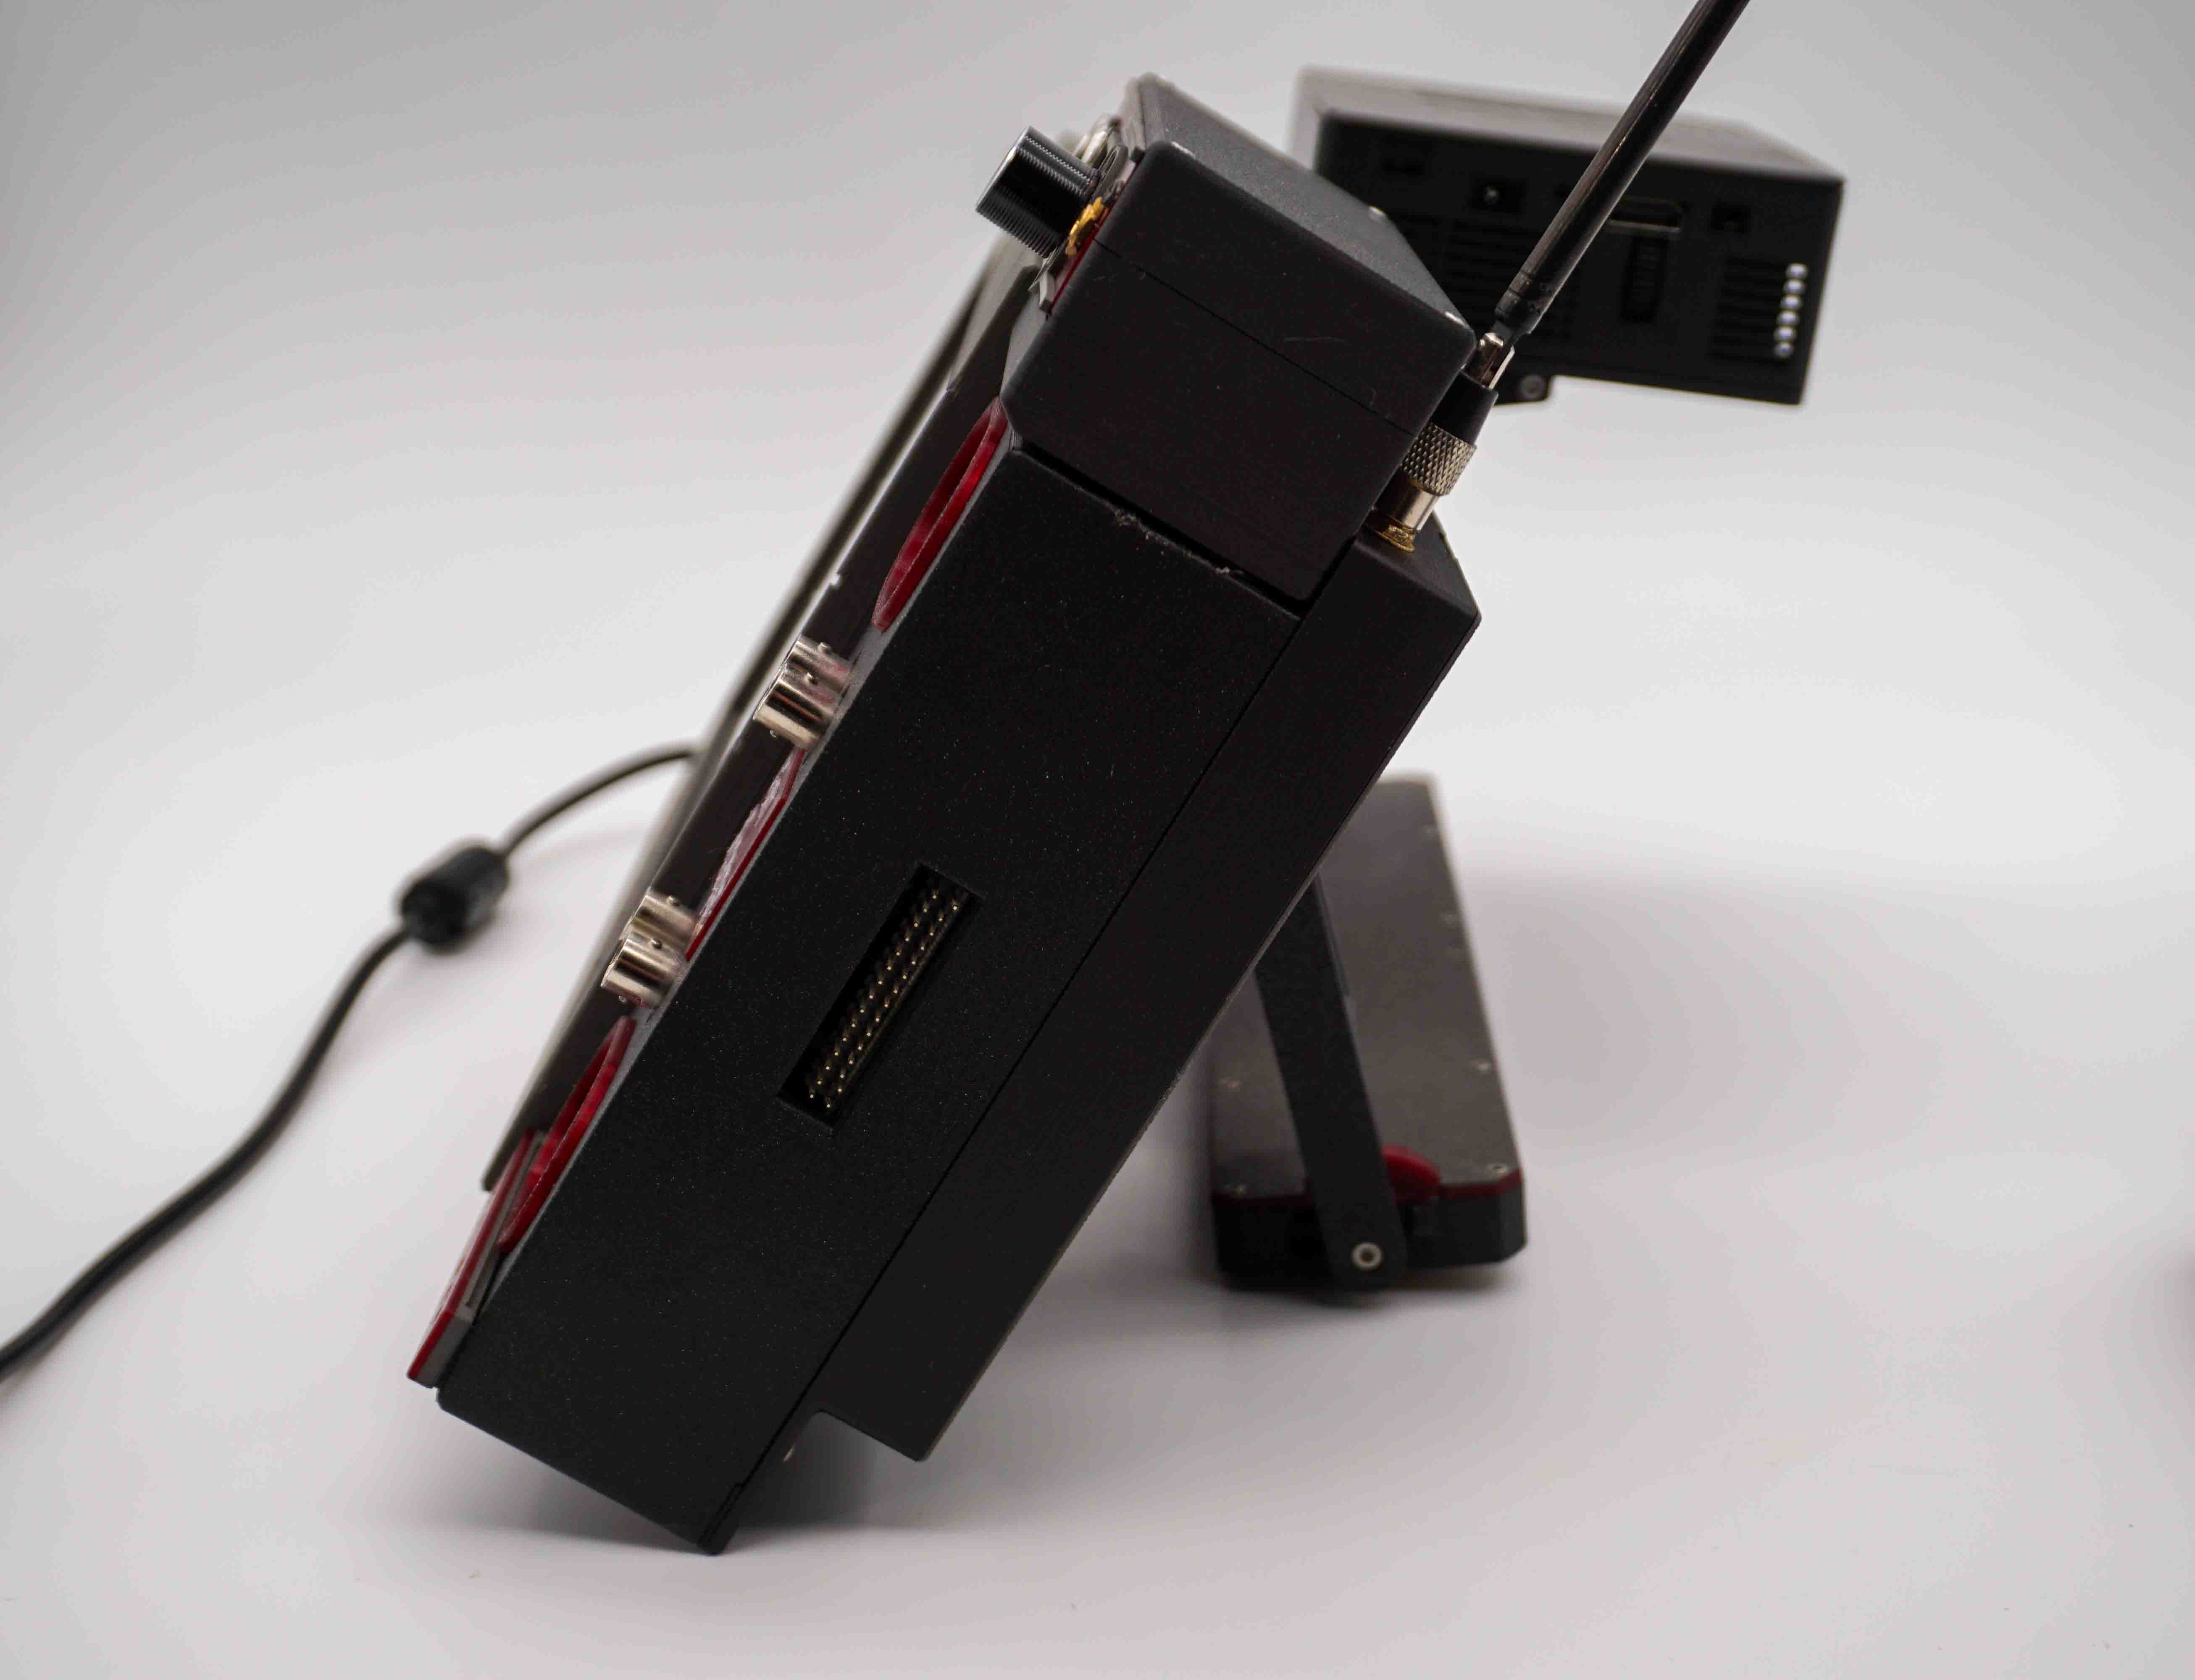
Right Side:
Not much to see here aside from the pins for the Analog Discovery 2.
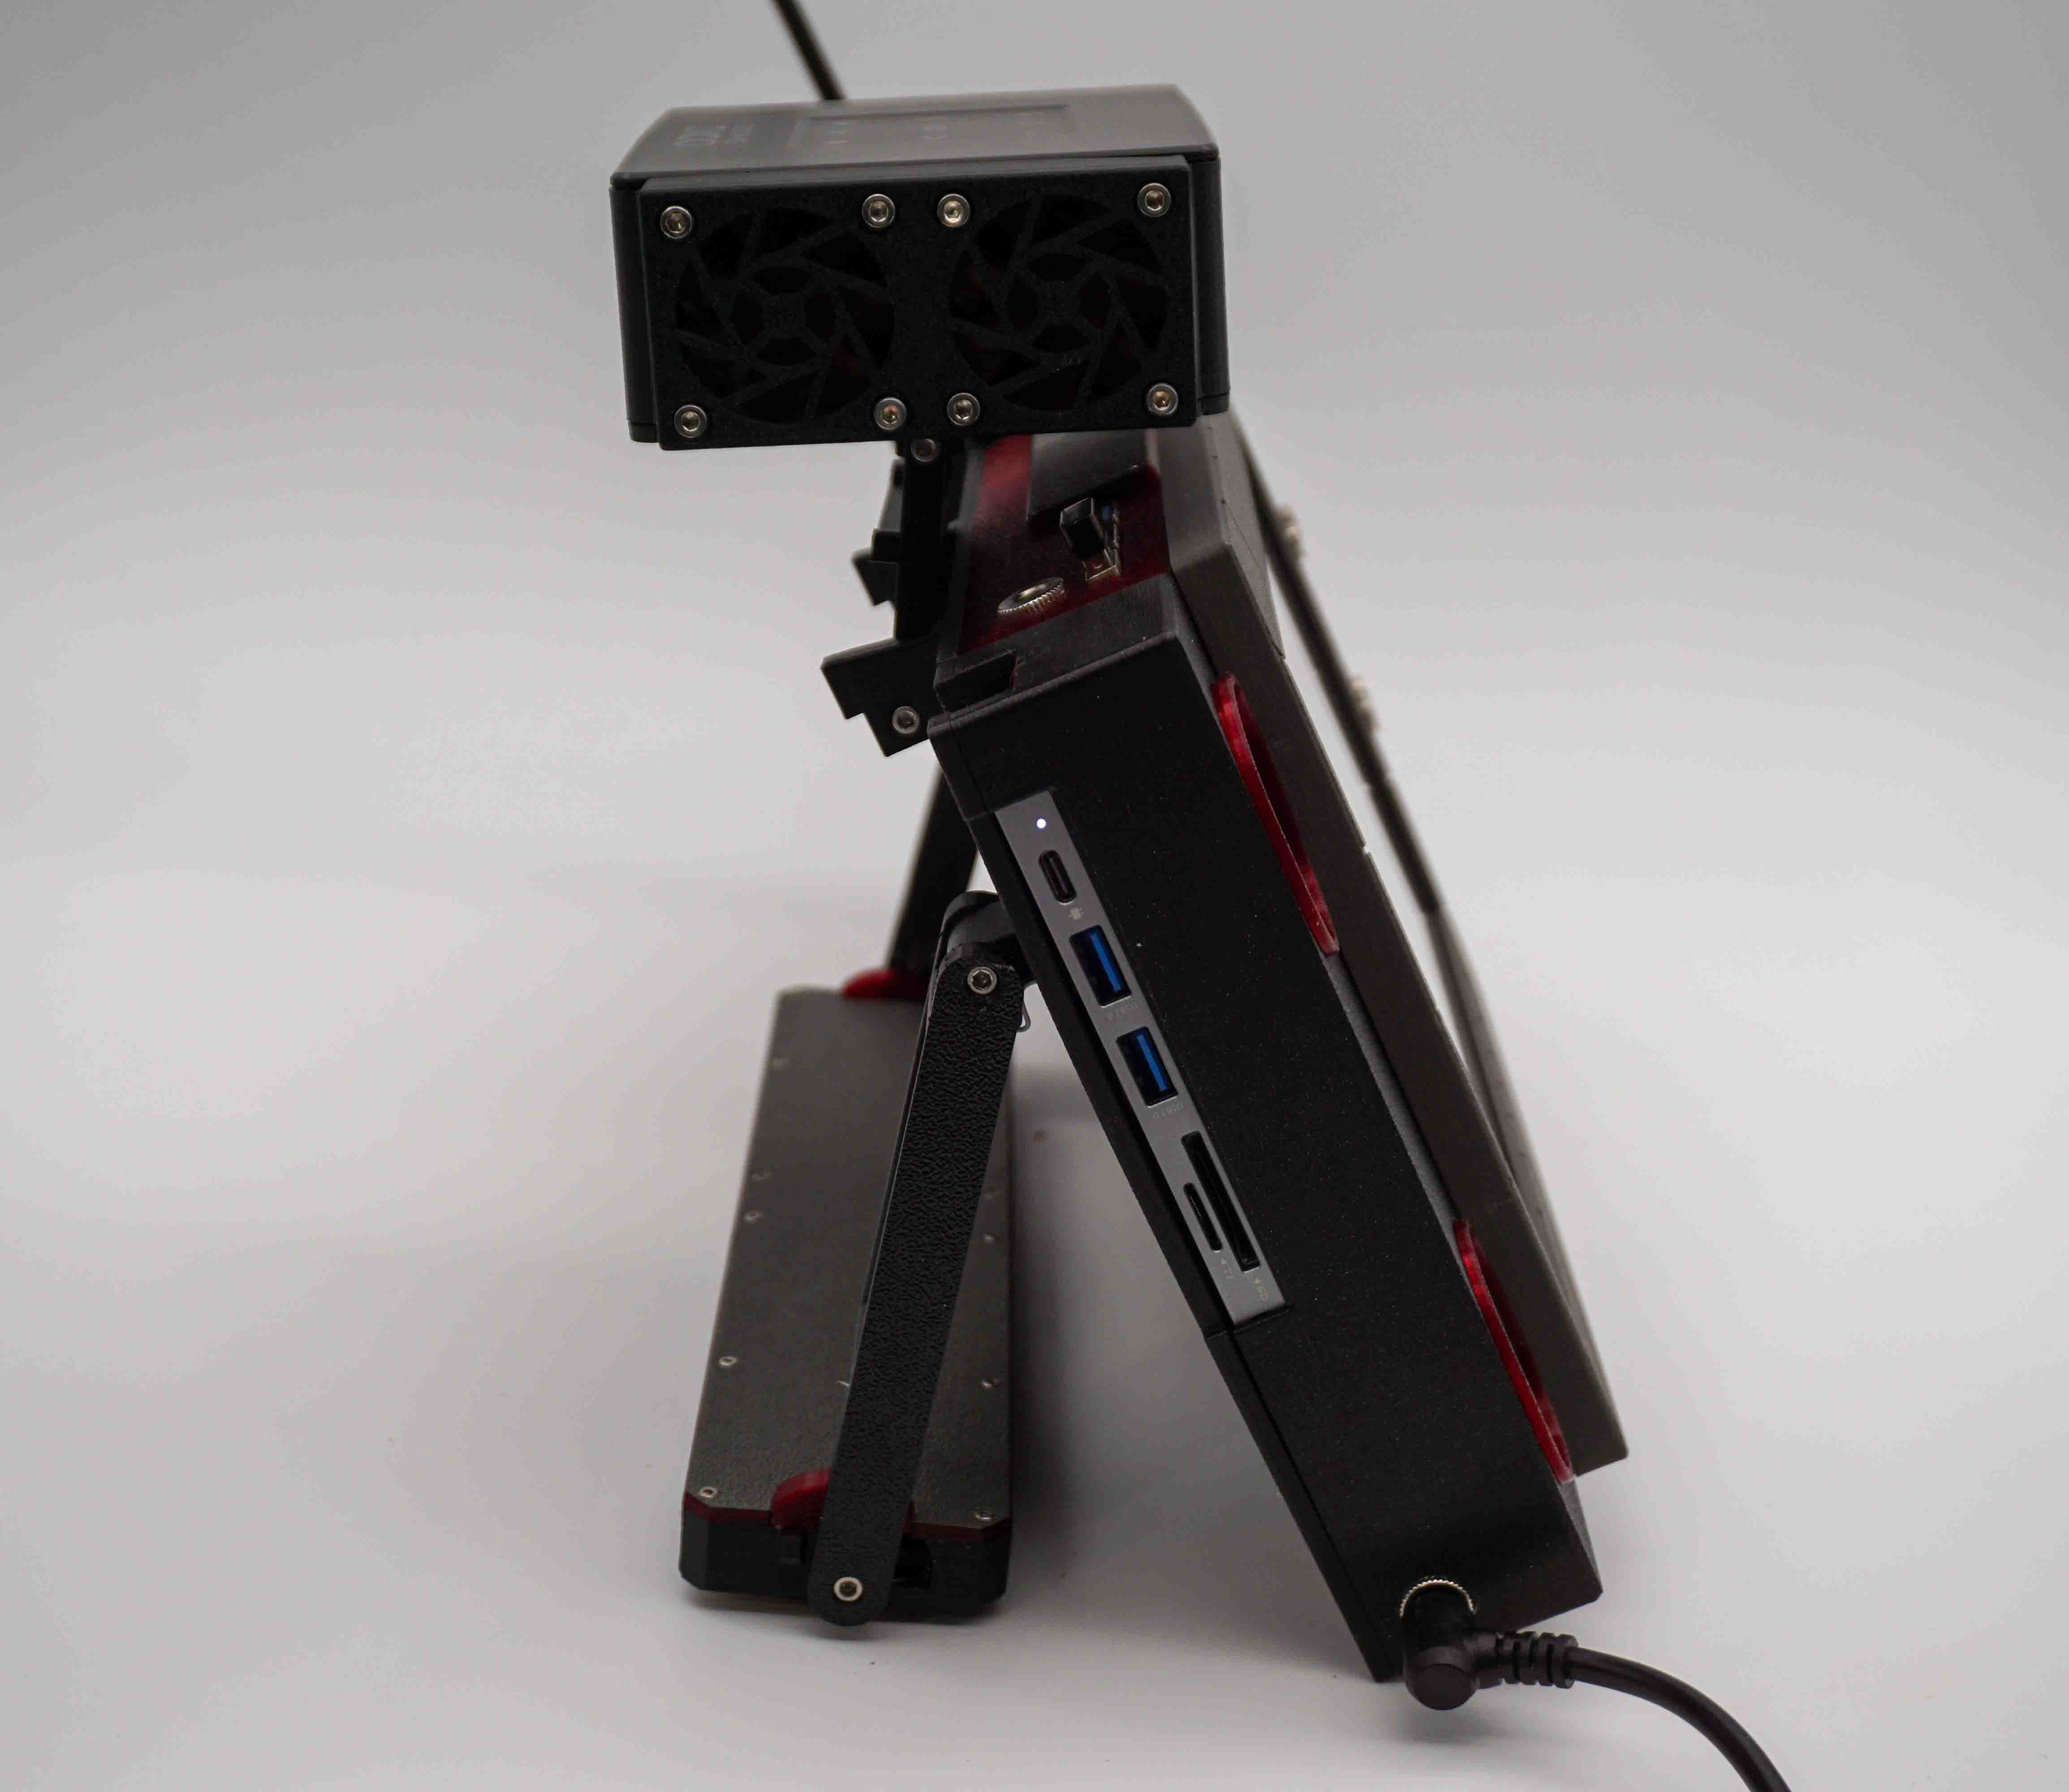
Left Side:
The left side has some USB ports and SD card slots.
Wiring:
My wire management uses the "If it fits it sits" method. Even though it probably looks a bit convoluted, it's wired mostly using just USB cables, which is a bit sad actually.
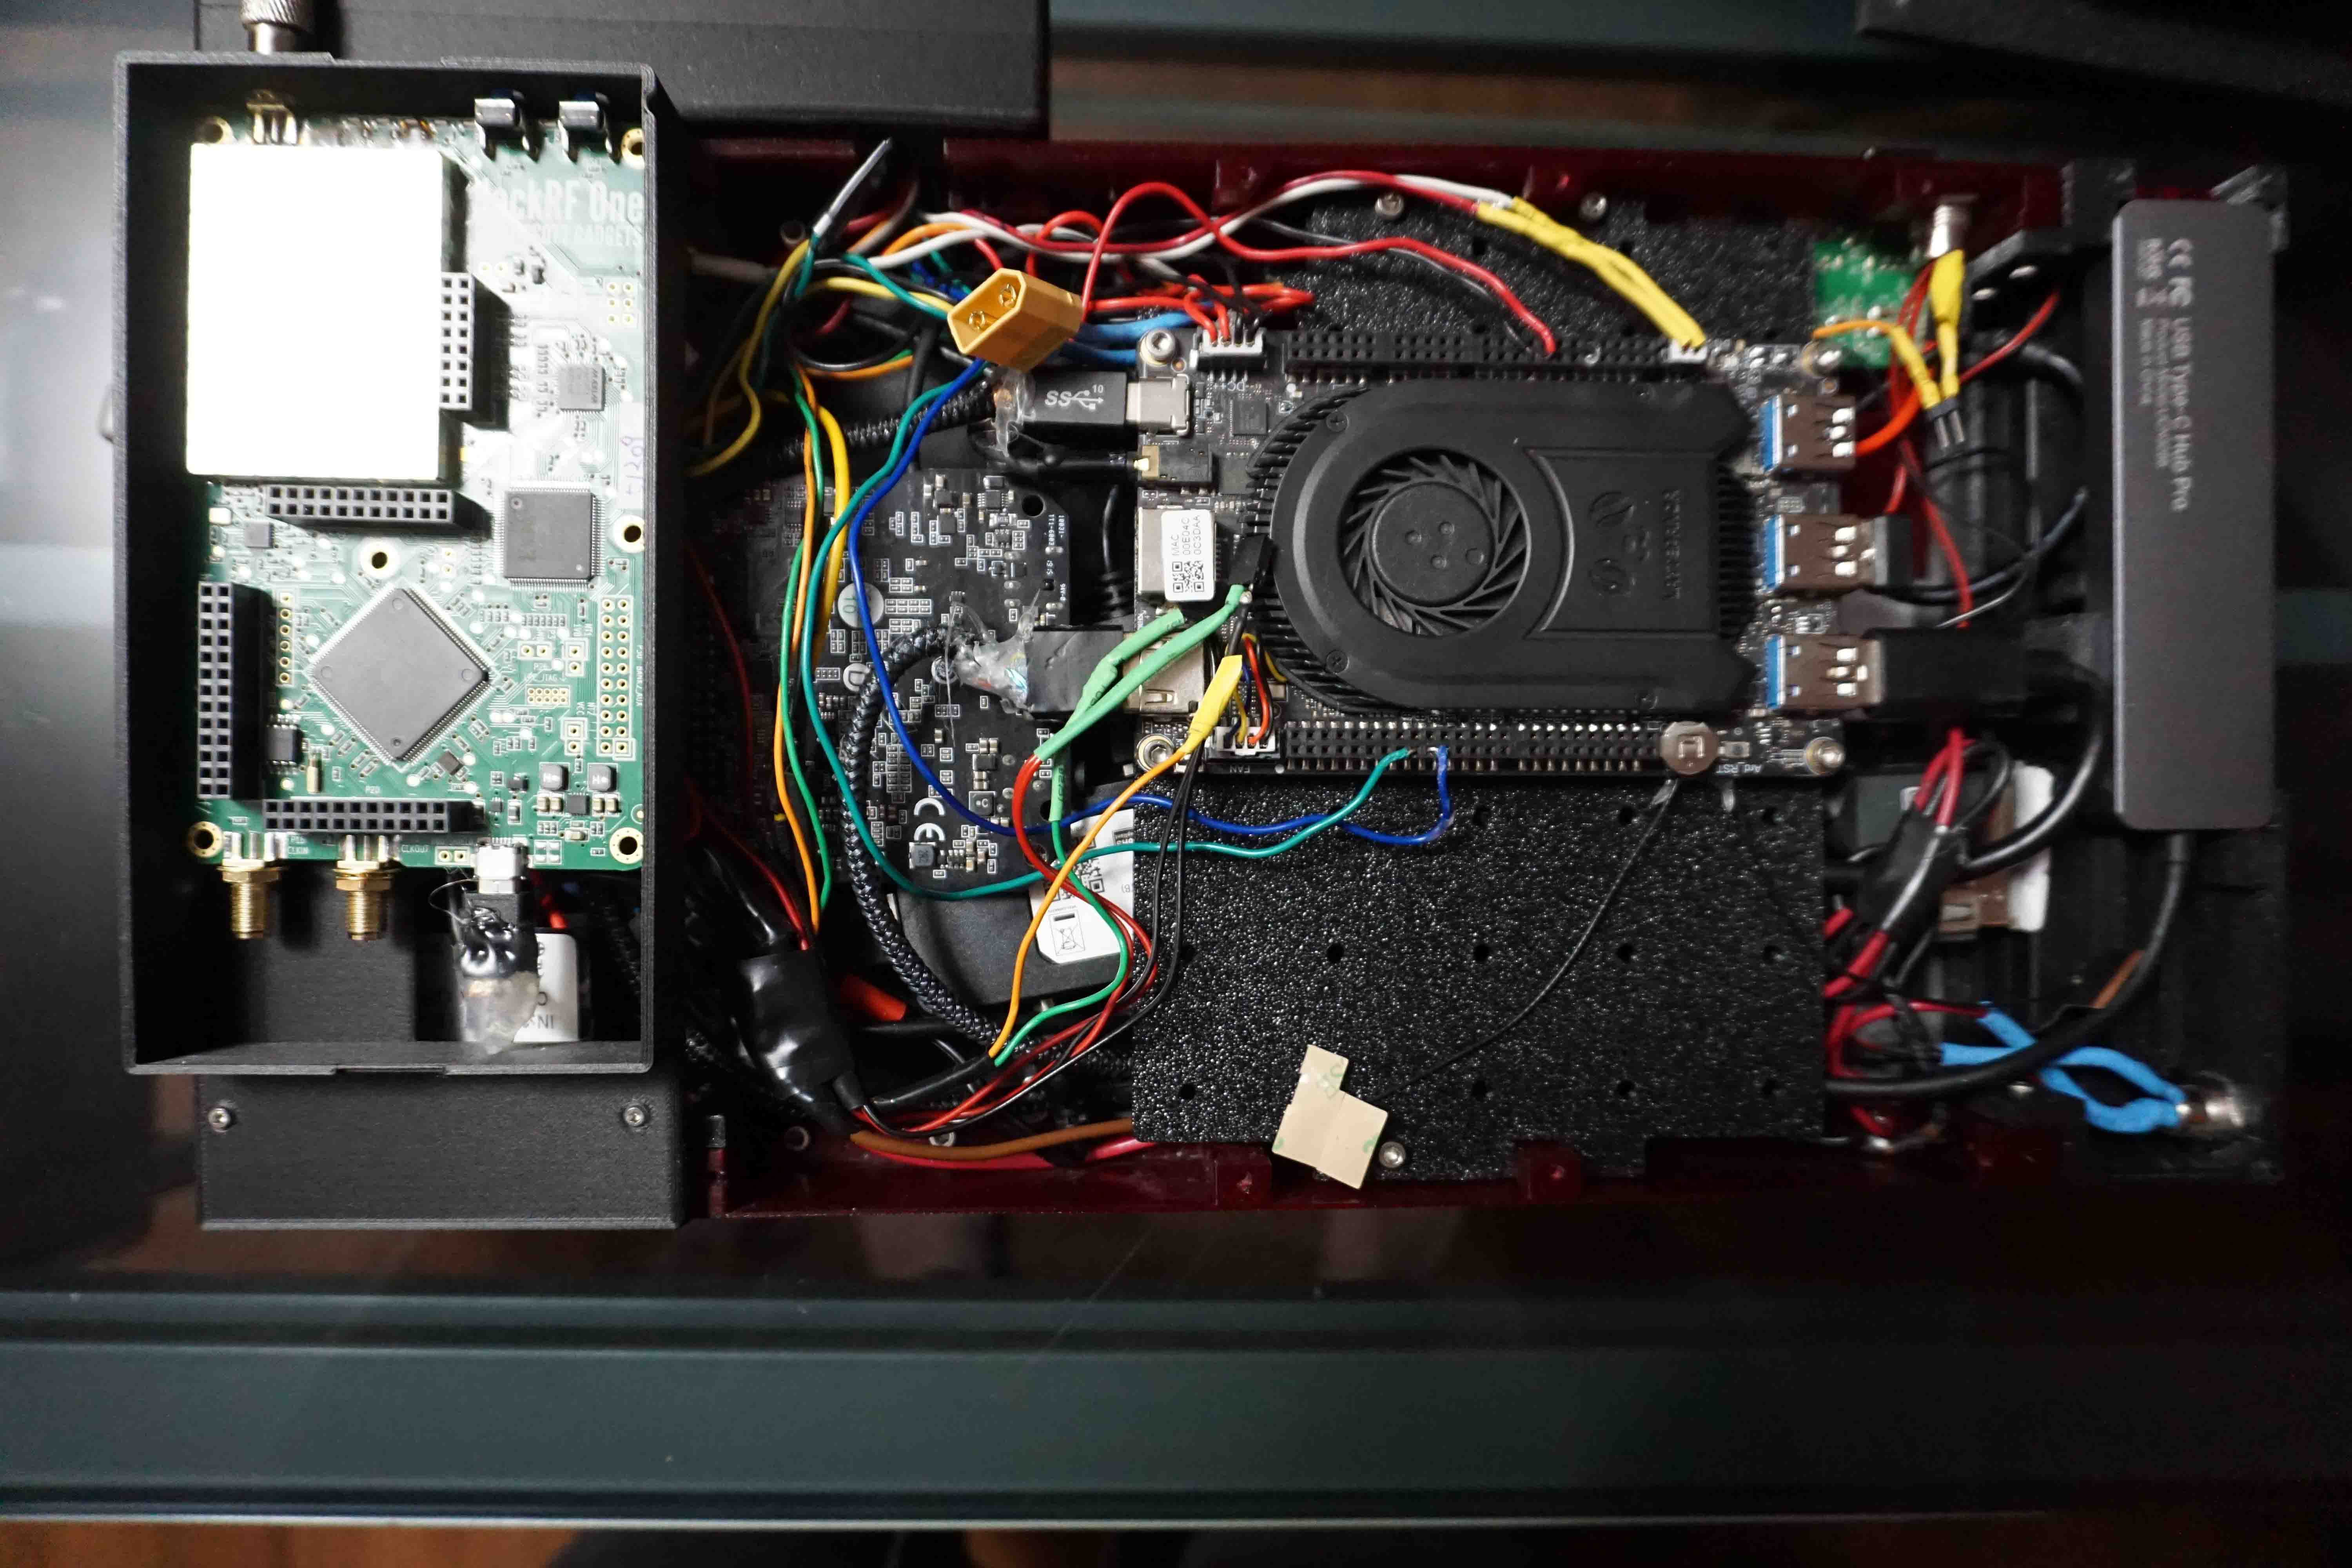
There's some power regulators in there too to take the 24VDC input from the power regulator down to 12VDC and 5VDC.
I also added an Adafruit USB isolator board to the USB outputs I use for programming microcontrollers. That way I avoid destroying something expensive when I accidently short something. ( I've only done that once, and I didn't care about the laptop anyway.)
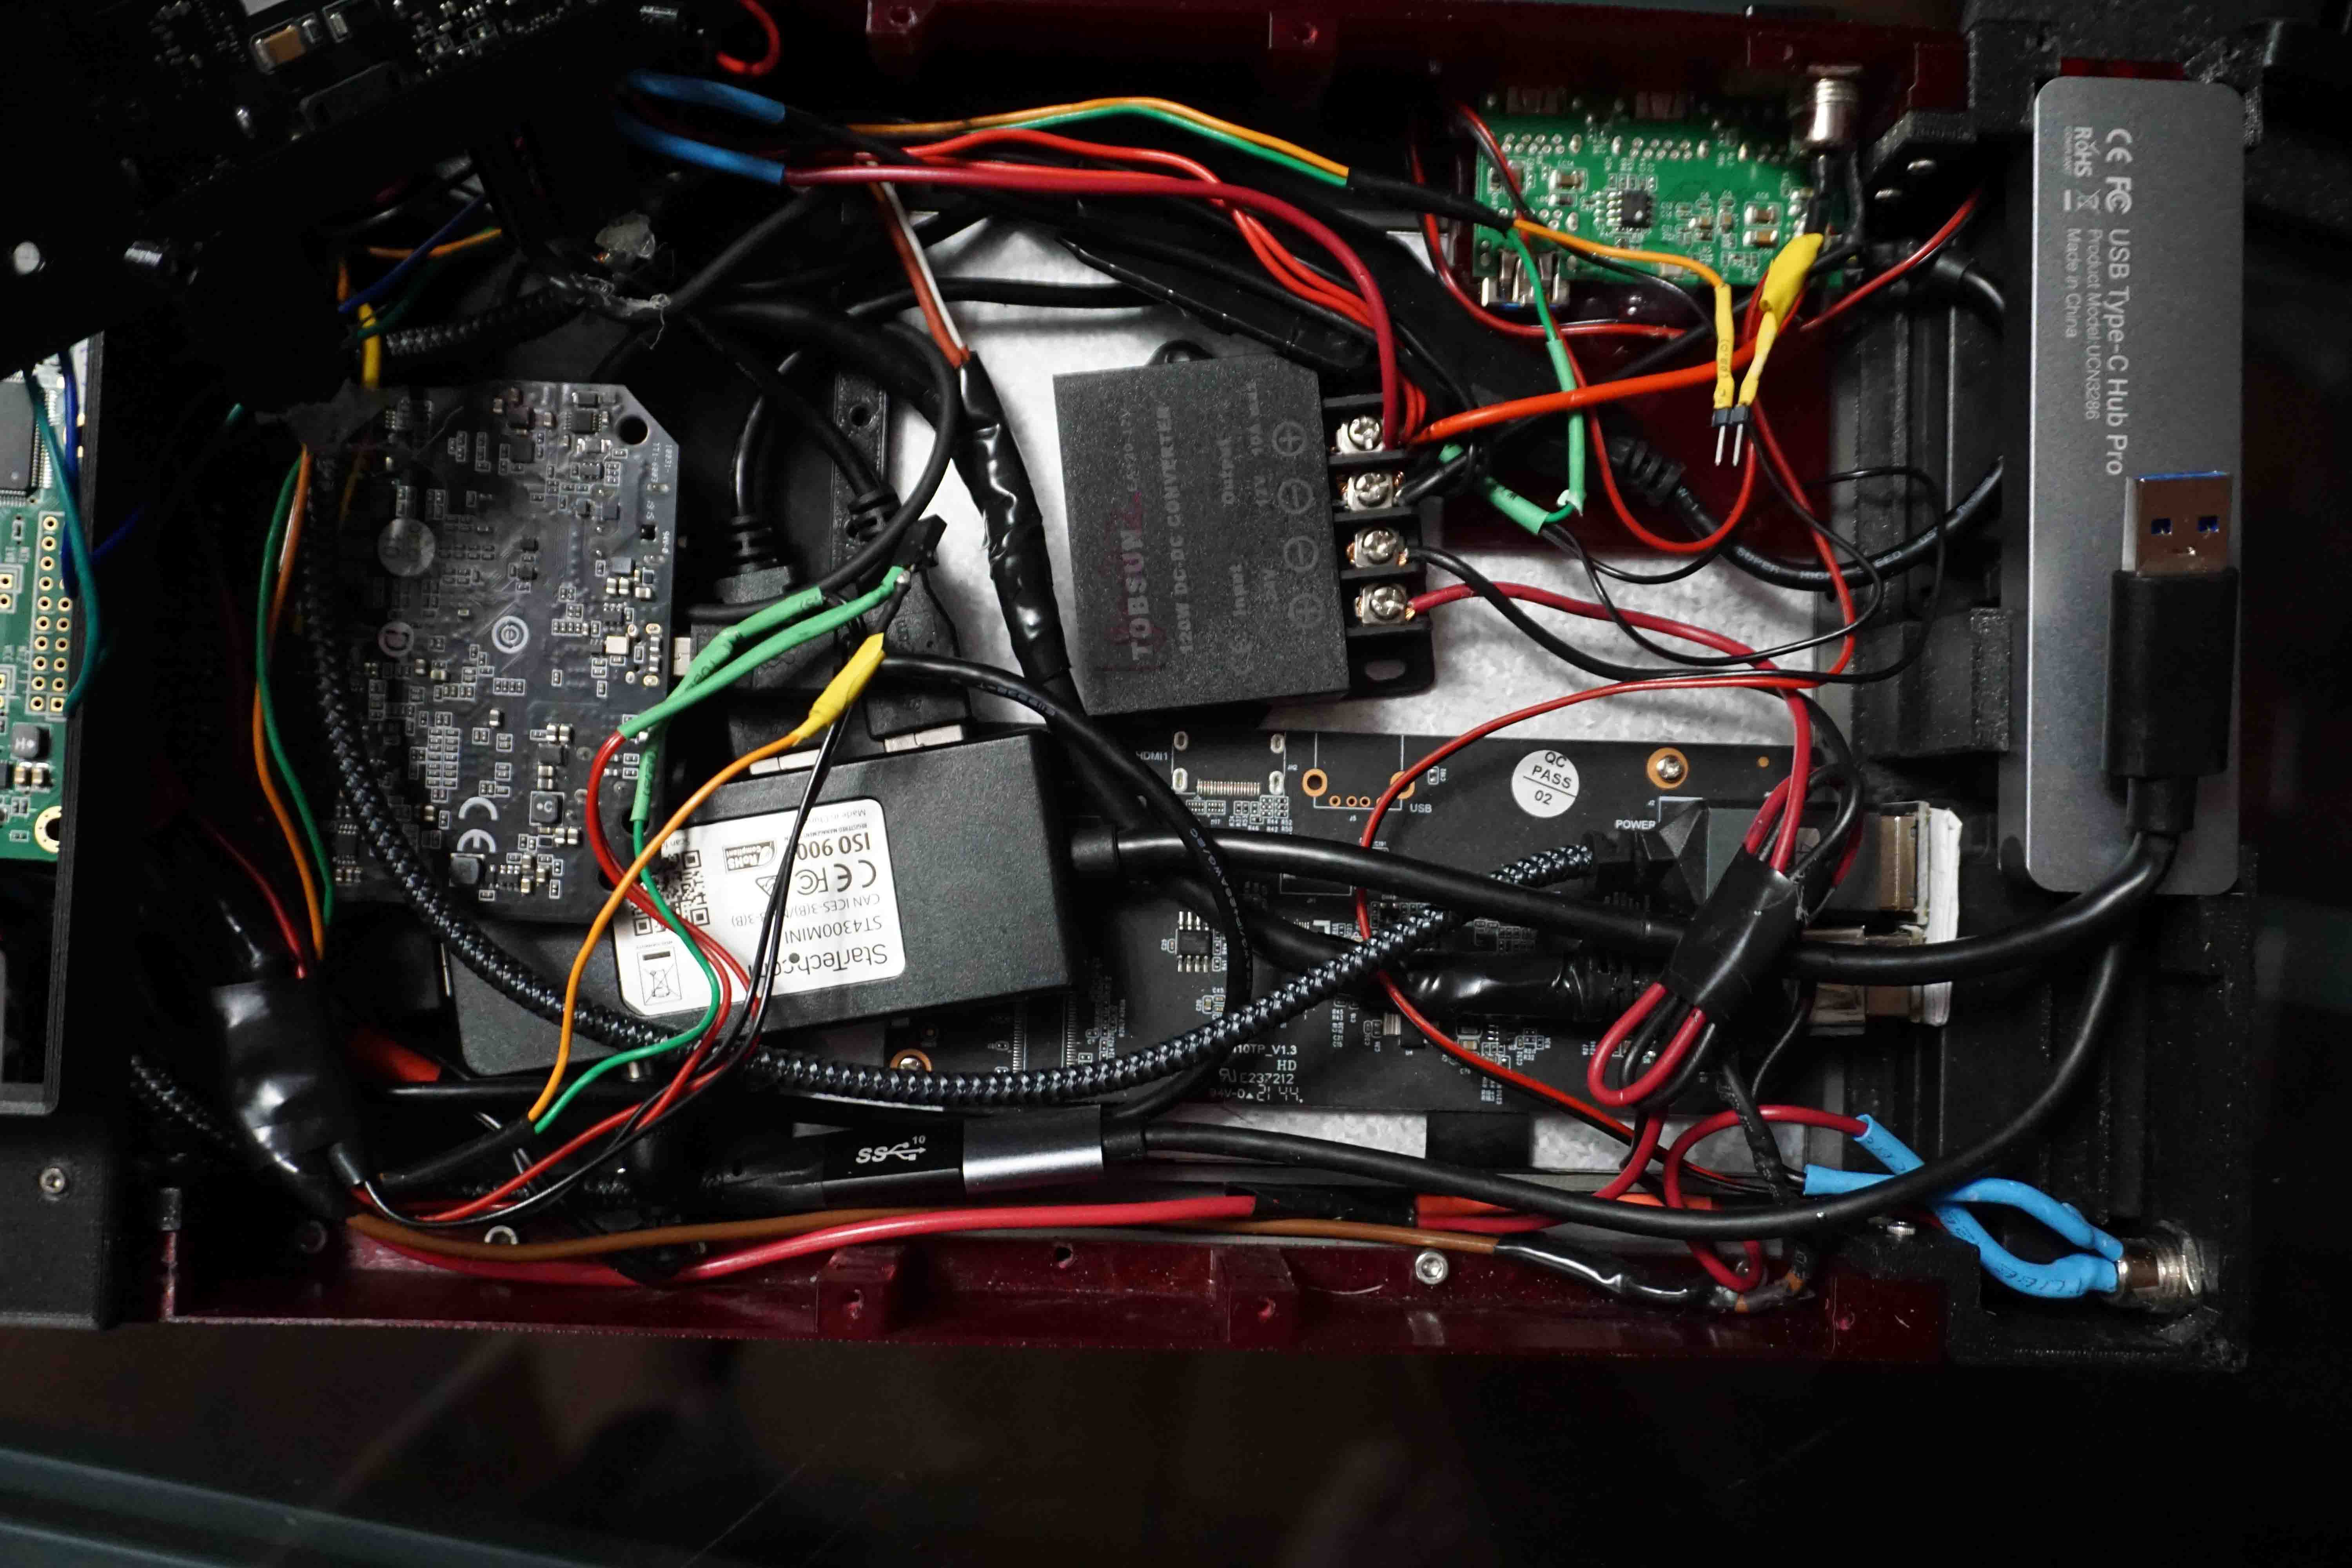
Here's a view of the Audio amplifier and a couple of buttons. One turns the deck on and the other turns the LCD on and off. There's also an audio input jack on the left, which actually doesn't do anything because I apparently forgot to wire it.
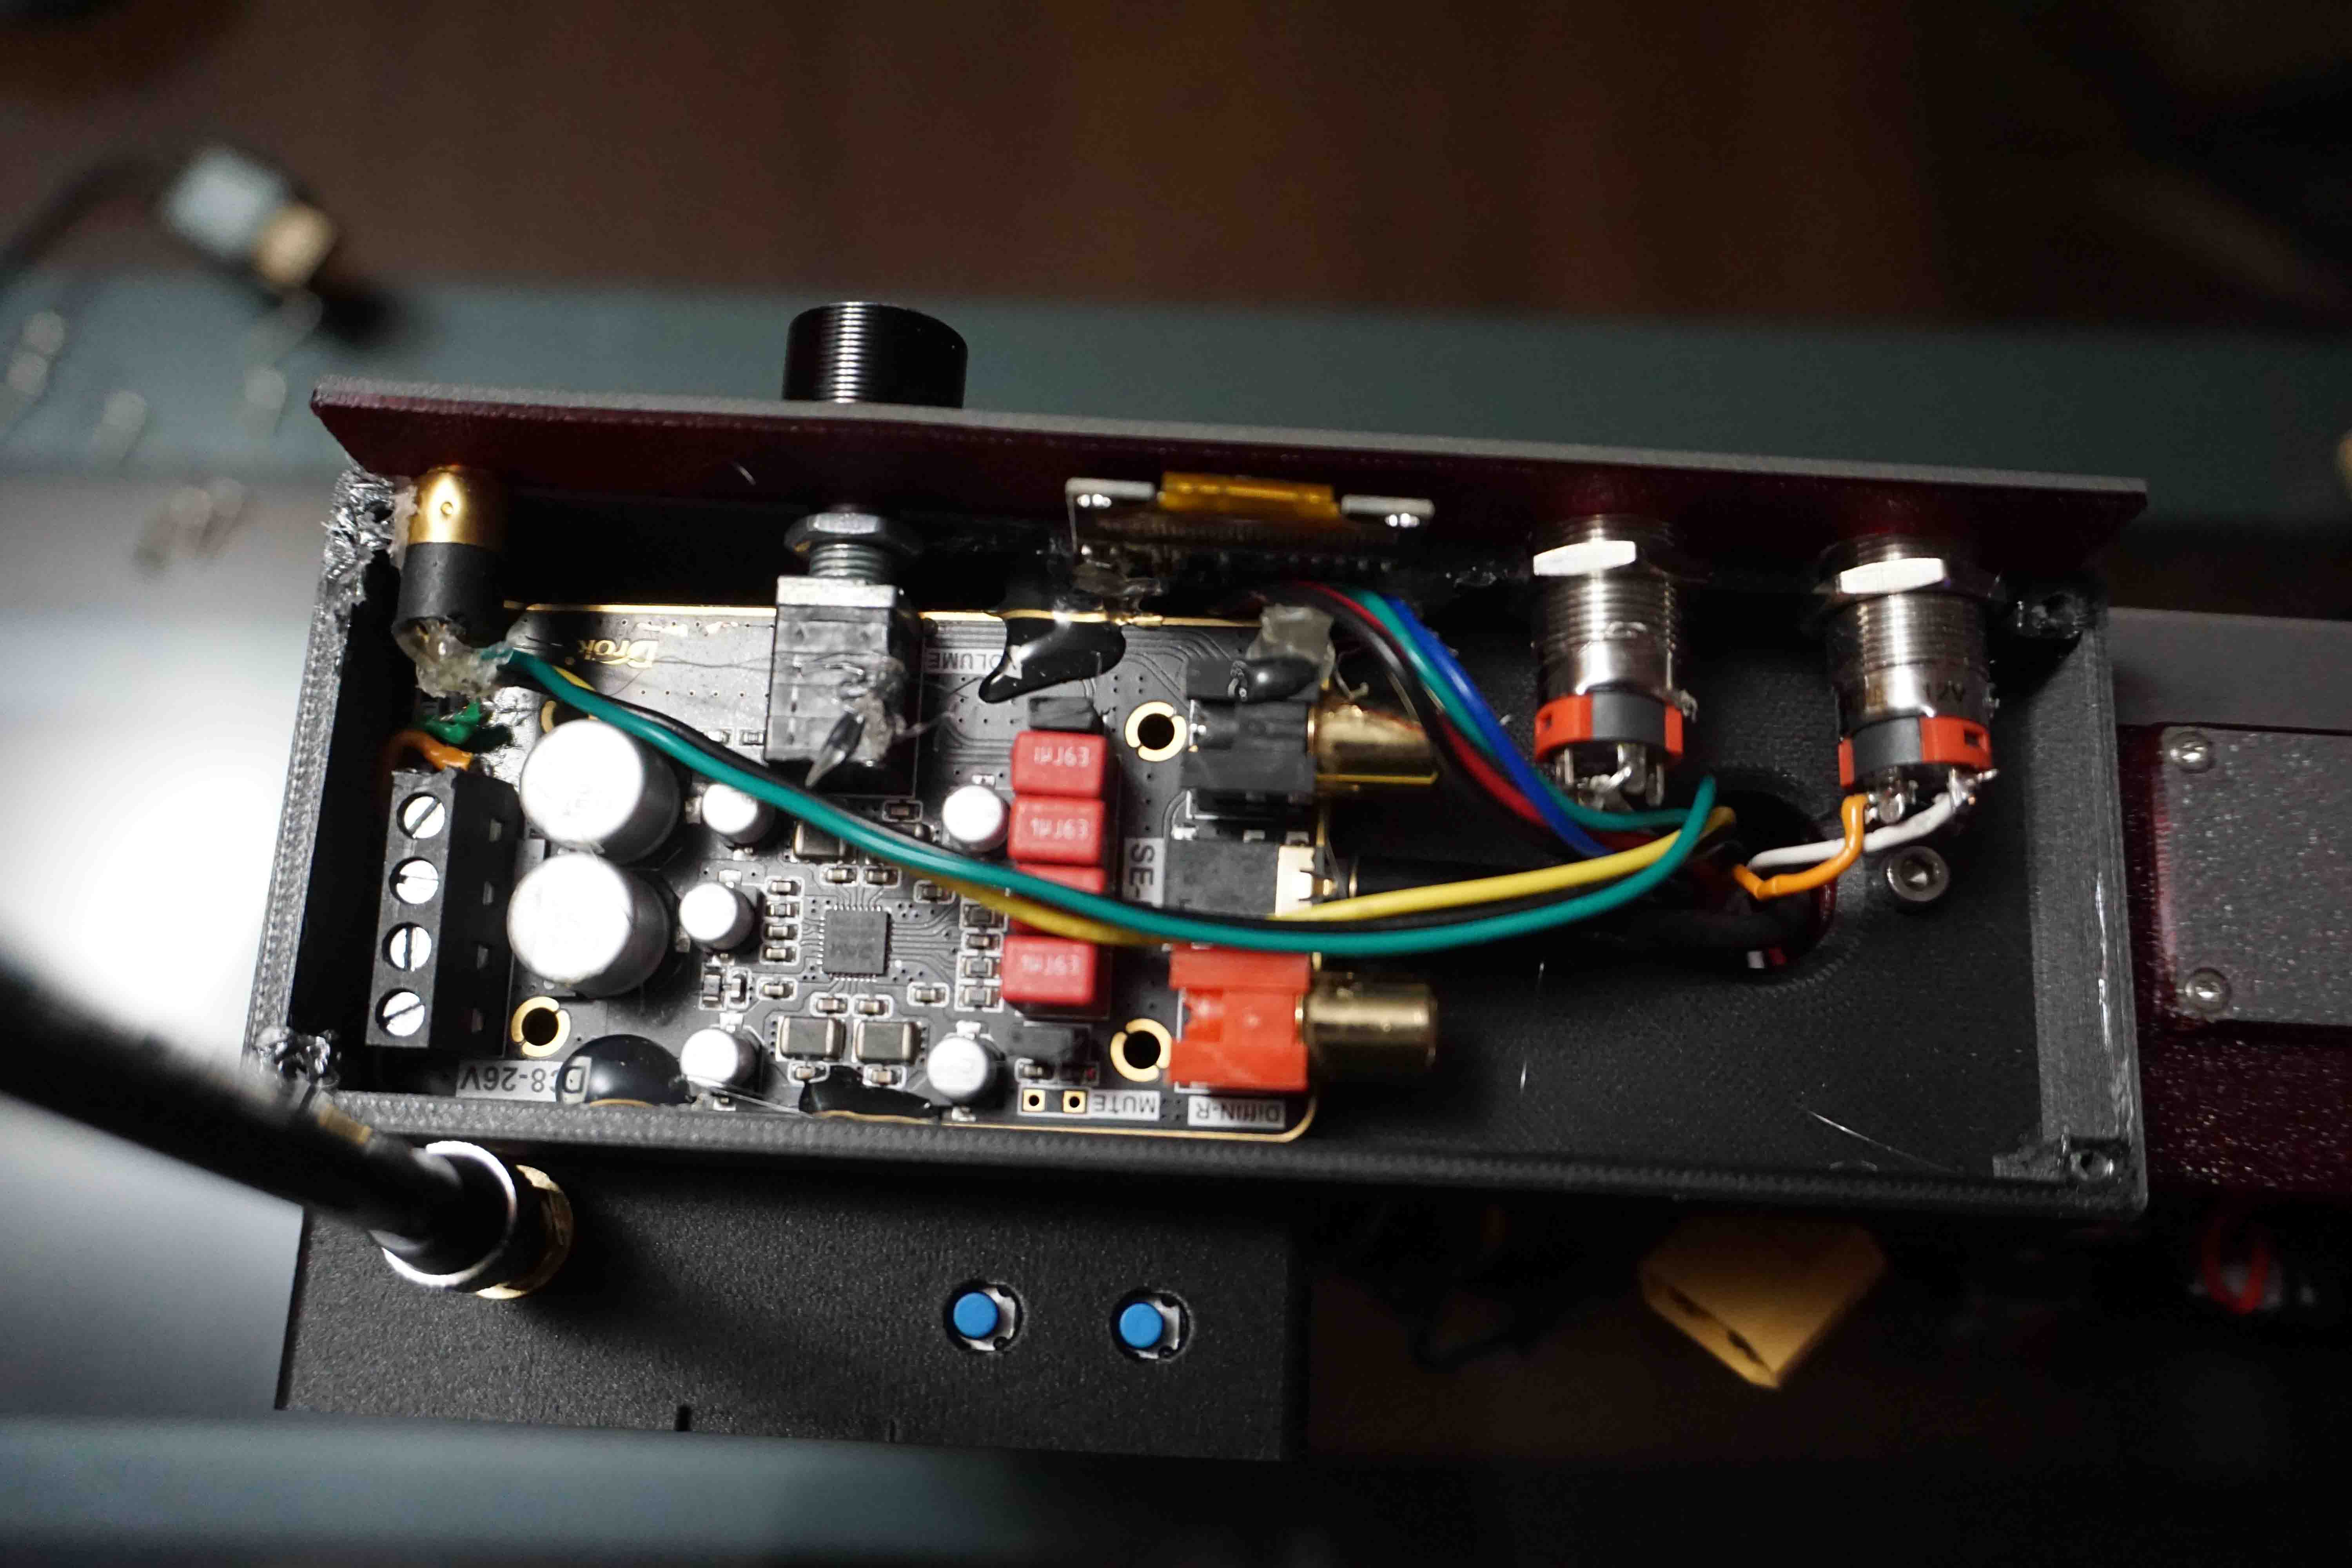
There's also a Hack RF One on top of an Analog Discovery 2.
