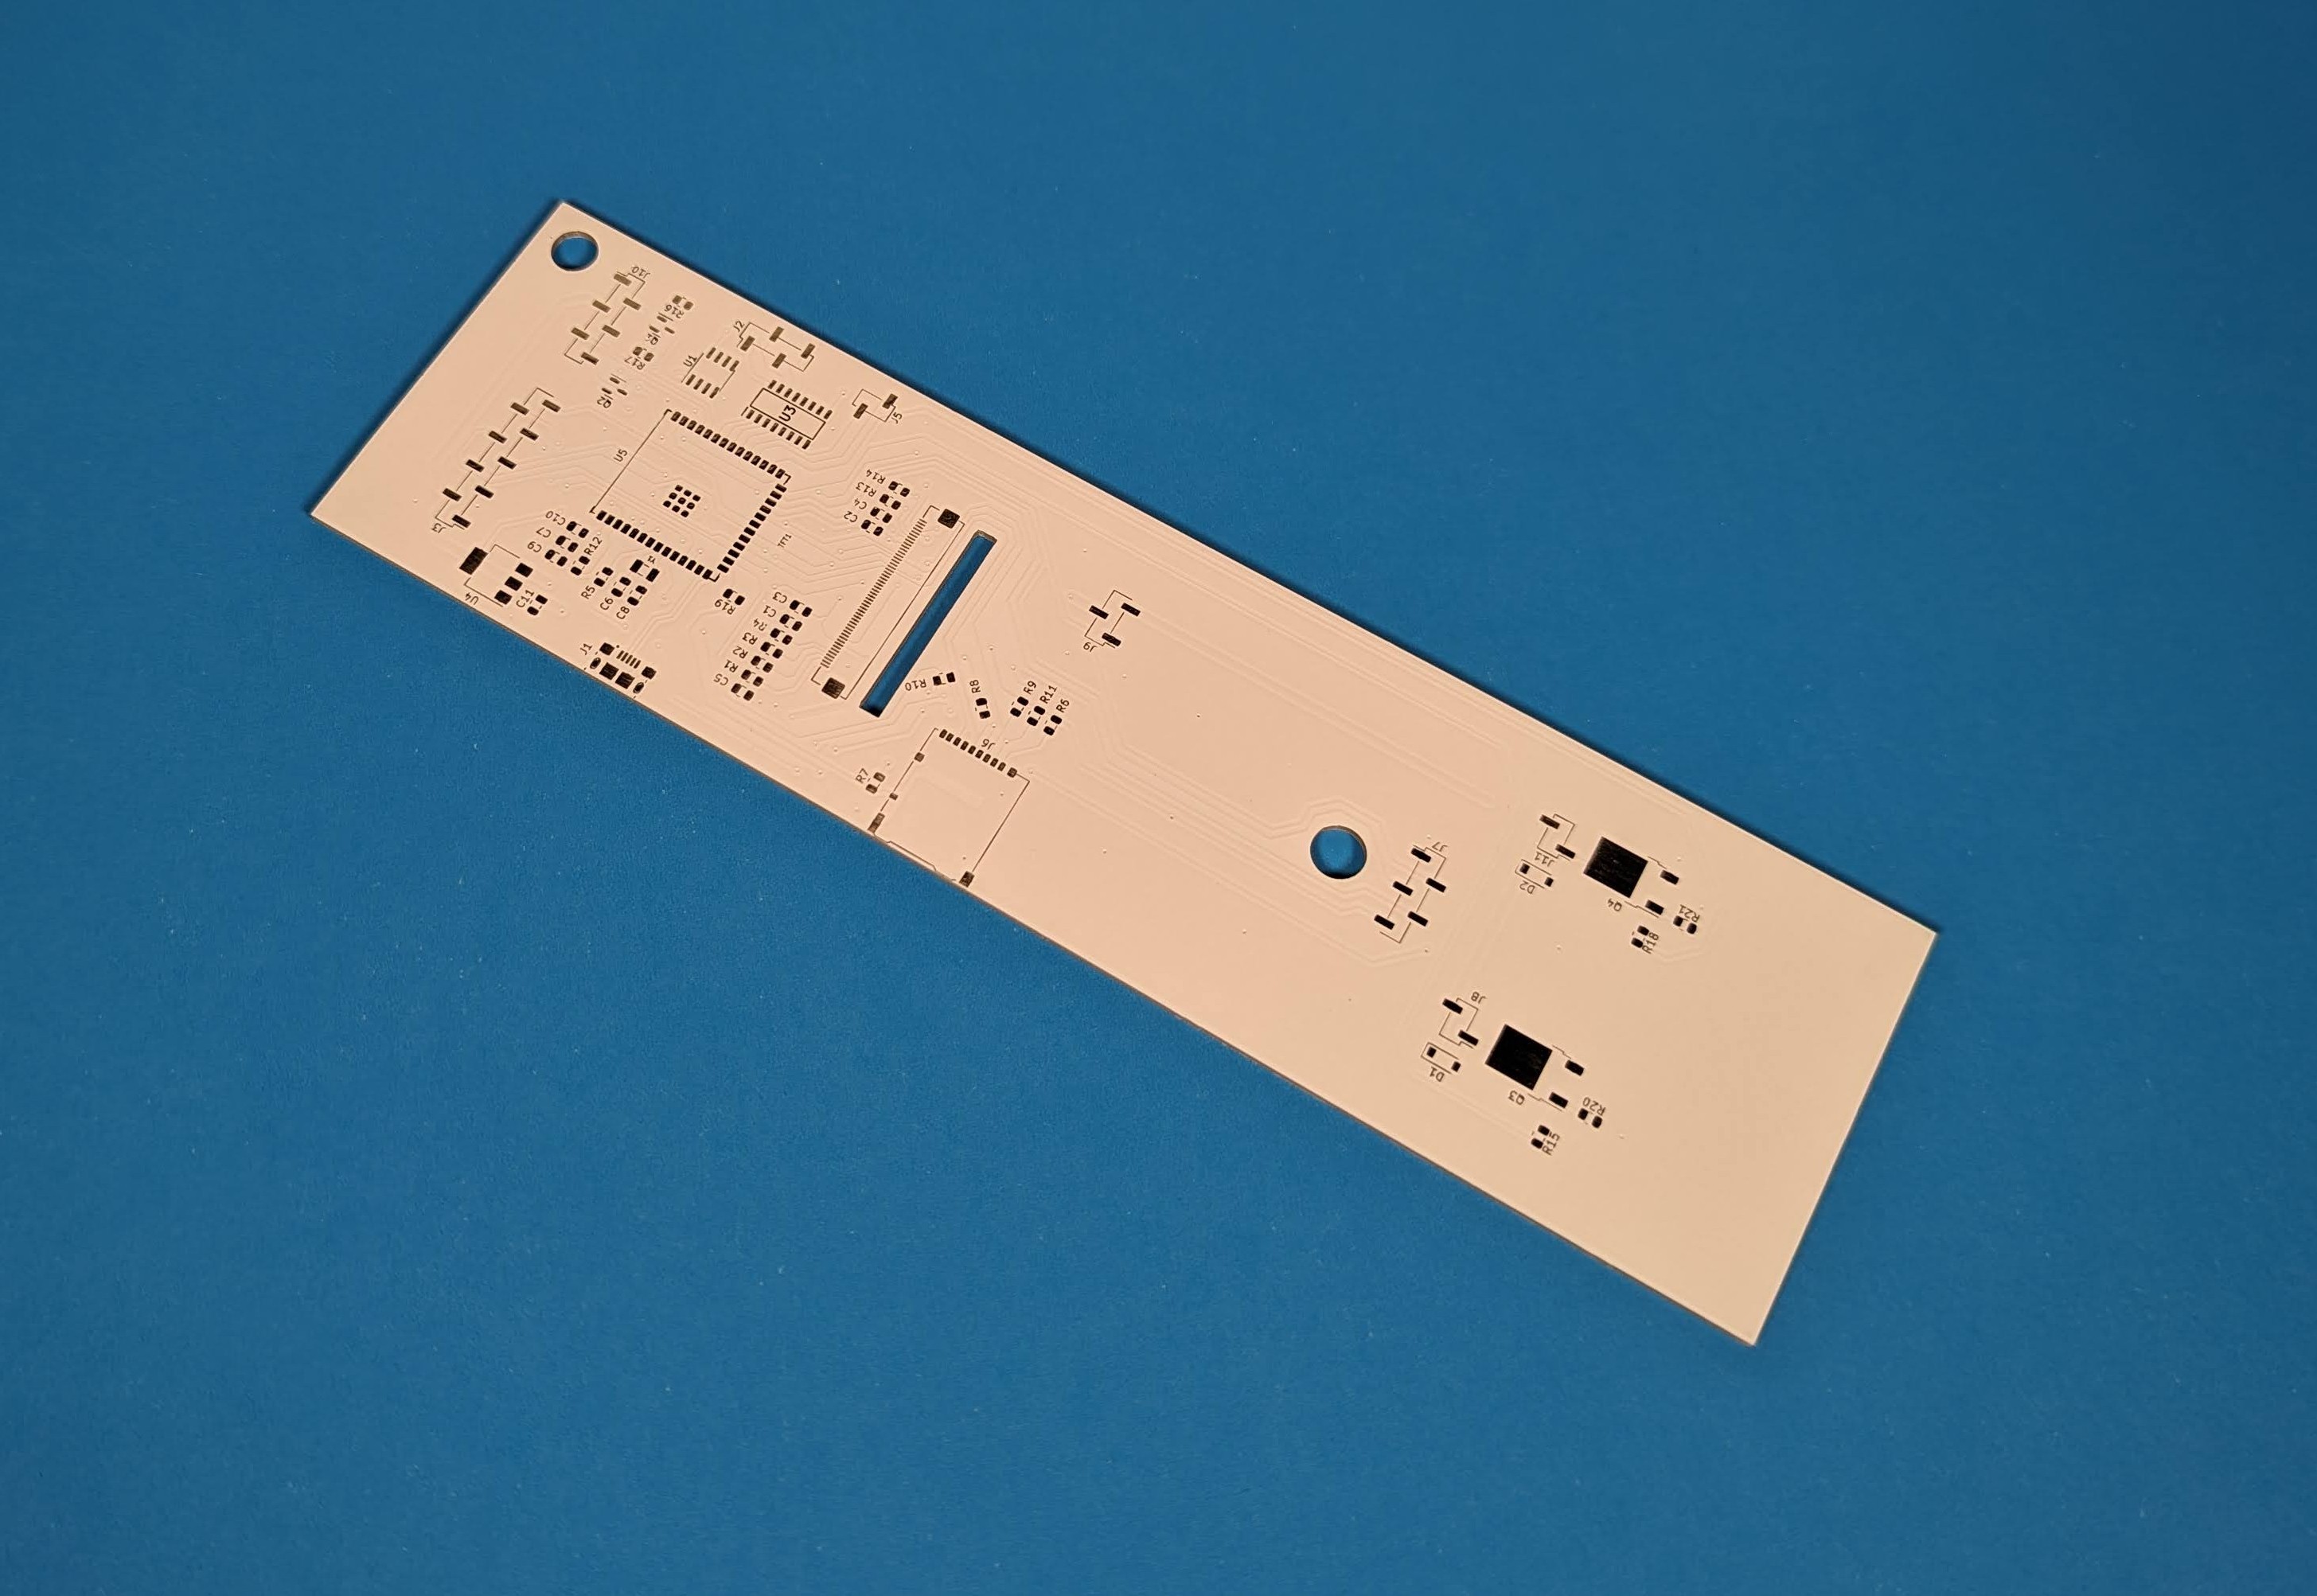
The design for version 2 of this project required the PCB to double as a panel replacement for the toaster oven, so board quality was an important consideration. Luckily, the folks at PCBWay kindly offered to sponsor the manufacturing. The end result was a perfect white silkscreen and accurate cut-out dimensions, which is why they have been my PCB vendor of choice even before this partnership. They have also streamlined the process by providing a KiCad plugin that automatically packages your board design, opens a browser, and adds it to your shopping cart. Combine this with their responsive support engineers and real-time production status on their website, and you are basically guaranteed a fast turnaround with no errors
The previous build used a Raspberry Pi, because that’s what I had at the time. Unfortunately, I needed it during the great Raspberry Pi chip shortage and that left my oven unusable. This time I decided to rebuilt it with an ESP32S3 to try out the graphics library LVGL. It’s open source and has a free (with limitations) tool called Square Line Studio to build GUIs with. I decided to give NXPs GUI Guider a try instead, which has no limitations. It work like most GUI editors and generates code for all of your UI screens, events, animations, etc. It even converts your asset files into C structs. This greatly reduced the boilerplate code you need to write.
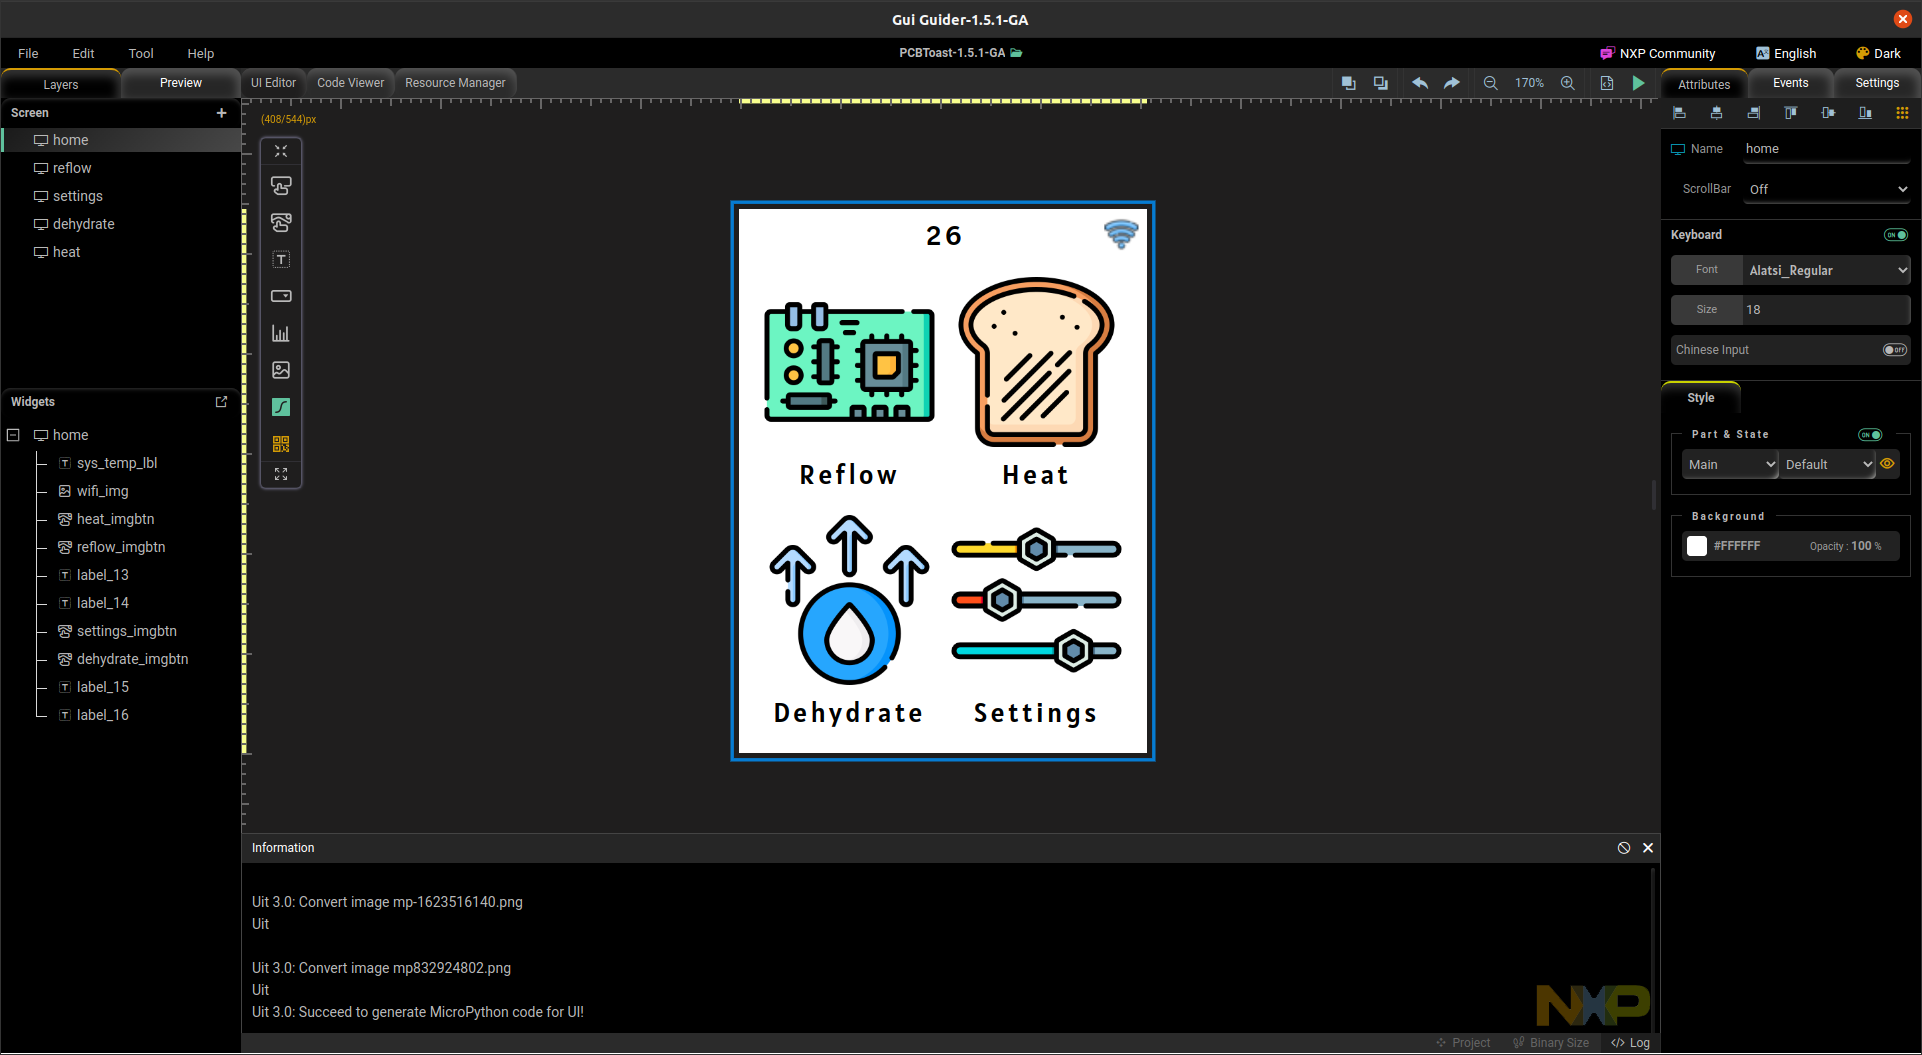
Currently, only the Reflow and Heat screens are functional. Reflow runs a temperature controlled heat profile to reflow solder boards. Heat allows manual control of the oven. Dehydrate will bake parts, 3D printer filament or anything else at low temperatures to remove moisture. Settings will let you set the WiFi credentials.
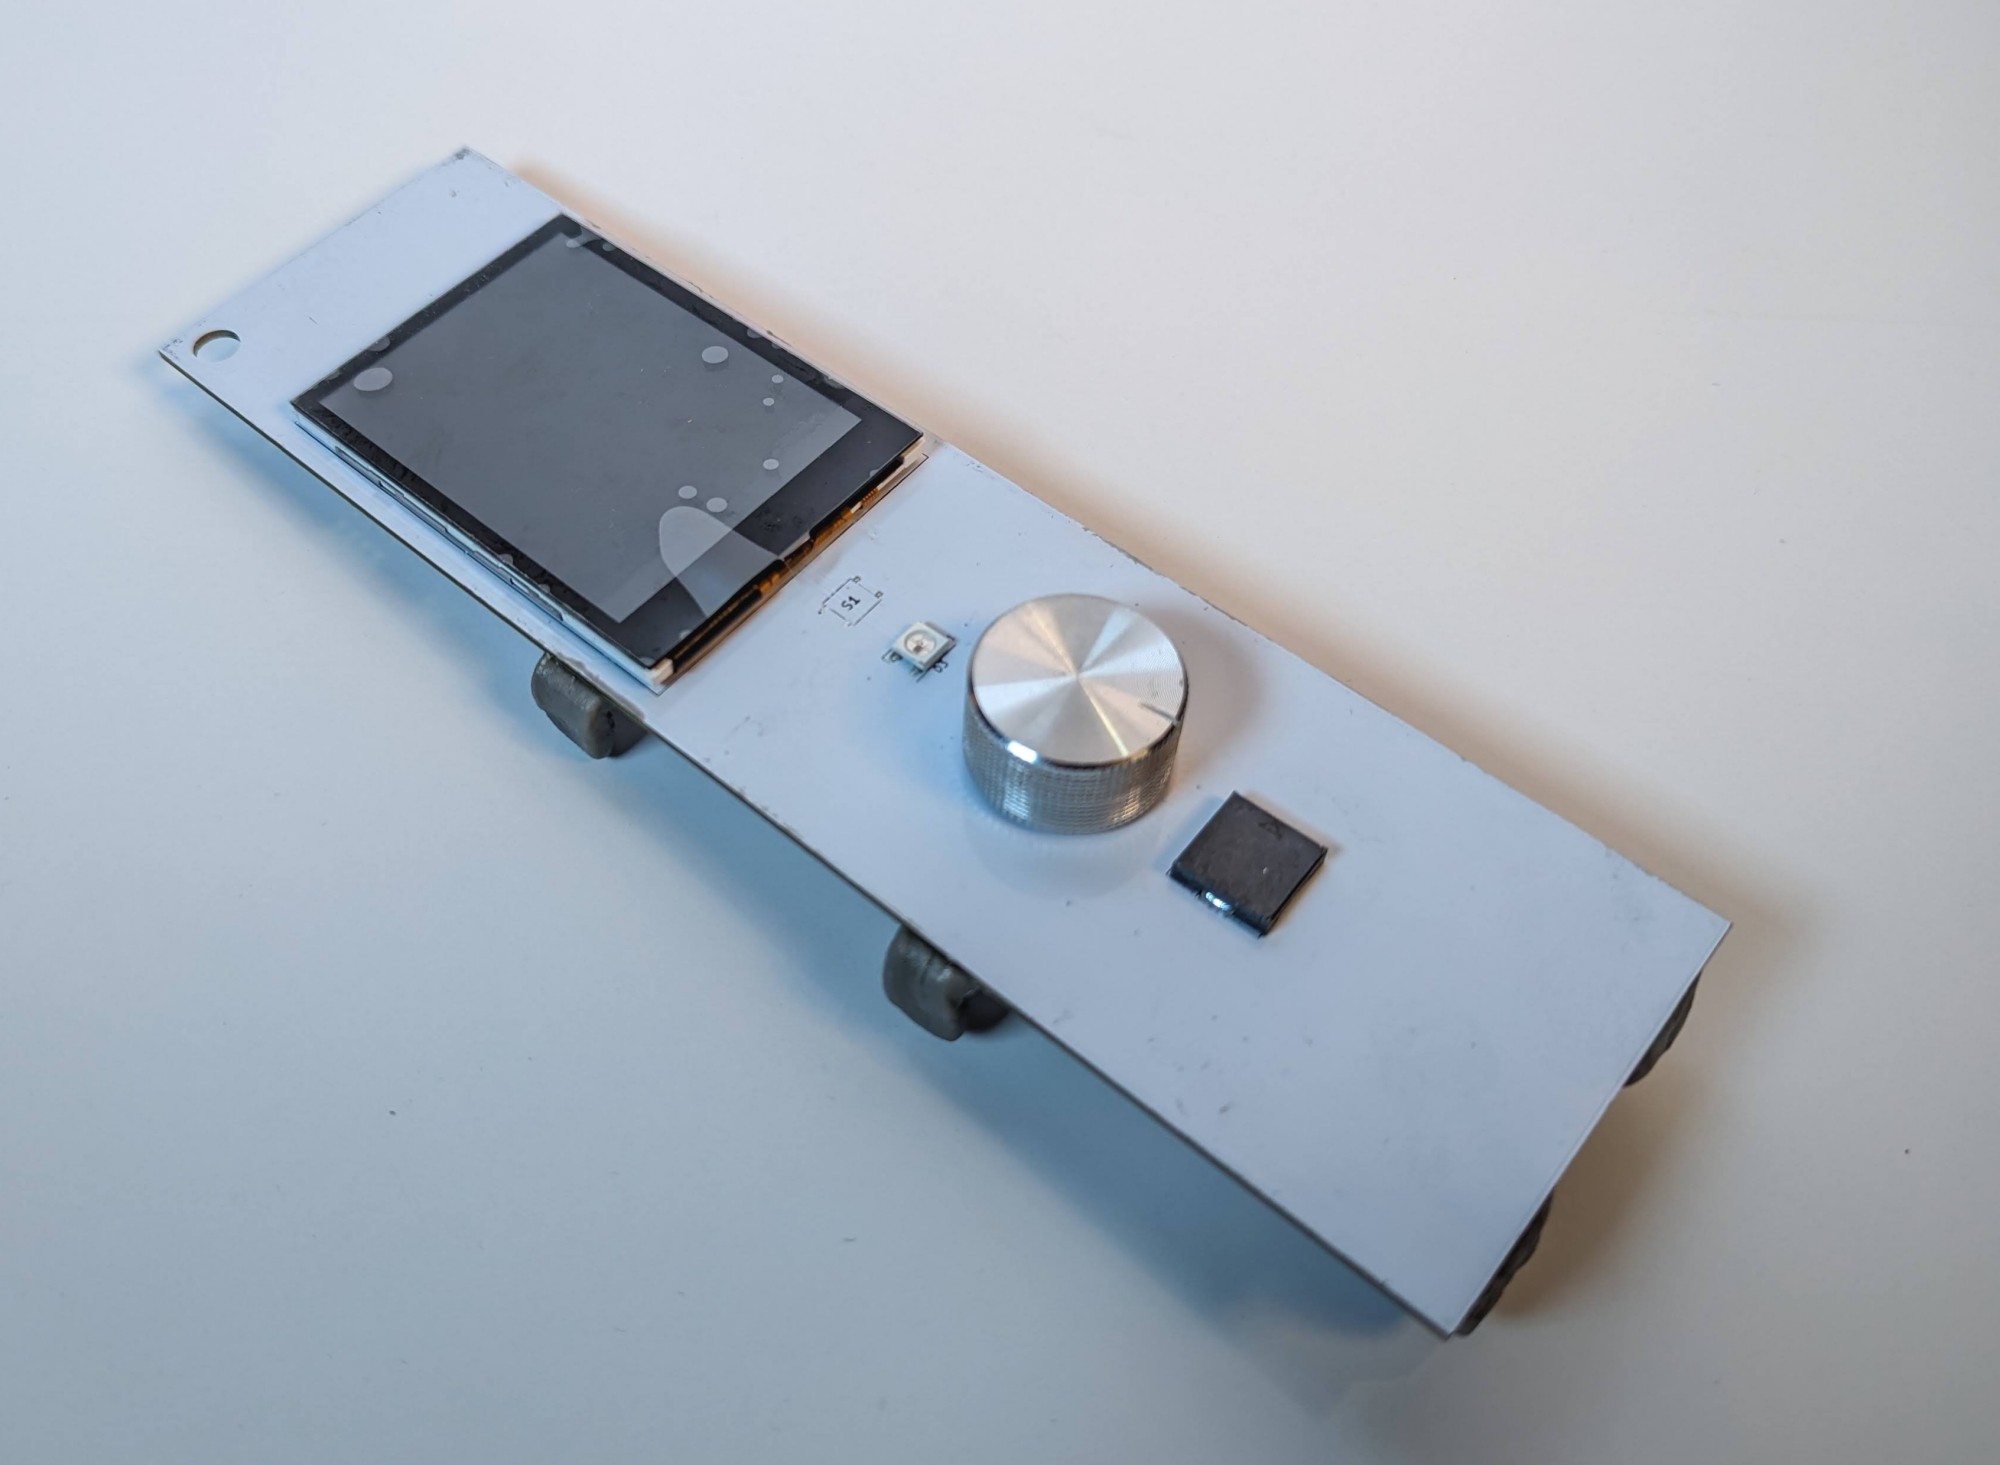
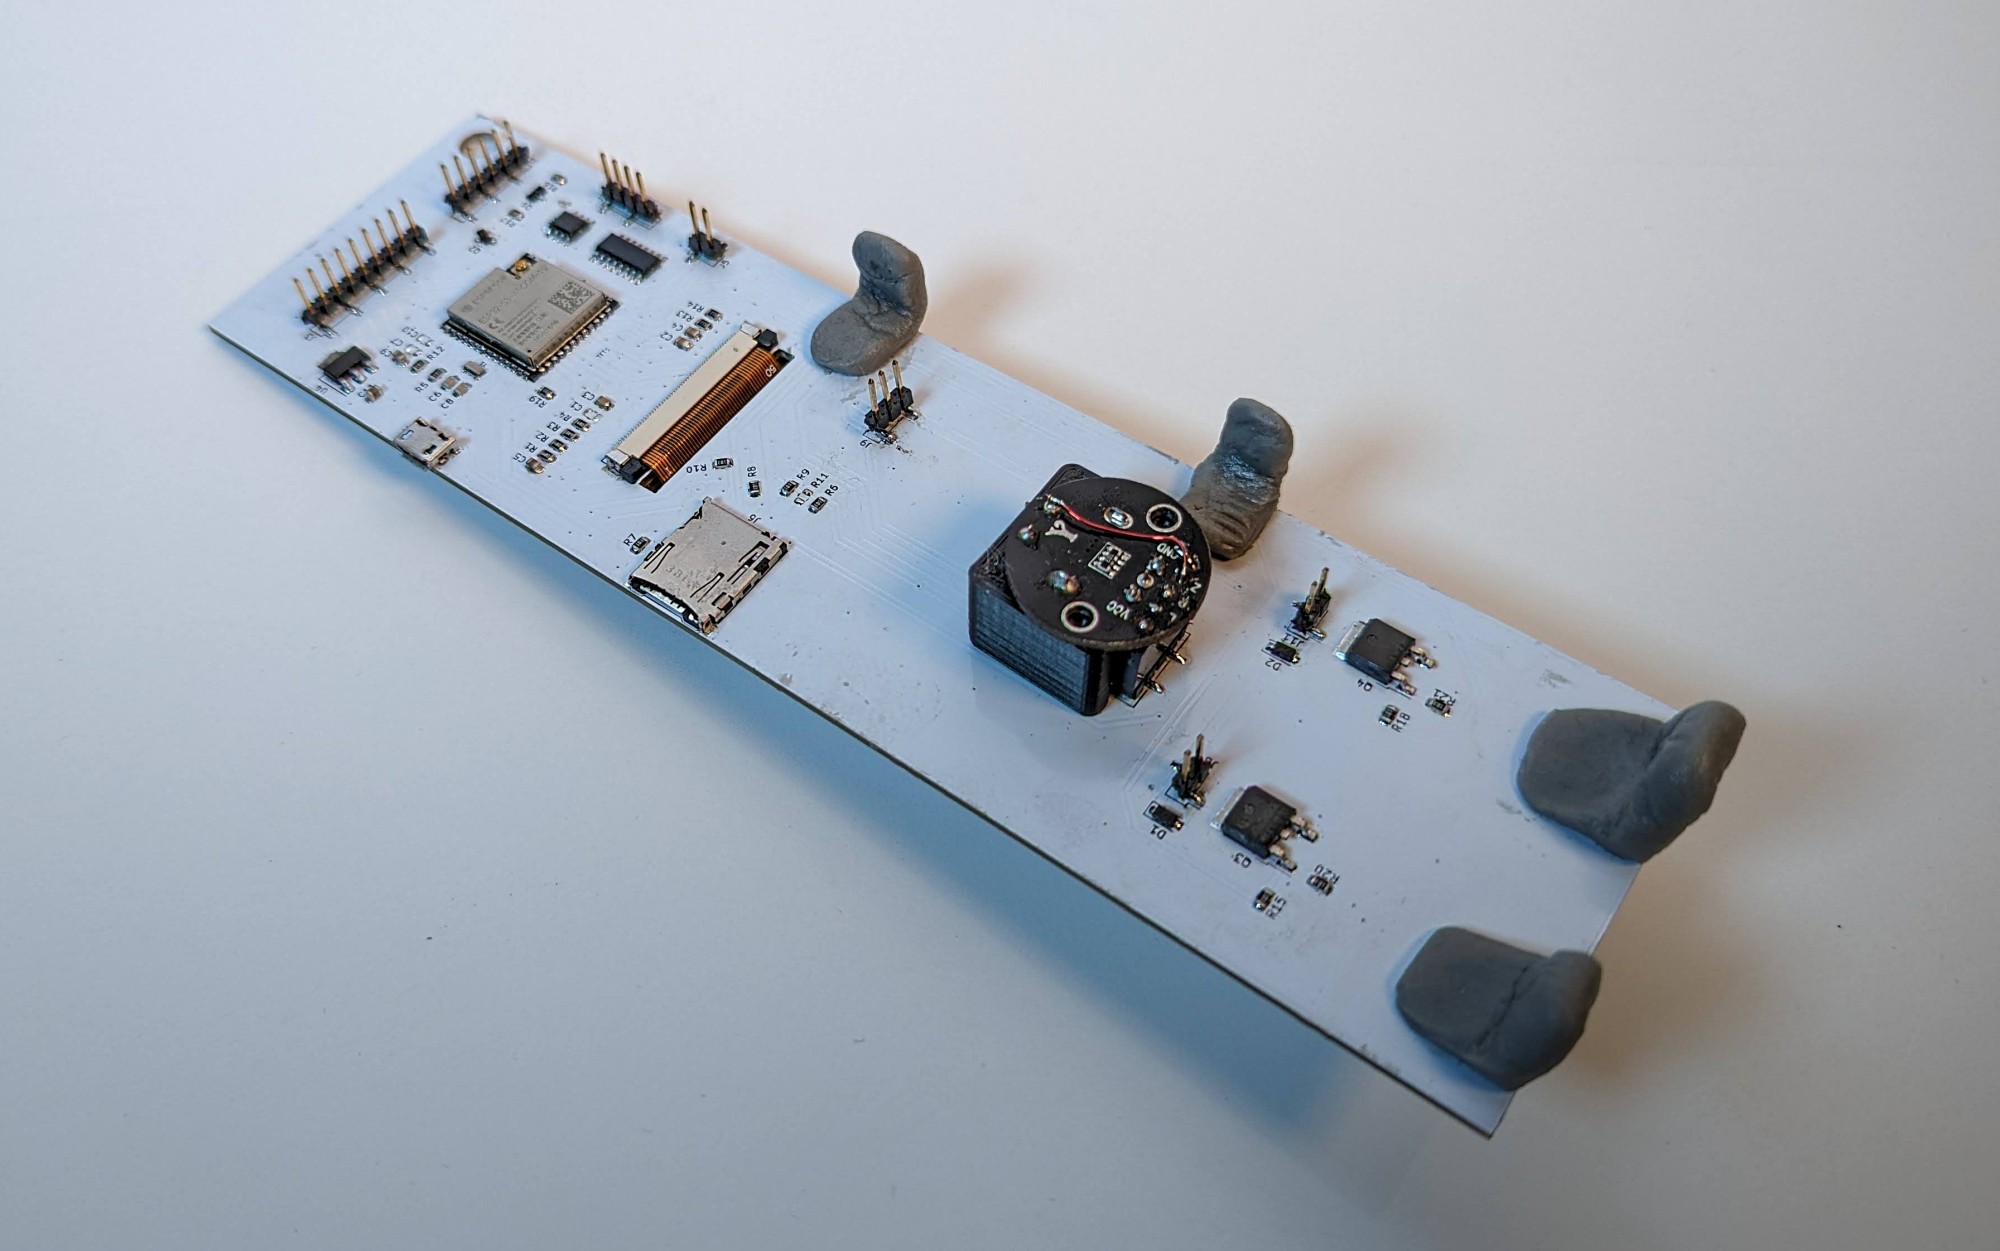
The board has the following specs:
- 2.8 inch capacitive LCD from Adafruit
- ESP32S3
- Micro SD slot
- ULN2003A stepper motor driver
- Piezo buzzer
- LM35 temperature over heat sensor
- RGB LED
- Rotary encoder
- Low side Mosfet switch x2
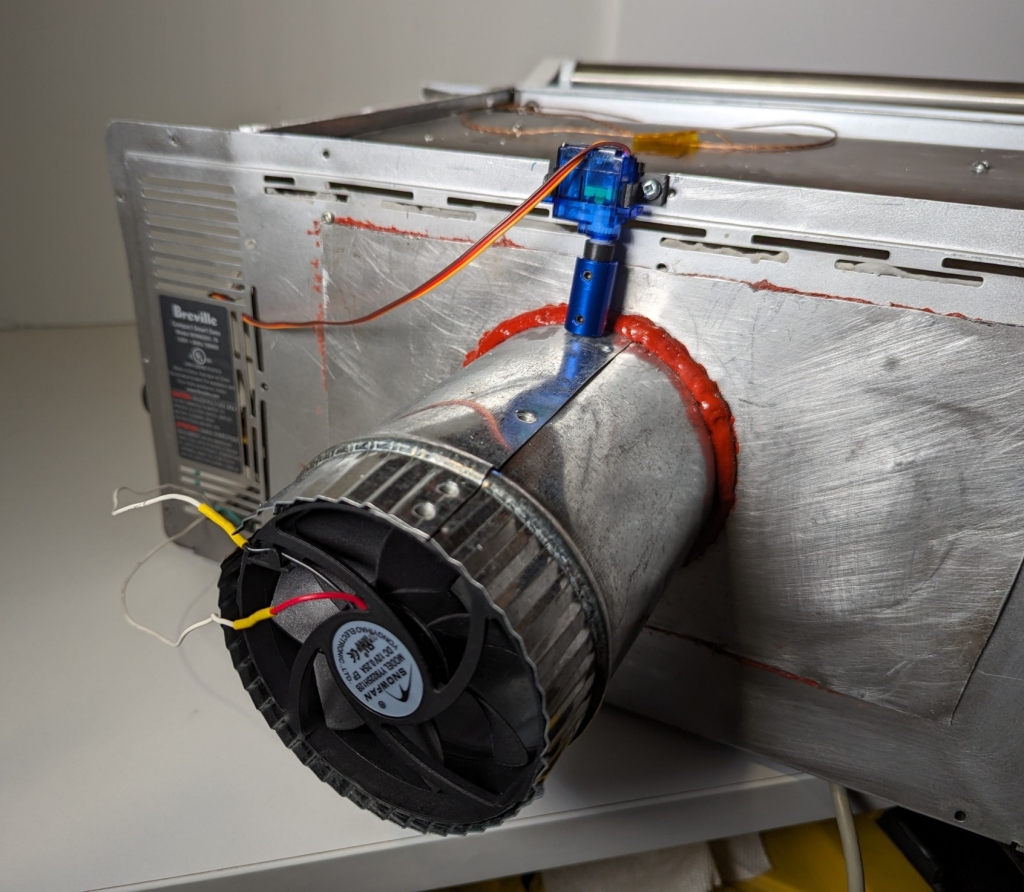
Finally, I switched from a stepper to a servo to control the exhaust door. This makes it easier to know the exact position of the door after power on. Next up will be finishing the dehydrate functionality.
Discussions
Become a Hackaday.io Member
Create an account to leave a comment. Already have an account? Log In.