 Kaushlesh C. ( KD9VFU )
Here are some pictures illustrating the build. I will share a video explaining each step of the build.
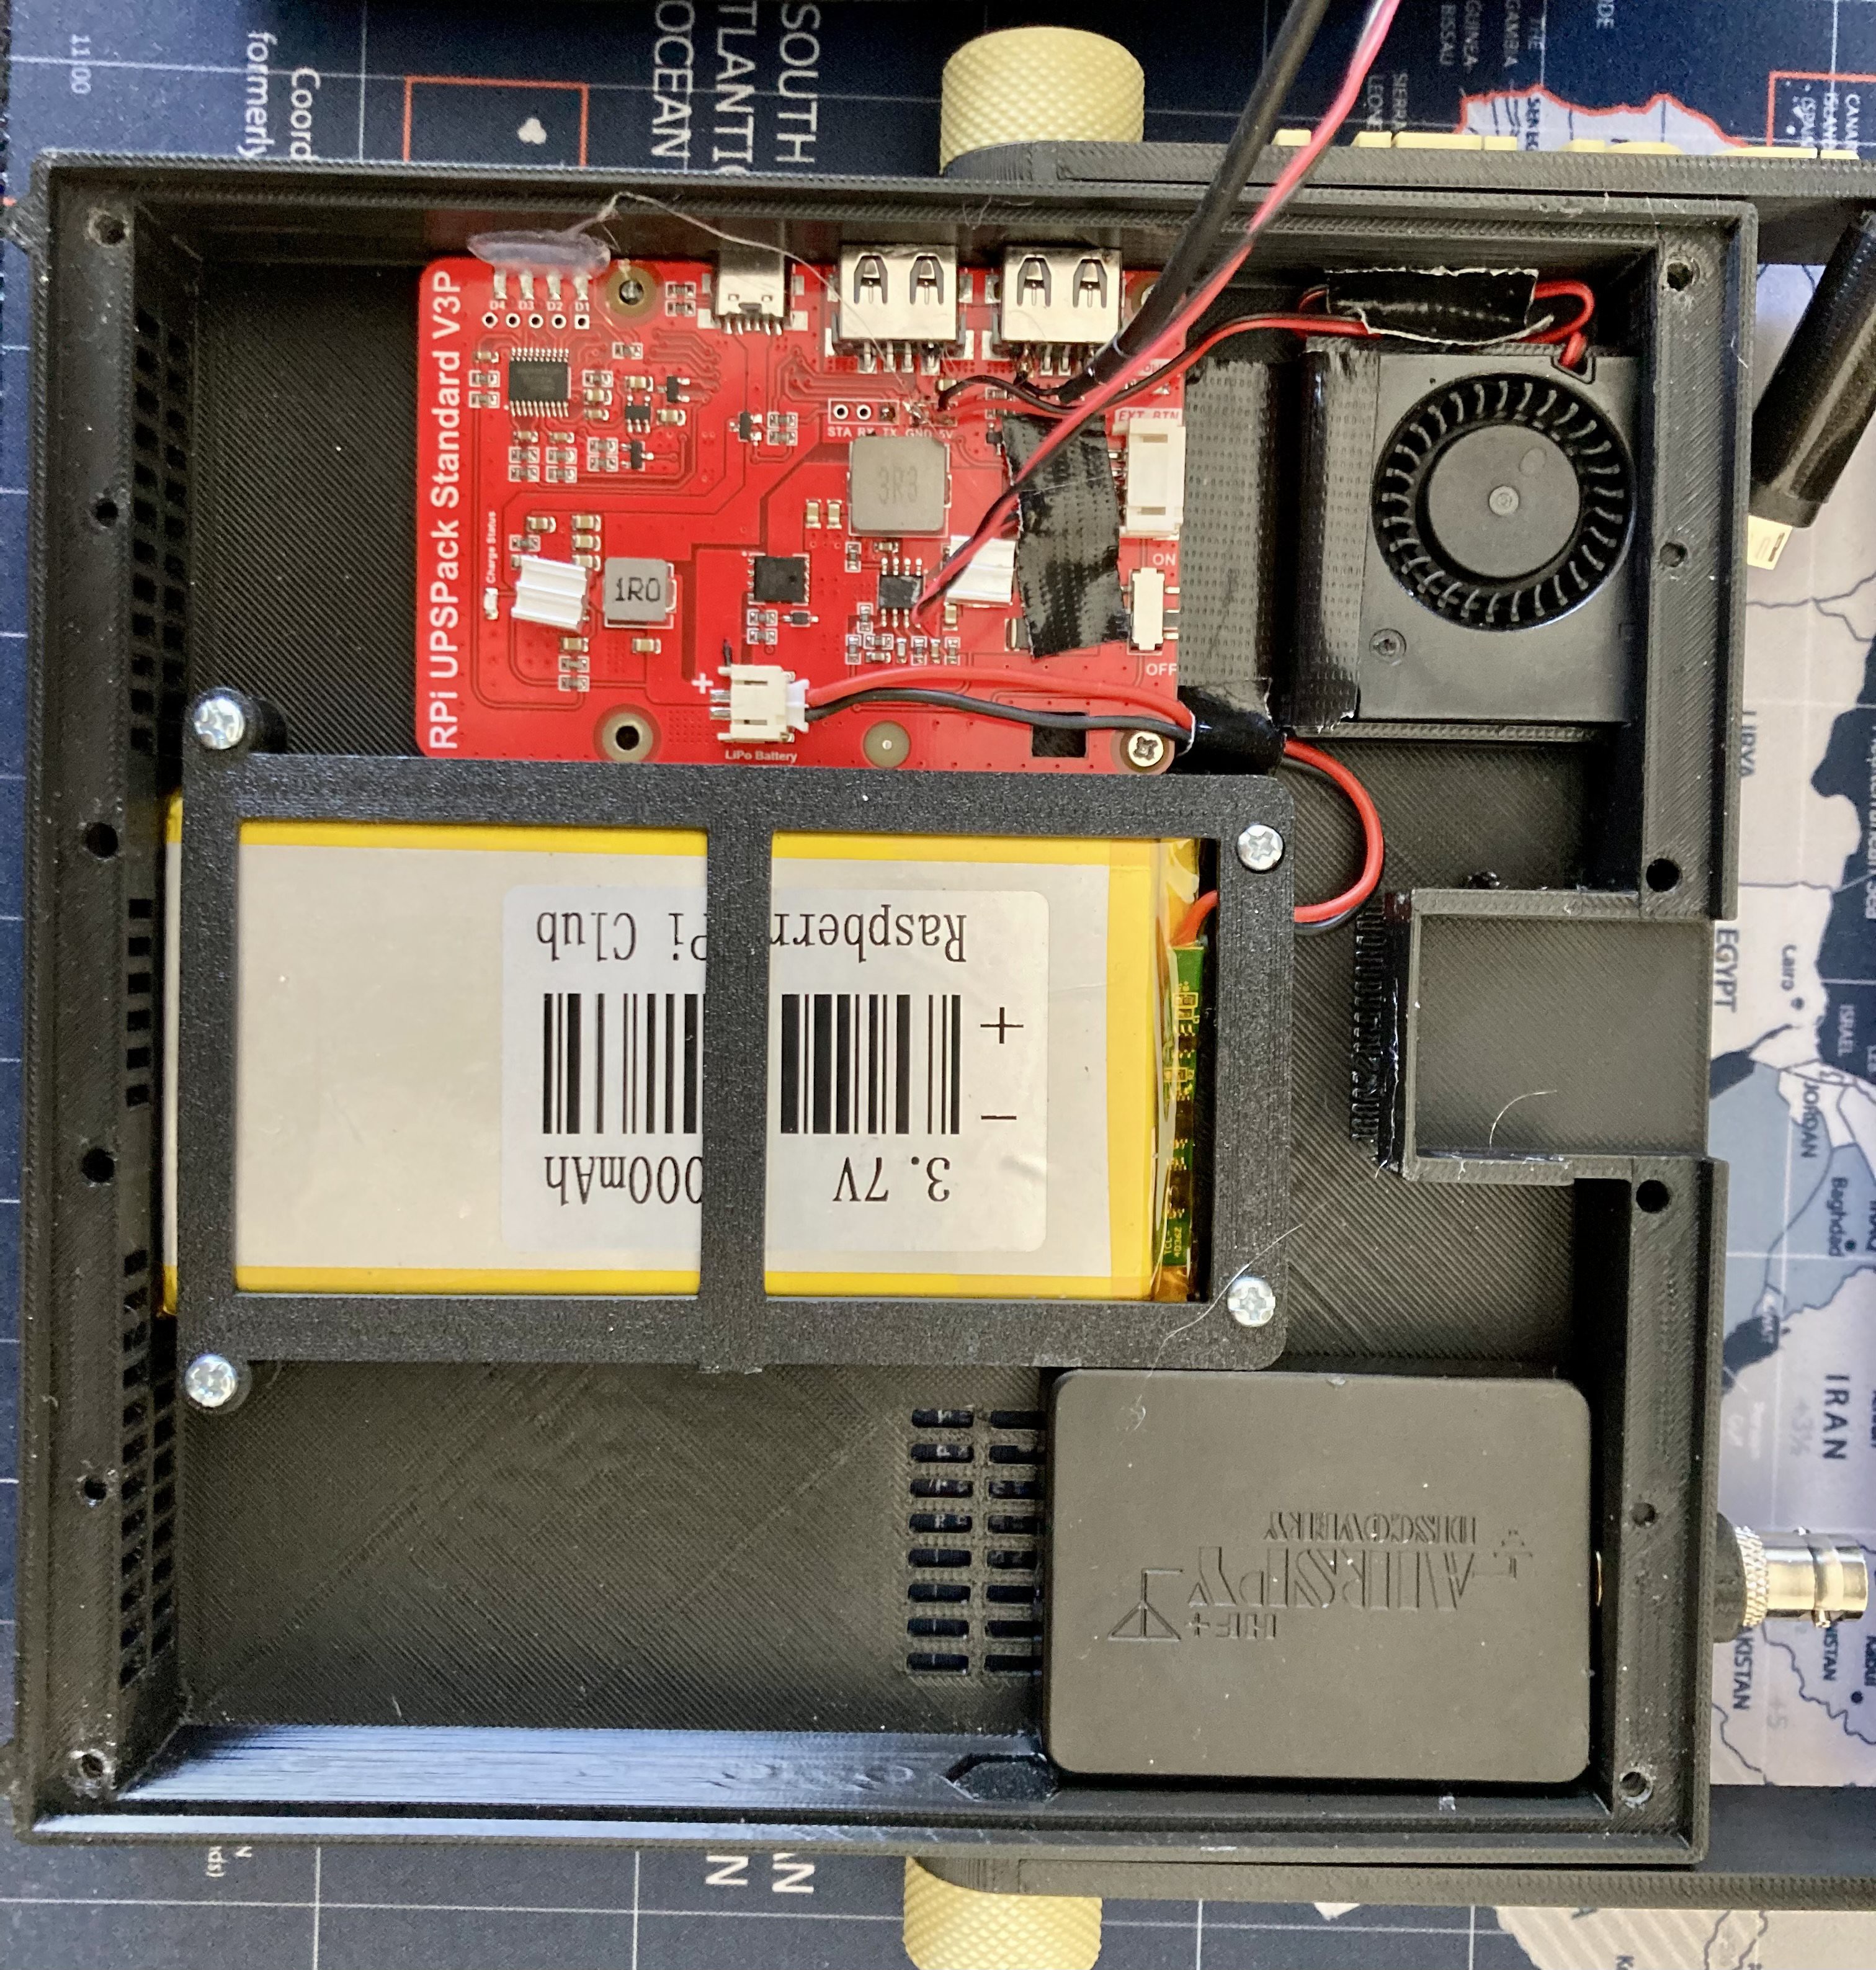
The back enclosure has Airspy, Fan, battery and BMS system

The font panel has LCD, Raspberry Pi, SD Card, and keypad controllers (Behind the black panel).
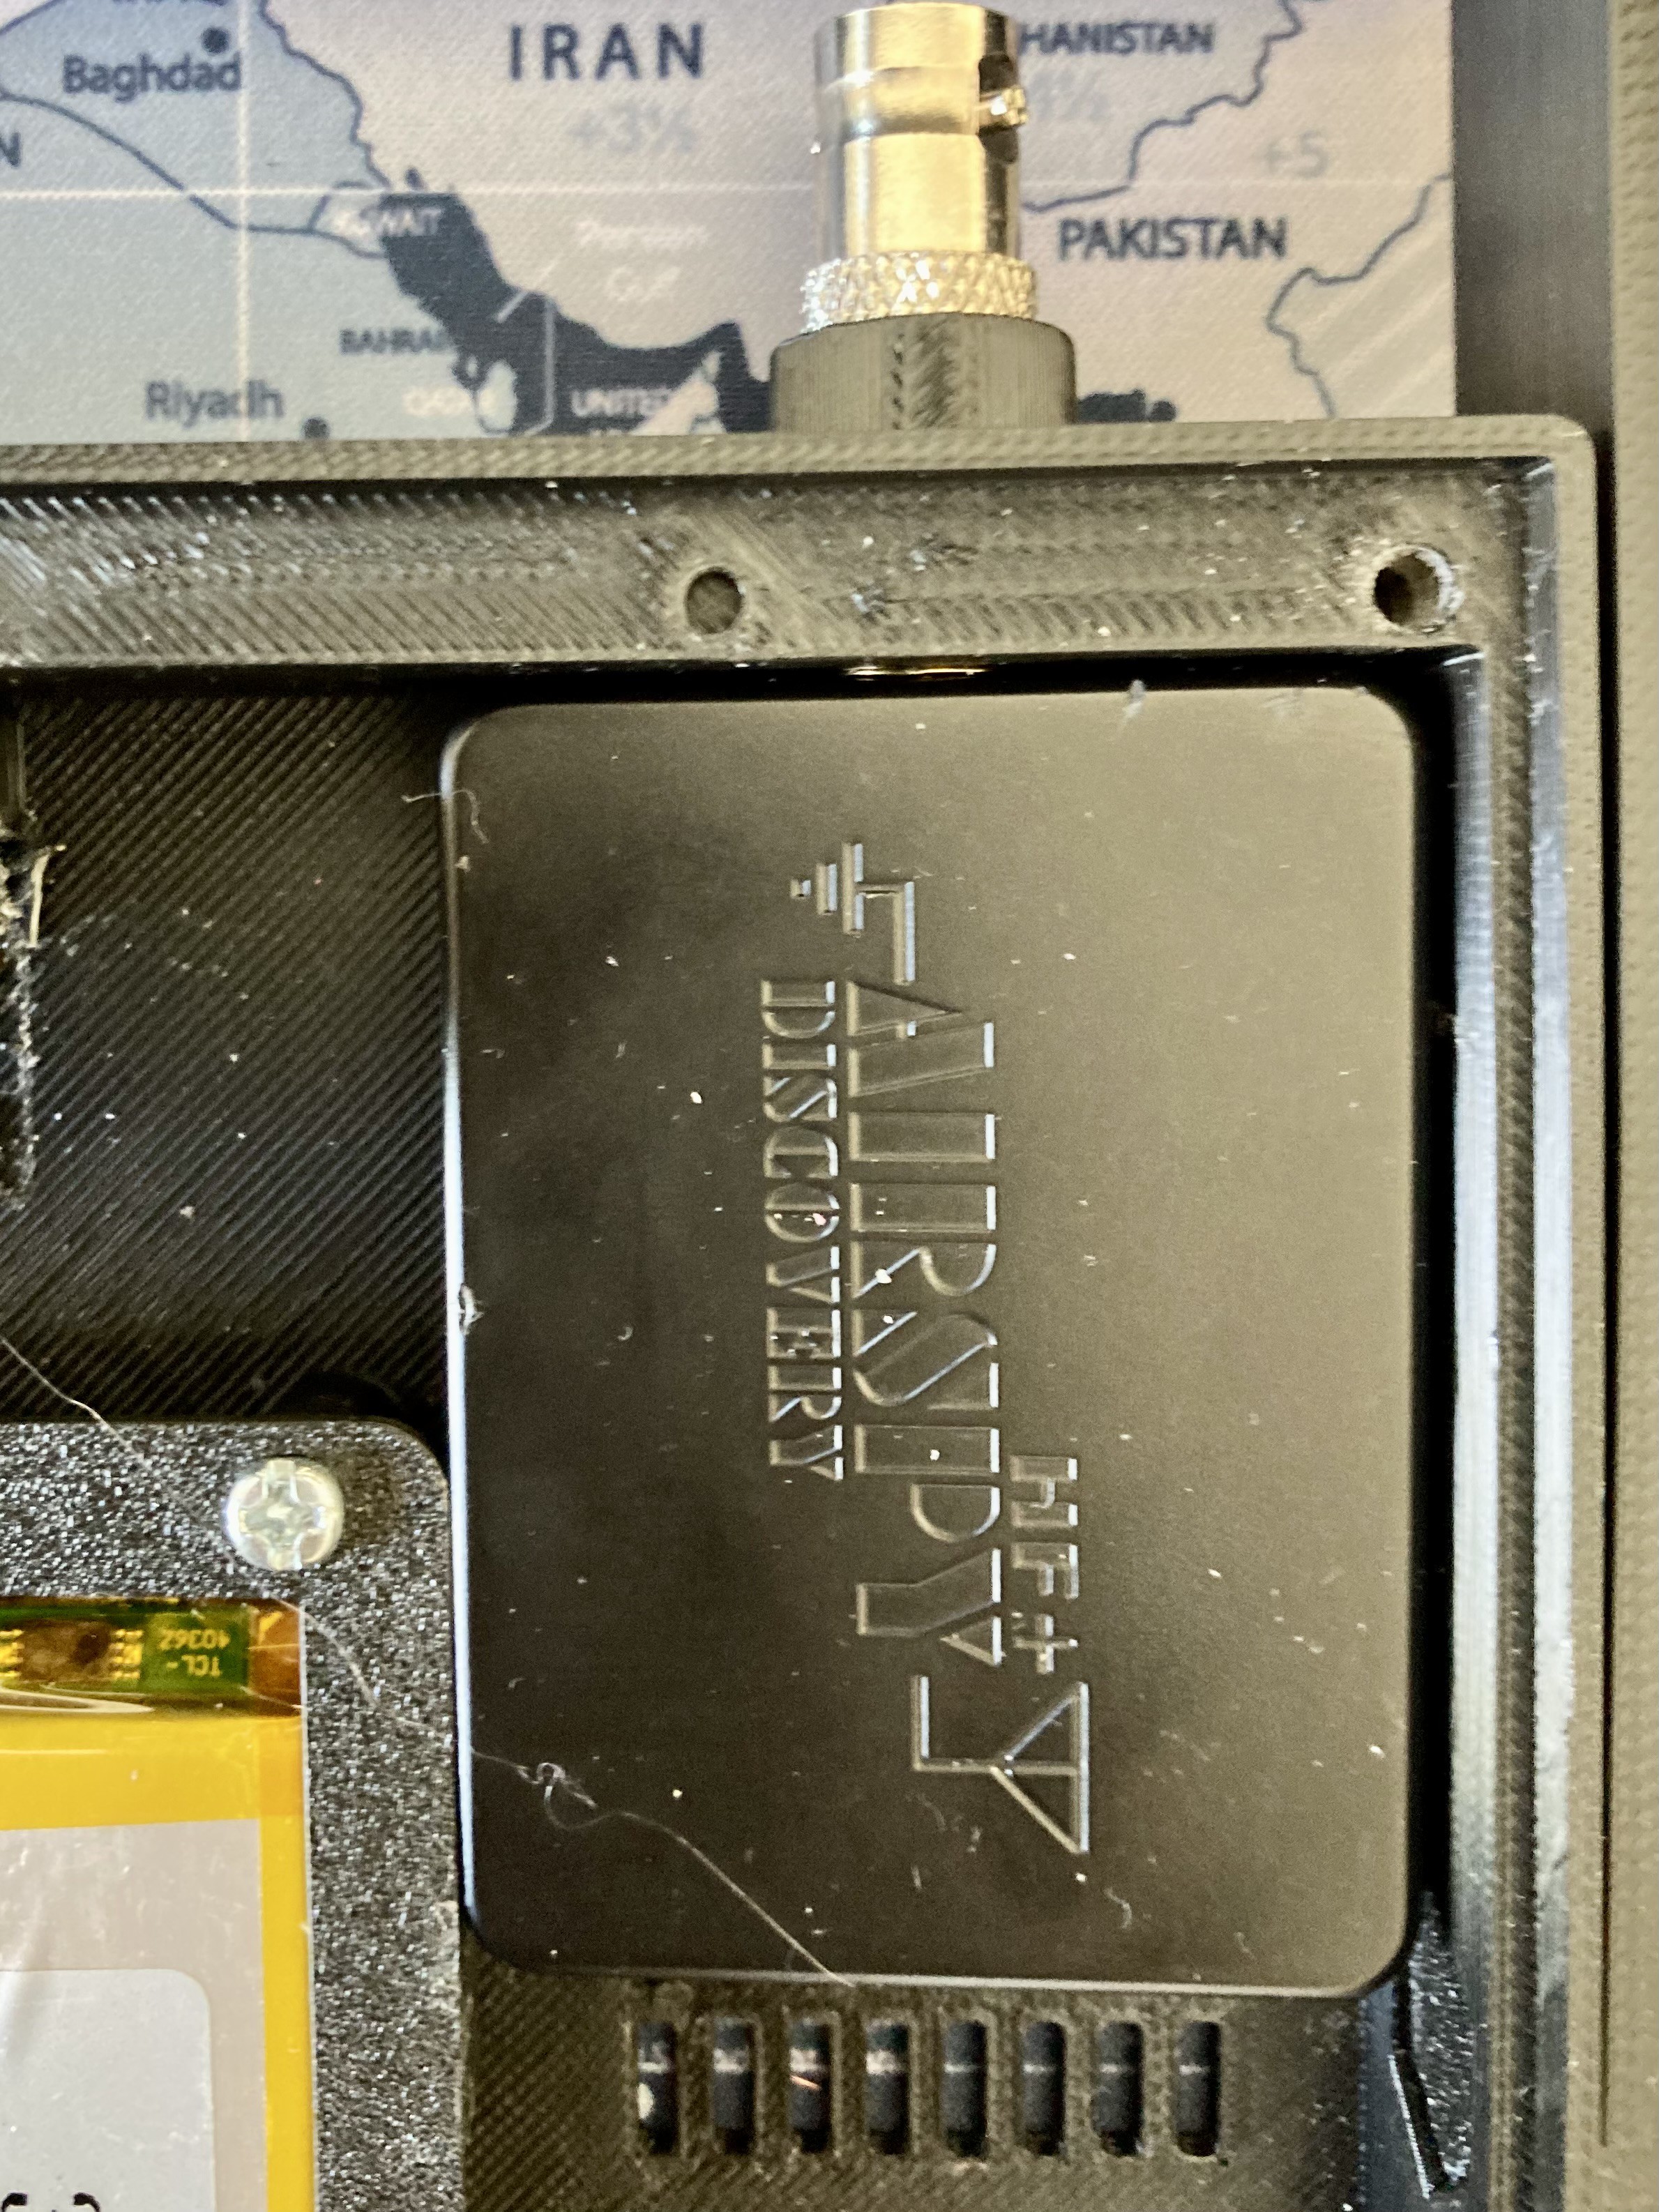
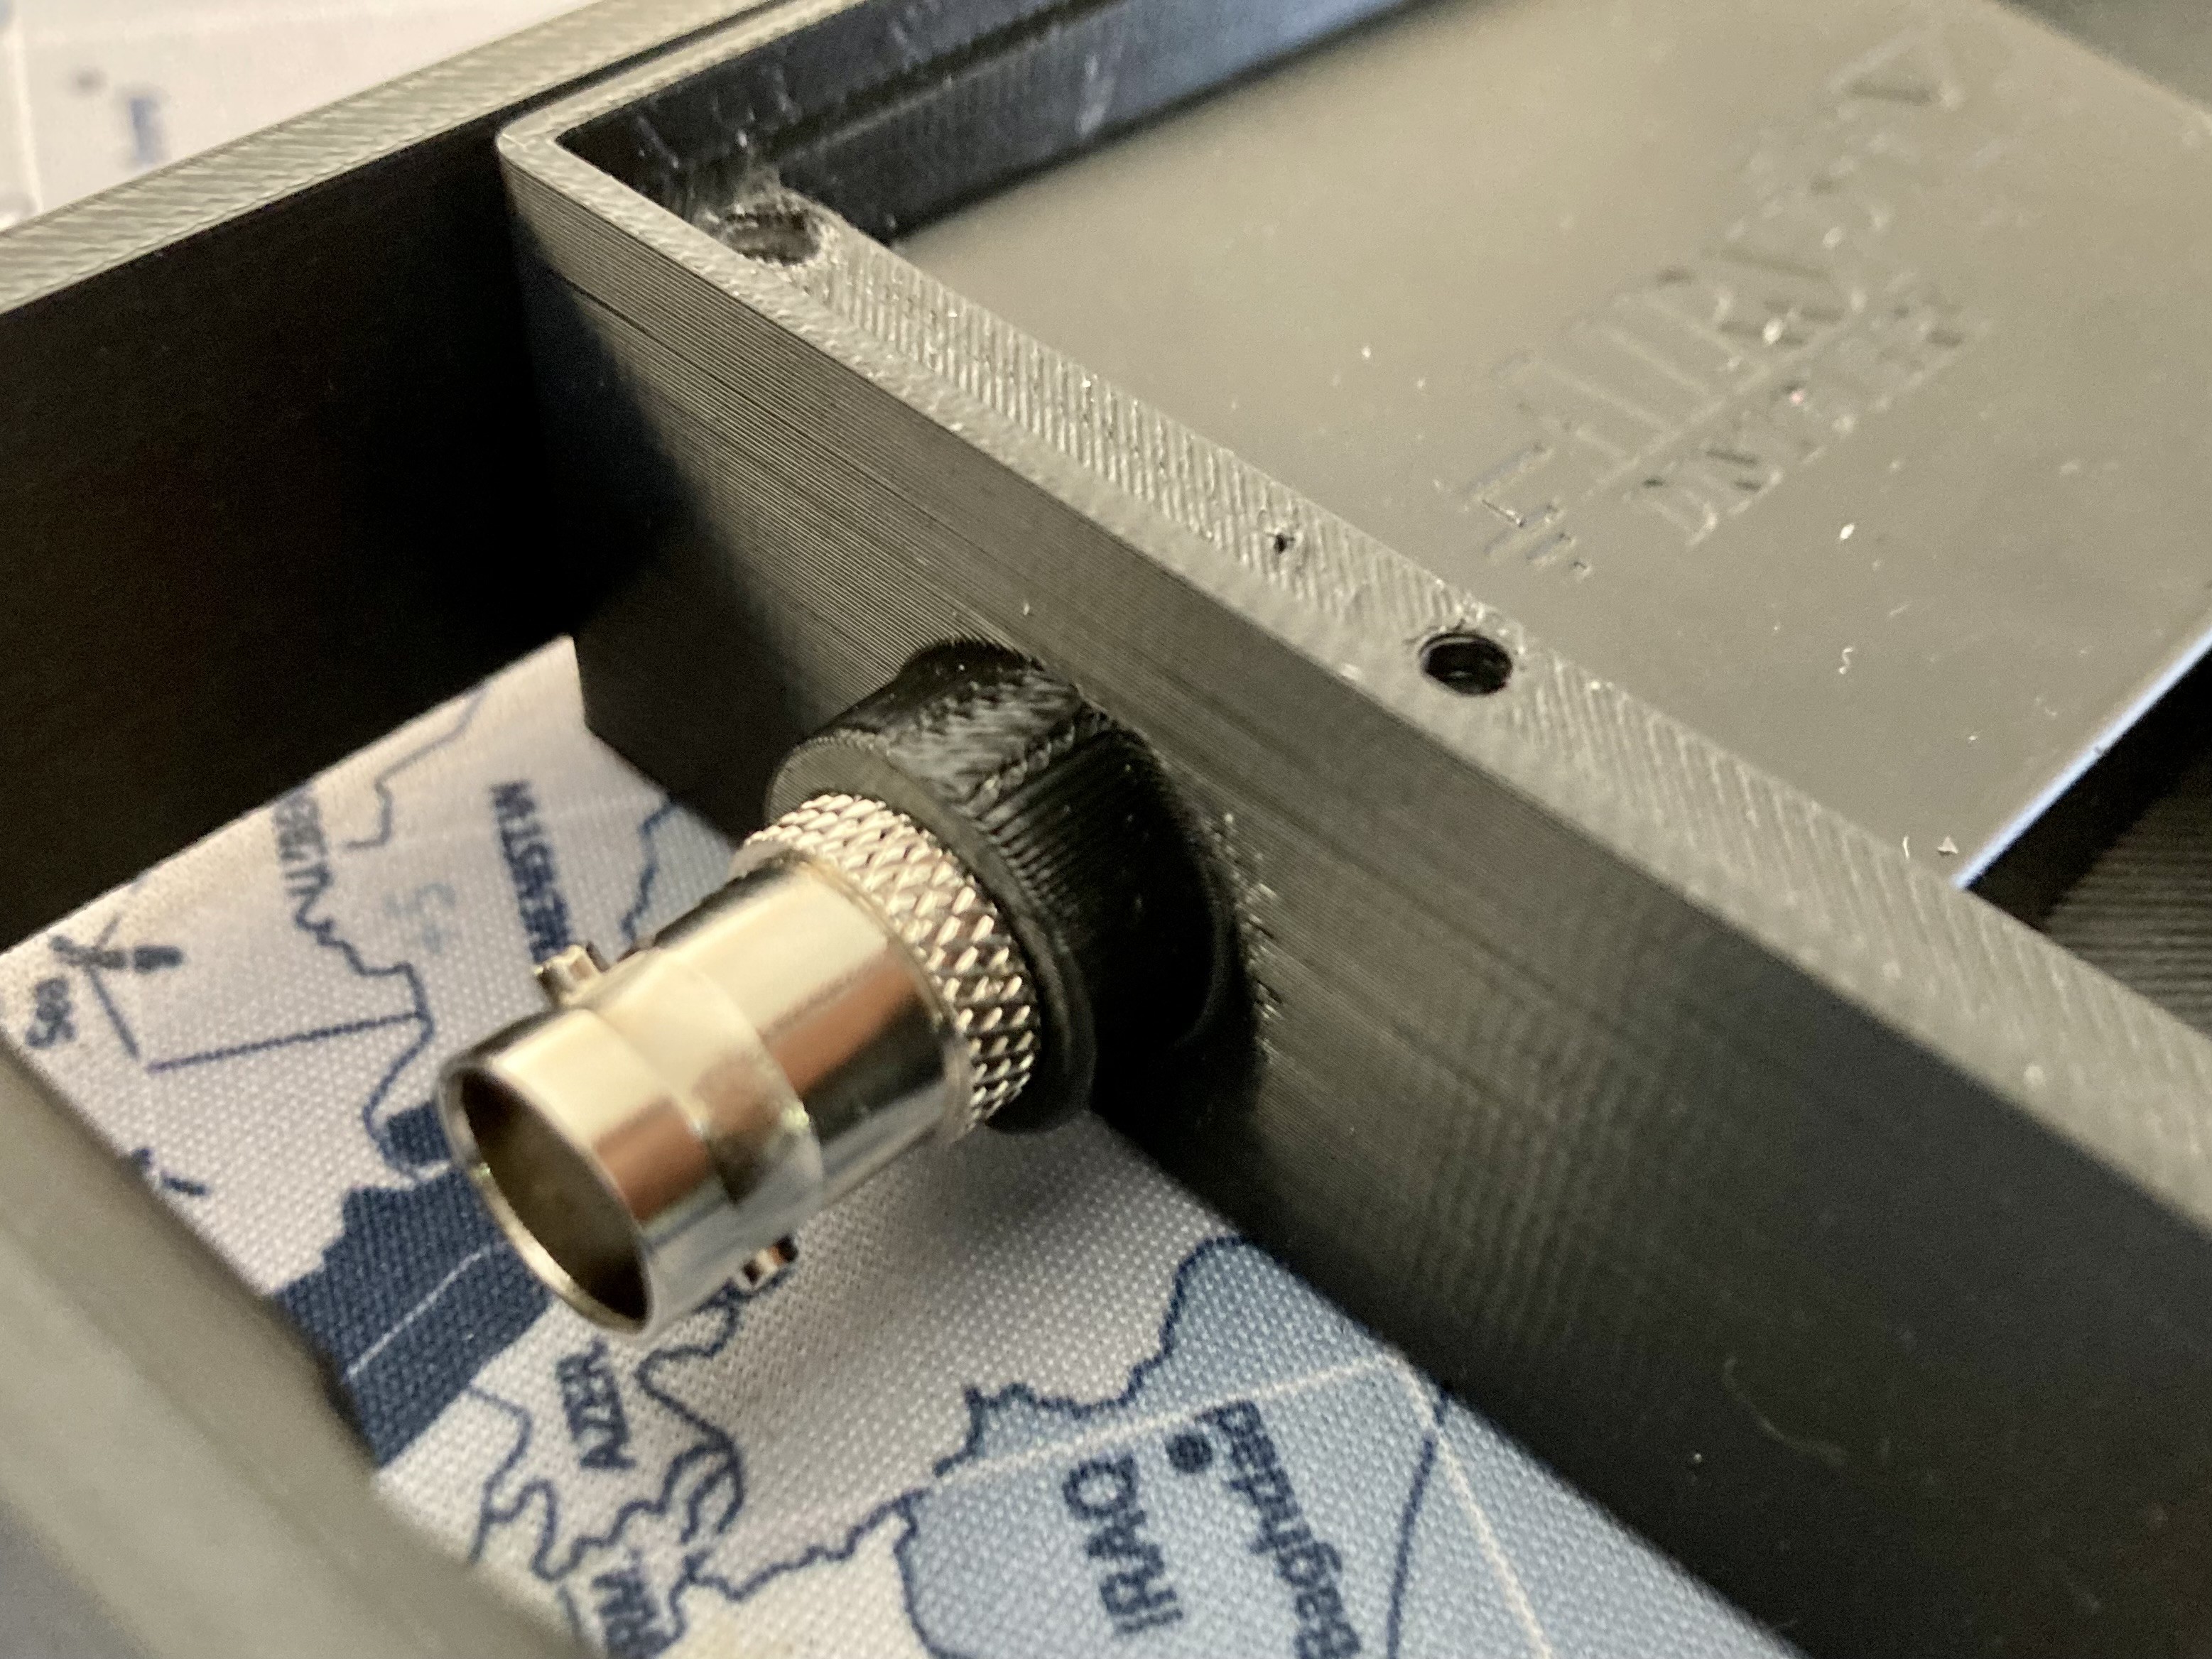
Airspy HF+ is an excellent device to explore the HF signals. And a BNC extension, makes it easy to secure the Airspy, and to mount common antennas.
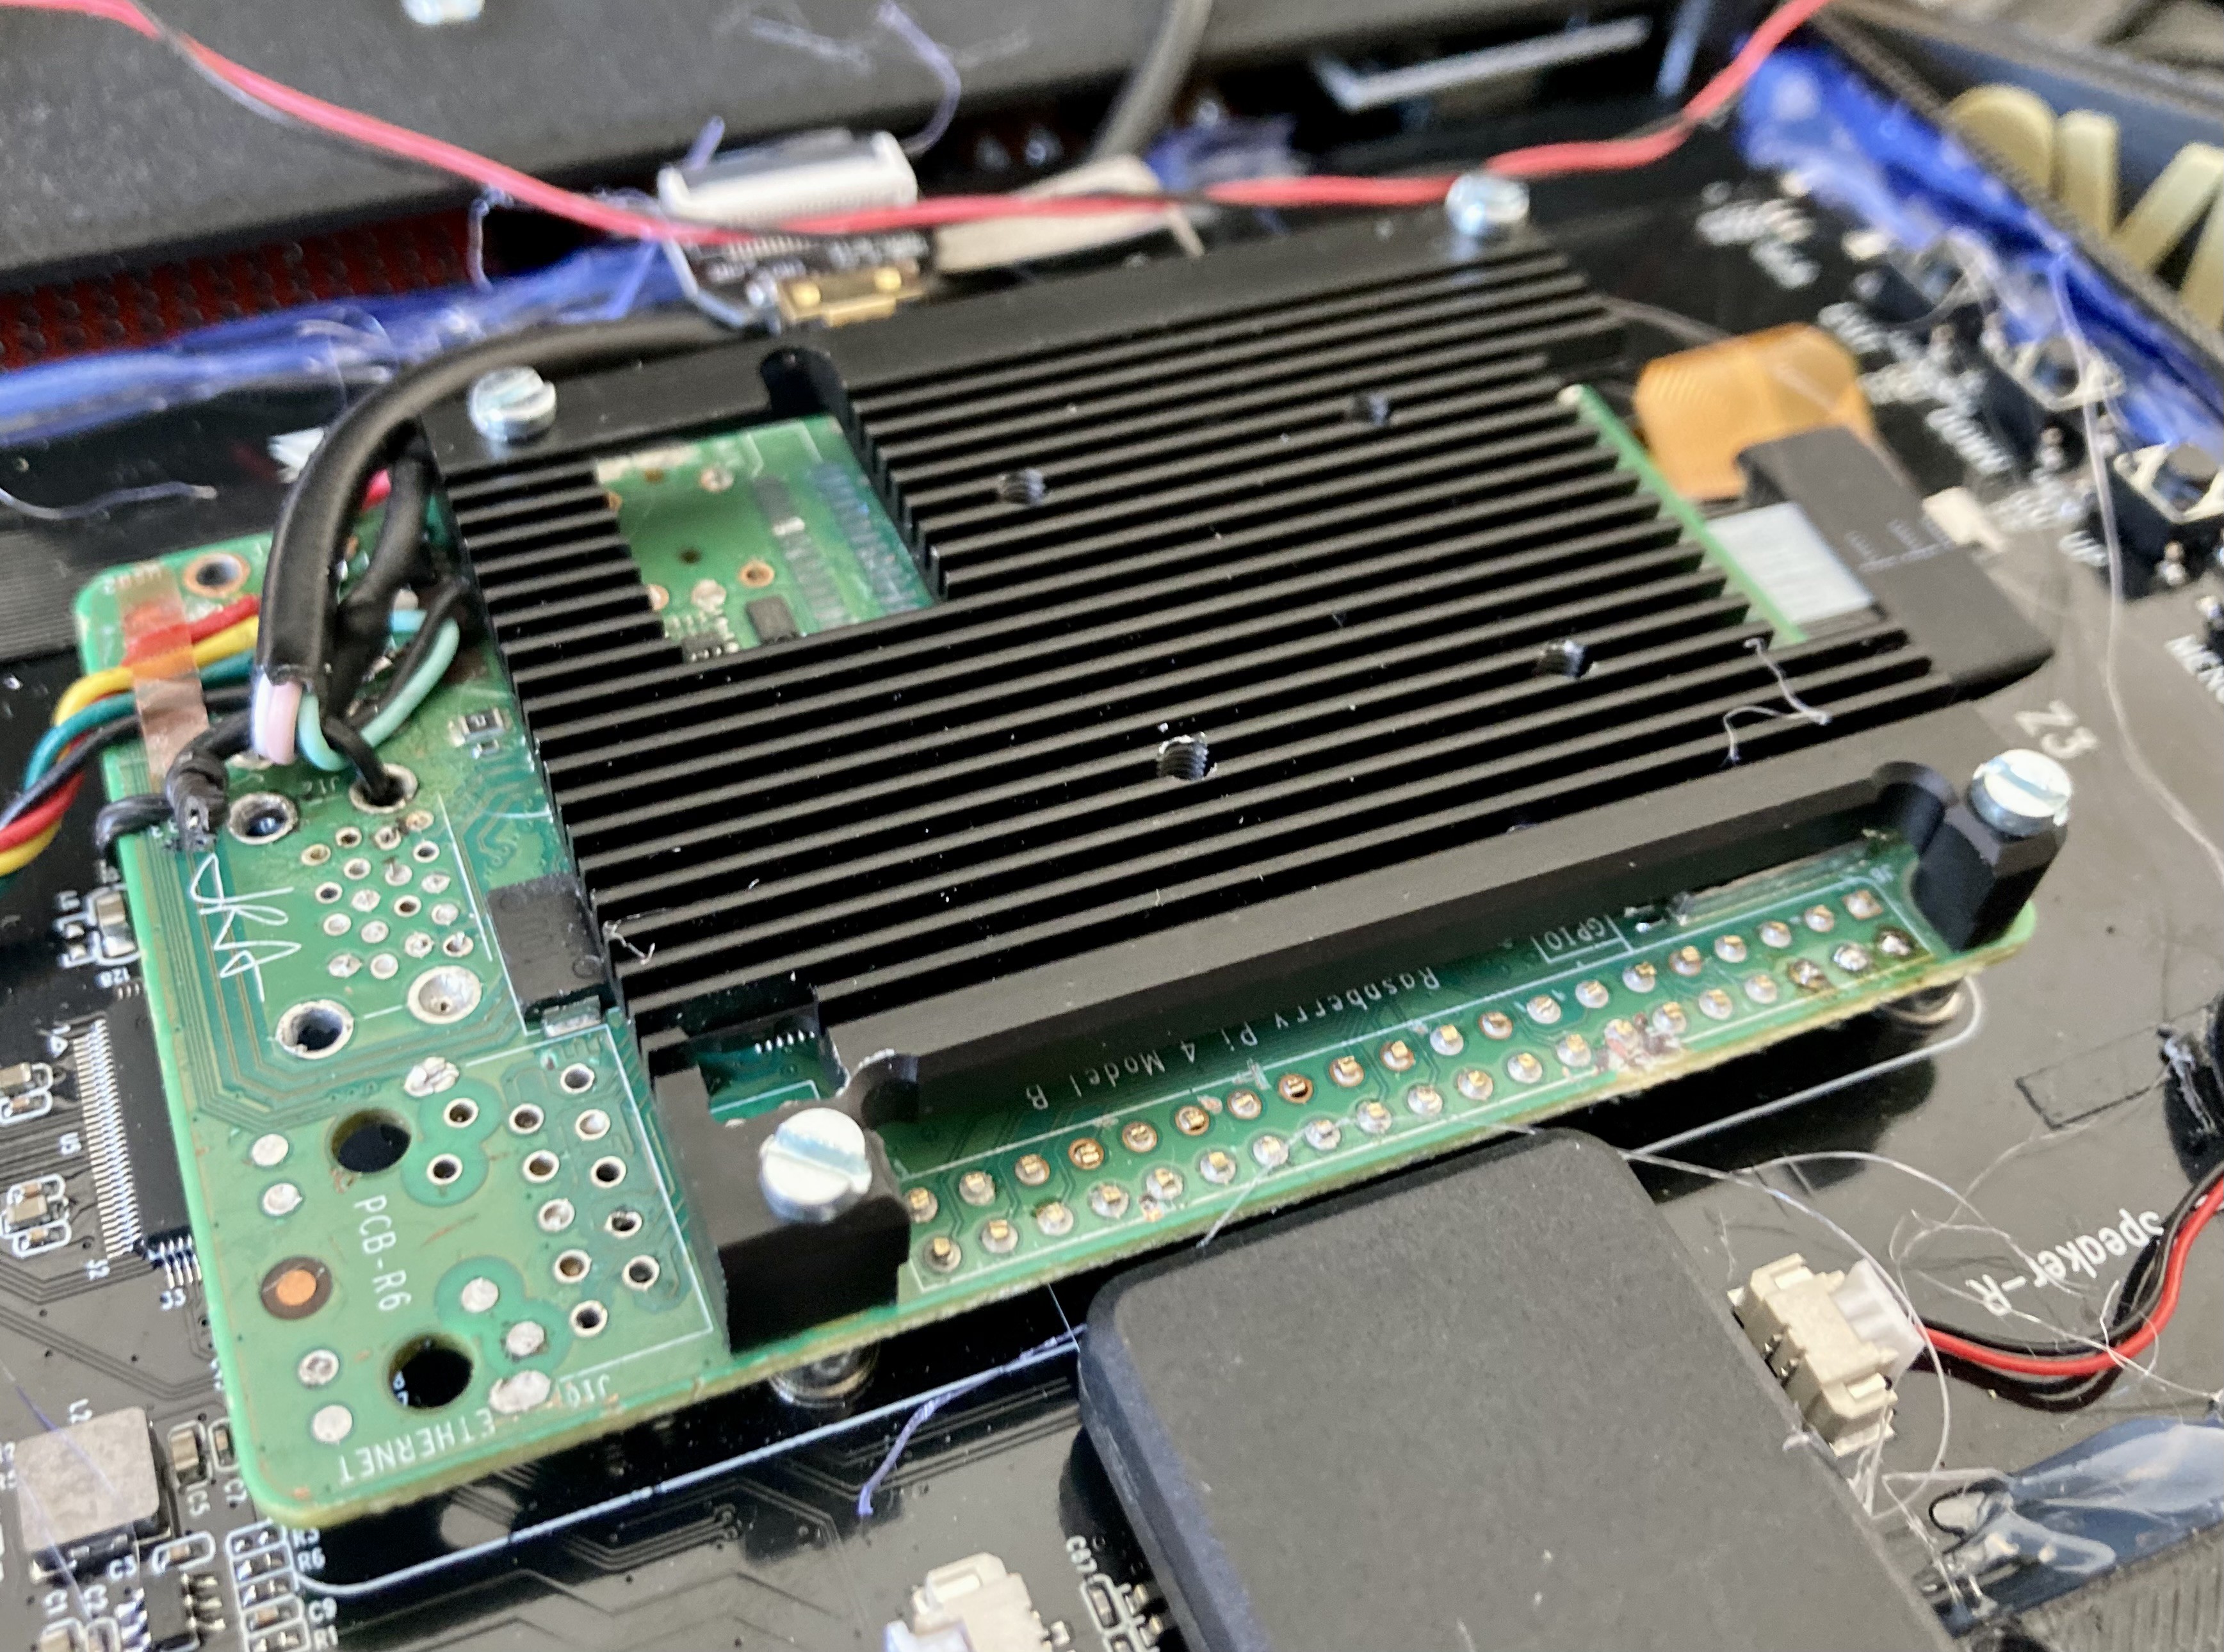
To make the device slim, I stripped off all the extra stuff from this raspberry pi 4. But you can build without removing anything. Only thing you will need is to increase the enclosure height.
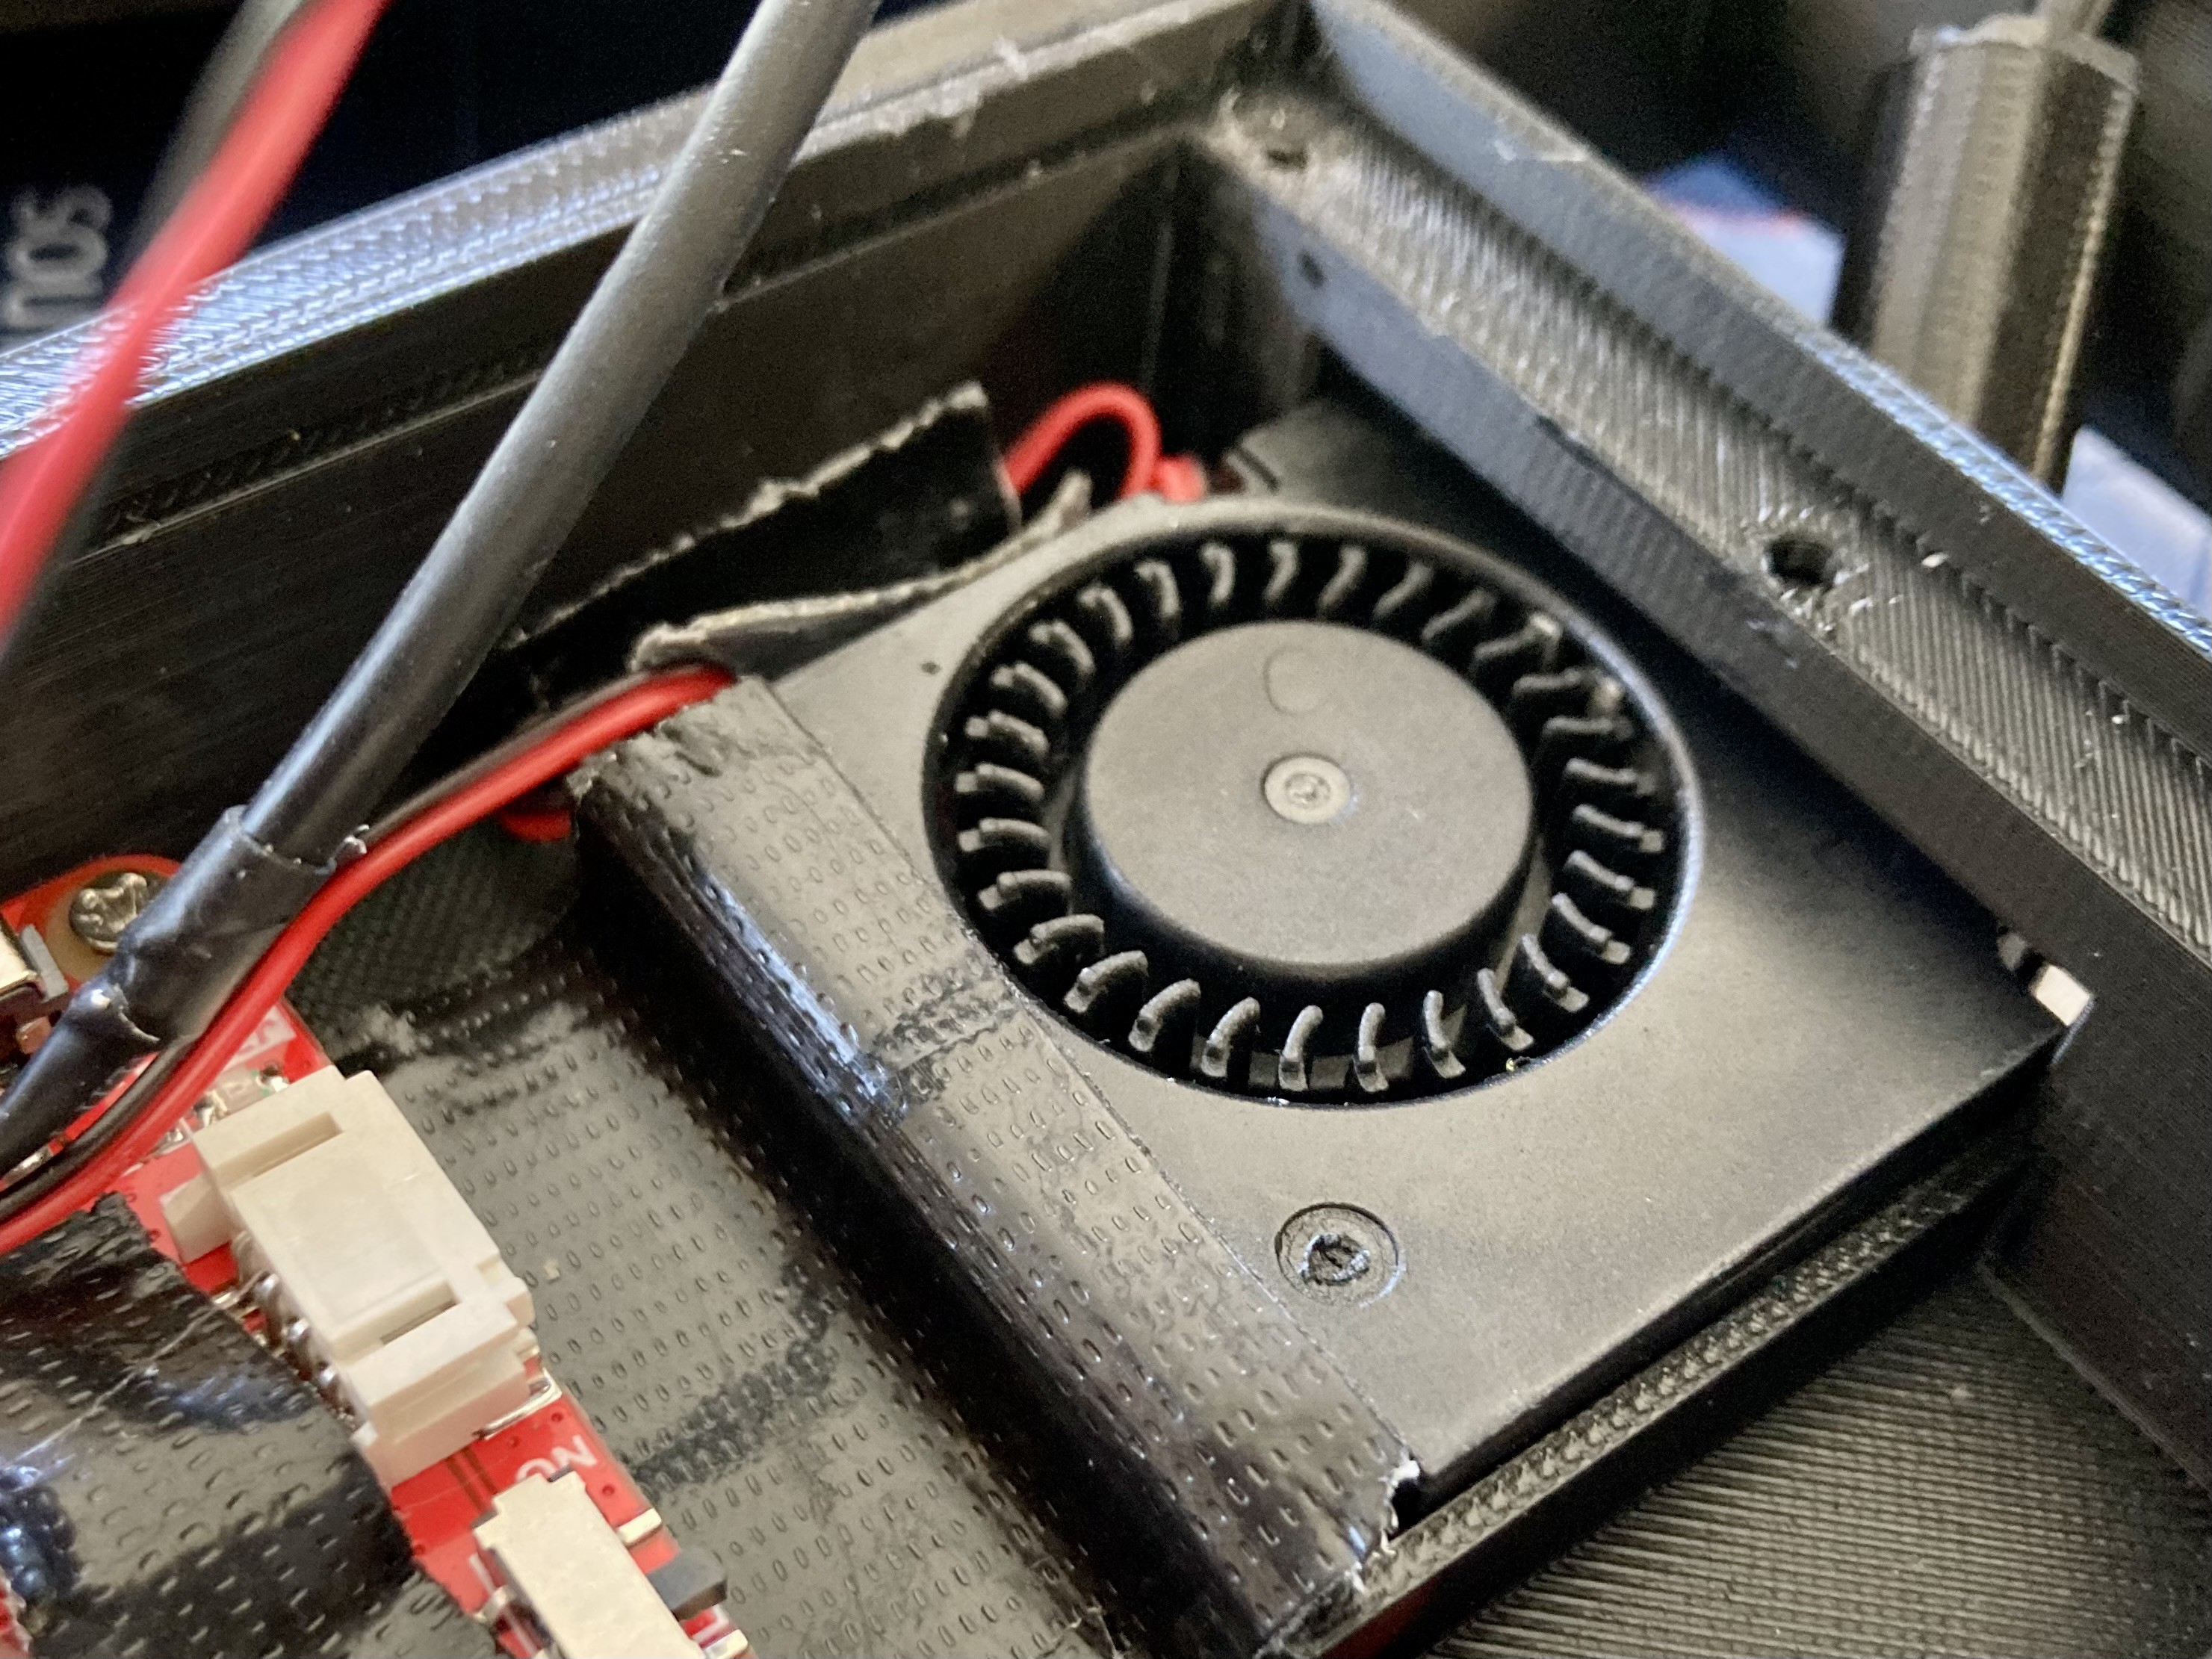
I am using 5V fan for ventilation. TODO add PWM control to this fan. right now, its always on, and has some noise.
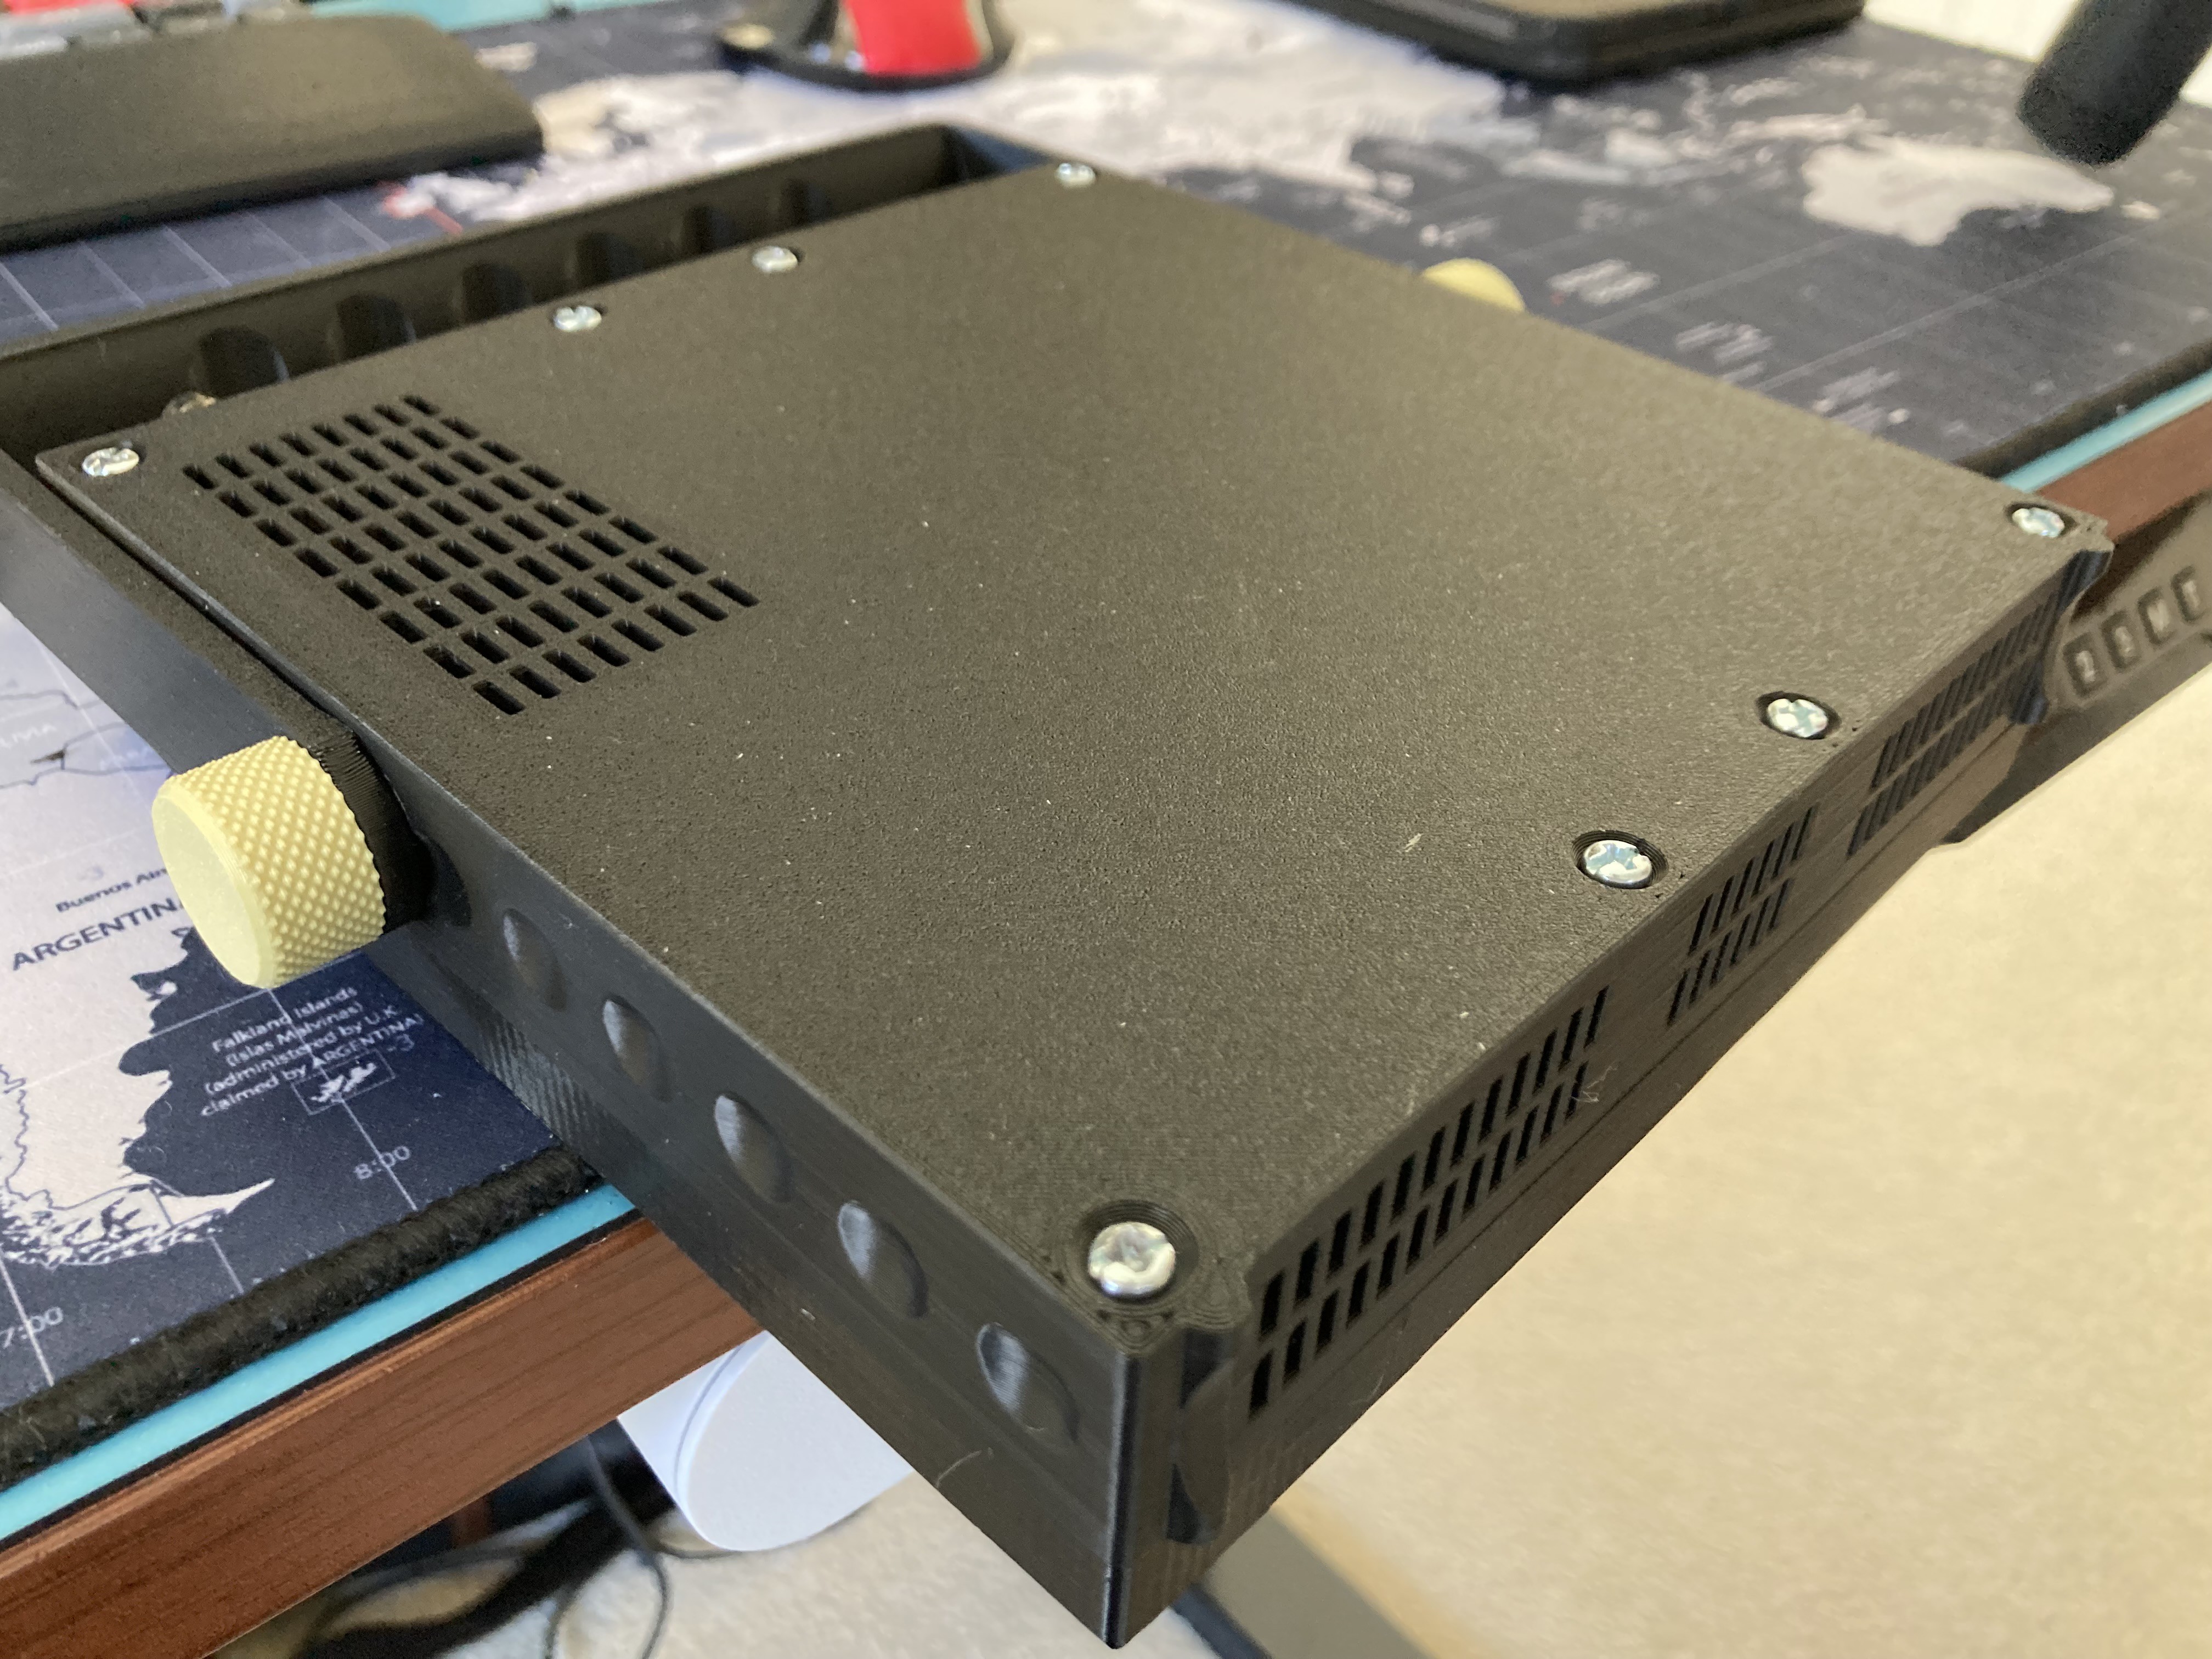
Finally, enclosure is secured by some basic screws about 1.5 inch long. I would love to add some brass screw inserts
Discussions
Become a Hackaday.io Member
Create an account to leave a comment. Already have an account? Log In.