 Abraham Limpo
I started by doing a quick front plate prototype
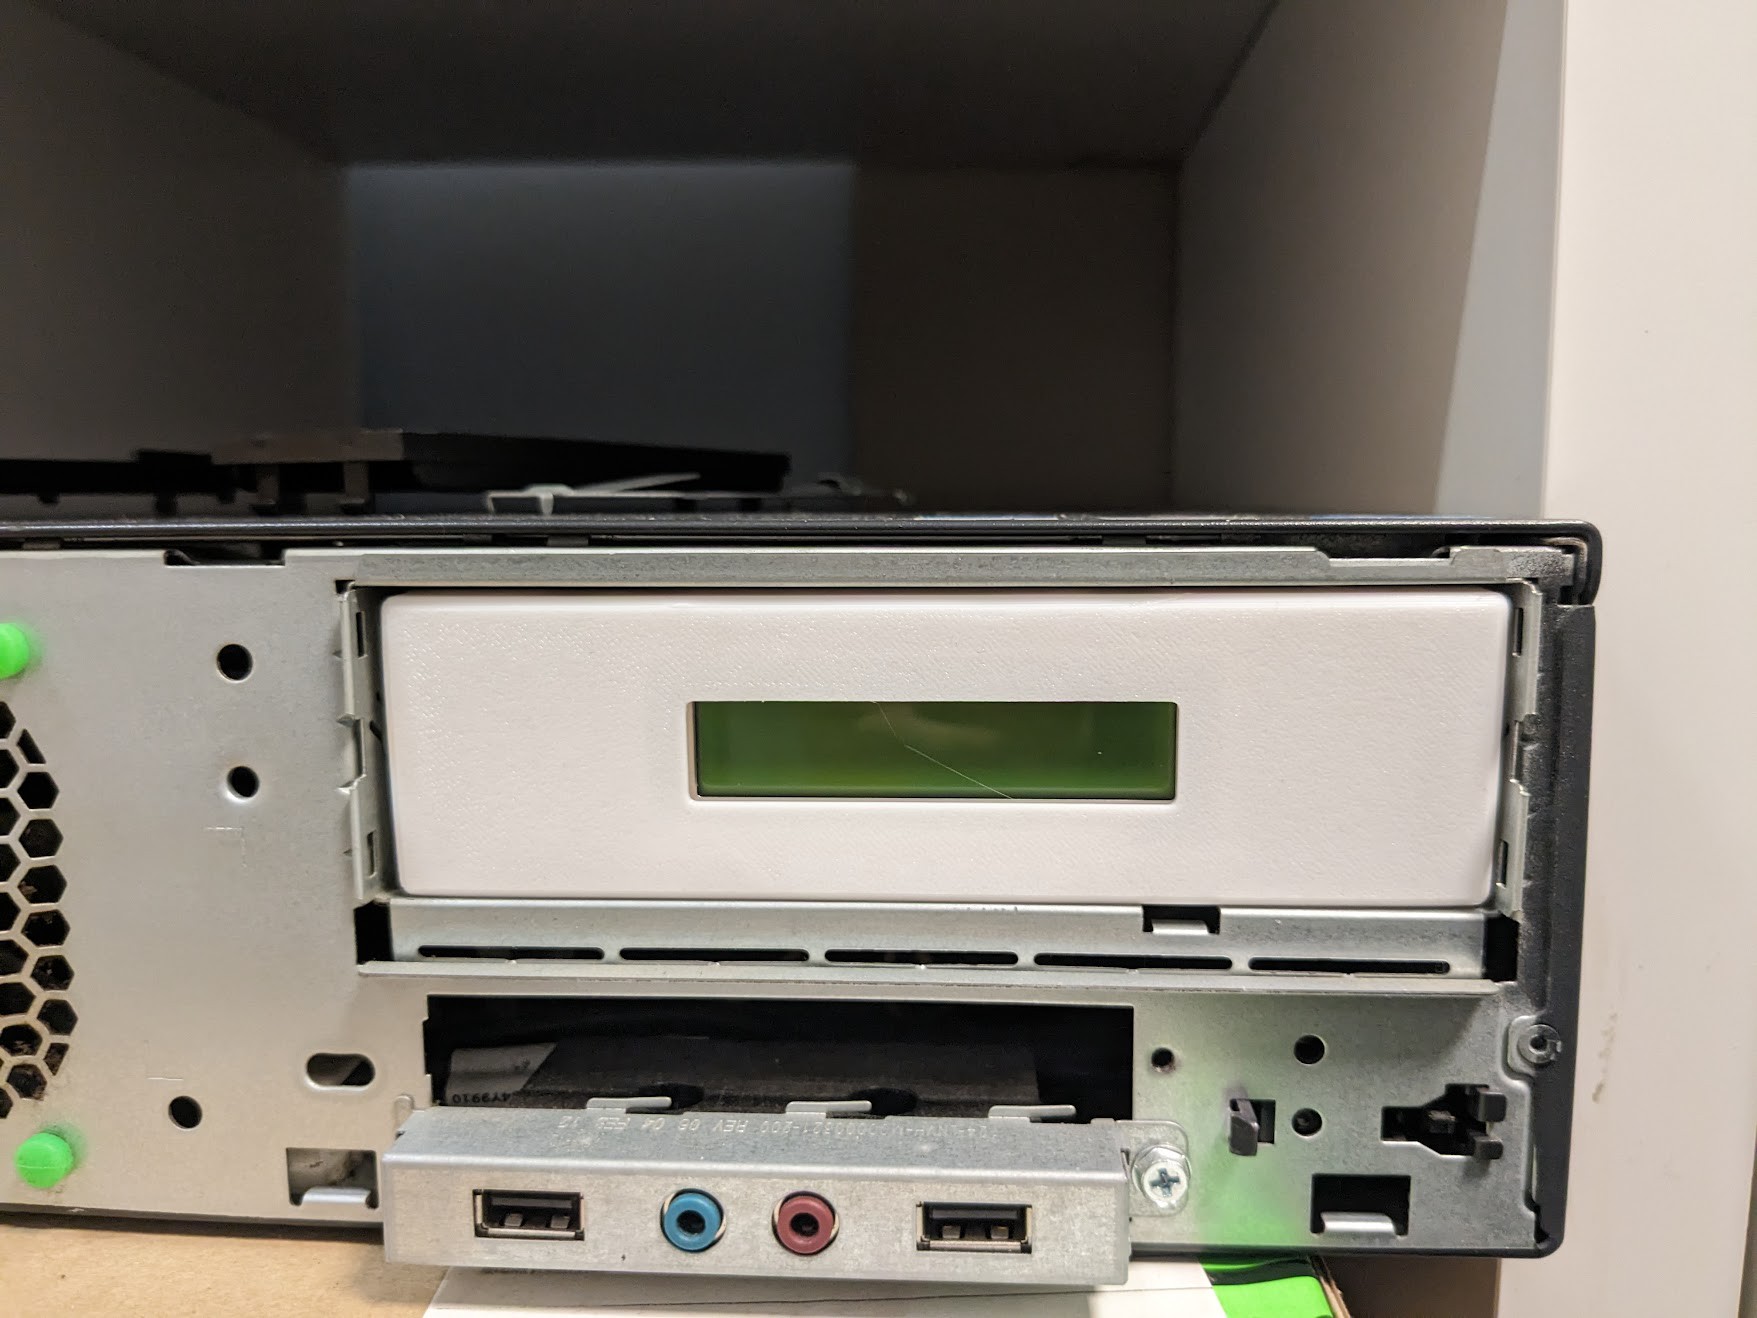
While the screen fitted fine, this one was not satisfactory for two reasons:
* It was to narrow: I followed the inner specs of the CD-ROM implementation and not the bezel specs. I though 2 mm would not matter that much
* It lacked personality: The LCD screen looked way too small in all that plastic bezel. it needed something.
(it also was way too thick, as the specs called for 8mm screen depth, and it was clearly not that.
I decided to add some 12mm buttons to fill the space. They could be used to switch between different screens or call for actions on the server if needed.
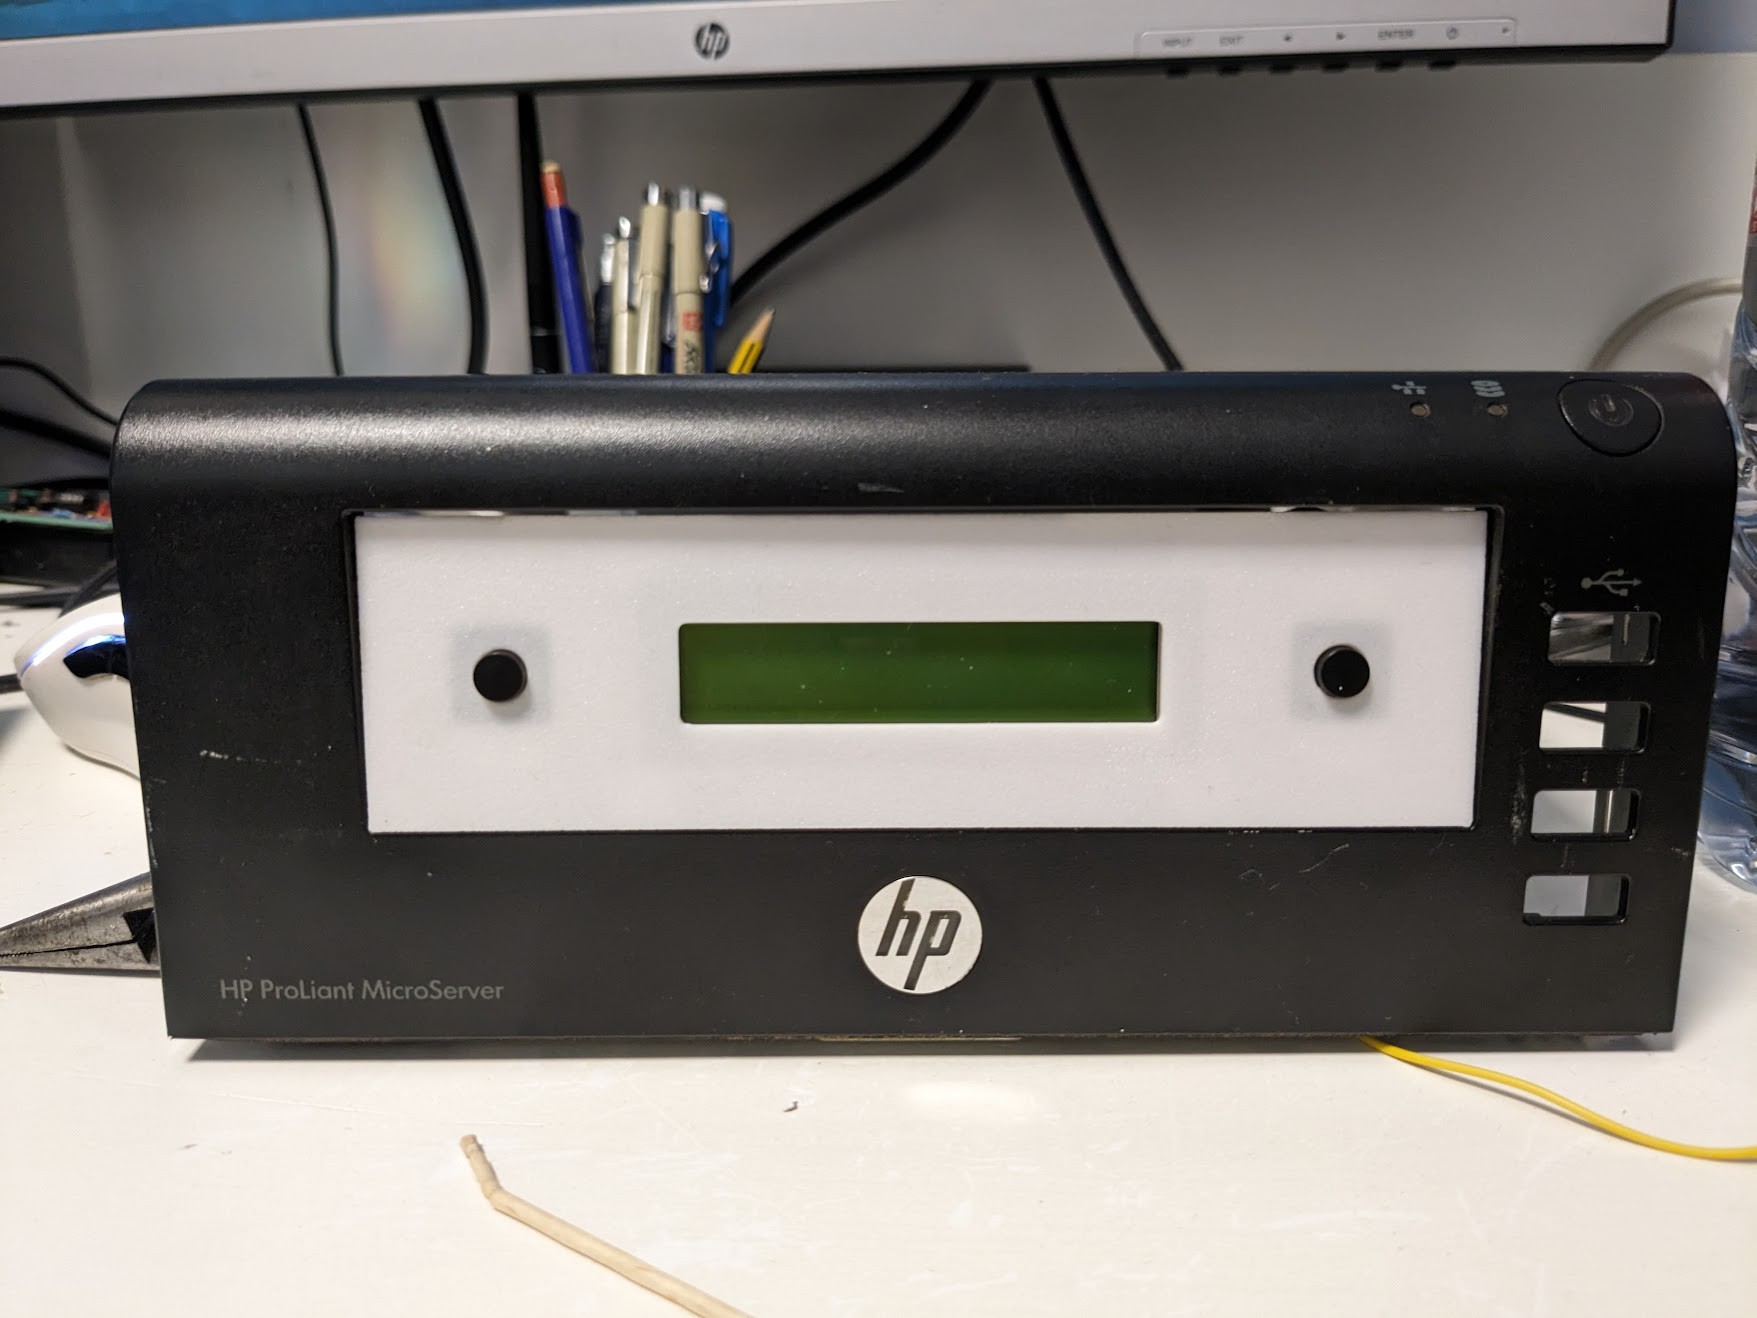
This revision was much better, though it still had too much depth for the screen. As I did not want to make the front plate thinner (the specs call for a 5mm bezel) I just made the inner pocket less deep and put a chamfer on the screen edges so it would not be that noticeable.

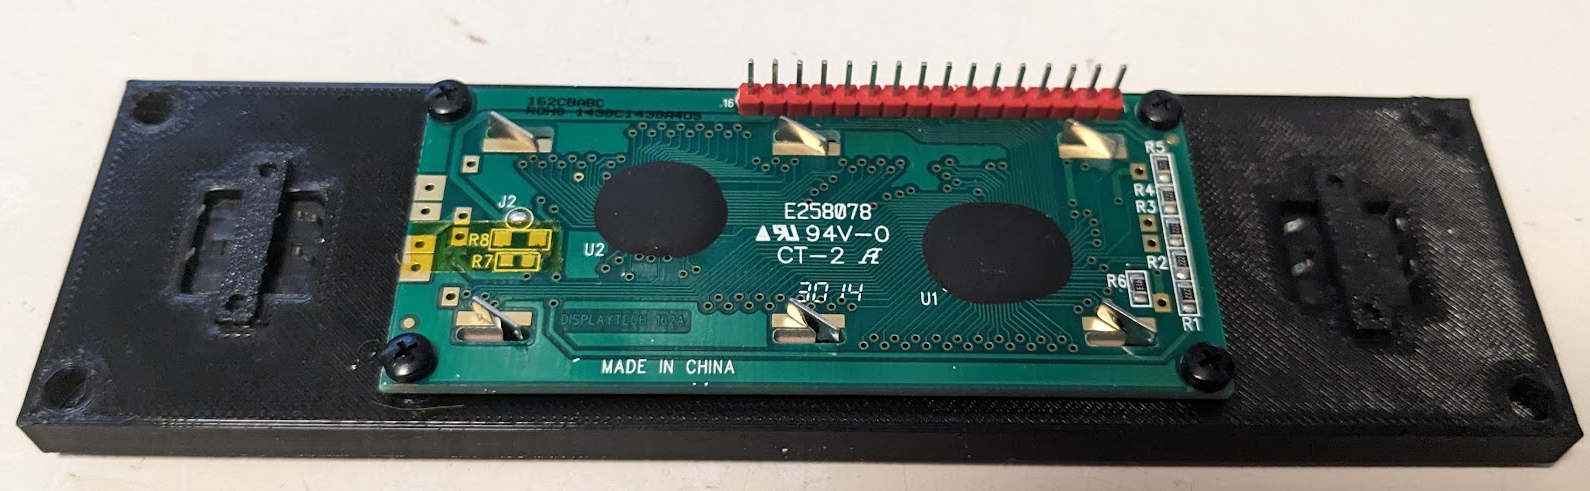
Dry-fitting the components, everything seemed to work fine, at least until I tried to insert brass screw-holders, and they filled with melted PLA. Fortunately seems that the screws hold everything fine enough without the brass inserts, though I don't think it would last several uses.
Discussions
Become a Hackaday.io Member
Create an account to leave a comment. Already have an account? Log In.