For the last post let's put some thigns that may be of interest, but did not fit the previous project logs:
BOM, Costs, etc
The project took a total of two weeks' evenings -plus at least a full-time weekend- between researching the project, testing, prototyping and assembling. I could probably replicate the project in a couple days now, as the main time eaters where printing the prototypes (the faceplate was only 90 minutes, but the bottom part was 9 hours, and the top about 3), and the trial-error of fitting the components.
I chose the materials because I had them on hand, but replicating it should not be expensive, provided you can find an arduino nano at an acceptable price. The BOM - taking prices form mainly amazon - goes like this:
- A 16x2 character LCD: Goes for between 5 and 9€, depending if you want it with backlight or not. Many screens come now with a parallel to I2C interface that you will not need, so avoid buying those as they are a bit (1€ maybe?) more expensive, and the adapter only works on this kind of screens. Aliexpress may have them cheaper, and also offer more variety (20x2 is much nicer and you can use LCDproc, and VFD is expensive but much nicer, and most of the time comes with the USB adapter included, so you don't need to build the arduino part)
- An arduino nano: Arduino Nano (and clones) prices are all over the price. 10€ seems to be the average price, but I saw them as low as 8€ and as high as 35€. Be careful to get the correct model, seems Arduino made a new revision with a different processor that supports bluetooth but their pins are 3.3V and technically you should not drive the screen with 3.3V signals.
- 12*12mm pushbutton: Definitely don't buy these at amazon, as a 10 unit kit costs about 8€, and you can buy them from aliexpress for 2€ for 20. Mine were 12x12x5, but they sell them with longer stems.
- A 20k wiper potentiometer: I got these from a "150 varied pots" kit that costs about 15€, but my local store sells them for about 0.20€ in single quantities.
- Prototyping PCBs: I got mine from Elegoo, a pack of 20 of varied sizes for about 10€. You can wire everything directly to the arduino if you don't care about getting it neat, though.
- Headers: You can get a full kit of dupont headers for 15€, or 25€ with a terrible cable crimper.
- Wires: For the PCB I used wire-wrapping wire (30AWG). A roll that will last you for years costs about 12€. For the cables I used silicon sheat wire (22AWG), that is about 25€ for six rolls. Silicon sheat does not burn easily so it is easier to work when soldering.
- 3D printing: The project requries about 200g of PLA (or ABS). A 1kg spool of PLA costs between 15 and 25€
Assuming you already have the wires, PCB and headers, this project can be done for about 20-40€, depending of where you have to source the materials - buying in bulk is cheaper but what use does have if you really only need one?
As for tools, you will need a soldering station (I actually did all the work with my pocket soldering tool, as wire-wrapping wire really doesn't need much heating), a wire stripper and crimping tool (don't skimp on the money, a good tool will save you time!), wire cutters, and obviously a 3D printer.
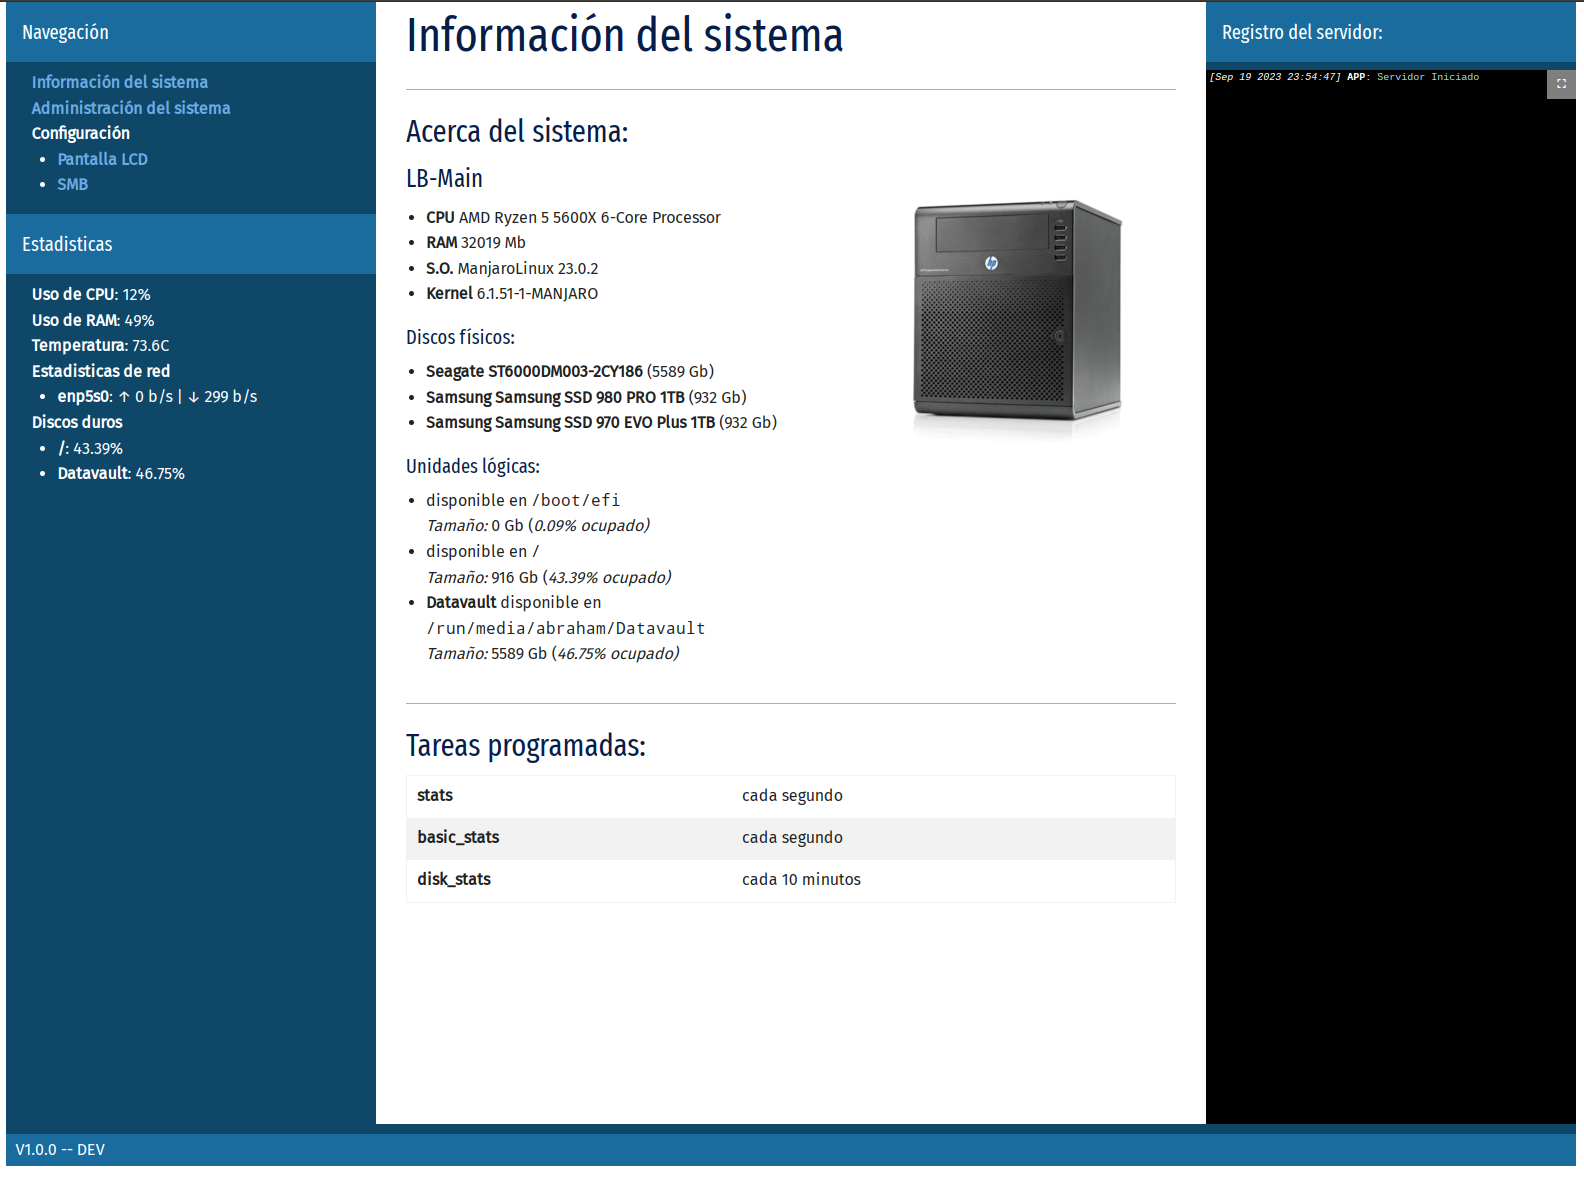
The Server Admin Interface
While outside of the scope of the project, I integrated the LCD interface in a piece of software I wrote so my father doesn't need to SSH on the computer to shutdown it.

The app offers a system based on extensions that they are mostly independent of each other (I still have to declare dependencies in the root package.json, so I cannot just drag and drop them), coded on a base that offers simple services (serve menus, fetch info, schedule tasks, etc). This is what runs the periodic backup on the server, and now it also runs the screen.
The Motherboard restoration
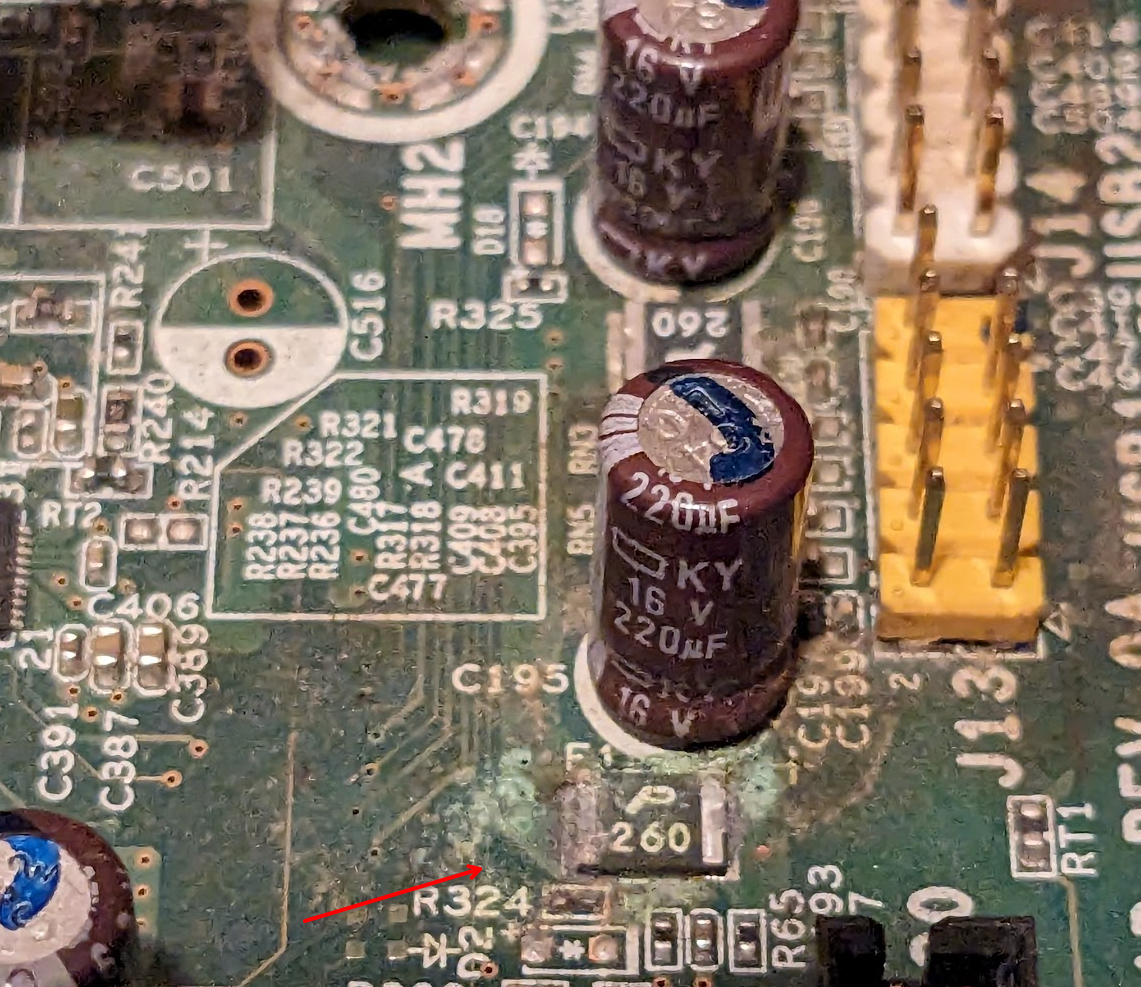
As I mentioned, I got to work on the computer because the motherboard had some corrosion.

The electrolitic cap had leaked and while it was only surface level, it started to dull some of the surrounding surface caps and resistors.

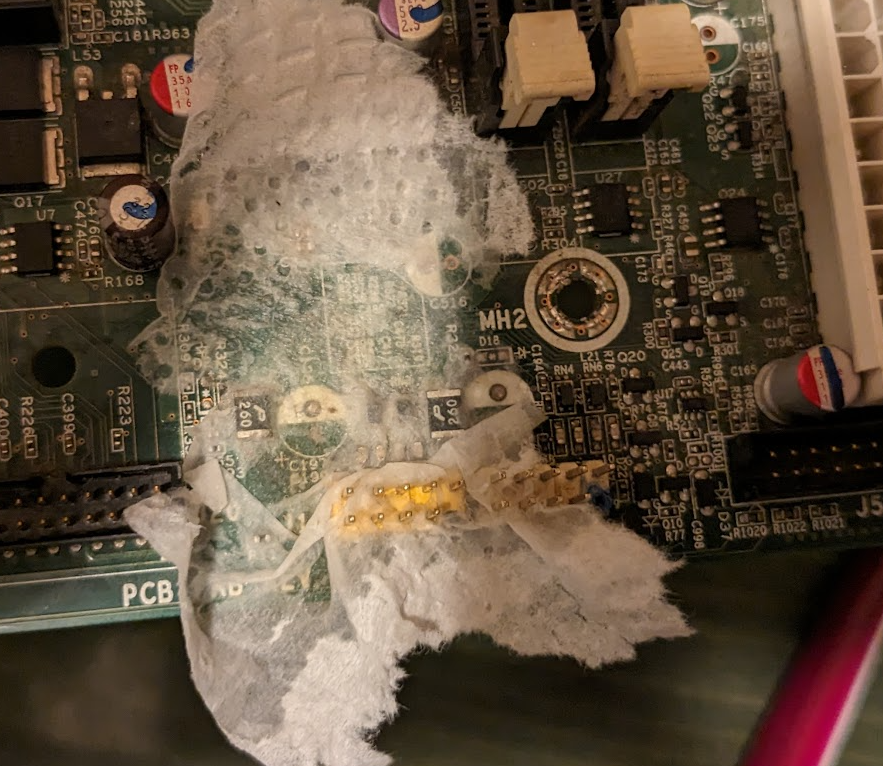
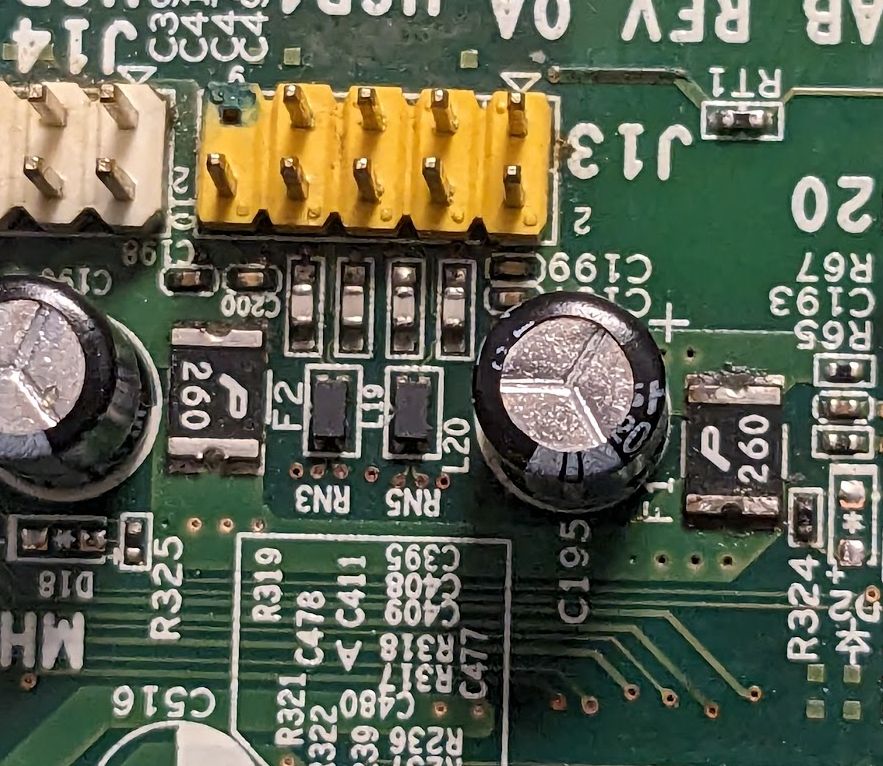
I desoldered the caps, treated the area with mild vinegar, and cleaned it thoroughly.

 Abraham Limpo
Discussions
Become a Hackaday.io Member
Create an account to leave a comment. Already have an account? Log In.