Close
0%
0%

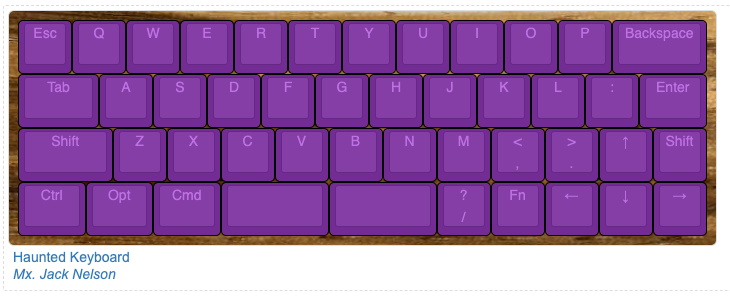
Haunted Keyboard

Type on this keyboard for a haunting response generated by ChatGPT

Similar projects worth following
Type anything with this keyboard and watch as it types back a spooky response. Just try to get your work done.

Have spooky conversations with ethereal AI through this magical keyboard.


This custom PCB keyboard is powered by a Raspberry Pi Pico W and connects to any computer via USB. The Pi Pico W connects to WiFi in order to send keyboard input to ChatGPT, which returns a spooky response that gets typed out wherever your cursor is.

This is also my first experience creating a PCB, and creating a keyboard from scratch. Below are the resources I used. 

List of resources

Software and Services:

Hardware Guides:

Software Guides:  

hauntedkeyboardpcbv1.kicad_pcb

Haunted Keyboard PCB design file (KiCad 7)

kicad_pcb - 1.66 MB - 10/20/2023 at 00:33

Download

hauntedkeyboardschematicv1.kicad_sch

Haunted Keyboard schematic file (KiCad 7)

kicad_sch - 185.38 kB - 10/20/2023 at 00:33

Download

hauntedkeyboardpcbv1.kicad_pro

Haunted Keyboard project file (KiCad 7)

kicad_pro - 10.78 kB - 10/20/2023 at 00:33

Download

  • 1 × Custom PCB The KiCad files for this PCB are linked in the files section
  • 1 × Raspberry Pi Pico W Microcontroller with wireless capabilities
  • 2 × Headers For the Pico to attach to the PCB
  • 46 × 75V 400mW Single 1V@50mA 4ns 150mA SOD-123 Switching Diode Diode for each switch
  • 1 × 100mW Thick Film Resistors ±100ppm/℃ ±1% 20kΩ 0603 Chip Resistor Resistor for LEDs

View all 12 components

  • Plate upgrade

    Mx. Jack Nelson11/10/2023 at 06:04 0 comments

    When I first soldered the switches onto the Haunted Keyboard I learned how invaluable a mounting plate is. It was impossible to get all of the switches to be perfectly aligned with the footprint I had used, which left plenty of room for the switch pins to wiggle around and go crooked while I was soldering them without a plate. 

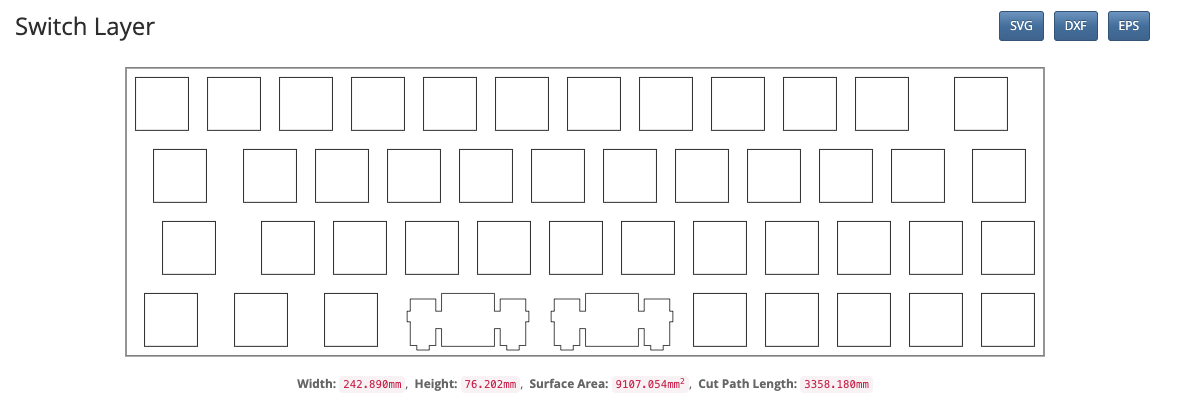
    Last week I decided that if I could design a PCB, I must be able to design a plate for the switches. I started by creating the layout for the Haunted Keyboard in KLE so that I could grab the raw data and input it into the SwillKB Plate & Case Builder.

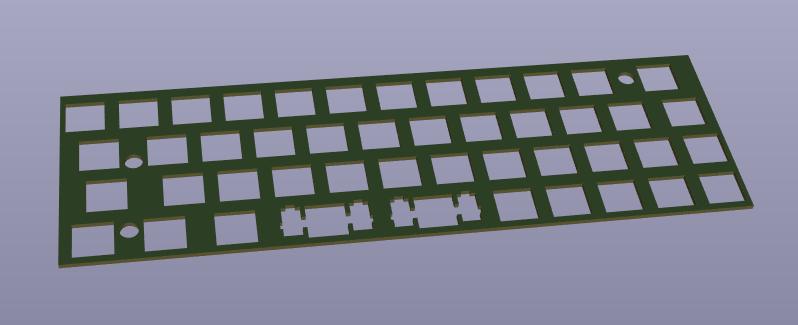
    The next step was exporting the .dxf and importing it into KiCad. I followed the guide by Noah Kiser - Convert .dxf to Gerbers for FR4 Mechanical Keyboard Plates to achieve this plate, with through holes for the screws in almost the right locations. If anyone knows how to copy an edge cuts layer from one KiCad file to another, I'd love to know. 

    I sent the gerbers to JLCPCB and got the plate manufactured as a PCB. Processing it as a PCB was unnecessary, however, I learned that I could have just used their CNC services with FR4 as the medium. I'll do that next time, and skip the electrical checks for something with no electrical components. 

    When it came in the mail the black painted surface was shiny and amazing. I'm glad I waited the extra day for the black board. The switches fit perfectly, and we were off on board number two right away. 

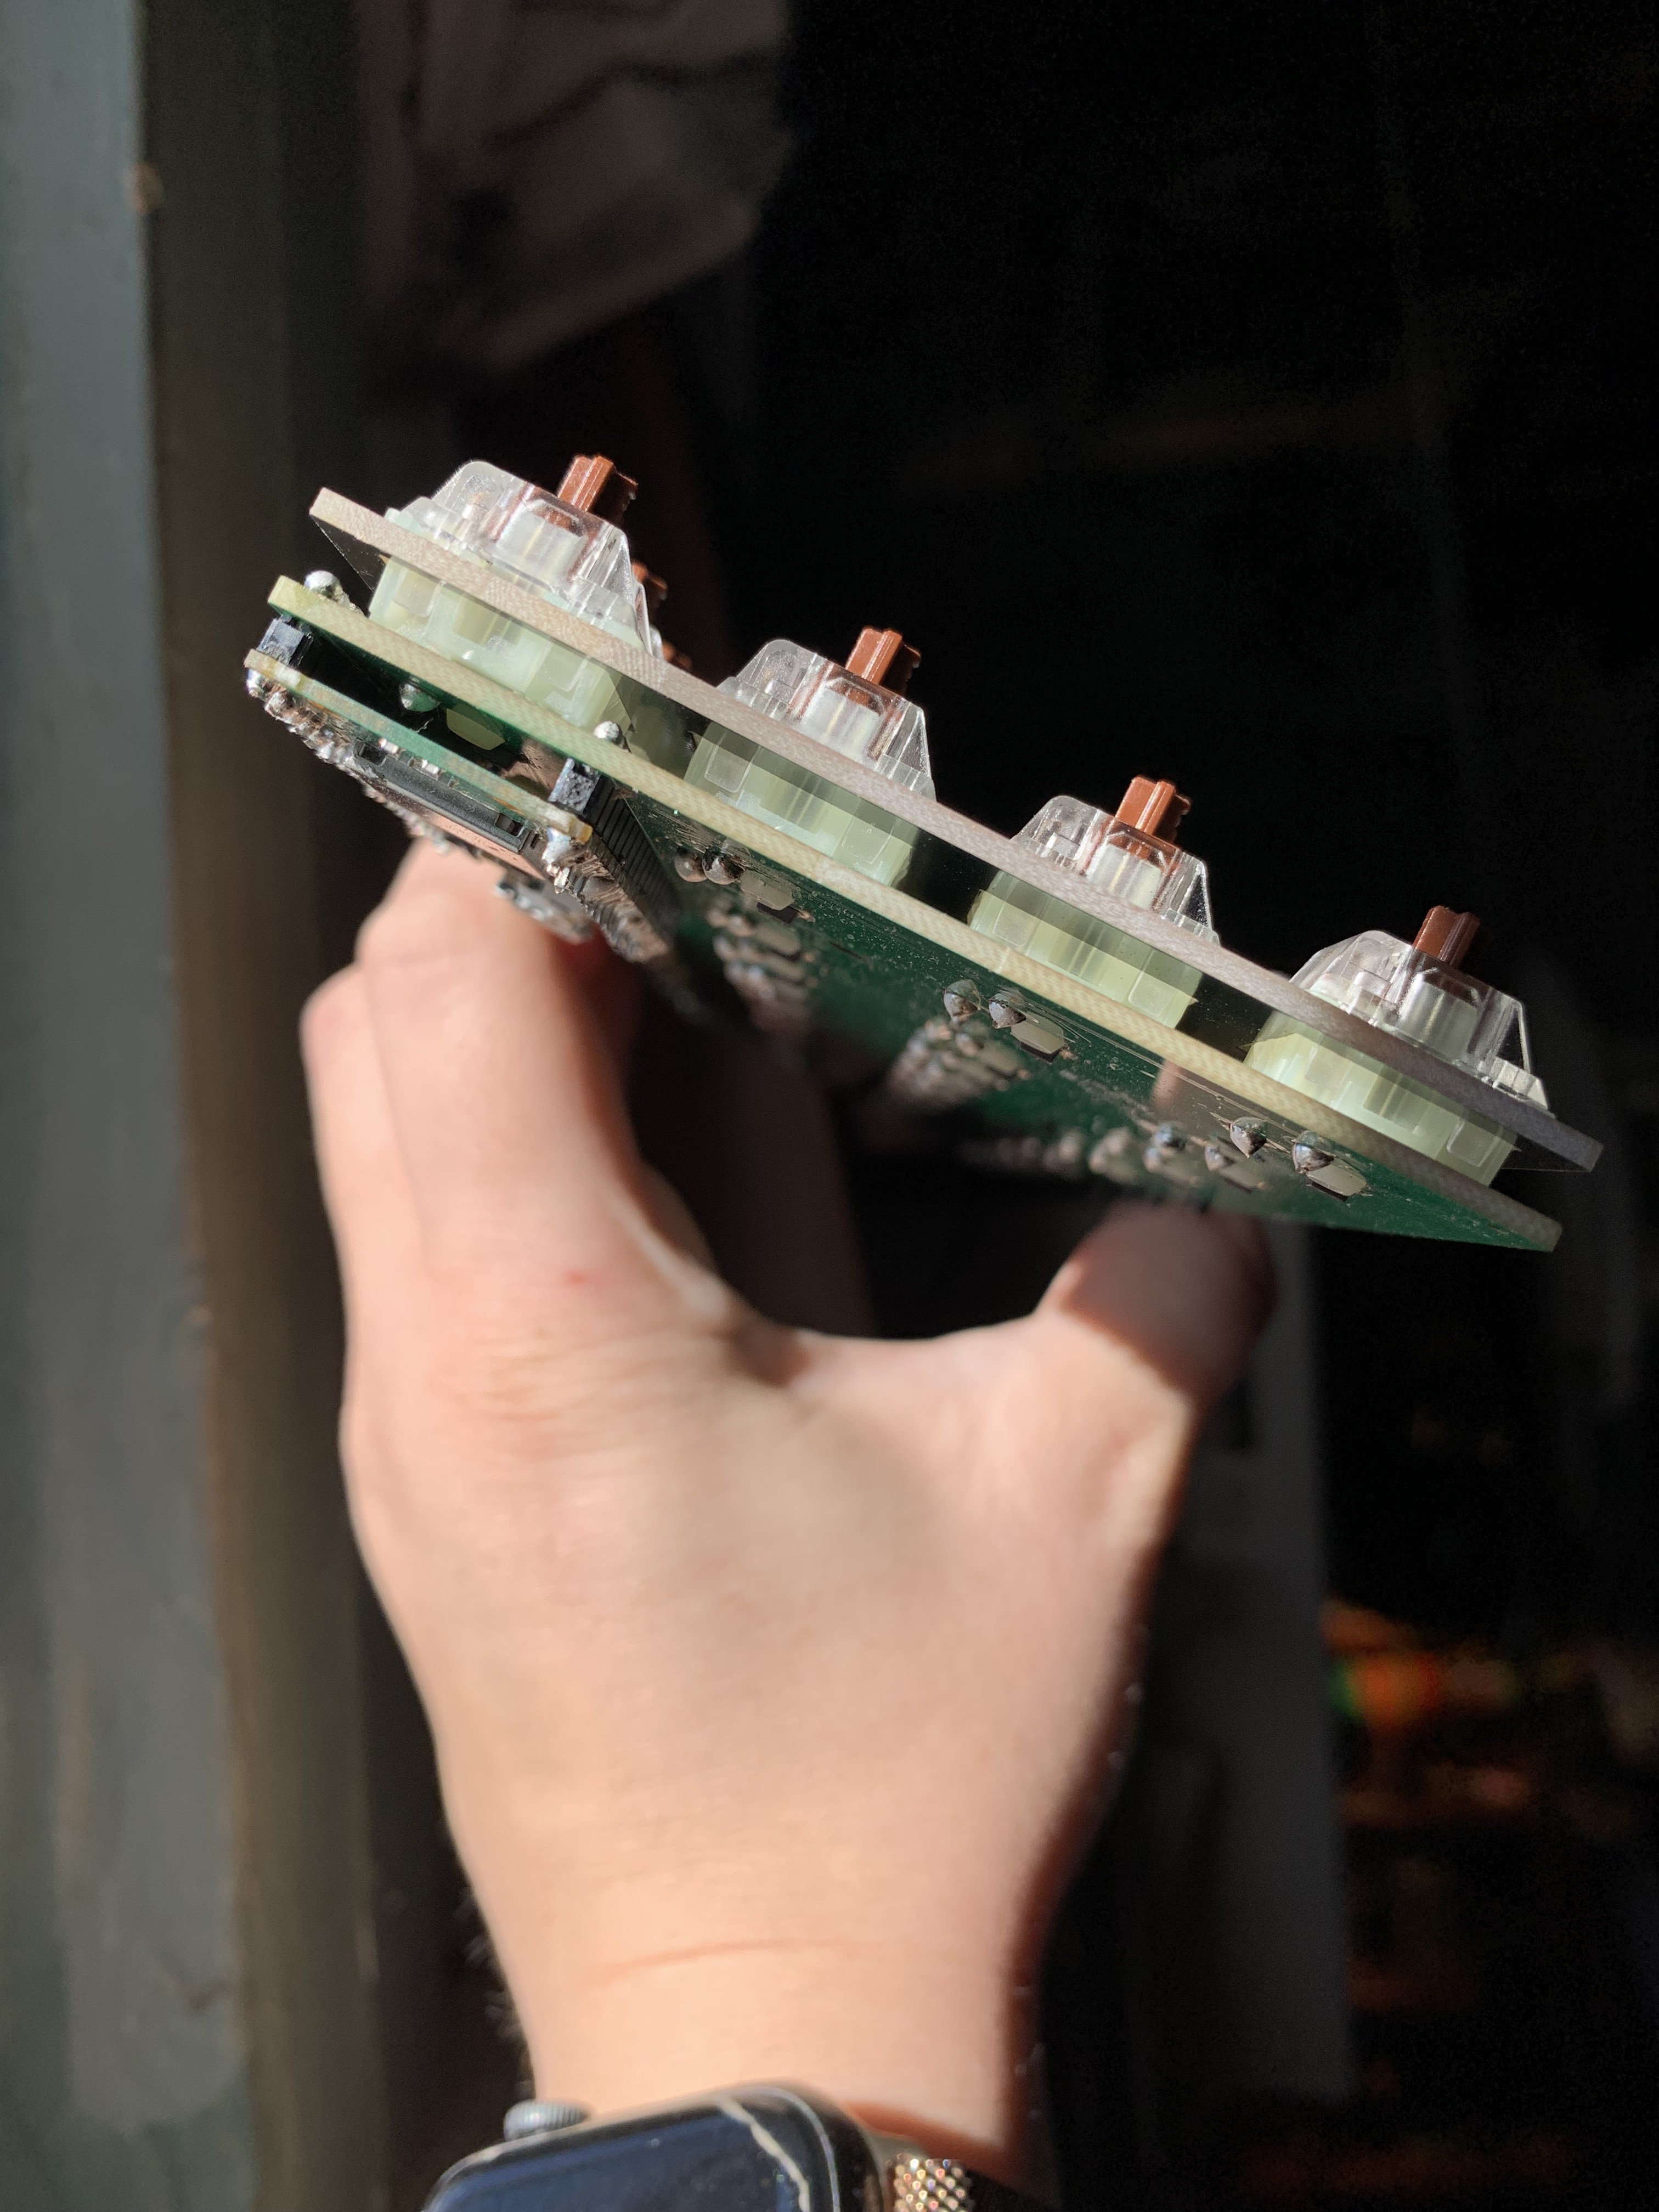
    Look at how even those rows of switches are. They're criminally perfect. Somehow I didn't quite expect everything to line up, but the switches fit into the plate nicely, the stabilizer bars fit under the plate perfectly, the plate fit over the stabilizers, and everything lined up with the PCB. 

    I did all the soldering with this new solder that we got, and that stuff flows. I ended up getting more solder on each of the solder points than I meant to, but I struggled to get a lighter amount on. This is the result, and I was very pleased when it all worked the first time I turned it on. 

    The switches are now all sandwiched nicely between the PCB and the plate, and the Pi Pico W is aligned much more evenly on this board. I trimmed the ends of the headers off for a better fit in the case. I'm understanding why keyboards often look just like this. 

    The board looks great in the case without keycaps. I partly want to just look at those tidy rows of switches forever. 

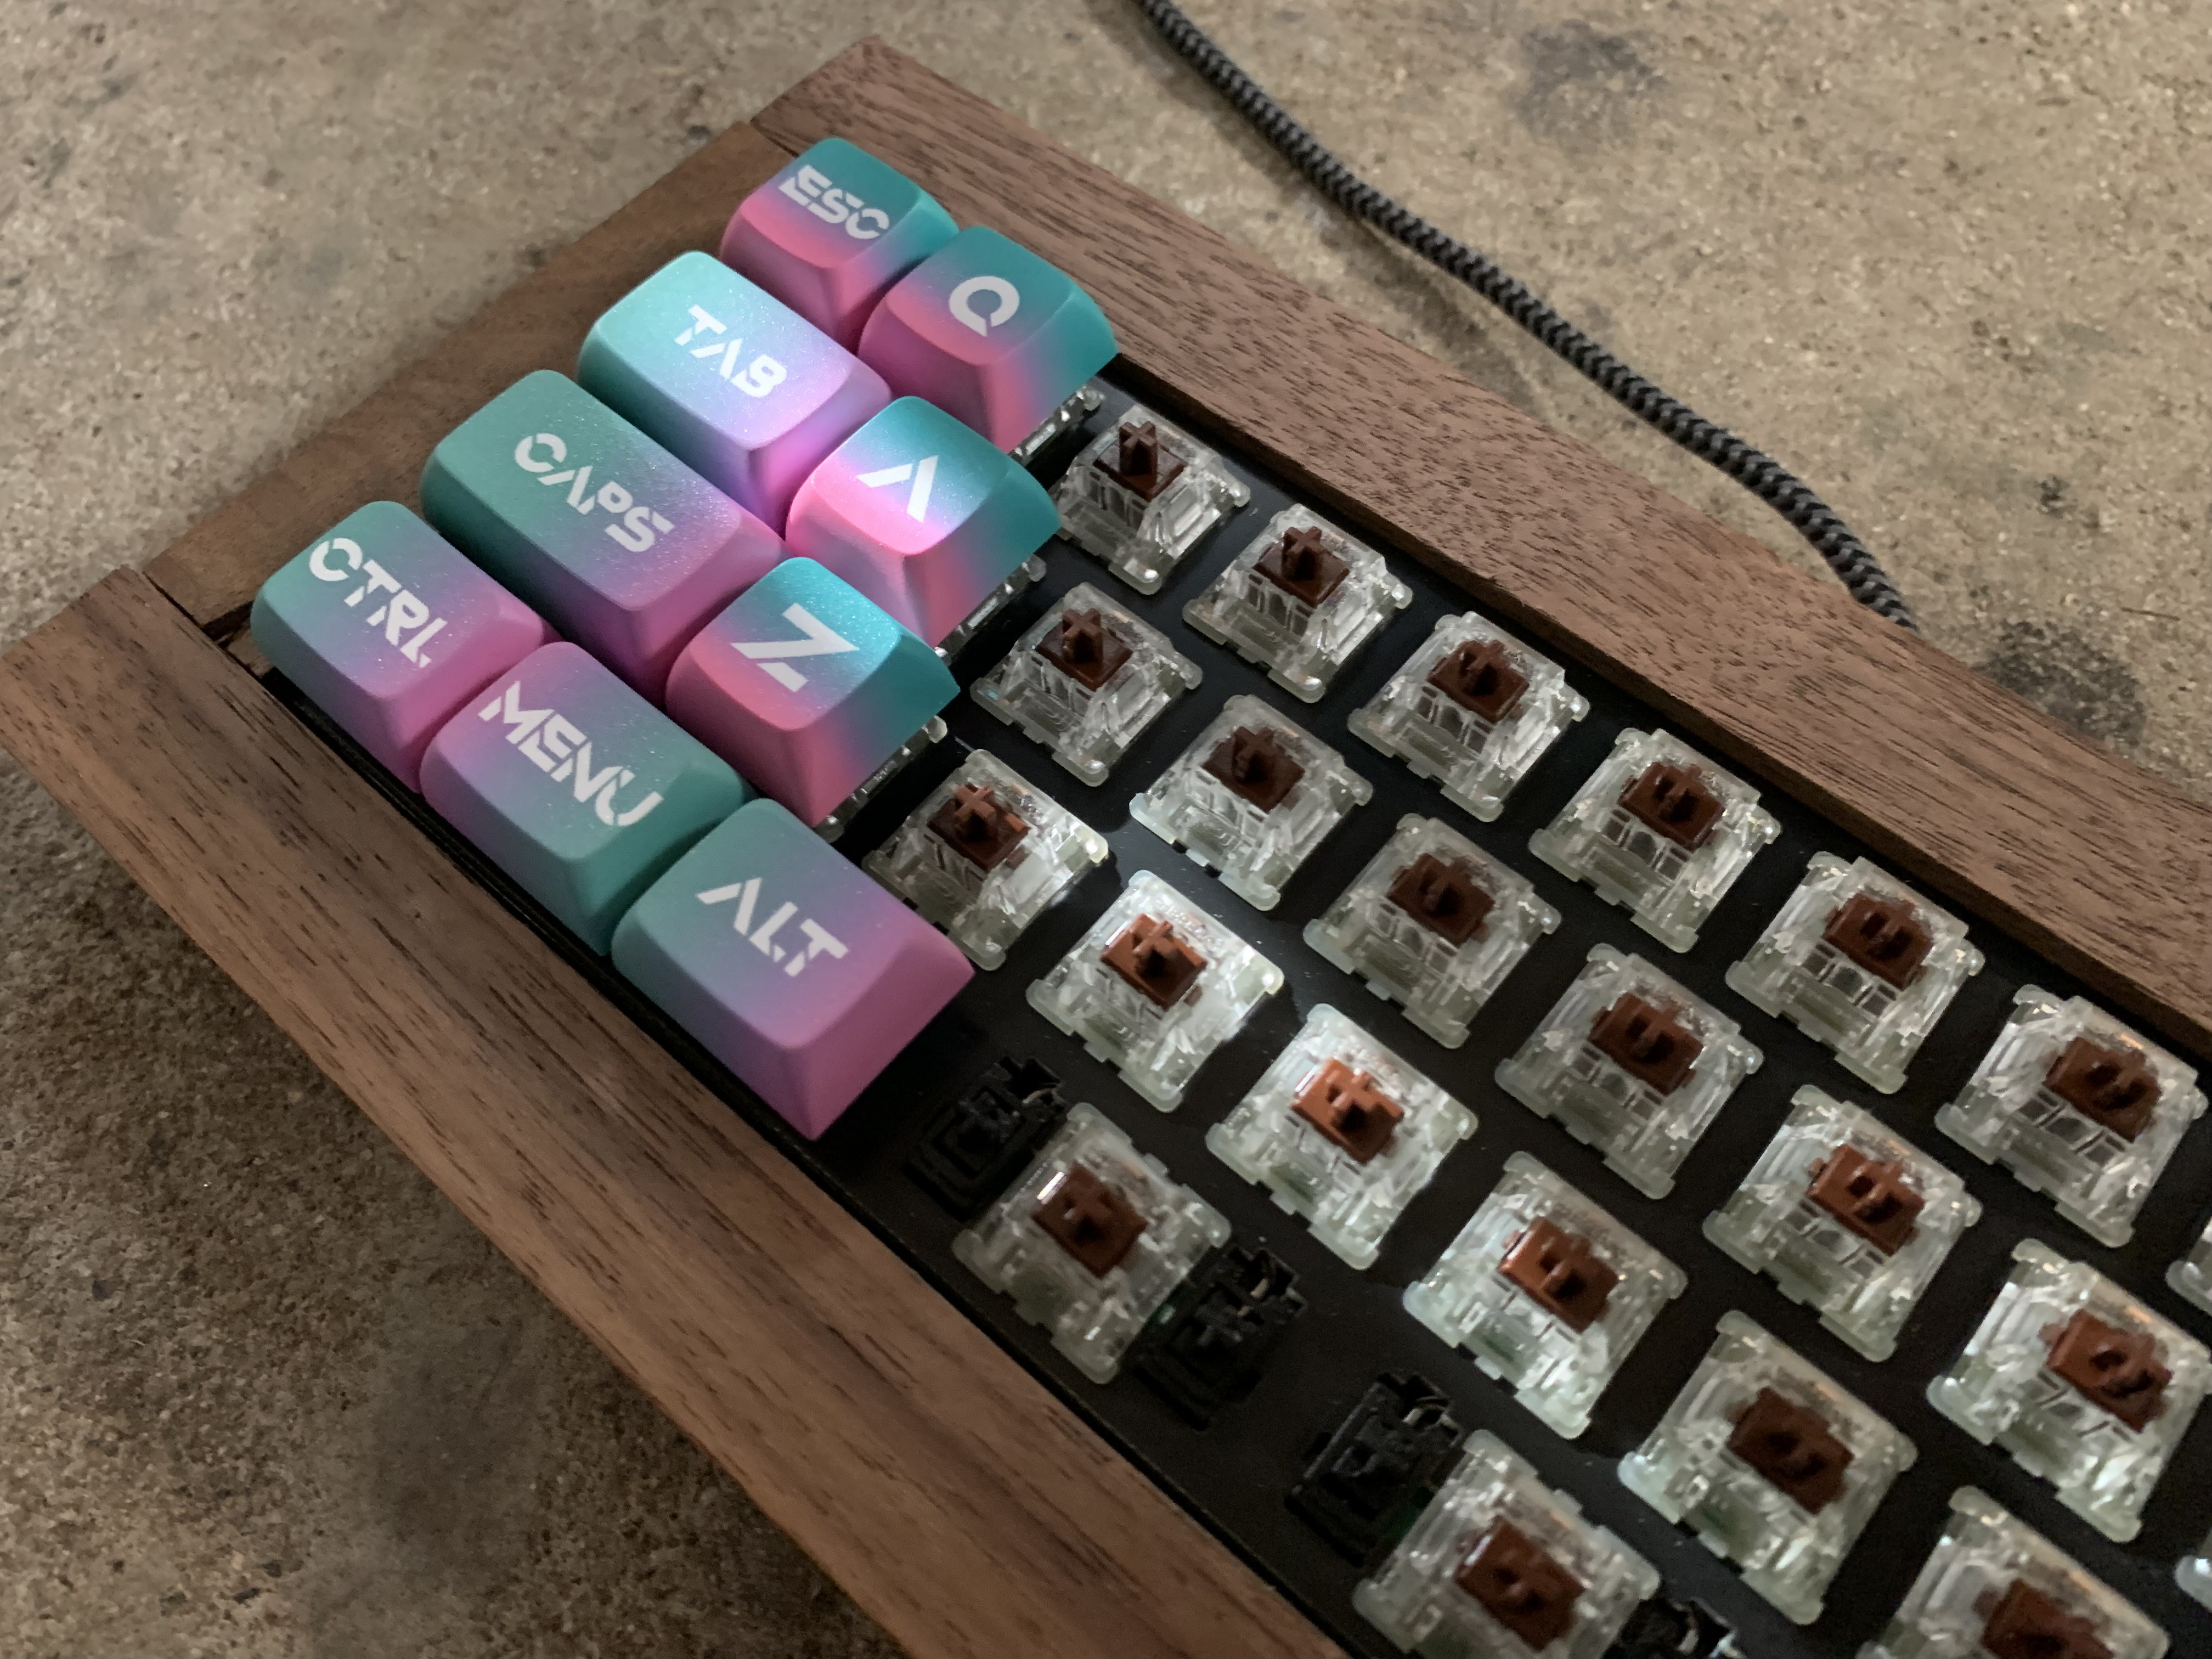
    But keycaps are a must. I decided to go a different direction for this board and use a cyberpunk set of XDA keycaps. They have really prominent legends, which makes it a very different experience from the first Haunted Keyboard which had barely-there legends. 

    The final result is a totally different board, with a different attitude and a different sound. 

    The next step will be some foam. But for now, V2 is up and running, and I've substituted a general purpose AI integration for the spooky one. This board responds as a helpful assistant, instead of a snarky ghost. It did have one last thing to say before being reprogrammed... 

    "Beware, mortal, for even the helpful keyboard may carry a haunted legacy."

  • Fully functional

    Mx. Jack Nelson10/30/2023 at 02:51 0 comments

    Today I updated the code to include a second layer with numeric keys. The left space bar is now a switch to toggle on and off the second layer. The only thing missing for me from this keyboard now is the dash key. That is one of those individual keys that exists beyond the 1 to 0 keys. I also don't have plus or minus. But these are small sacrifices for such a fun board to type on. 

    As Halloween approaches and this project comes to a close I want to leave you with these words from the beyond; a spell to bring about luck and good fortune, no matter what life holds for you. 

    "As Halloween draws close, spirits dance with delight,

    But tread carefully, for the shadows hold their might.

    May luck be your companion, through days both bright and grim,

    Embrace the specters, for they may guide you within."

  • Secret party lights

    Mx. Jack Nelson10/26/2023 at 01:57 0 comments

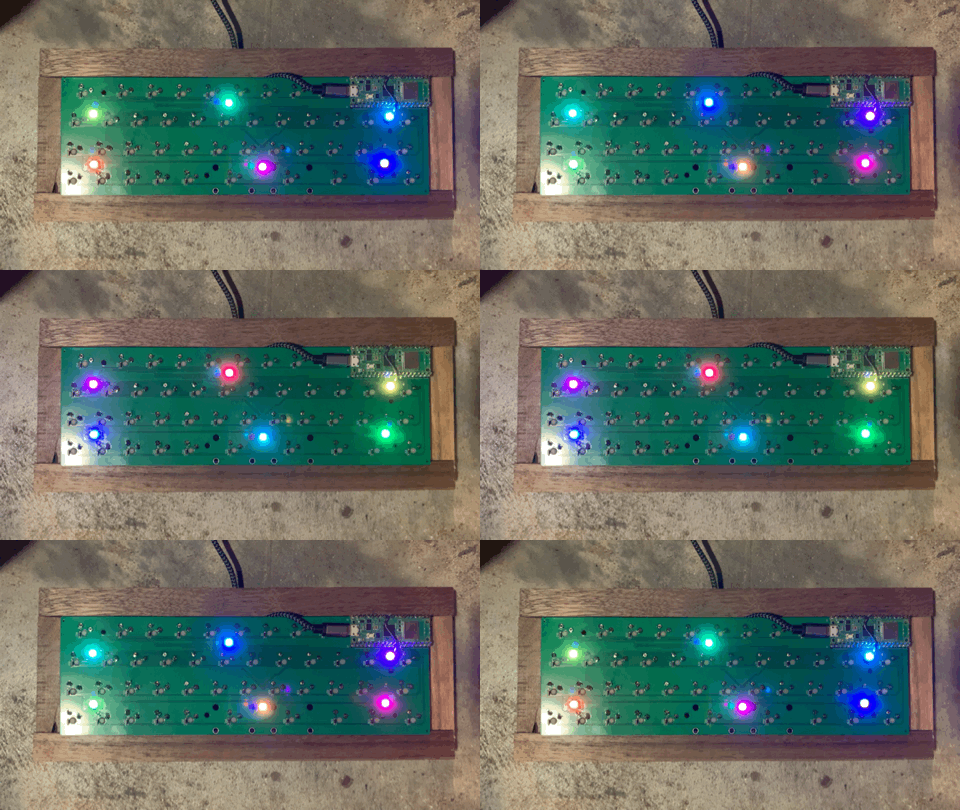
    Today my ten NeoPixels arrived in the mail, and I soldered my first surface mount parts onto the Haunted Keyboard. I am happy to report that as of tonight, all six of the NeoPixels on the board work! What I learned is that surface mount parts are delicate. I put the first NeoPixel on in the wrong orientation and I had to desolder it and try again, and in the process I yanked one of the pads on the board right off. Nothing a jumper wire from my sweetie @Steph couldn't fix. 

    Of course, you can't see these pretty lights when the board is in the case properly; a drawback of a tight fitting walnut case, I suppose. I was potentially going to get the case milled out of acrylic or printed out of resin but I ultimately decided to do it myself with materials I could work with. Perhaps the next iteration will be a clear case, so the underglow shows through better. I thought it would leak out around the edges of the board, but it really does not. Or, I will wire my next board to have per-key LEDs so that each of the individual keys light up, and then the underglow wouldn't be necessary. Maybe the next one will have both. 

    This keyboard is teaching me something I already knew but hadn't admitted when I started the project; this is my first, but it will not be my last. I'm hooked. 

  • A daily driver?

    Mx. Jack Nelson10/24/2023 at 04:53 0 comments

    I'm typing this update on the Haunted Keyboard itself, thanks to a new bit of code that establishes three presses of the Esc key as the key combination to switch off the haunted aspect of the board, meaning that the Enter key works as a normal Enter key. You can see the updated code on GitHub. 

    I also set up the extra key as the Quote key, so I can use the apostrophe again. It turns out I can't set it as both the Quote key and the 'one' key for the exclamation mark, or at least I haven't figured out how to yet. That means I may have to add another layer on this board for the number keys. I could have an extra layer that just transforms the top row into the number row, and then I can use Shift to type an exclamation mark. I think that will be my next improvement. 

    For now, this is a delightful little board to type on. I'll hit Esc three times to turn on the haunted aspect, and leave you with these pre Halloween wishes: 

    "Beware the spirits that haunt the keyboard, their presence lingers in every keystroke. Hidden within the circuitry lies a forgotten design, a lost path in the realm of solder switches. The power of the haunted board is unleashed, casting a foreboding shadow over your typing experience. But fear not, for there is a way to banish the phantoms with a simple combination of keys. The veil of the supernatural shall be lifted, allowing you to use the enter key as it was intended. However, be cautious of the treacherous apostrophe key, for it bears a secret that may elude your grasp. In your quest for improvement, tread lightly, for additional layers may uncover hidden secrets or manifest new challenges. As All Hallows Eve approaches, may the spirits guide you towards a delightful typing experience, but remember, the haunting is never truly over."

  • Building a case

    Mx. Jack Nelson10/21/2023 at 19:43 0 comments

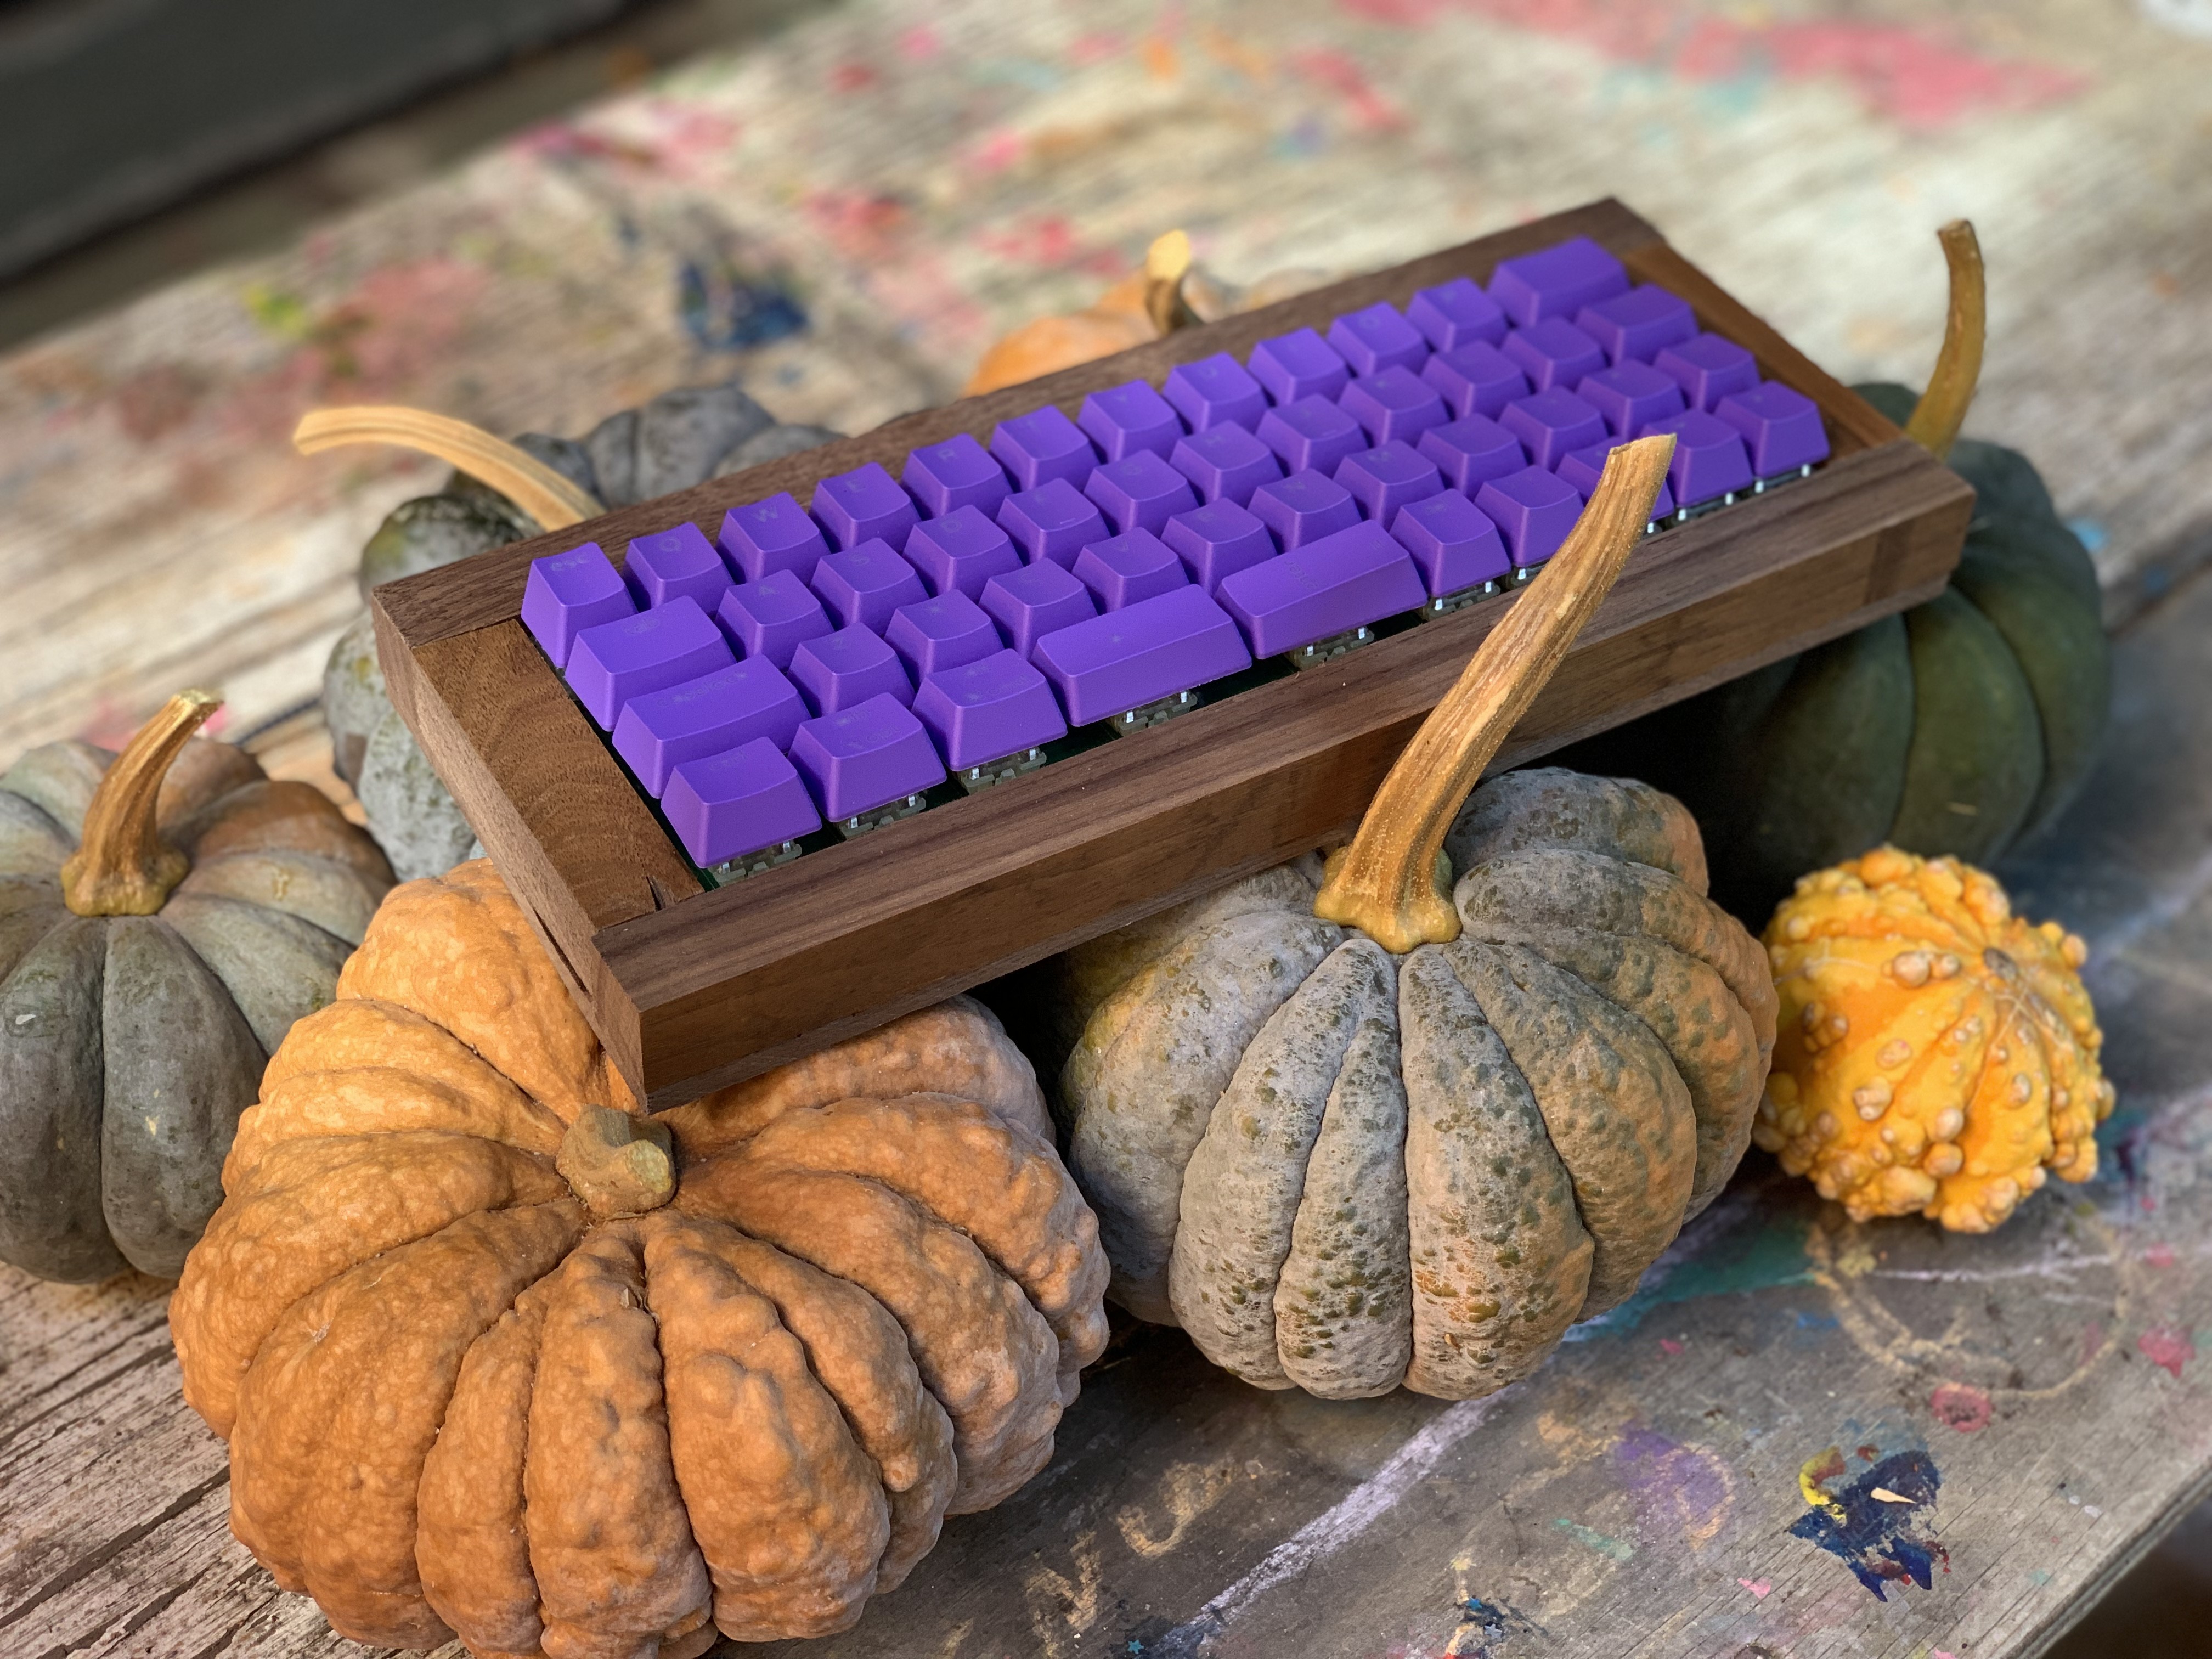
    Yesterday I turned my attention to building a case for the Haunted Keyboard, and found that the hobby boards at my local hardware store were perfectly the right size to be layered to form the case. 

    There is one 1/4" walnut bottom piece and a 1/4" riser inside to account for the extra depth of the Pi Pico and USB plug. The side walls are 1/2" walnut, and all of it is simply epoxied together to form a nice little enclosure. There is a hole routed out the back for the cable, and the board is attached with screws to the bottom pieces. I'm glad I put those mounting holes in. 

    The resulting sound is what I want to work on next. This board sounds pretty good, but I haven't done any of the standard things to improve sound, like lubing the switches or adding foam anywhere. Perhaps that will be a next step. 

  • A 41% keyboard

    Mx. Jack Nelson10/19/2023 at 19:35 0 comments

    I'm not sure how I did it, but I put a row of five keys to the right of the space bar, instead of four keys. The layout I was originally following was for a 40% keyboard, but I've ended up with one extra key. Does that make it a 41% layout? I suppose it does. 

    In typing on this keyboard I miss the apostrophe key, as well as the exclamation point. I always forget when I fall in love with 40% layouts that they sacrifice some really important keys. Perhaps I will code in some replacements. Make use of the 1%. 

  • Talking to Ghouls

    Mx. Jack Nelson10/19/2023 at 04:20 0 comments

    Today marks a true milestone for this project; I was able to plug in the keyboard, type anywhere, and get a spooky response typed back to me. That's was the goal of the project, and it took a while of designing and soldering and CircuitPython to get it to happen, but today it finally did.

    The coding was successful in big thanks to @Steph who helped me through the emotional hurdles of troubleshooting and file management. I am really pleased that the hardware was all correct so the software part could work so seamlessly. 

    The next steps are prompt refinement, posting the code, and building a case, probably out of wood. But tonight I celebrate being able to type to the goblins and ghosts of the AI world at will. 

  • Switches and keycaps, we're ready to go

    Mx. Jack Nelson10/17/2023 at 22:38 0 comments

    I finished soldering on each of the switches! They are not perfectly straight. It turns out the footprint that I used leaves quite a bit of wiggle room between the sides of the holes and the pins on the switches. I did my best to adjust each one by hand to be as straight as possible, but we're a little wonky anyway. 

    Next come keycaps! I didn't account for the profile of the caps being so different, since I'm using cherry profile caps in non-traditional orientations on switches to fit the 40% layout. I may re-order keycaps in an XDA profile to make the whole thing uniform. 

    The back of the board has some headers that need to be trimmed, but all the solder points are working and next comes the programming. 

  • The PCB arrived! Now to test!

    Mx. Jack Nelson10/17/2023 at 21:20 0 comments

    This morning I was very excited to see DHL arrive a day early with the PCB! After a quick visual inspection where I determined that indeed it looked like a PCB, I started soldering. After getting a few of the switches on and the Pi Pico W soldered onto its headers I really wanted to test to see if the thing was working. 

    I tried to repurpose some code from the CartBoard and realized it was far too complex for basic testing. @Steph  to the rescue with a relevant Adafruit article on Keypad and Matrix Scanning in CircuitPython, and in minutes I had a basic test program. 

    So, did it work? 

    It absolutely did! All the switches are registering and all the routing seems right thus far! It's now back to soldering to get all the rest of the switches on, and then it's time for keycaps and programming. I'm over the moon that my first PCB came back functional, and that all my soldering is working. It's almost like this hobby gets easier the more I do it. 

  • The keycaps have arrived!

    Mx. Jack Nelson10/15/2023 at 03:11 0 comments

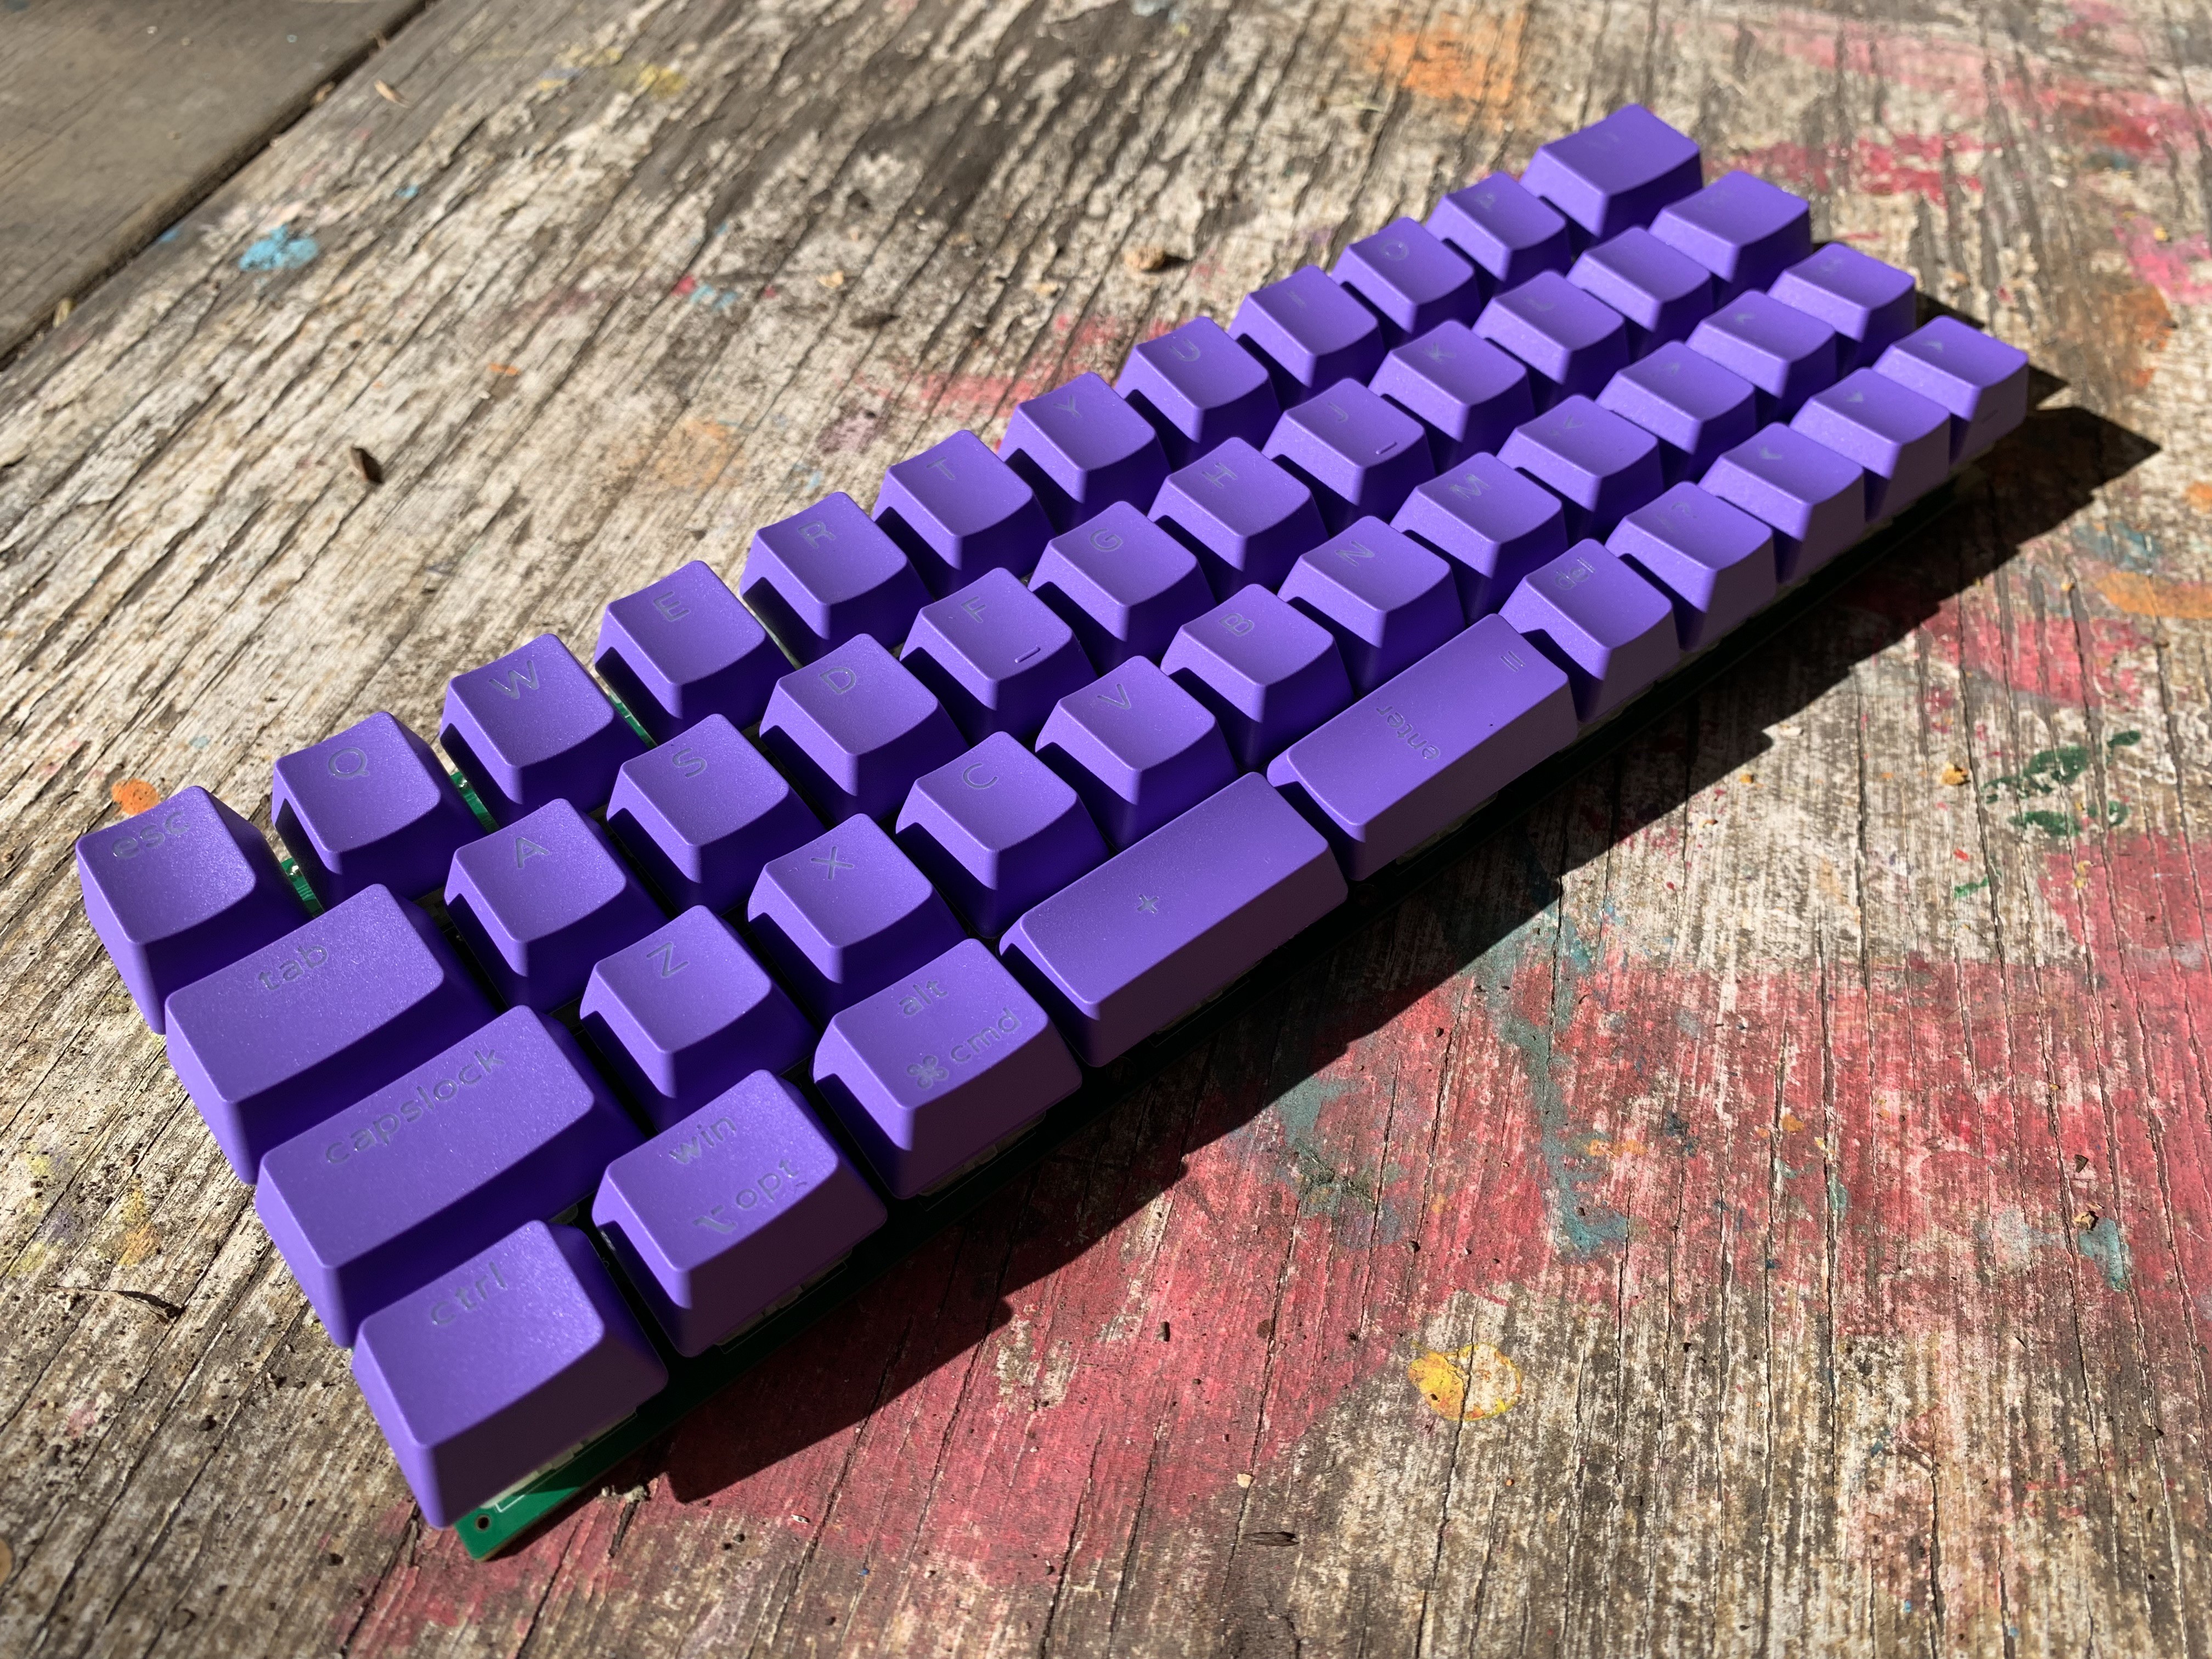
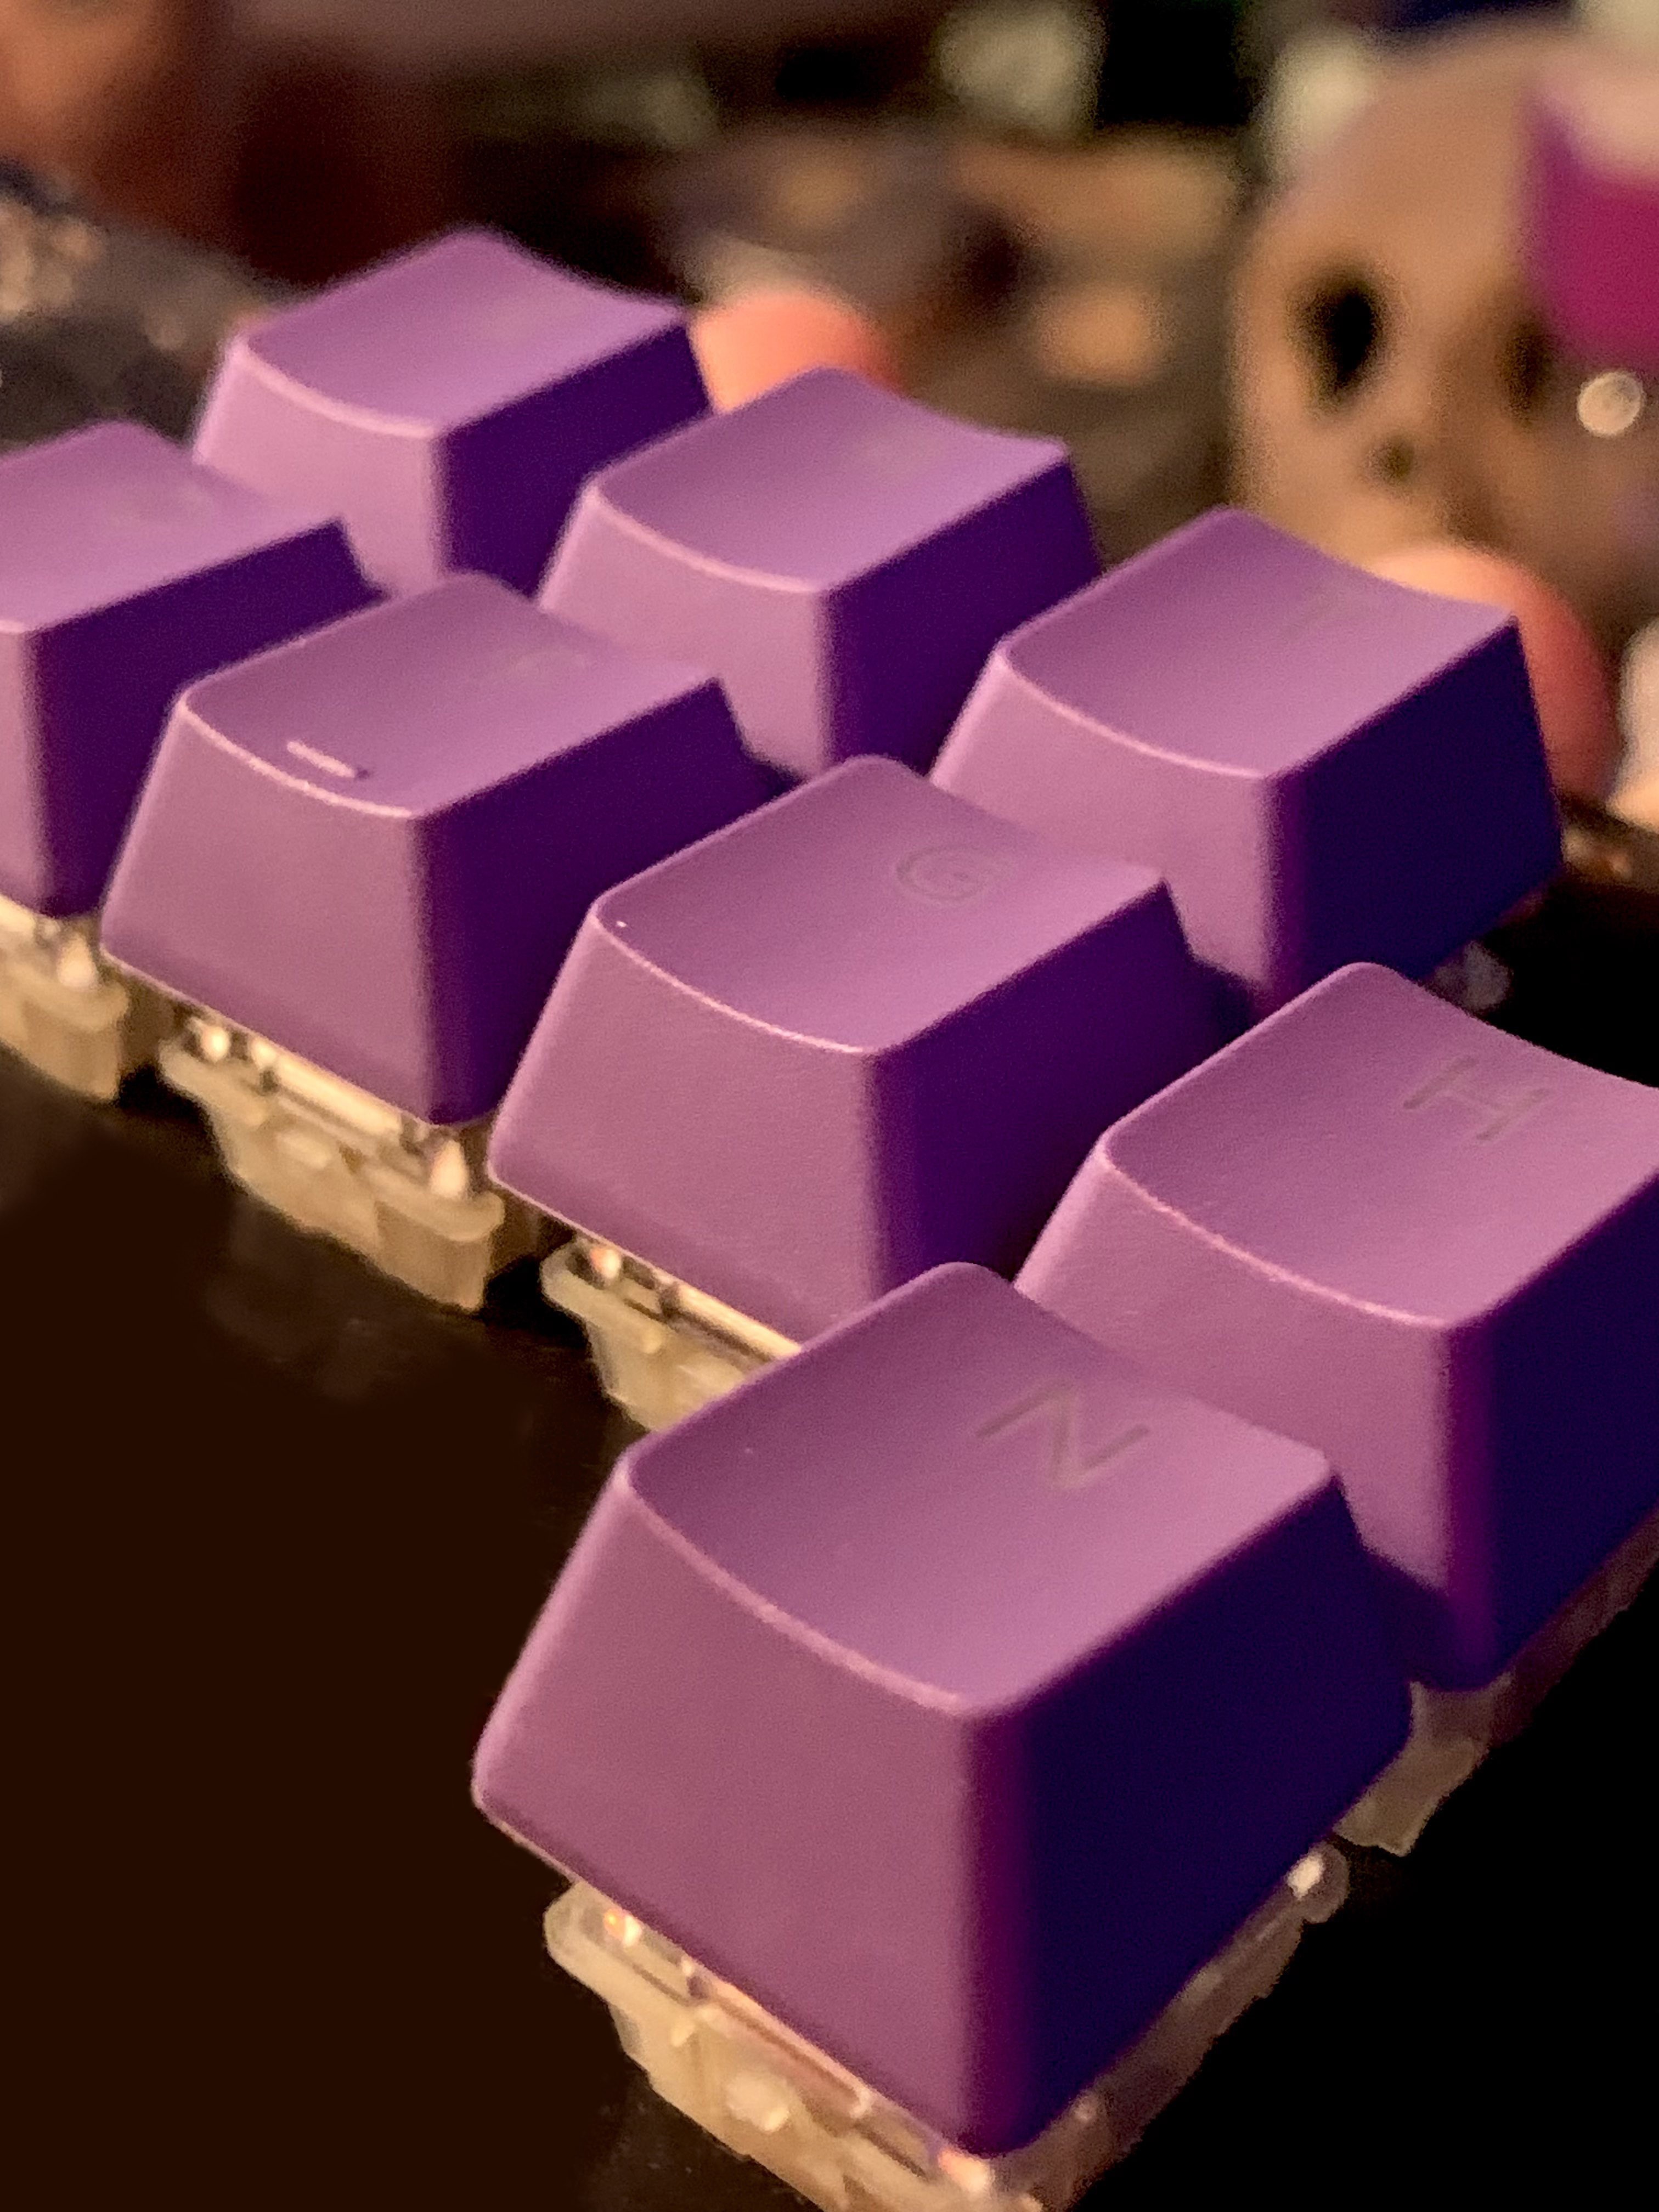
    The keycaps are here and so are the switches, so tonight I put a few together to test out the sound and feel. I'm enjoying everything so far. I got a set of second hand but unused Cherry MX Brown switches and some second hand purple keycaps from Pwnage. Never heard of them before. I like that the legends are shine through, even though I don't have per key LEDs, because they become almost invisible with the color of the keycaps, giving them an unlabeled effect. I'm hoping the LED underglow works on the board I ordered because then I can light it up orange. 

    The board ships tomorrow!

View all 15 project logs

  • 1
    Consider the components of your mechanical keyboard

    I used Jake Harrington's article How to Build a Custom Mechanical Keyboard as a guide to the various components I was selecting. You can think about all the qualities you want in the keyboard, from the sound it makes to the space it takes up on a desk, and plan towards the keyboard you're imagining. 

    I picked a 40% key layout and a custom PCB, because I wanted to attach a Pi Pico W to the PCB to run the keyboard and connect to wi-fi for the ChatGPT requests. I knew I was going to find second hand switches and keycaps for it, hopefully purple. I ultimately opted for LED underglow, but not individually illuminated keys. I picked a plateless mount for ease of assembly after referencing Thomas Baart's Cheat sheet: Custom keyboard mounting styles, although the next keyboard I build will use a plate. I discovered that without the plate it is difficult to get the switches to be perfectly aligned - mine are crooked, like the teeth of a Jack-o'-lantern. 

  • 2
    Plan your key layout

    After you select the percentage of your keyboard you can plan your key layout in Keyboard Layout Editor (KLE) like they show in The Keeblog article Creating the Perfect Keyboard Layout With Keyboard Layout Editor. That's the typical way to do it, and highly suggested. I didn't use that method, instead I designed my keyboard layout in KiCad directly. I followed Noah Kiser's video Creating a Keyboard PCB with Diodes (Kicad 6.0) and referred to a photograph of a 40% keyboard layout that I liked. This resulted in me having an extra key in my design that wasn't present in my reference image. Next time I'll probably use KLE. 

  • 3
    Design your electrical schematic in KiCad

    I learned KiCad during this project from Noah Kiser's video Creating a Keyboard PCB with Diodes (Kicad 6.0). If you already know KiCad, the schematic creation process may be easy, but if you want to follow clear instructions on how to create the grid of switches I suggest following his guide. 

    I used ebastler - ebastler's marbastlib for KiCad for the symbol and footprint of a typical solder switch. 

    I used ncarandini's KiCad RP Pico symbol and footprint as a reference for which pins to use on the Pi Pico W, but ultimately the board is not in my final schematic because I was only manufacturing the PCB with through holes to mount the Pico. 

View all 9 instructions

Enjoy this project?

Share

Discussions

Similar Projects

Does this project spark your interest?

Become a member to follow this project and never miss any updates