 Beko Pharm
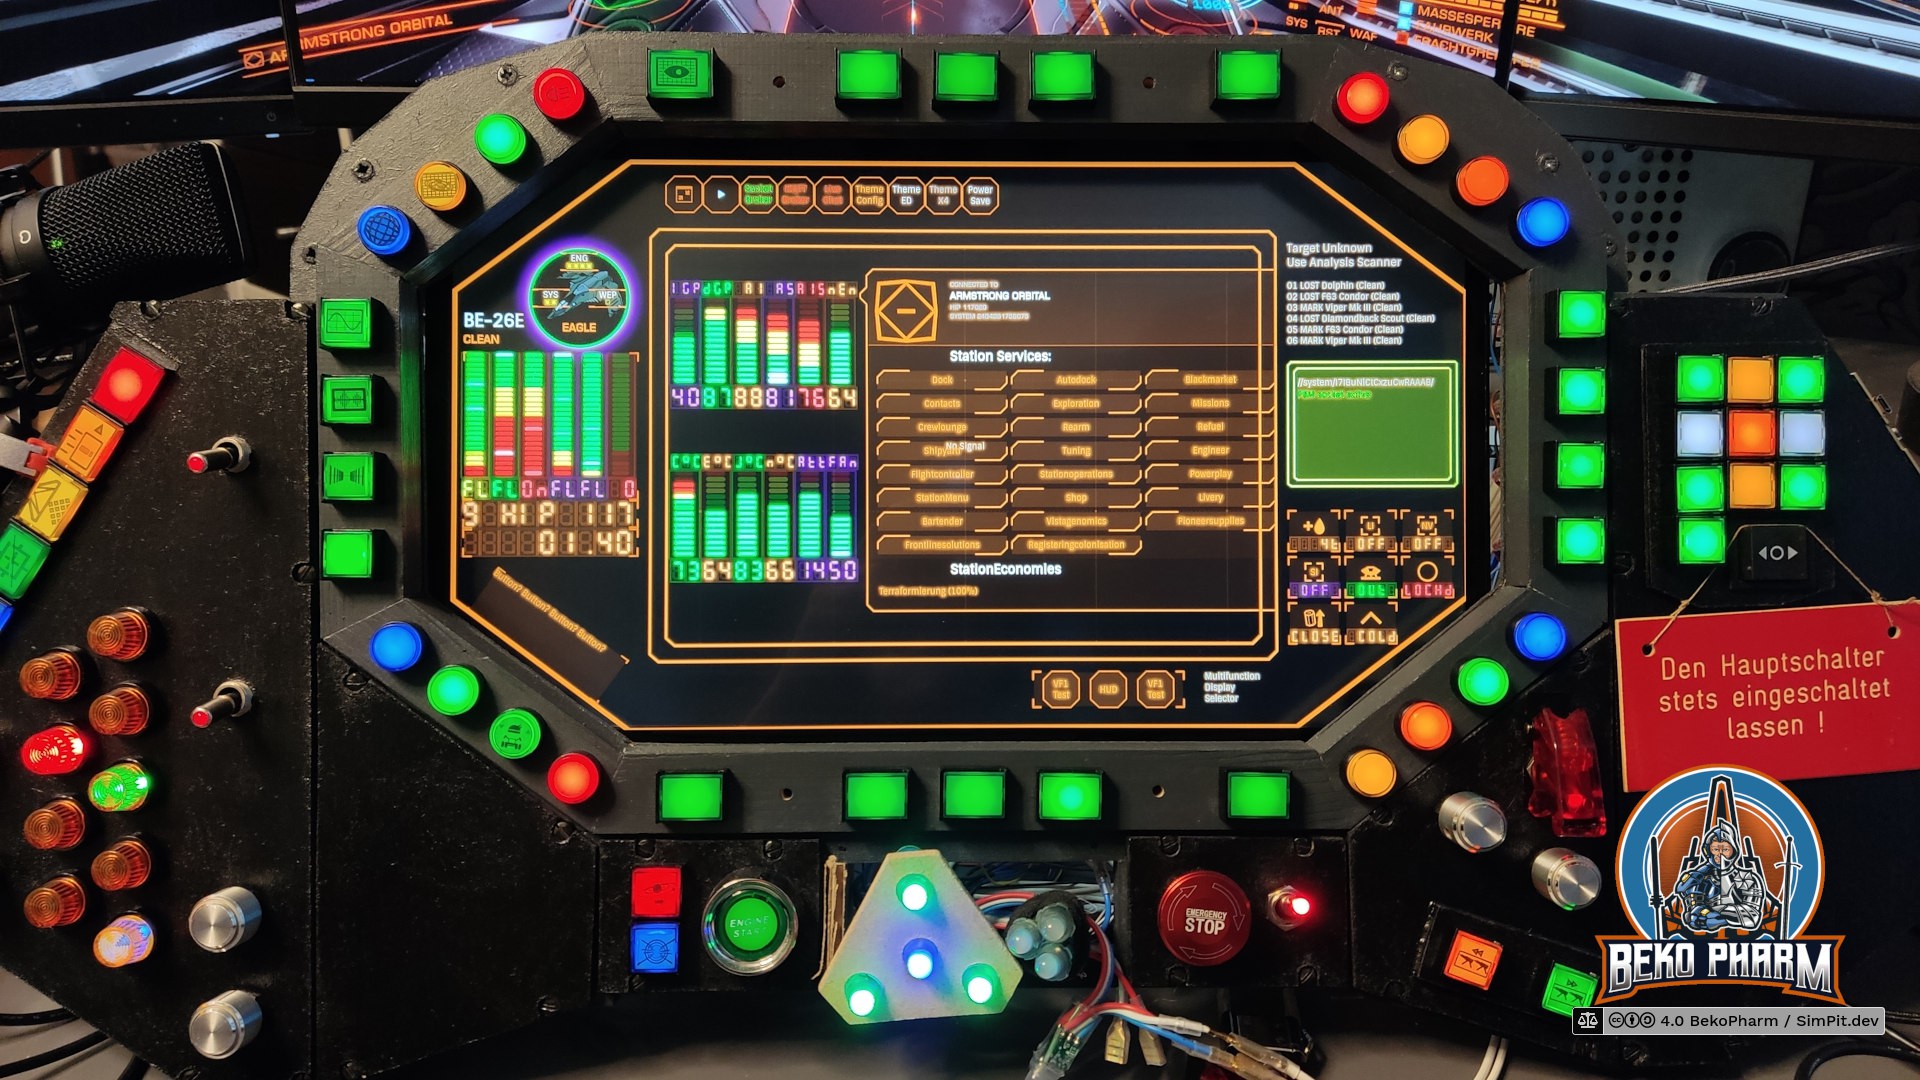
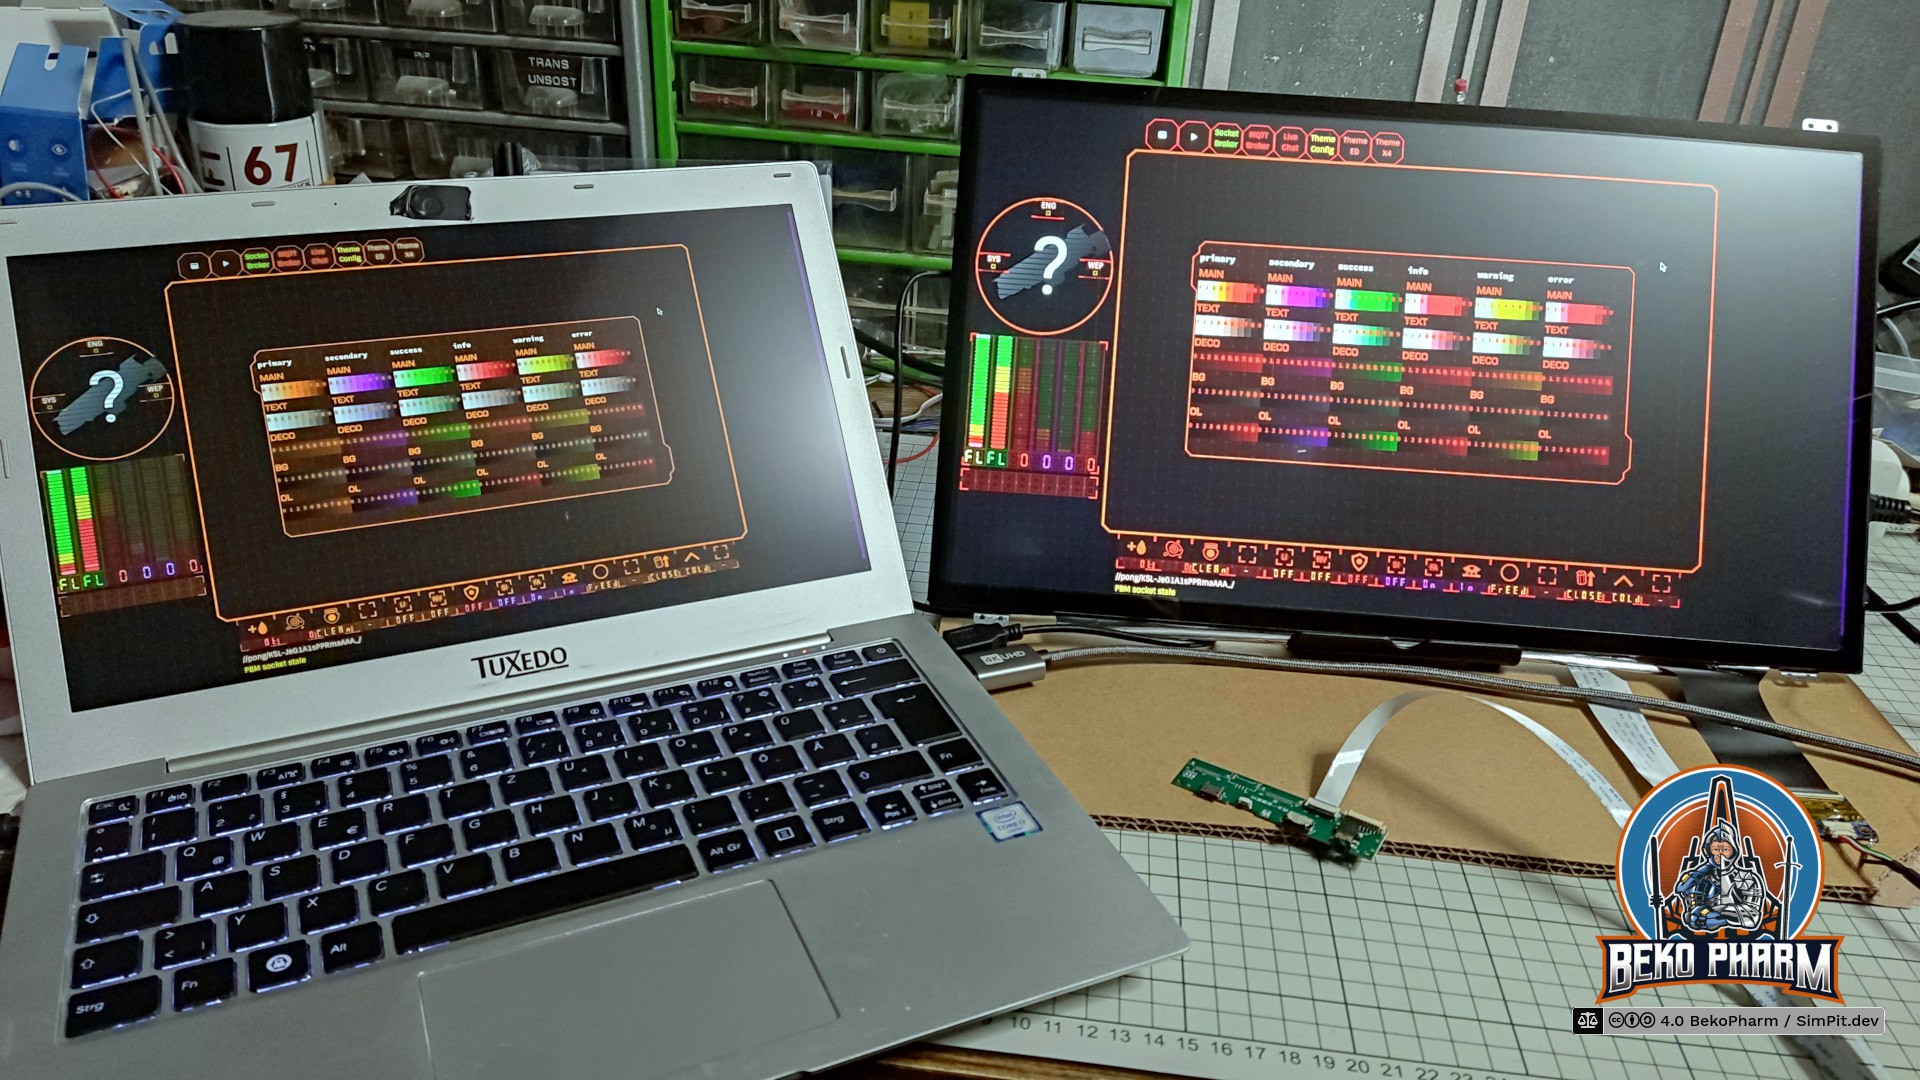
Finally replaced the old display with a new touch display in my VF-1 inspired home cockpit panel.
The old display was salvaged from a laptop years ago and while it was working fine it also has a very bad viewing angle. I also got really tired of it's glaring reflections so I experimented with an anti glare foil. This reduced the reflections a lot (worth every cent) but couldn't help with the bad viewing angle, of course. I now had an idea how this could look though so I decided to buy into a replacement kit.

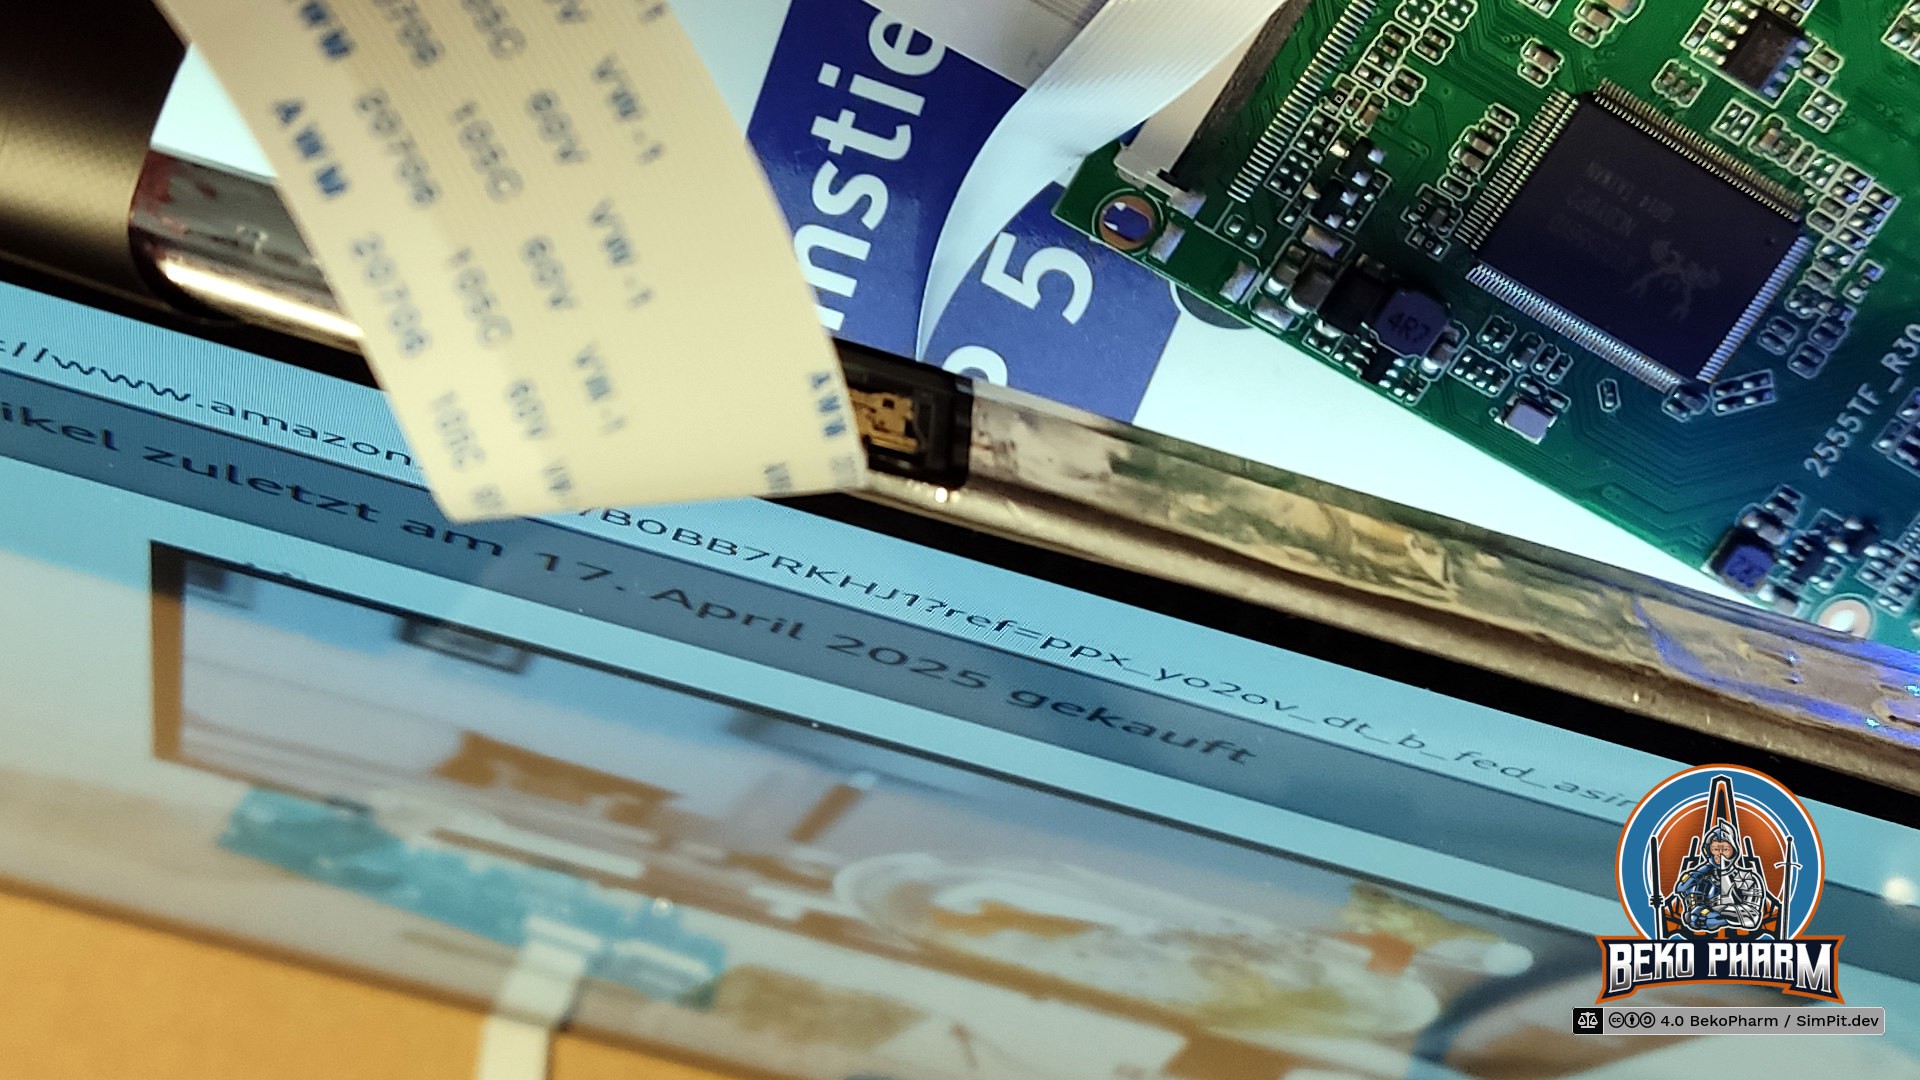
The new display is the N173HCE-E31, a 17.3" with a resolution of 1920x1080. The touch controller registeres as a USB HID pointer/mouse by ILITEK and is basically sitting on top of the display. The kit included a PCB, that was advertised as VS-RTD2556HC-V2 controller by VSDISPLAY but came without any data sheet and I have no idea who really made this.
Thing is this PCB runs very hot and the noted input voltage isn't explicitly stated. An attached image suggested to use an USB PD power supply without 20V so I was looking for it's datasheet to check if I was just holding it wrong. Picture me surprised but VSDISPLAY does not list this particular configuration in it's datasheets. I contacted them via mail and they confirmed that this is not theirs. Theirs is apparently also strictly 5V/12V so that matches the picture I get.
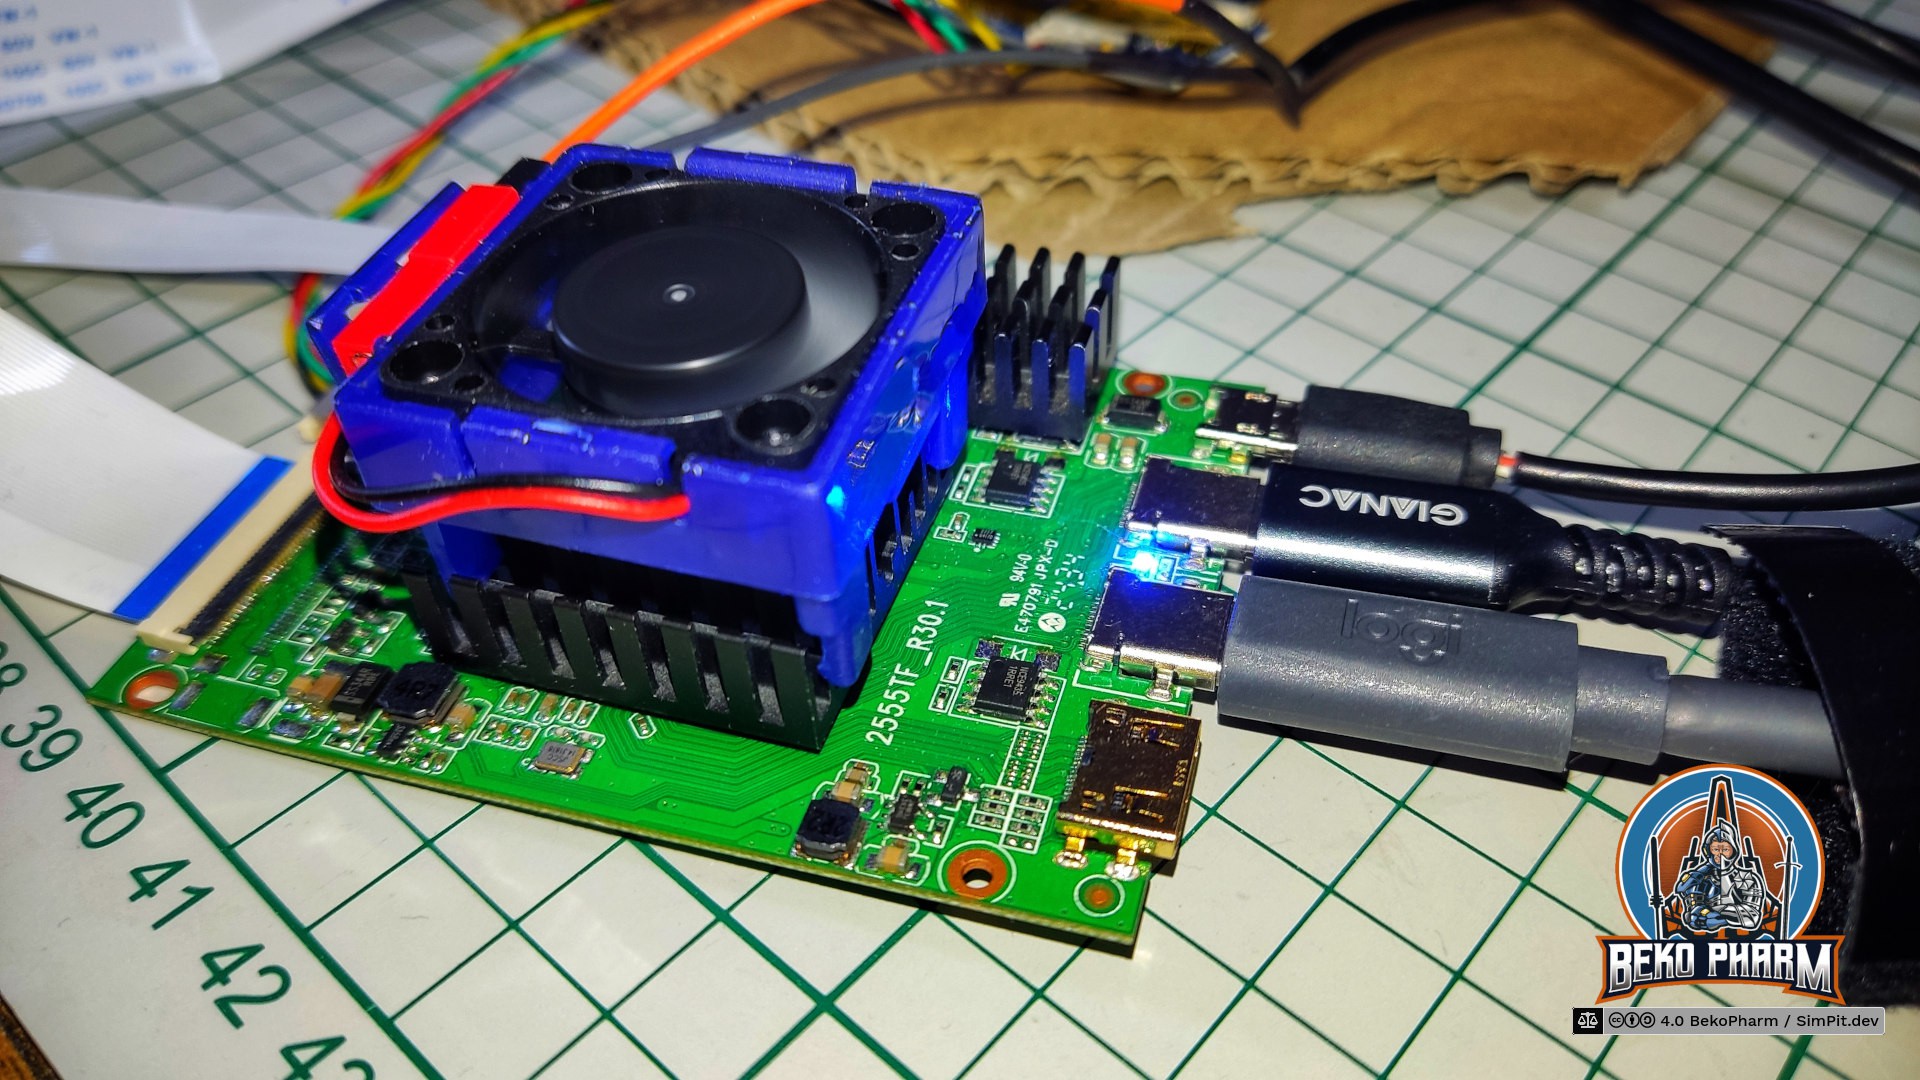
Mine is equipped with the IC RTD2556VD that does not match the list of supported ICs. Theirs has 2556TE_R20.1 printed on the PCB. Mine has 2555TF_R30.1 printed on. It's like 99% similar but differently routed. It also mentions E470791 JPX-D which seems to point to the PCB manufacturer Dongguan Jingweixin Circuit Co Ltd but that is where my GoogleFu left me. I did also find the very same pictures on other offers, each stating a completely different controller model 🤷
Anyway. I tried different configurations and while it works with 5V at ~2A I feel way more comfortable with 12V at ~0.8A on full brightness + blue color. I also attached a passive cooling block I had laying around and slapped a fan on top. Now it's only "comfortable" warm to the touch after running for an hour.
Sadly I do not have any device with DP ALT providing more than 5V and the PCB will always switch down to 5V the moment the USB-C dedicated for the display signal is used as well, even when a proper USB PD power supply is attached on it's dedicated power connector. I could only keep it at 12V with my VITURE USB-C XR charging adapter, which can indeed provide 12V and more via USB-C while still allowing DP-ALT + USB2. There went my plans to only have a single cable for all, DP, PD and the USB2 lanes for the ILITEK pointer, because I really do not want to block this adapter all the time.
So now I have a dedicaded USB PD power supply at 12V connected, a HDMI connection for the display and an additional USB2 for the touchpanel pointer - and on top of that the little fan, that I simply connected to the micro USB2 socket on the PCB to provide it with 5V.
This also means that my Linux PC can not know that both, touch panel pointer and display, belong together. As a result all touch panel inputs were all over the place and not limited to a single display. Apparently KDE has an option in it's graphical settings where this can be easily configured. Gnome does not [yet?] have such an option in it's graphical settings. There is however a way to enforce the mapping of the touch panel in Gnome too! And while the real manufacturer for the controller of the new display is still a mystery to me I found the following snippet in my monitor configuration $HOME/.config/monitors.xml after plugging the controller in:
<monitorspec>
    <connector>HDMI-2</connector>
    <vendor>RTK</vendor>
    <product>0x2555</product>
    <serial>0x20230705</serial>
</monitorspec>
The touch panel is, according to lsusb, connected as ID 222a:0001 ILI Technology Corp. Multi-Touch Screen. Armed with that knowledge I can limit it's input with gsettings to this specific display:
gsettings set org.gnome.desktop.peripherals.touchscreen:/org/gnome/desktop/peripherals/touchscreens/222a:0001/ output "['RTK', '0x2555', '0x20230705']"
Works like a charm but what a mess. I still wish I had a data sheet for this so if you know more kindly drop me a comment!
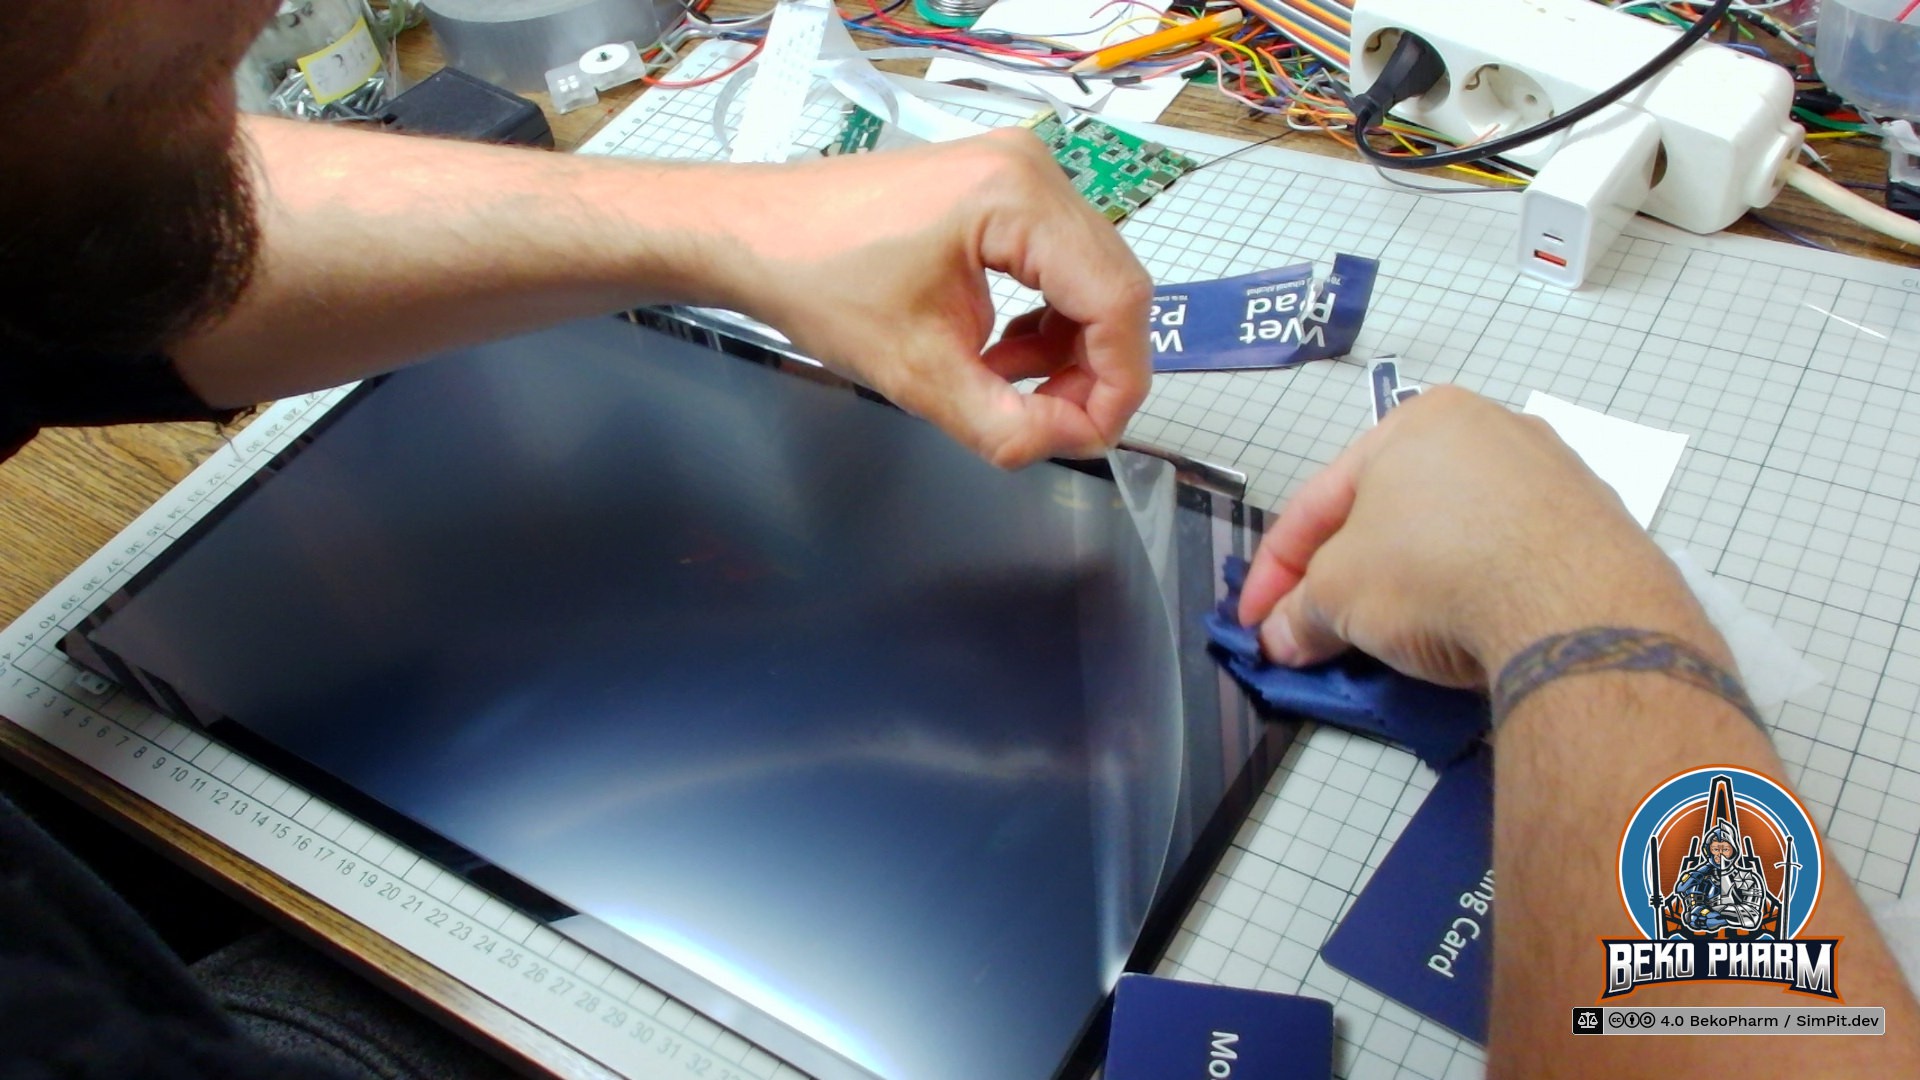
The last thing to fix was the already mentioned reflective glare. For this I went with a screen protector by BROTECT (that name still makes me laugh), that promises beside anti scratch also an anti glare effect without limiting the view angles (some foils do this to enhance privacy).
Attaching the foil was straight forward. The trick is to make sure that not a single dust particle is around during the process. To help with this I used an air humidifier to raise the humidity in the room before I even started. After that I removed the protective cover from the display and started slapping on the foil with the provided mounting card (yay, cardboard again). This was the very moment one of my curious cats decided to investigate my actions and jumped onto the table almost giving me a heart attack. The last thing I needed was cat hair all over the place and indeed after a lot of hissing I had to make good use of the also provided adhesive sticker to catch all dust particles in the last corner. Cats!
The end result is like night and day. I do no longer see any light sources or myself clearly reflected on the display. The touch panel is still accepting inputs just fine and the colours look very bright from any angle, especially with HDR enabled. This will also ease it's cleaning because the cockpit panel is collecting dust like crazy due to the gradient of the panel. I usually use a vacum cleaner for this and the foil will help a lot to avoid scratches.
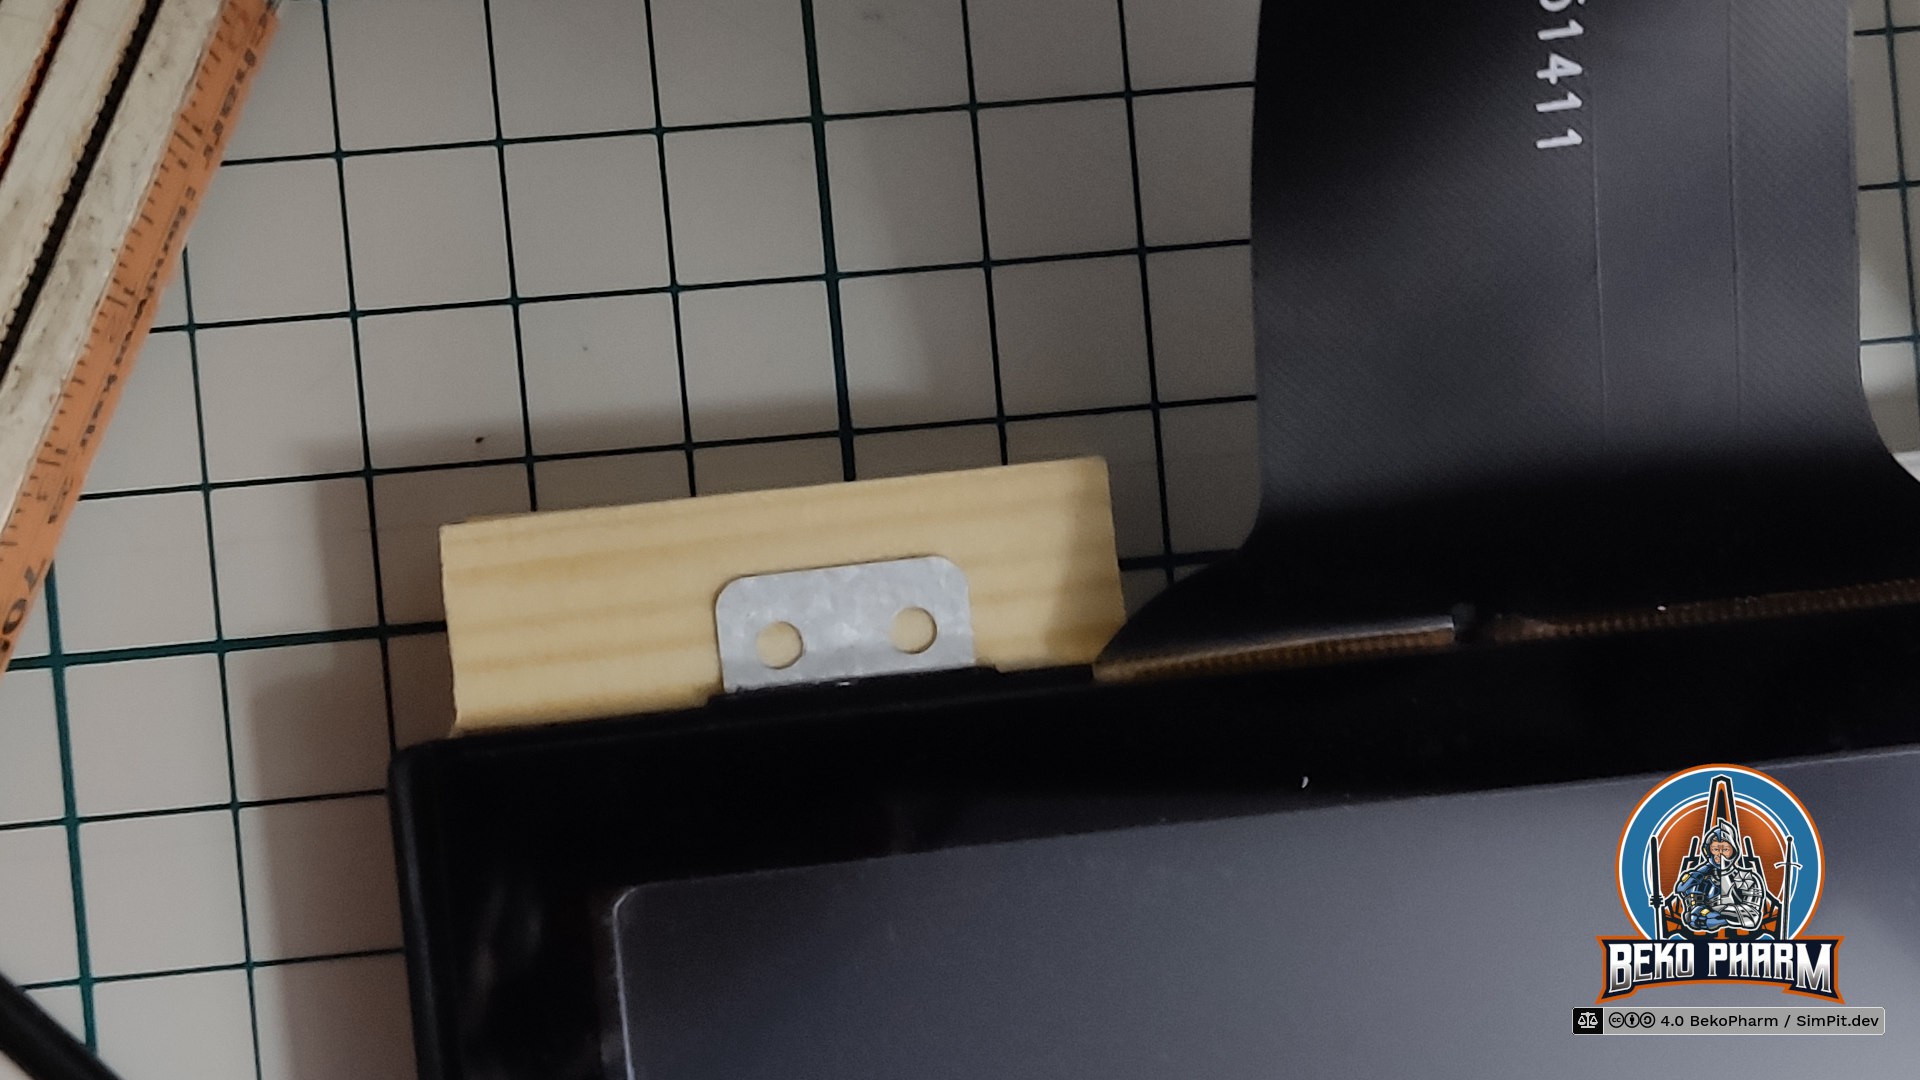
Replacing the old display was also a task on it's own. The old screws didn't fit, of course, so I kinda had to build little adapters from leftover angle and wood pieces. Very ugly but good enough - this is just a toy after all 🤓
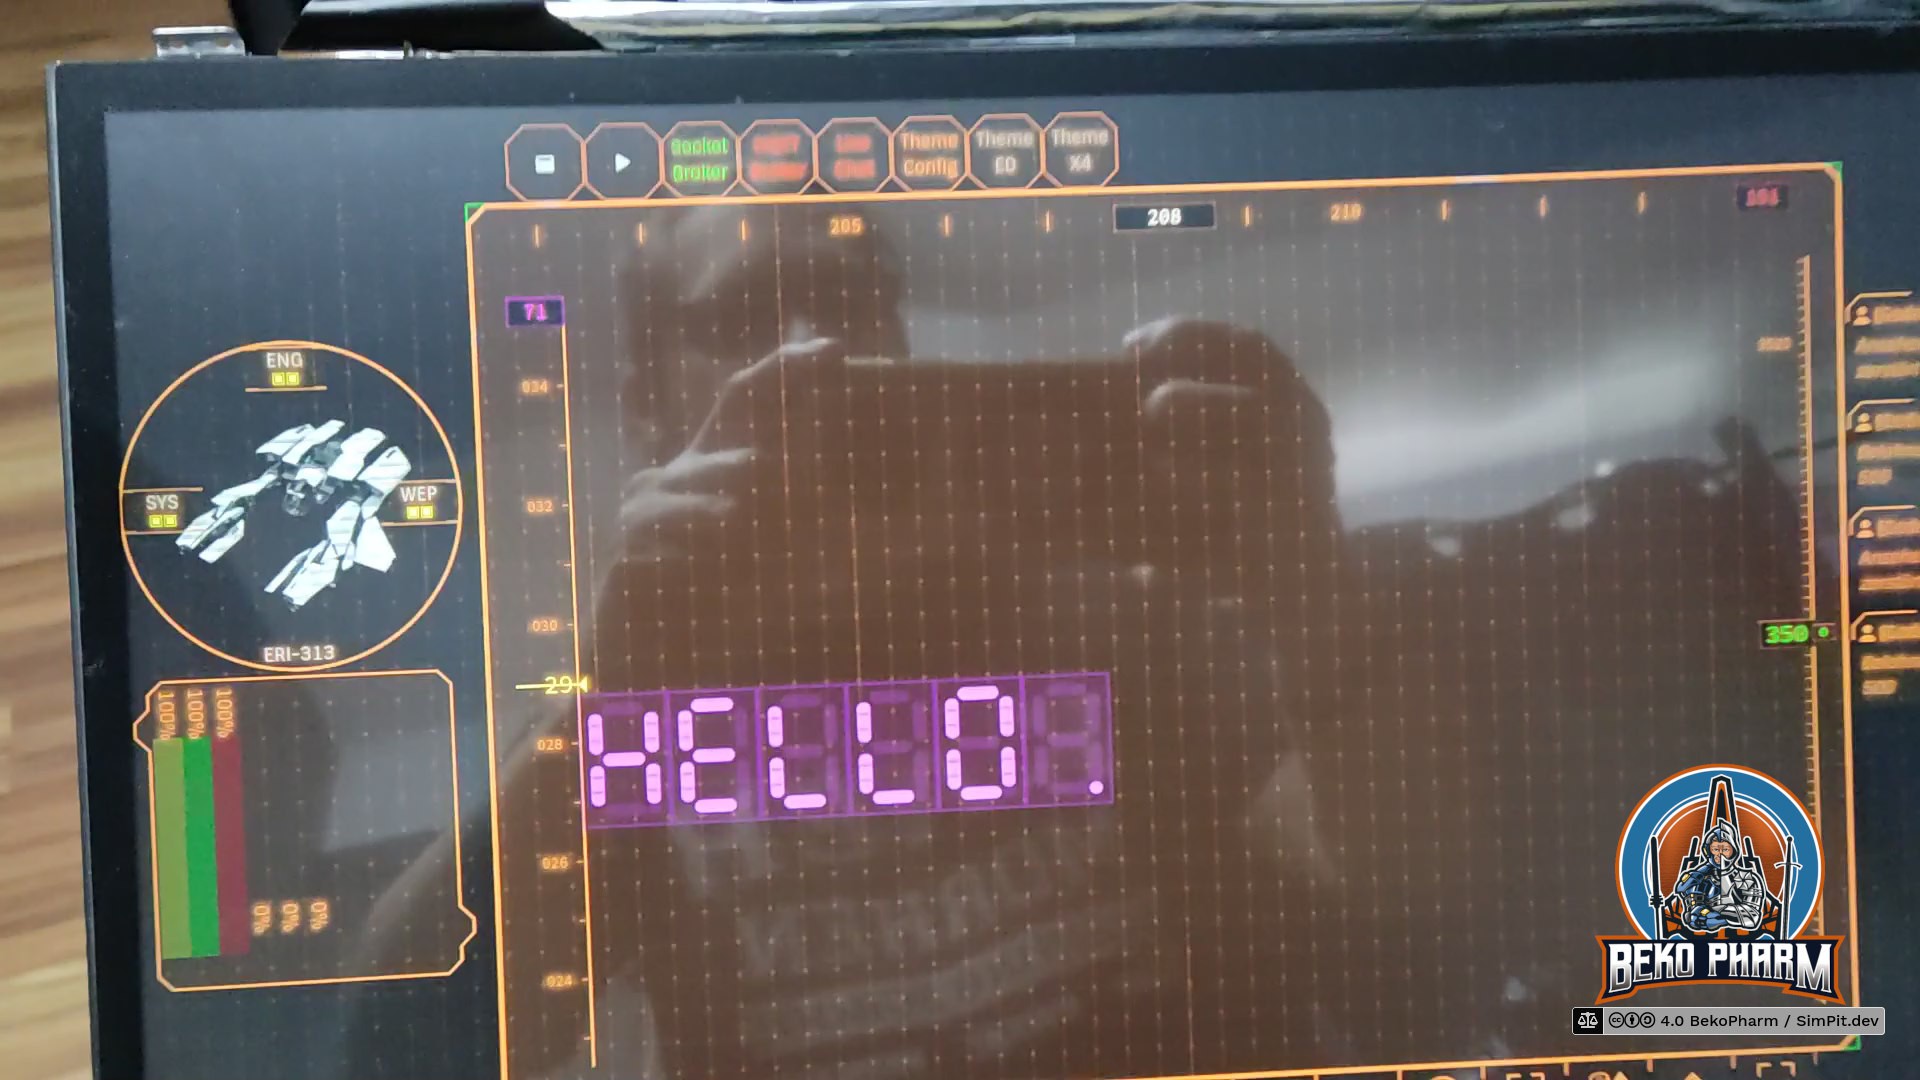
Ah yes and now that I have a touch panel I also have to rewrite my HUD app, of course 🙃
Originally posted at https://beko.famkos.net/2026/01/14/switching-to-a-touch-panel-display-in-my-vf-1-inspired-home-cockpit-panel/
Discussions
Become a Hackaday.io Member
Create an account to leave a comment. Already have an account? Log In.