I've tried three times now to install KiCad on my machine, but it doesnt want to know. I've bought a new hard drive and installed the latest Mint on it since but to no avail. There's a dependency in the component library that breaks, and I cant find it, so although KiCad runs it's useless unless I draw everything by hand.
The hell with that, I reasoned, it would be easier to write my own.
When I joined HaD I'd already half-built the mill and written some quick software to do the job I wanted, however exposure to the modern industry changed all that. Well what with Obsidian and all I decided not to start any new projects, and take a bit of a break from hacking. You cant keep me off a computer for more than two minutes tho.
Here's what boredom made :-)
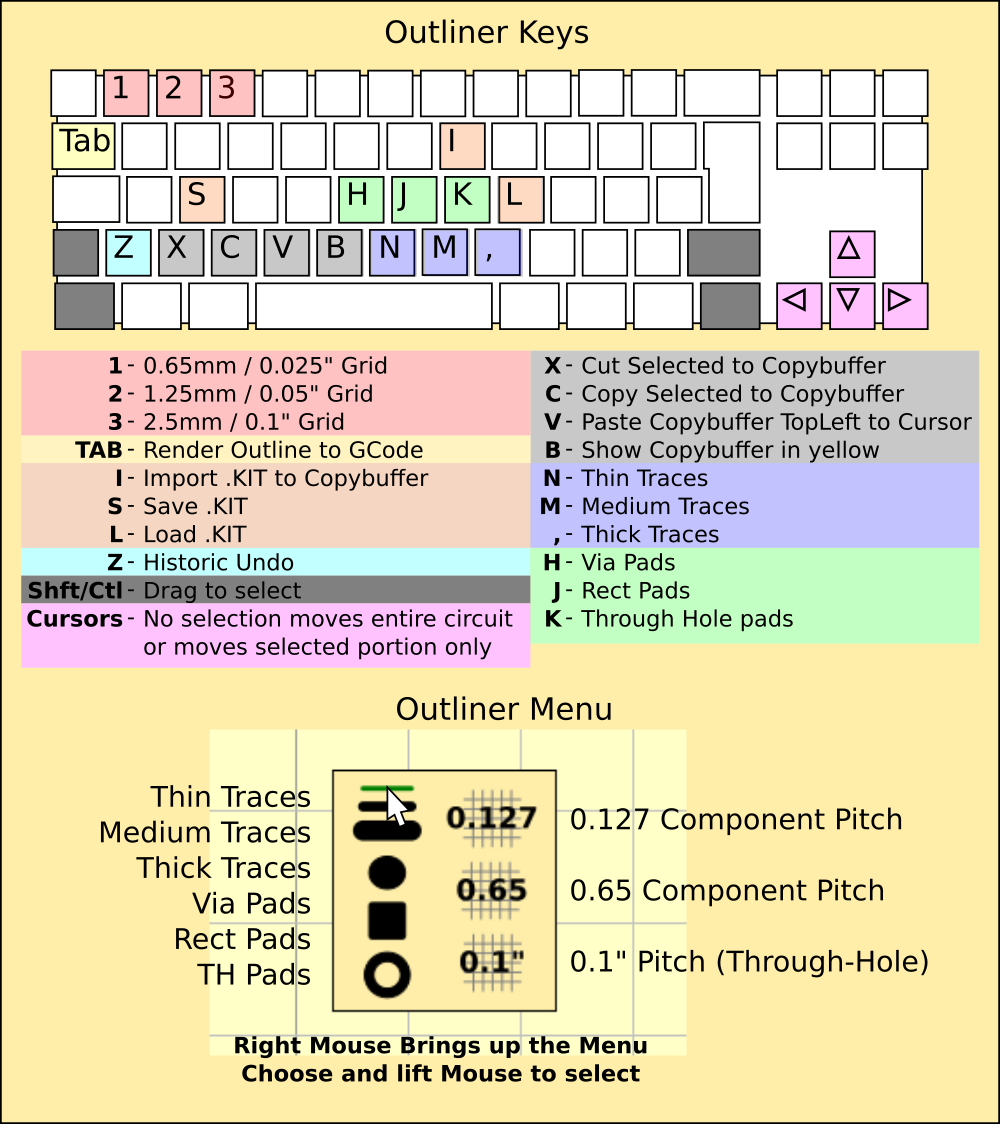
KikAss is written entirely in Python and uses PyGame for the display and interface, but the rest is completely self-written.
To create decent circuits I needed an editor. It's a little basic but it works and has all the features you'd expect.
- Undo from version 0.1b, LOL Microsoft.
- Cut and Paste from version 0.1b, LOL Apple
- Installs and runs on the Big Three natively, LOL KiCad
- Its Free! Lol Eagle
- It produces Prints, Bitmaps, GCode and Gerber natively, LOL most everything else
Looks something like this...
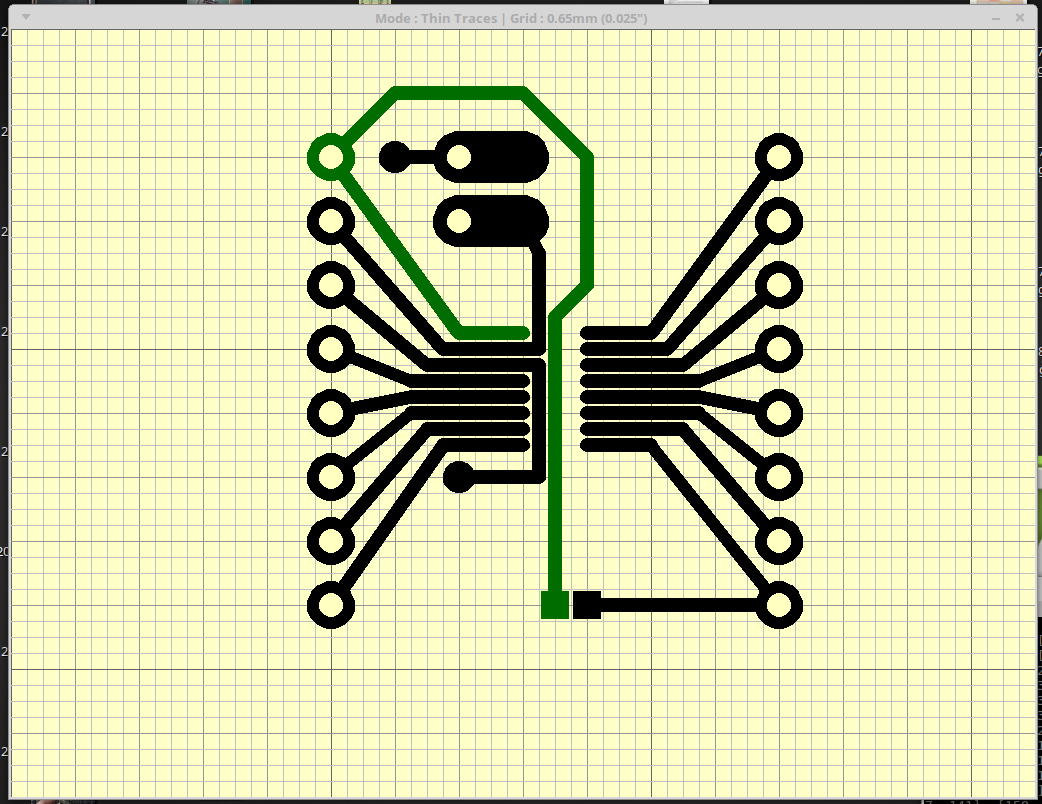
A multi track board with drilled pads and microscopic chip header for the current generation of chips.
The board is designed by clicking and dragging thin traces, which are then terminated by pads by clicking on a pad in the Menu and then clicking the ends of the lines. Quick and easy...
It produces a bitmapped image of the circuit design, which can be dumped on any printer. I need to work on the scaling, printers are a total mishmash of designs and this wont be easy.
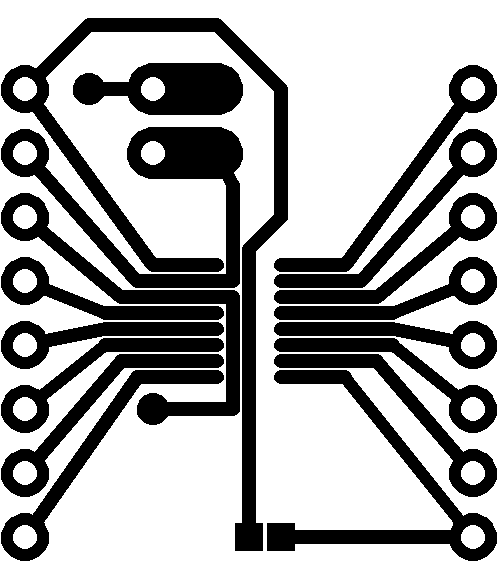
Now for the clever part. OSH expect their circuits to be Gerbers, and my mill expects GCode. There had to be a halfway house between the two, and this is it. A routine to convert a bitmap into a GCode coordinate string. Gerbers are also coordinate strings but they are more complicated, so whats needed is an outline of each track, which is then traced to create polygons from the edges.
Here each polygon is drawn in a different colour. At the moment they are lists of pixels describing each outline.
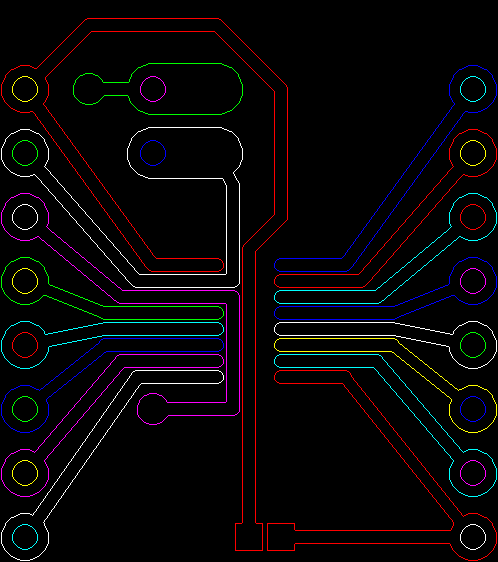
And after tracing...
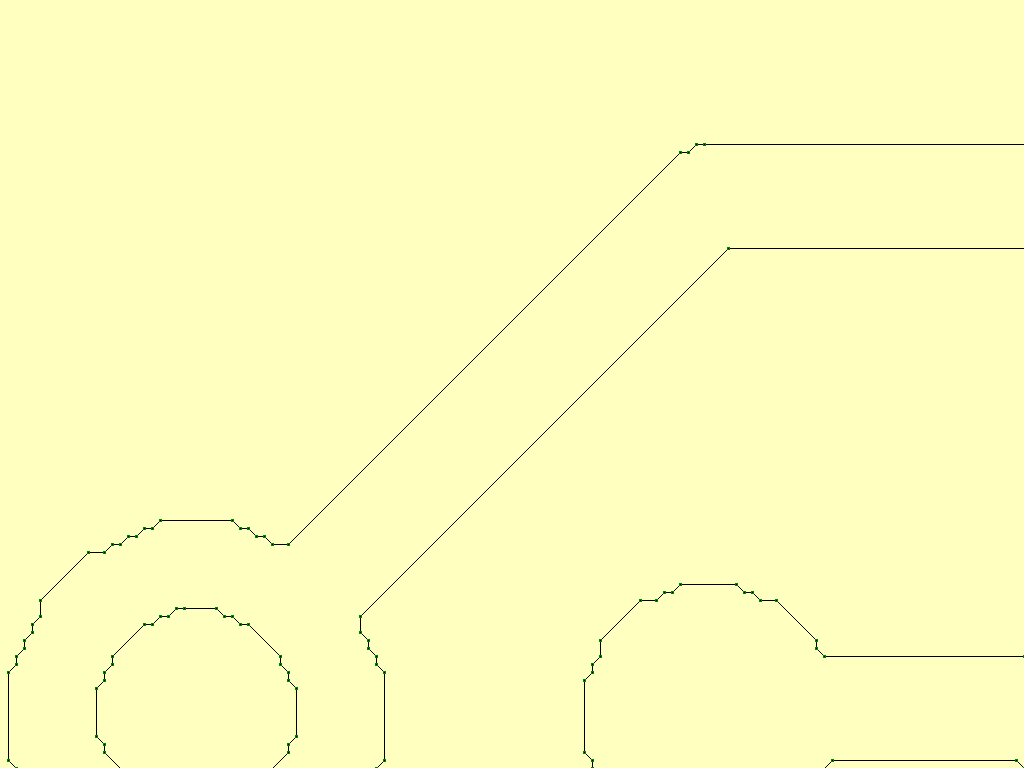
Lists of coordinates generated from the centres of the edge pixel coordinates and interpolated to remove the interstitial points, leaving just the corners.
After a monumental session crashing the hell out of GerbV, I finally figured out the Gerber format well enough to create one from scratch.
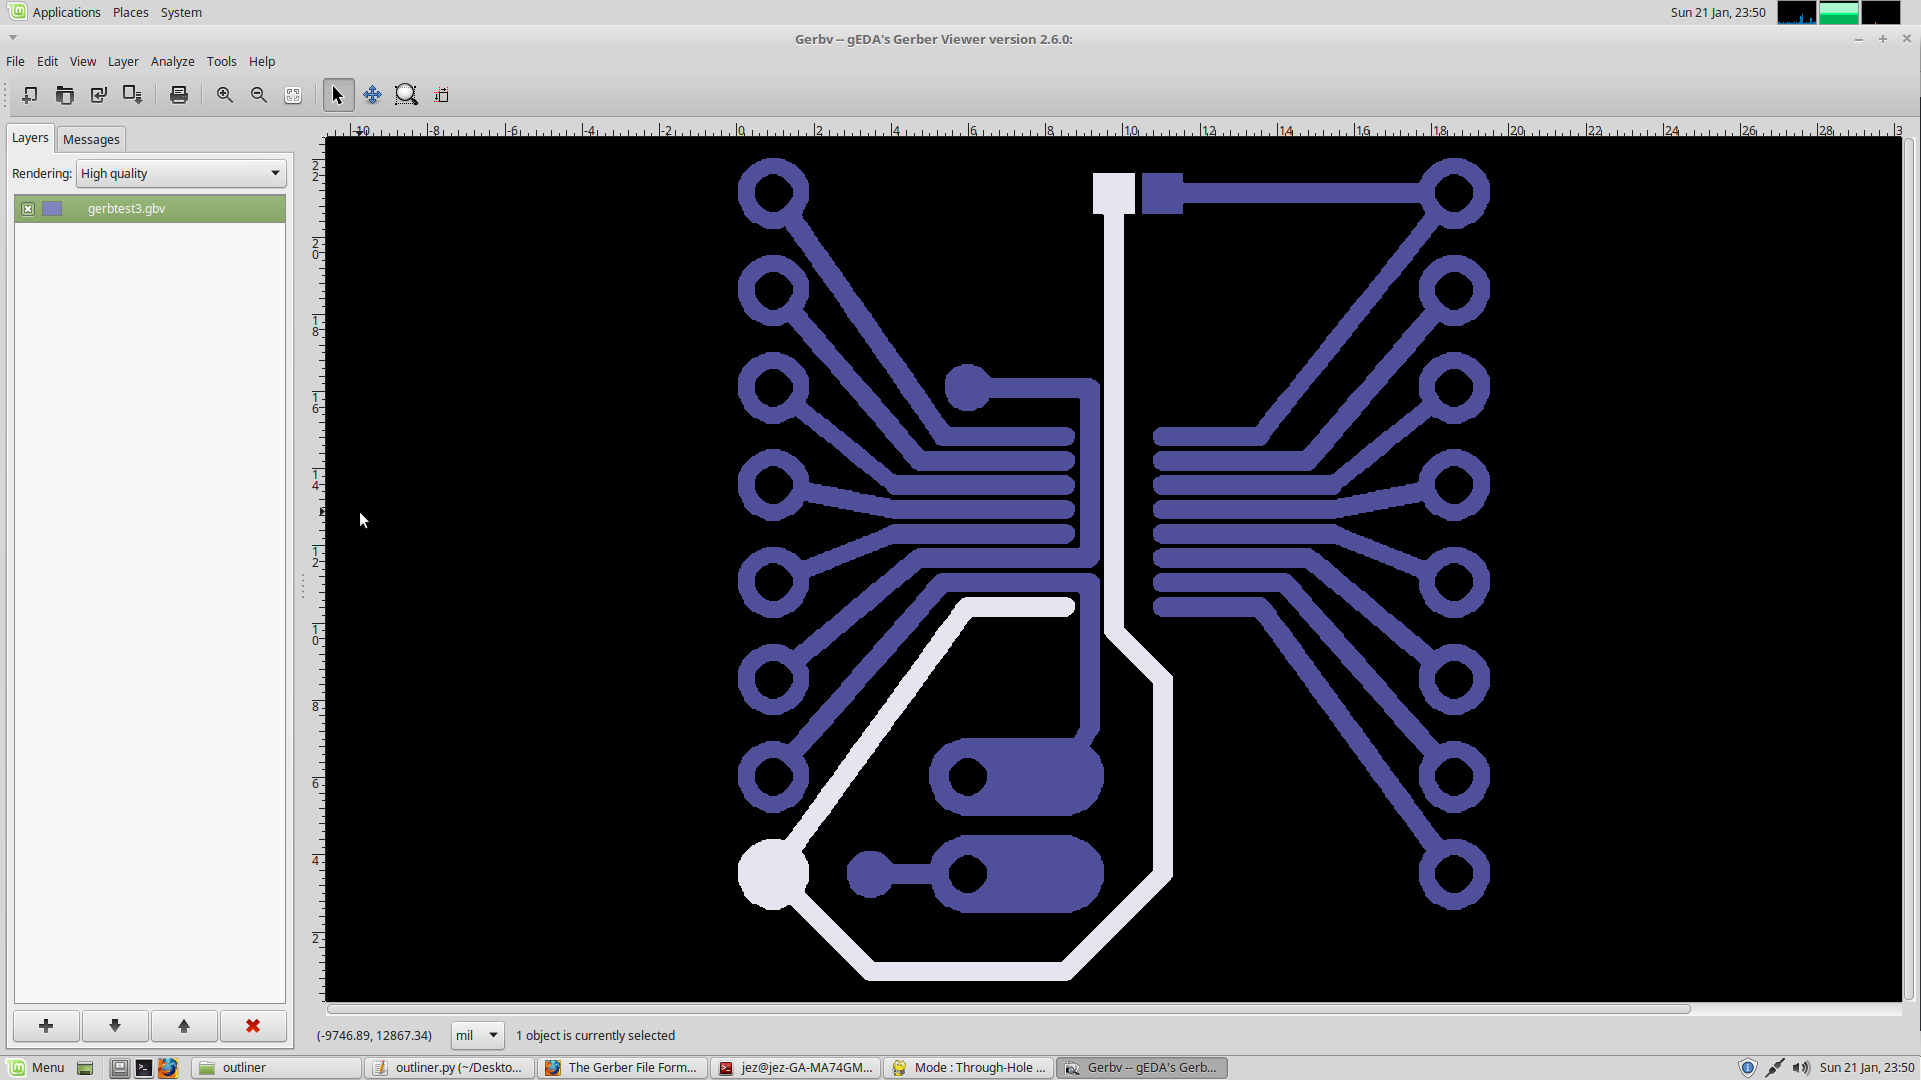
I still have problems, trace 1 is always opaque, and although it has a transparent cutout on it, it is always filled in. I dont know why, and the layers in the file look ok too.
Ahah you say, its upside down too! Yeah, thats what I thought at first, but logically speaking this would be layer three of six, face down and sandwiched in between a solder mask and another copper layer, which would be face up. I'll have to experiment with this, because I've never produced artwork for OSH, or any board maker come to that.
I would expect OSH to want the Gerber to have its layers in order top to bottom, oriented as they are in the final board, thats how I've seen others produce their artwork. So by using this geometry it should work out ok. GCode is fed to the mill with the copper face-up, so is oriented correctly for that in any case - but because it is designed to drive custom hardware, it can be flipped in any direction by the mill's software settings. It uses a RepRap controller with the standard software, but swaps the heater for a hot air nozzle, and the driver for a cutting head, and also adds a solderpaste dispenser designed to take those syringes you can buy off eBay. I've done a bit of experimenting already, and the solderpaste I have is too thick to go through a syringe needle. I'll buy pre-packaged paste then, and incorporate it into the design.
Again, from GerbV, showing the coordinate system in action. It isnt round at this resolution, I'd need to switch to C++ to double it and keep the render time down to seconds.

 Morning.Star
Discussions
Become a Hackaday.io Member
Create an account to leave a comment. Already have an account? Log In.