The core of this MacroPad will be built around this 3D printed base.

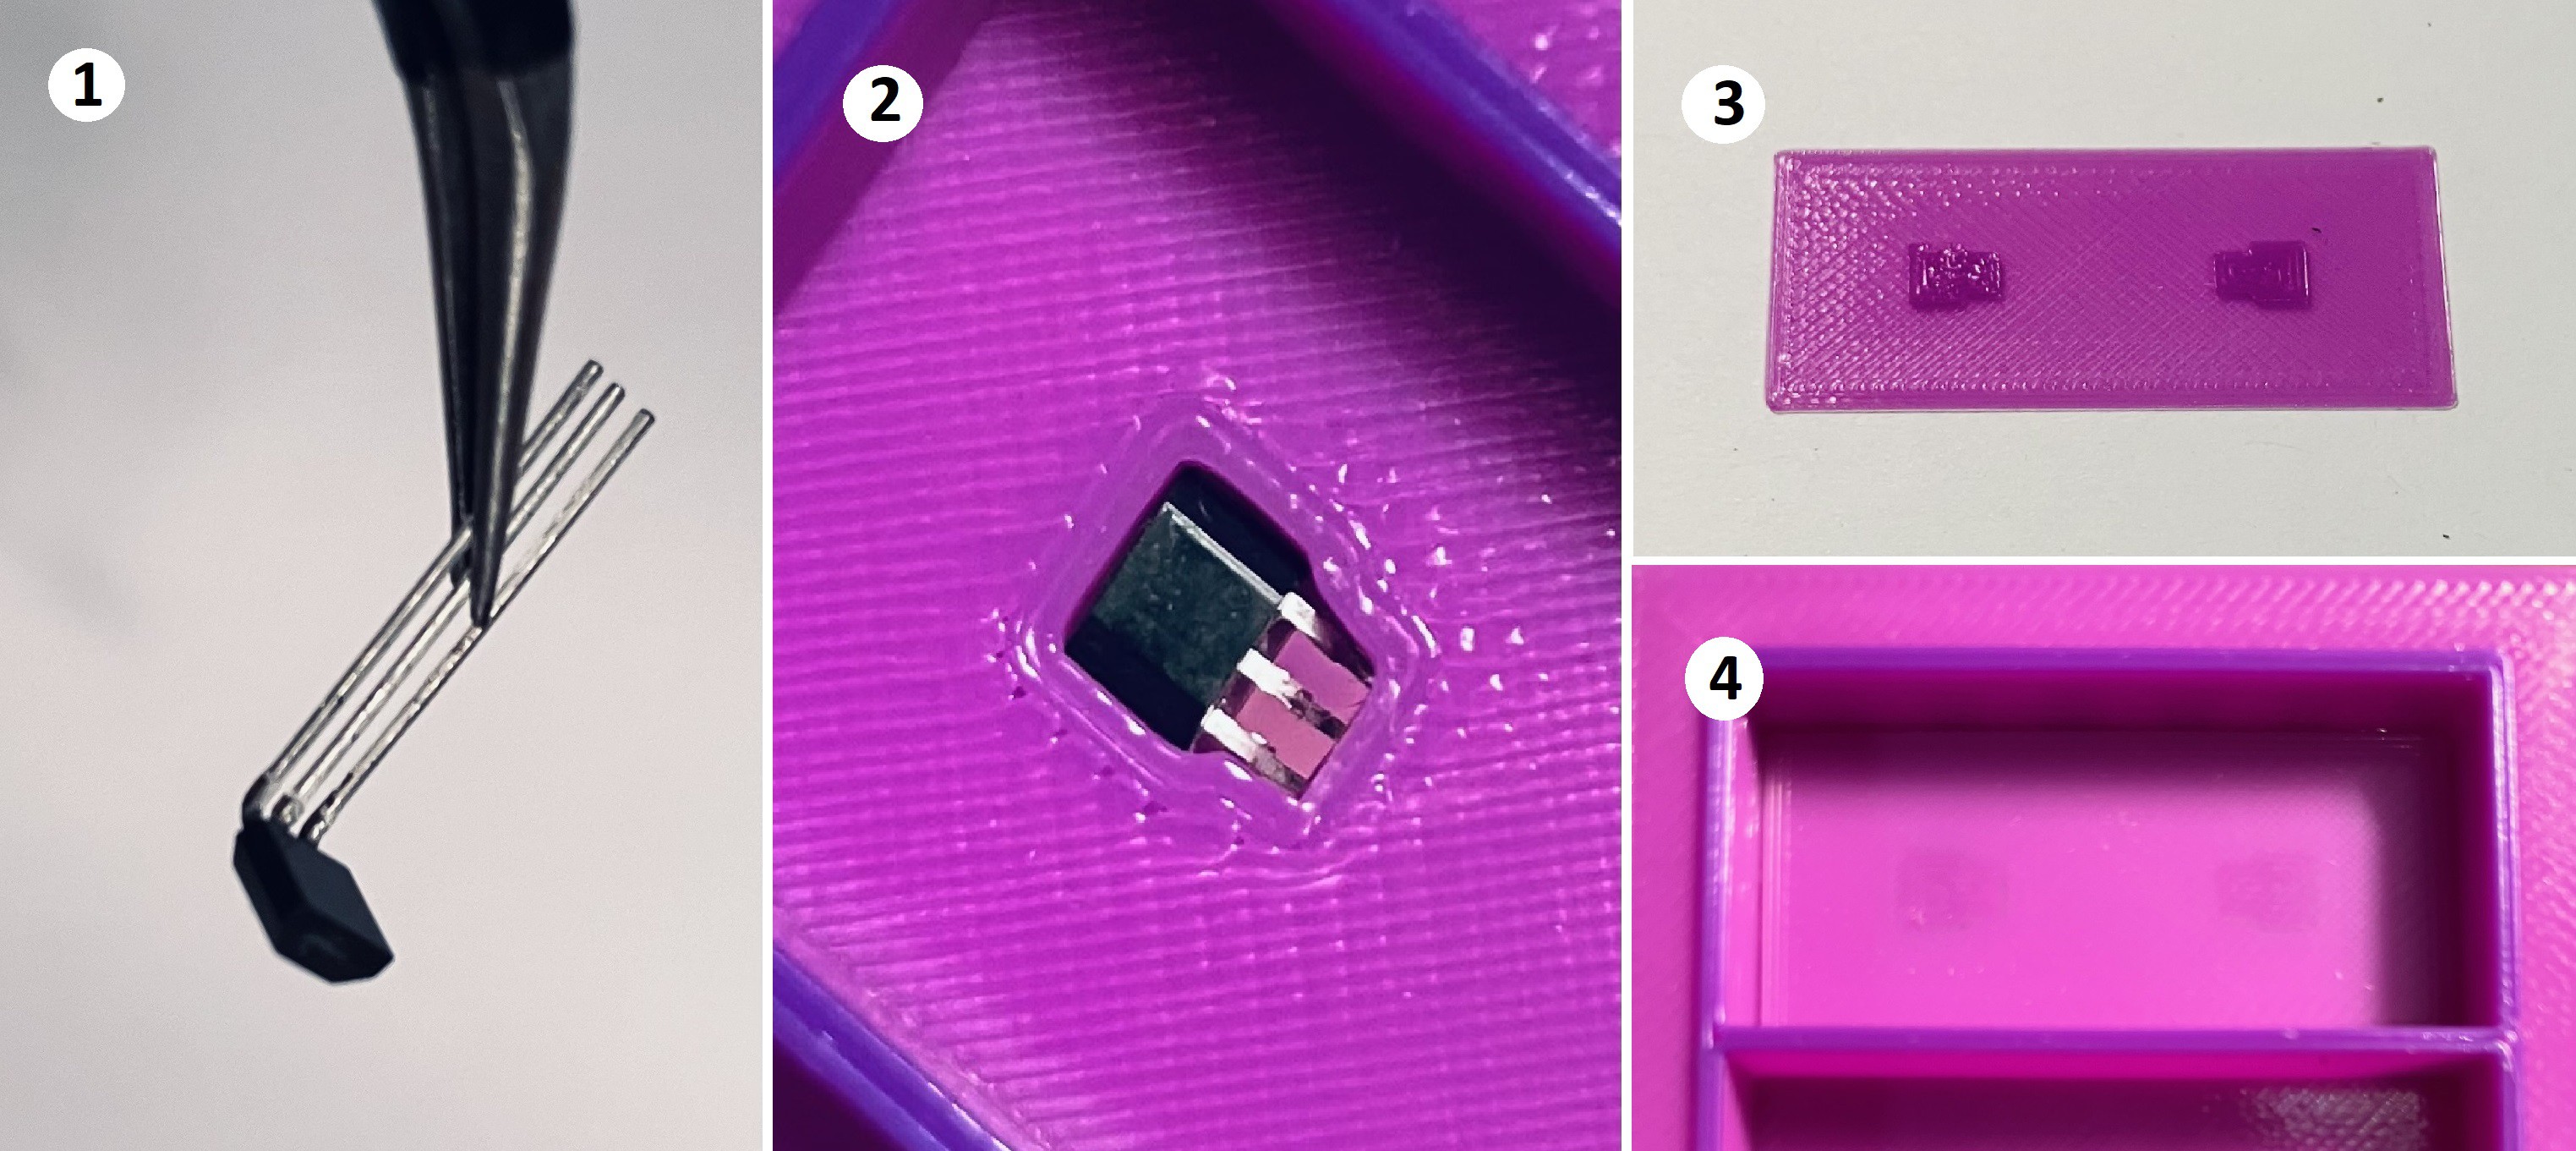
The center panel has holes to mount the eight Fubata MD-4PCS switches. To the left and right are eight tile slots. You can see at the bottom of each slot two indentations to hold SS49E linear hall effect sensors with holes to pass through the sensor's leads.
Adding The Sensors

- Start by bending the leads on one of the SS49E linear sensors at about 1 mm from the base towards the flat side of the sensor to about 80 degrees.
- Insert the sensor into one of the slot indentations by sliding the leads through the slot's hole and pressing it in place. You should be able to feel it quietly clicking into place.
- Add the second sensor to the slot in the same way except that it's oriented 180 degrees from the first. Get one of the slot bottom cover pieces. Notice that there are two raised bumps.
- Glue the bottom cover into place making sure that the bumps are facing down. You should apply the glue around the SS49Es without getting any glue on the sensors. (Note: I got burned once when the glue I was using was actually conductive.)
Repeat for the other slots and sensors.
Adding The Buttons
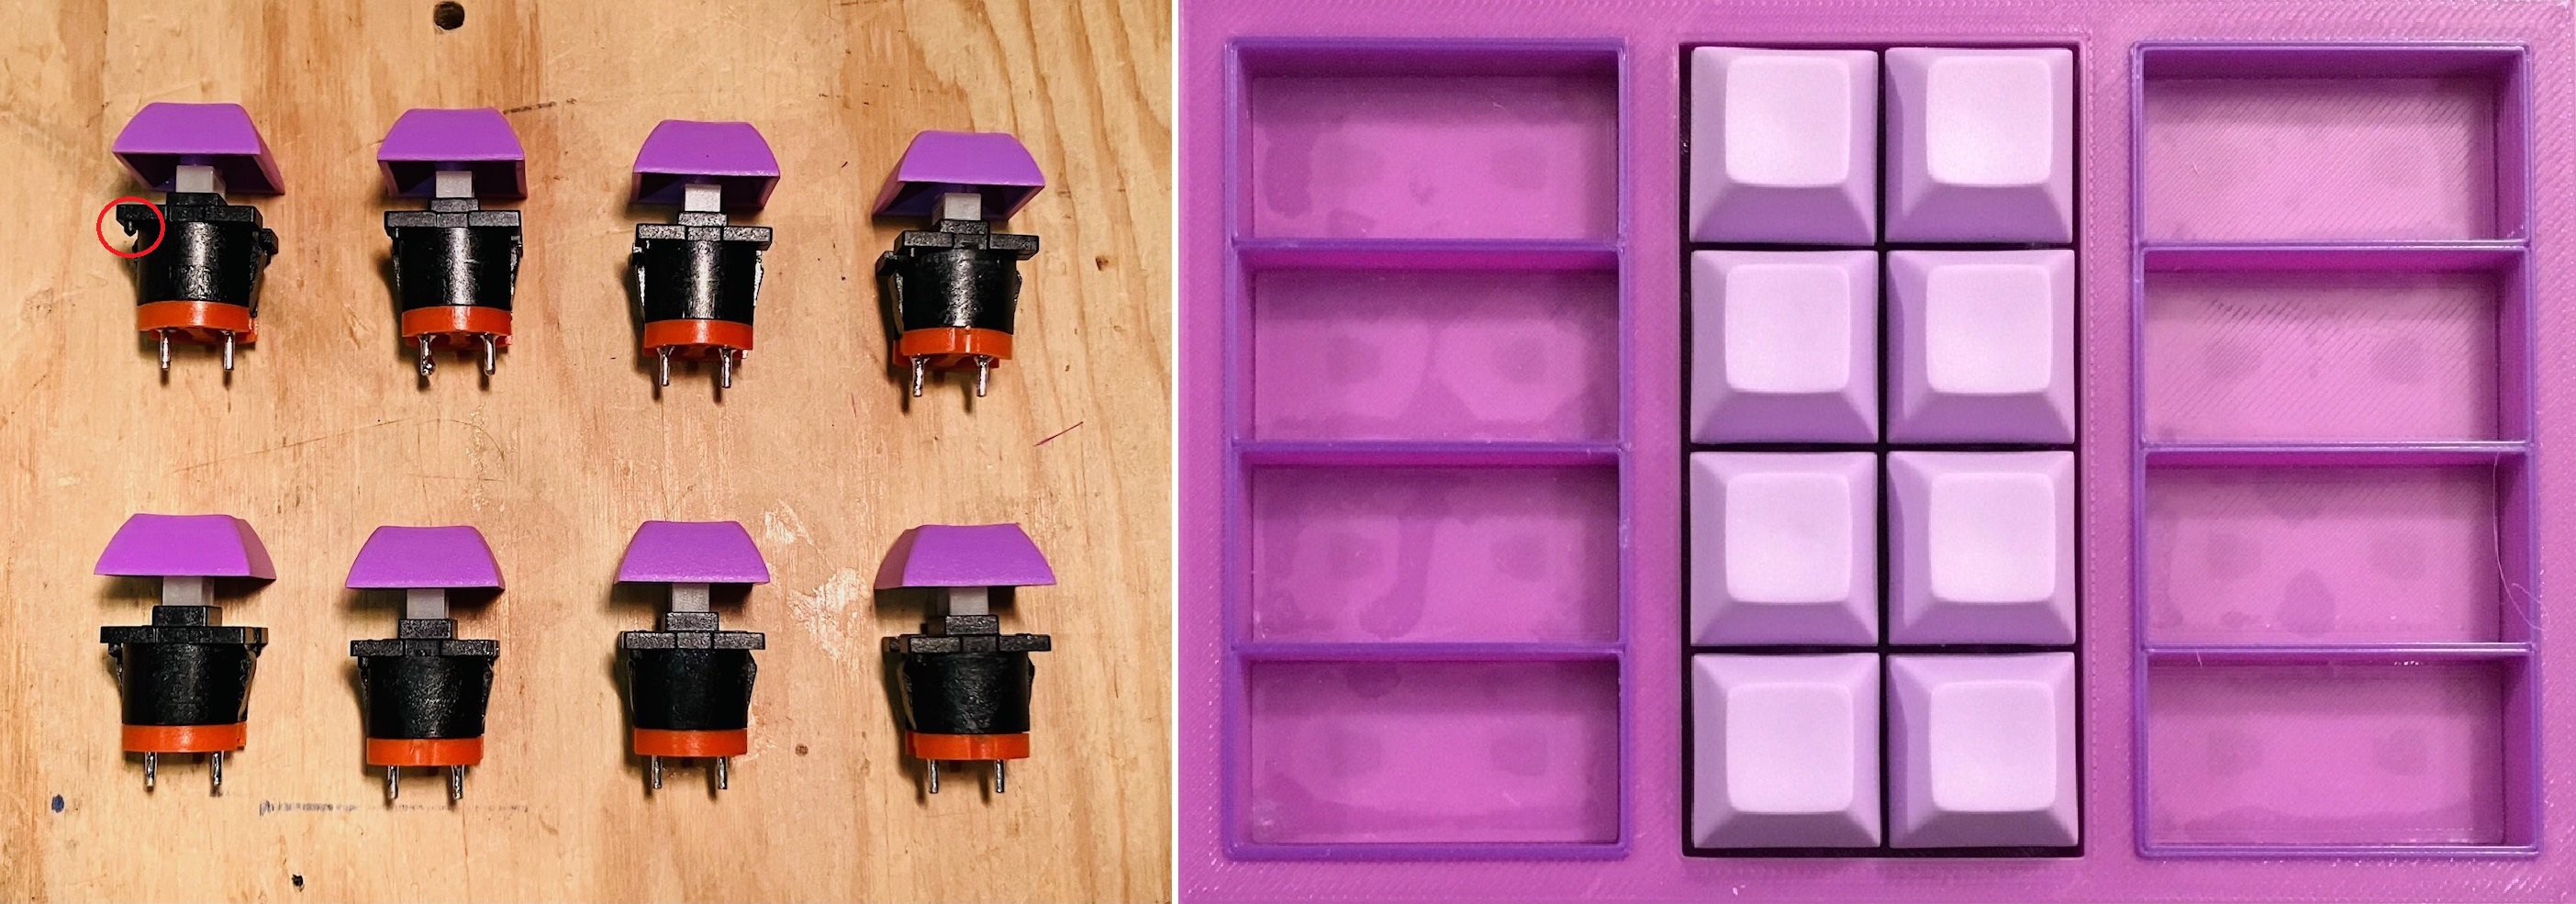
Here is a look at my Fubata MD-4PCS switches which I'm using because I still have a bunch from some of my retro computer projects. They are nice and clicky as retro keys should be. Snap in the buttons making sure that the two small studs (one of which is circled in red below) align with the holes in the base.

I love the light lavender keycaps which as I have mentioned inspired the overall aesthetic for this build.
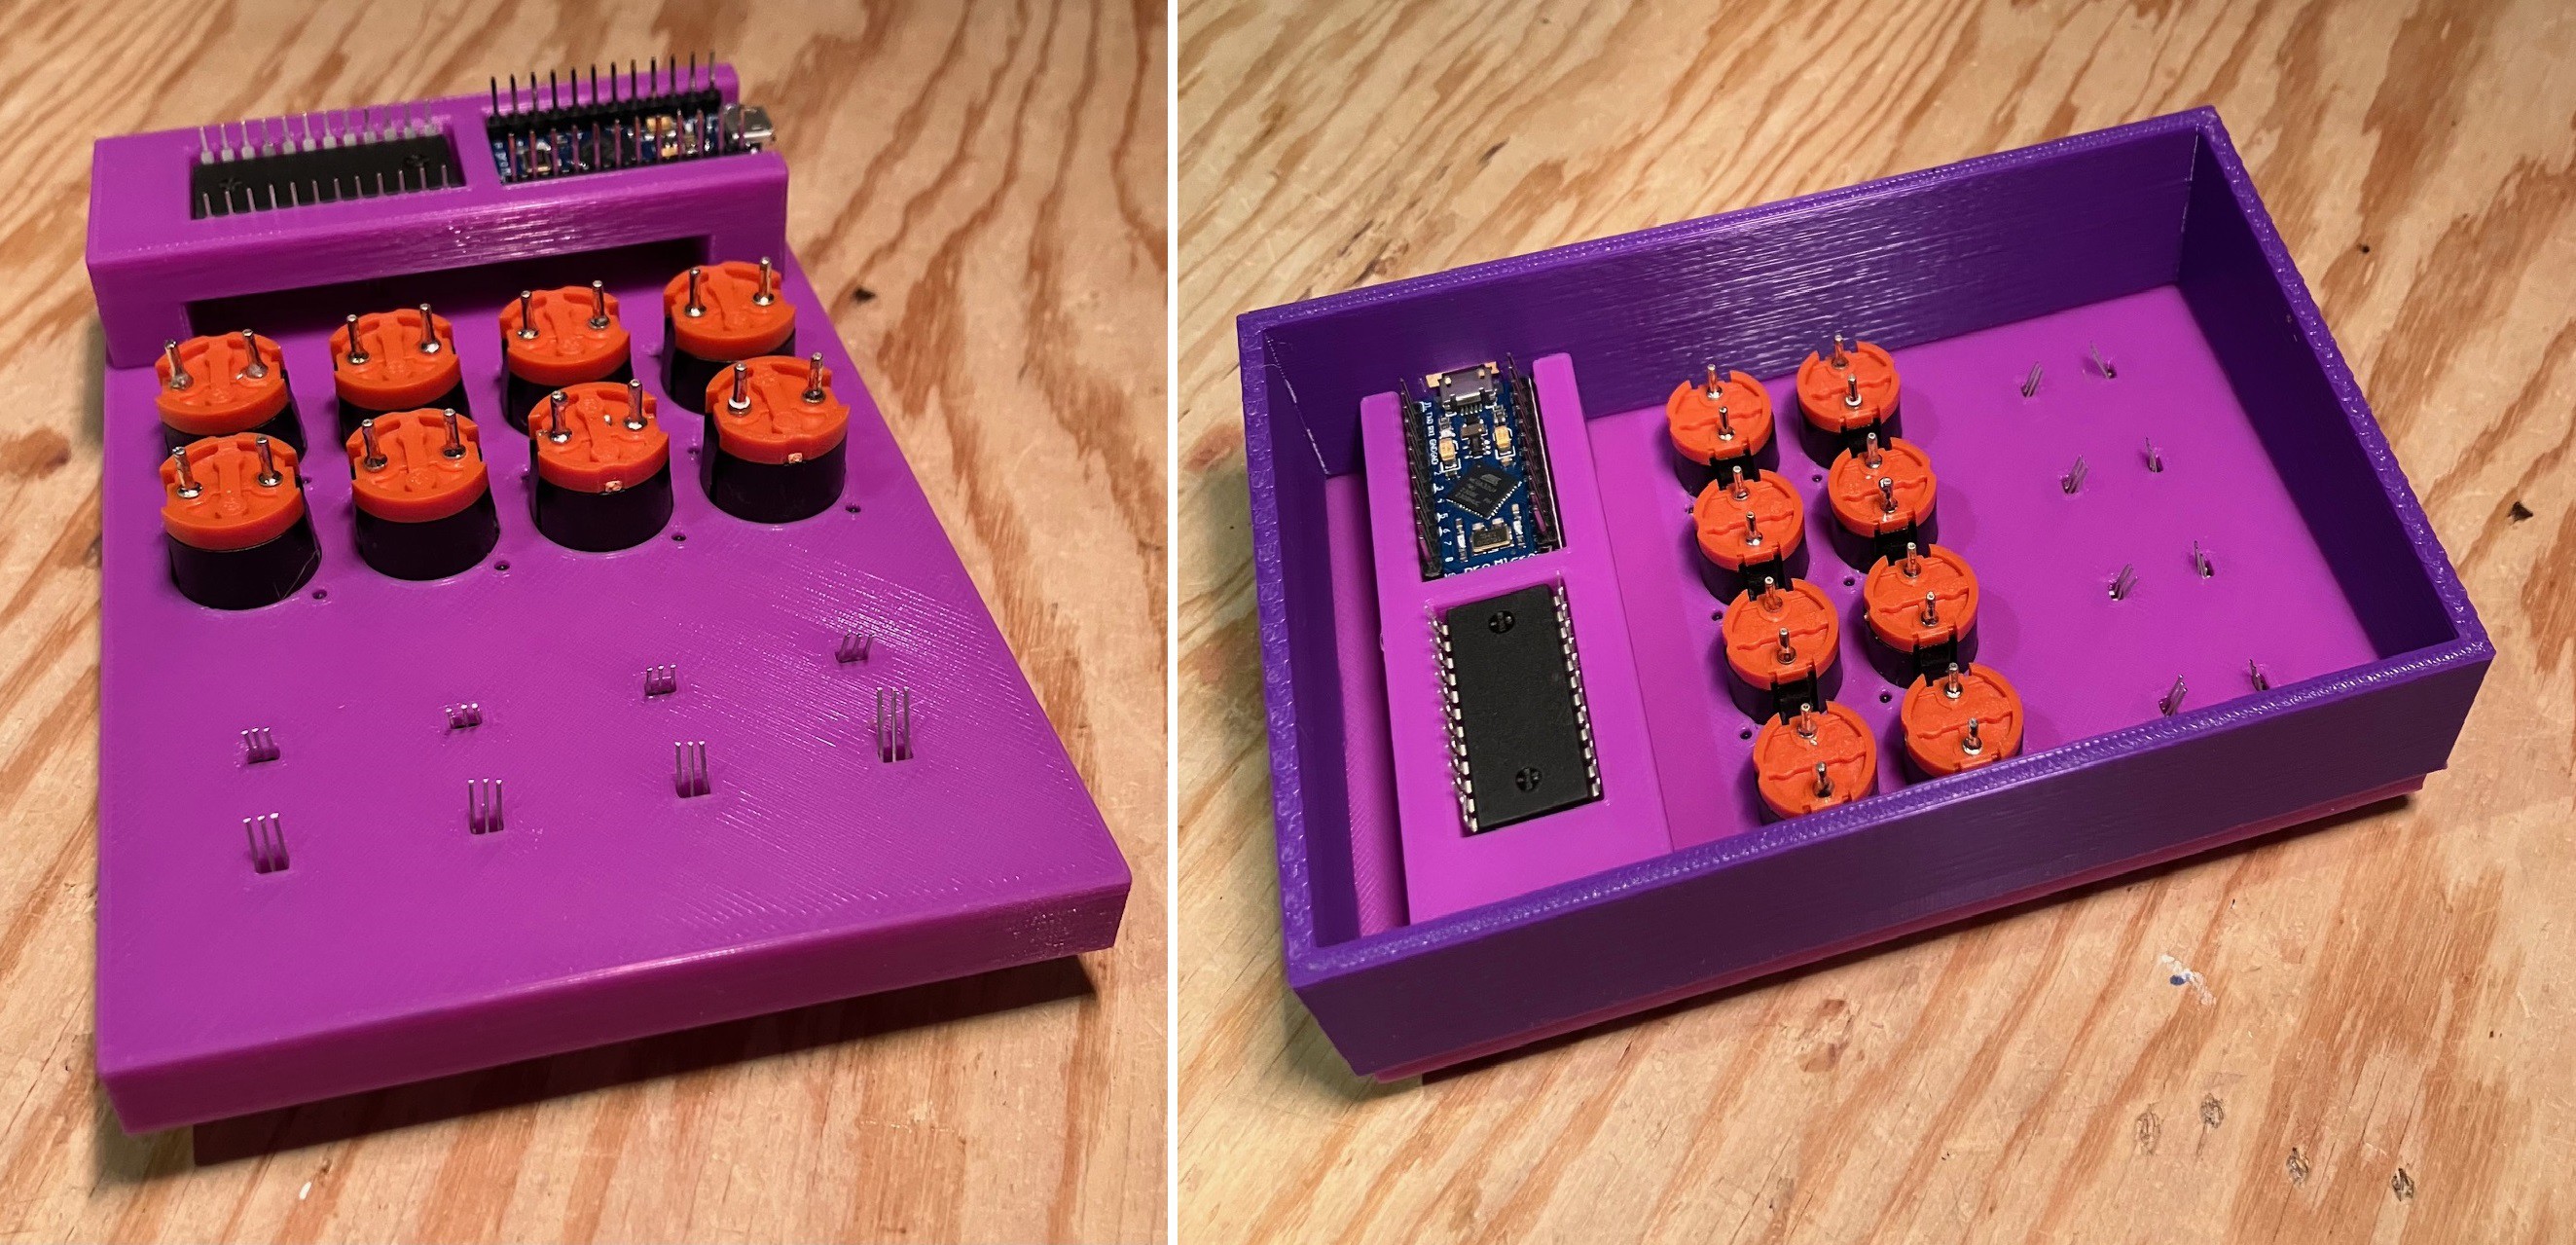
On the backside I now have wiring access to the sensors and switches. In addition I designed a frame to hold the pro Micro and the CD4067BE 16-Channel Analog Multiplexer.

Here is another look. The pro Micro and multiplexer will be attached with two sided tape.

Ready to wire.
 Michael Gardi
Discussions
Become a Hackaday.io Member
Create an account to leave a comment. Already have an account? Log In.