 mariz92
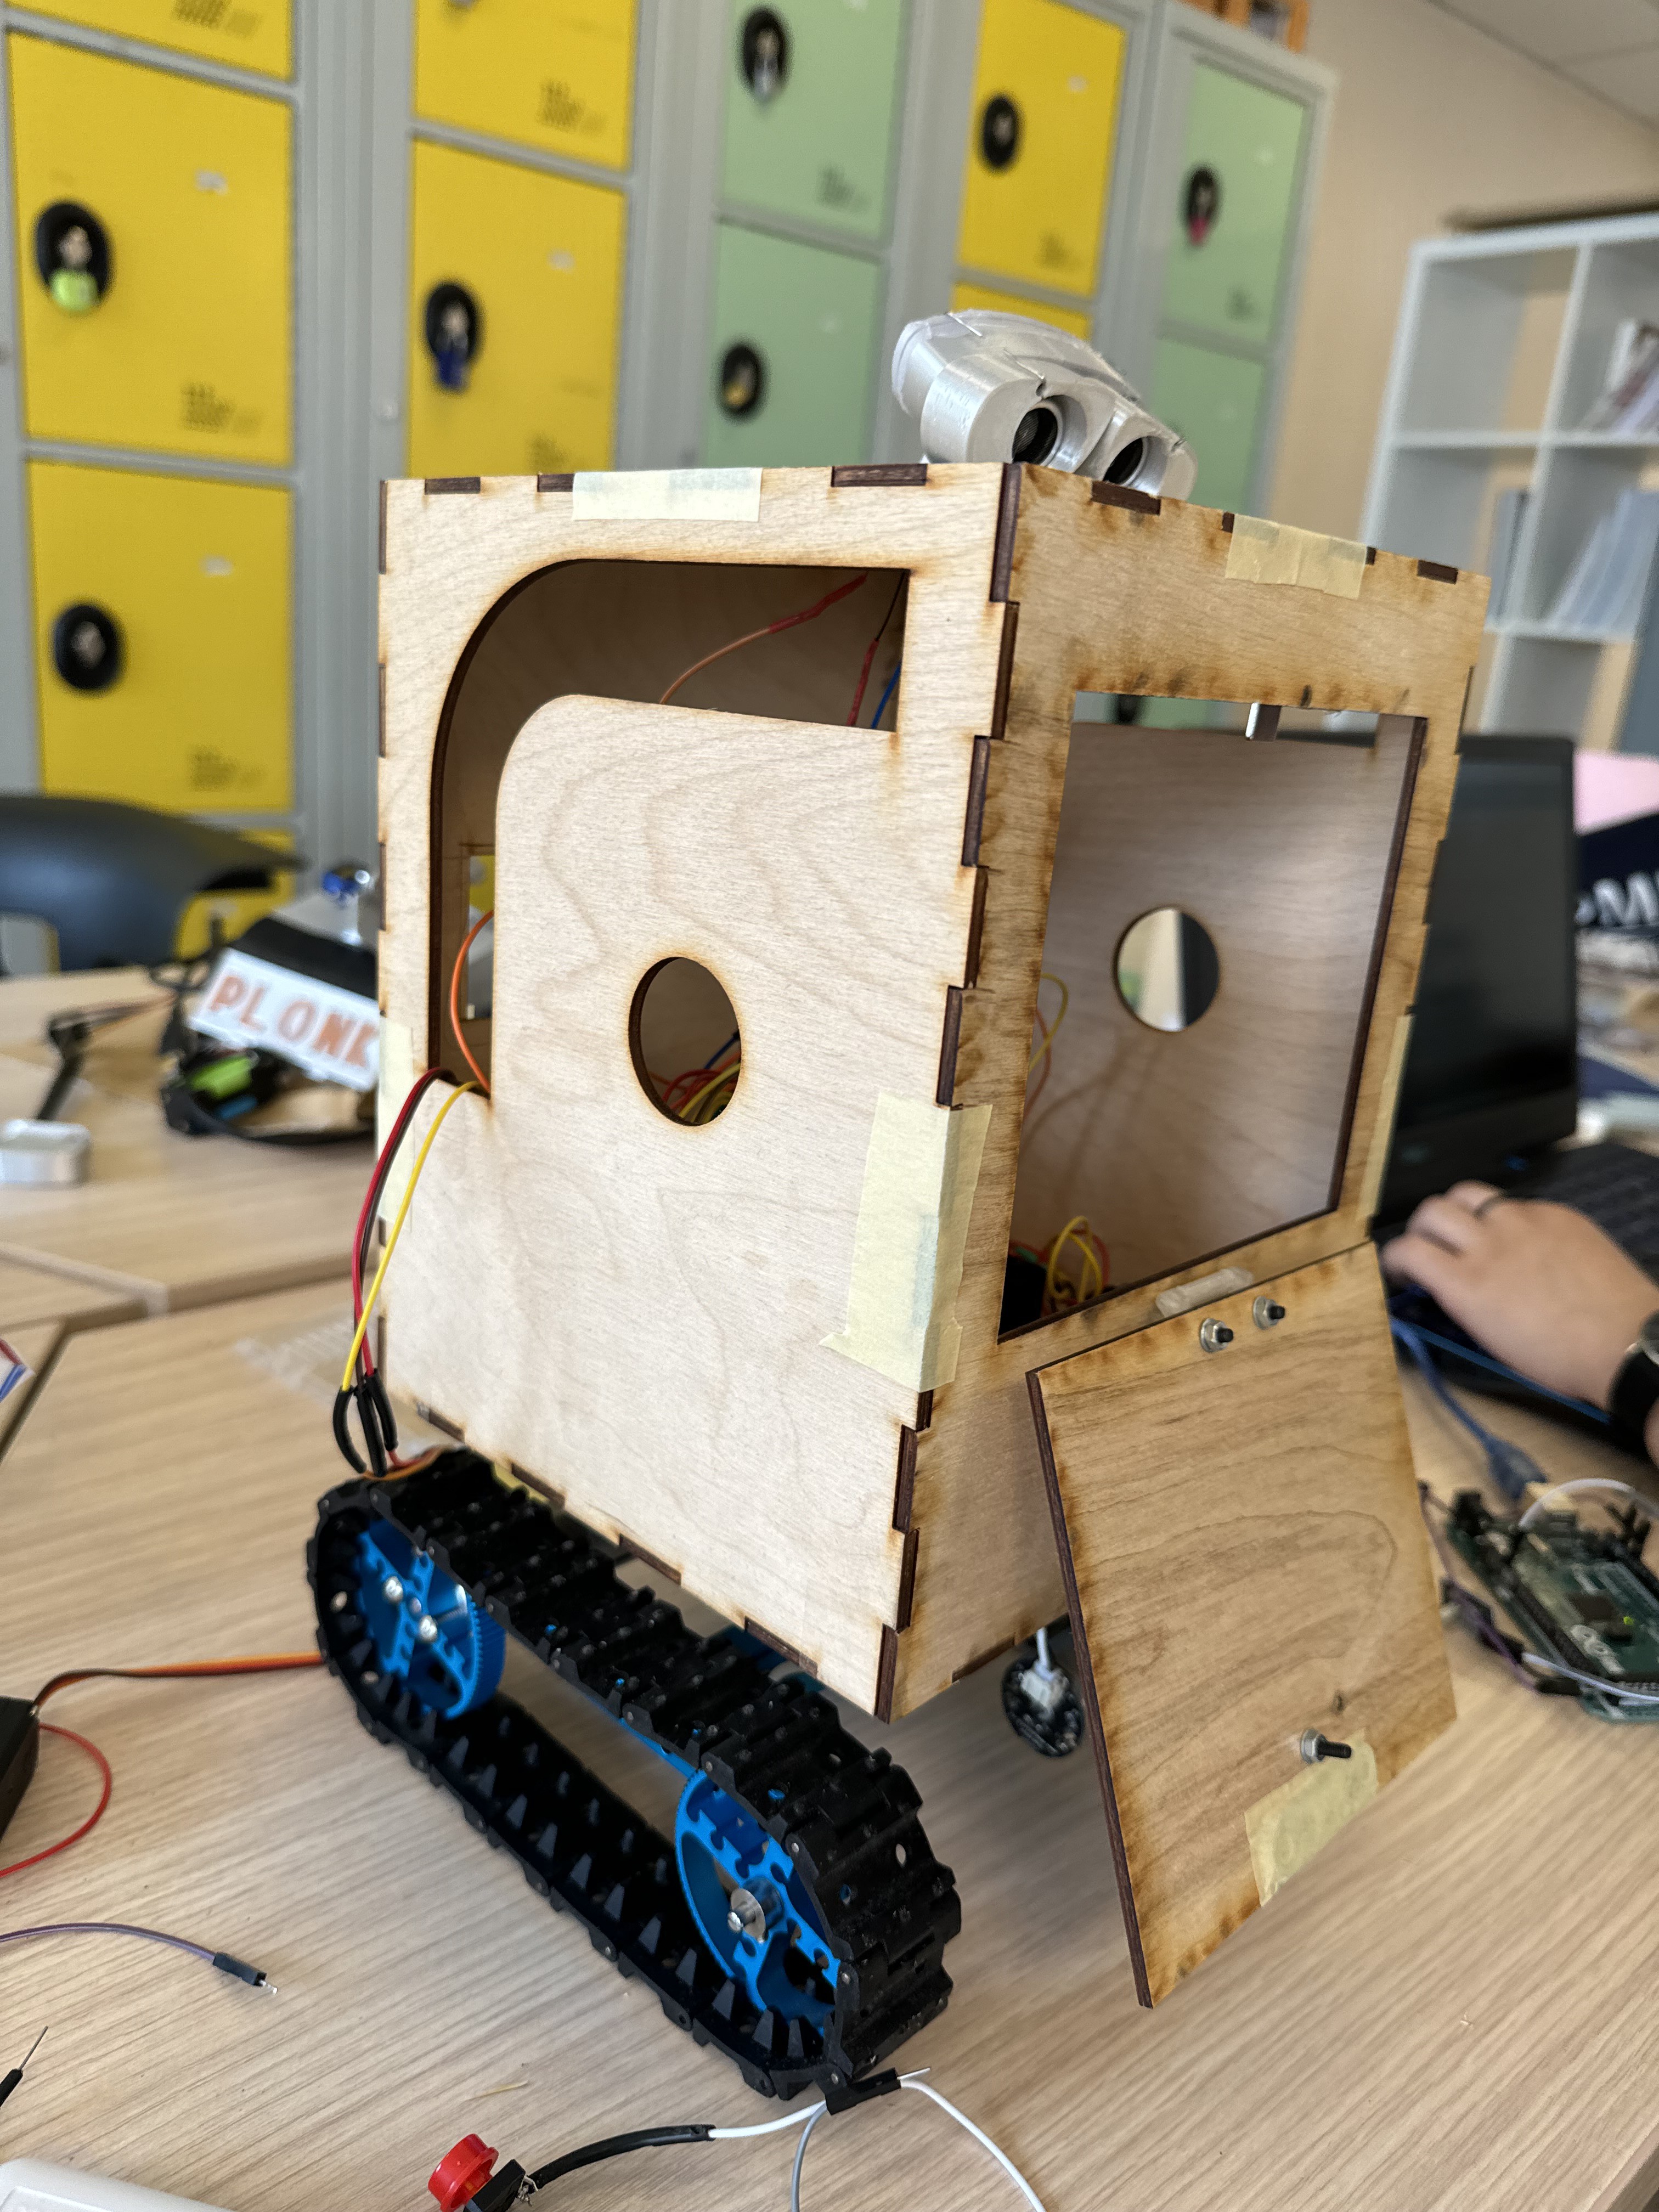


Today we reassembled the box and rewired the circuit with the new components(sound)
the robot moves forward and senses when a wall i ahead while moving his “arms” (the servo motors for now only) and changing arm direction when titled.
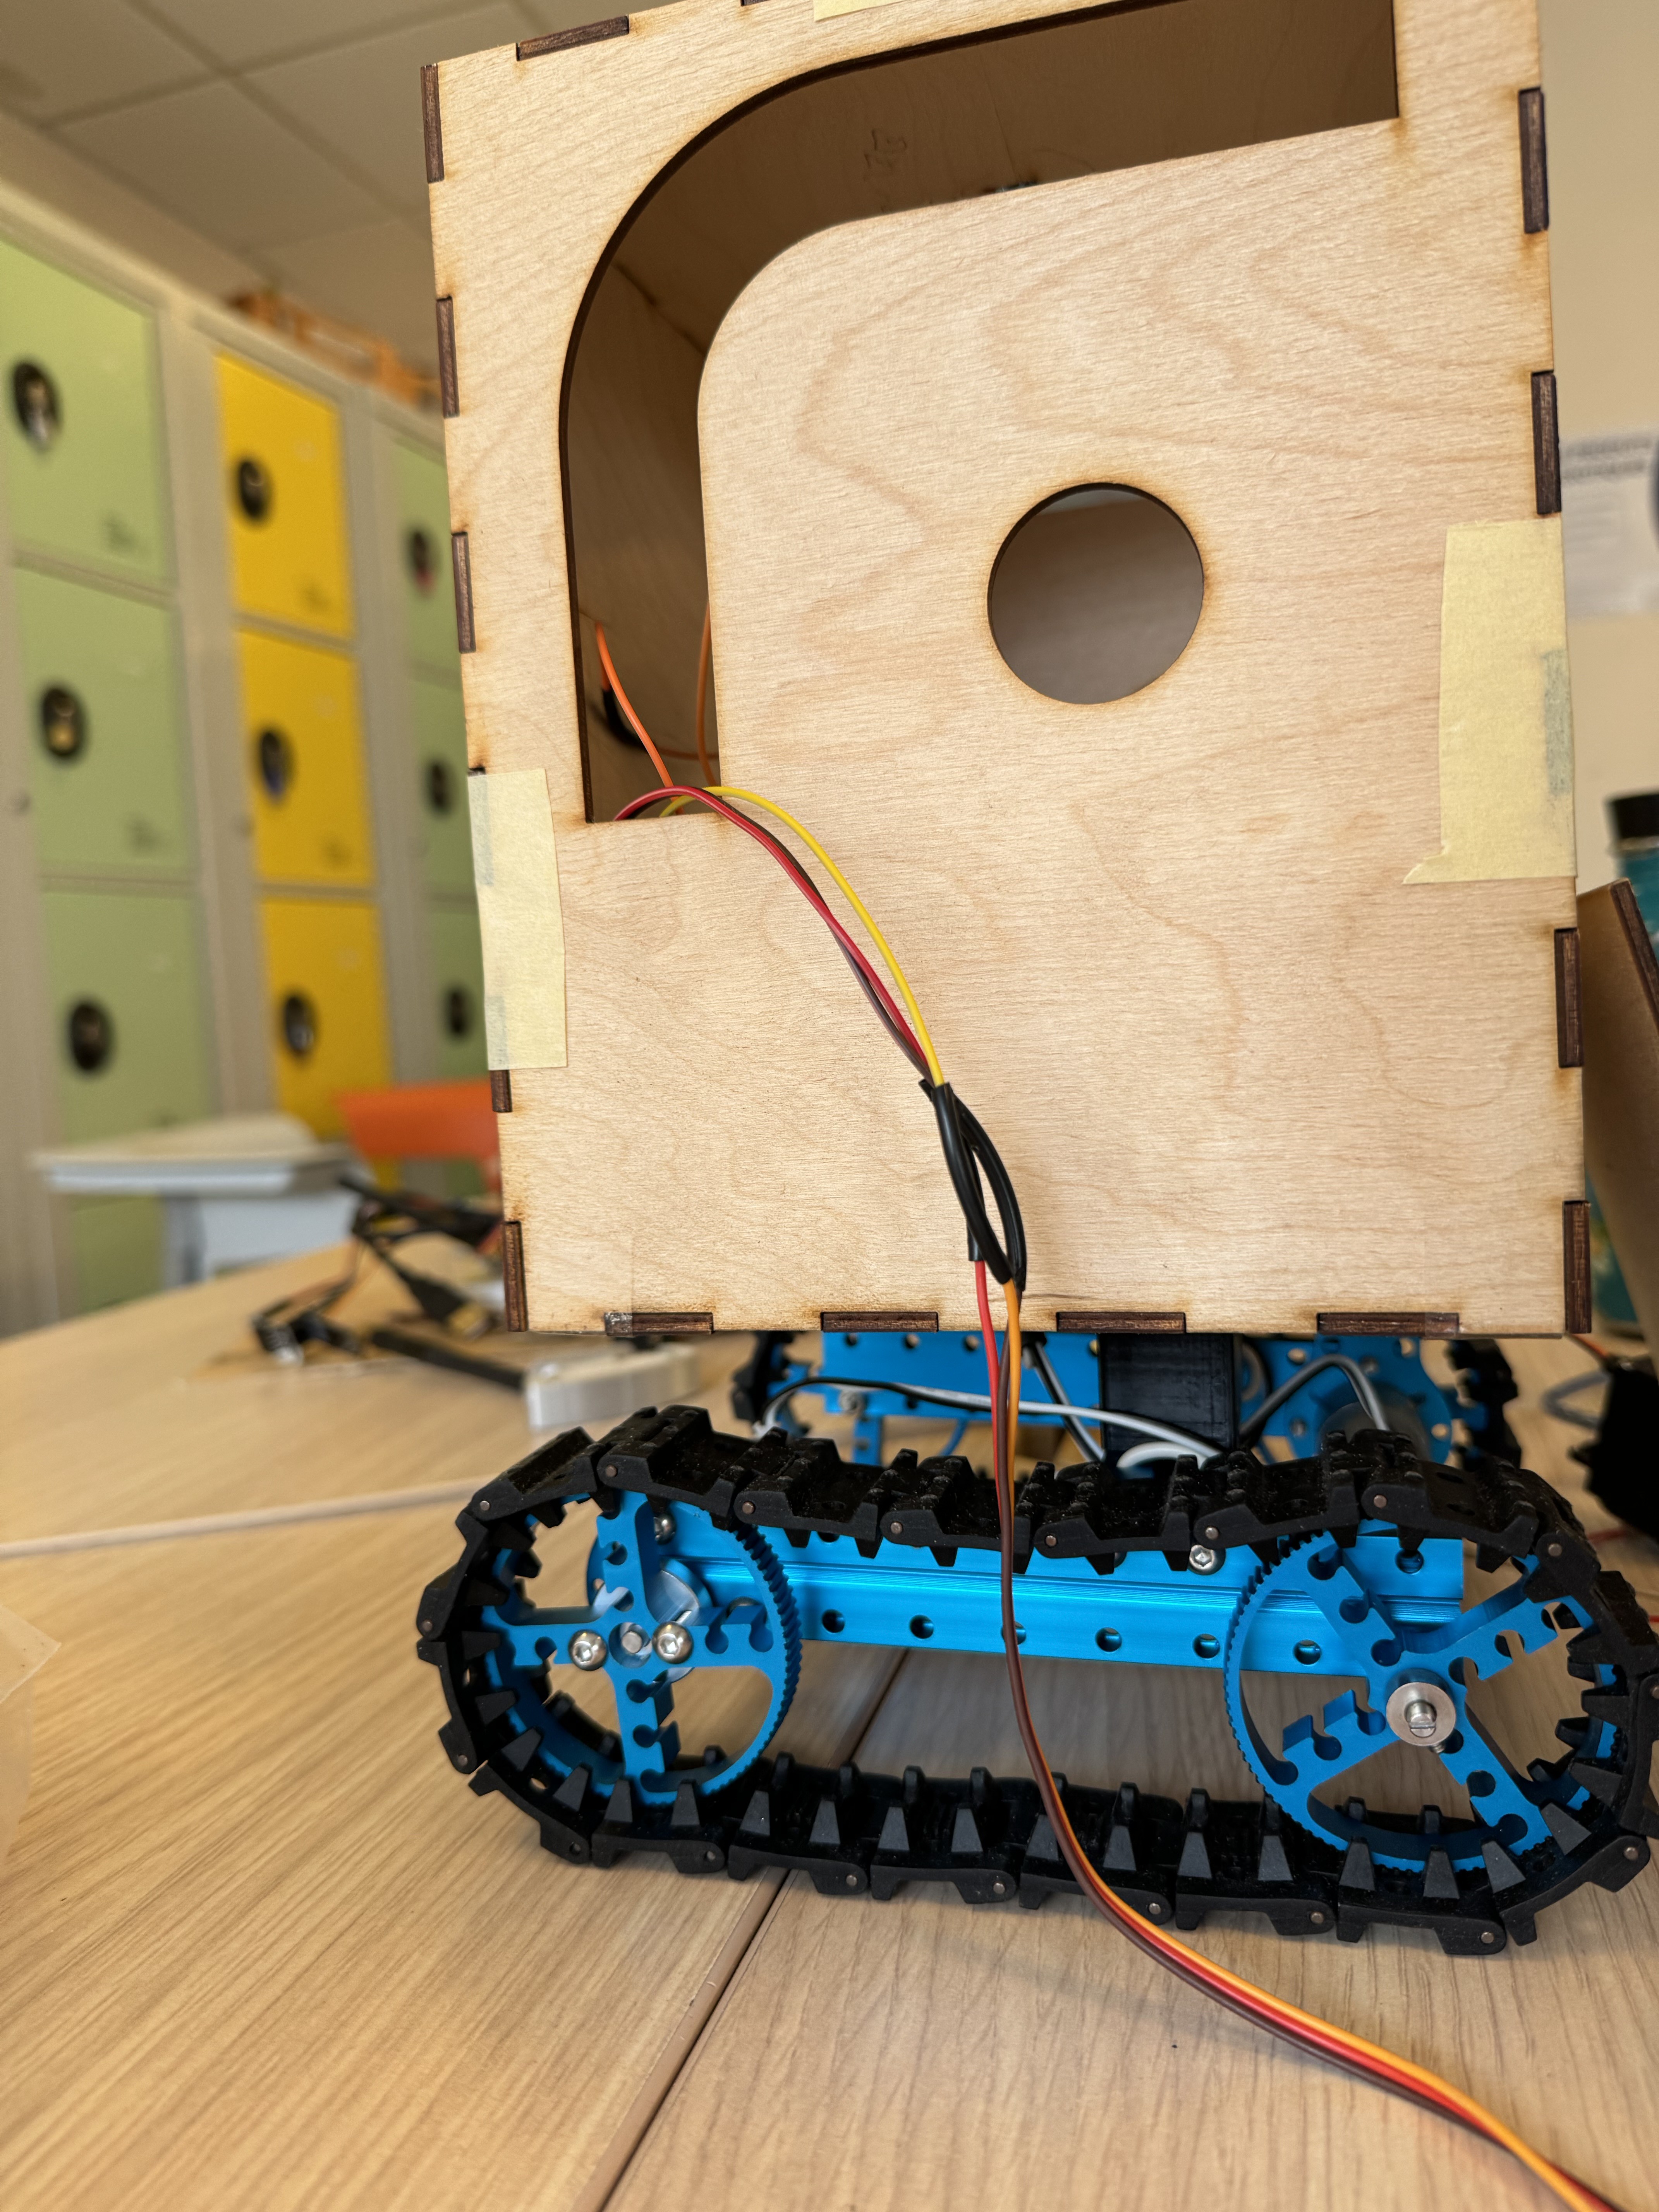
We also found a smart way to fix the box body on the tracks without using nails,glue or screws!
We kinda sew it with a plastic string!
~1h later~
We implemented the remote controller device to control WallU !
29/05/2024
Discussions
Become a Hackaday.io Member
Create an account to leave a comment. Already have an account? Log In.