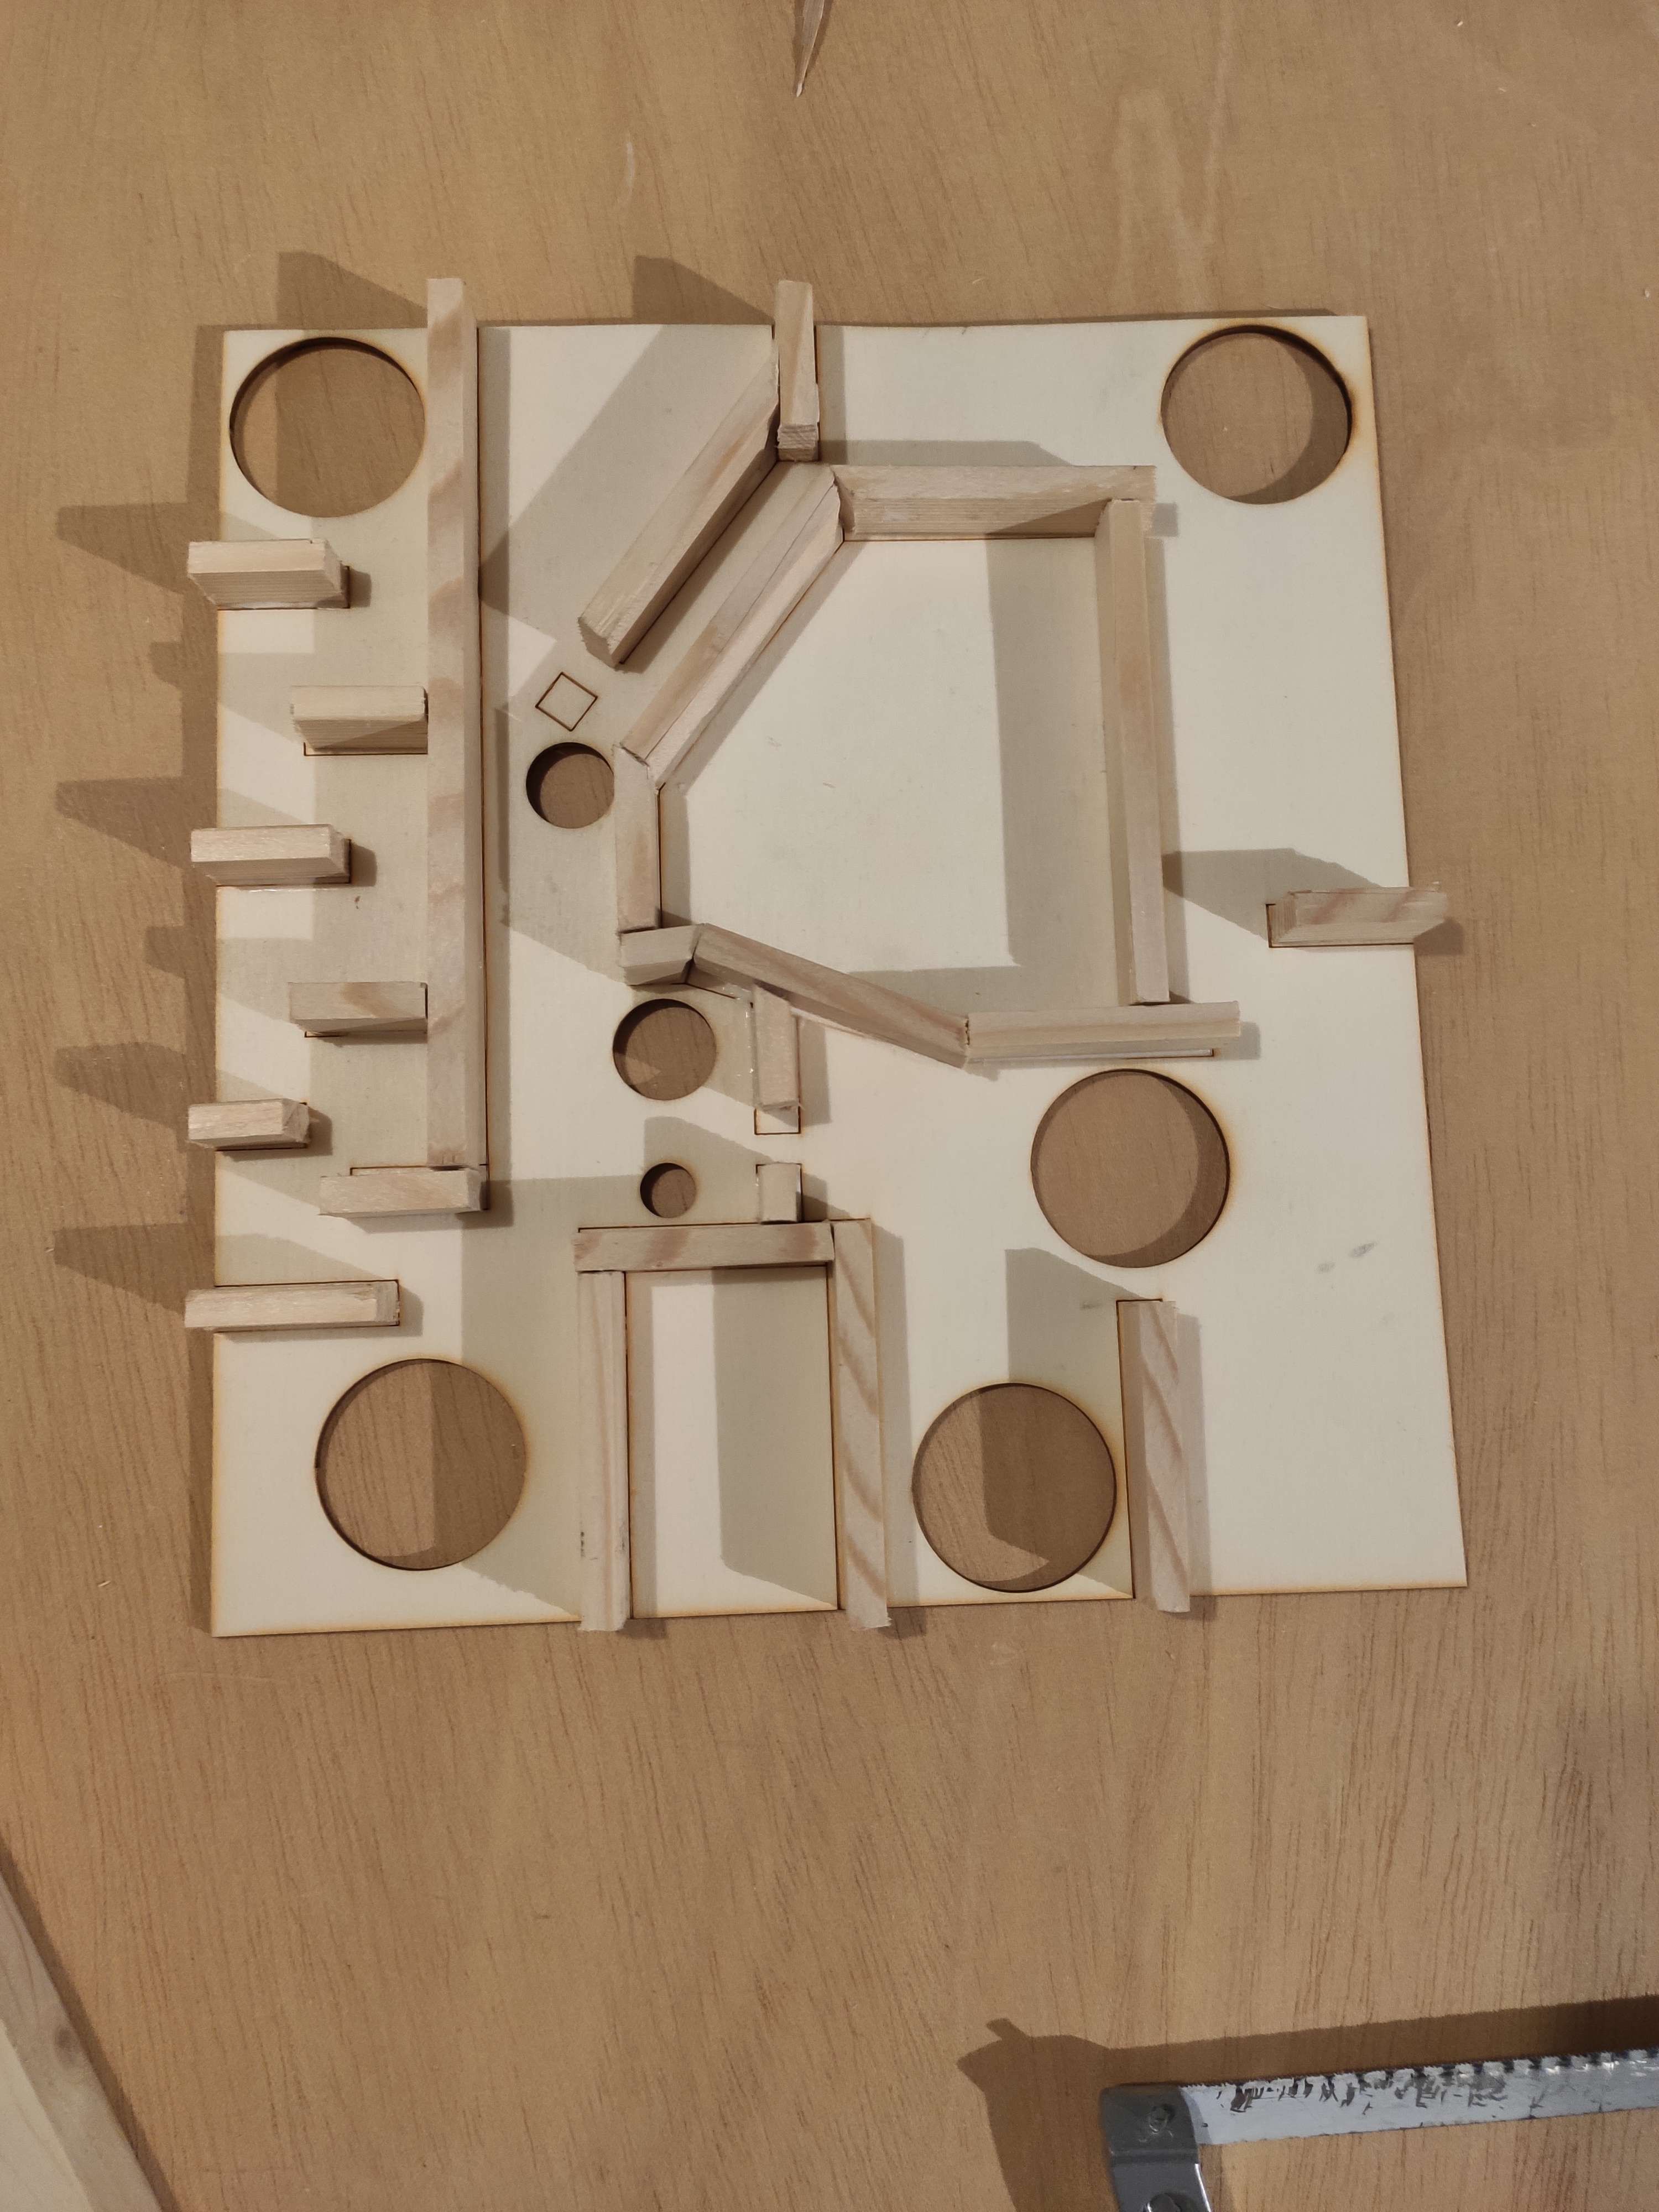
This is when we actually started making the maze for real. The first step was to cut the 2500mm planks we bought in small pieces to match the pattern on the maze, making walls.
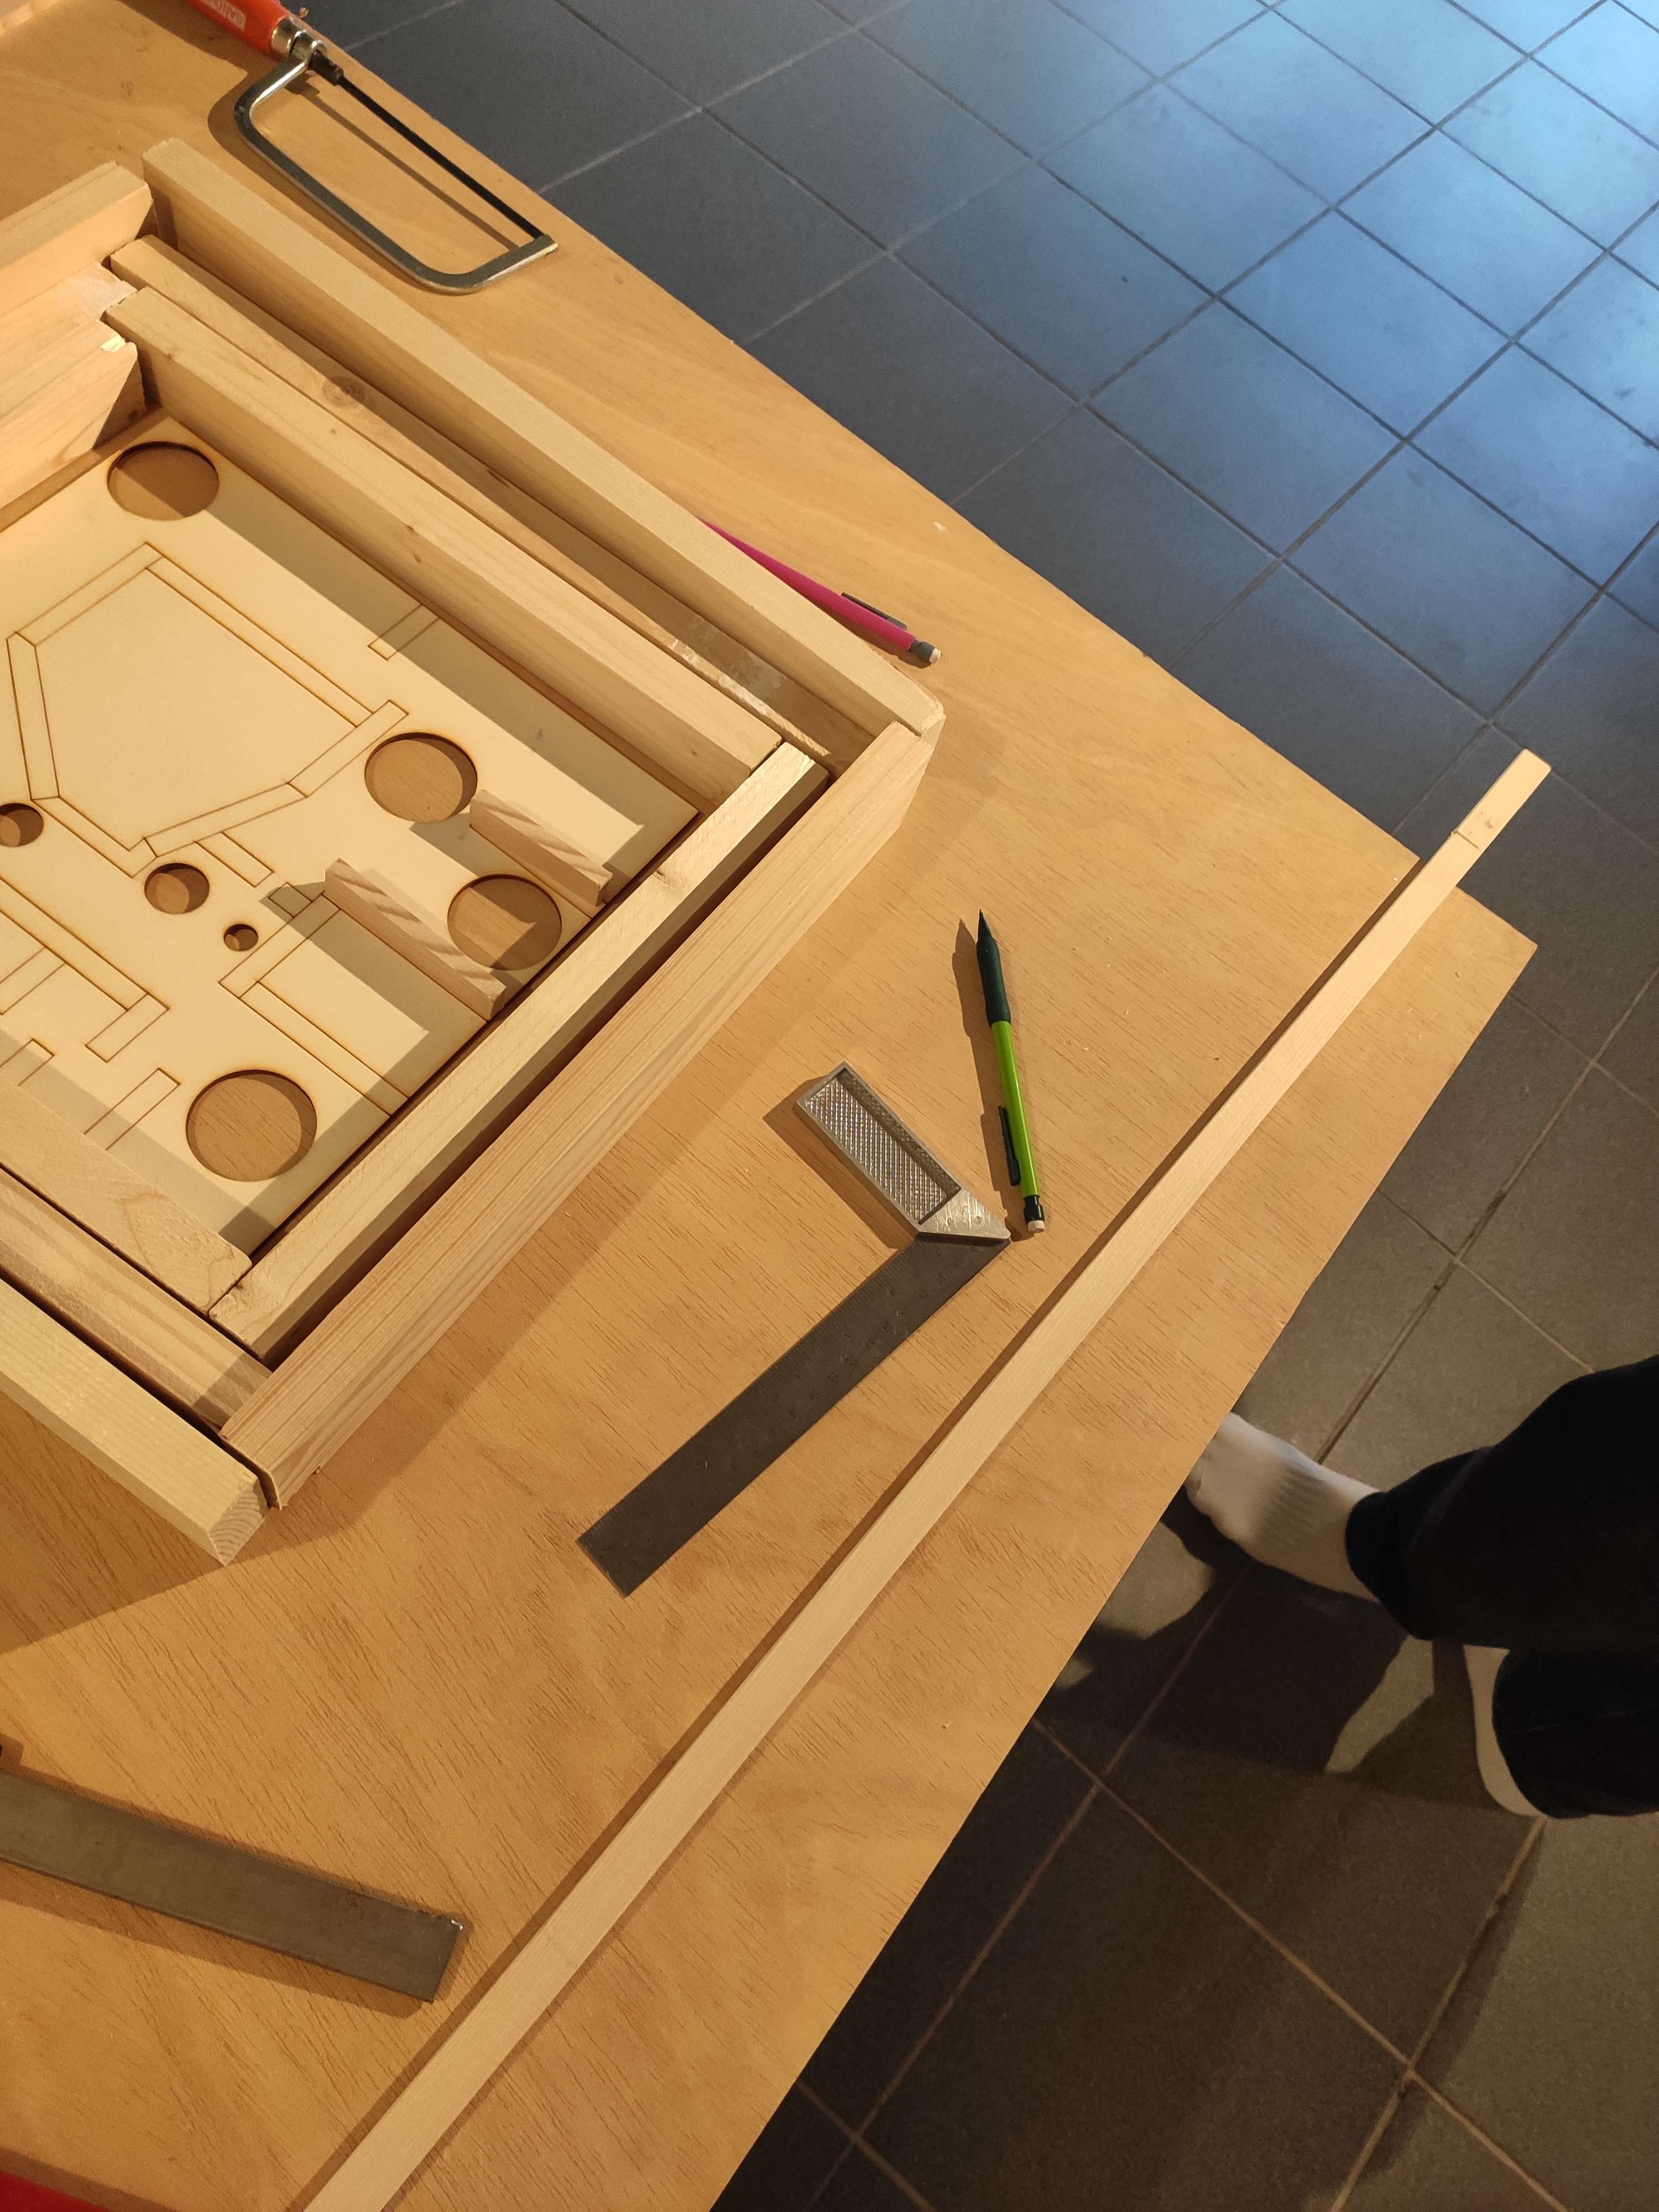
This took a while because there were many small pieces (about 24). We glued them to the maze and moved on to the next step : screwing the frame together.

We tried to stay realtively in the center of the planks because they were quite thin and we didn't want to break them. We used 4 x 35 mm screws.
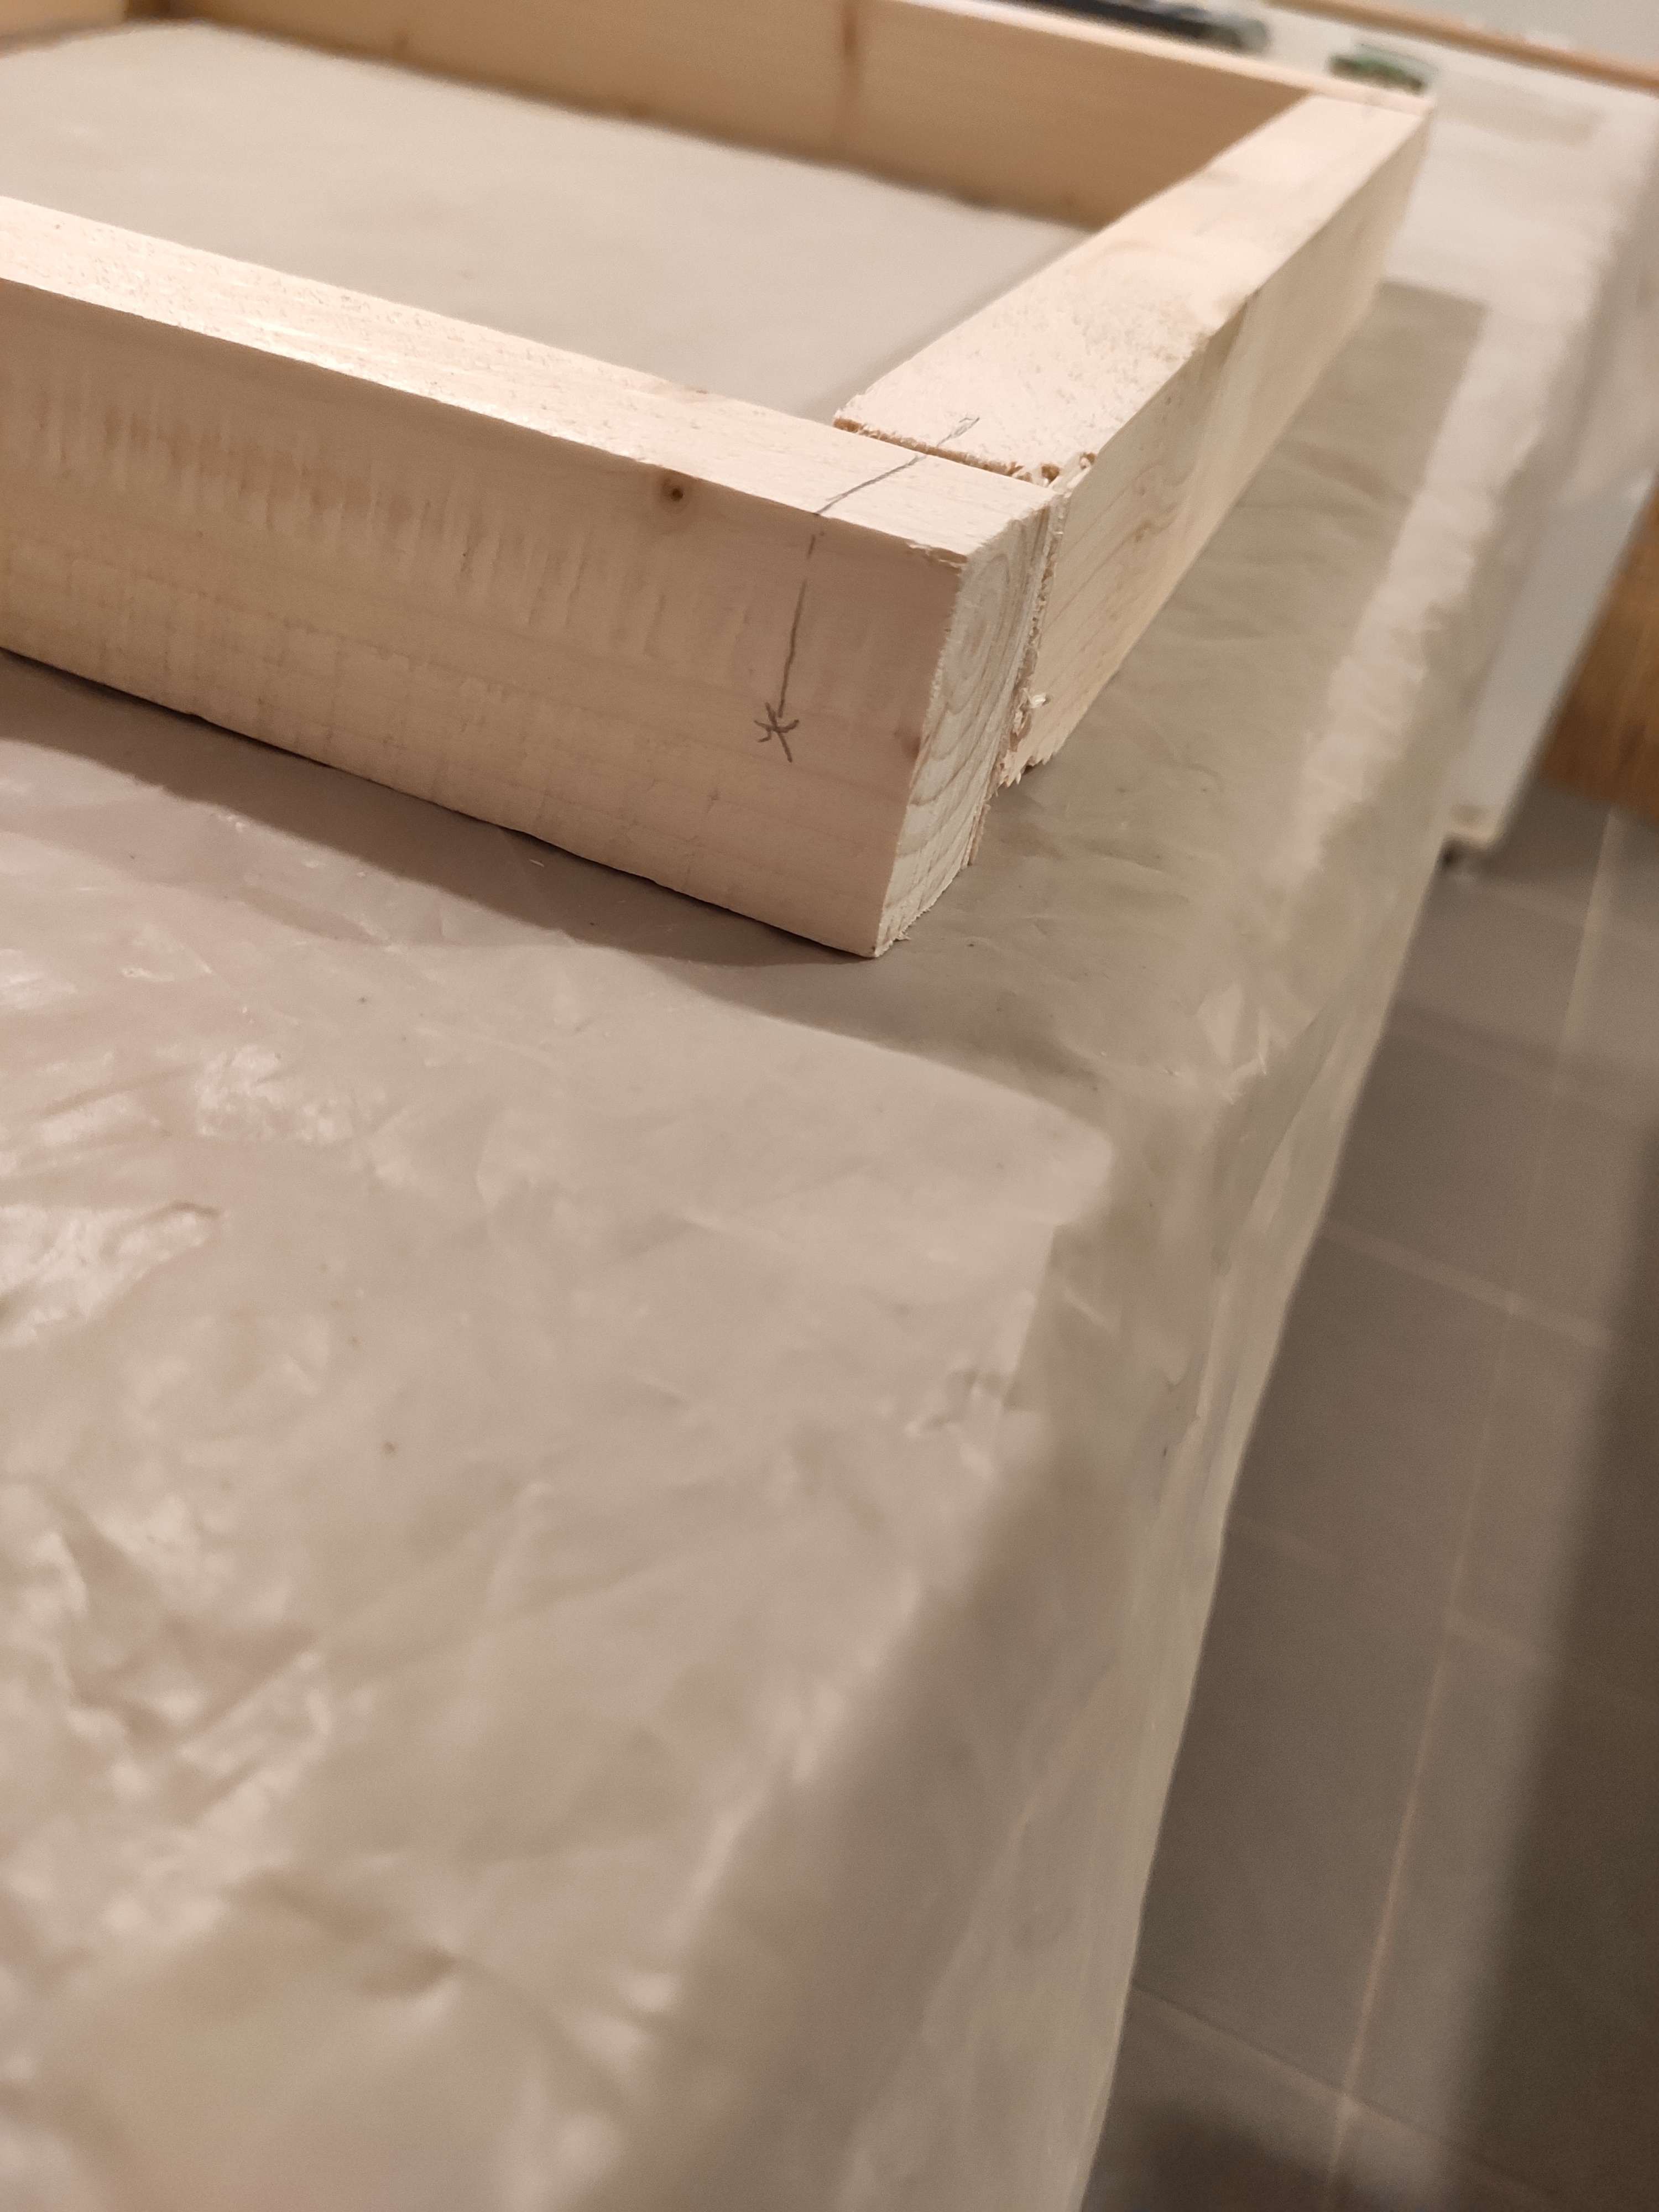
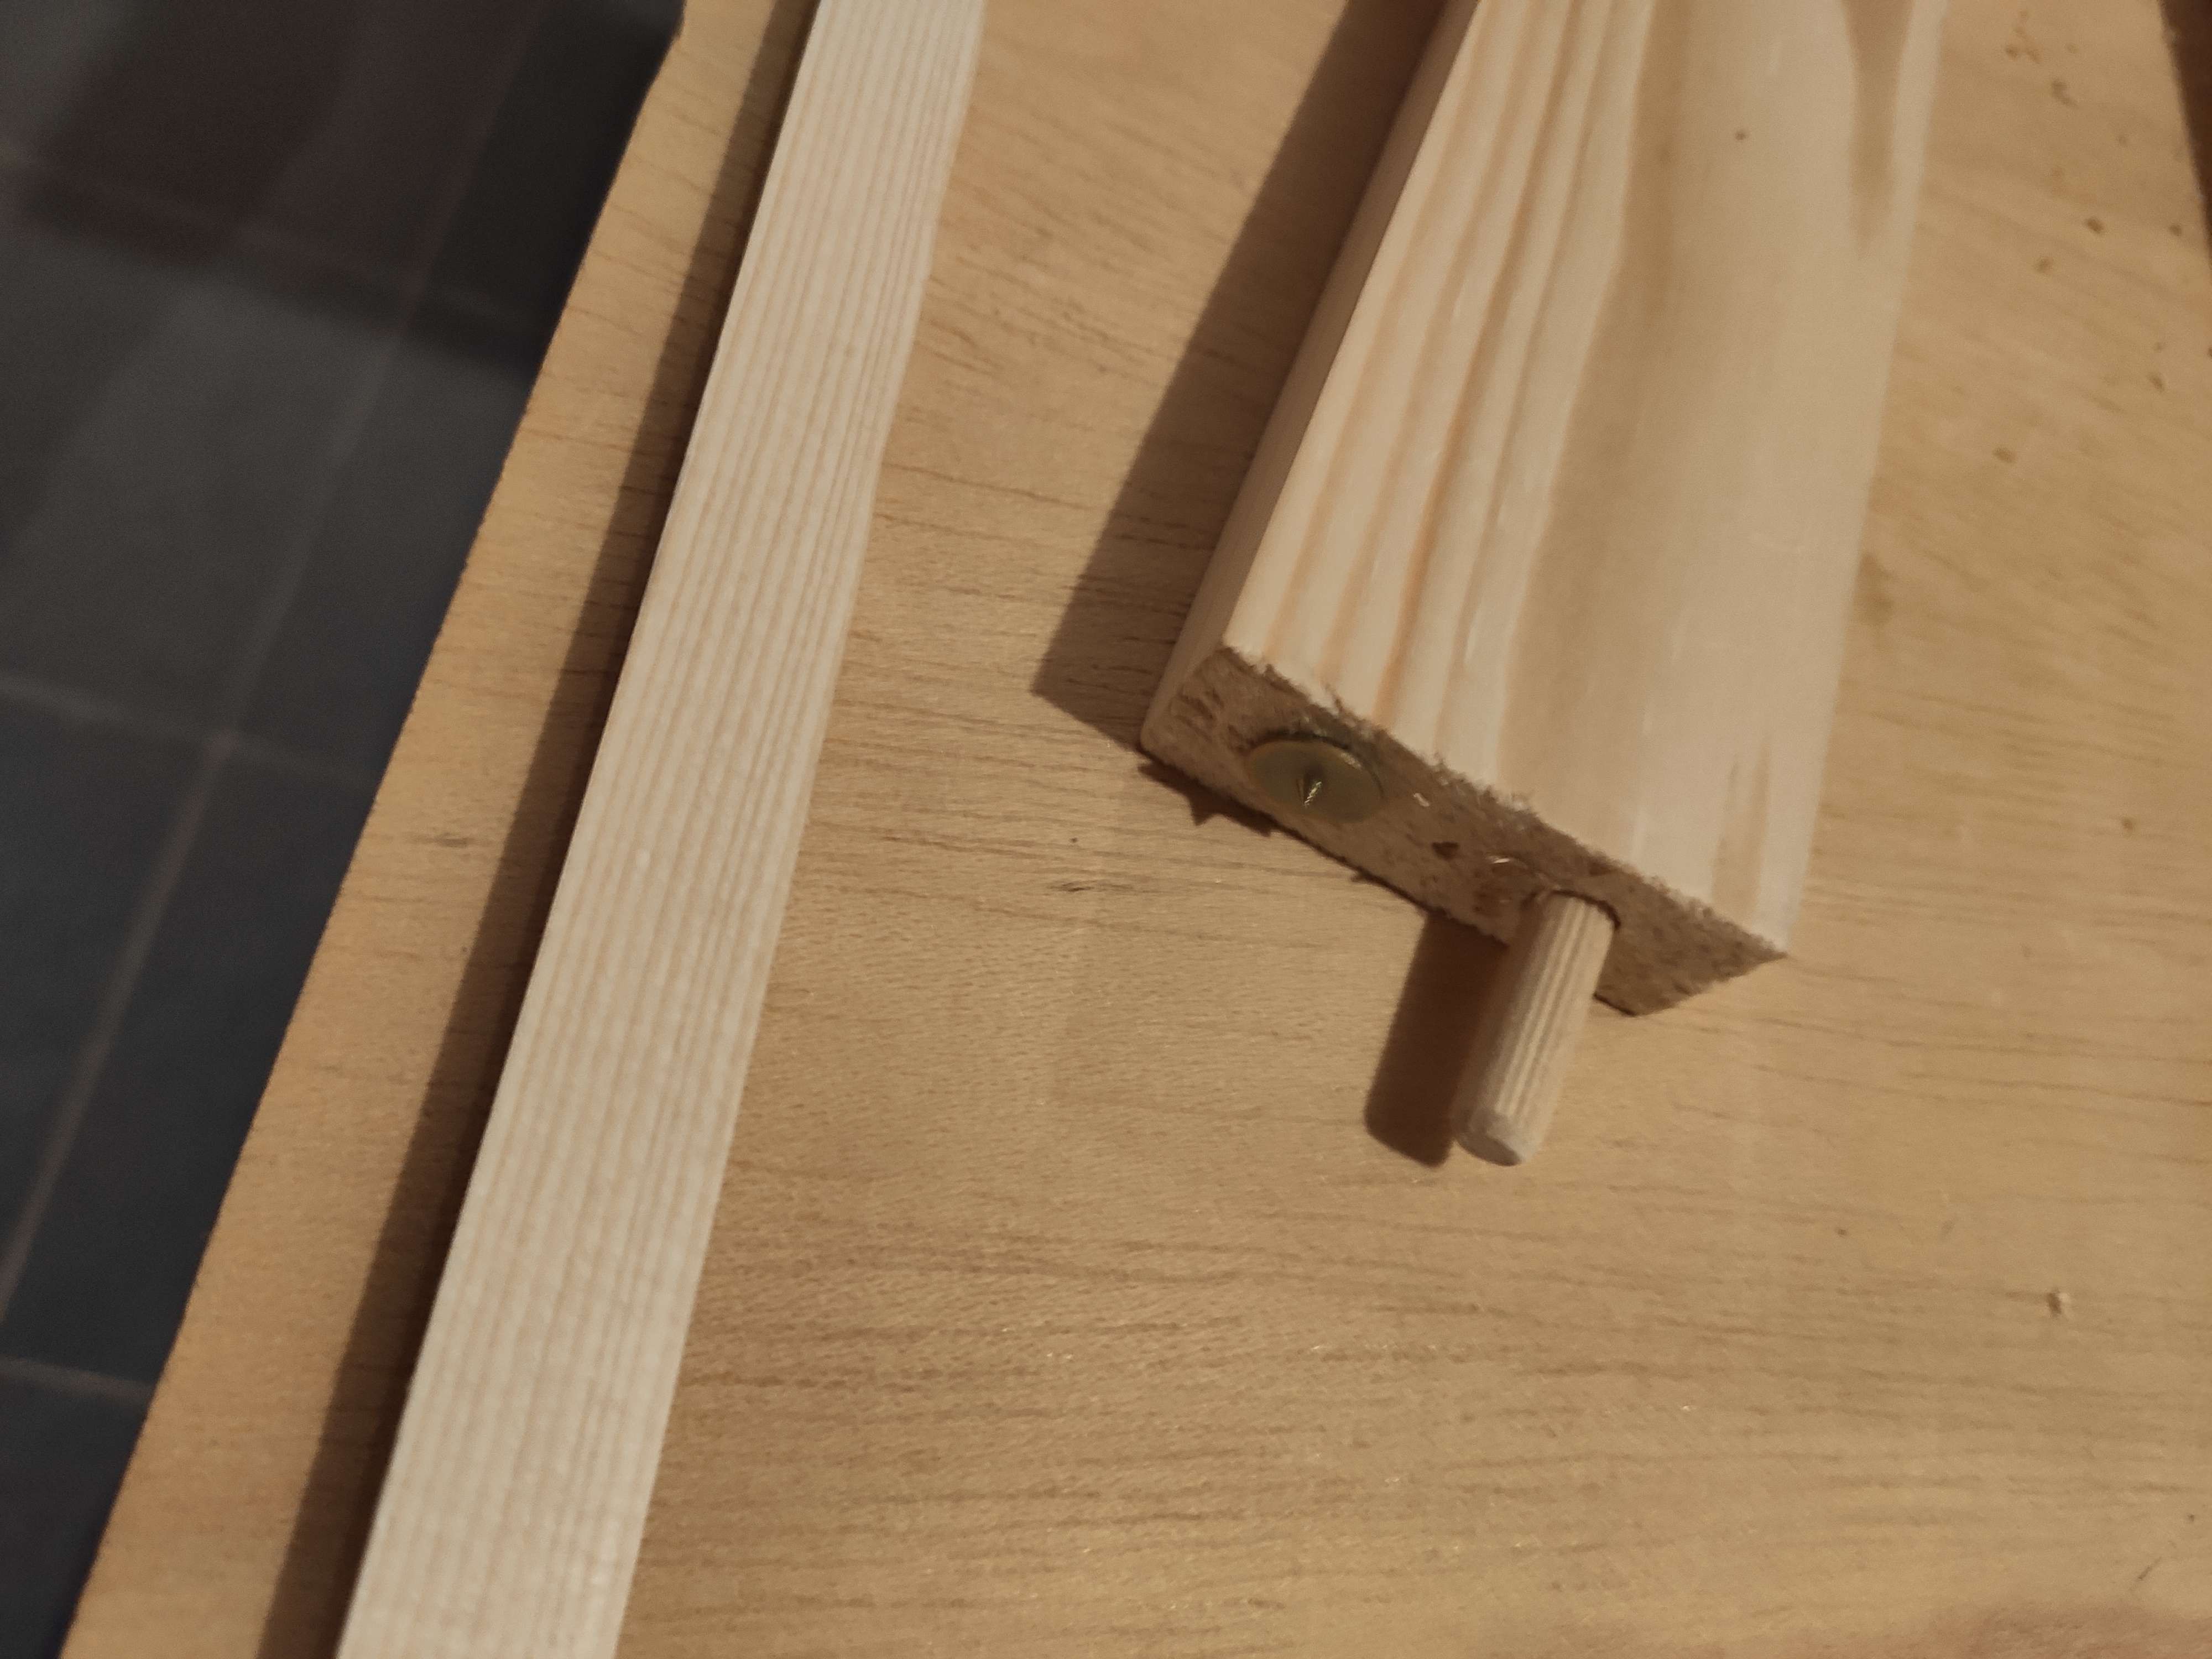
We messed up a bit on the last frame and had to adjust the length of one of the planks by joining two bits together with glue and dowellings.
The maze had finished drying and we called it a day.
Discussions
Become a Hackaday.io Member
Create an account to leave a comment. Already have an account? Log In.