 Tom Nardi
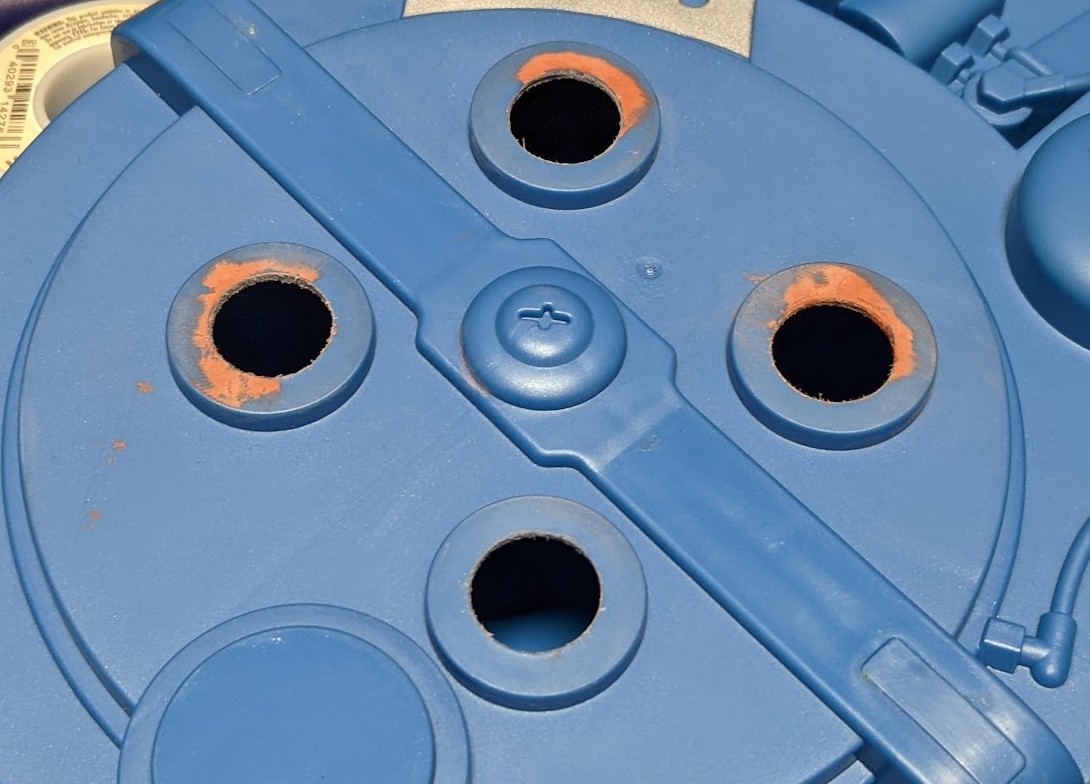
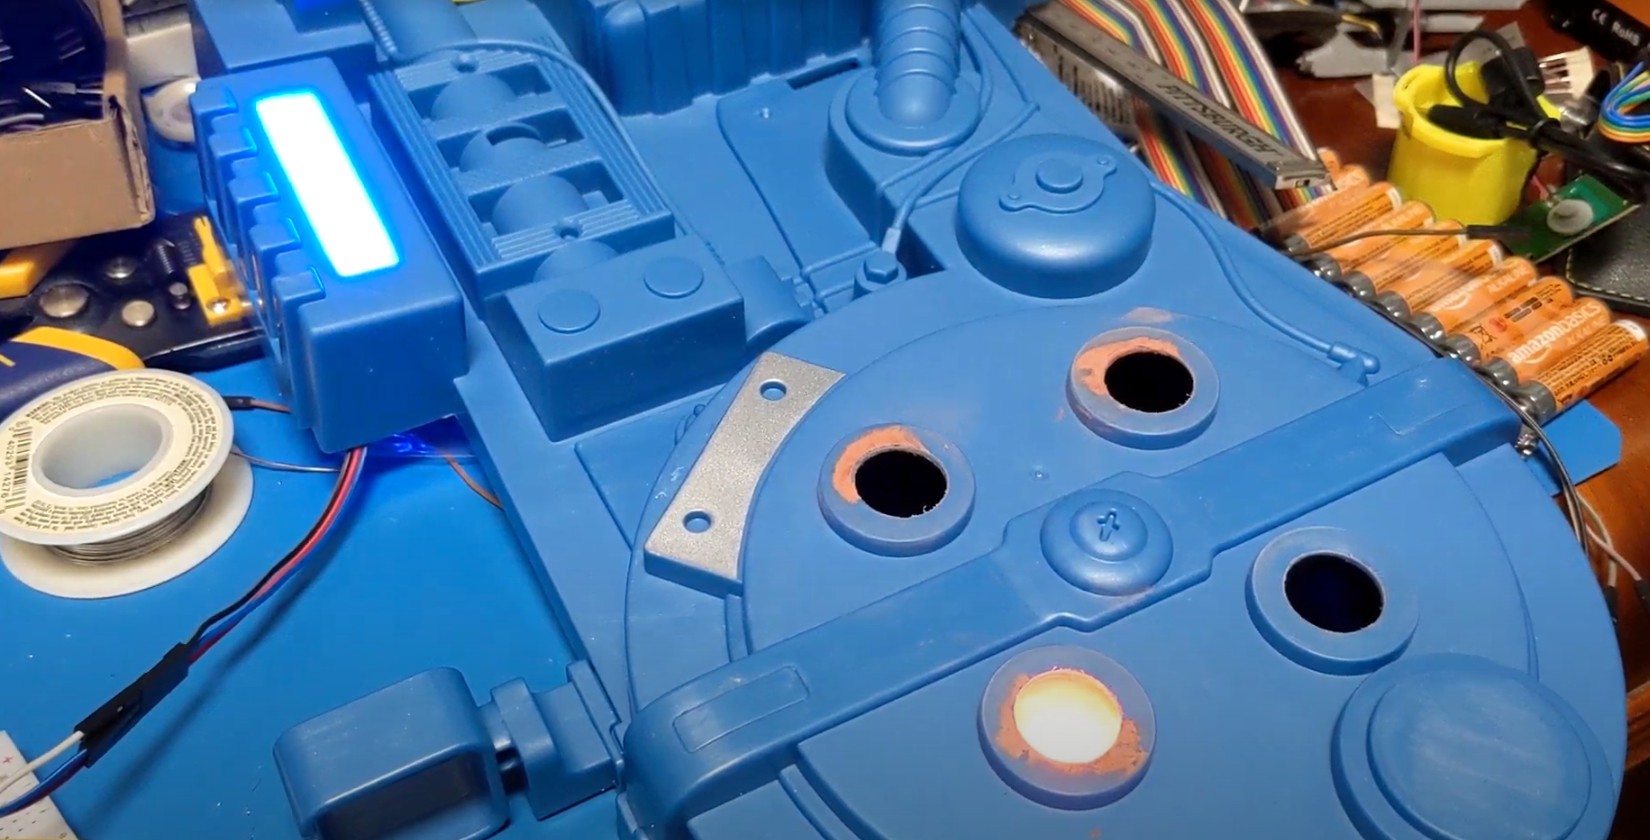
Adding lights to the cyclotron took a little more work. I first drilled out the four circles, and then used Bondo around the openings to smooth them out.
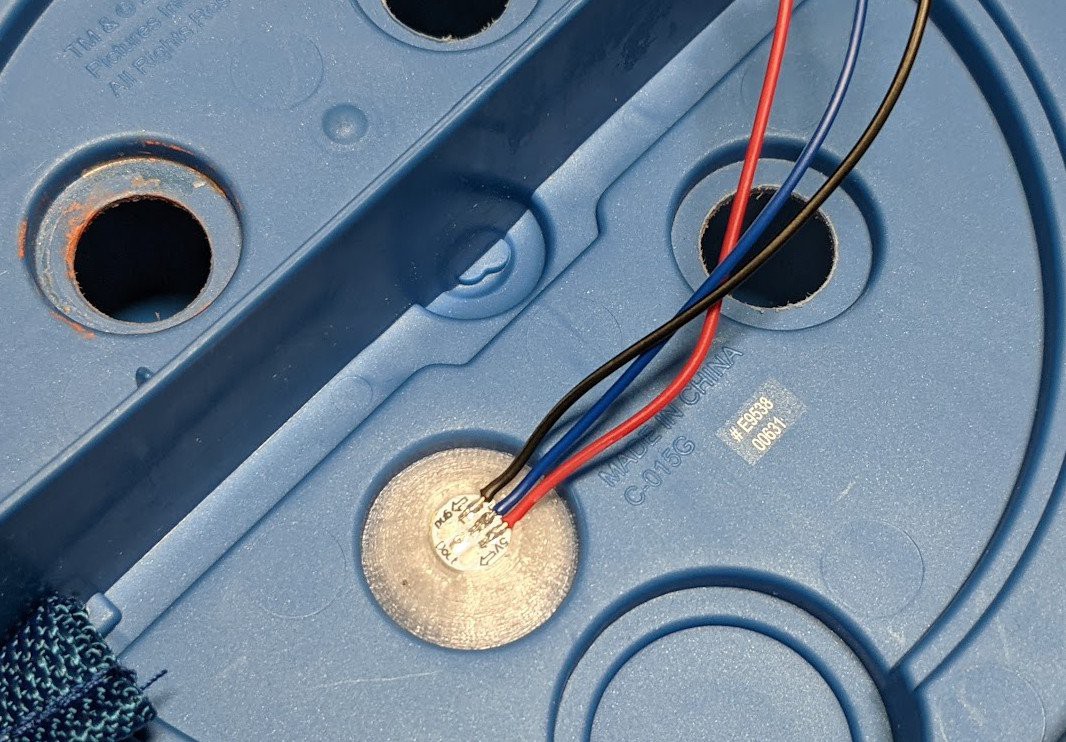
Into each opening went a conical PETG diffuser, which had an opening at the top for a single WS2812B breakout PCB. Each LED was wired up to the next one in the circle, and eventually connected to an Arduino Nano clone along with the LED bar.
Since all the LEDs are addressable RGBs, creating the animations would be simple. I could even change the colors, though for screen accuracy, the power cell would be blue and the cyclotron red.
Discussions
Become a Hackaday.io Member
Create an account to leave a comment. Already have an account? Log In.