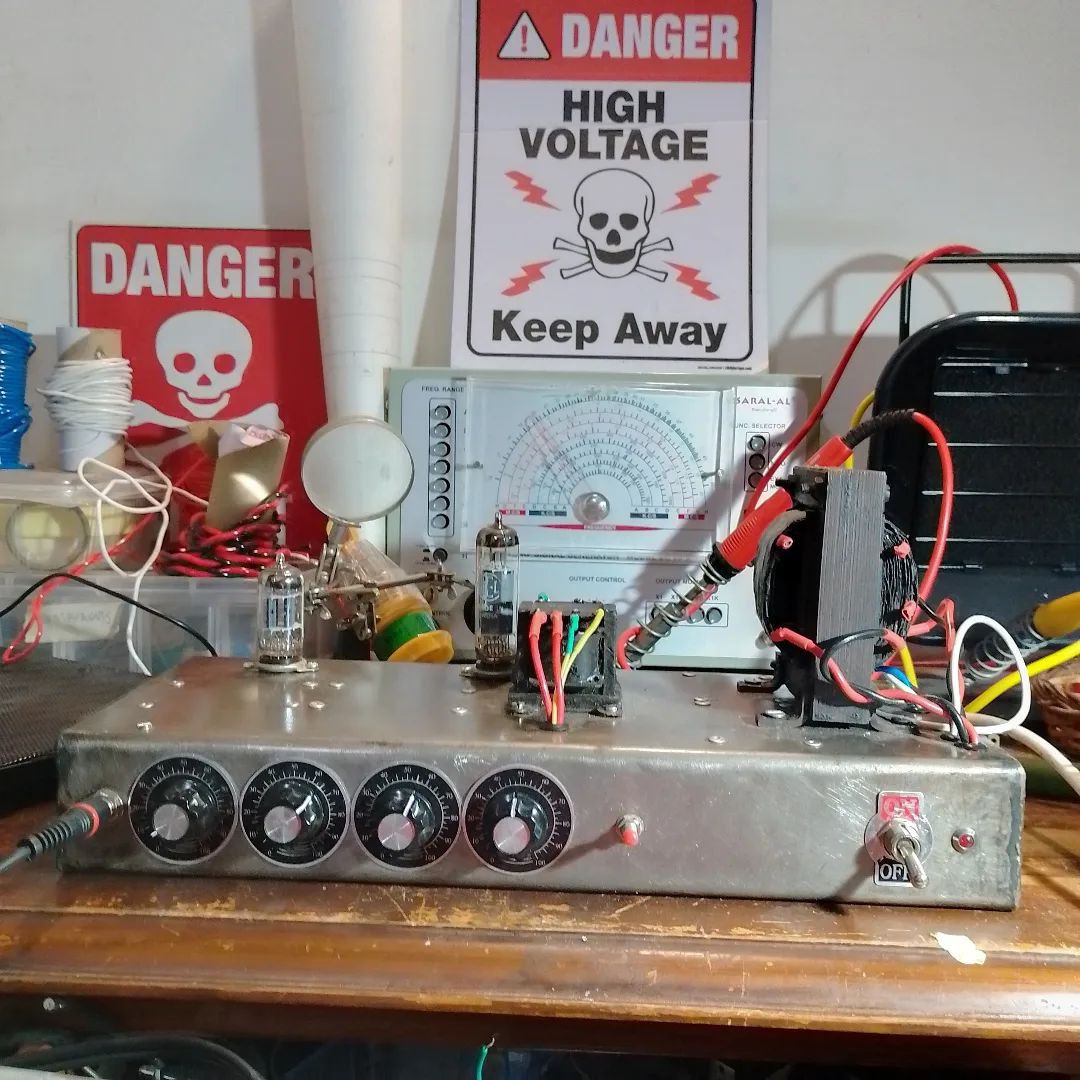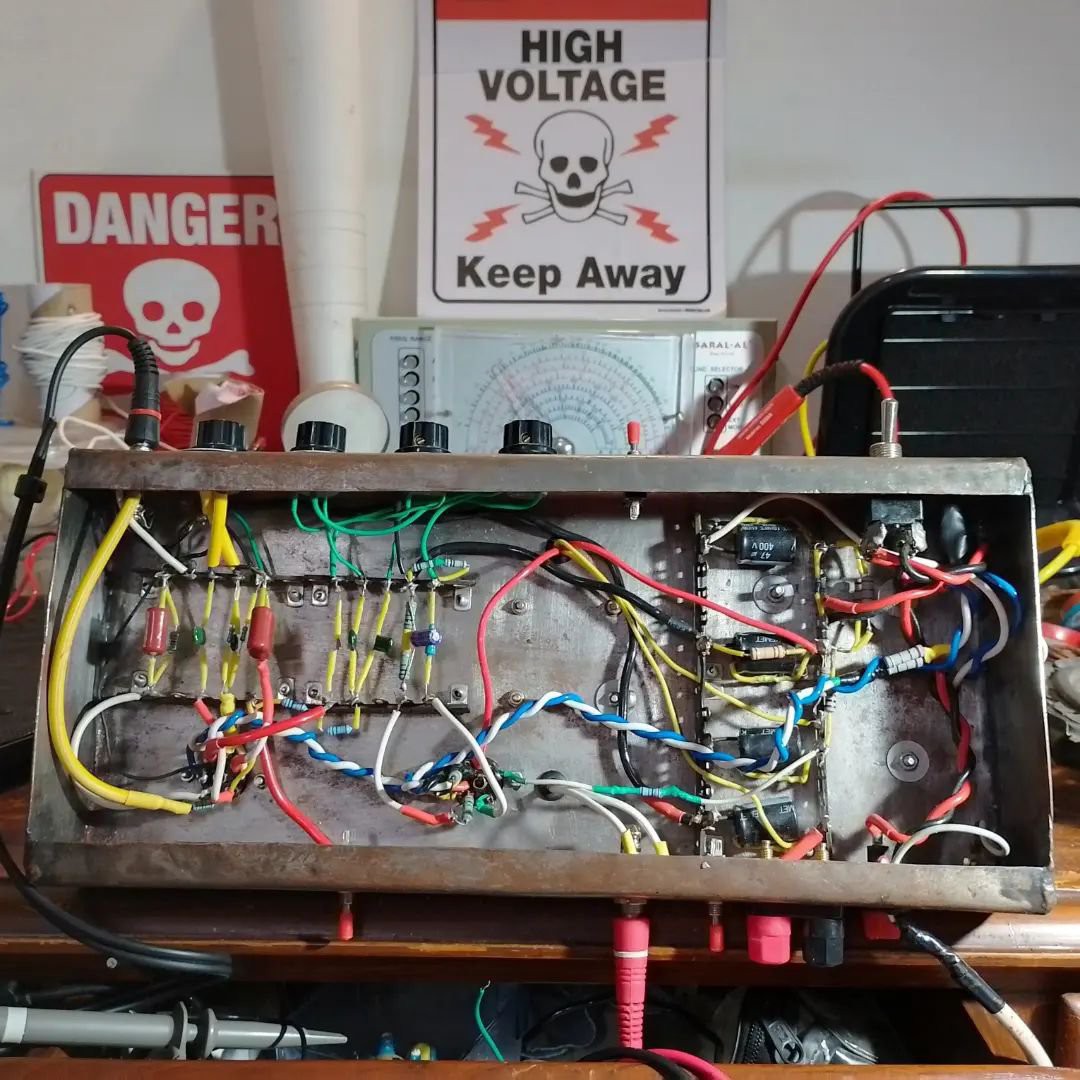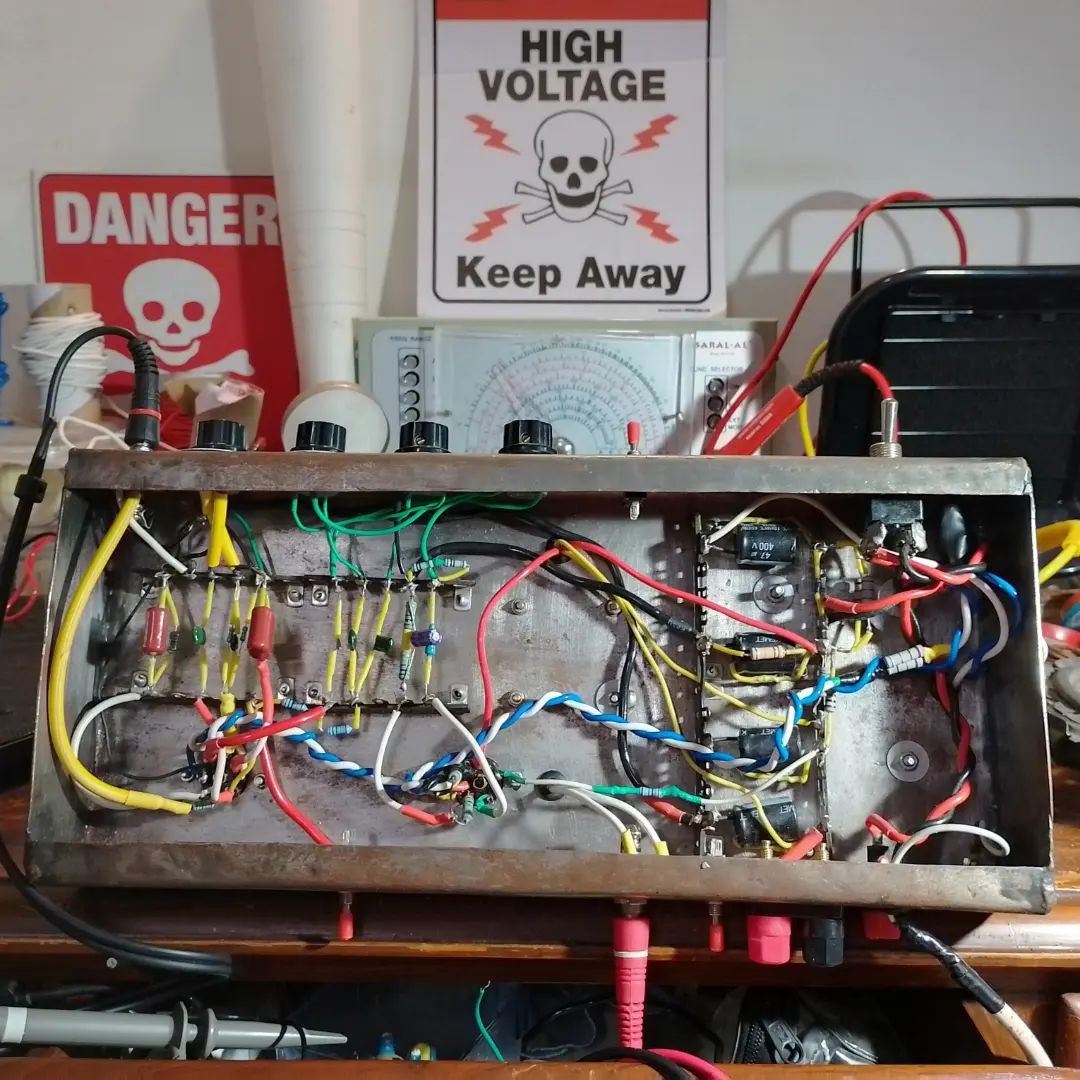


Being a vintage buff, I decided to construct the entire circuit using point-to-point wiring on tag-strips riveted onto the chassis. I followed a wiring diagram found online but made some changes to improve the grounding scheme. The layout is still not ideal but worked out well in the end. After building the 12AX7 preamp stages, I had some trouble with excess plate current. This turned out to be due to either faulty or mis-labelled valves, so the project was delayed until I could get another set from a different source. I tested each stage as I built the circuit, there were a few hiccups that had to be dealt with along the way, but in the end the amplifier works well and sounds great. For more details on each part of the build, please refer to my 4-part vlog videos on YouTube:
Part 1, chassis fabrication and planning, power supply:
Part 2, filament wiring and power supply updates:
Part 3, wiring the amp stages and some problems with biasing:
Part 4, some tweaks, checking gain and power output, final test:
 _electroidiot
Discussions
Become a Hackaday.io Member
Create an account to leave a comment. Already have an account? Log In.