It seems like schematic is sound and after some assembly, i got basic keyscan working on I/O expander but with no HID USB yet - TinyUSB and the whole RP2040 SDK feels kinda alien to me right now and i think i won't touch it while i'm still working on the case and the assembly.
It's just far more efficient to leave 3D printer working and then go do something that does require your attention - like writing the code.
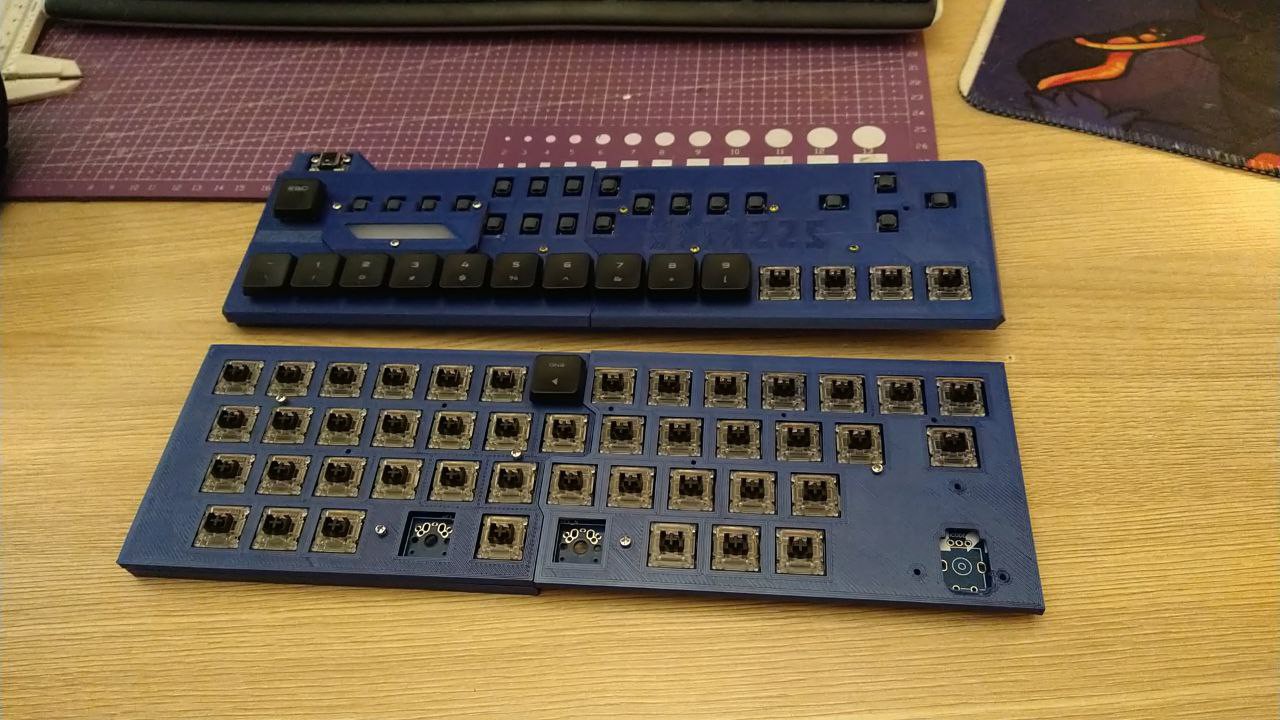
Though i do have some basic sketches of what it supposed to look like, in all it's half-assembled glory:
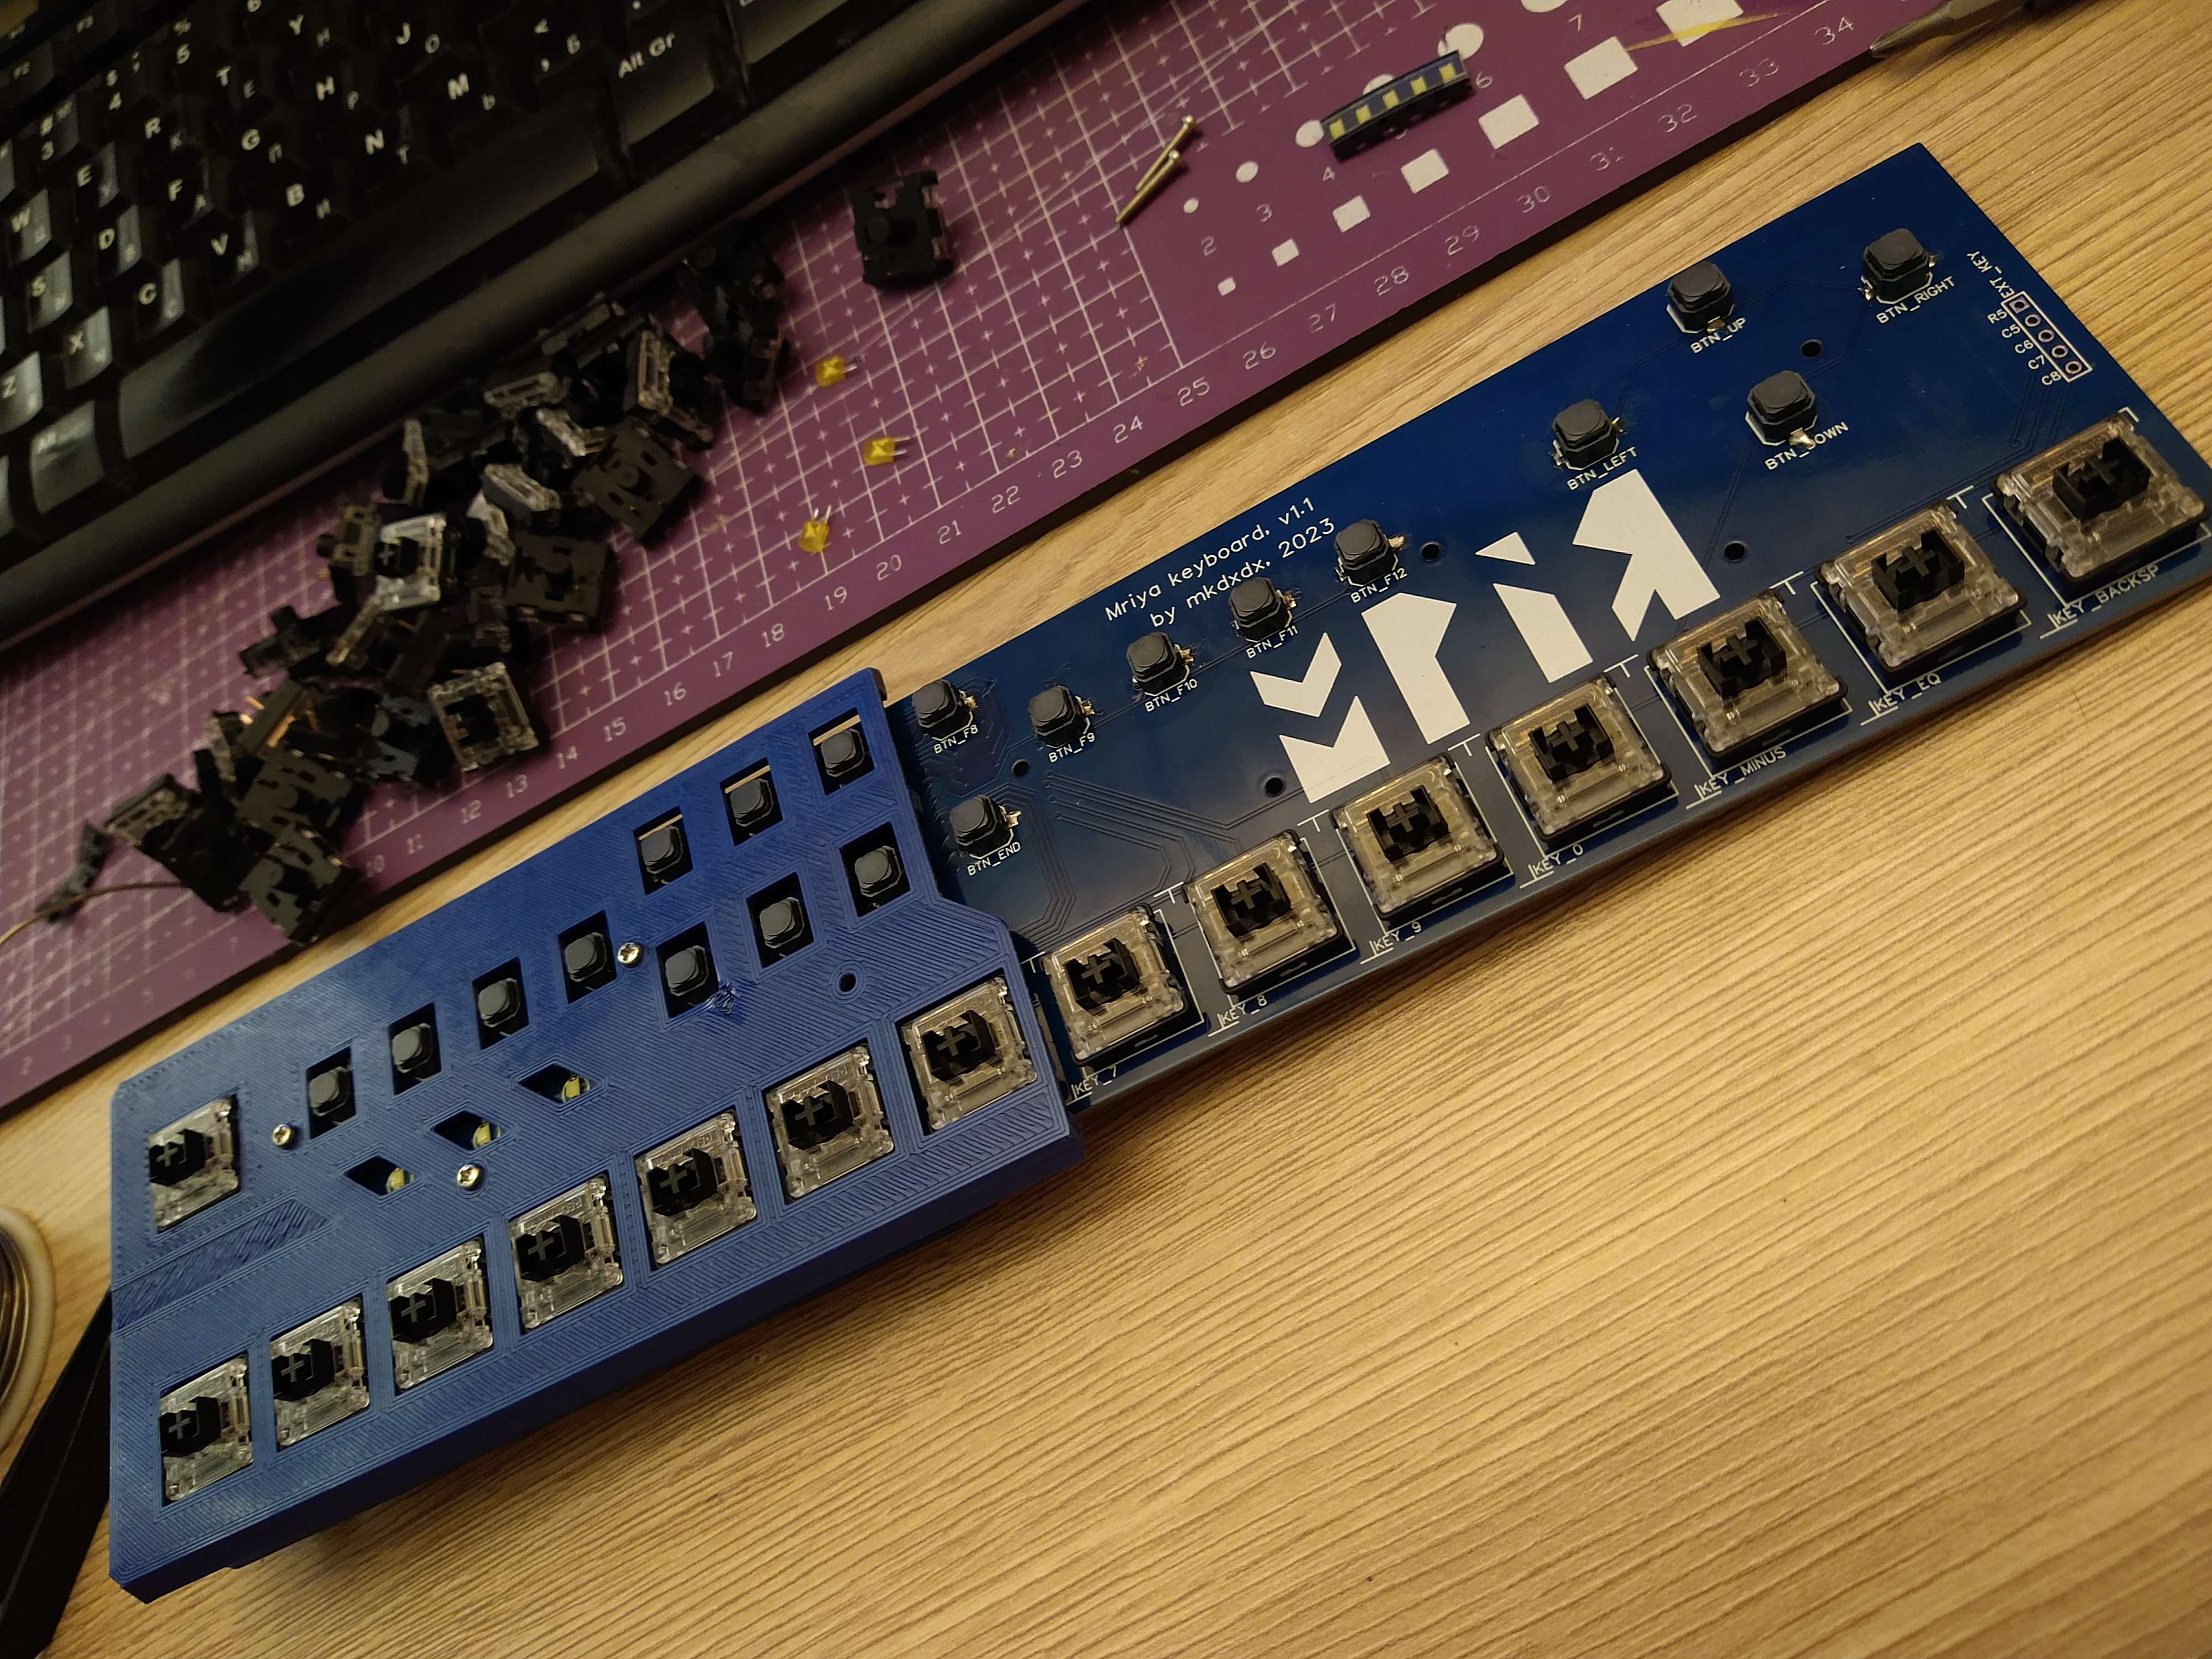
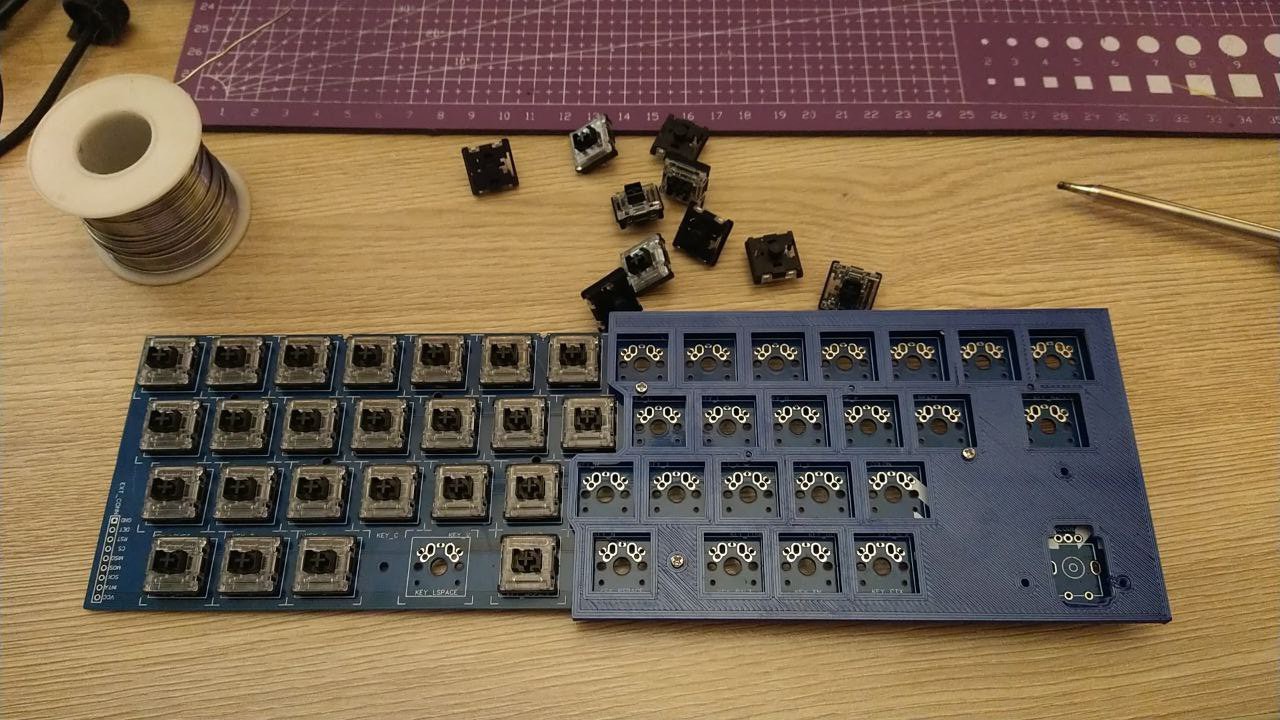
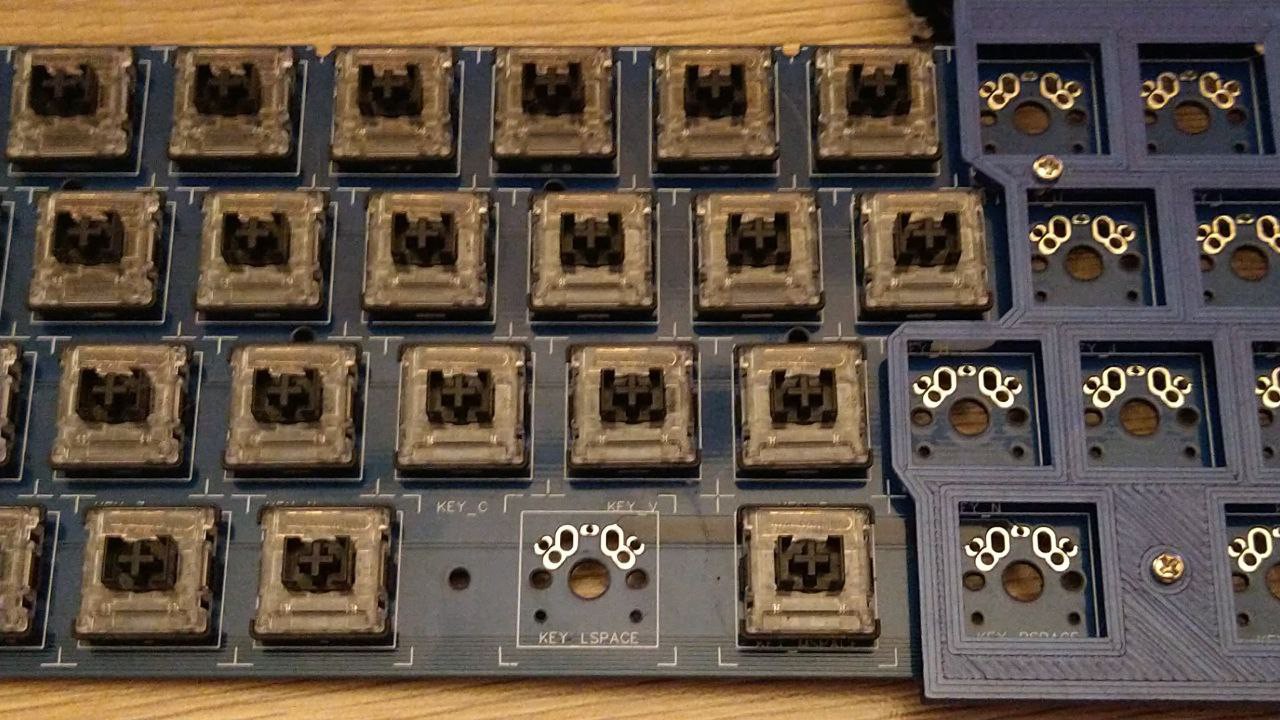
What i could have done better was the switch alignment - their pins fit in a very cramped fashion and i'm left with a choice either fit it without pins being in stress but the switch will look rotated half a degree, or - fit it more or less straightened out, but with pins bent noticeably - probably with some implications in regard to longetivity of the assembled sample.
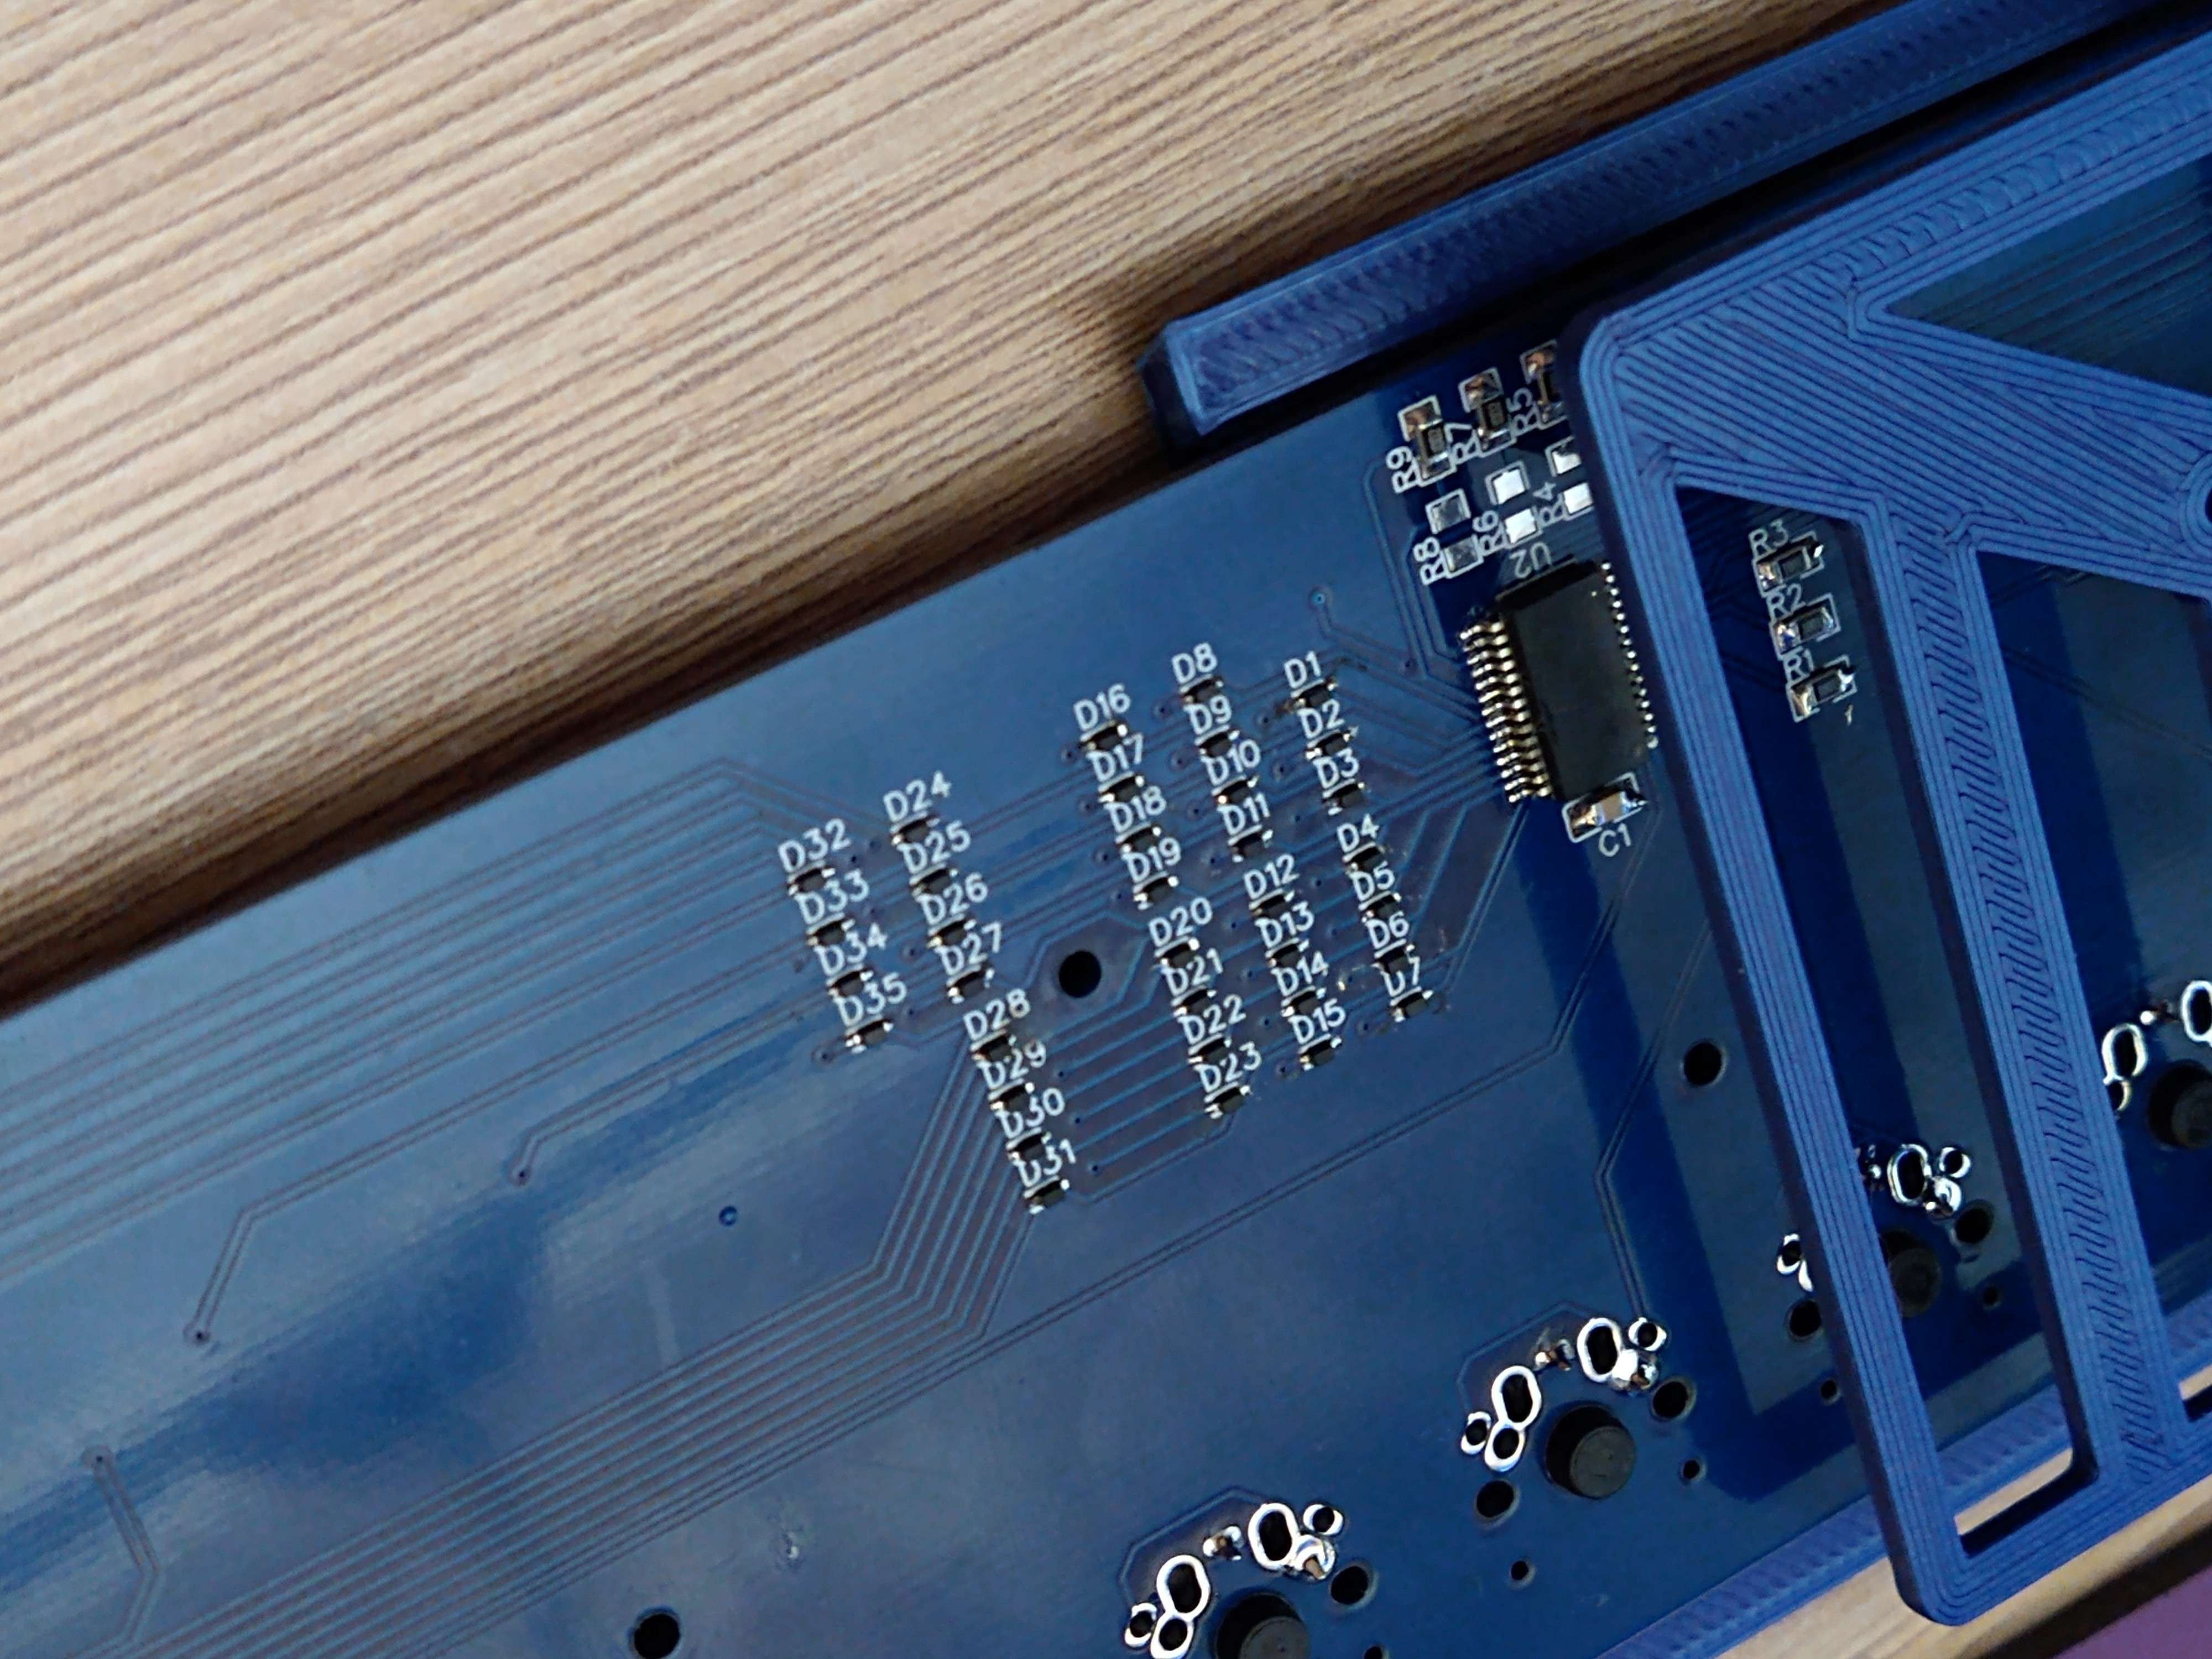
Oh and note to self and to whoever reads this - if at some point you question yourself whether or not your project needs a solder paste stencil to assemble everything comfortably - ORDER A DAMN STENCIL and you will express much gratitude to past-you.
Life is just too damn short lately to solder a hundred of these by hand:
But the project takes shape. Progressively.
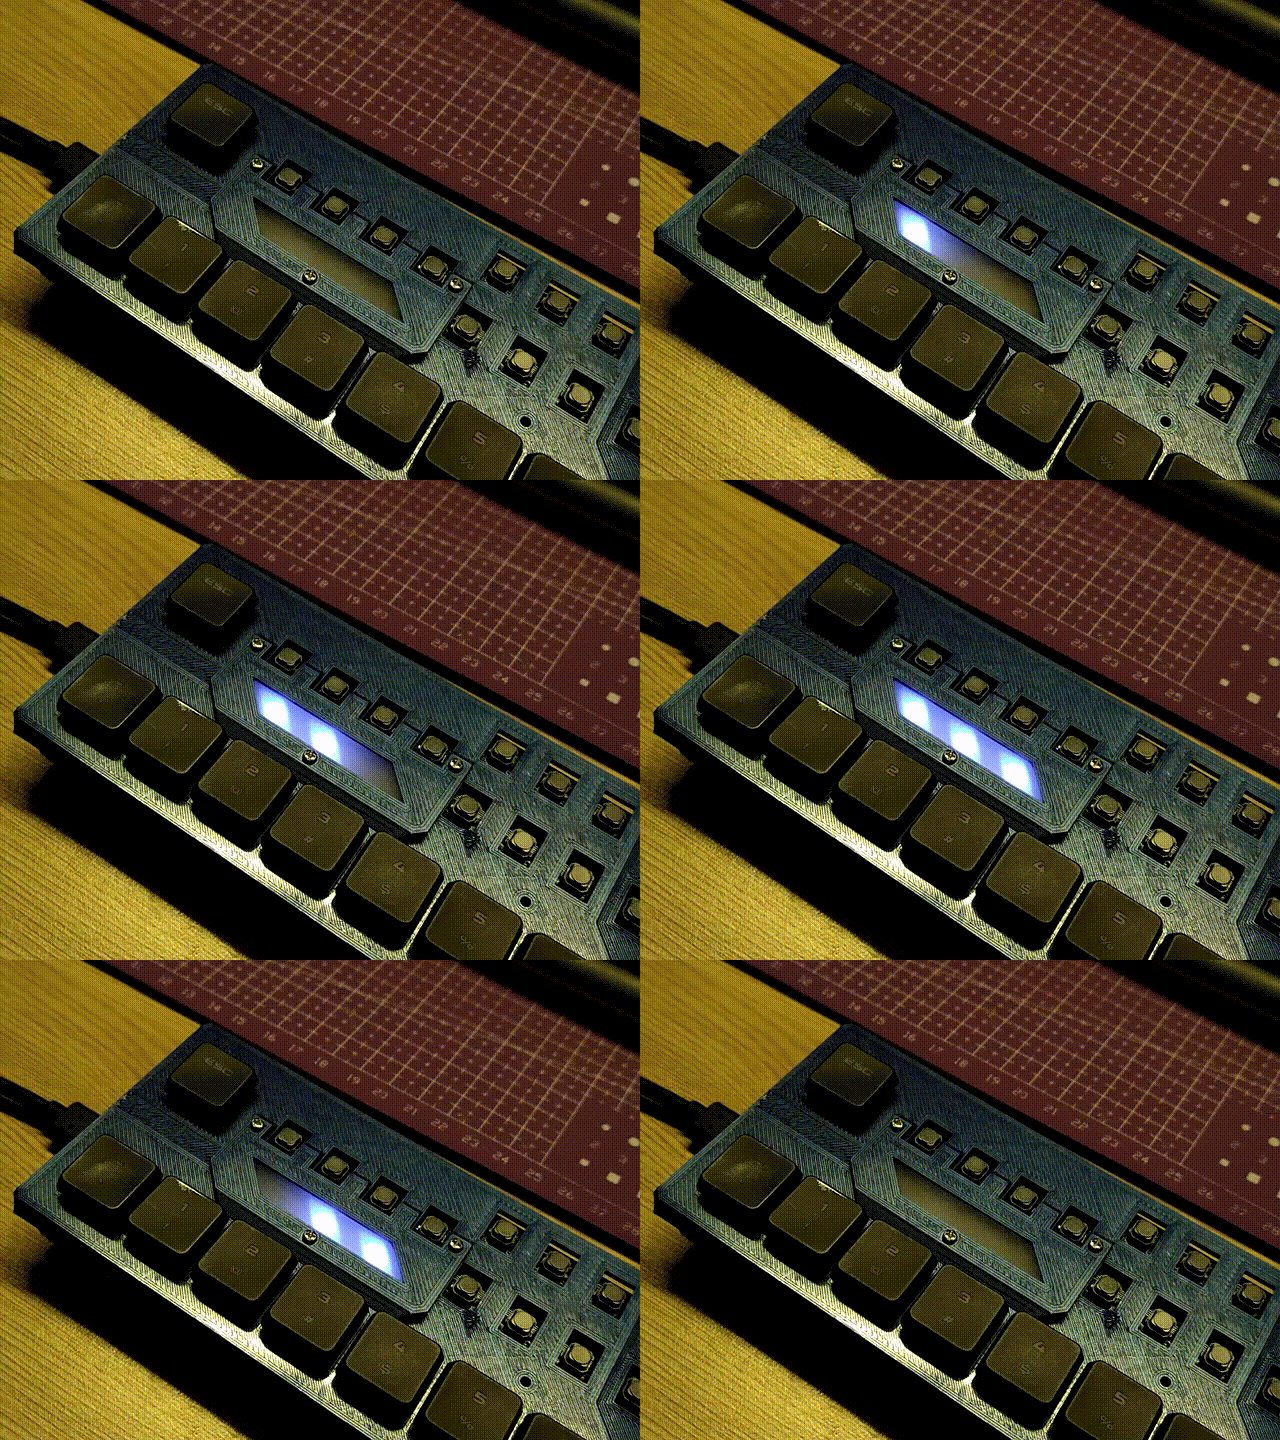
Now enjoy this little animation while i finalize hinges and interlocks:
 mkdxdx
Discussions
Become a Hackaday.io Member
Create an account to leave a comment. Already have an account? Log In.