Final assembly is here for this iteration. What has changed?
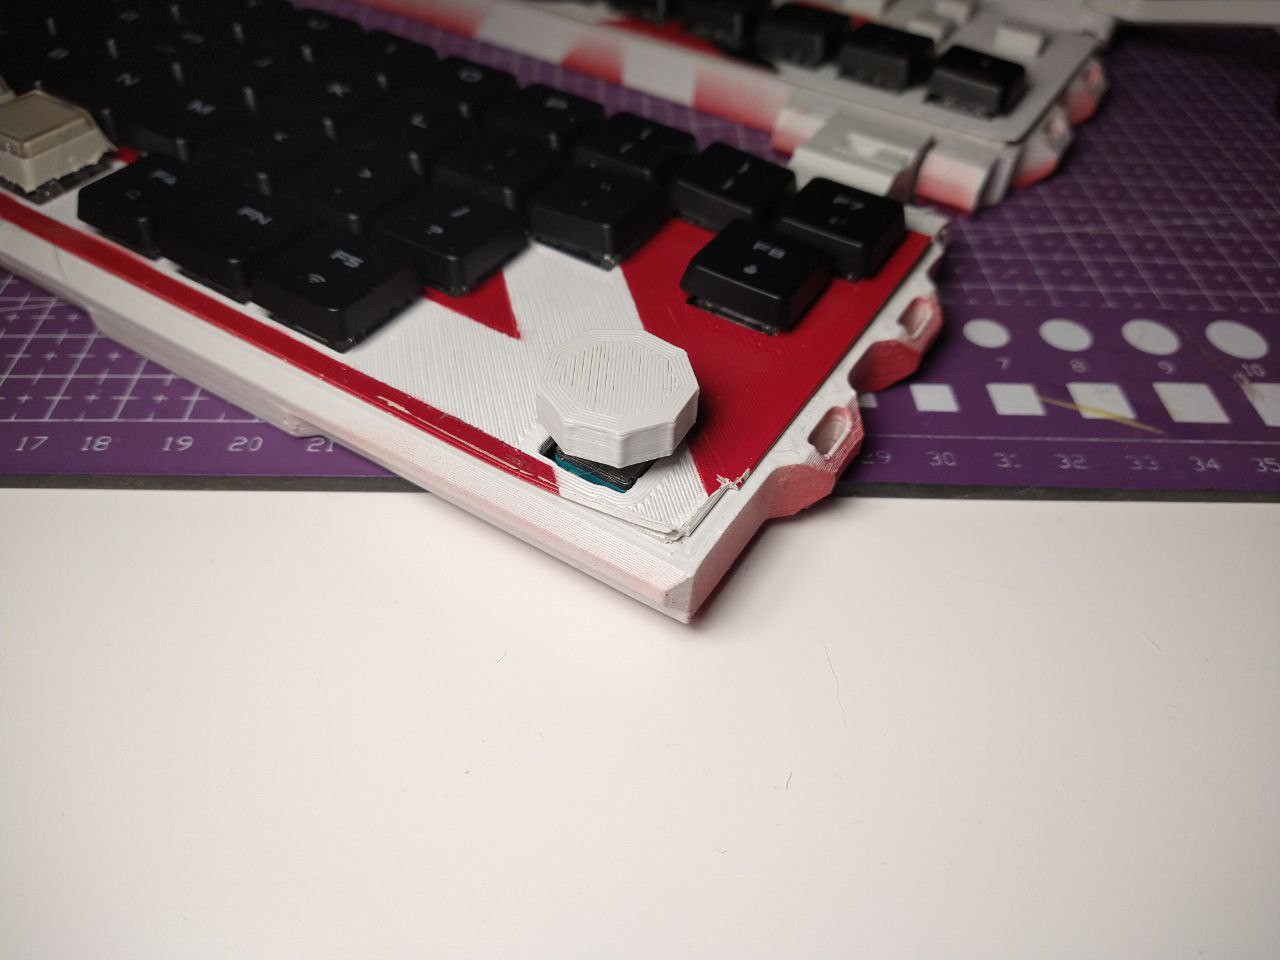
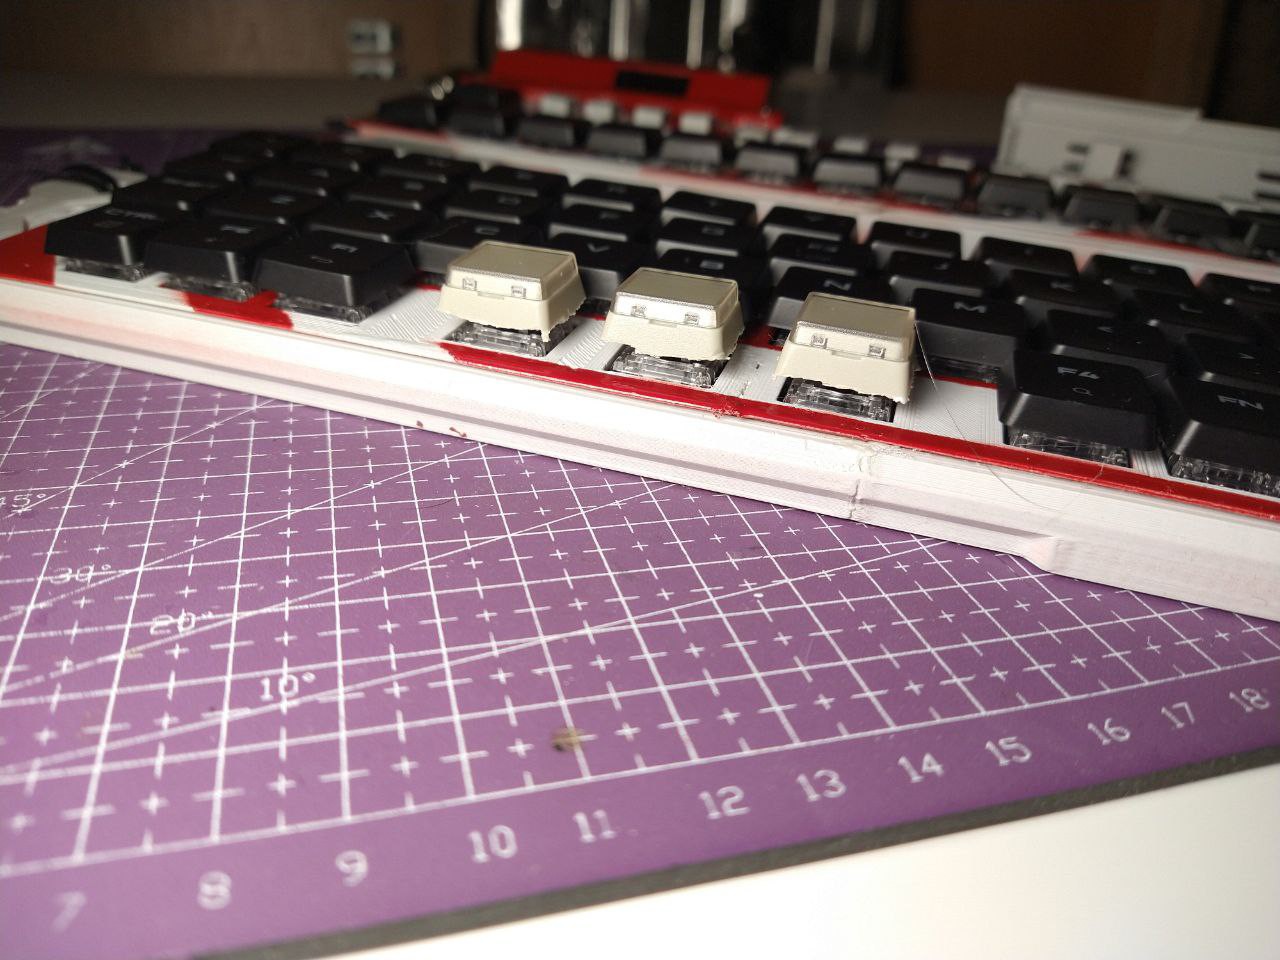
I've added an encoder knob, changed caps for a spacebar (there supposed to be one long bar, but i decided to cover three parallel switches separately with some POS terminal button caps) and added a lower part connector cover so wires don't mess themselves.
Also made this little "remove before flight" banner (ye, it's made from PLA and is 2mm thick, so not really a banner now, is it?) for a bit of flair.
Et voila.
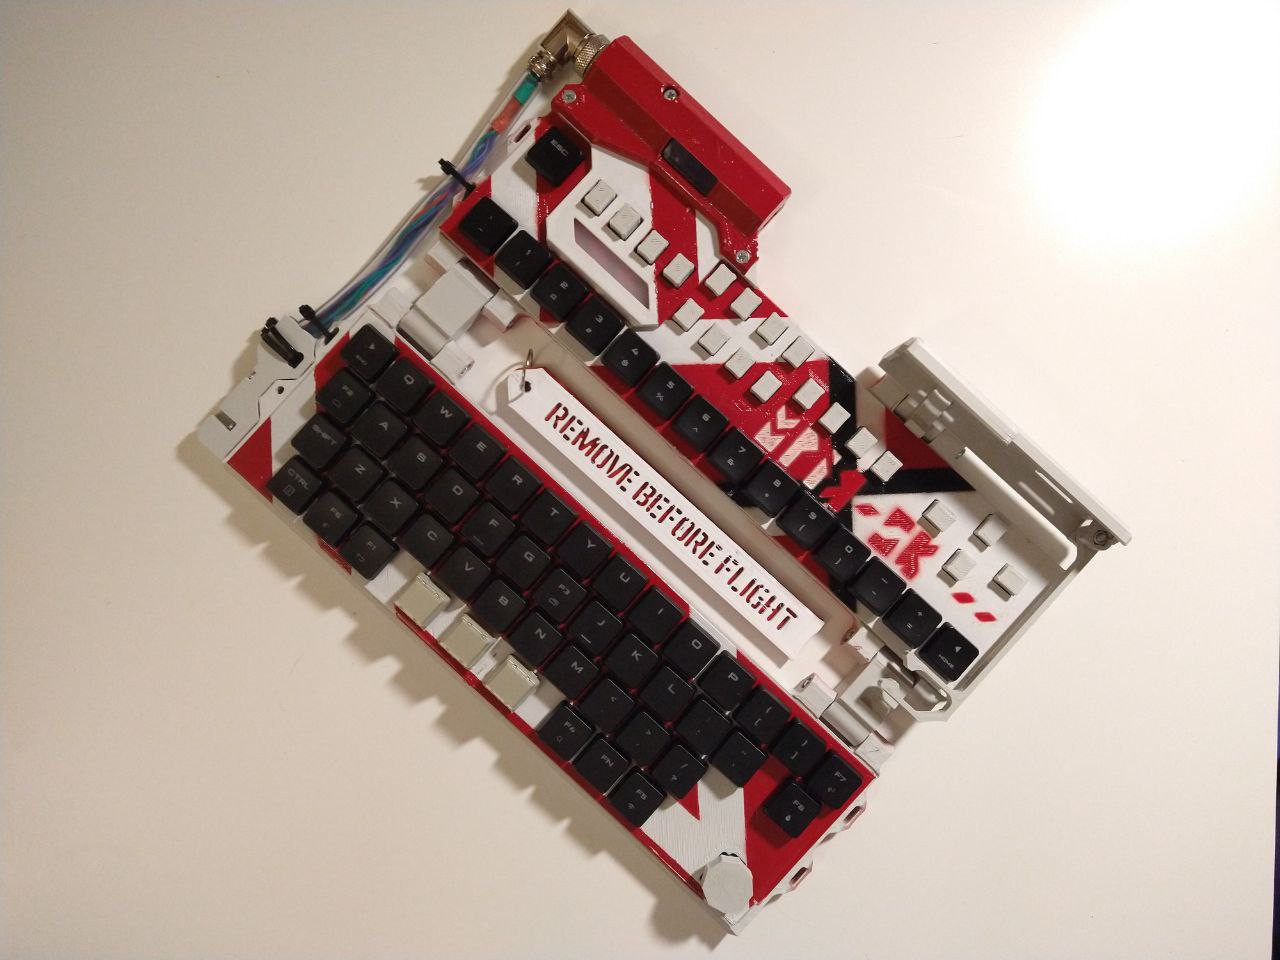
Some functionality polishing later, and i've got:
- Skippable and improved splash screen
- Complete key function.
- Several knob functions (selectable via Fn + Knob press) like volume control/mute, mouse horizontal/vertical scroll, screen contrast control. Something to be desired, yes, but honestly i'm not fond of what pro keyboard makers put on their knobs, so i slapped whatever i would use on there and called it a day.
- Saveable settings (only for current knob mode, selected display contrast and scroll type).
- Fn layer functions (like it looks like on keyboard layout picture here). Yes, left mouse button and right mouse button are swapped - the idea being is that RMB is usually pressed much less frequent than LMB and thus, when you steer the cursor with arrows, it is easier to press LMB with the same hand, with which you steer the cursor.
- LEDs under the diffuser show caps/num/scroll lock status. On a keyboard that only has capslock key, lmao.
You can use the cover-lock thingy as a phone stand too!
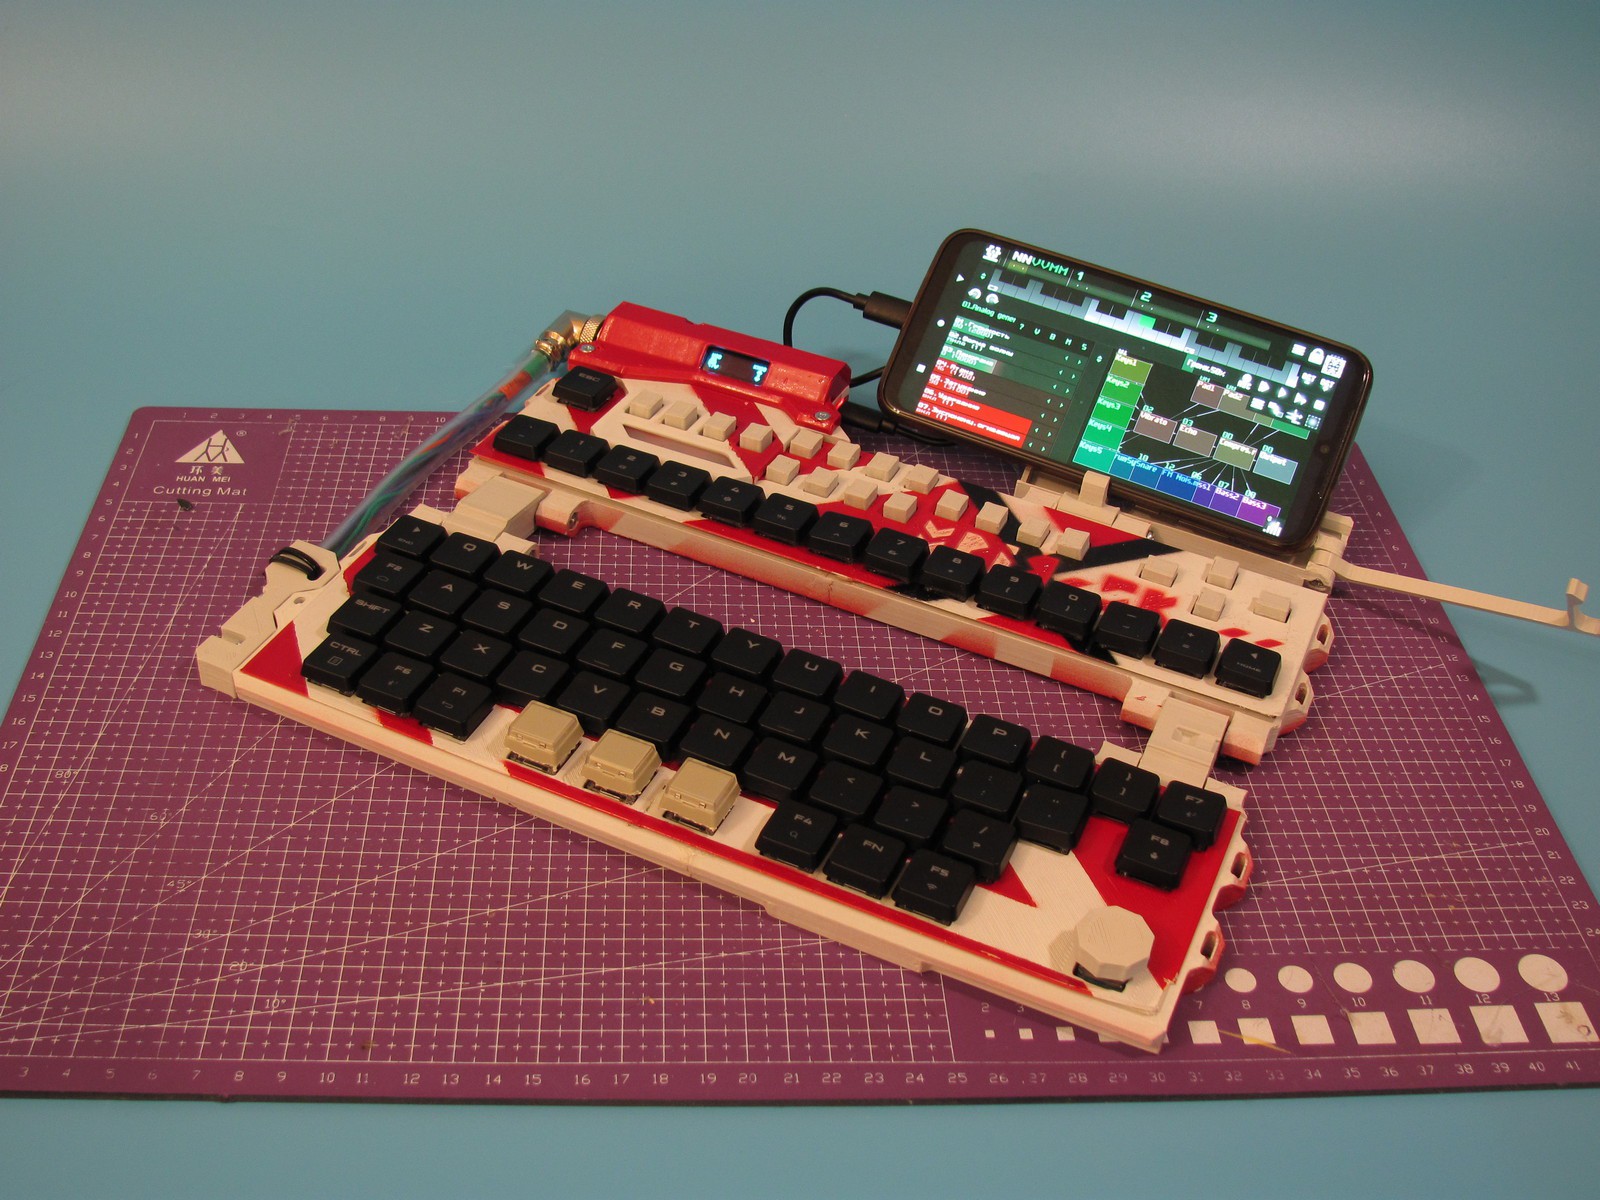
Here is a little demo of how the whole thing unfolds (no sound because my eyes tear up when i hear my own breathing behind the mic and also lots of cuts so not to bore anyone with unnecessary scenes):
So, what's next at this point?
First and foremost - the build has a lot of constructional problems:
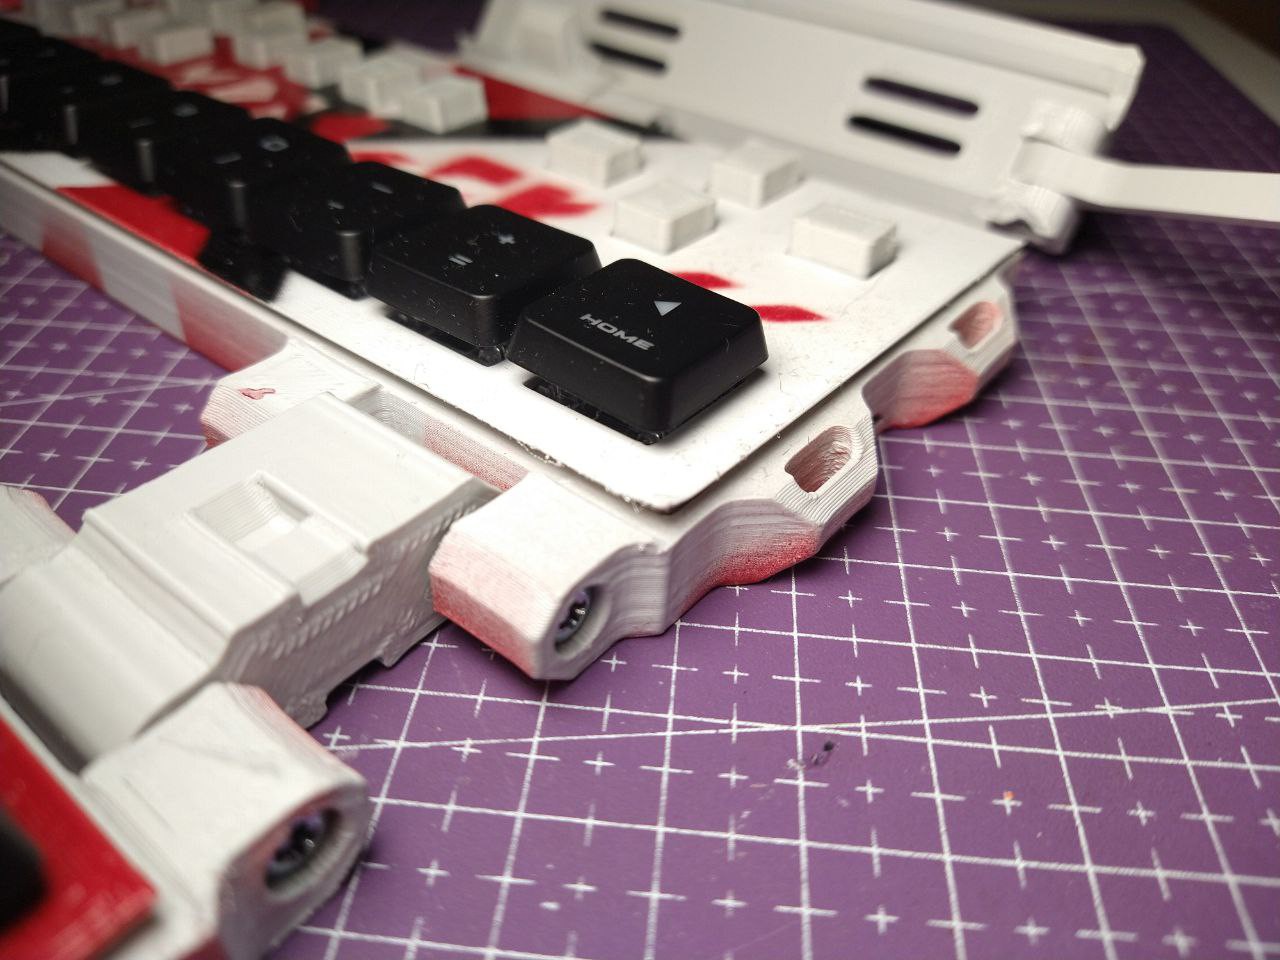
- My printer is not properly calibrated and at this point i'm not going to do it for this PoC, so there alot of imperfections all over the case.
- For some reason, my piece of reel that holds MCP23S17 features traces of corrosion on each and every chip pin, and add really short PCB pads for the chips - soldering is so bad, a little flex of the board makes the connection fly all over the place and keyscan goes nuts. Case imperfections just add insult to injury and tightening the screws bends the case slightly and it leads to, you guess, another set of key scan issues.
- Form-factor and ergonomics are, let's say, highly experimental. But i think that was the point of the whole project last time.
- Cover of each part does not allow full switch travel - haven't forseen that, but oh well.
- I made the bolt recess for the lock-cover on the wrong side so there is no way you can comfortably drive it in.
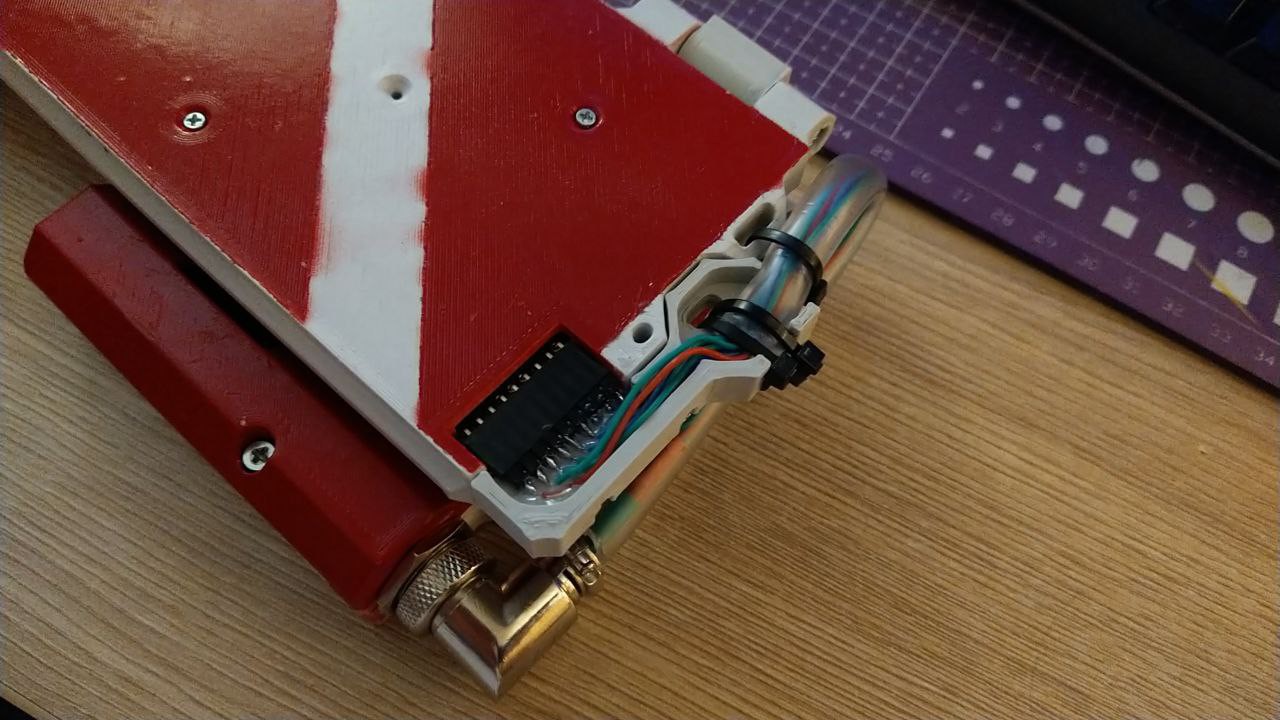
Also, today the screen has died! It does not show anything meaningful, just scans some lines which remotely react to what it supposed to show. I guess i learned about how human-model ESD works the hard way.
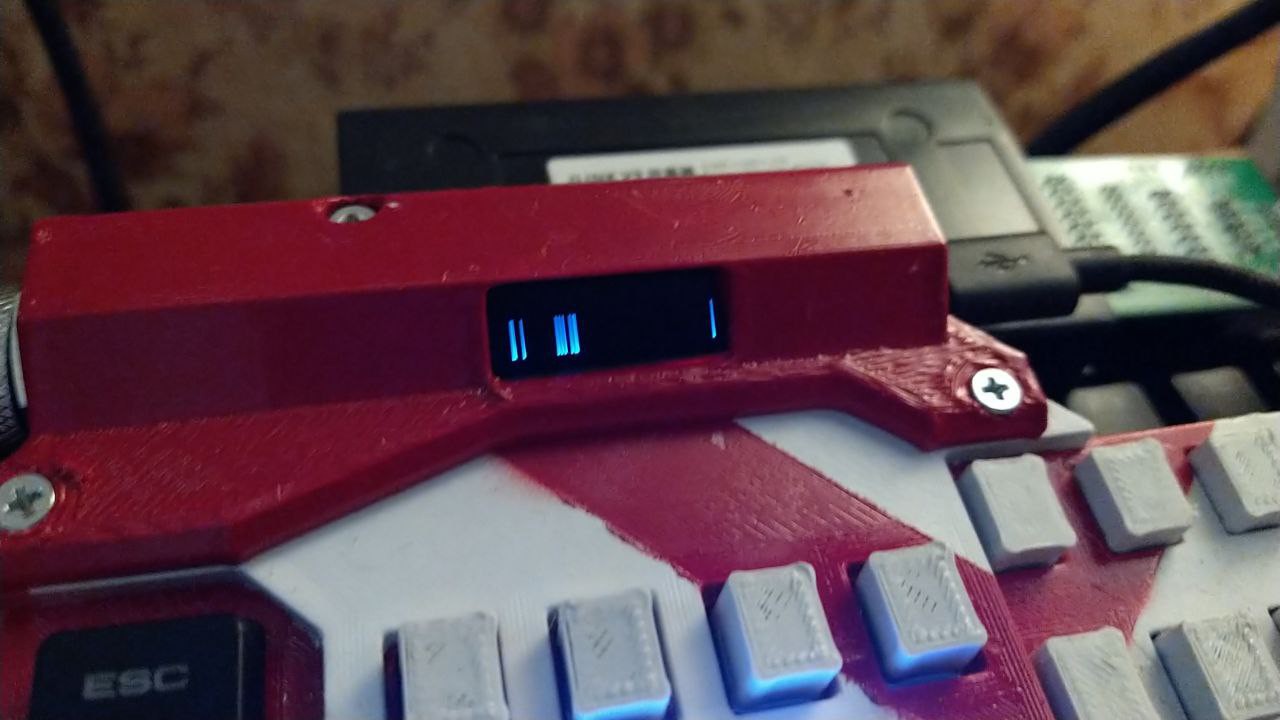
So i guess, this iteration is going to be shelved until it surfaces as a part of another project.
Instead of a reminder for future updates:
- Explore PIO to drive IO expanders (emulate addressed SPI transactions) which may not give much edge in scanning speed, but theoretically leaves cores unloaded for other tasks (like running Doom, lmao)
- Add key backlighting.
- Rethink the ergonomics and hinge design.
- Make it wireless?
- Develop different bottom parts for different purposes (a piano keyboard that turns the thing into MIDI synth/sequencer?)
- Can't remember what else.
Definitely had fun designing, printing and painting the whole doodad several times over because i'm impatient.
First discord project entry says it started in September 8th and was not actively developed until really late now.
 mkdxdx
Discussions
Become a Hackaday.io Member
Create an account to leave a comment. Already have an account? Log In.