Close
0%
0%

Clone of CA80.

It is based on the Z80 processor, built with the cheapest parts available.

Similar projects worth following
When I was a teenager, the CA80 computer was created. Under the supervision of my teacher, I made my first copy of it. I only had the motherboard, and I drew the display in the same way as technical drawings - with ink. I got the keyboard from my teacher. These were the remains of a calculator.
In the early 1980s, it was the only option to have your own computer. At school we used an even older SA80, constructed by the same engineer: Stanisław Gardynik.
The structure was not complicated, but it was self-sufficient. It allowed you to enter a program using the hexadecimal keyboard and run it using the monitor function.
The monitor was only 2kB in size, but allowed debugging with single step work and 2 traps.
The comparison to Raspberry Pi is exaggerated, but there are small analogies to Arduino. The monitor contained many display, keyboard and input/output routines, so we can compare it to Arduino libraries.

I designed the CA80 from scratch. Initially, I used SMD, but I changed the assumptions and adapted the project to RCbus. I used the Z80-MBC2 project and with its help I developed an additional data loader. I also made an additional mass memory module that stores programs in flash memory. The data format is compatible with that recorded on the tape recorder. LCD 2004 modules and a touch keyboard were also created. I also have a VFD display and a keyboard from an old calculator.

SD_MSID.zip

All mandatory (monitor) and demo *.hex files.

Zip Archive - 35.77 kB - 12/11/2023 at 15:37

Download

Code-ASM.zip

Source code of "tape recorder" and little Z80 debugger.

Zip Archive - 13.78 kB - 12/11/2023 at 15:37

Download

CA80-BEZ-ROM-3-5-MSID-18-touch.zip

Code for ATmega32 for bootloader (included touchpad). MightyCore needed.

Zip Archive - 20.17 kB - 12/11/2023 at 15:36

Download

  • 1
    Arrangement of elements.

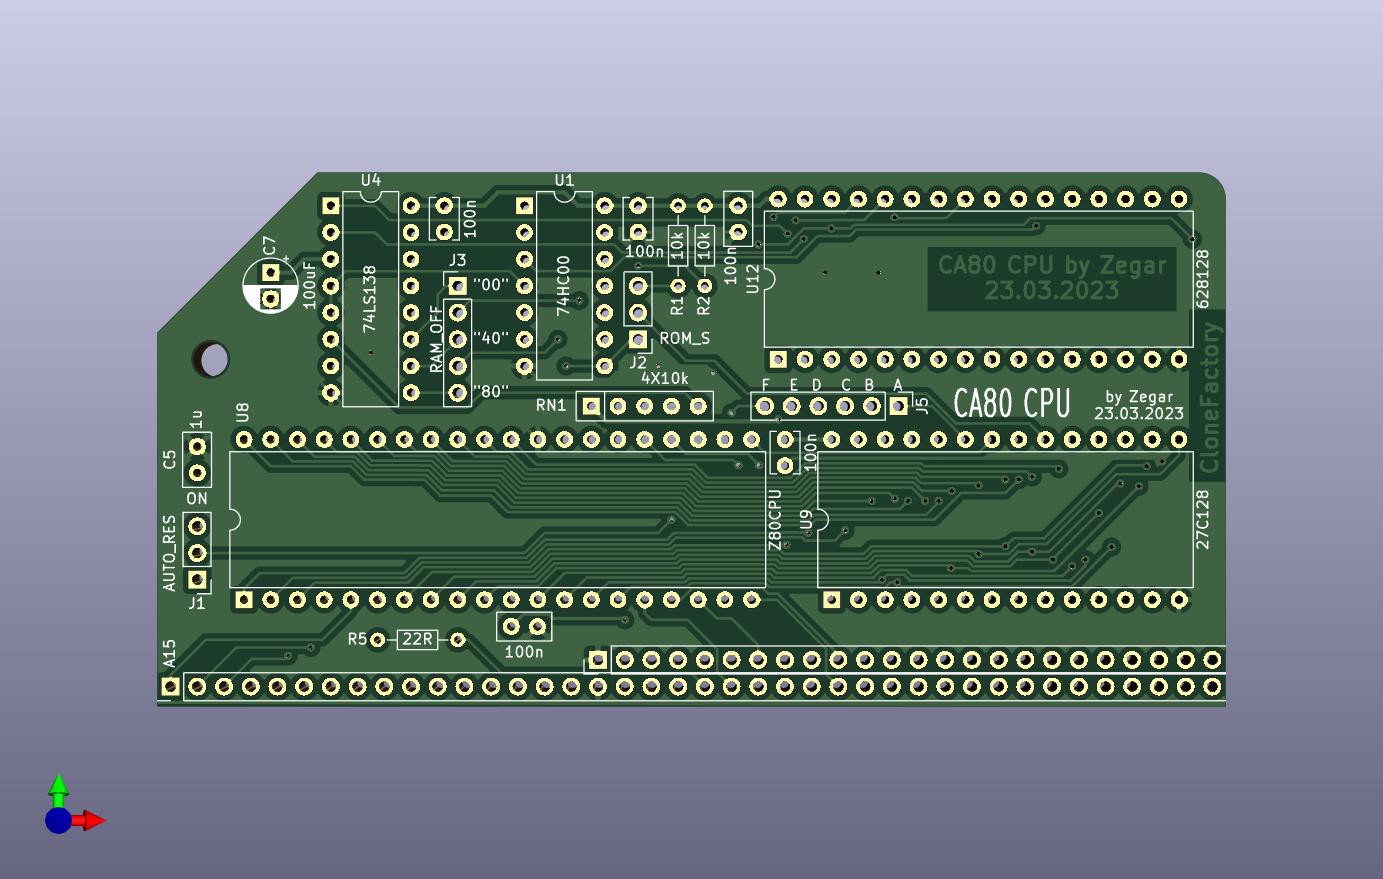
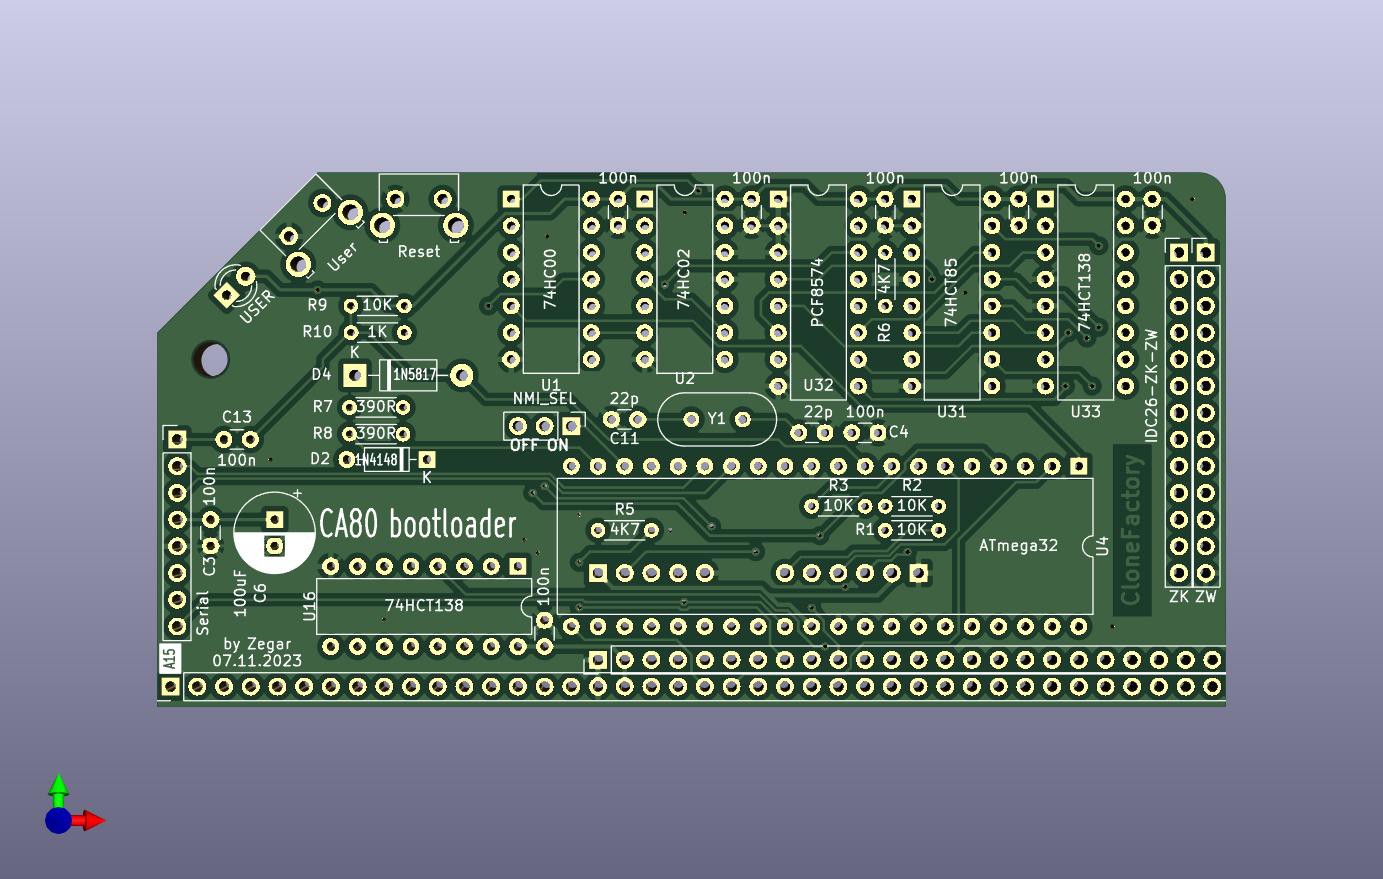
    The assembly of the modules is similar to other projects of this type. The assembly diagram is marked on the PCB, so positioning the components should be easy.

  • 2
    System with 64 kB RAM.

    If we build a system with a bootloader, we don't need U9 (EPROM) and U4 (HC138) on the CA80-CPU PCB. We don't have to solder points A, B, C, D, E and F too.

    U31, U32 and U33 replace the mechanical keyboard, so we can not build it.

View all instructions

Enjoy this project?

Share

Discussions

Truman Hunnicutt wrote 12/20/2023 at 20:09 point

Creating an interface for a cryptocurrency exchanger with a user-friendly and clear design is not an easy thing to do if you're trying to start on your own. It is better to turn to a [https://medium.com/coinmonks/top-web3-design-agencies-bb87c7c4370e](blockchain branding agency), because who better than they know what will suit you and how to bring any idea to life. To create a successful cryptocurrency business, you need to have a unique and memorable web project design, which is exactly what such an agency is able to give you in a short period of time. If you are interested, then write me in private messages, I will help and give contacts of good agencies with which I myself cooperated.

  Are you sure? yes | no

Similar Projects

Does this project spark your interest?

Become a member to follow this project and never miss any updates