 Michael Gardi
I continued to work on the membrane. Specifically the white backing for the art work (which is printed on a transparency) needs to have cutouts for the seven segment displays and LEDs.

I created a DXF file for the cutouts and for this version laser cut the membrane backing from a piece of "photo" paper. Then I lined up the art work and backing and laminated them together with 3 mil sleeves. The membrane created feels pretty good. I'll have to try it out for a bit and see if it needs adjusting, like maybe using a white vinyl sheet instead of paper.
I used an old soldering tip on my iron to melt away the laminate blocking the mounting holes. Speaking of mounting, I created a prototype for the mounting "block" that I will be using to bridge between a PCB and the membrane.

Without going into a lot of detail now, on one side of the PCB I will mount the seven segment displays, LEDs, and buttons. The other side will have all of the other components. The thickness of this block will be adjusted so that the displays, LEDs, and buttons will sit just below the membrane, and at the same time the block will support the rest of the membrane.
For now I just printed a thin "prototype" block that will validate the placement of the cutouts and hold the membrane I just made in place.
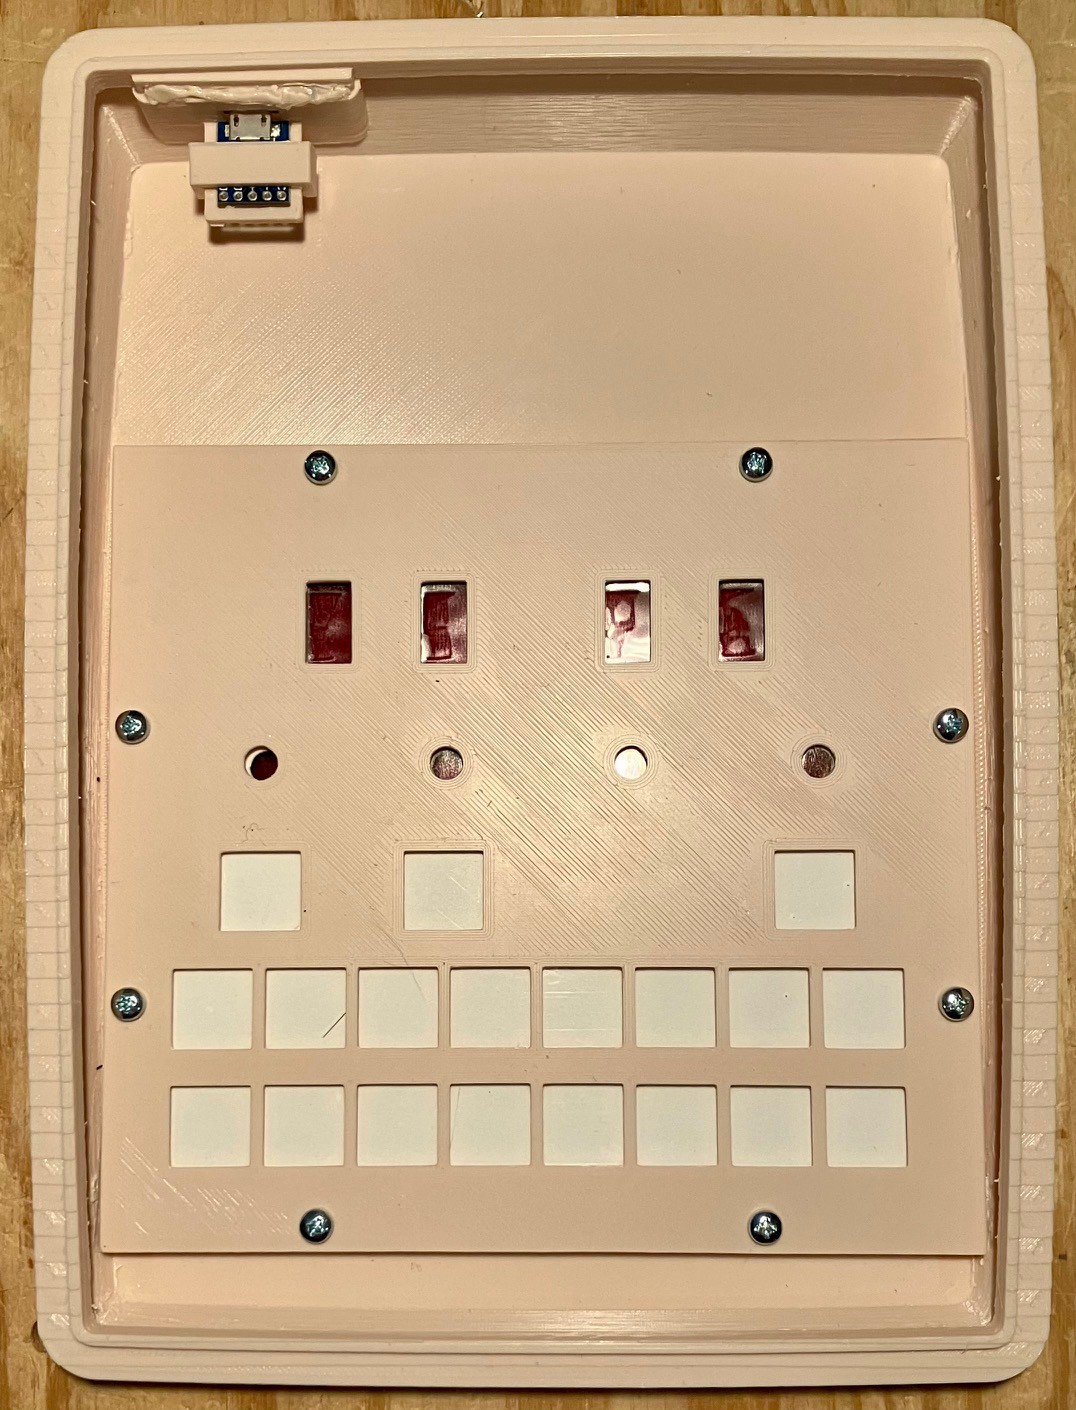
You will also notice in the above picture that I flipped the power connector holder to make it easier the install.
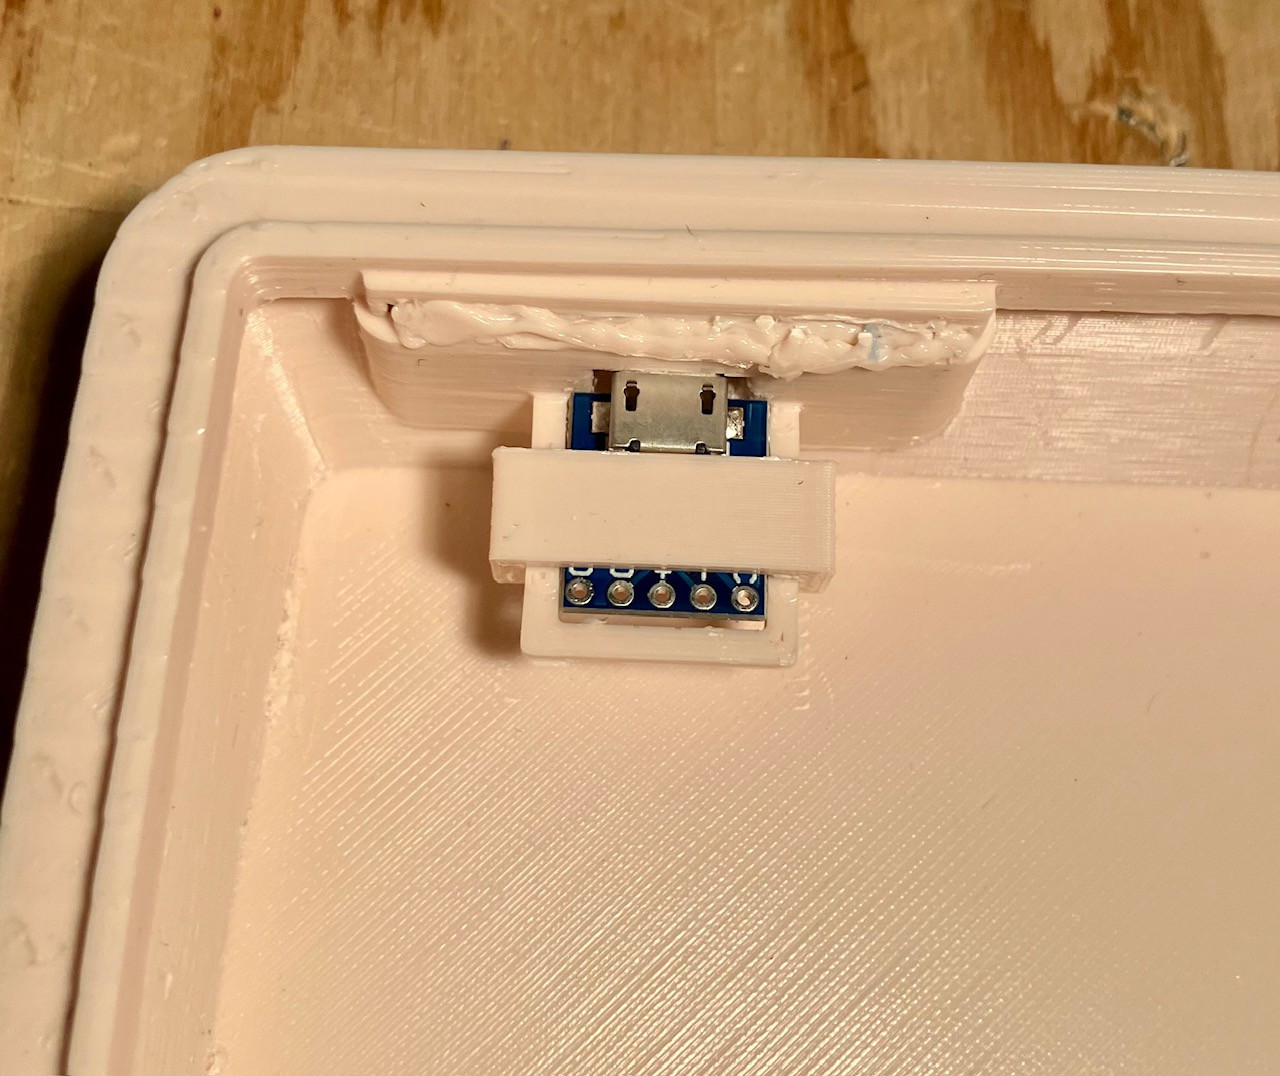
I designed and printed a snap-on clip to hold the connector in place. (NOTE: There was a thin "wall" above the connector that was damaged when I removed supports. I fixed the problem on this print with my trusty 3D Printer Pen, and adjusted the model for a more permanent fix going forward.)

So the case is pretty much finished. I created a “commodore” logo in Inkscape, printed it on transparency, and attached it to the case with a white paper backing.

I found some better colors for the case but because the color choices for PLA filament is limited I think this might be as close as I get.

I sure hope that the "insides" turn out to be as good as the outside did.
Discussions
Become a Hackaday.io Member
Create an account to leave a comment. Already have an account? Log In.