The next version of the PCB added the power and clear buttons so now everything could be controlled from the board. I'm not sure why I didn't include this from the beginning and it's been several months so I suppose we will never know. This version also included LEDs to show the 8-bit number. Useful for debugging and also just because.
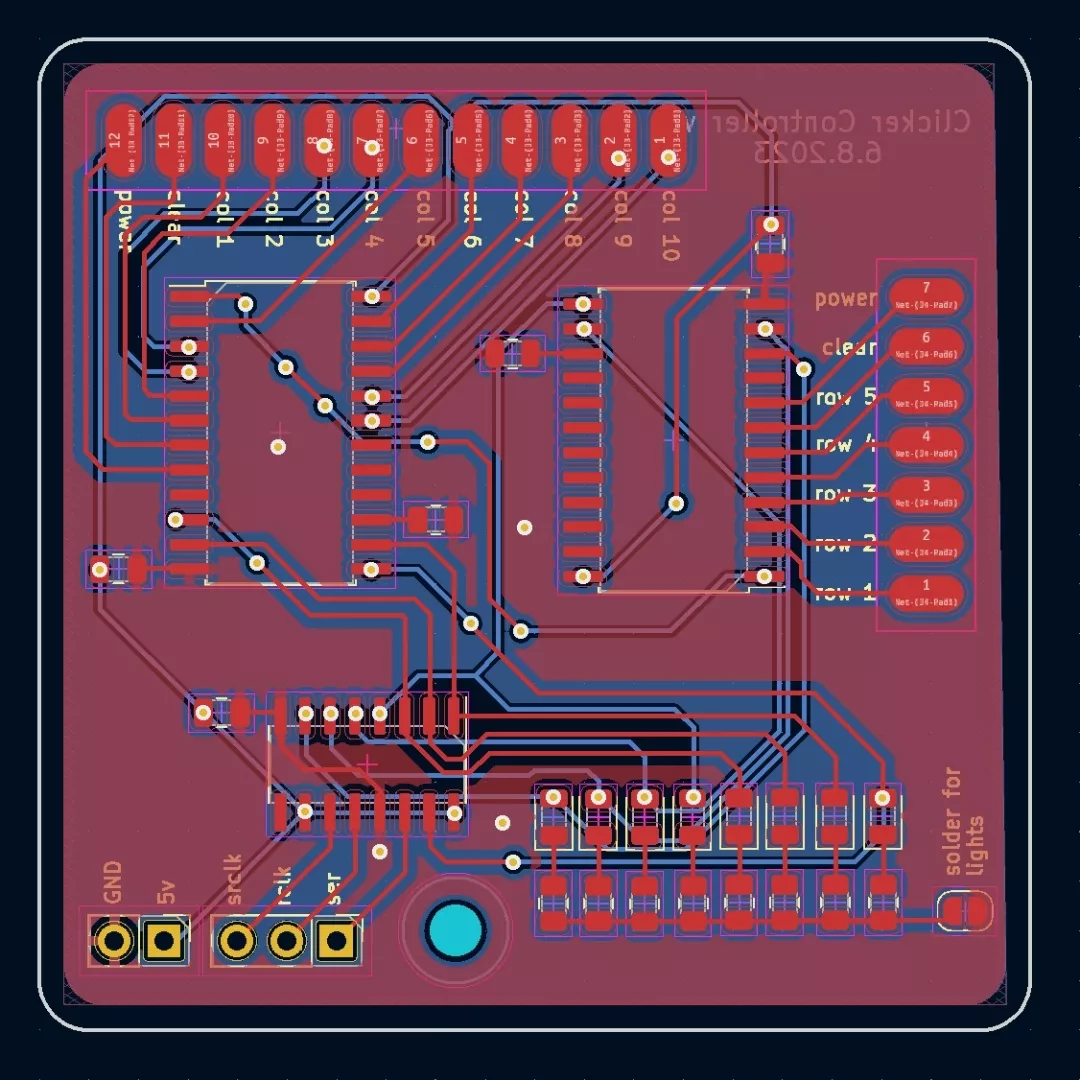
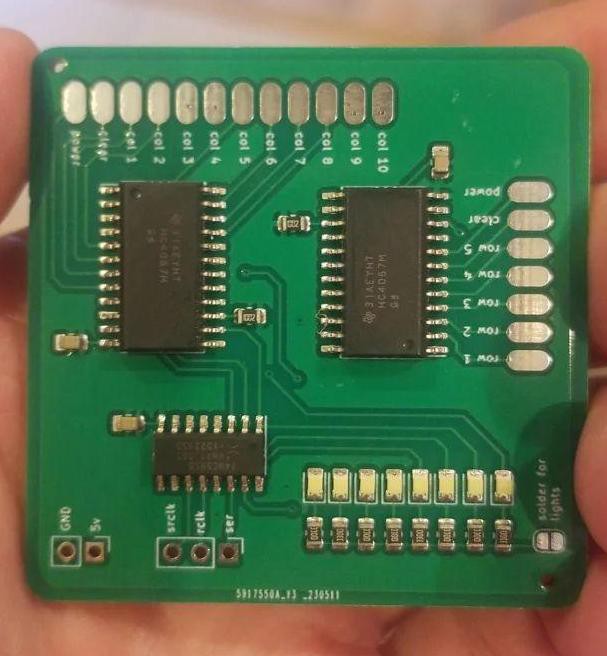 I forgot the mounting hole so there was a final final v1.1.1 board seen below
With the new boards on the way it was time to start modifying the student clickers. For this, I opted to use 30awg wire since there wasn't a lot of room to solder. This particular wire also had the benefit of being colored so it was possible to keep track of what went where.
There are 21 solder points to each student clicker and then 19 solder points to each clicker controller. Which means we needed to solder 3,150 wires. Luckily before we started this process I took some measurements and realized the most modules we could fit on the sculpture would be around 100 so only 4,000 times we needed to solder. I fortunately had an assistant and between the two of us, we managed to get this done in only about a month.
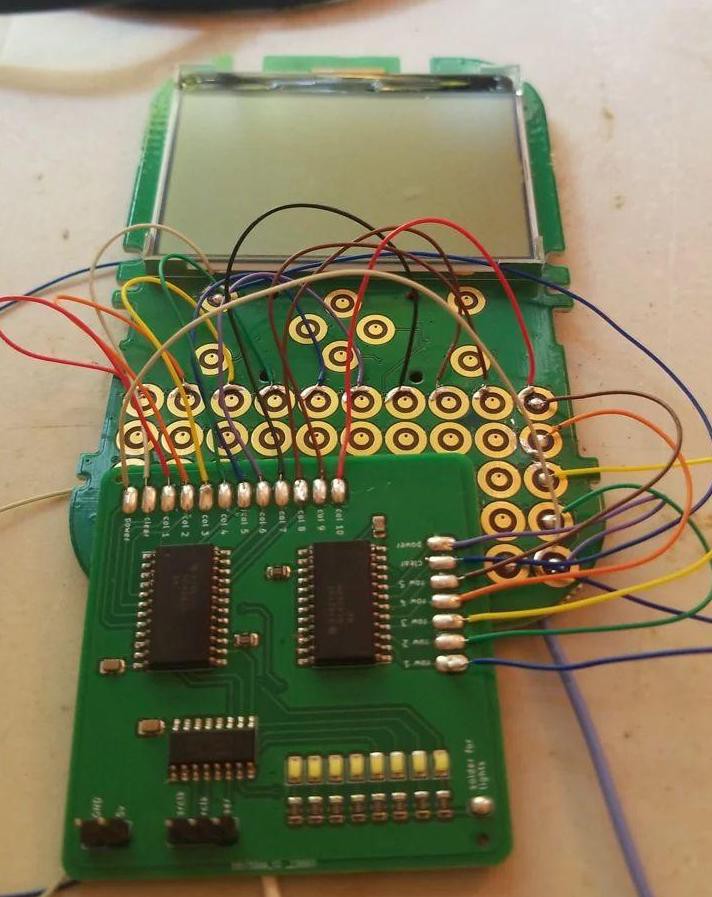
All wired up
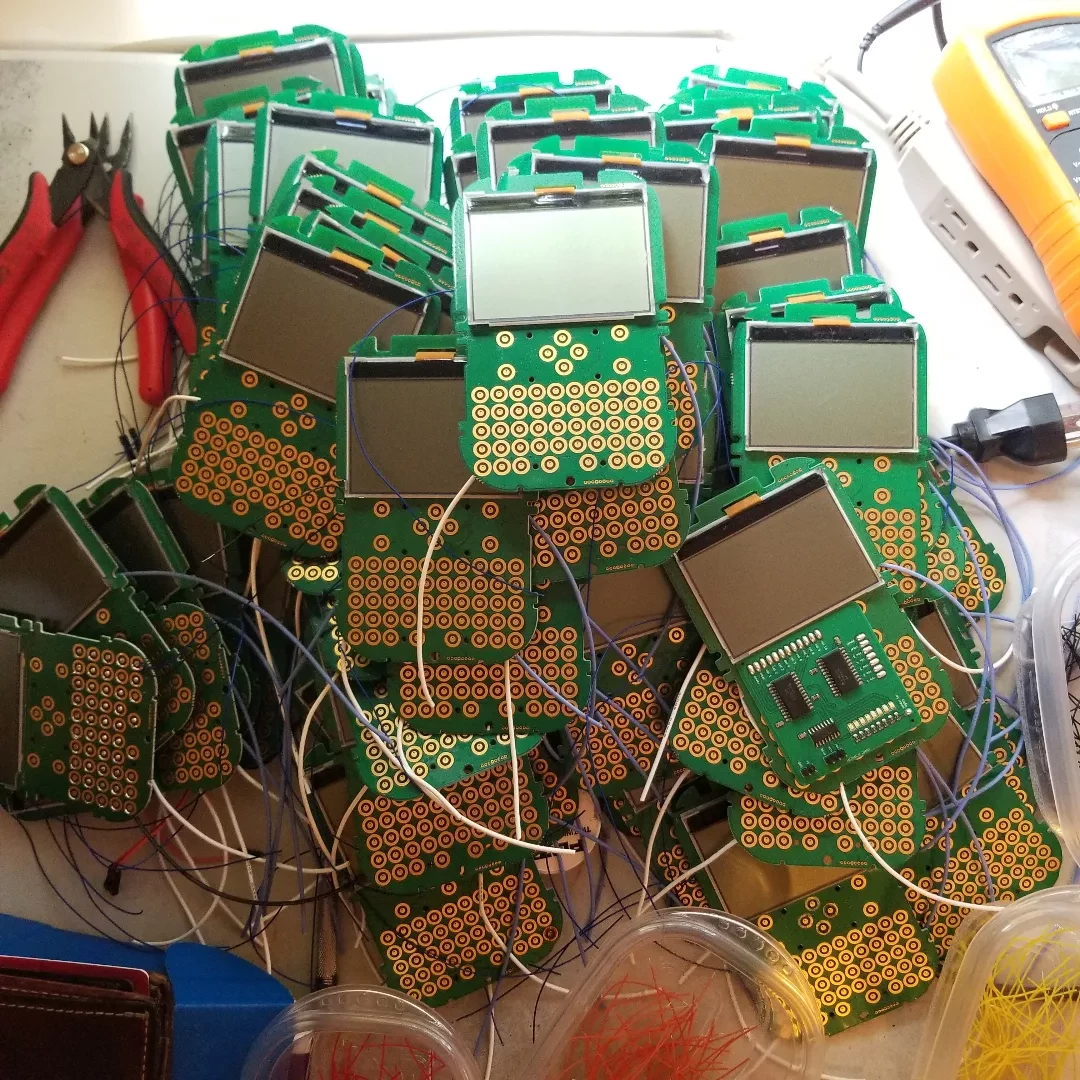
A portion of student clickers
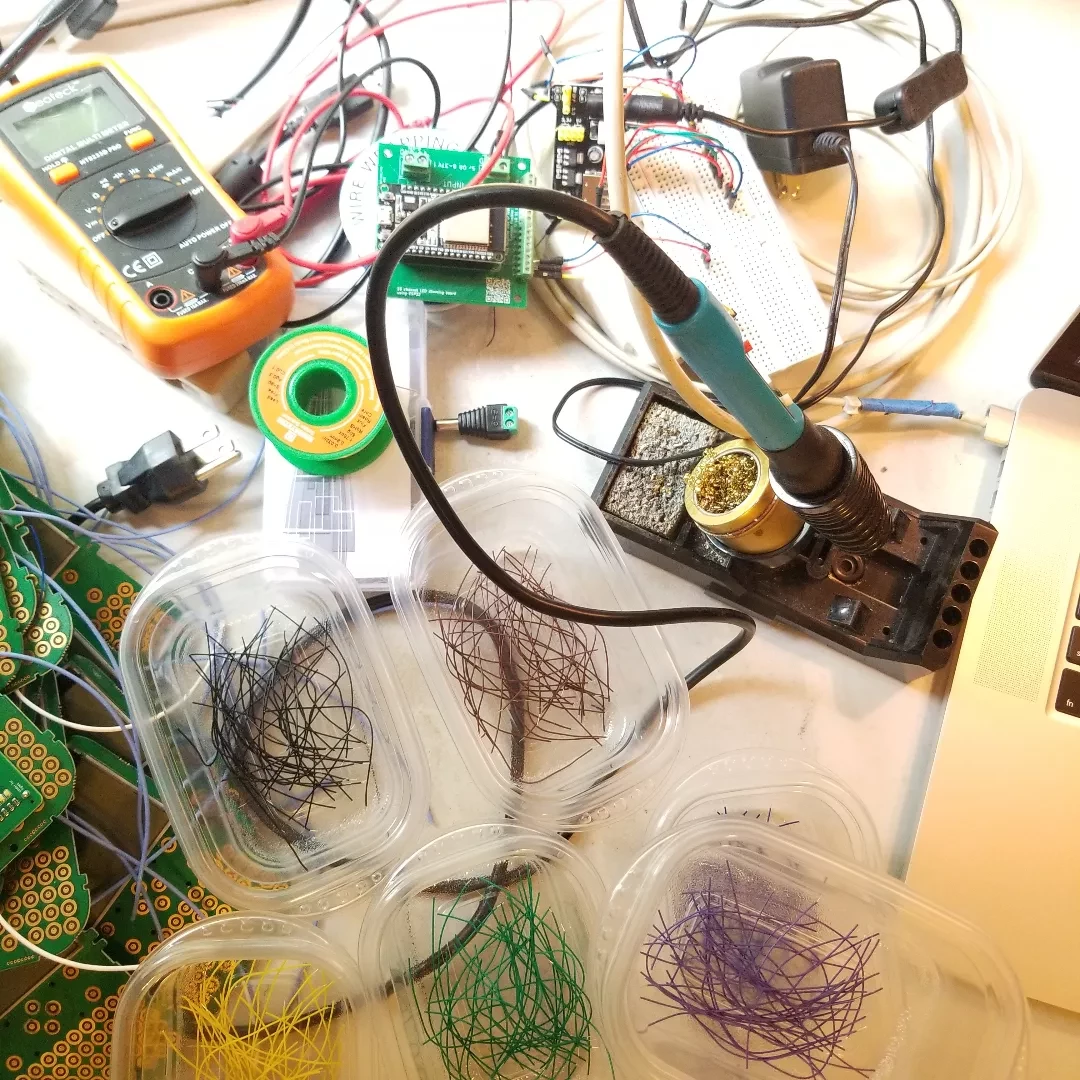
Prepping wires
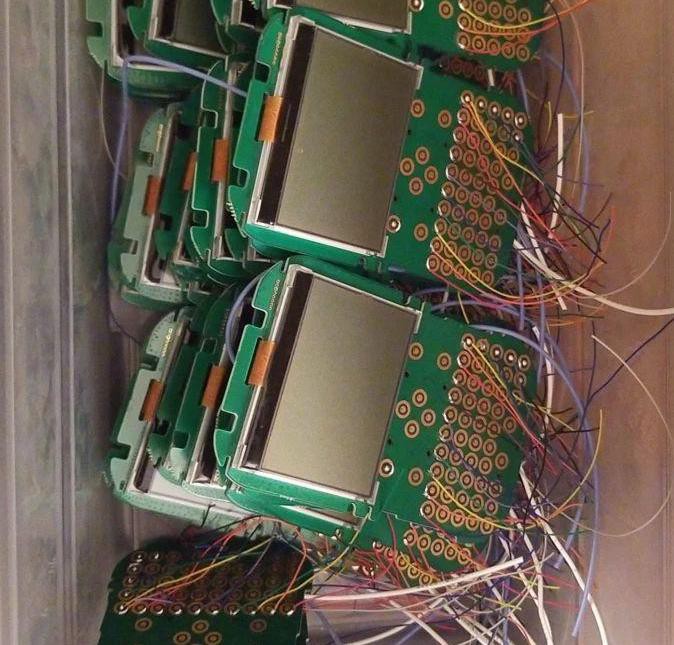
Half completed modules
Good thing I enjoy tedious repetitive tasks!
 Eddie
Eddie
Discussions
Become a Hackaday.io Member
Create an account to leave a comment. Already have an account? Log In.