 jaromir.sukuba
While drawing first sketches of my overgrown calculator computer, it was clear I will not finish here. I thought of having something slightly bigger, with better display and full-blown QWERTY keyboard. As it still belongs to RPi zero handheld computer, I decided to call this project B, while first one is project A.
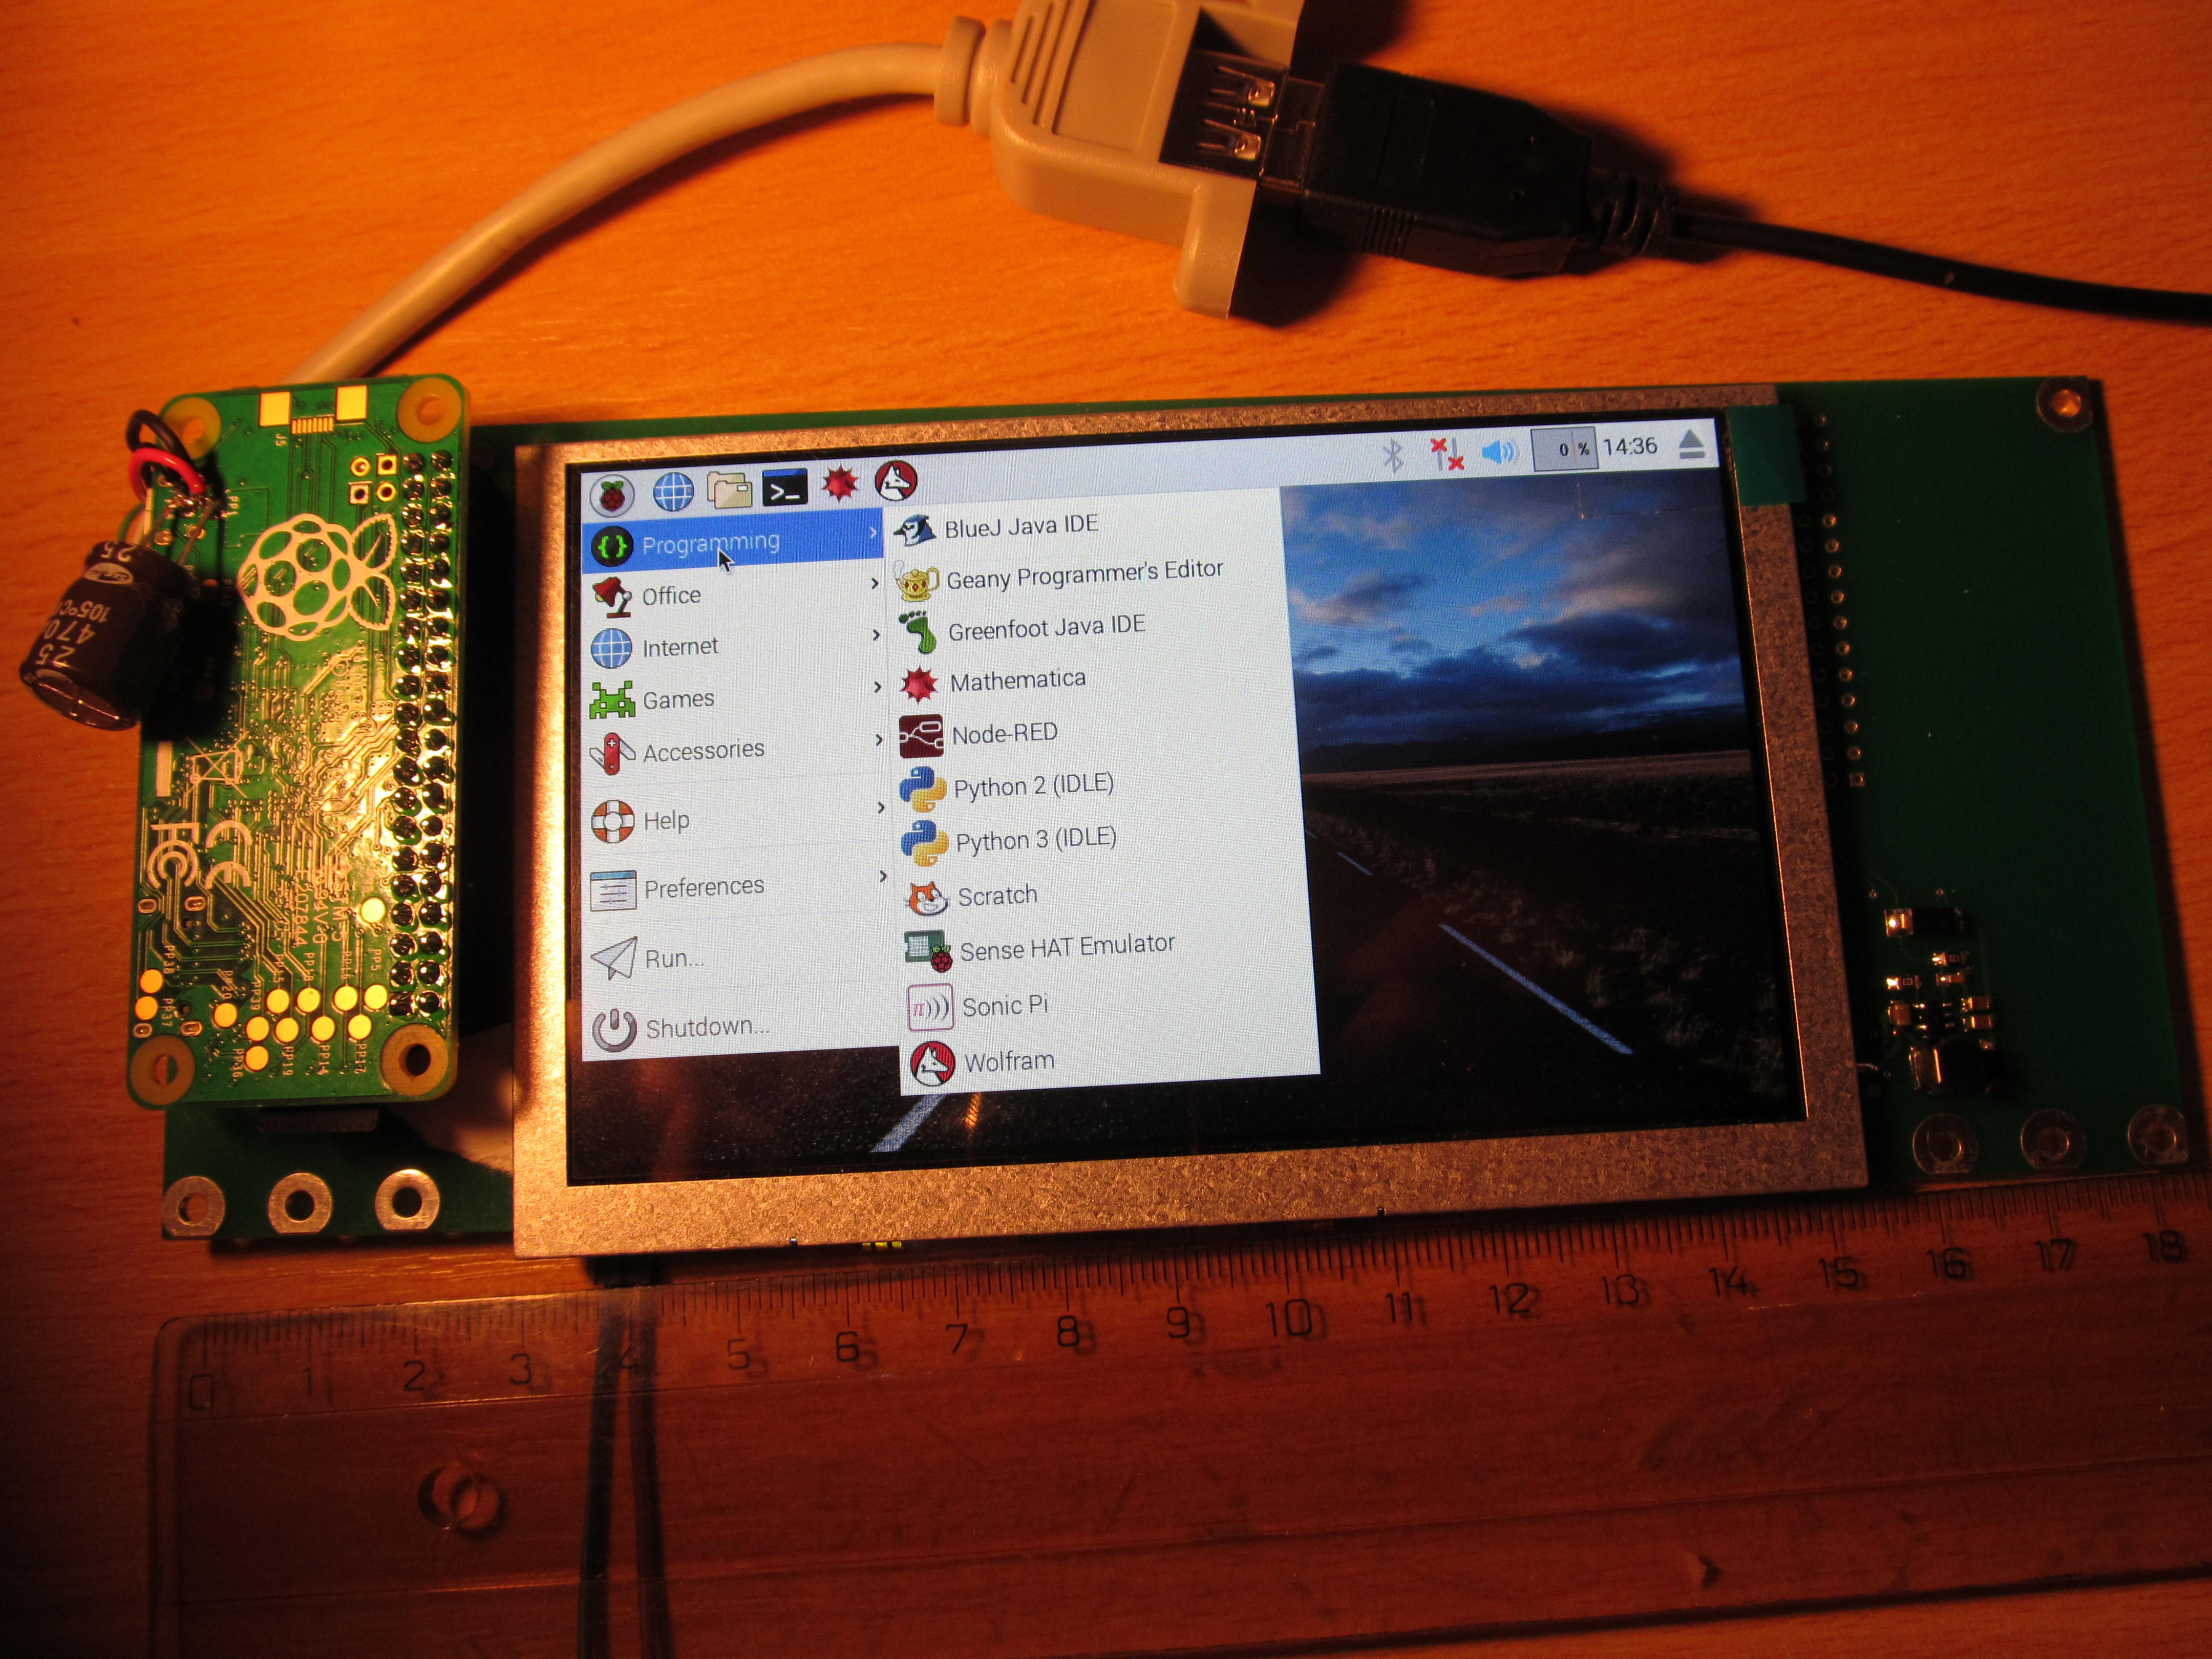
I think the biggest limitation of project A is its display - while being small and relatively low power, 320x240 will not cut it for many GUI applications. I took a look around and it's not easy to find SPI displays of higher resolution and I'm not surprised by this. The amount of data required to refresh such as amount of pixels would be outside the reach of SPI transfer; leading to either high SPI clocks, or slow refresh. Most of displays with higher pixel resolution are having parallel interface; the cheaper ones without any controller. This is called DPI interface and the LCD is designed to be fed with constant stream of data, just like scanned television or VGA monitors, with both horizontal and vertical synchronization pulses. Fortunately RPi do contain DPI controller and it can be enabled and used.
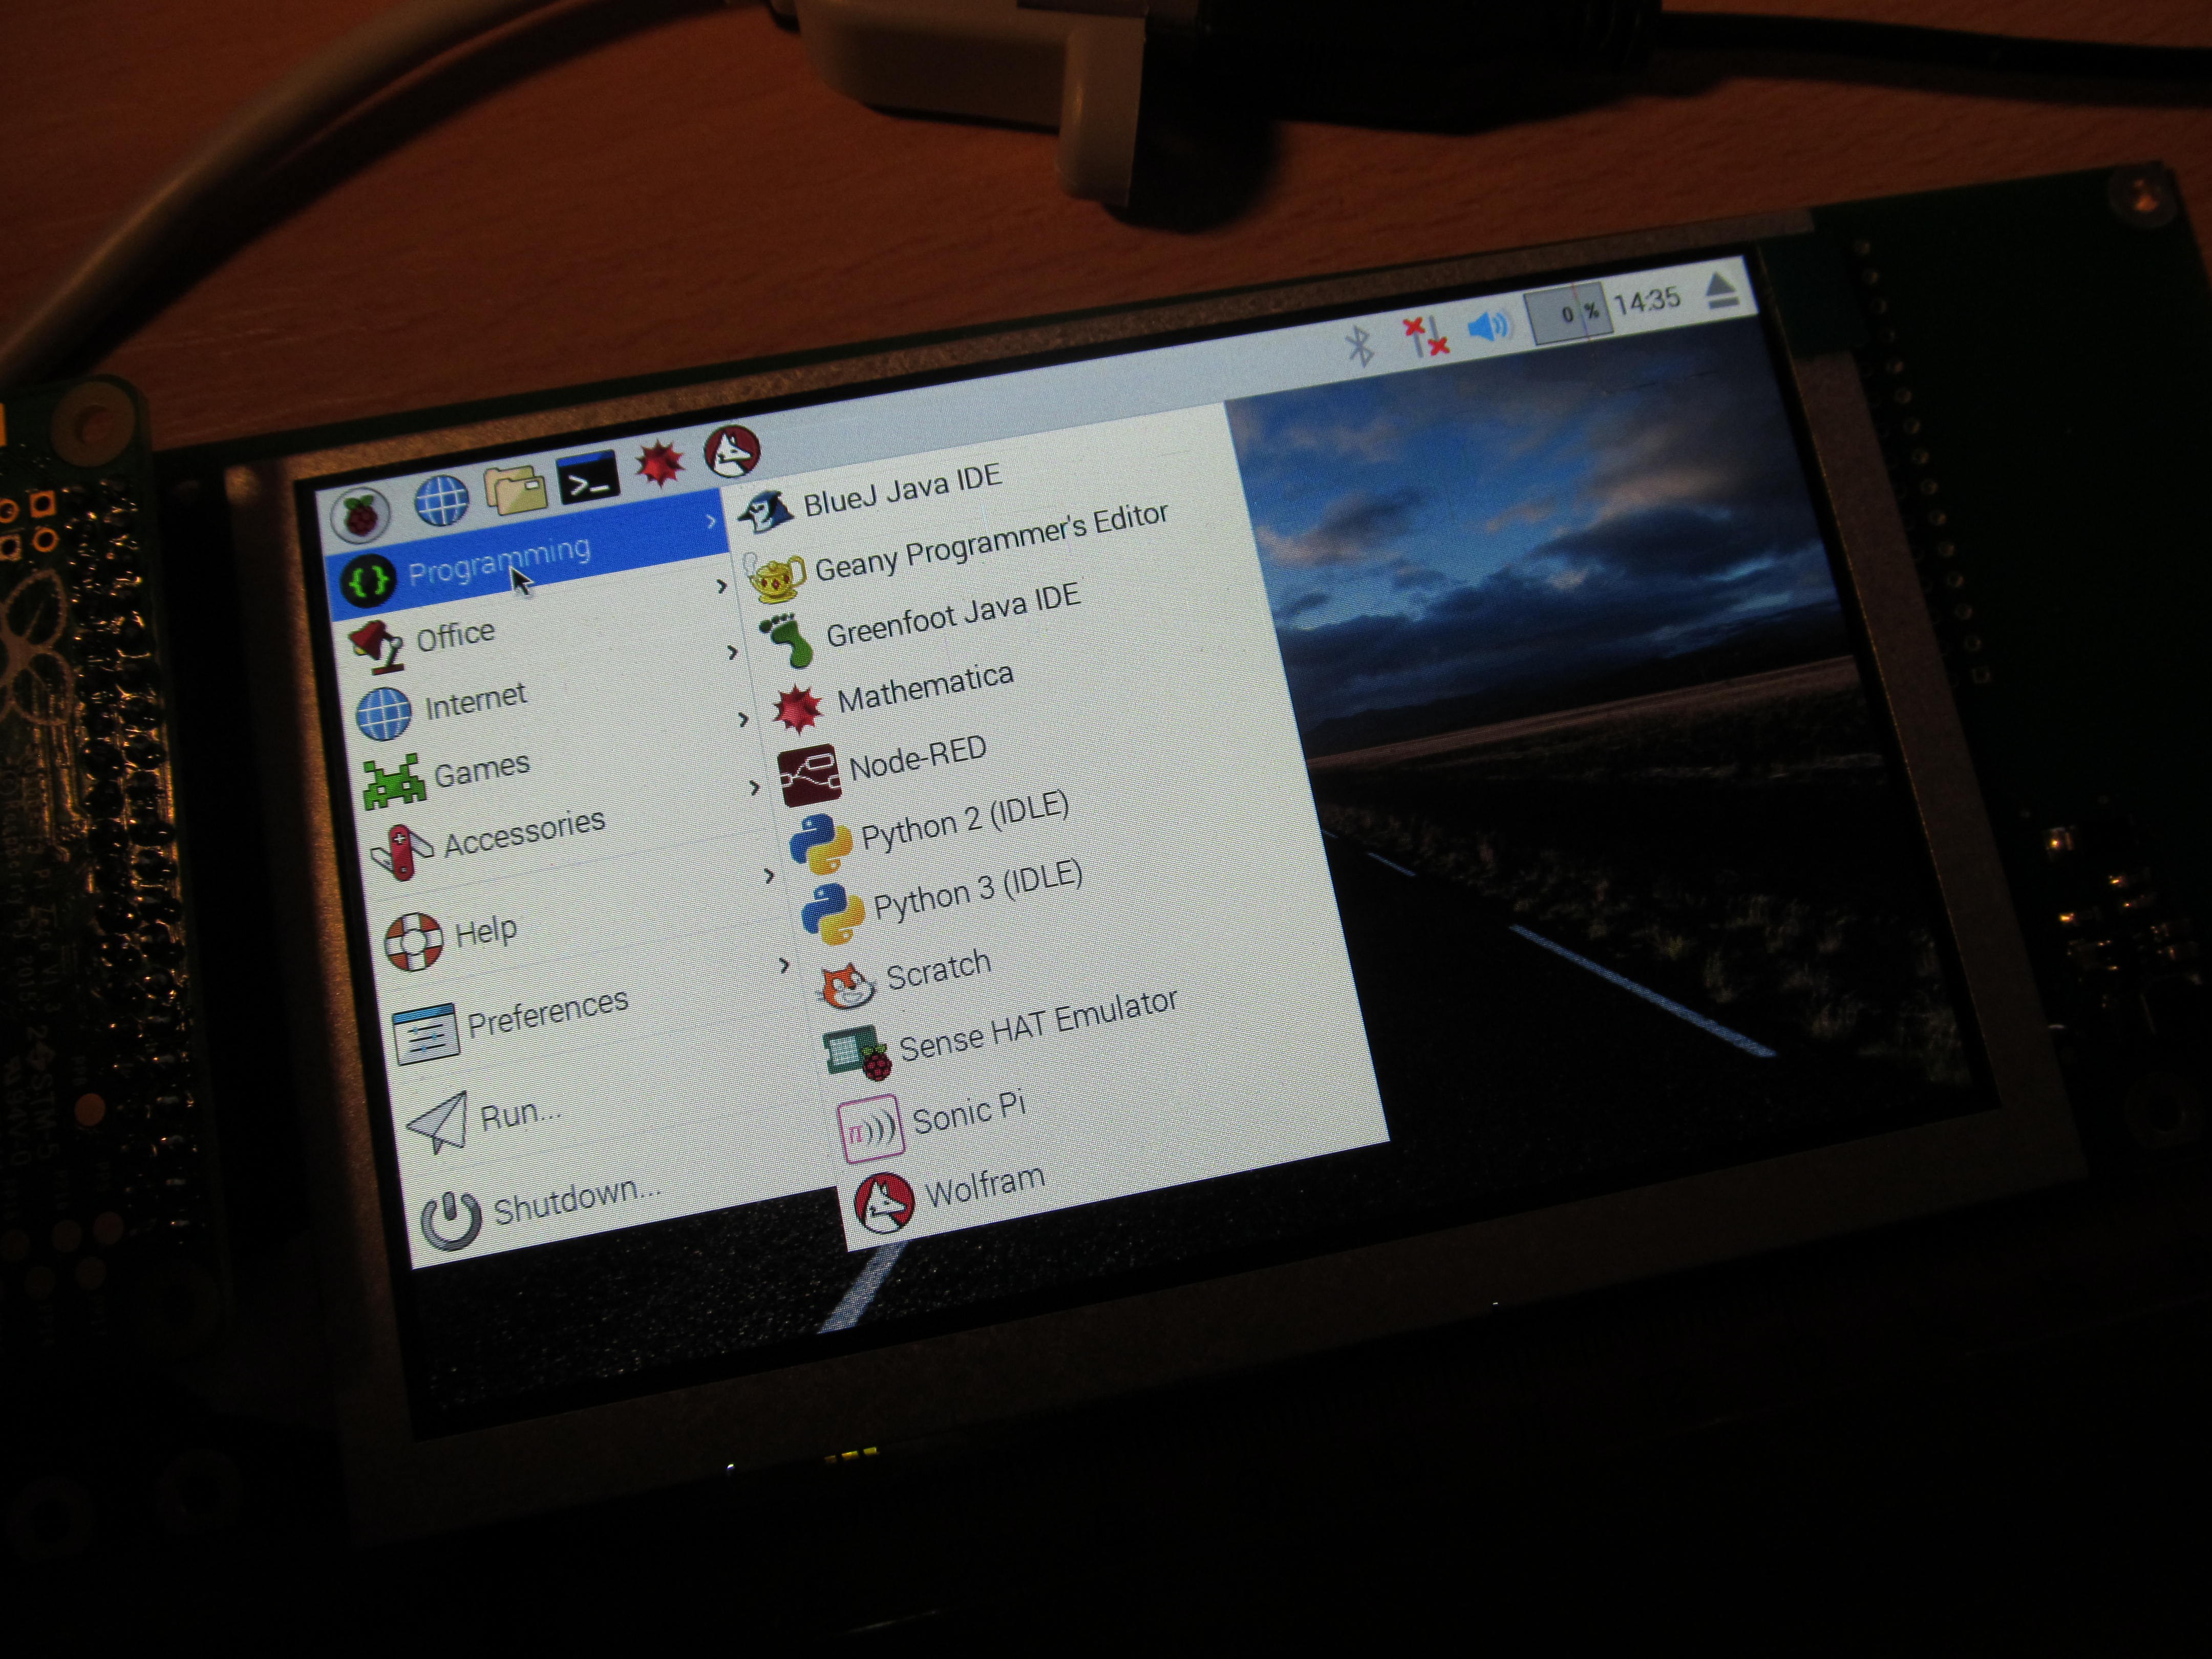
The better part of display being "dumb" is that displays are mostly interchangeable and one is not limited in choice of particular controller. They have even mostly the same connector with the same pinout. I opted for 5" 800x480 LCD module from tme.eu and made simple breakout board for it, taking inspiration from TFT friend by adafruit. It contains nothing but step-up converter for backlight and single resistor in series with pixel clock line, to decrease slew rate and possible ringing on this fast and long PCB trace. After a bit of playing with overlays and config.txt in /boot directory I got it working relatively painlessly and the result is great. In fact, it looks crispier in reality compared to relatively dull colors on photographs.
 There is really nothing but single resistor on bottom side
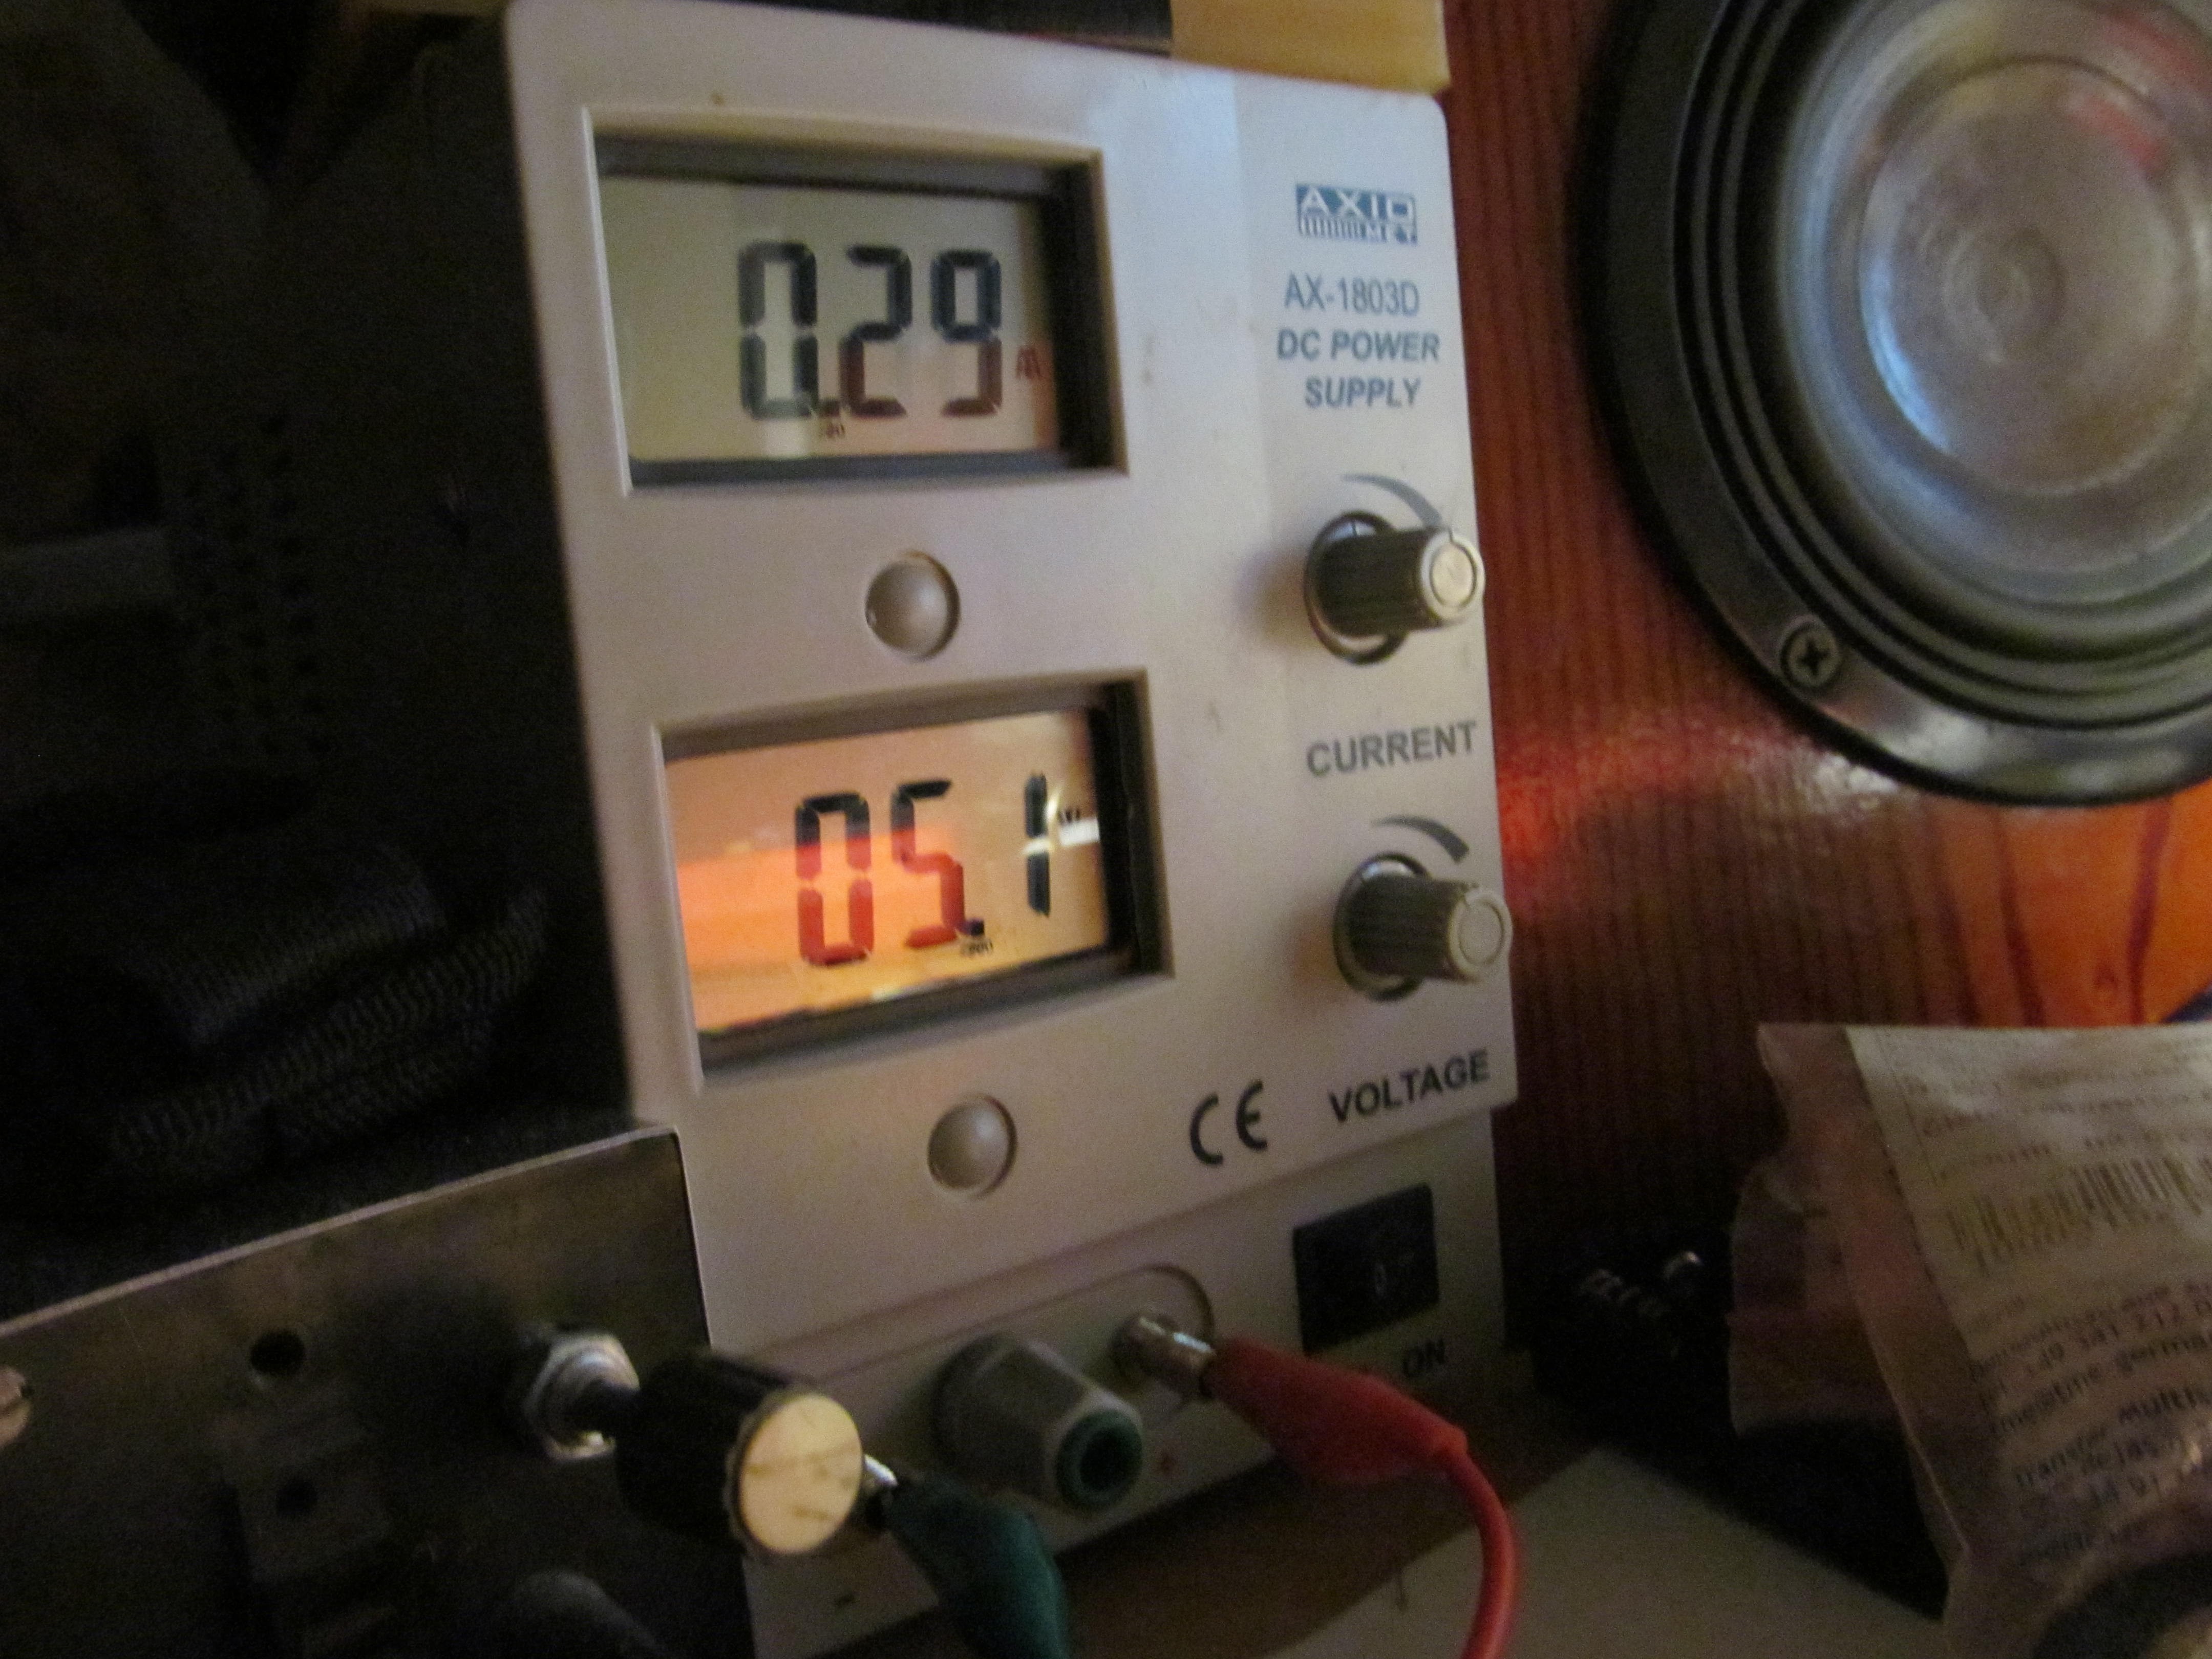
No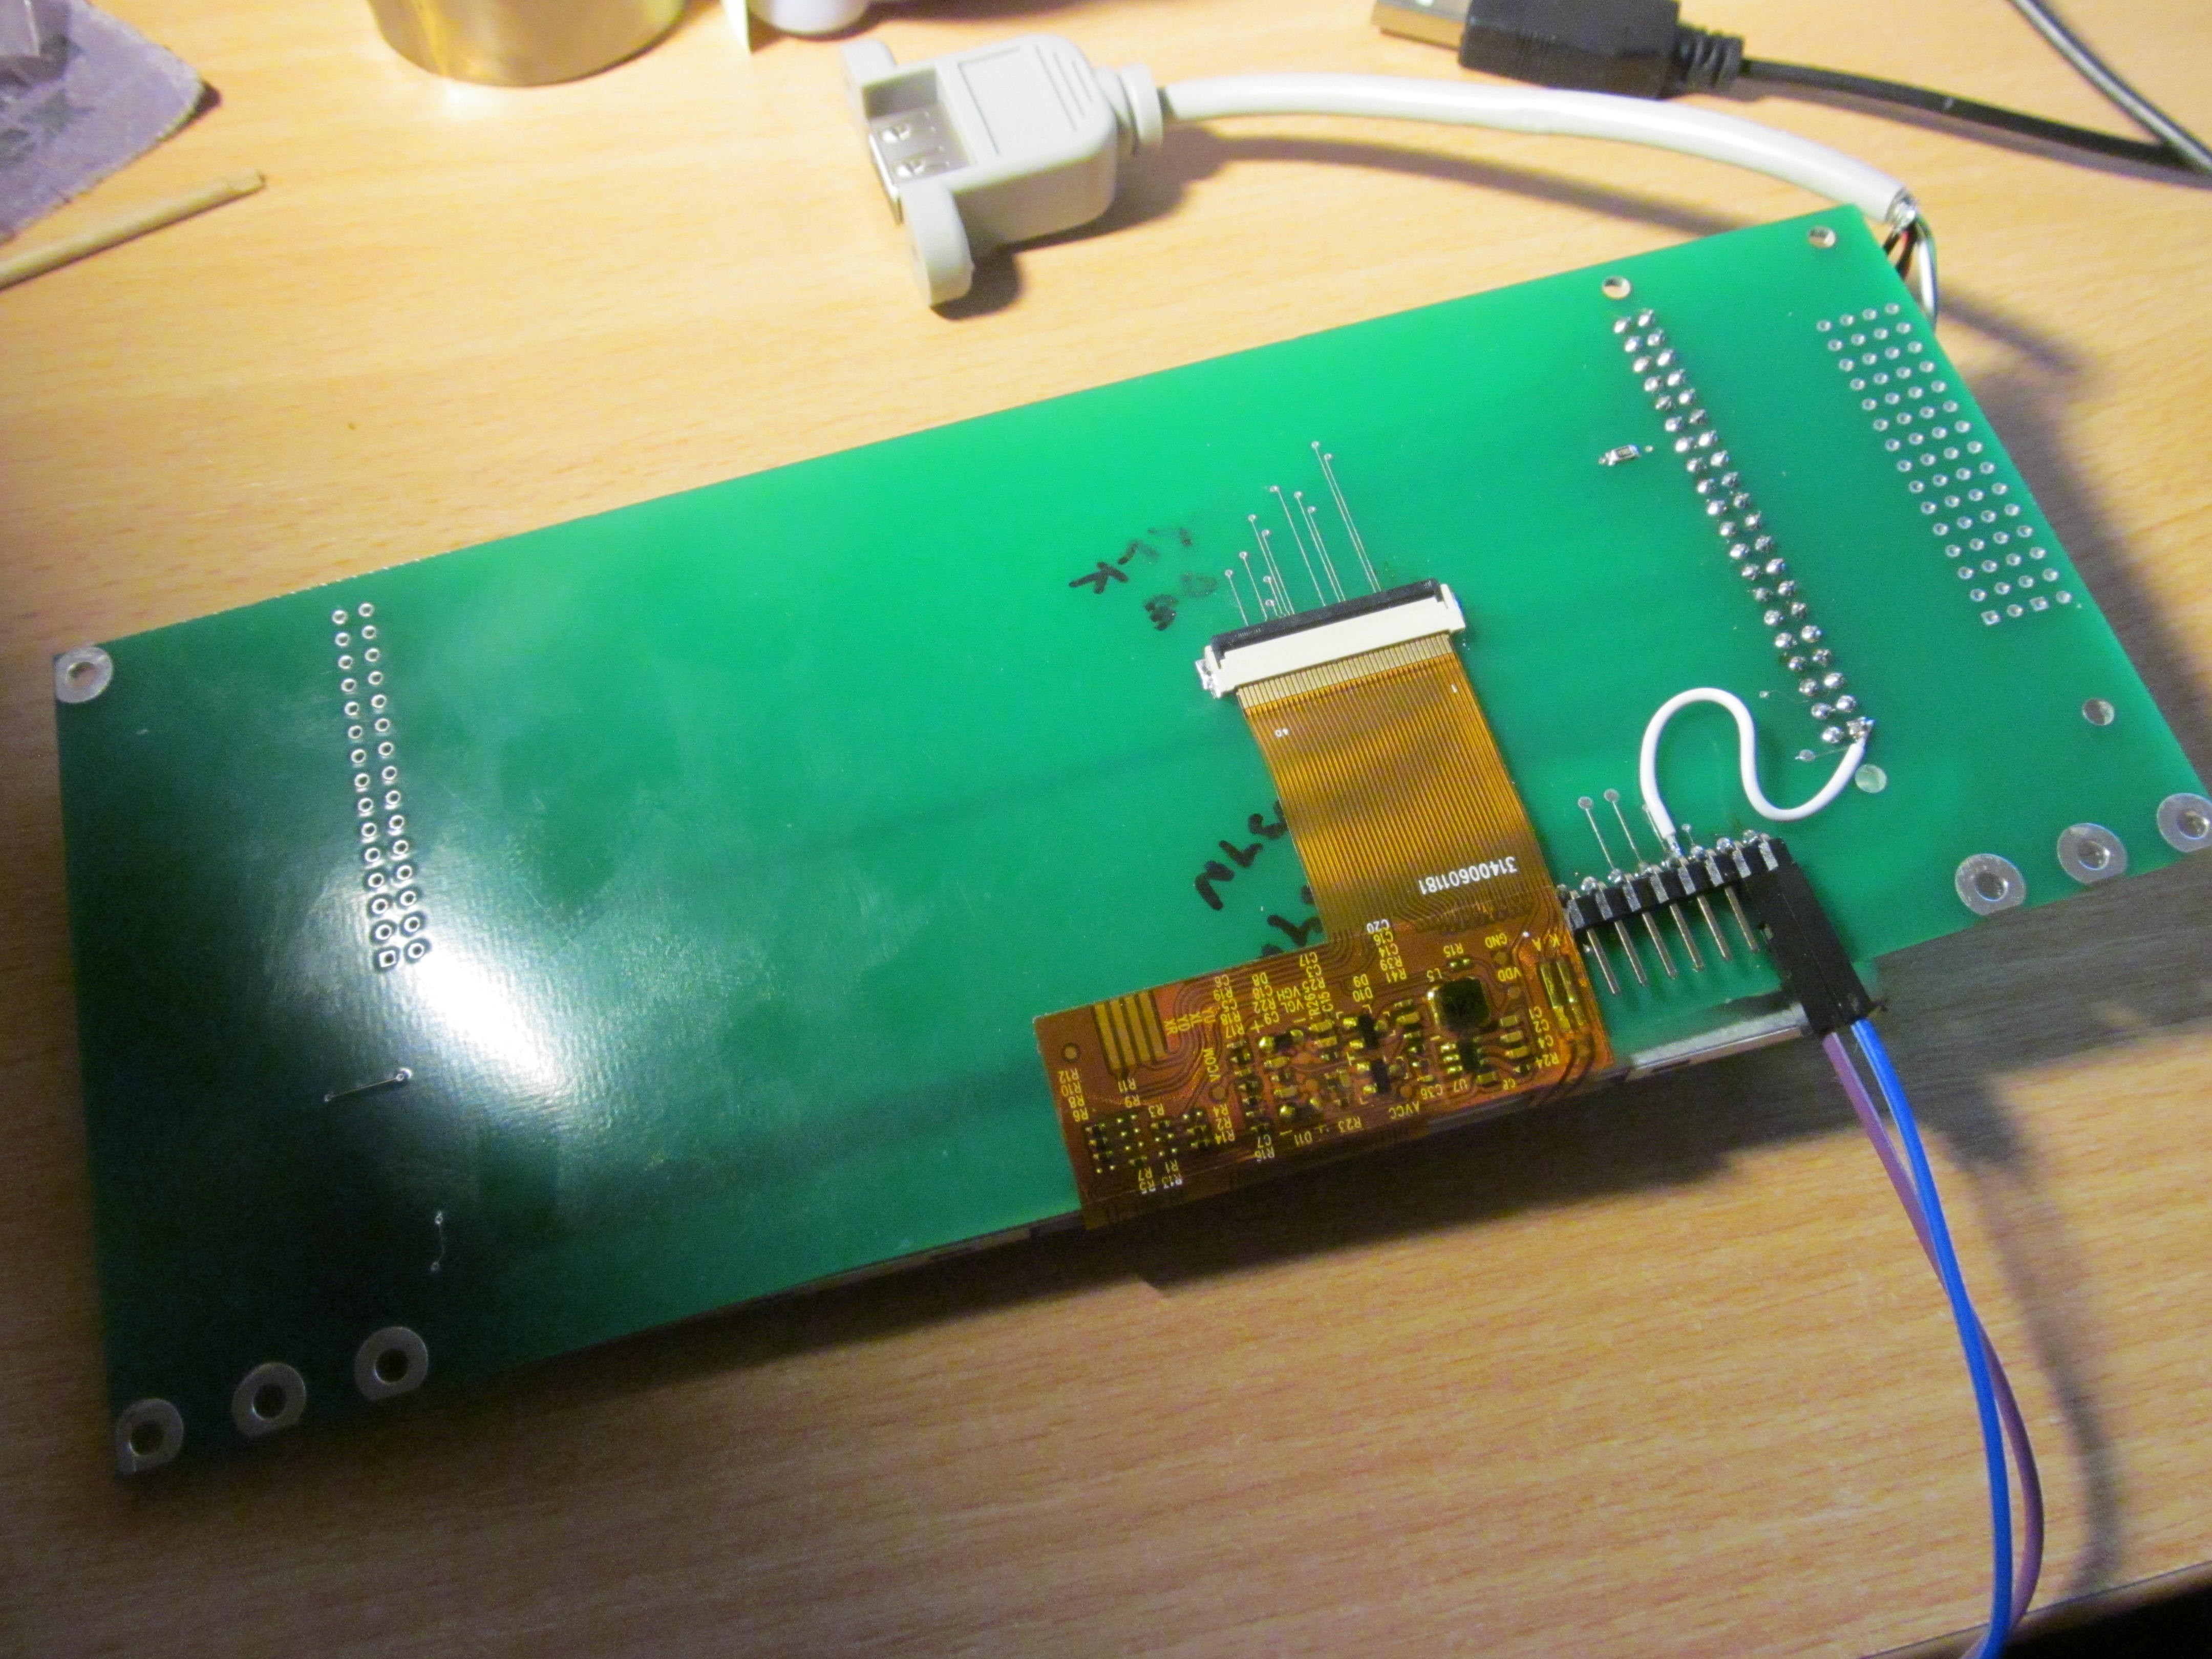 The whole setup takes approximately 1,5 Watts during run. It could be lower, but this is still manageable
 Now I'm in the process of adding keyboard and pointing device to this - not the joystick I had on project A, but touchpad. This is going to be non trivial process, as most of the GPIO pins are taken by DPI interface and this time I don't want to run everything from internal USB. Stay tuned.
Discussions
Become a Hackaday.io Member
Create an account to leave a comment. Already have an account? Log In.