So far I have made several weather stations that display local values as well as internet data, which you can view on my playlist.
This time I will present you a way of making a very interesting desktop weather station that displays the values of the three basic weather parameters, Atmospheric Pressure, Air Humidity, and Temperature on three separate Oled Displays. The idea is to resemble a classic retro weather station that has three separate instruments, one for each parameter.

Due to the small size and readability of the displays, this station would represent an ideal useful gadget on any desk.
As for the way of making, this device is extremely simple and suitable for beginners.
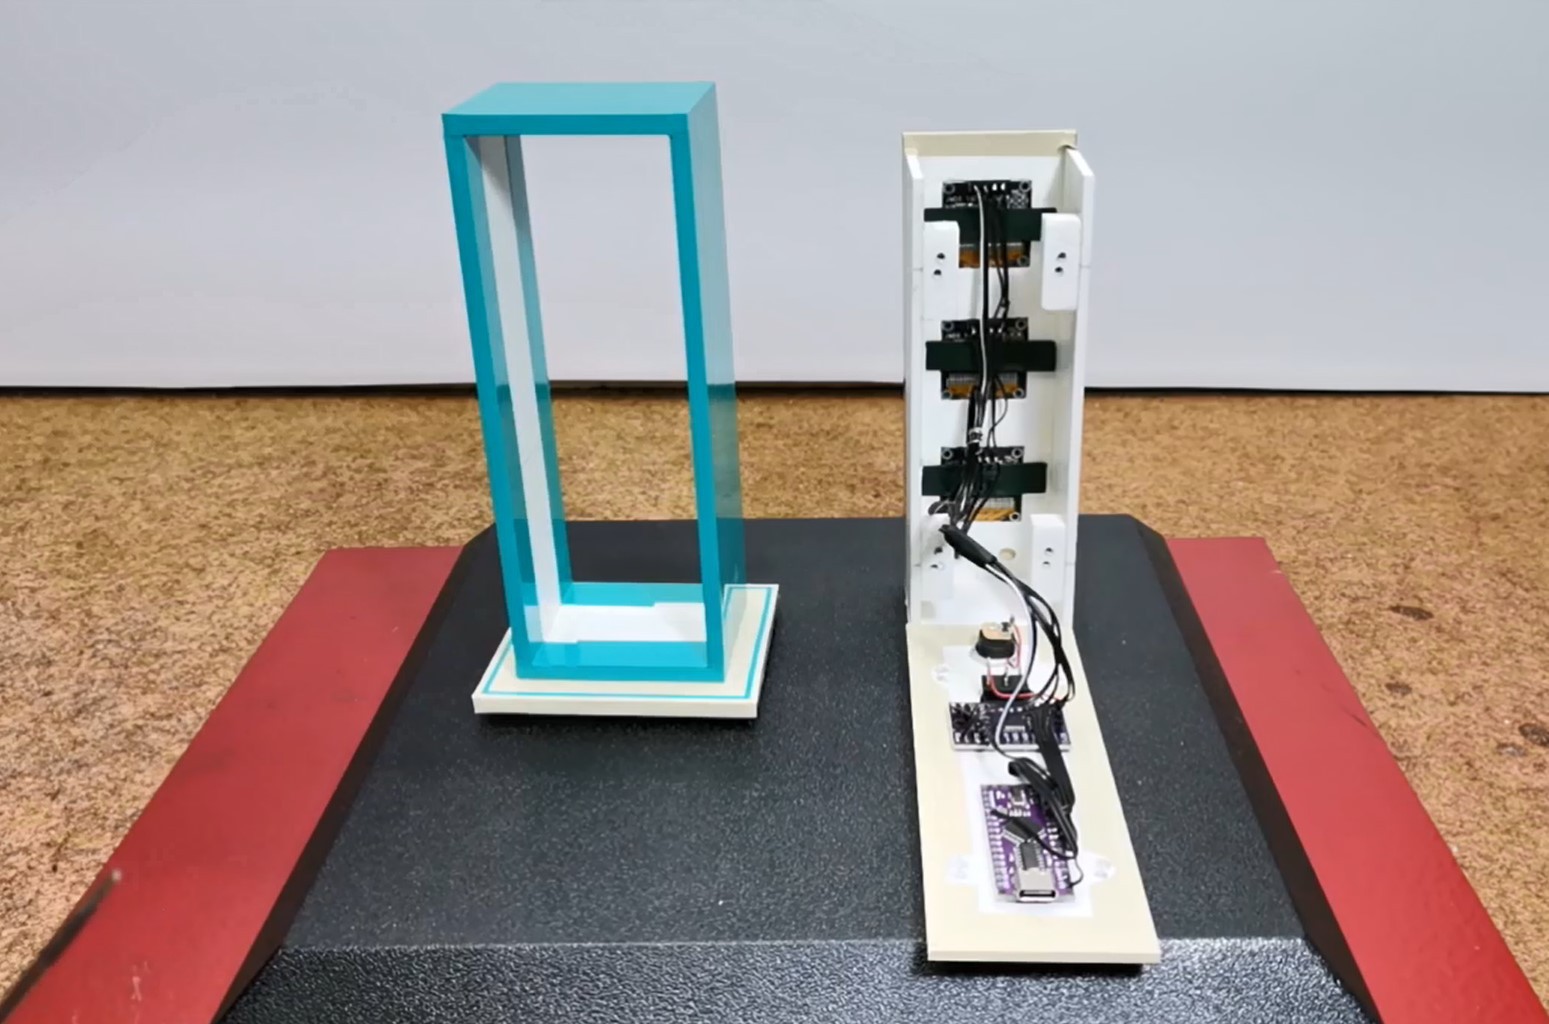
The device consists of several components:
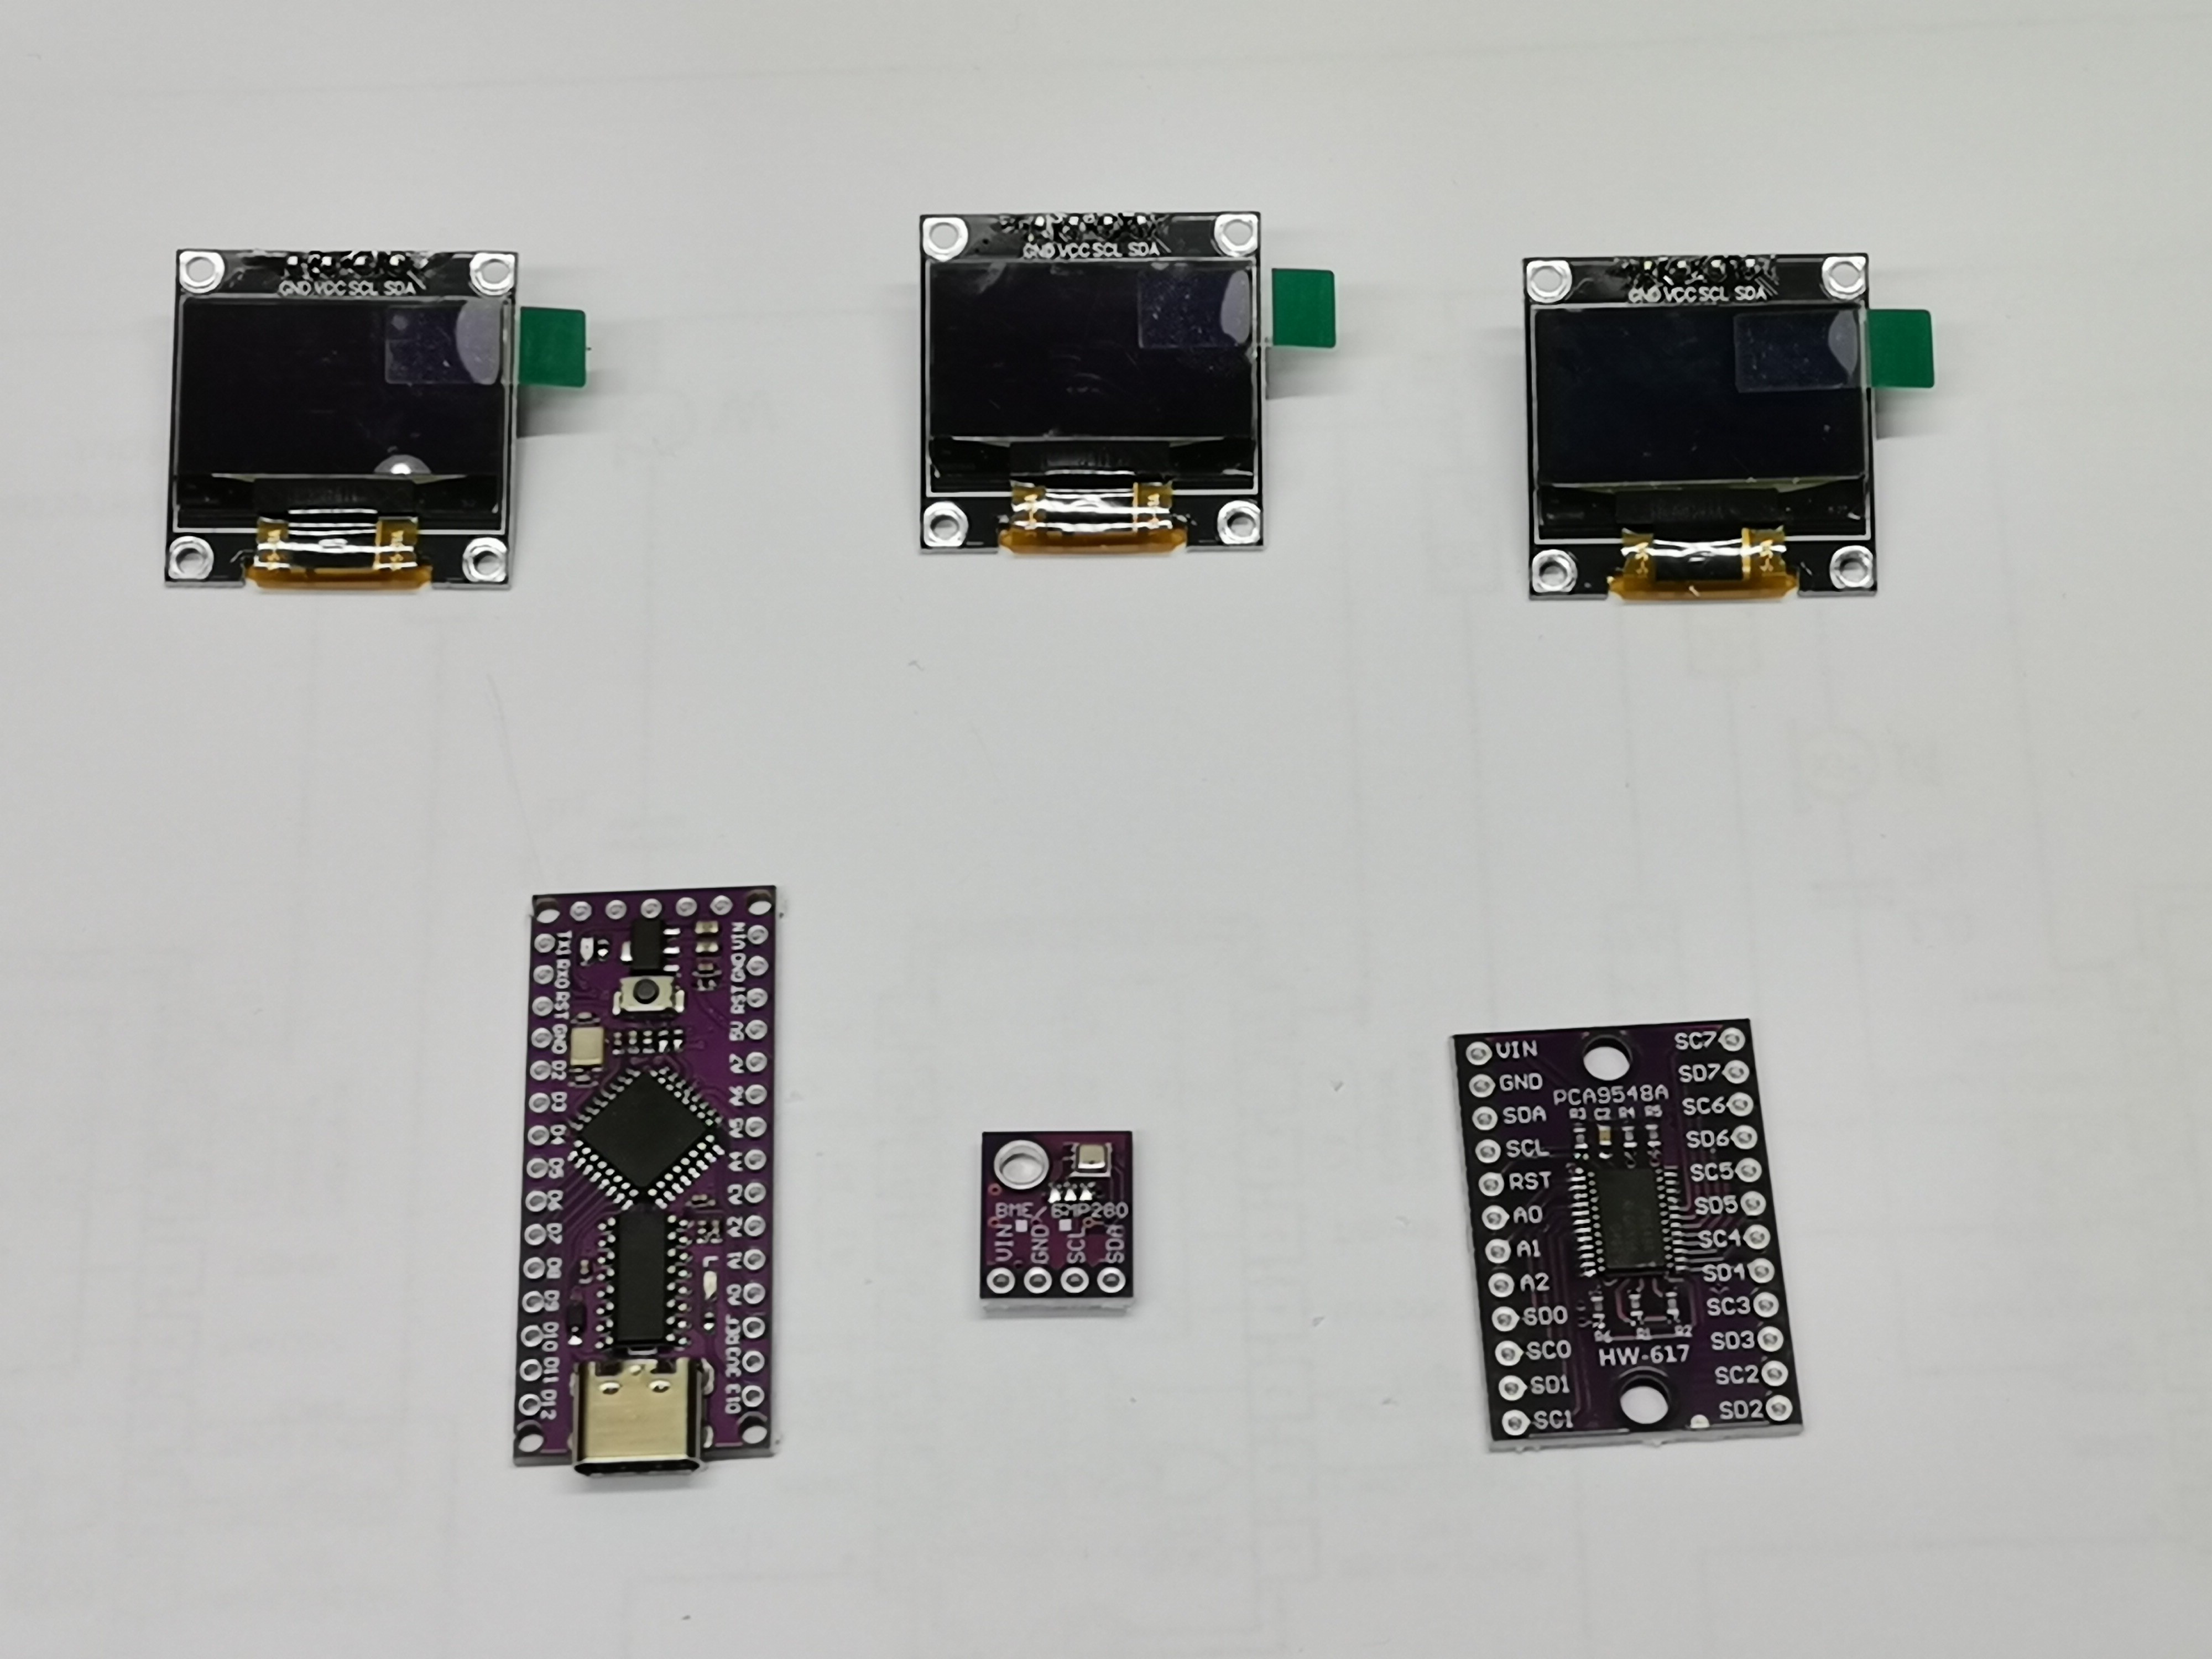
- On the back there is a power input connector, a switch as well as a BME280 sensor module
- Arduino Nano Microcontroller
- Three SSD1306 OLED displays with I2C communication
- and TCA9548a multiplexer module
If you want to make a PCB for this project, or for any other electronic project, PCBway is a great choice for you.PCBway is one of the most experienced PCB manufacturing company in China in field of PCB prototype and fabrication. They provide completed PCB assembly service with worldwide free shipping , and ISO9001 quality control system. Also, on their site there is an online gerber viewer where you can upload your gerber and drill files to render your board.

In fact, by making this device I wanted to show the function of such a multiplexer. Namely, the Arduino Nano has only one I2C input (A4 and A5), and when it comes to connecting an I2C display to the Arduino, we are limited to only one screen. In special cases, when the display itself has the option to select one of two different I2C addresses, we can connect a maximum of two displays. In a case like this, when there is a need for more displays, then it is most practical to use this multiplexer module, which can connect up to 8 I2C devices to one microcontroller.

Writing the code is quite simple, and it is necessary to indicate the number of the I2C output of the multiplexer and the content that should be displayed on the screen connected to that output.
And now let's see how this device works in real conditions.
Immediately after turning on the device, in the first few seconds, the parameter that will be displayed appears on each screen in large letters. After that, the values for the current temperature, pressure and air humidity are displayed with two decimals. And again, on the yellow bar, but this time in small letters, it shows the parameter and the unit whose value is shown on the corresponding display.

If we want to display the Relative value of Atmospheric Pressure specifically for the area in which we live, we should in the part of the code
pressure = bme.seaLevelForAltitude(700.0, bme.readPressure())/100.0;
to put the appropriate altitude (in my case it is 700m). I also made a version of the code where the values are displayed in larger digits, but without decimals.

And finally, a short conclusion. This is a very simple visually effective, but also very useful device that accurately displays the three basic meteorological parameters using only one inexpensive sensor. It is installed in a suitable plastic housing made of PVC material, and coated with colored self-adhesive wallpaper.

 mircemk
 Tech Nuttiez
where do you find the STL for the case