Numerous studies have shown that flickering, although high frequency and then totally invisible, It can also cause headaches, eyestrain and nausea. Incandescent, halogen or fluorescent lamps (as well as LED if poorly designed), turn on and off a hundred times a second and produce light with a flicker at a certain frequency. Here are some general reasons why lights might flicker and potential solutions:
- Faulty or Loose Switch,
- Voltage Fluctuations
- Dimmer Switch Compatibility
- Loose Wiring or Poor Connections
- And most often with LED lamps, LED Driver Issues
The shape of the electricity in the public network has a frequency of 50 Hz (or 60 Hz in some countries).
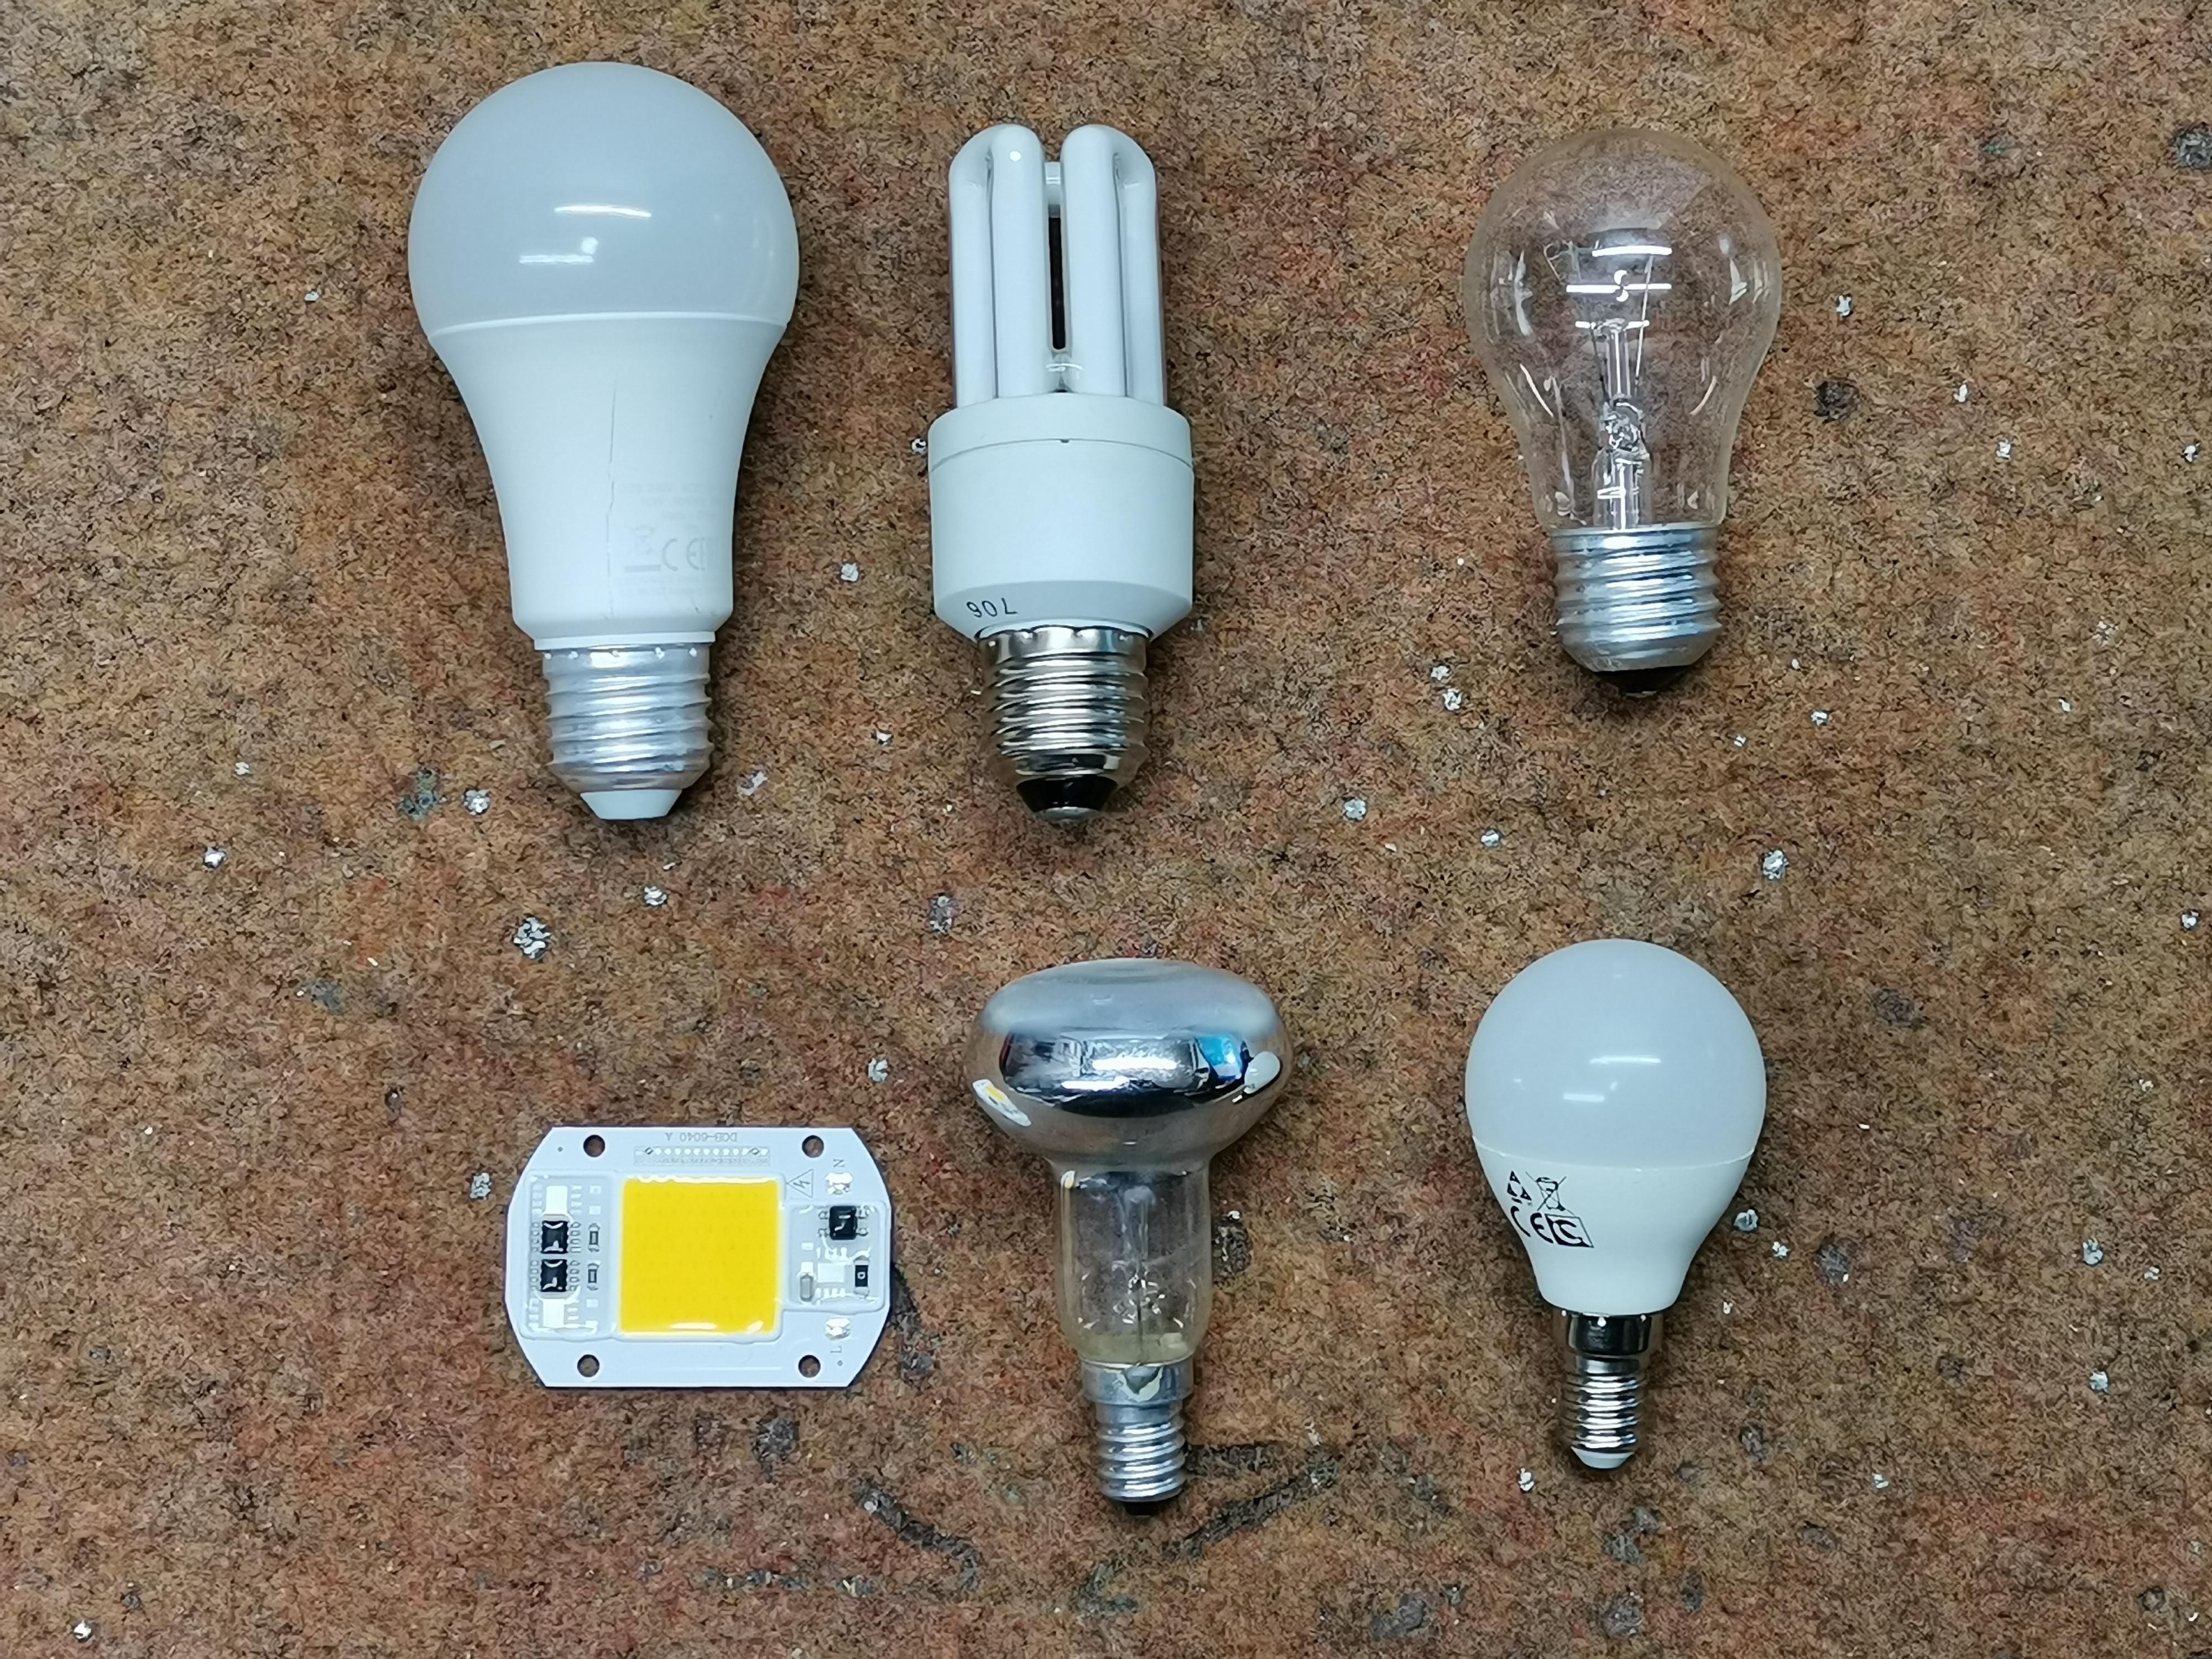
Old incandescent bulbs are powered directly from the mains so they flash at the same frequency of 50Hz, but their flicker is imperceptible because they are actually heaters, and can not quickly follow the change, which in this case is a positive feature, and there is not visible flickering. In some cases, LED bulbs were powered by a half-wave voltage, obtained by using a one diode, and their flicker is at a frequency of 50 Hz and with high intensity, because LEDs are electronic elements that currently monitor the change of voltage, unlike incandescent bulbs. Even today some lamps use this principle, and we should certainly avoid them. Now consider a type of high power LED used in spotlight. In this type of LED, the power supply is located on the cooling plate itself, and probably uses the "pulse width modulation" principle without a filter capacitor. Тhe signal is almost rectangular with a large difference between the minimum and maximum amplitude. This type of lamp should be avoided in the home, and can only be used for outdoor lighting.
Commercial flickering measuring instruments are very expensive, from a few hundred to several thousand dollars.

In one of my previous videos you can see some simple ways to test the flickering of the lamps, such as with an oscilloscope, or with a special instrument made with an Arduino microcontroller.
This time I will present you the simplest and cheapest way to check the quality of lighting in your home, with a device that you can make yourself without having any special knowledge in the field of electronics. You just need to have some experience with soldering electronic components, because in this case ready-made modules will be used.
The quality of the lamps is determined depending on the intensity of the sound emitted by the speaker.
The device is extremely simple, and consists of only a few components:
- solar cell
- small audio amplifier module
- loudspeaker
- capacitor 10µF
- and a 4.5V battery to power the amplifier

First, a few words about how the device works. A solar cell is a component used to convert light into electricity. Ideally, in sunlight or an extremely high-quality lamp, a purely DC voltage is obtained at the output of the solar cell. Since the capacitor only passes alternating signals, in this case no sound is heard from the speaker. At the same time, the capacitor protects the amplifier and the speaker from such cases.
If a light beam falls on the cell from a low-quality lamp that contains an alternating component that causes flickering, this component passes through the capacitor and is amplified in the amplifier, so that a hum is heard on the speaker, usually with a frequency of 50 and 100 Hertz, or 60 and 120 Hertz depending on the mains frequency. The stronger this hum, the less quality the lighting, and vice versa. In this video, we will look at more practical examples of high-quality and low-quality light sources, and how this simple device behaves. I will also test the quality of lighting in some of the rooms of my home.
First, I will test two LED bulbs, one from a well-known brand (which I will not highlight...
 mircemk


 Shervin Emami
 Jovan
Jovan