 Krockwell
I've been playing around with a AI tools lately.
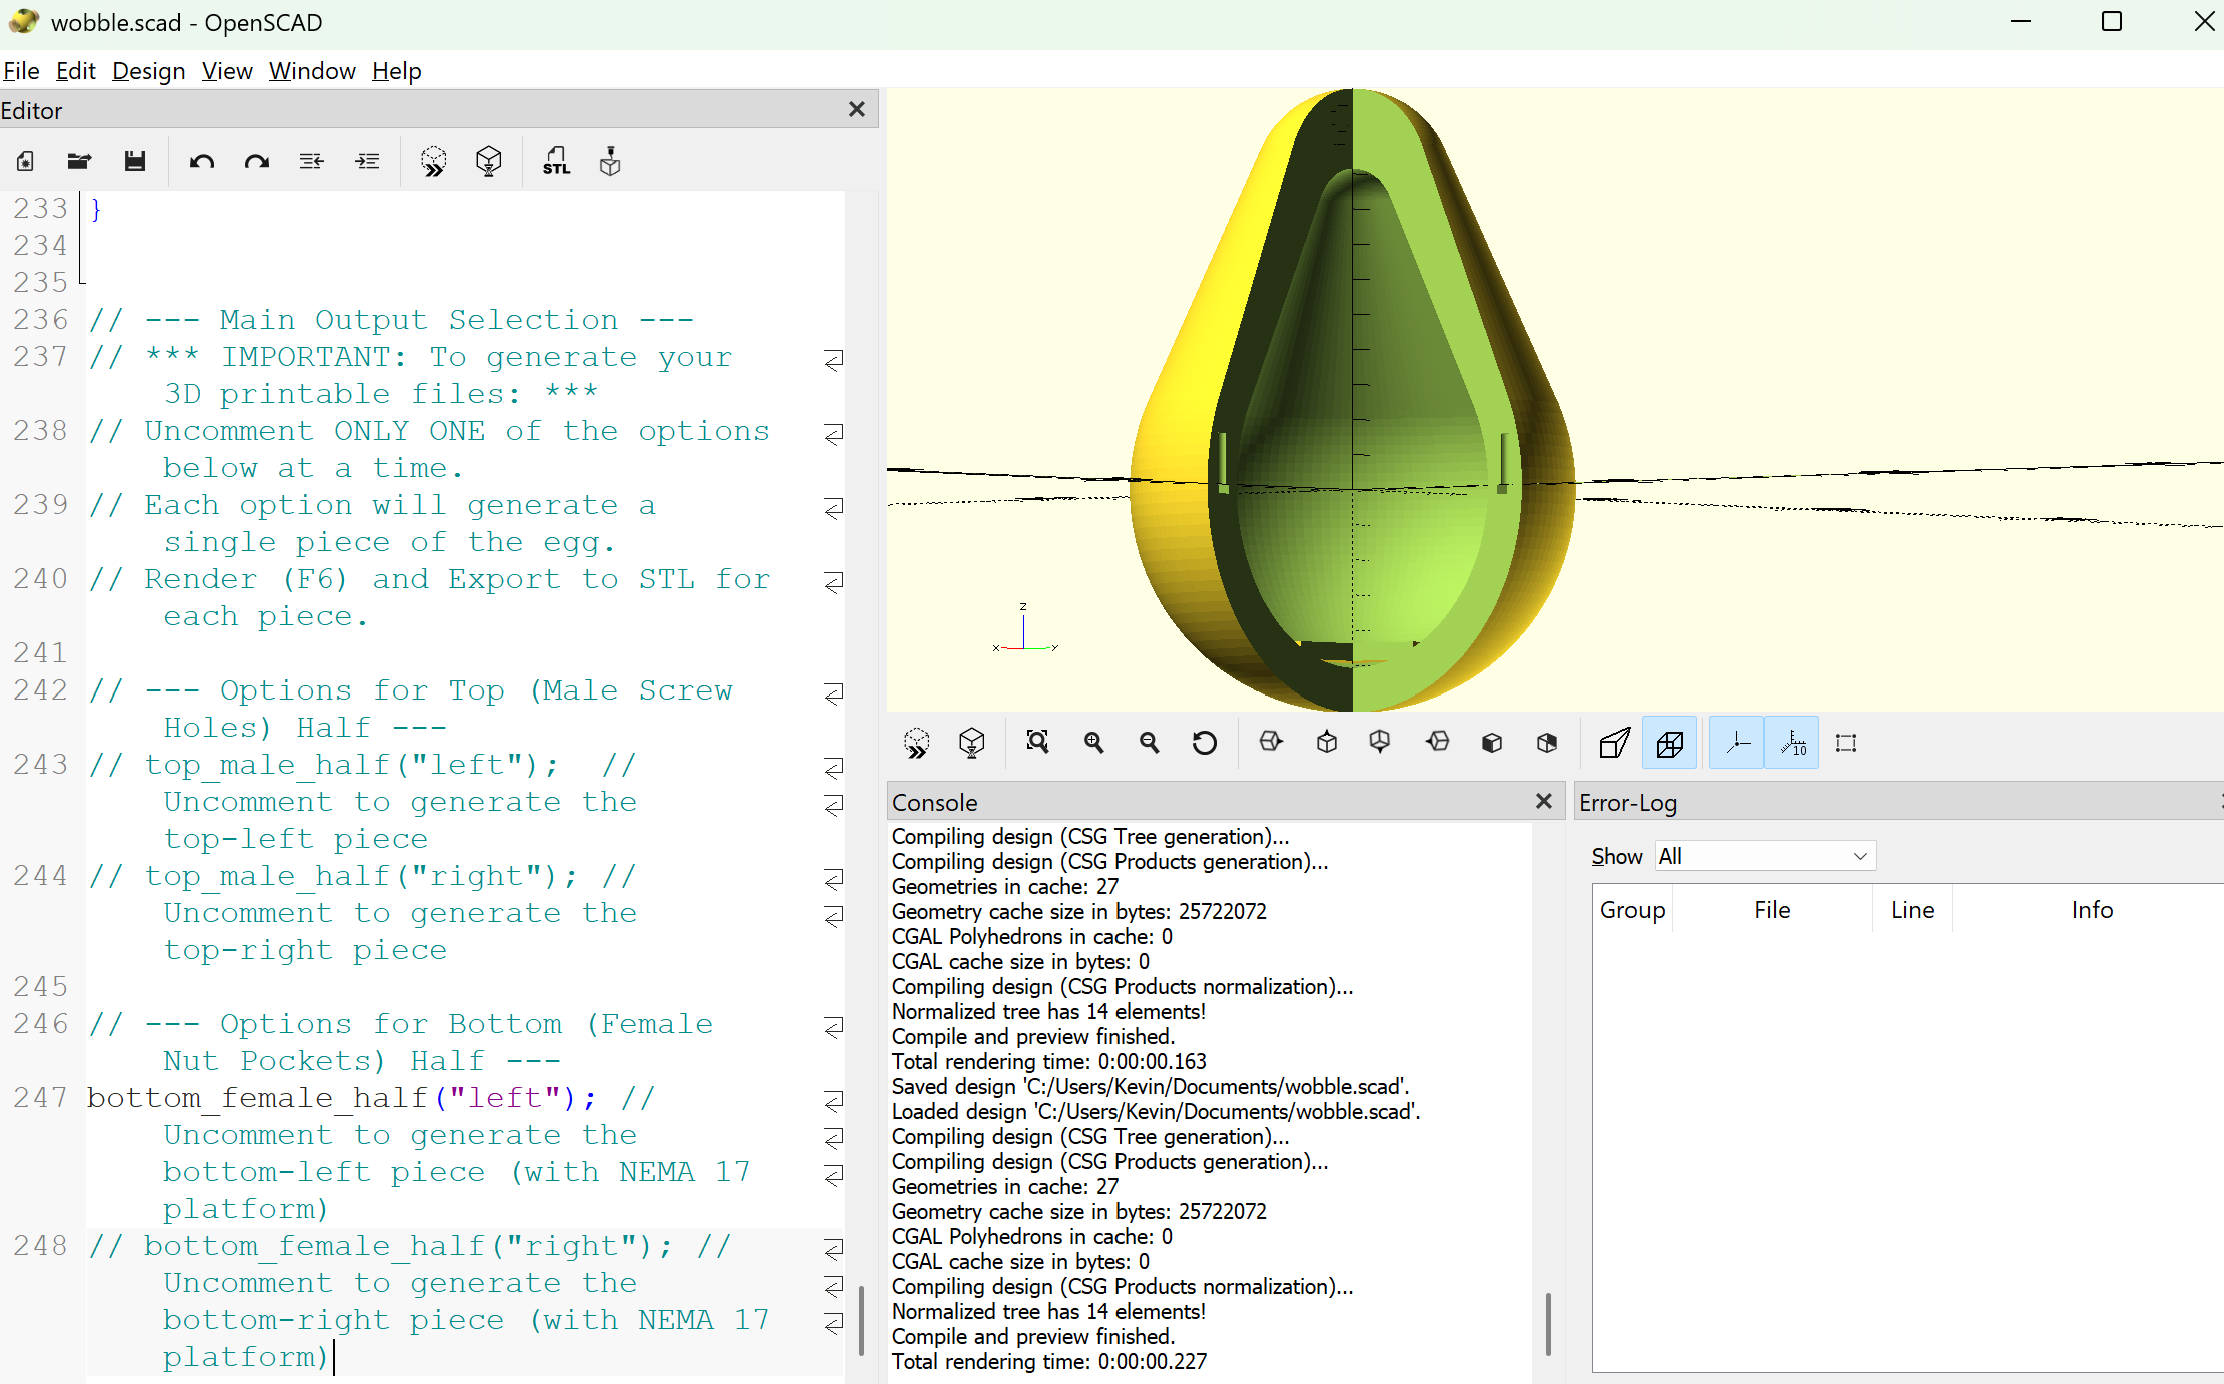
AI use-case #1: CAD using OpenSCAD (Google Gemini Pro 2.5)
This technique uses OpenSCAD (thanks to Richard my coworker for introducing me to this tool). I put a single prompt into Gemini Canvas and had a 3D model of a basic egg shape in seconds. The image below is the first iteration of an empty egg shape with ~5in diameter. The first attempt looks more like a pear or avocado than an egg but it has the M3 hardware placement and platform for the Nema-17 motor. Time to print this and see how it turns out!
AI use-case #2: Programming Arduino (Goose, Gemini Pro 2.5)
I also installed block/goose and played around with some auto-generated arduino code using Google Gemini model 2.5 pro. This setup is a lot of fun as you get to command an AI agent directly in the console to do things for you. It created the code copied below.
#include <Wire.h>
#include <AccelStepper.h>
#include <Adafruit_BMA400.h>

// --- Configuration Constants (TUNE THESE!) ---

// Define stepper motor connections
#define DIR_PIN 2
#define STEP_PIN 3
#define ENABLE_PIN 4

// The number of steps your motor takes for one full revolution.
// Common values are 200 or 400.
#define MOTOR_STEPS_PER_REV 200

// The microstepping setting on your DRV8825 driver. 1 is full step, 16 is common.
#define MICROSTEPS 8

// Calculated total steps per revolution
const int STEPS_PER_REV = MOTOR_STEPS_PER_REV * MICROSTEPS;

// Motor speed and acceleration. These are critical for tuning.
// Start slow and increase until you get good movement.
#define MAX_SPEED 1500.0   // Steps per second
#define ACCELERATION 3000.0 // Steps per second^2

// Accelerometer sensitivity threshold.
// This determines how much tilt is needed to trigger the motor "kick".
// You will need to find the right value by watching the Serial Monitor.
#define TILT_THRESHOLD_X 2.5 // m/s^2

// --- Global Objects ---

// Initialize the stepper library
// The first argument is the interface type (1 = Driver: STEP/DIR pins)
AccelStepper stepper = AccelStepper(AccelStepper::DRIVER, STEP_PIN, DIR_PIN);

// Initialize the accelerometer
Adafruit_BMA400 bma = Adafruit_BMA400();

void setup() {
  Serial.begin(115200);
  while (!Serial) {
    delay(10); // Wait for serial connection
  }
  Serial.println("Wobble Egg Initializing...");

  // --- Initialize Accelerometer ---
  if (!bma.begin()) {
    Serial.println("Could not find a valid BMA400 sensor, check wiring!");
    while (1);
  }
  Serial.println("BMA400 Found!");
  bma.setRange(BMA400_RANGE_4G);
  bma.setDataRate(BMA400_DATA_RATE_100_HZ);

  // --- Initialize Stepper Motor ---
  pinMode(ENABLE_PIN, OUTPUT);
  digitalWrite(ENABLE_PIN, LOW); // Pull low to enable the DRV8825

  stepper.setMaxSpeed(MAX_SPEED);
  stepper.setAcceleration(ACCELERATION);

  // Set the motor to be "at rest" pointing straight down initially.
  // You may need to manually position the weight down the first time.
  stepper.setCurrentPosition(0);

  Serial.println("Initialization complete. Starting main loop.");
}

void loop() {
  // --- 1. SENSE: Read the accelerometer ---
  sensors_event_t accel;
  bma.getEvent(&accel);

  // Print the X-axis acceleration for tuning purposes.
  // Orient your egg so the X-axis points in the forward/backward direction.
  Serial.print("Accel X: ");
  Serial.println(accel.acceleration.x);

  // --- 2. DECIDE: Check if we need to "kick" ---

  // The logic: if the egg has tilted backward past our threshold,
  // it's time to propel it forward.
  if (accel.acceleration.x < -TILT_THRESHOLD_X) {
    Serial.println("Backward tilt detected! Kicking forward.");

    // We command the motor to spin one full revolution.
    // The AccelStepper library is non-blocking, so we set a target
    // and let run() handle the movement.
    // The direction of the "kick" depends on motor wiring.
    // If it moves the wrong way, change this to `-STEPS_PER_REV`.
    stepper.move(STEPS_PER_REV);
  }

  // --- 3. ACT: Run the motor ---

  // This function must be called as often as possible.
  // It checks if the motor needs to step and executes it.
  // It's non-blocking, so the rest of the loop can run freely.
  stepper.run();
}
Discussions
Become a Hackaday.io Member
Create an account to leave a comment. Already have an account? Log In.