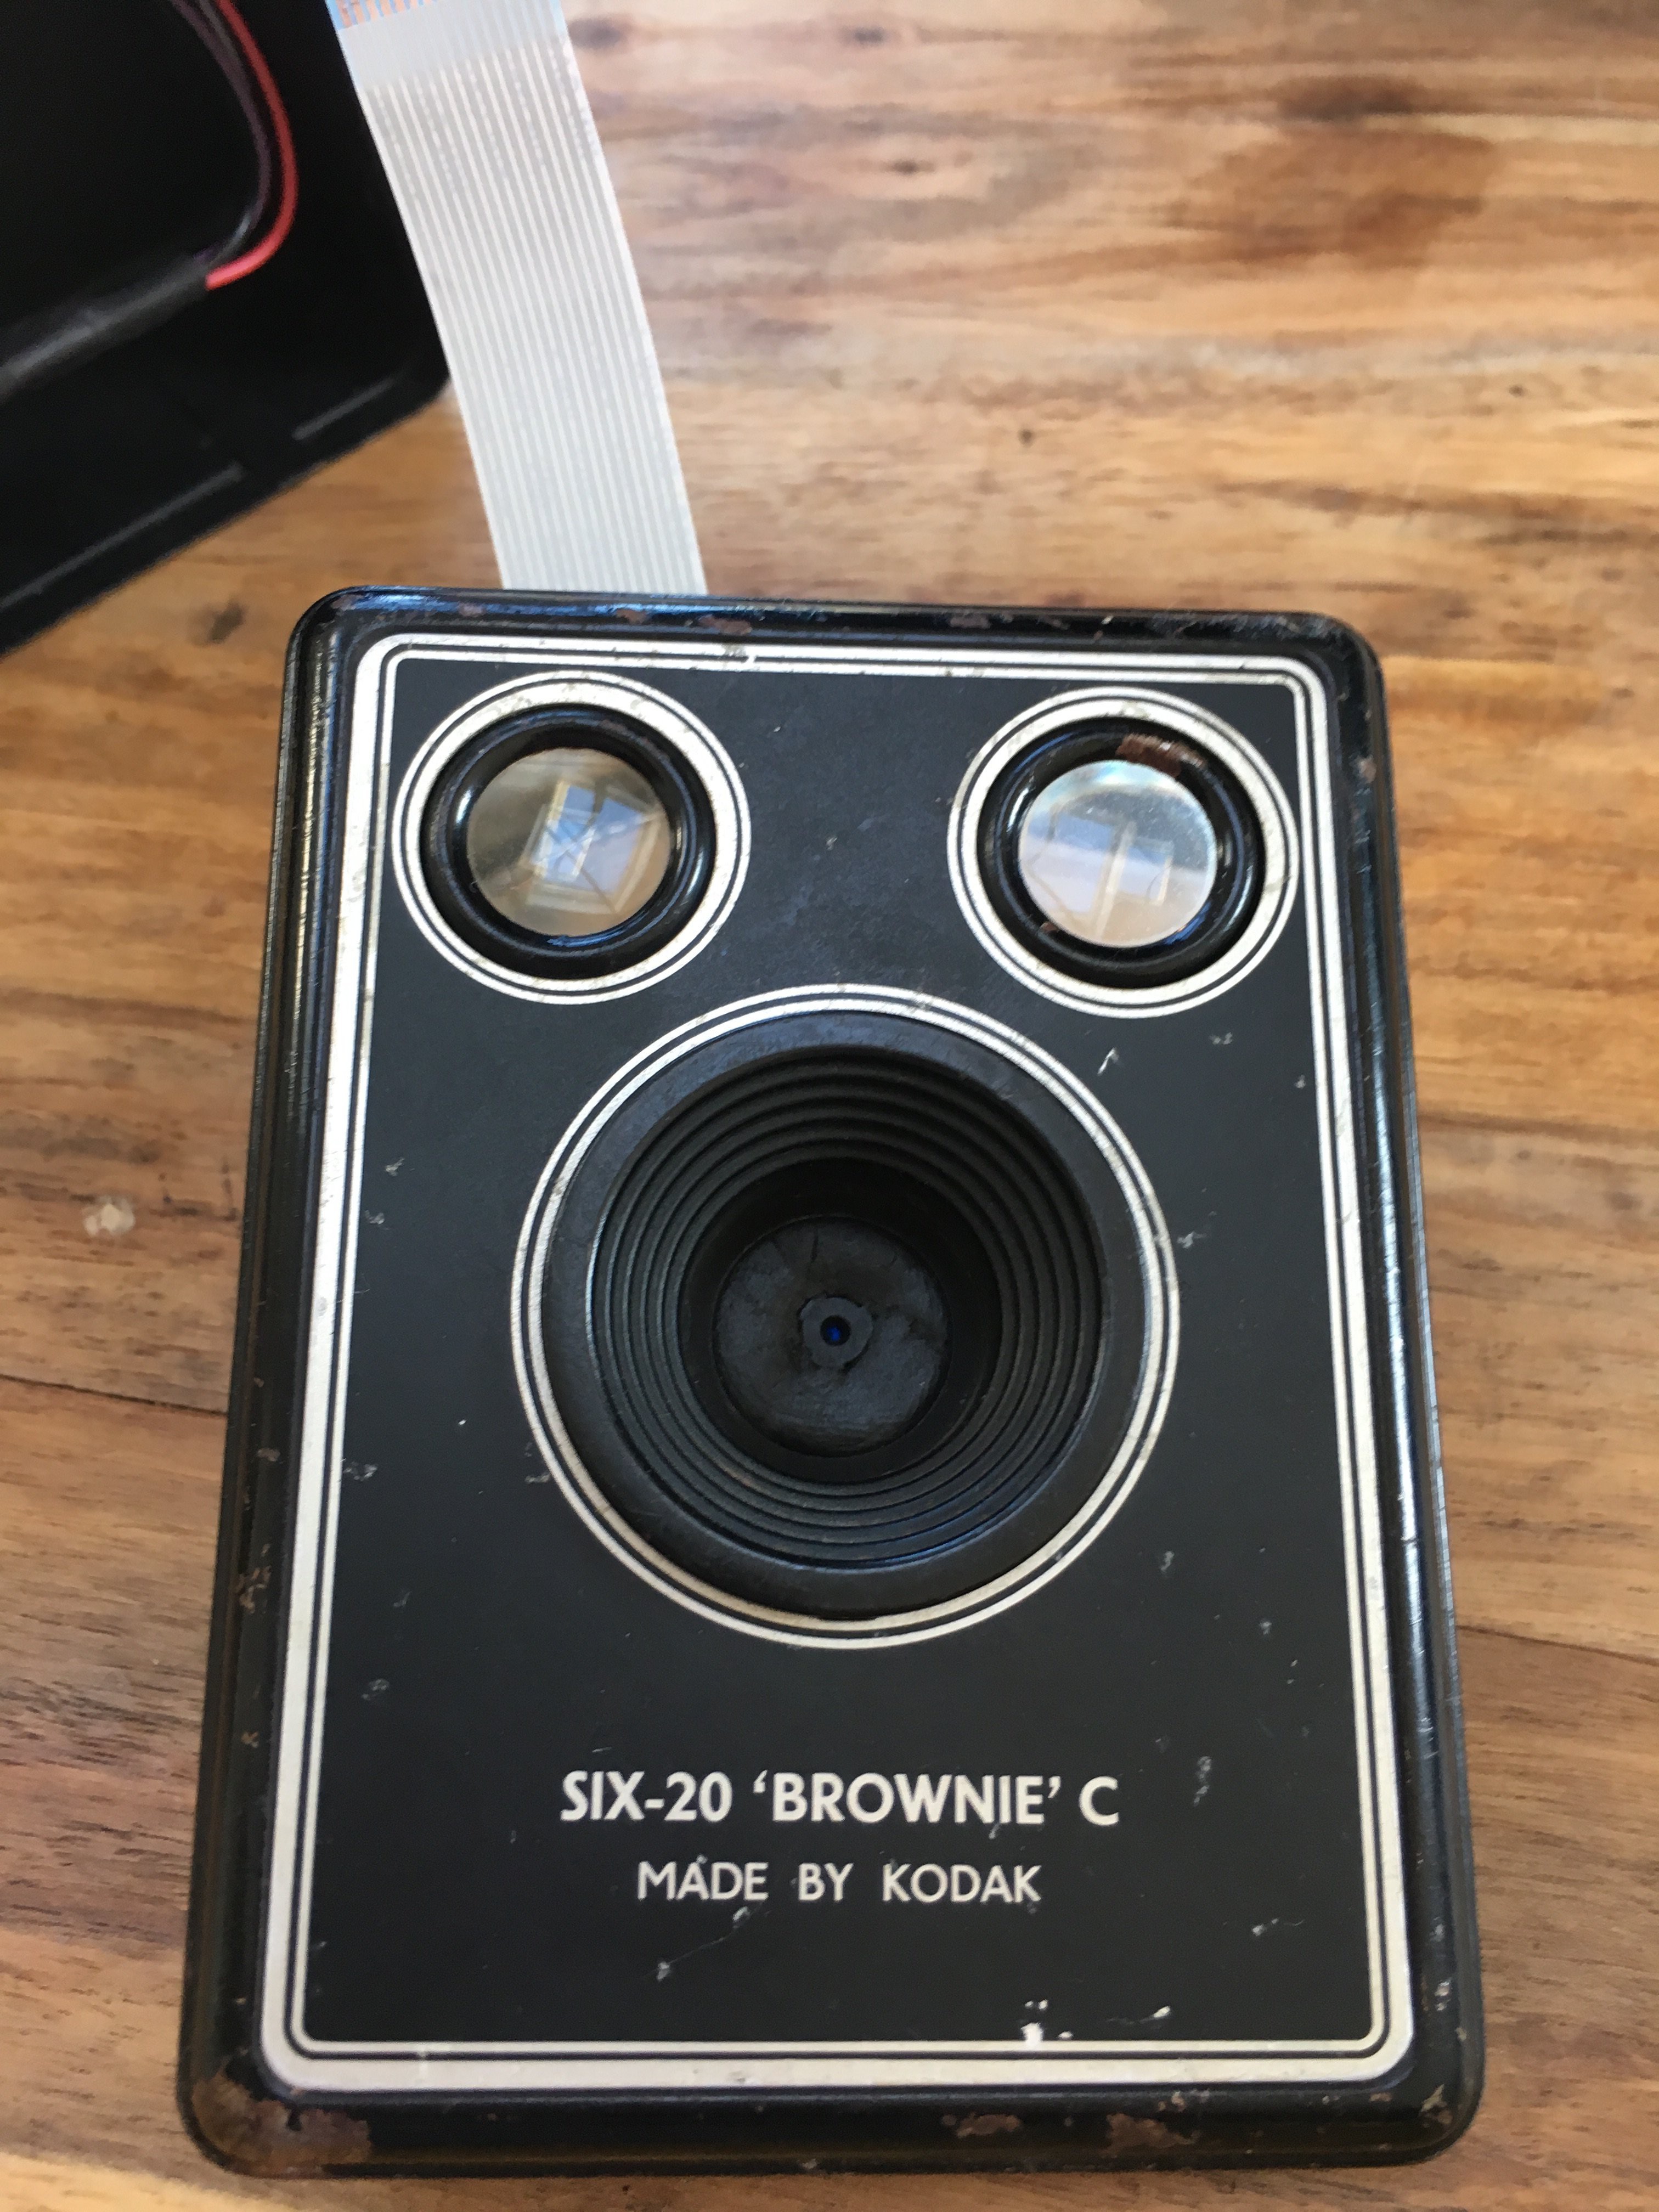
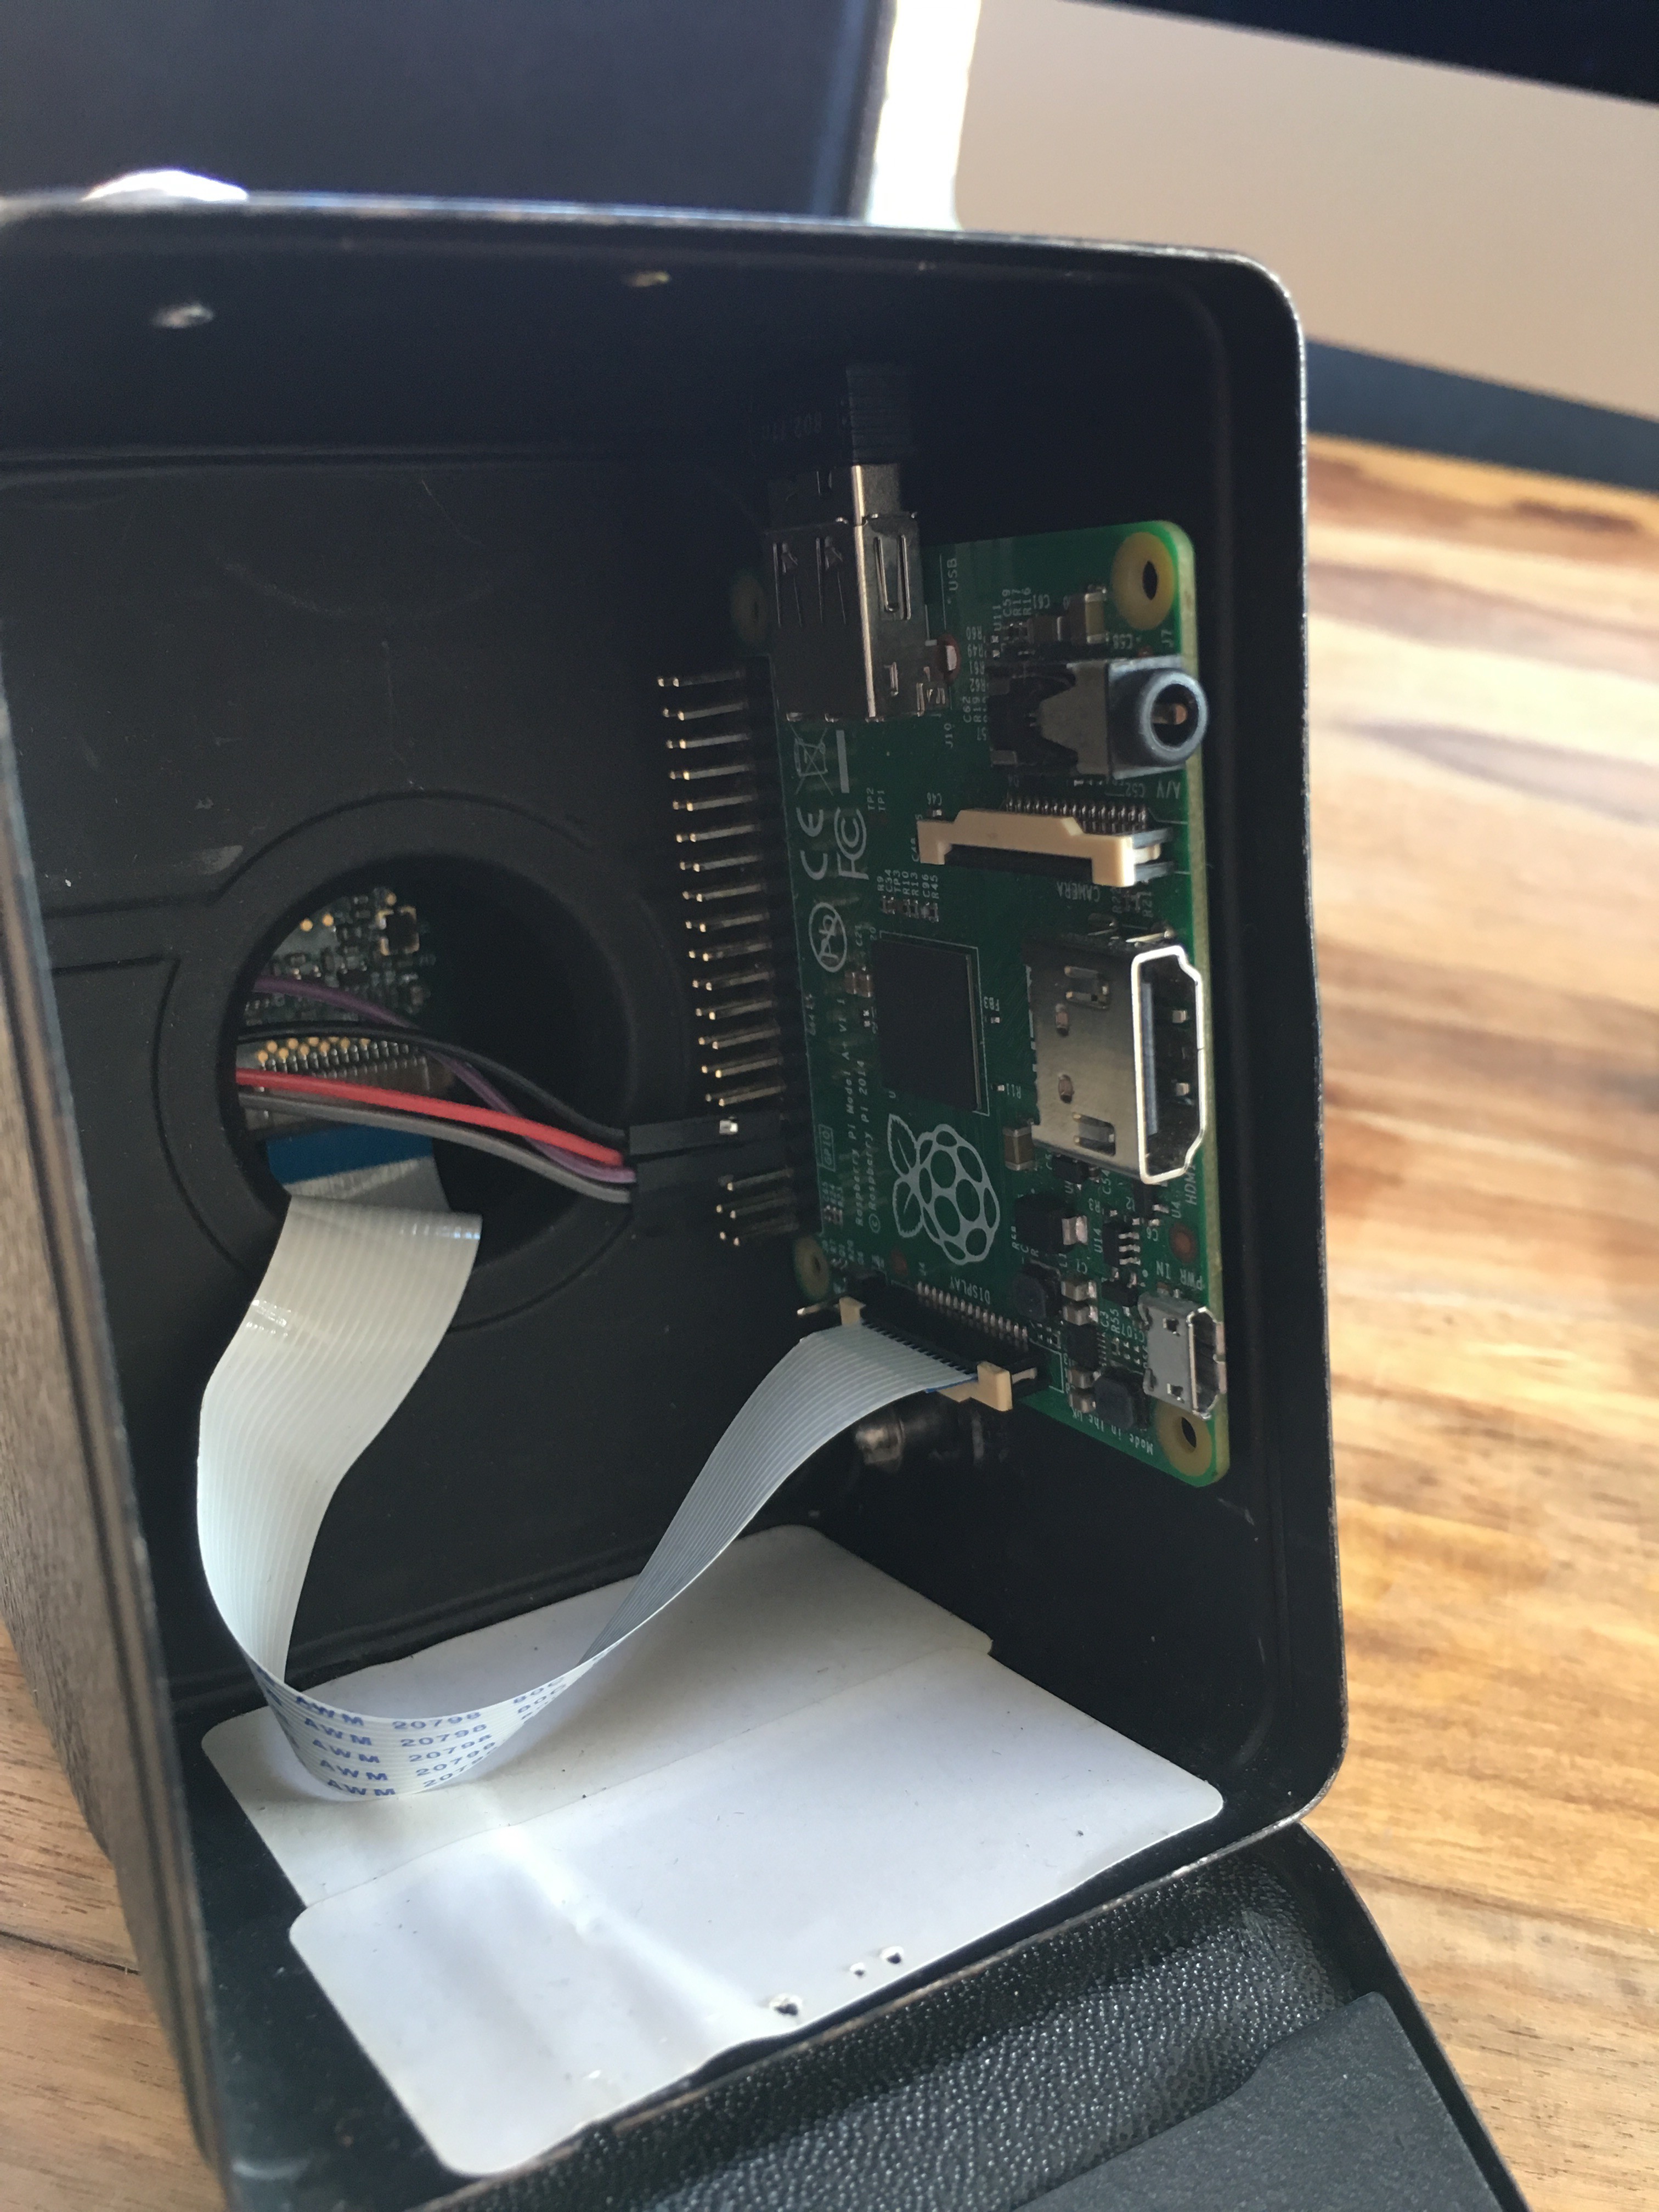
The finished camera looks like this
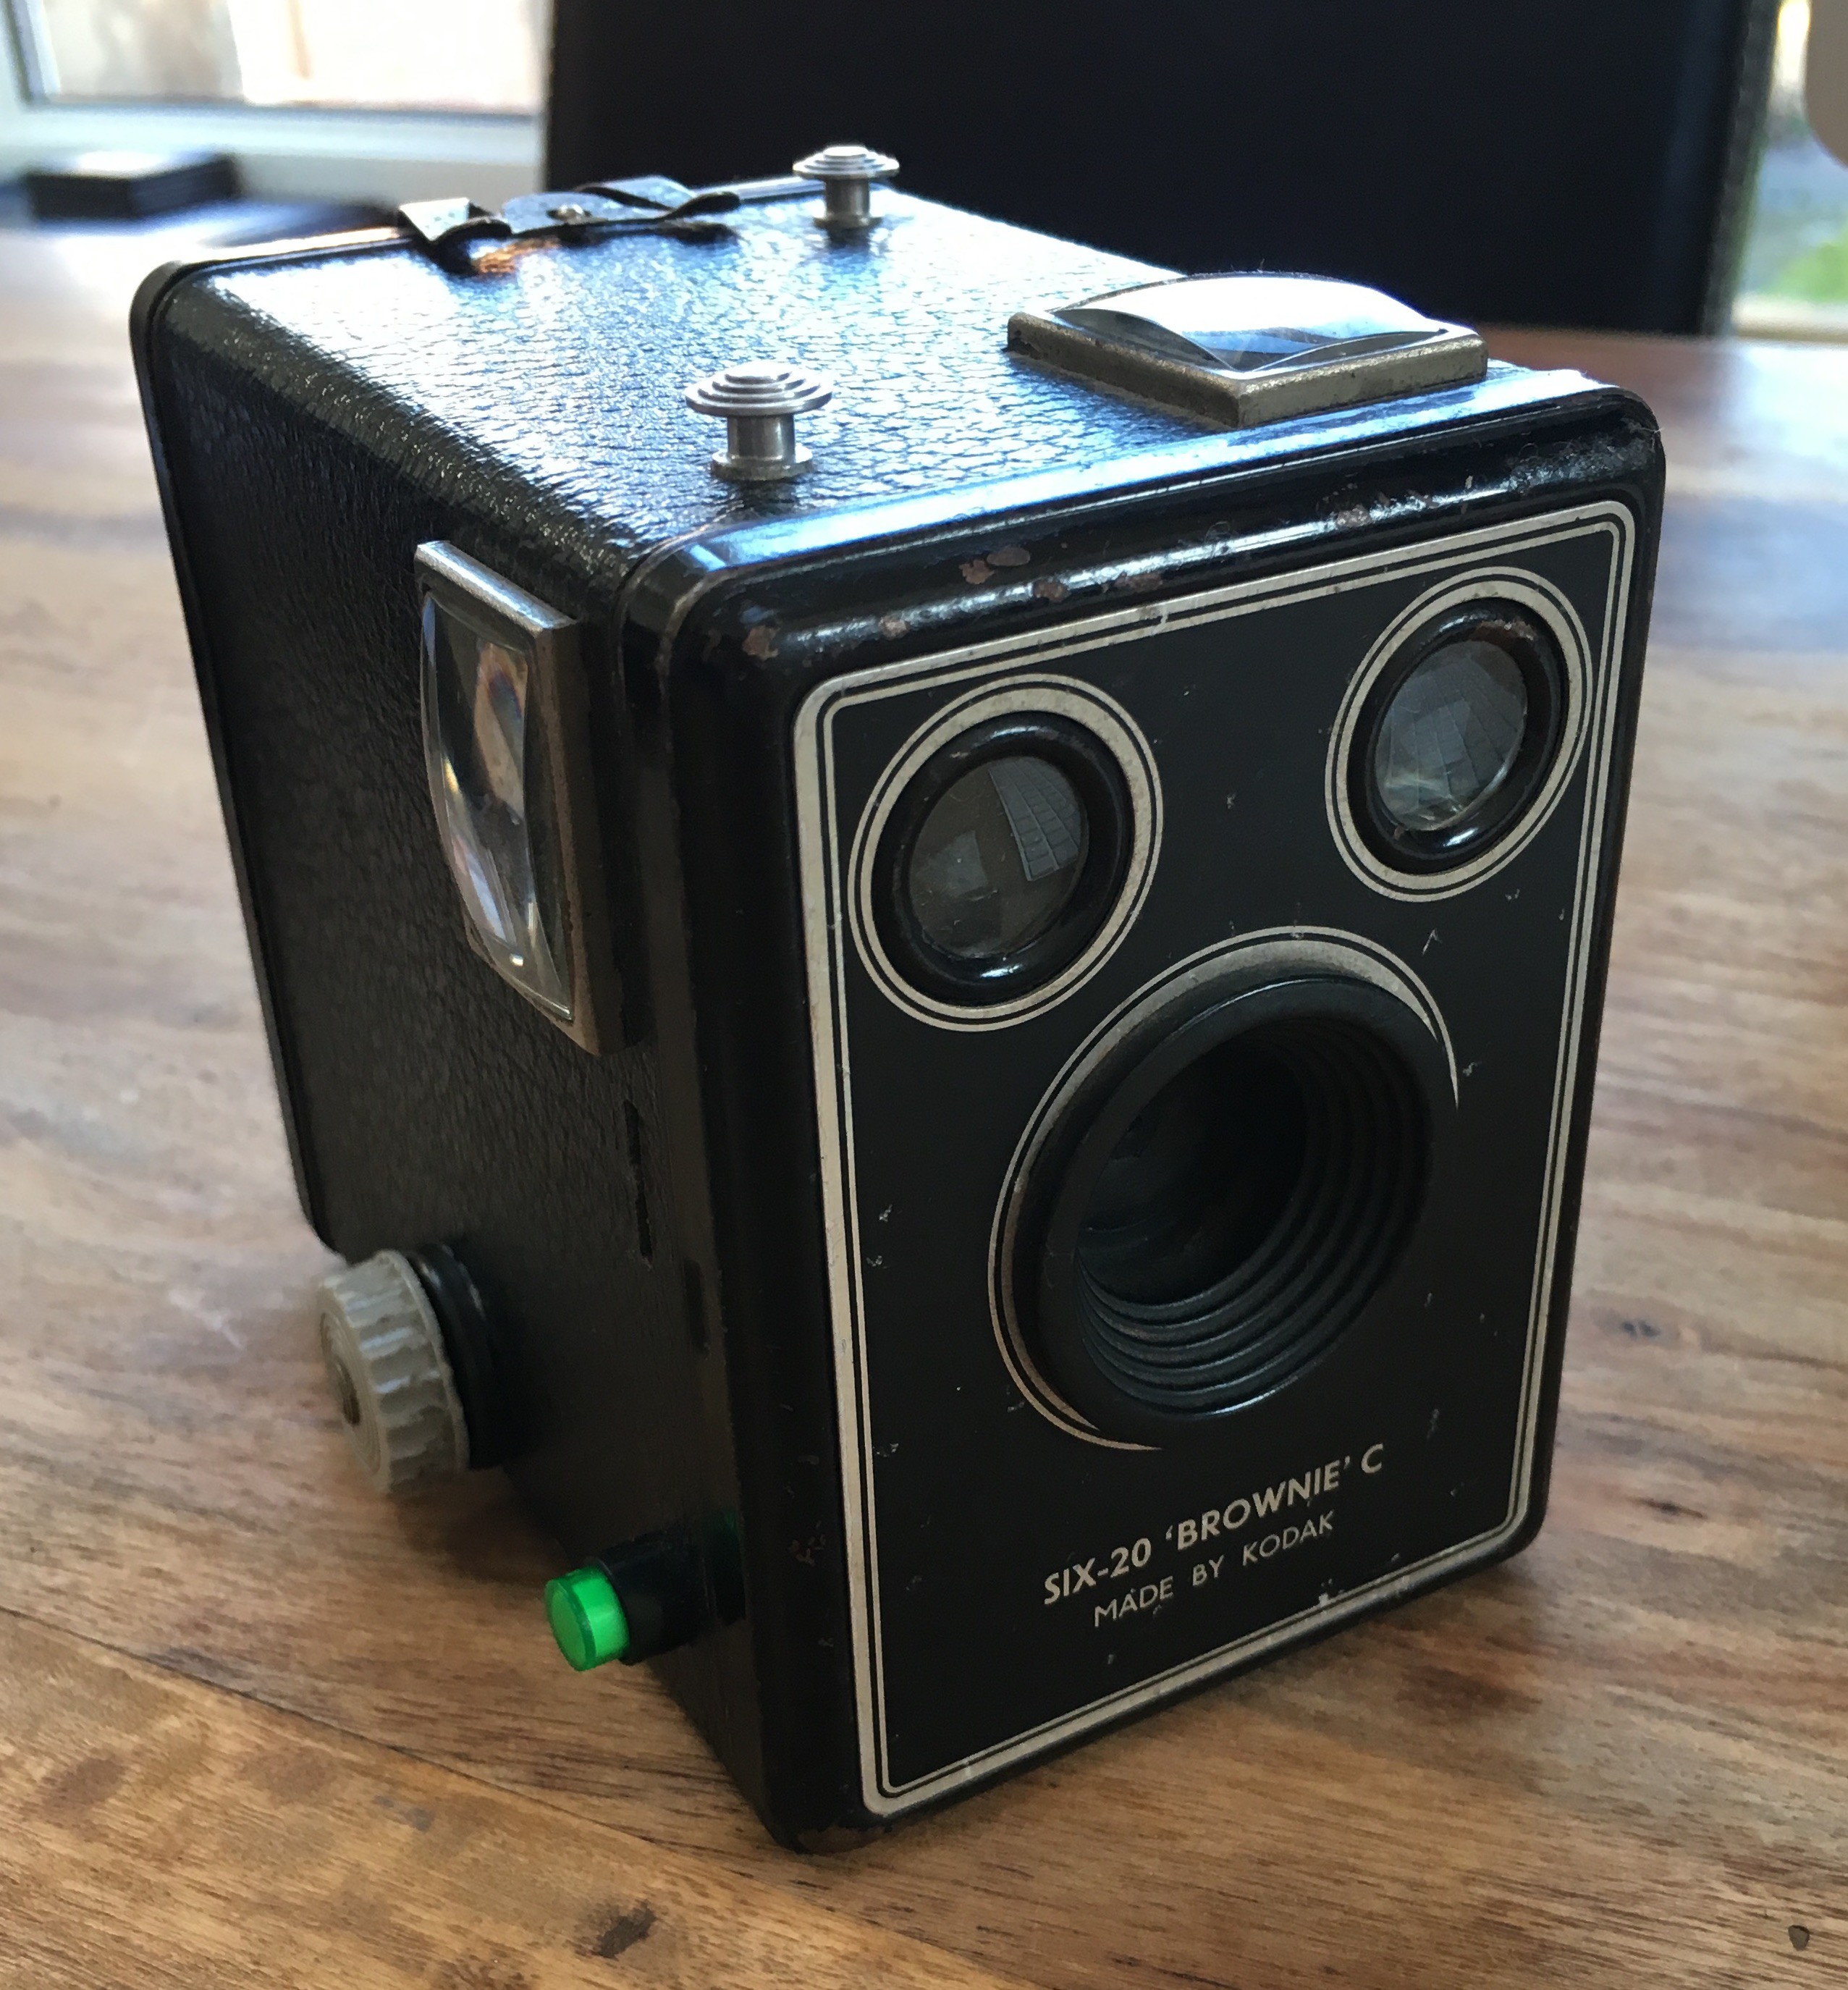
As you can see it looks pretty much unchanged aside from the manual shutter release has been replaced by a green ed momentary switch. The closest part I can find now is http://uk.rs-online.com/web/p/push-button-switches/8207533/. This has 4 connections
- LED -ve and +ve
- Switch -ve and +ve
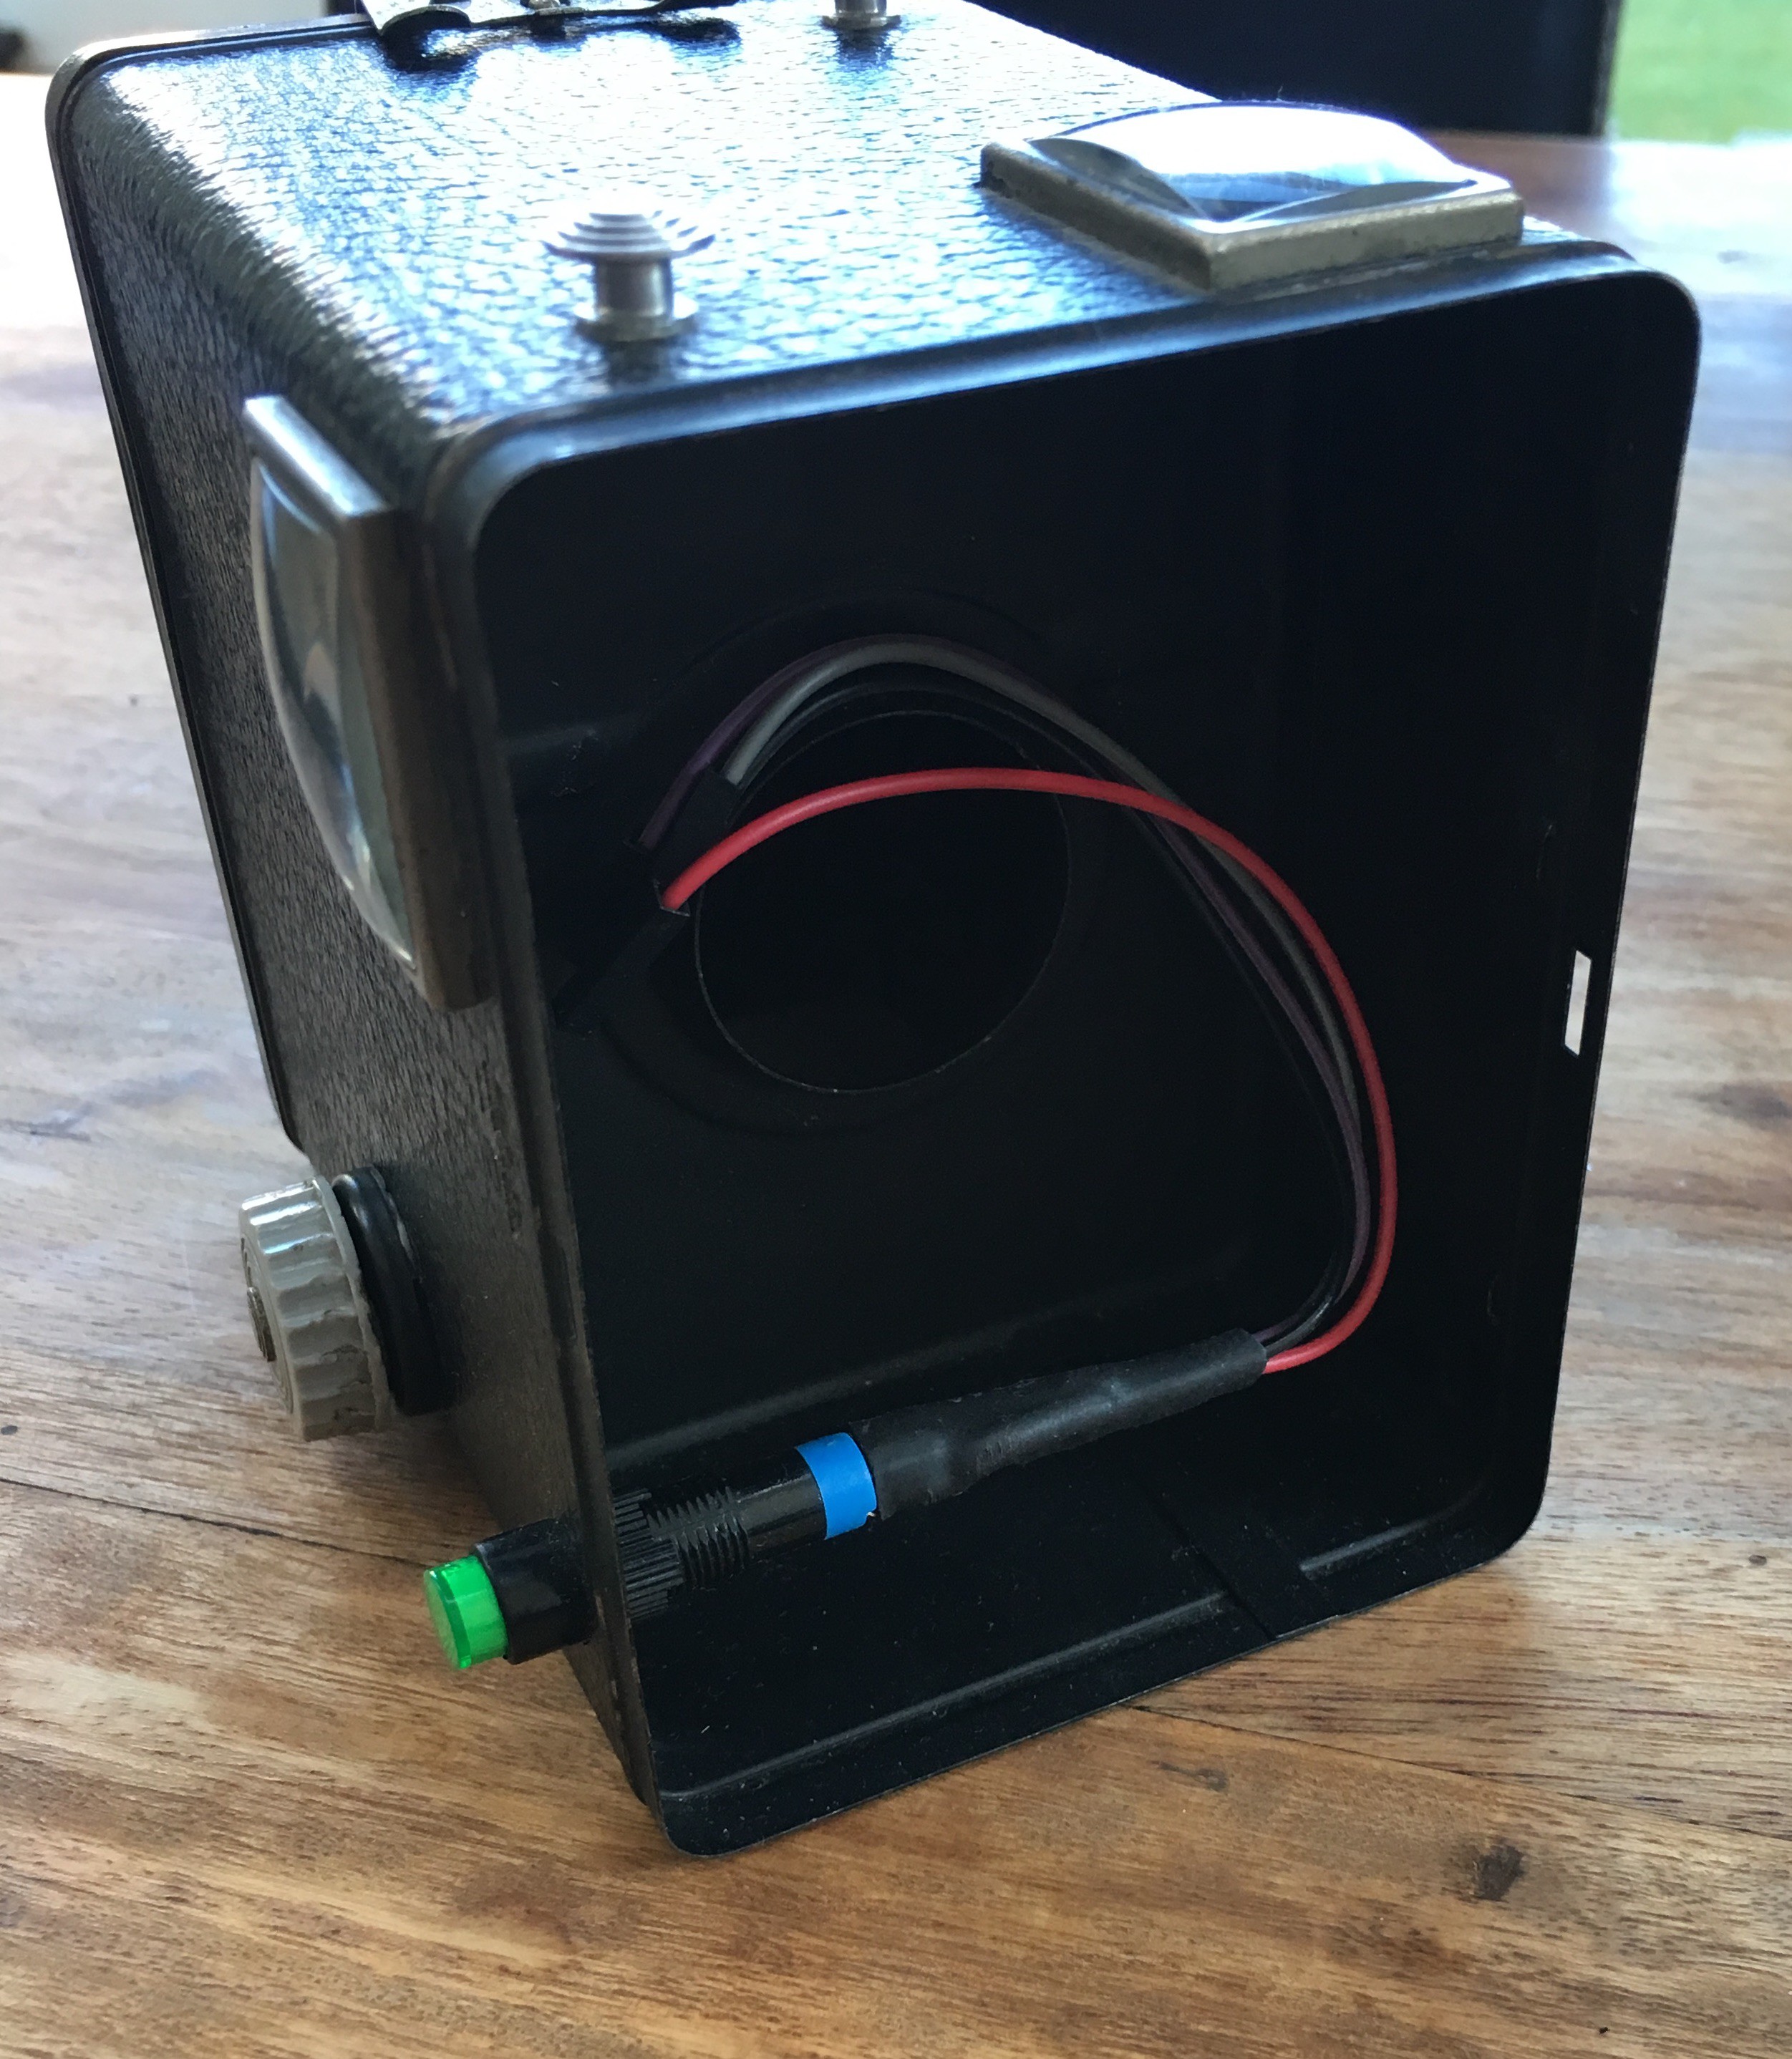
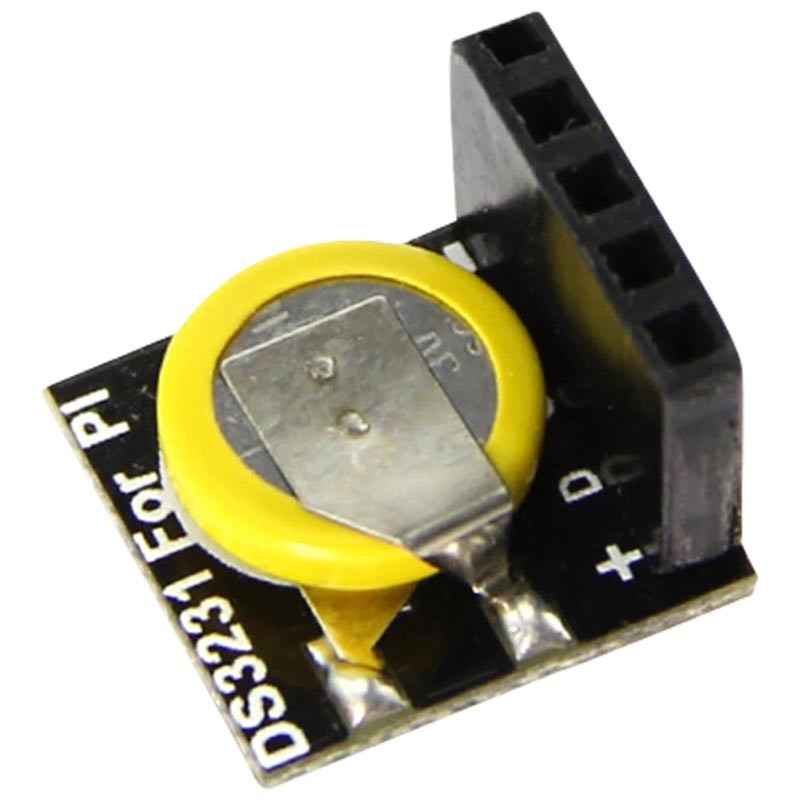
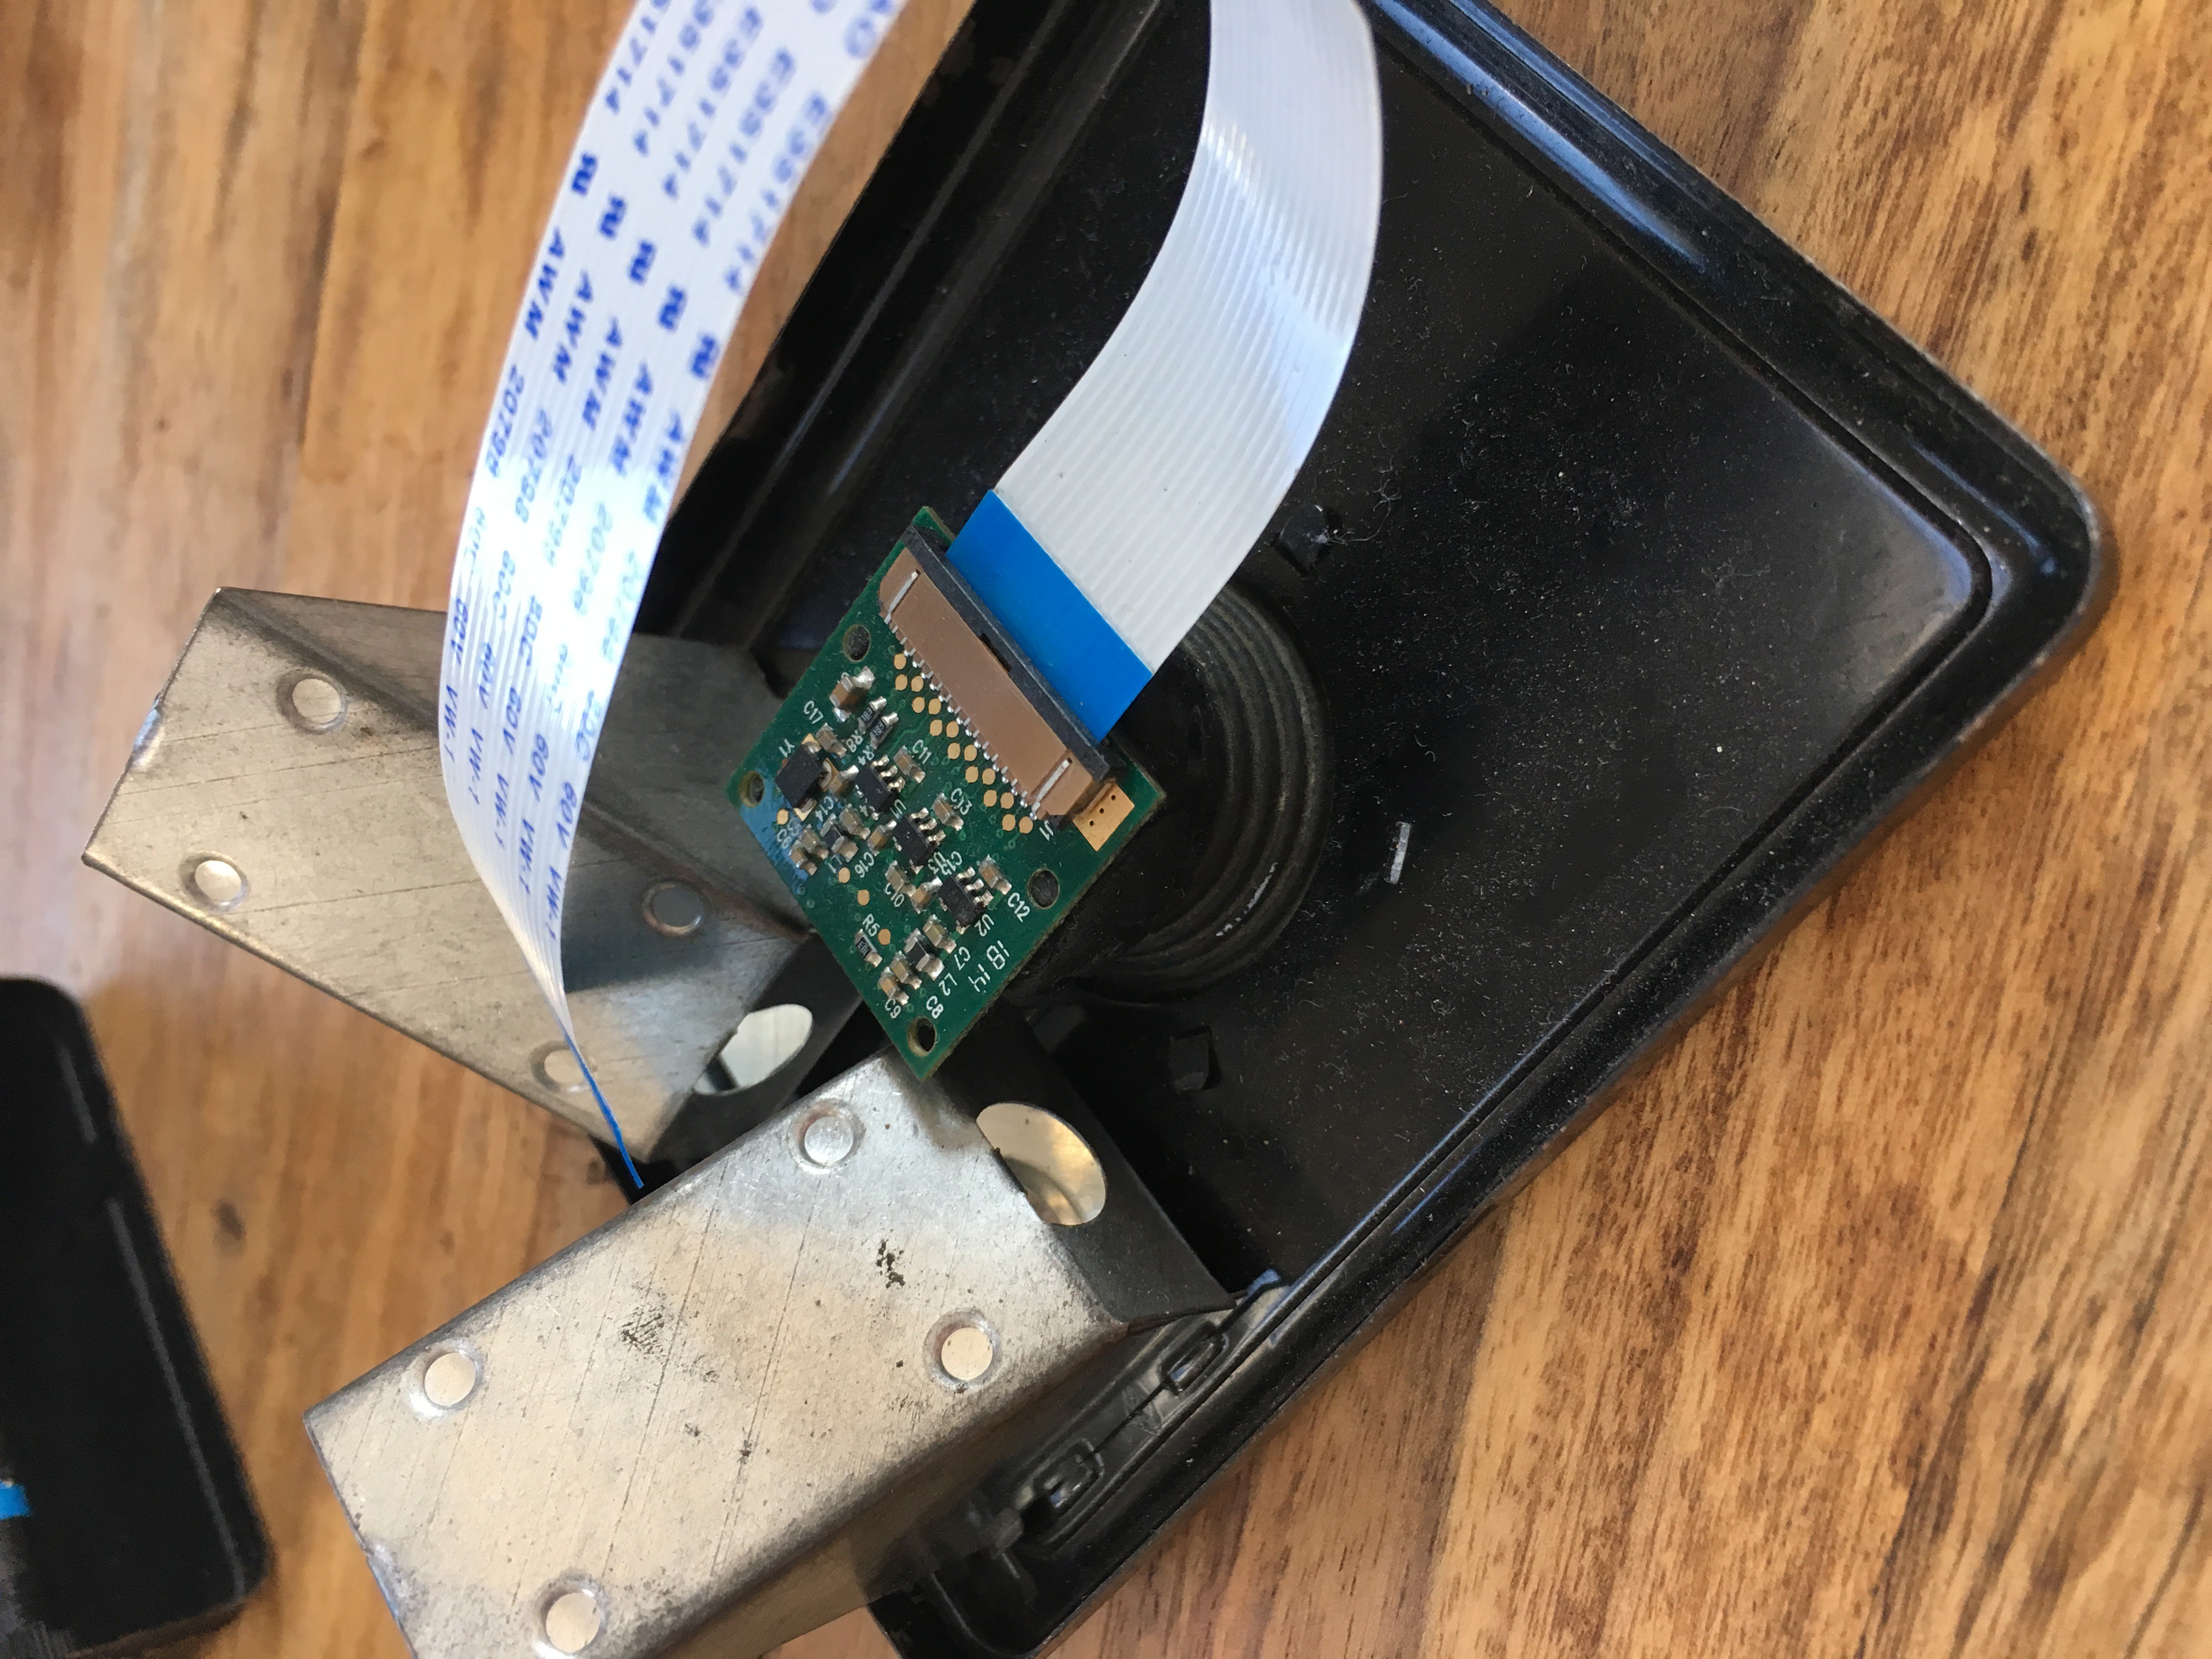
You can also just see the USB Wifi adapter in the port of the Pi. not pictured is a Real Time Clock module as this has been reused. This was needed as without net access to set the time via NTP, the timestamp on the photos would be wrong. This connected via I2C and didn't take up much room.
**I last looked at the code for this a couple of years ago and the below is written from memory, so may contain slight inaccuracies**
For the software side of things, I built a custom linux image based off buildroot and motioneye which booted up and ran a python script to give the camera the following features:
- Flash the shutter button until the camera is ready to take a photo (using RPi.GPIO python module)
- Take a photo with press of the shutter button (PiCamera python library).
- Use the Wifi adapter to host an access point. When clients (smartphone) connects, dnsmasq assigns an IP via DHCP and responds to all DNS requests with the IP of the camera. This is similar to a captive Wifi network at an Airport/Coffee Shop etc. that requires sign in.
- Serve a web interface with a live view of the camera via mjpeg along with a shutter button and a link to a gallery of photos stored on the camera (bits of code borrowed from http://elinux.org/RPi-Cam-Web-Interface). This was optimised for smartphone access.
- Put the camera to sleep with a long press and release of the shutter button. This would turn off the Wifi and camera and wait for another long press of the button to power back up.
This worked well but had a few drawbacks:
- No flash.
- No physical photo.
- 'Sleep' mode was actually quite power hungry
- The live preview was kind of useful for framing the shot but distracting when using it to take group selfies - most of the shots would have me looking at my phone to press the shutter button rather than at the camera.
These features will be addressed in the next version of the camera.
Wishlist:
- More interesting camera body (just a box is a bit boring)
- Auto flash
- Physical photo option
- Remote trigger (selfie button - RF, Bluetooth, Wifi, IR etc.)
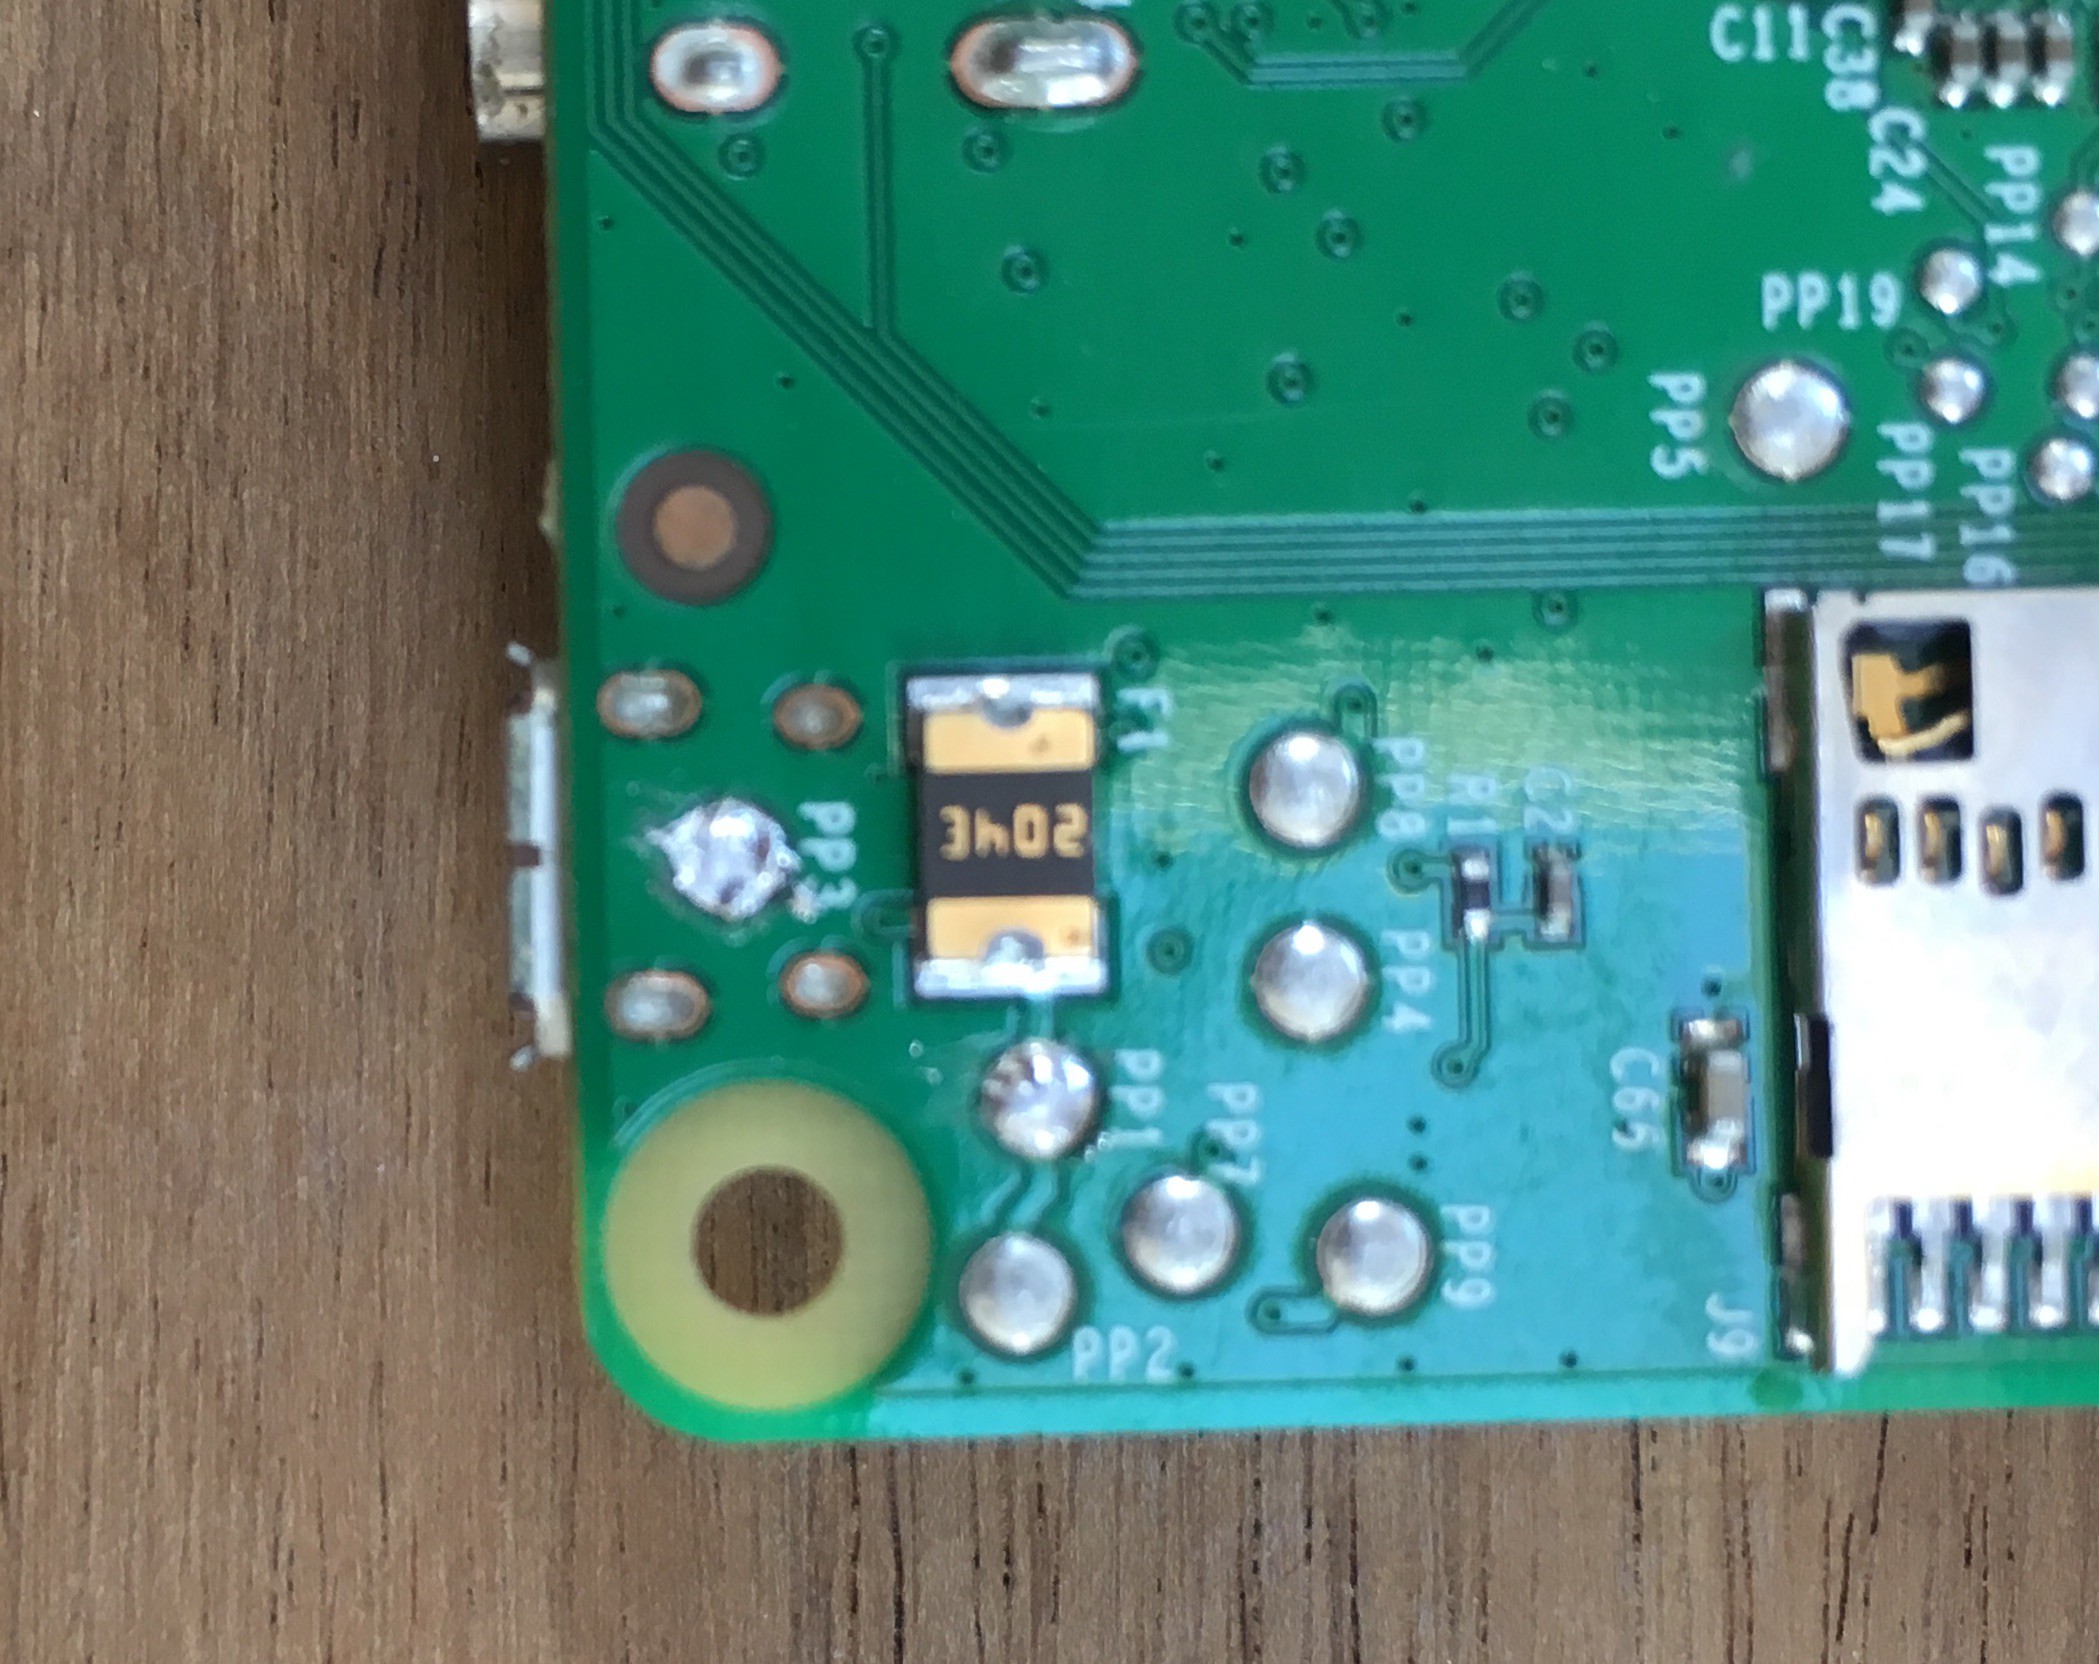
- More elegant power on/off. Battery life was OK, but could be better. Full power off is made difficult as halt/poweroff/shutdown commands do not fully power down the Pi, it needs to be physically disconnected.
Discussions
Become a Hackaday.io Member
Create an account to leave a comment. Already have an account? Log In.