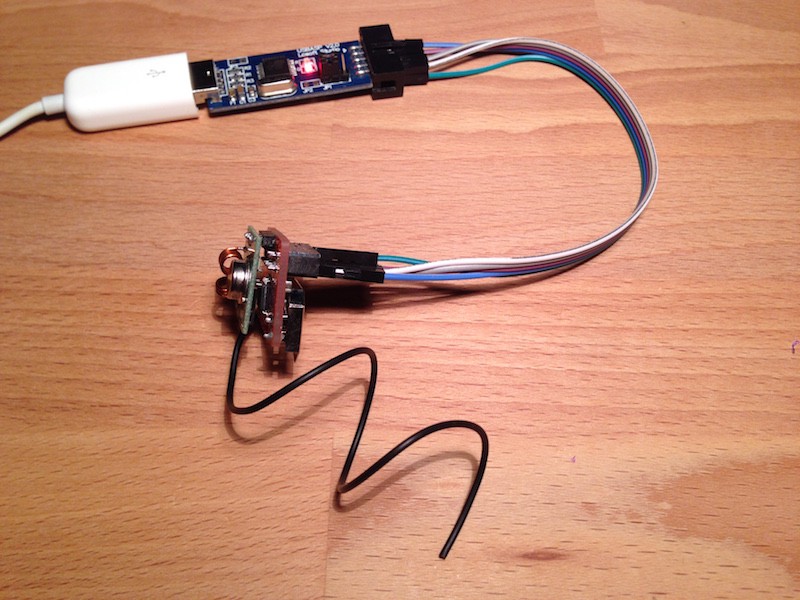
The emitter does not need USB, actually adding USB would probably increase its power usage, so instead if using micronucleus bootloader, which adds unnecessary overhead, it will be programmed using an ISP programmer like USBasp.
To program the emitter follow the instructions on High-Low Tech to add support for the ATtiny on Arduino IDE.
The emitter needs the VirtualWire library. Download it from here (link in the middle of the page) and stick it in the ~/Arduino/libraries/ folder.
The receiver uses a special version of VirtualWire library (modified to work with micronucleus) in its own library folder, this new one will be in conflict with it (since they have the same name), to solve this issue rename the downloaded folder to VirtualWire_emitter. So instead of having ~/Arduino/libraries/VirtualWire you should have ~/Arduino/libraries/VirtualWire_emitter now. You also need to do it for the VirtualWire.cpp file, VirtualWire.h file within this folder and finally in the VirtualWire.cpp file you need to change the include from VirtualWire.h to VirtualWire_emitter.h. This way there won't be any conflicts between the two libraries.
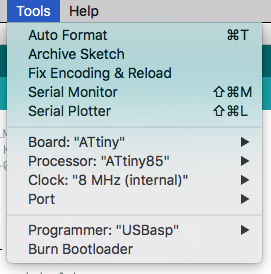
Restart Arduino so it loads all the libraries and select the configuration to program the emitter:

Select the ISP programmer you have at hand. Note that you cannot upload the program using the Upload button, you need to select Sketch->Upload Using Programmer.

Discussions
Become a Hackaday.io Member
Create an account to leave a comment. Already have an account? Log In.