#Week1
Our project is all about the intricate task of designing a complex kinetic device. From analog kinetic sculptures to vehicle drive trains, the spectrum of possibilities is vast, promising a challenging yet rewarding journey ahead. Our primary objective is to harness the principles of mechanical engineering to construct a device that not only functions seamlessly but also captivates with its aesthetic appeal.
After brainstorming various ideas using mechanisms like gears, cams, and cam followers, firstly we settled on the concept of designing a mechanical-geared clock. Understanding the complexity involved, we took a deep dive into the workings of this clock's mechanisms.
To better understand how these gears and cams worked, we created a simple cardboard prototype of the clock. This gave us valuable insights into how the clock's mechanism functions.
We also spent time searching for design inspiration to ensure our clock stands out as both functional and visually striking. Through research and creative exploration, we aimed to give our design a unique and captivating aesthetic.
Looking ahead, our focus remains on refining our understanding of the clock's mechanism and bringing our creative vision to life. As we continue with this project, we are committed to pushing the boundaries of innovation and craftsmanship.
Attached is a visual representation of our progress for reference.
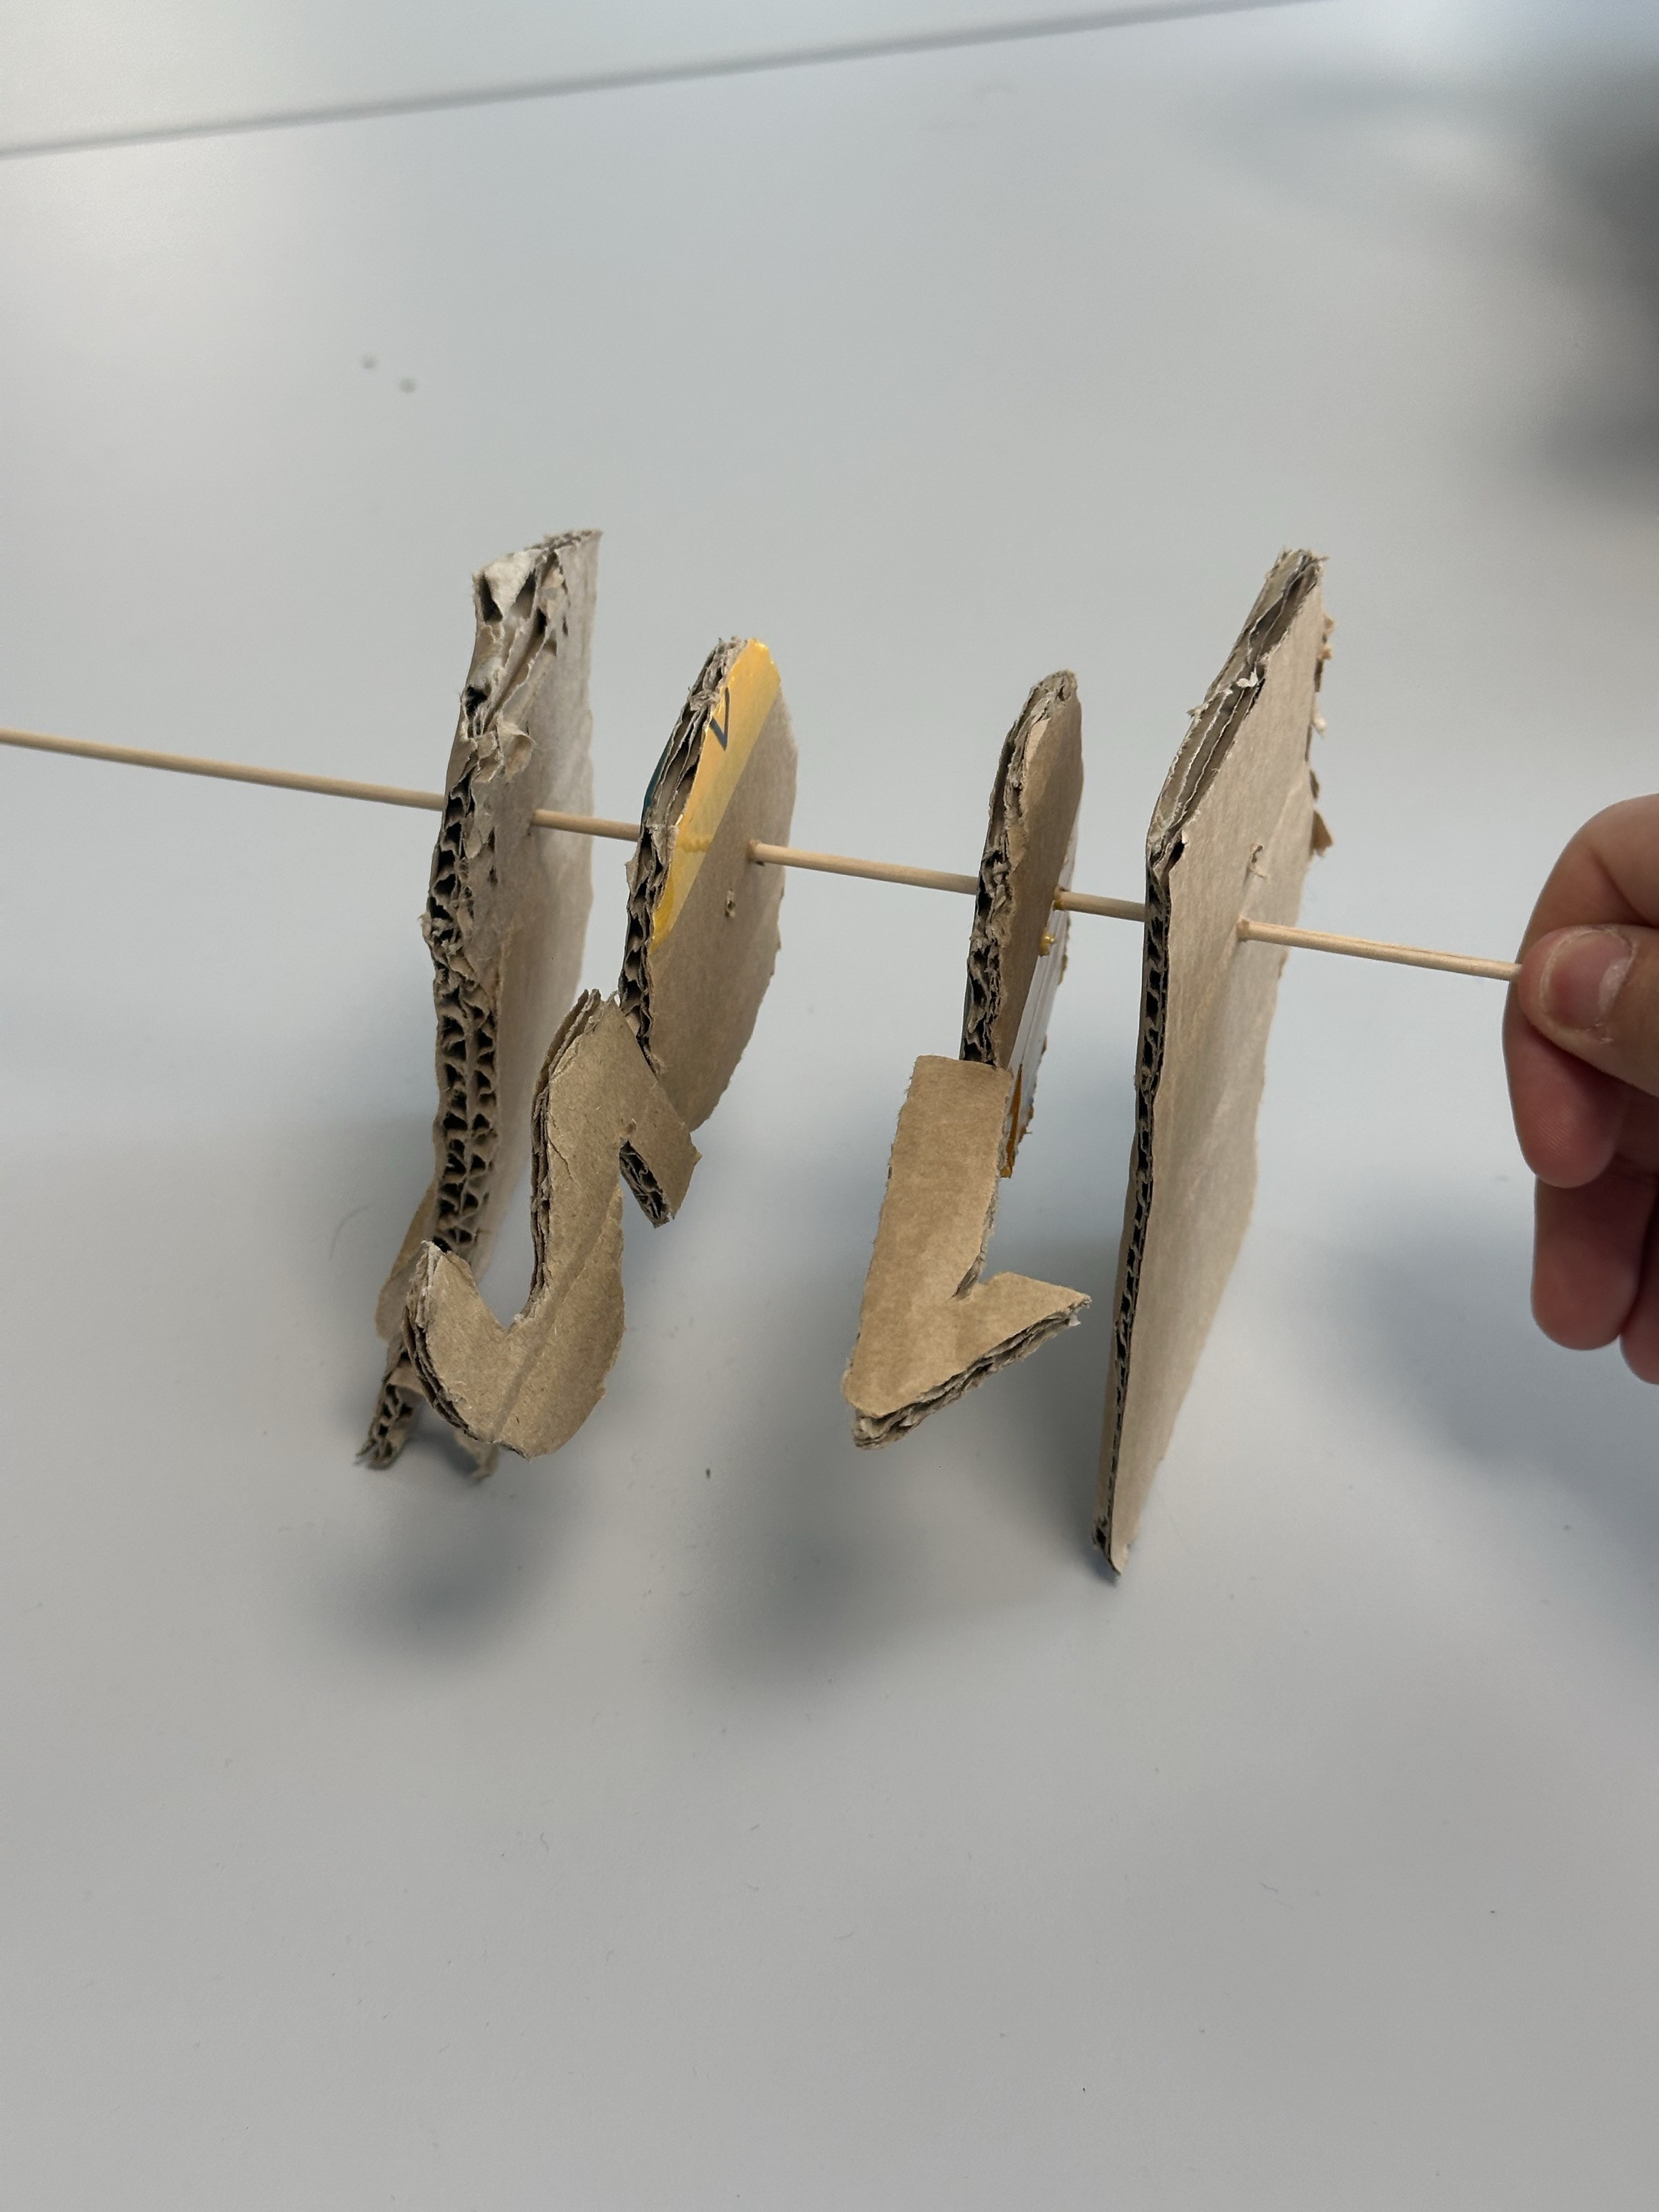
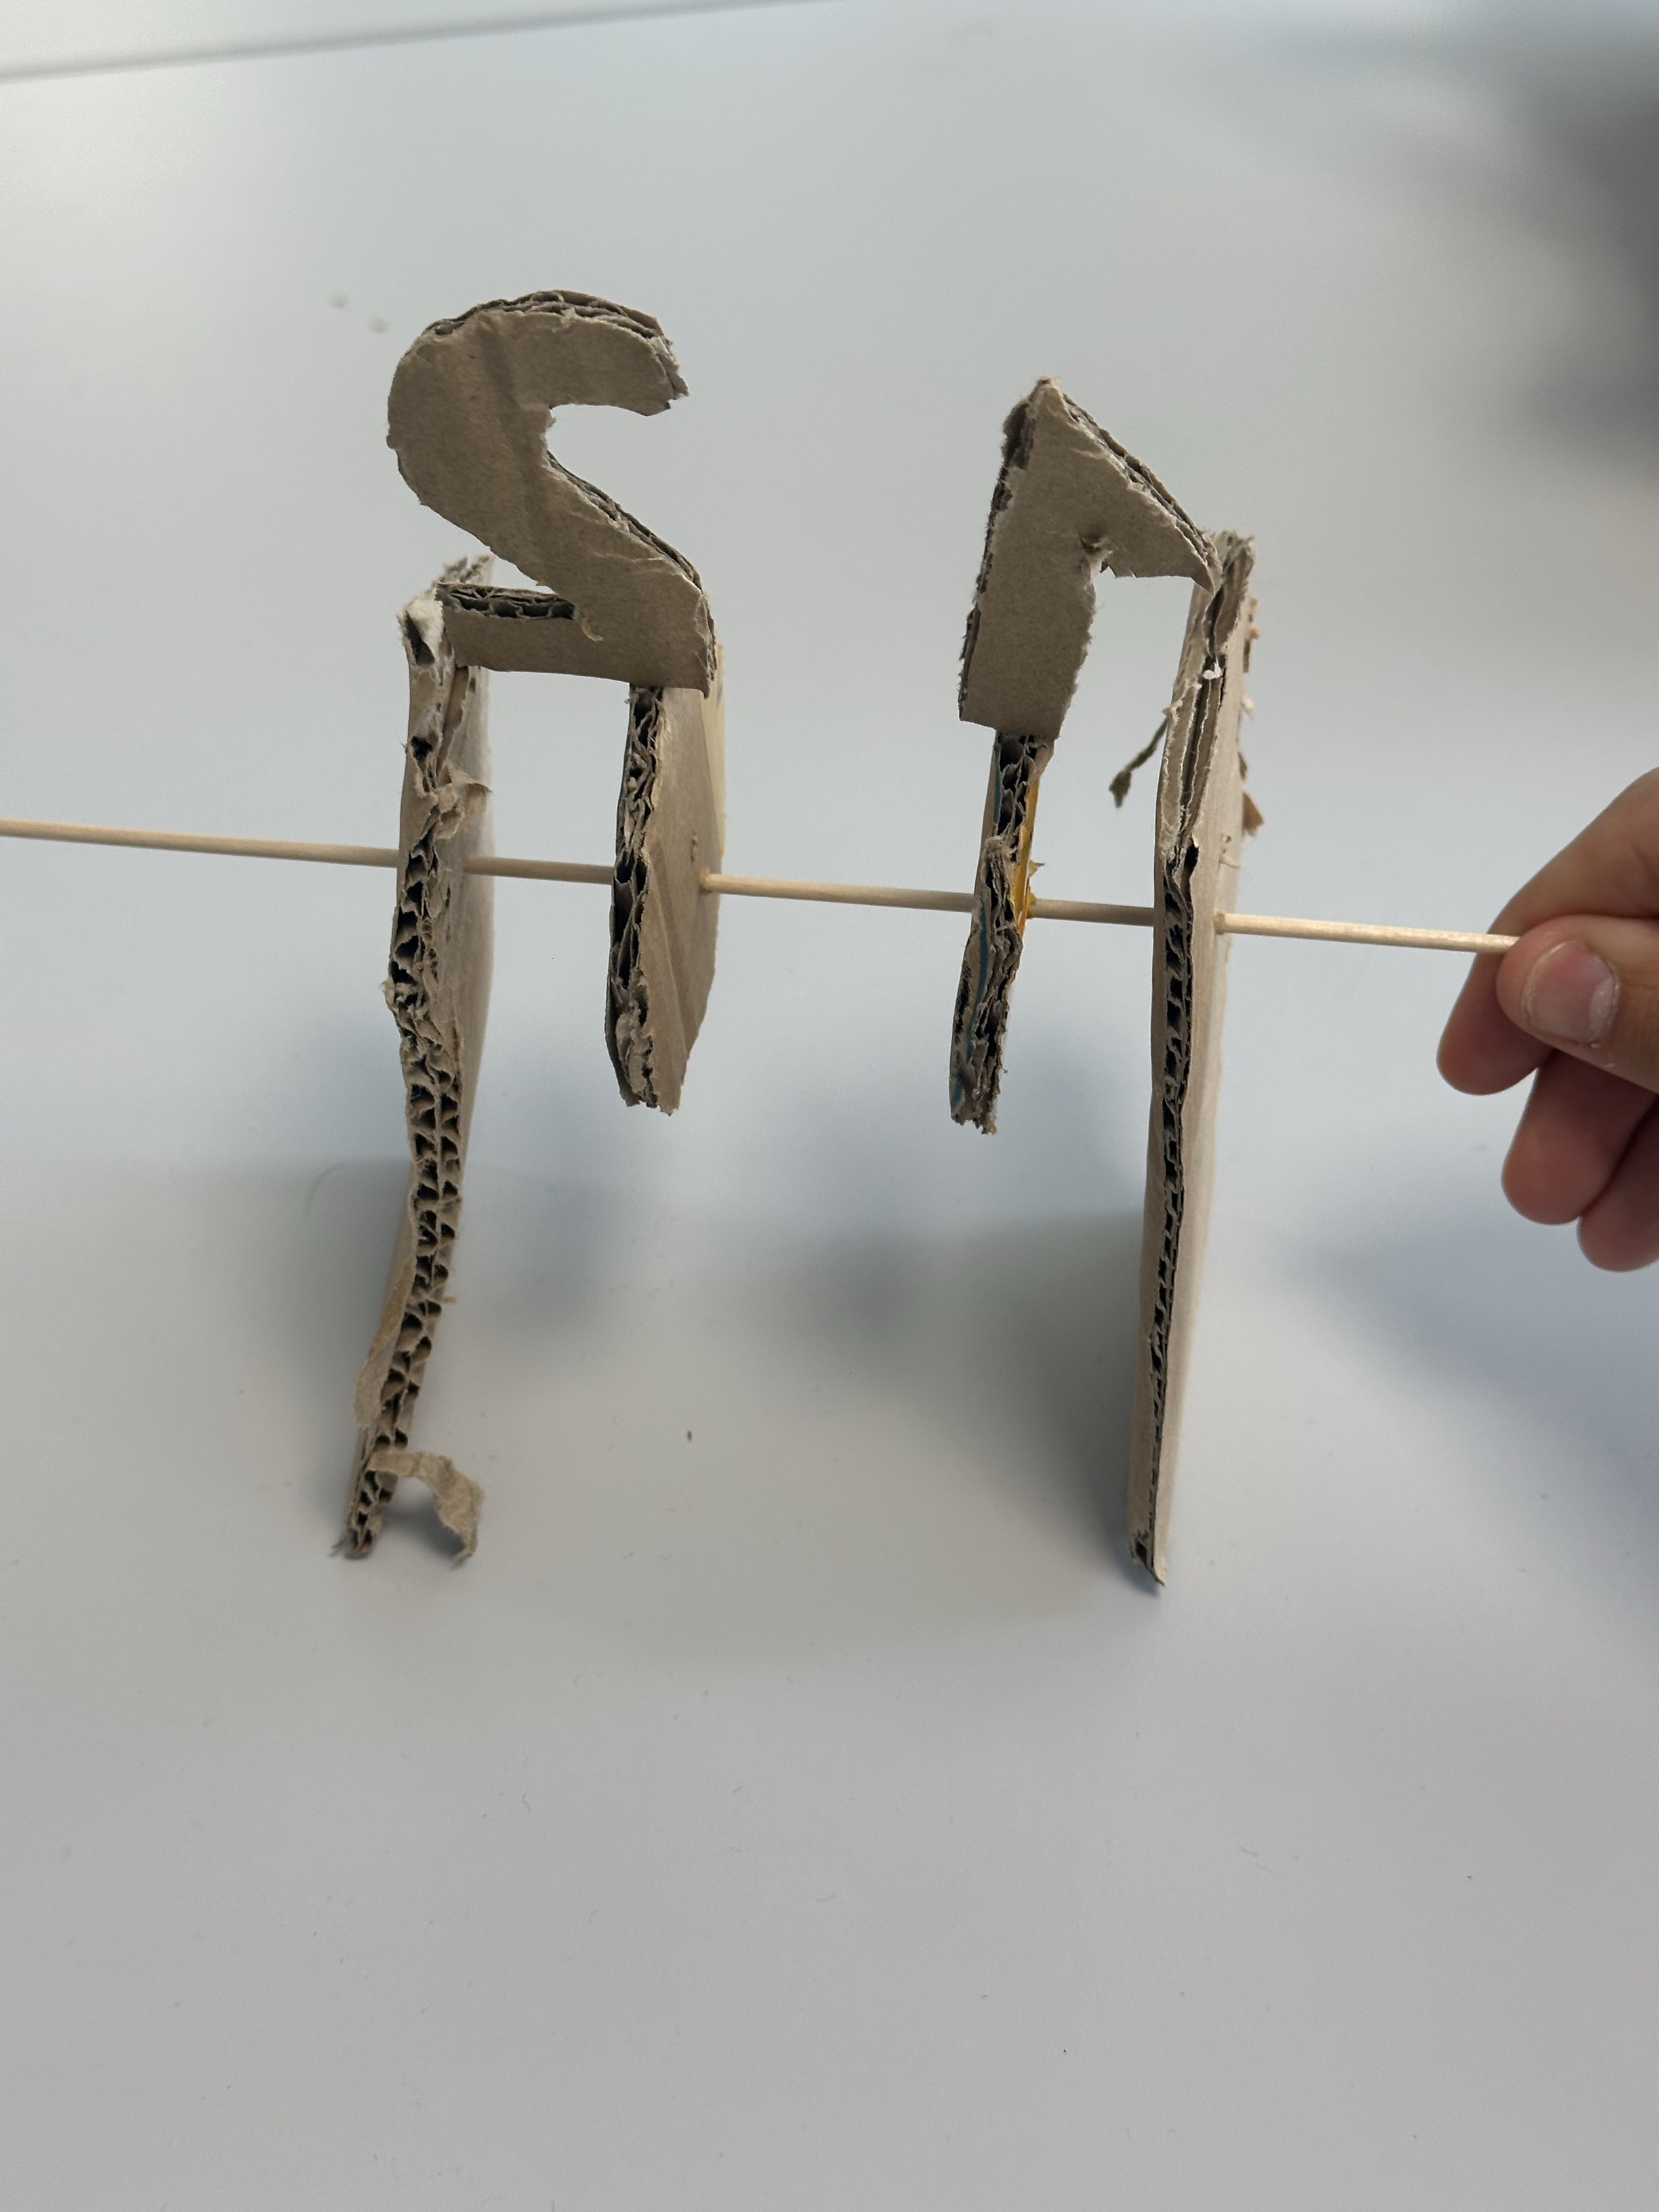
*Our first rapid-prototyping resulting clock

*Our inspiration geared-clock
#Week2
During this session, we focused on searching for 3D CAD models and printing the necessary parts to manufacture and test the operation and mechanism of a clock composed of gears.
Once the parts were printed, as they seemed to have been manufactured with the smallest 3D printable size possible, we evaluated and ensured that they had an appropriate size or scale for comfortable working. To avoid wasting material, we printed only a few pieces to verify the aforementioned.
Furthermore, we dedicated this session to understanding the geometry required for a cam to push a cam-follower and how this assembly can display a message to the user, in this case, the time. We attach a photo of a video we found on the internet, which proved to be very useful and excellent for understanding how cams work.
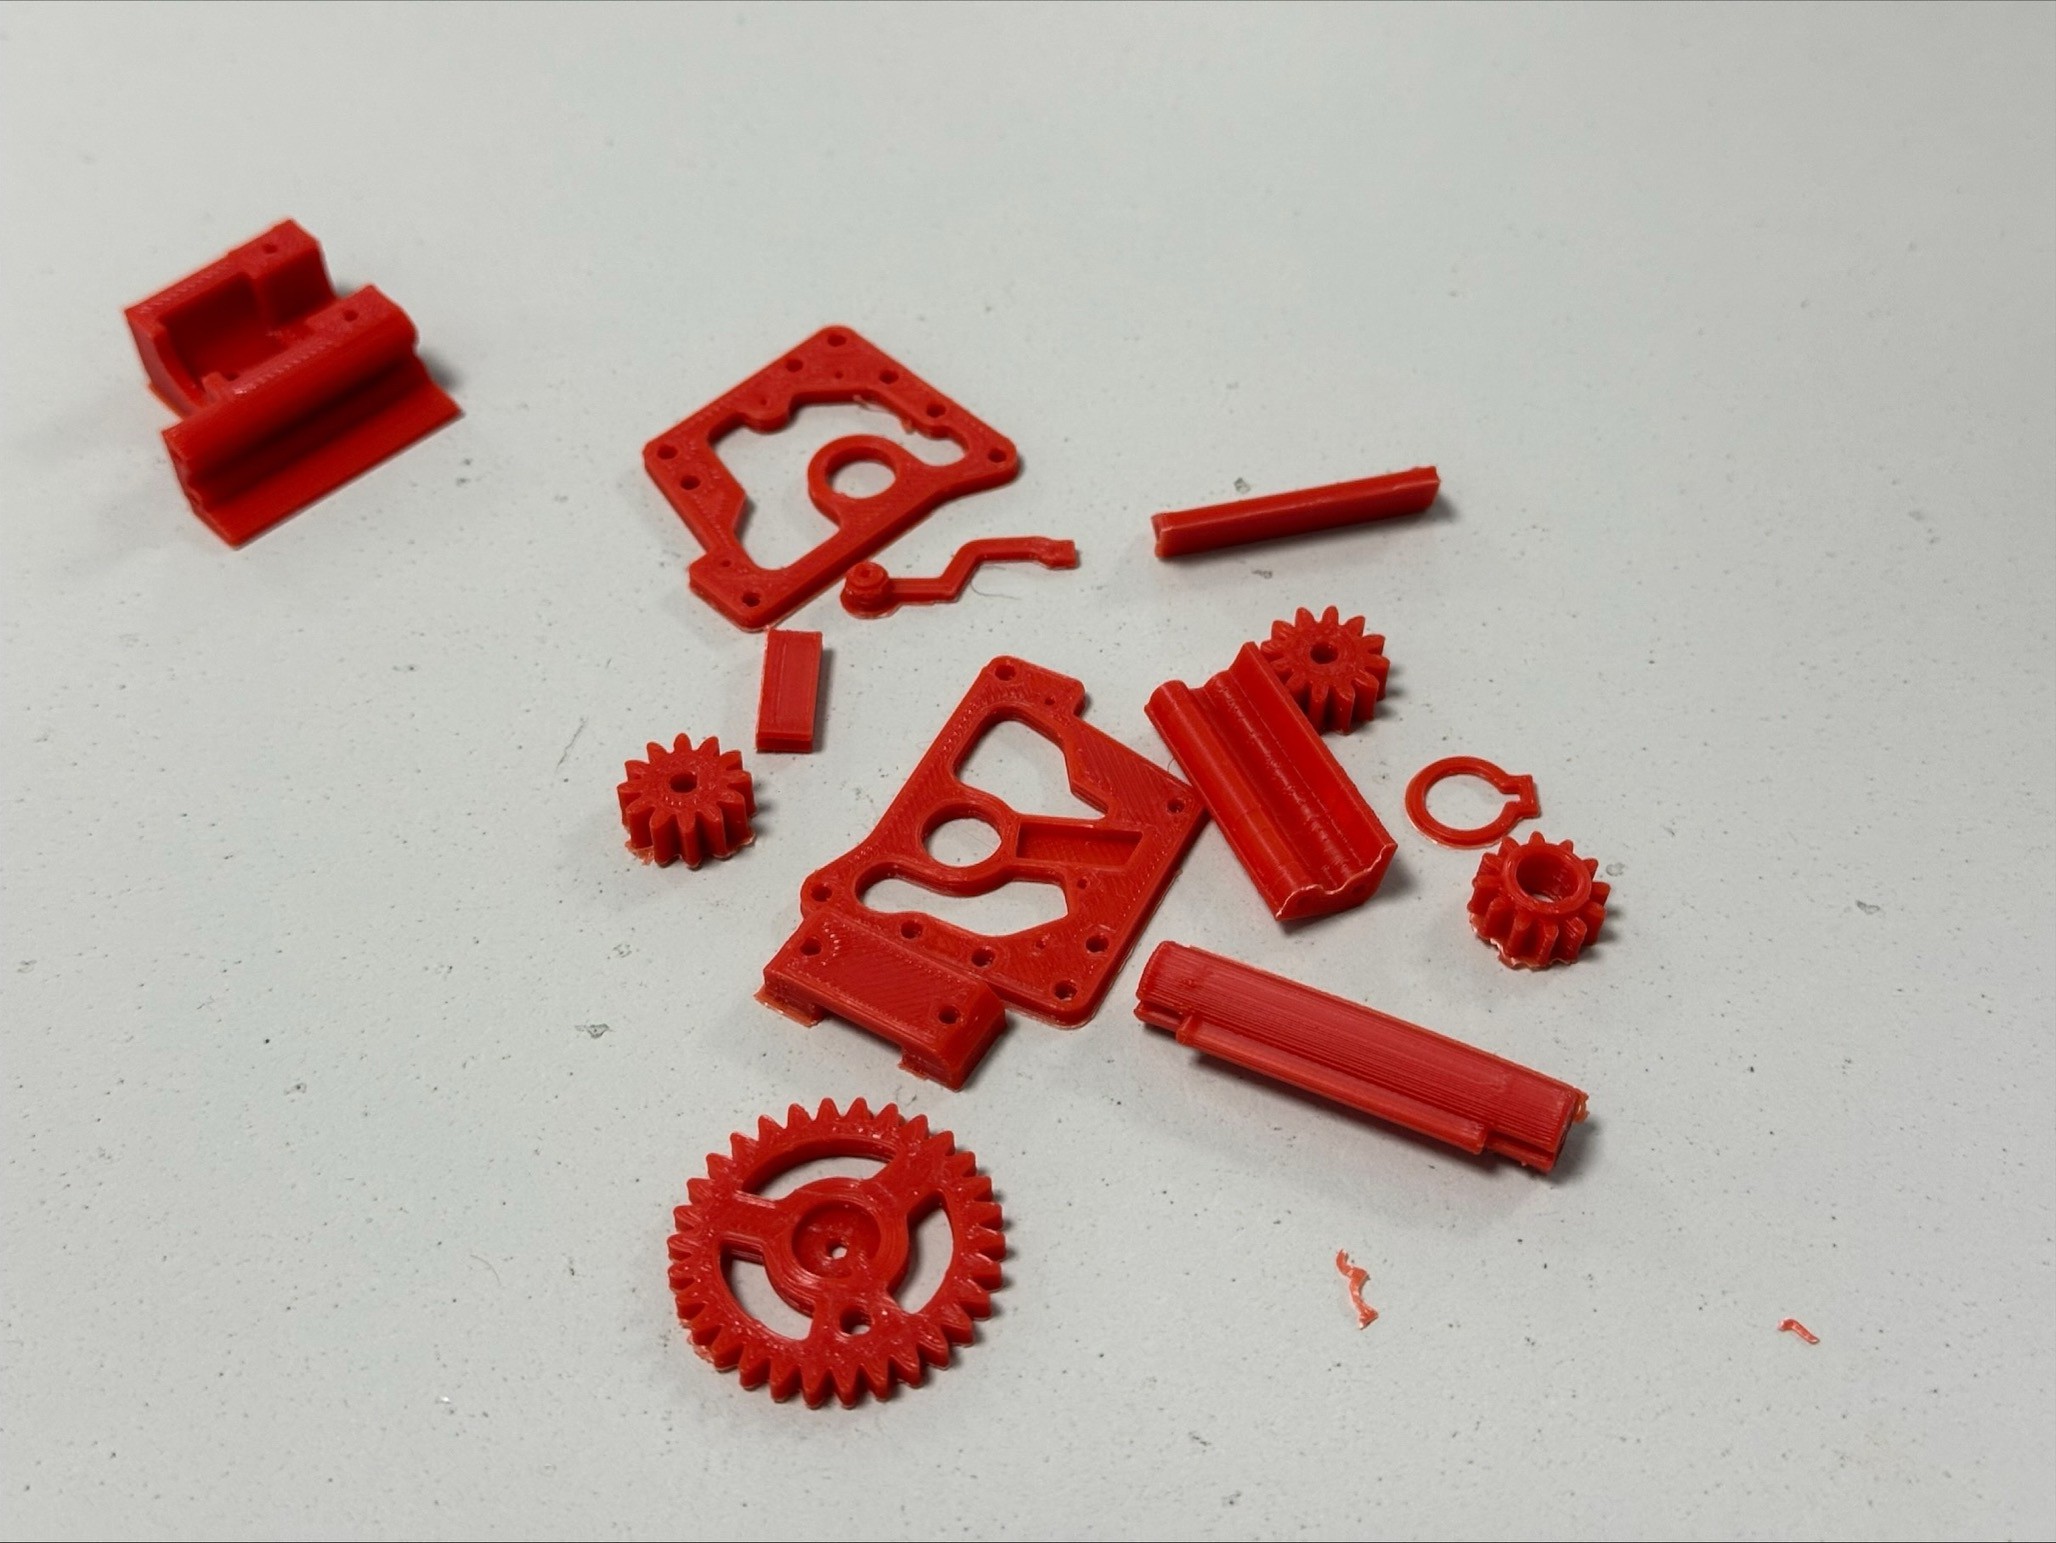
*First parts printed
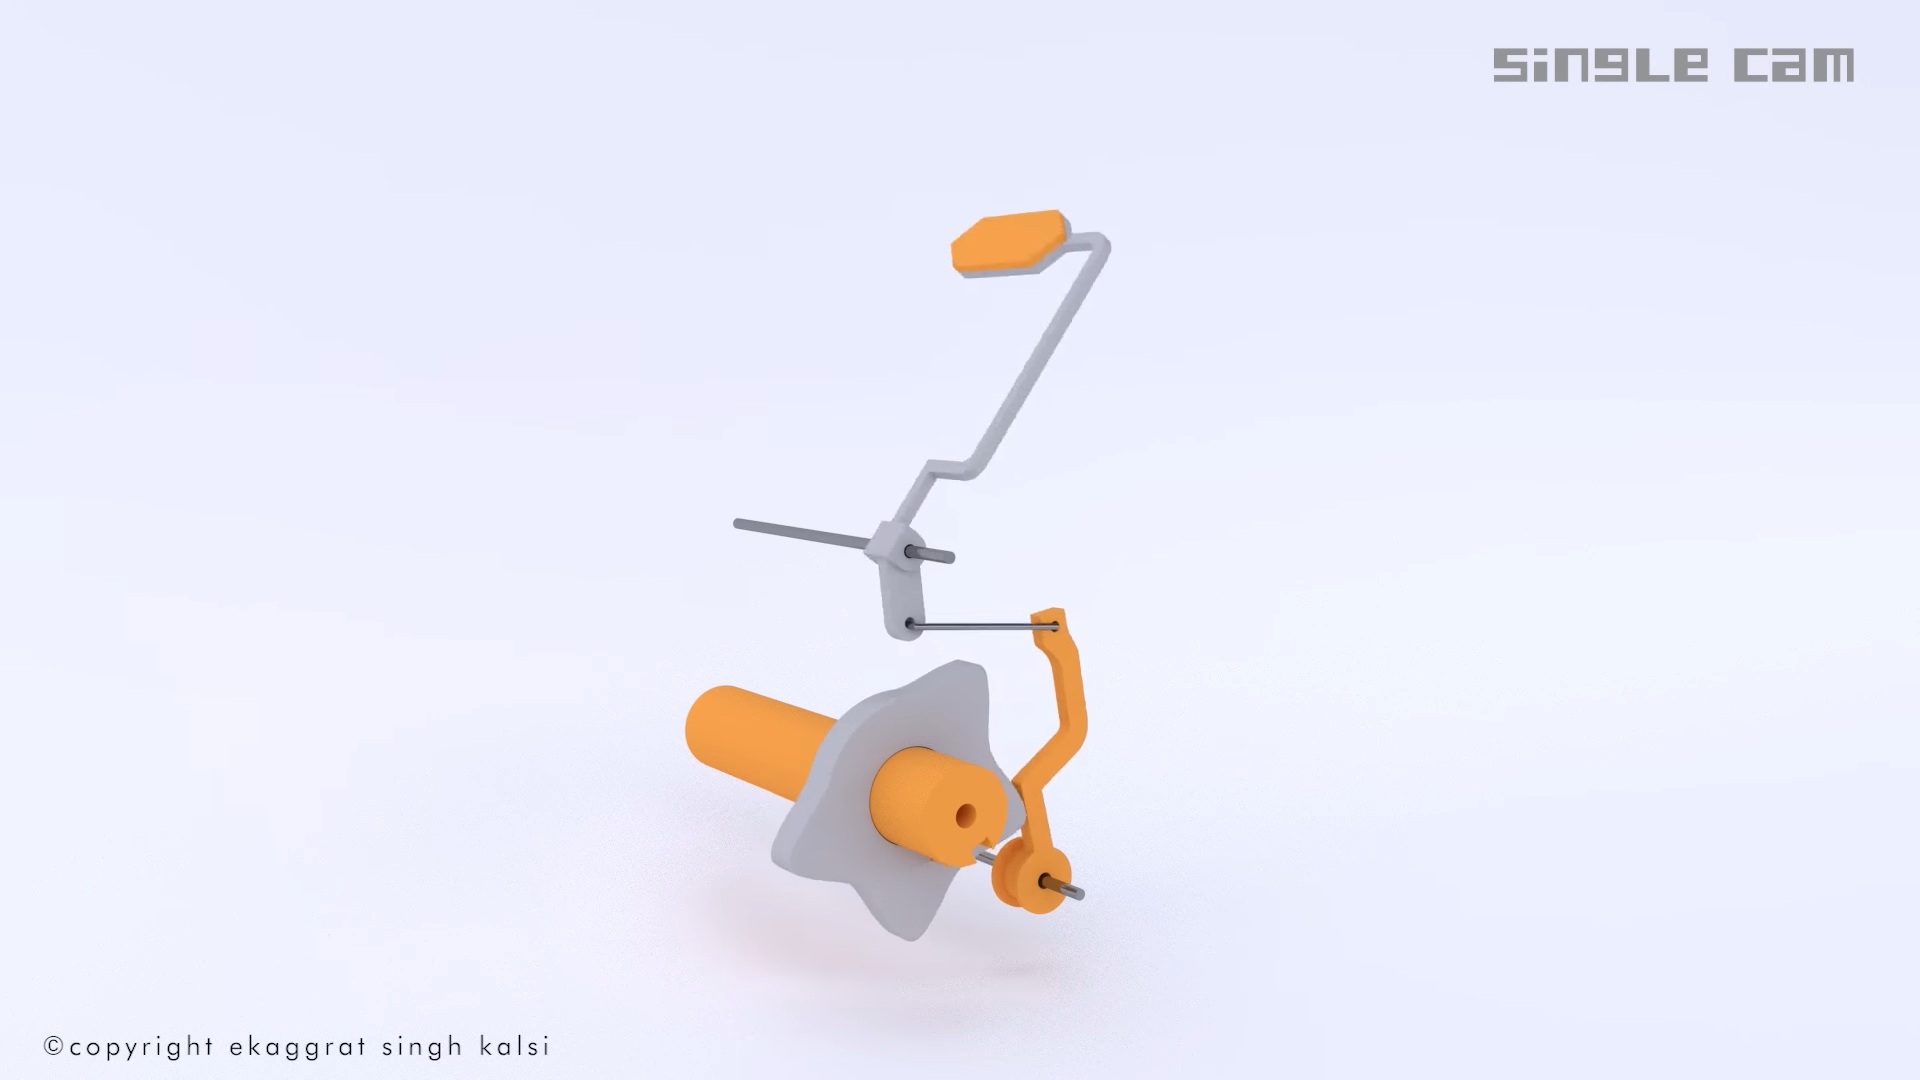

*Understanding of how a cam works simultaneously pushing a cam-follower to display a message
Discussions
Become a Hackaday.io Member
Create an account to leave a comment. Already have an account? Log In.