 CriptasticHacker
A friend of mine is always excited about hacking wheelchairs - they are a fellow power chair user and we each have Whill F's. We've been chatting about getting a hack session together to see what we can discover.
This is all coming together recently though, since I got some new parts thanks to Right to Repair. If you haven't seen my video presentation on that, I highly recommend it!
My friend has also been starting this non-profit for wheelchair tinkerers called "Grassroots Open Assistive Tech" - or, GOAT!
They put together a call-out and found none other than...a local battery design space to host us! Sweet!
So we have parts and we have a hack day on the calendar. But what to prepare before hand?
I've been afraid to open a $660+ battery (after tax). I mean, that's a lot of bread! But my friend, let's call him "Agent H" gave me some late night encouragement over a video call:

Agent H is a totally brilliant engineer that can reverse engineer a great many things. He is also a kind and patient soul, good for calming my nerves. If I was gonna feel safe enough to take the plunge, this was probably it!
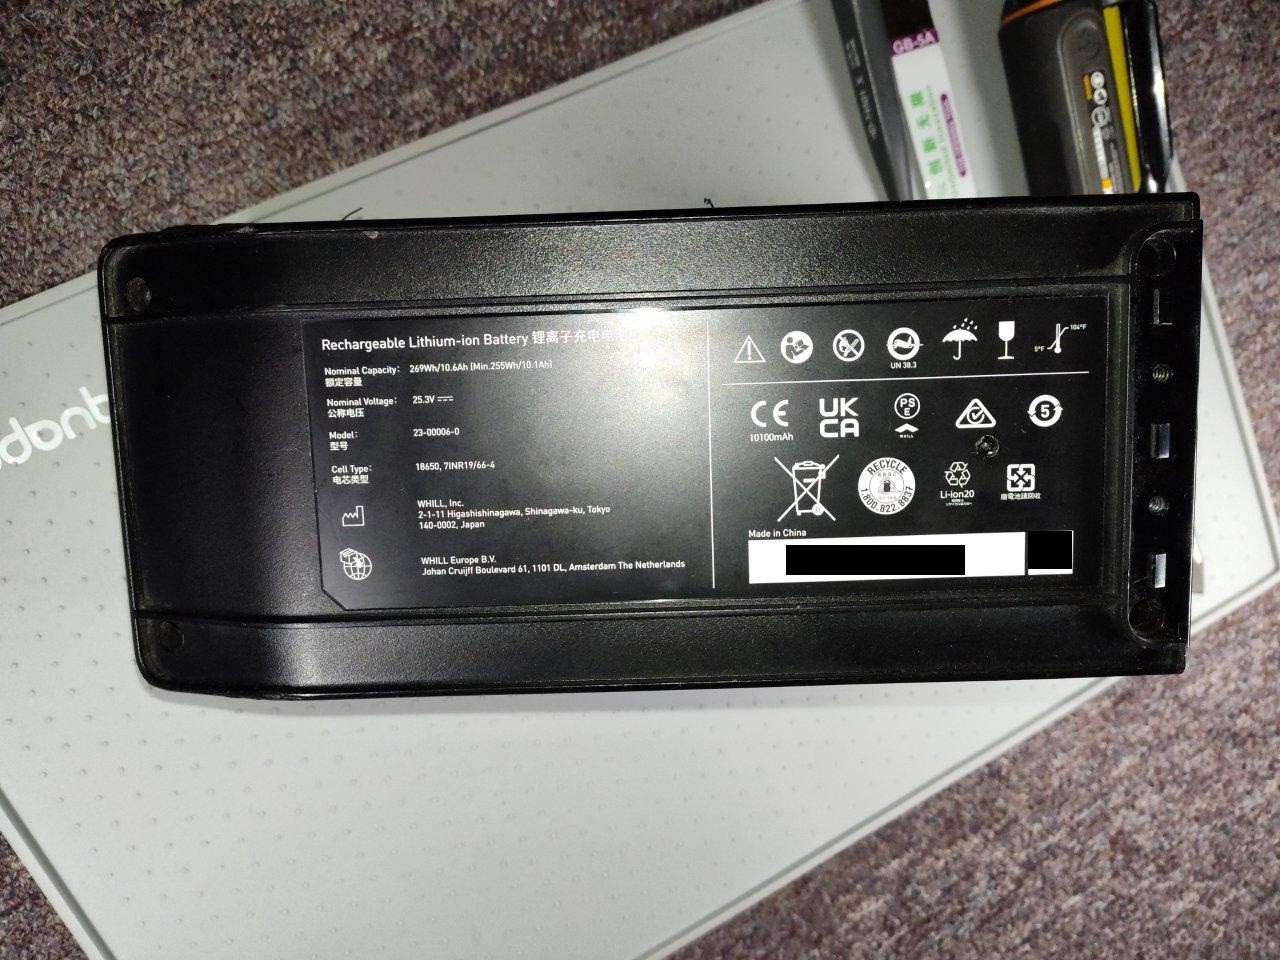
It's a nice-looking battery. Solid, smooth Japanese engineering behind this one:
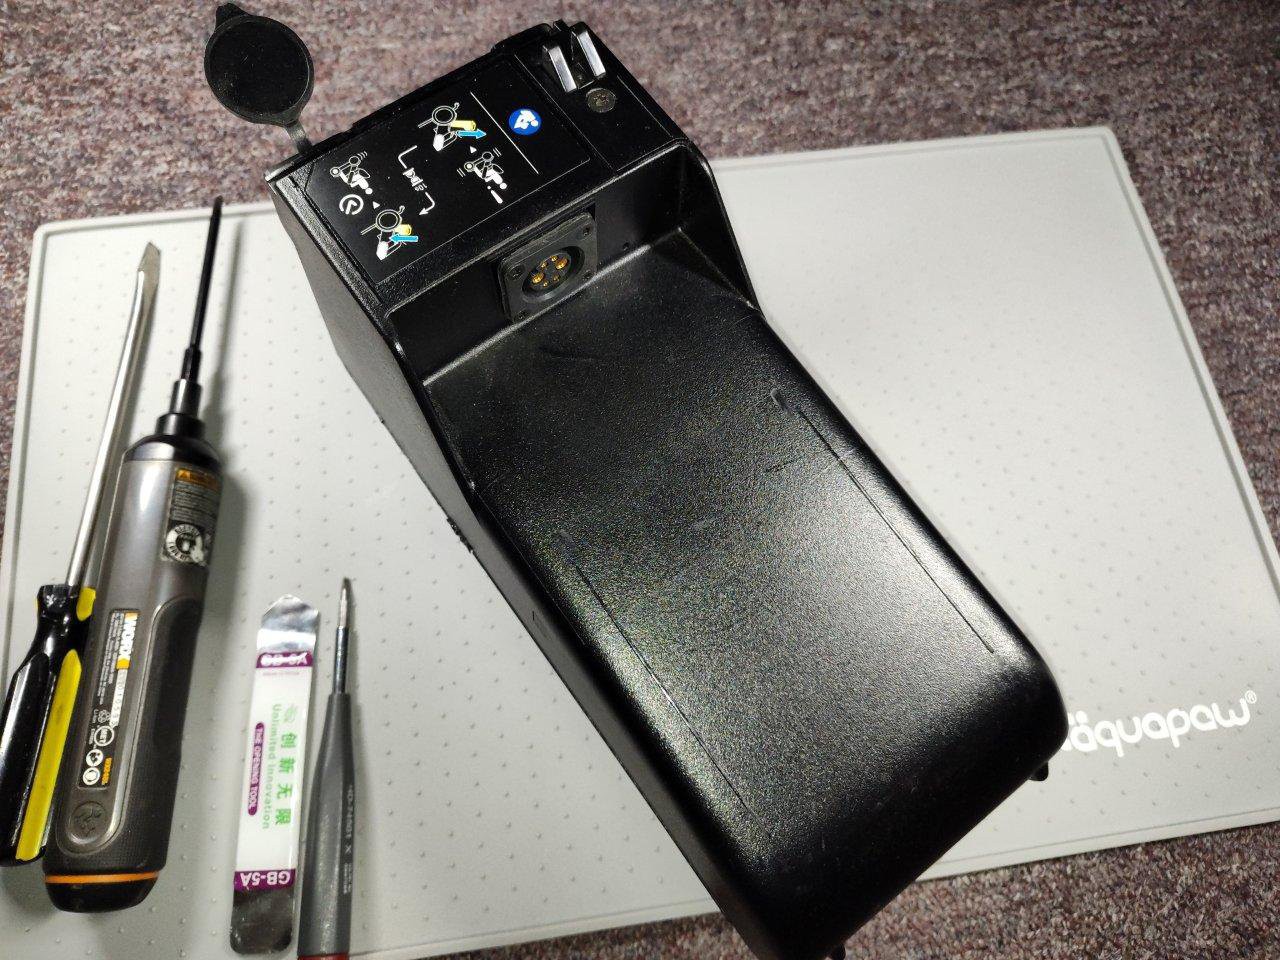
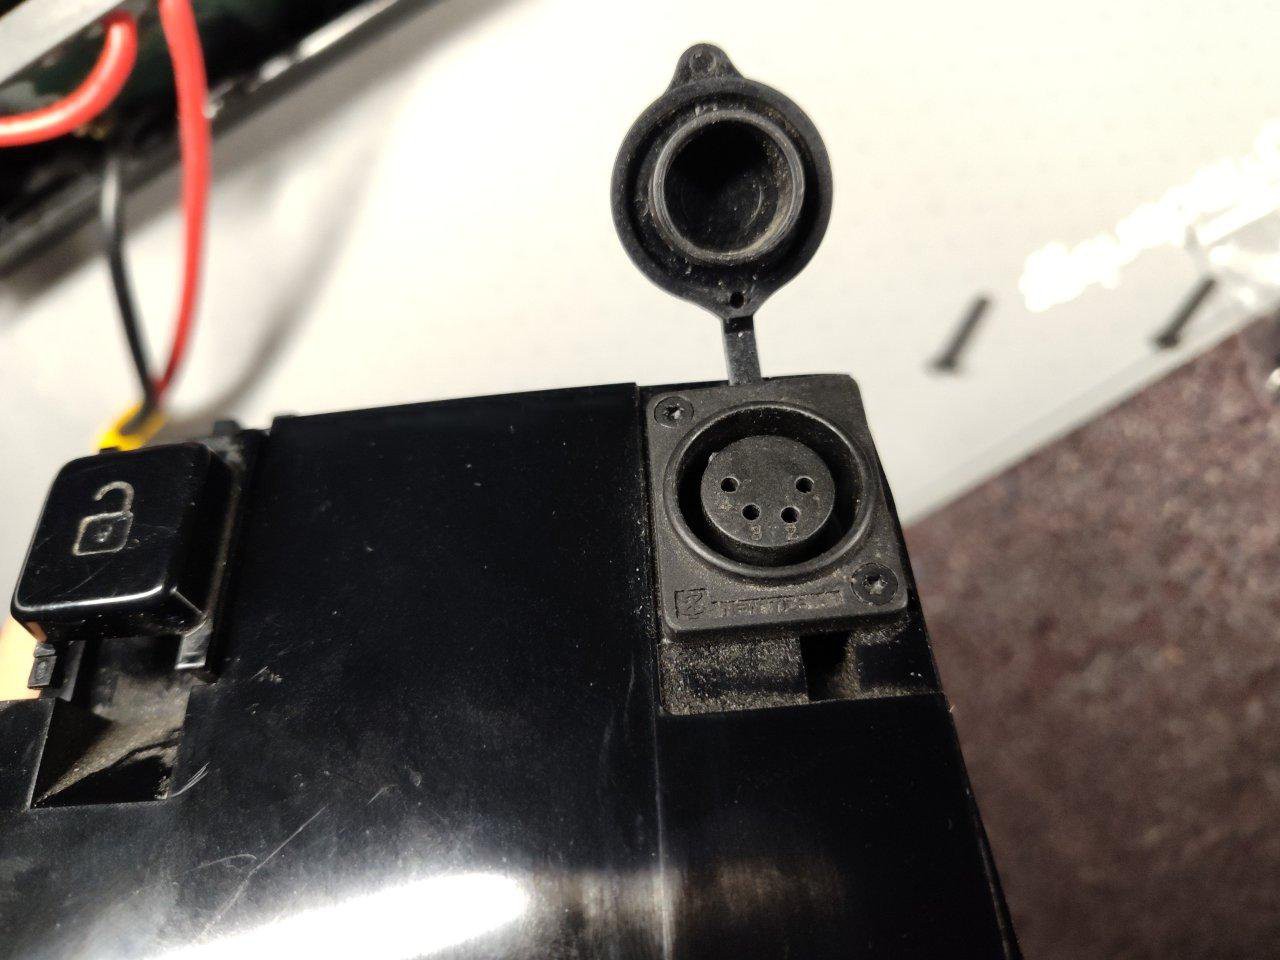
The charging port is a somewhat uncommon XLR-4 pin connector. It has a weathproof socket cover. On the left is a nice pushbutton release mech, which actually doesn't need to be removed at all for getting inside this battery.
Then we have this nasty guy....
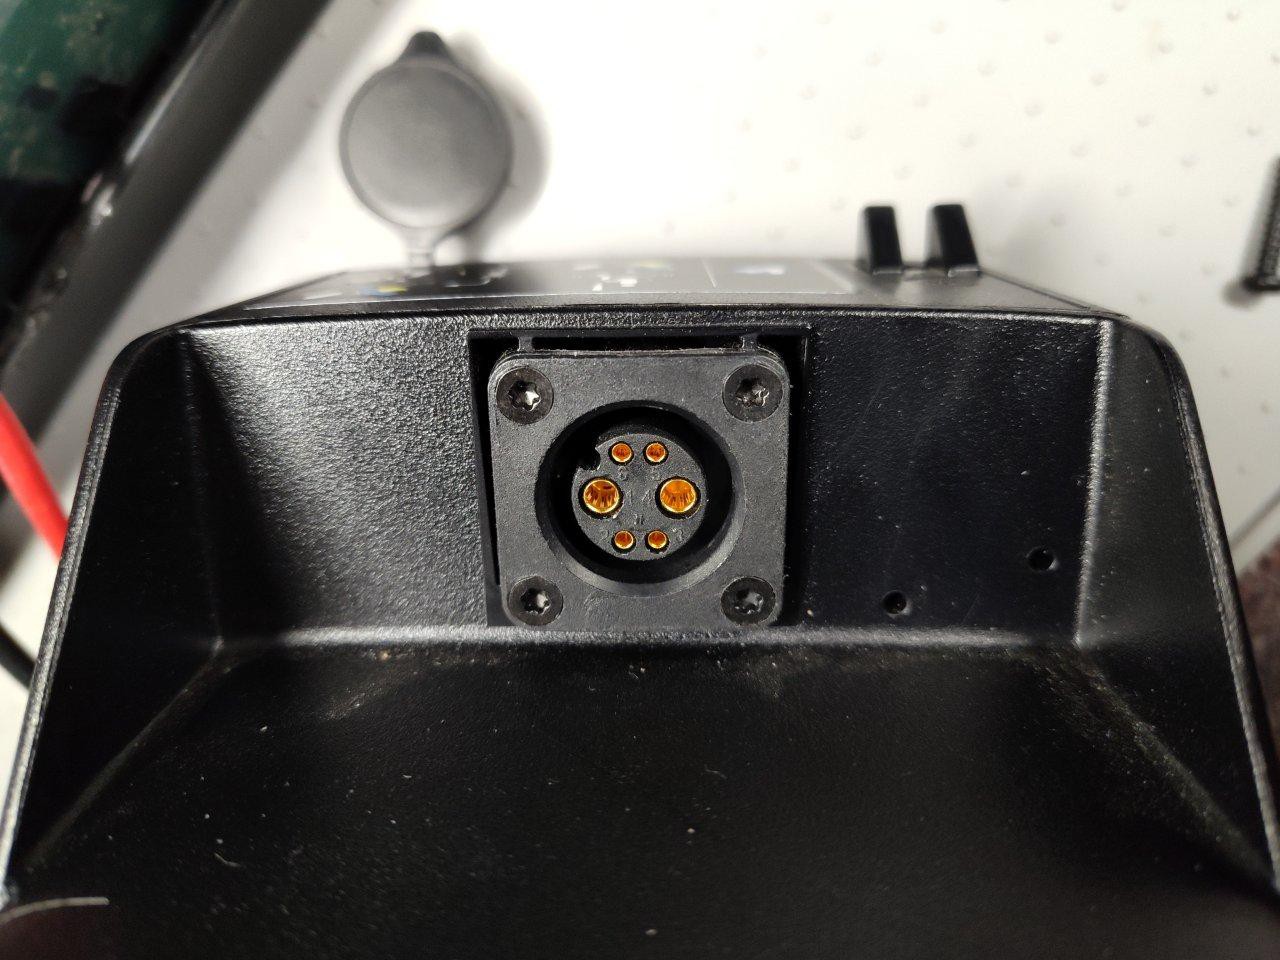
Mega proprietary plug! I couldn't find a source for this anywhere. It's got 2 center power pins and 4x data pins. Also notice the "key" notch around the socket.
With the necessary tools out, I took a look for where the obvious screw are. They are star (torx) bits in 4 places on the bottom side..

Those 4 screws removed easy. Then was this vanity plastic cover with the handle. That had 3 sorta-annoying plastic clips to undo...
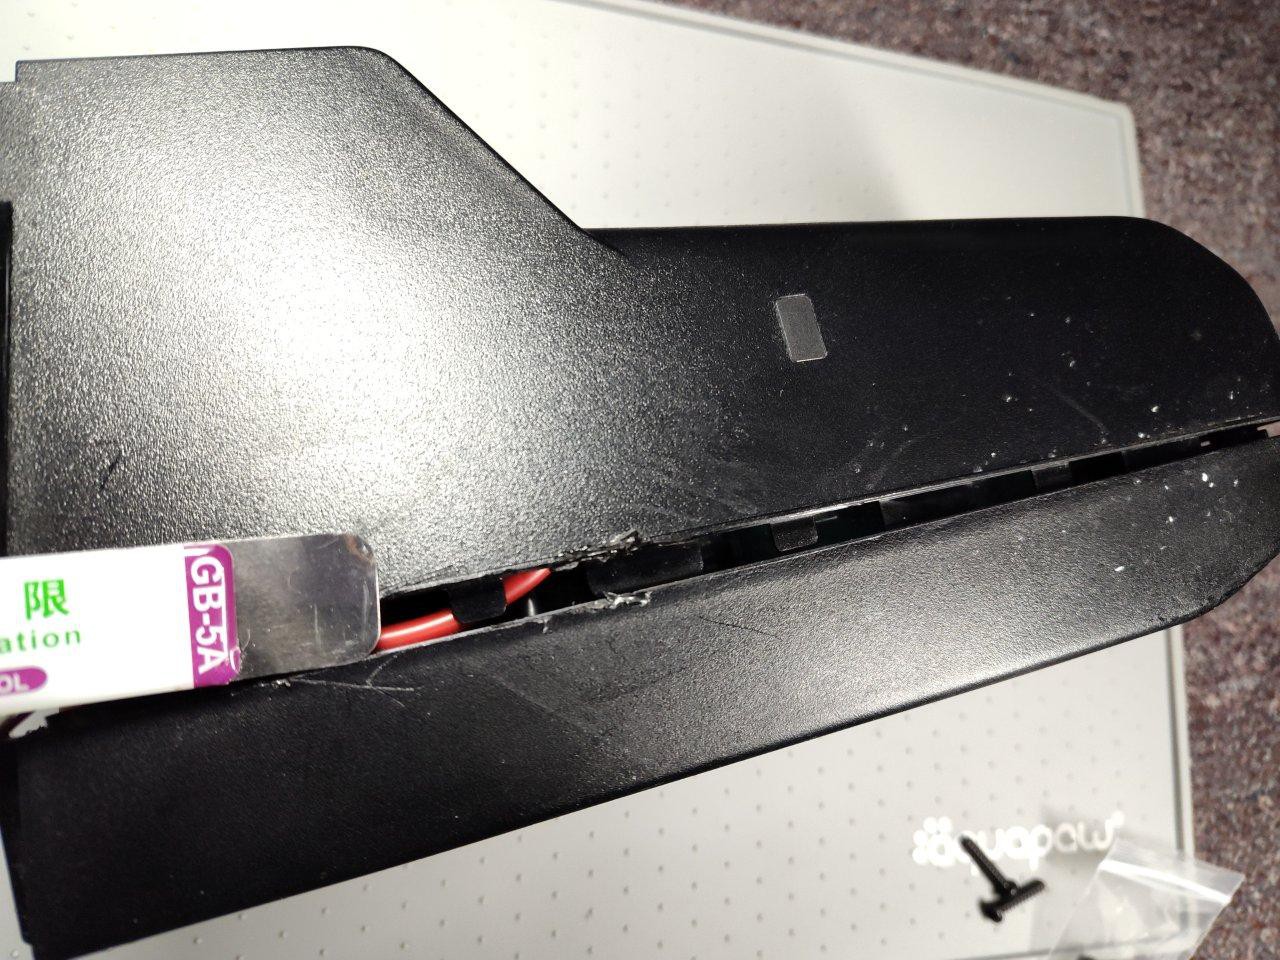
...but the real pain was working around the perimeter of the casing. Clips galore, and foam-like weather seal as well. This took me almost half an hour of wedging, prying, and cursing.
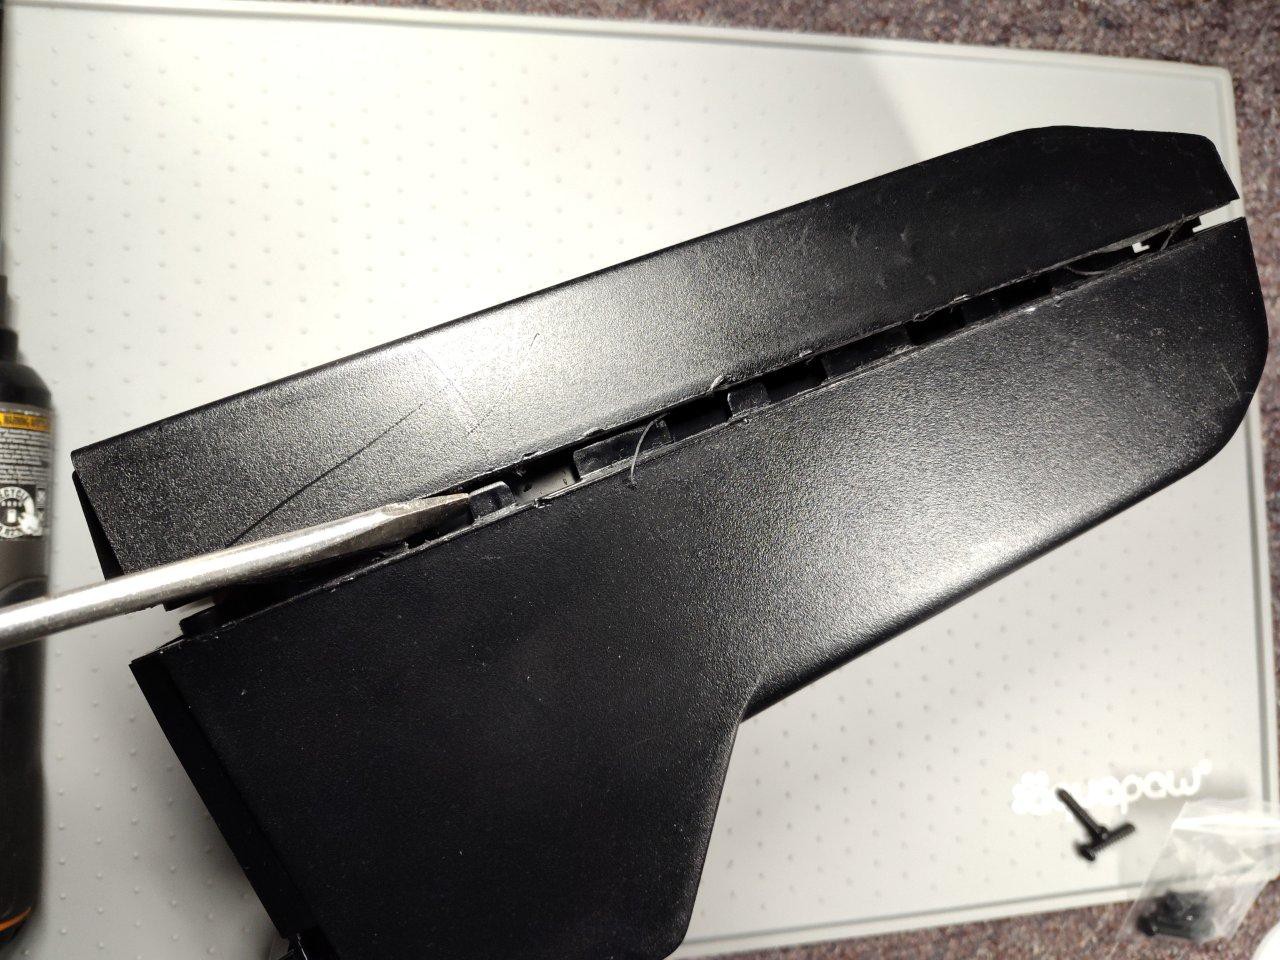
but finally I made it in!
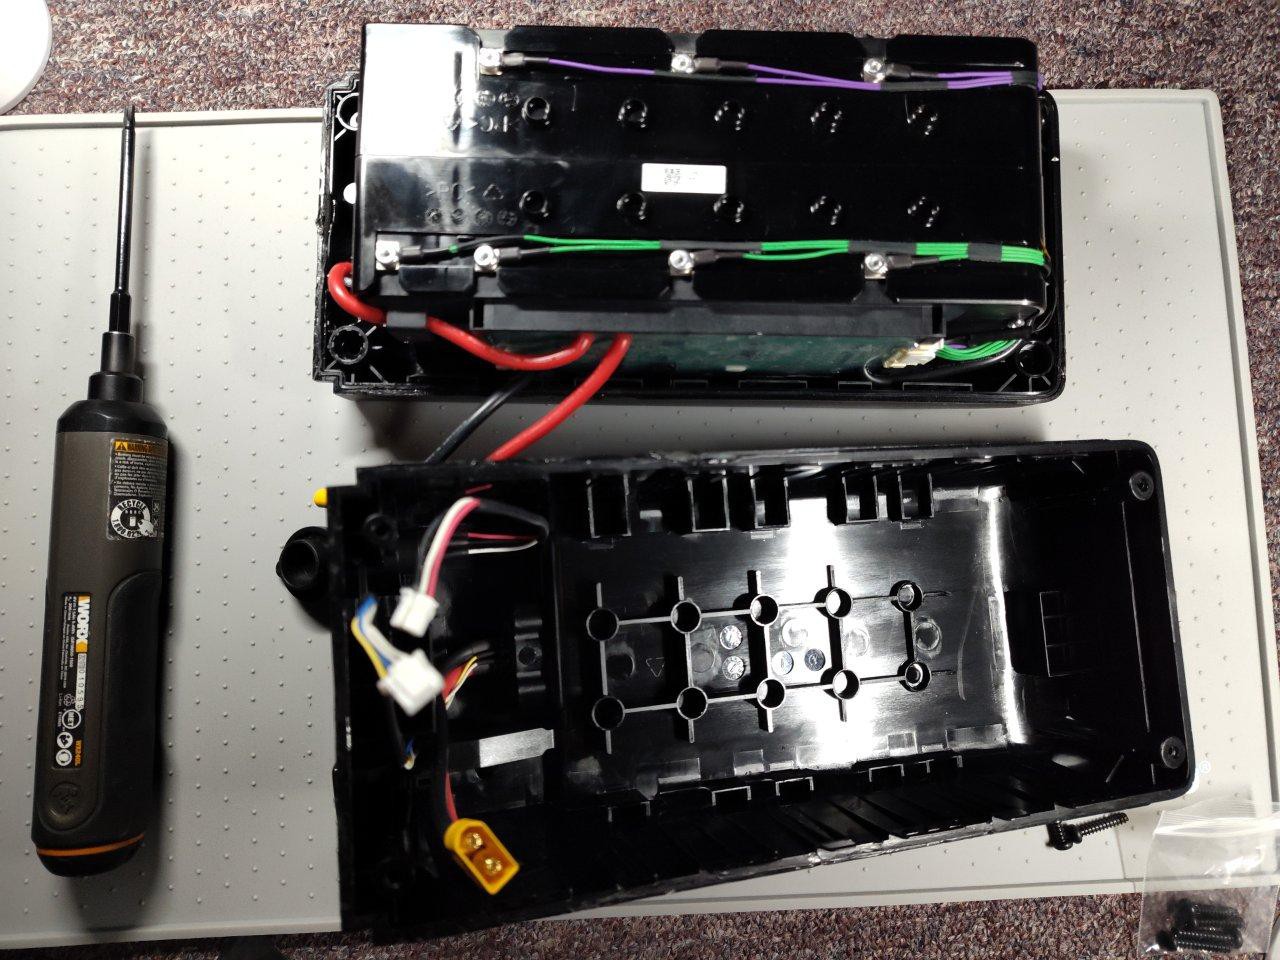
[To be continued...]
Discussions
Become a Hackaday.io Member
Create an account to leave a comment. Already have an account? Log In.