 Eric B
Top & Bottom Faceplate Design

I used FreeCAD to design the plates and validated the initial versions with 3D printer. I also discovered that open-sources the interior shell CAD files (score!) - so I imported them into the FreeCAD project, which made it much easier to get proper alignment. After many rounds of 3D printing and PLA burned I sent off the design files to be laser-cut. I also 3D printed some of the internal structural supports and other misc. pieces (like the cup for the nuke alert sensor). I then bathed them in Flex Seal to maintain ruggedness and watertight-ness.
To keep the top and bottom plate strongly anchored to the case, I went with the OEM Pelican base bezel (this thing is thiccc) to secure the bottom plate. And for the top plate, I cut my own out of an AL L bracket from home depot because i didn't feel like blowing another 80 bucks on a chunk of aluminum! Both support brackets were riveted through the pelican case. This came after the initial Faraday shield layer but before the & Flex Seal layer. The rivet holes were painted and/or covered with conductive fabric & tape.
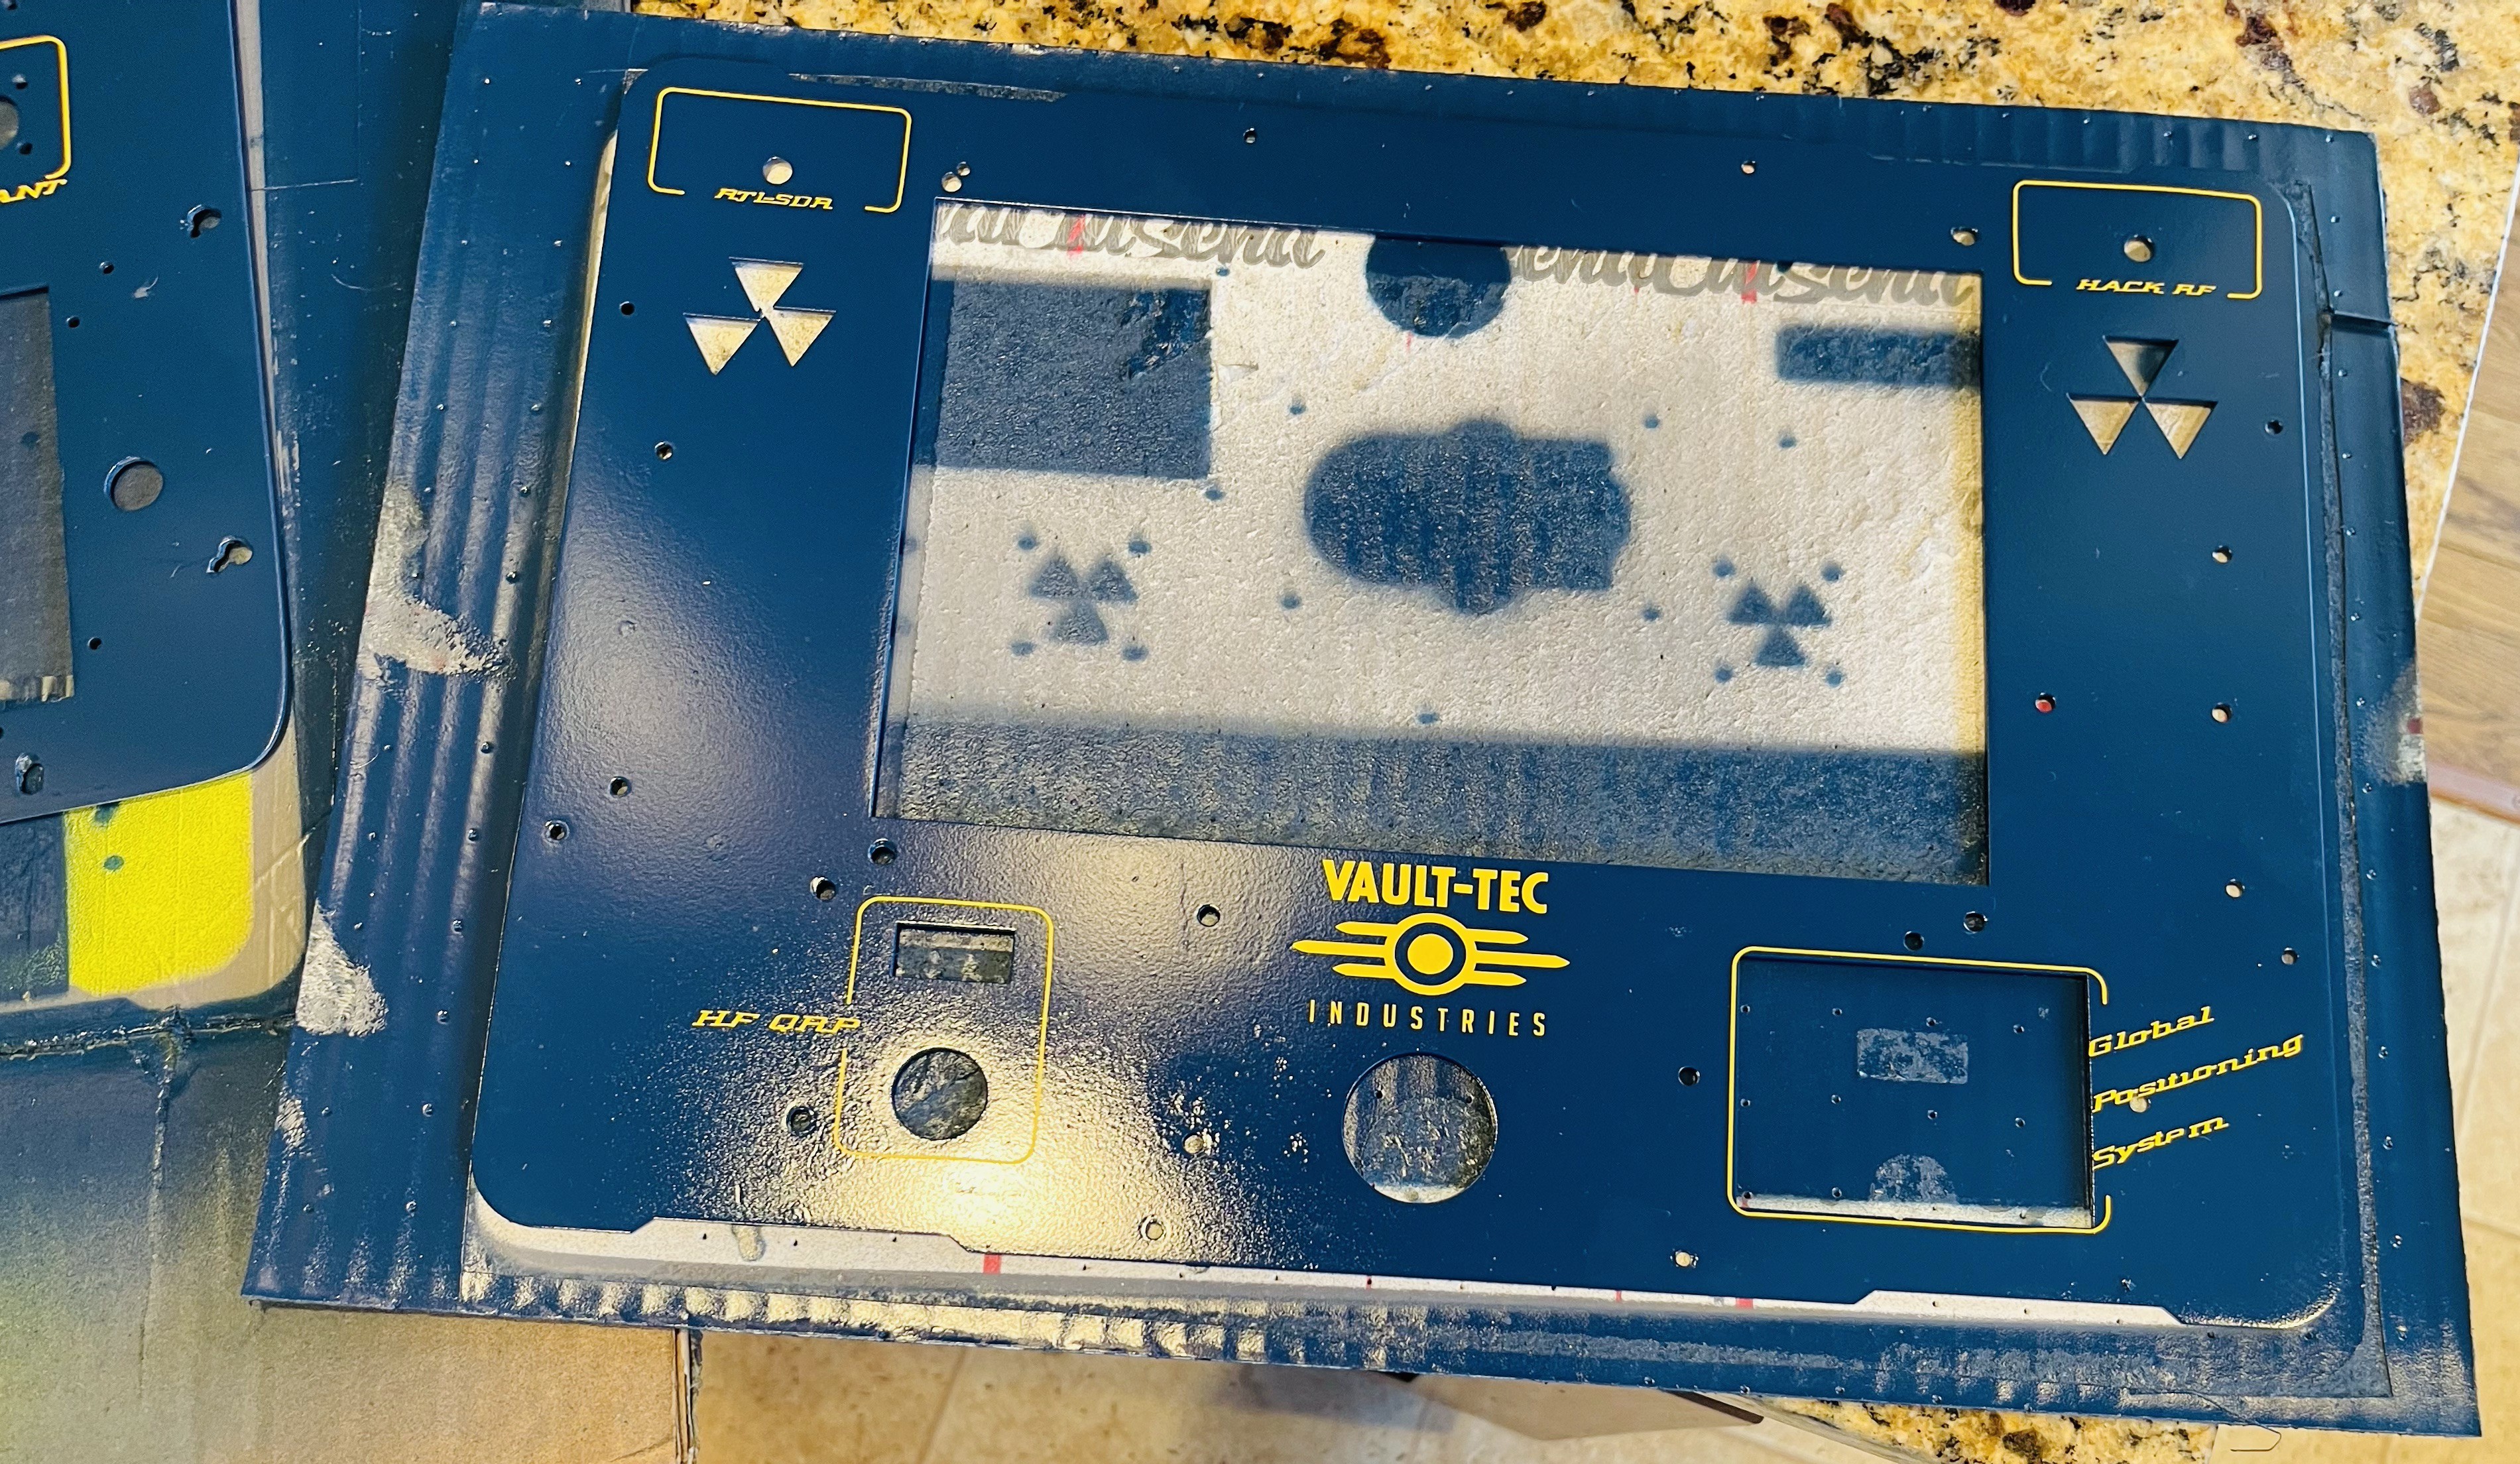
When the plates came in I sanded them down, primed them and spray painted them blue, and added Fallout vinyl decals. There was a misalignment in the top left fan cutout which happened when deburring - pretty sure this was my noob CAD screwup but I ended up getting a replacement for free - thanks SendCutSend!
Discussions
Become a Hackaday.io Member
Create an account to leave a comment. Already have an account? Log In.