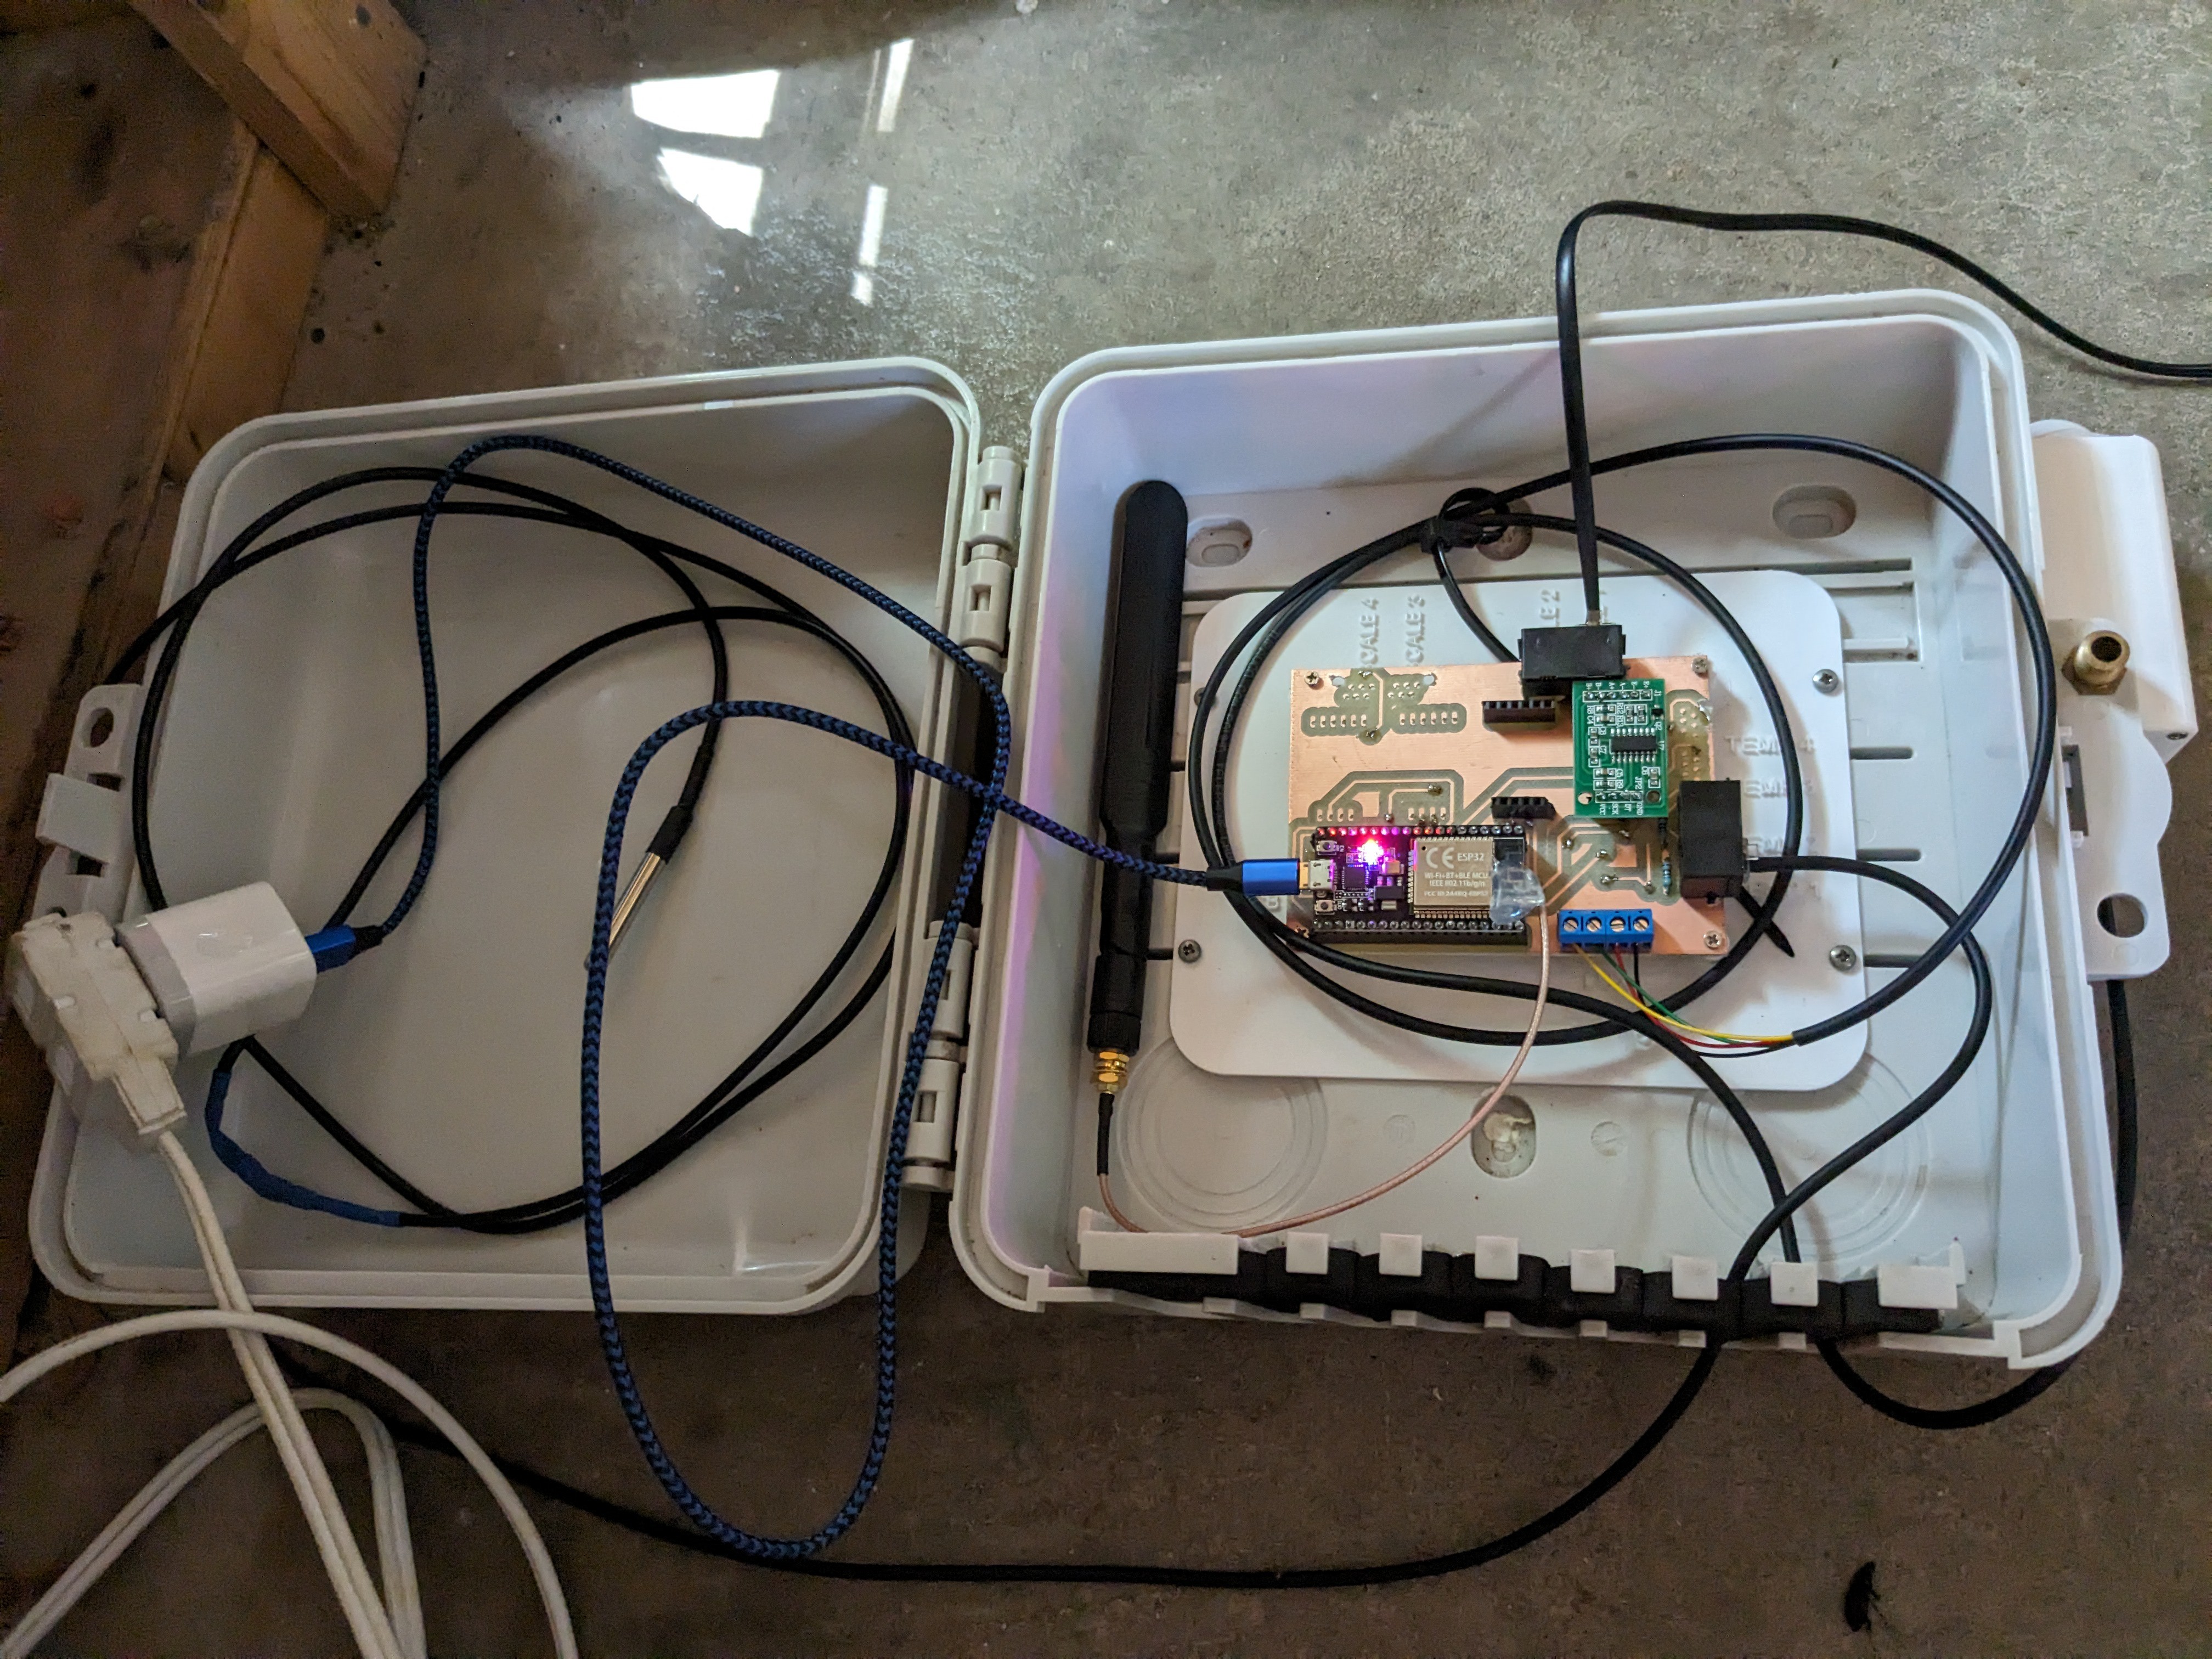
We (my wife and I) have had bees off and on for nearly a decade, and during that time I came across the open-source project HiveTool. It worked well-enough, but unbeknownst to me it had very recently become a mostly abandoned project right as I discovered it. A string of several bad seasons for our bees, and we decided to call it quits. Fast-forward to now, with a renewed motivation to give bee keeping a go again I decided I definitely wanted to pull data about our hive into Home Assistant. After verifying that the original project was still dead, I decided to essentially just re-create it in ESPHome and Home Assistant. Some strain-gauges (in my case, re-using existing ones I already had), a new temperature and light sensor, and an ESP32 (with an added external antenna) combined with a PCB I milled myself and I was ready to go.
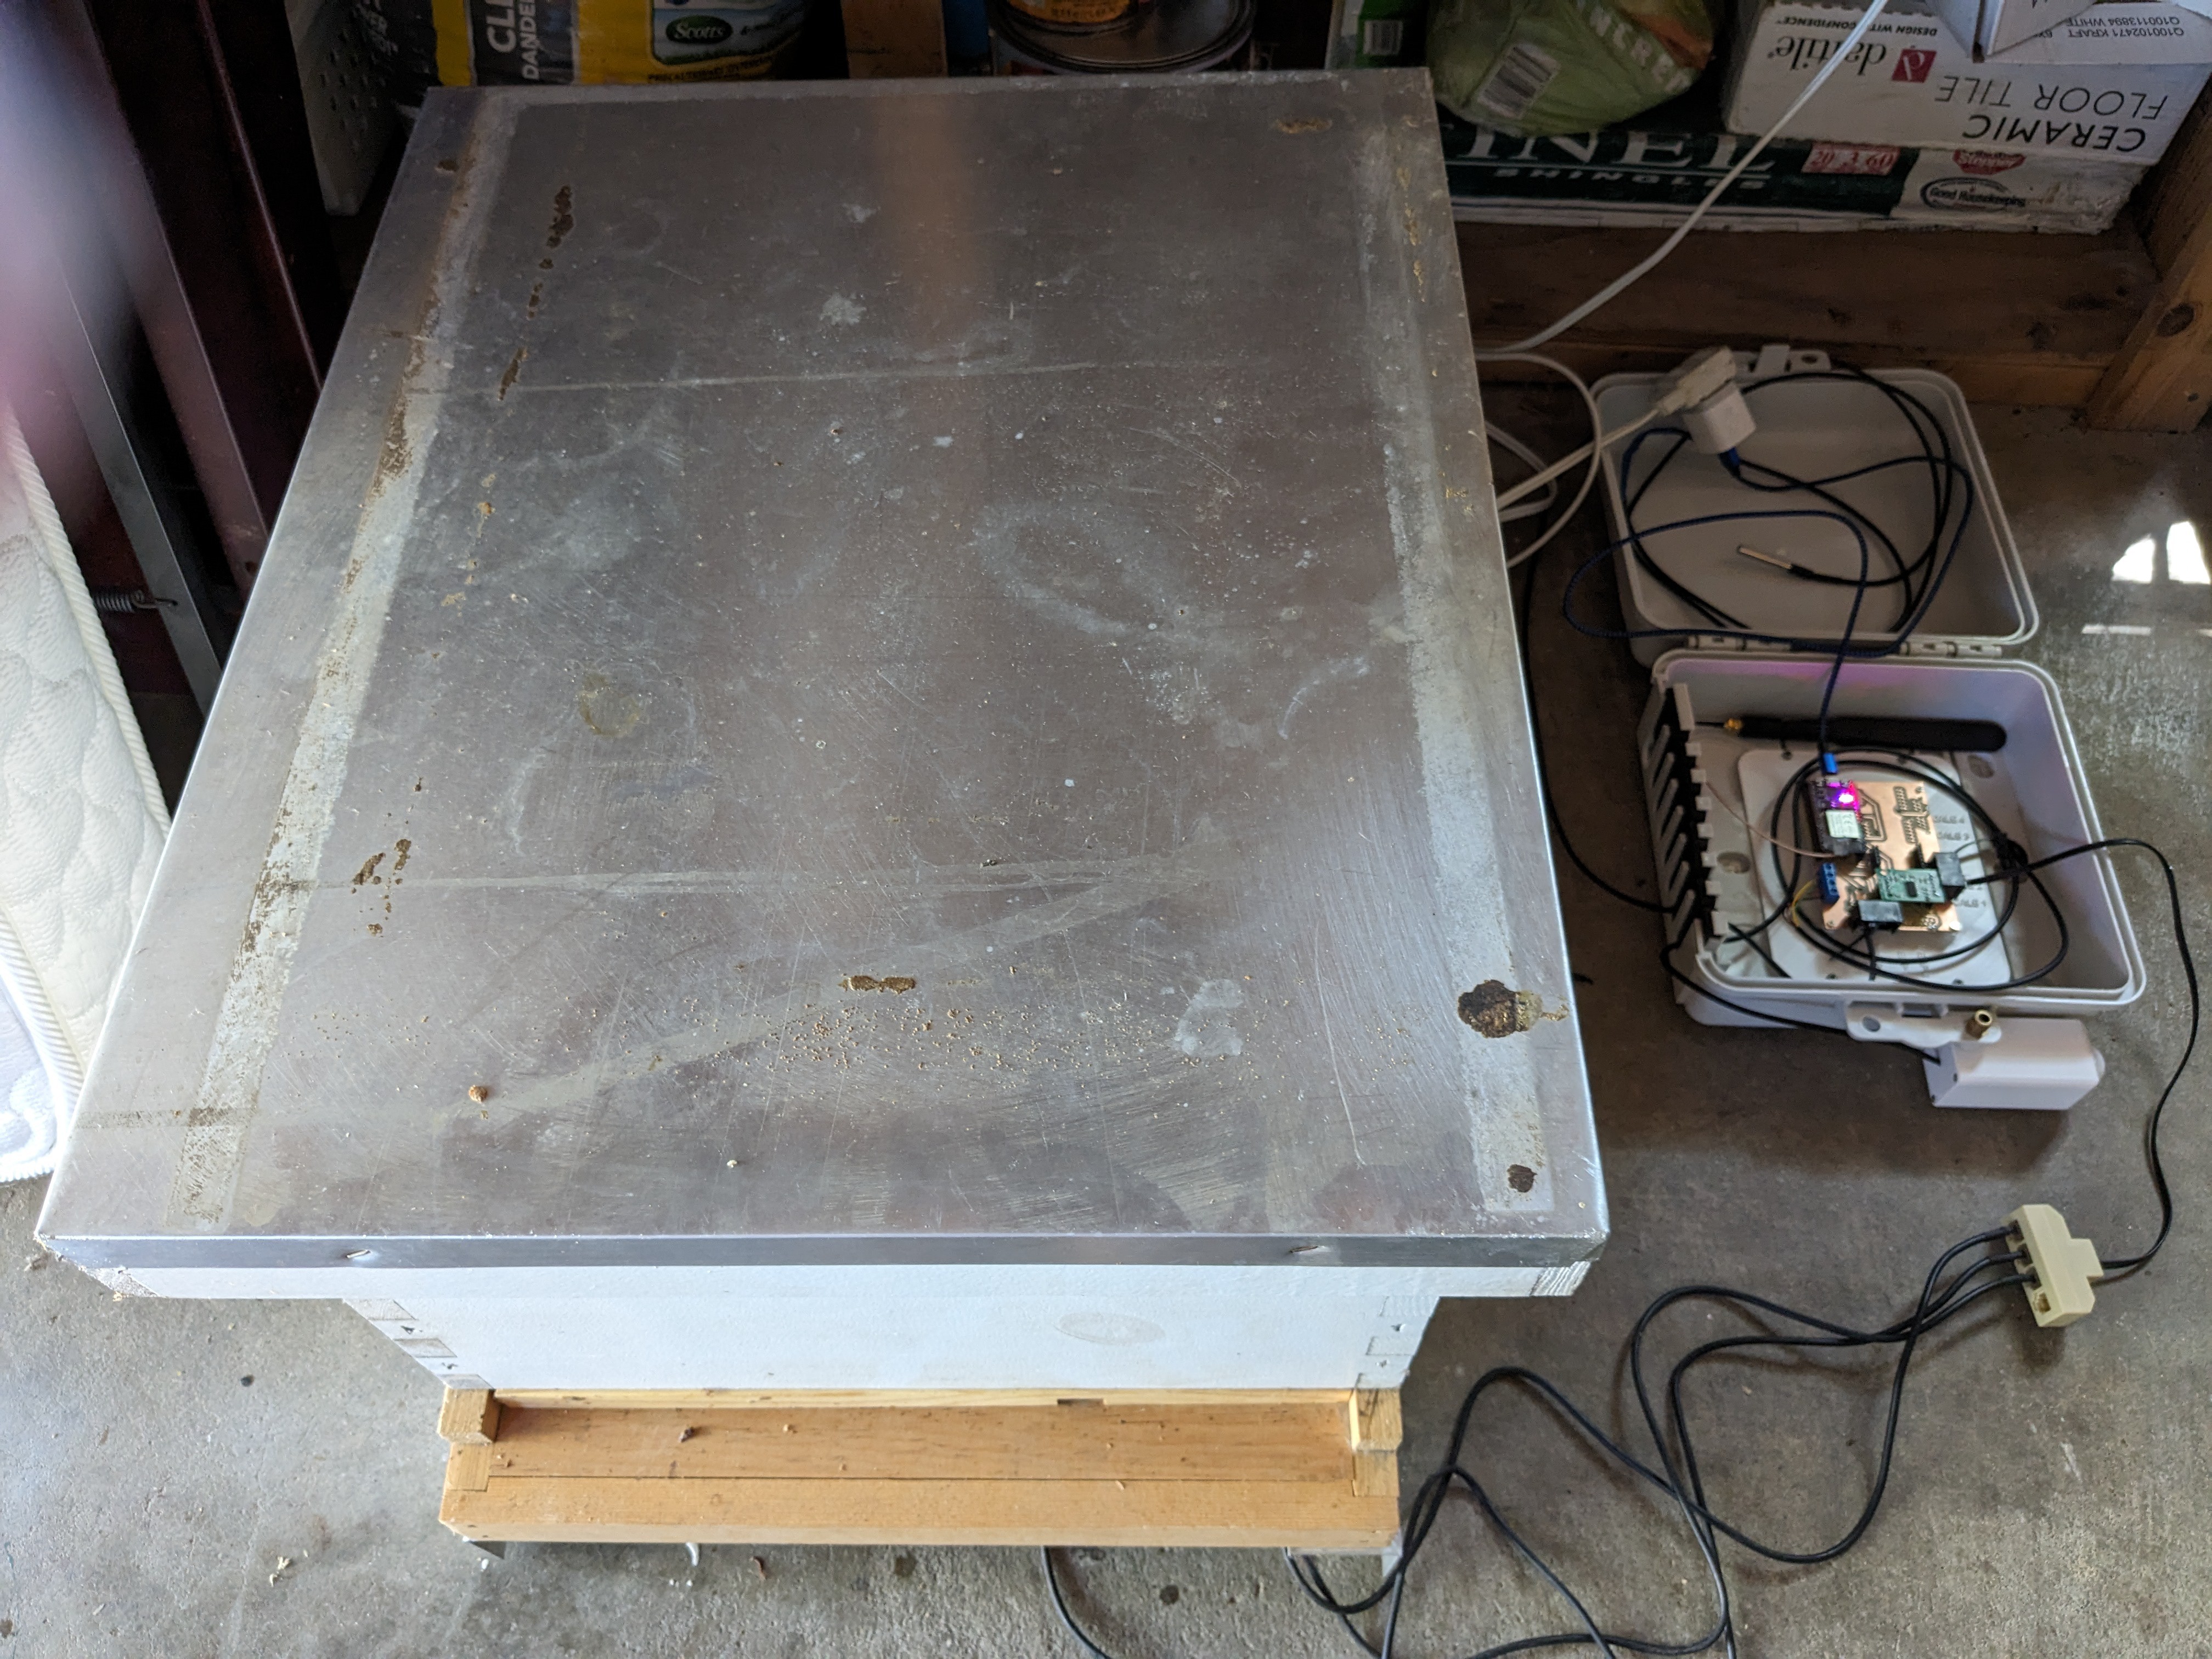
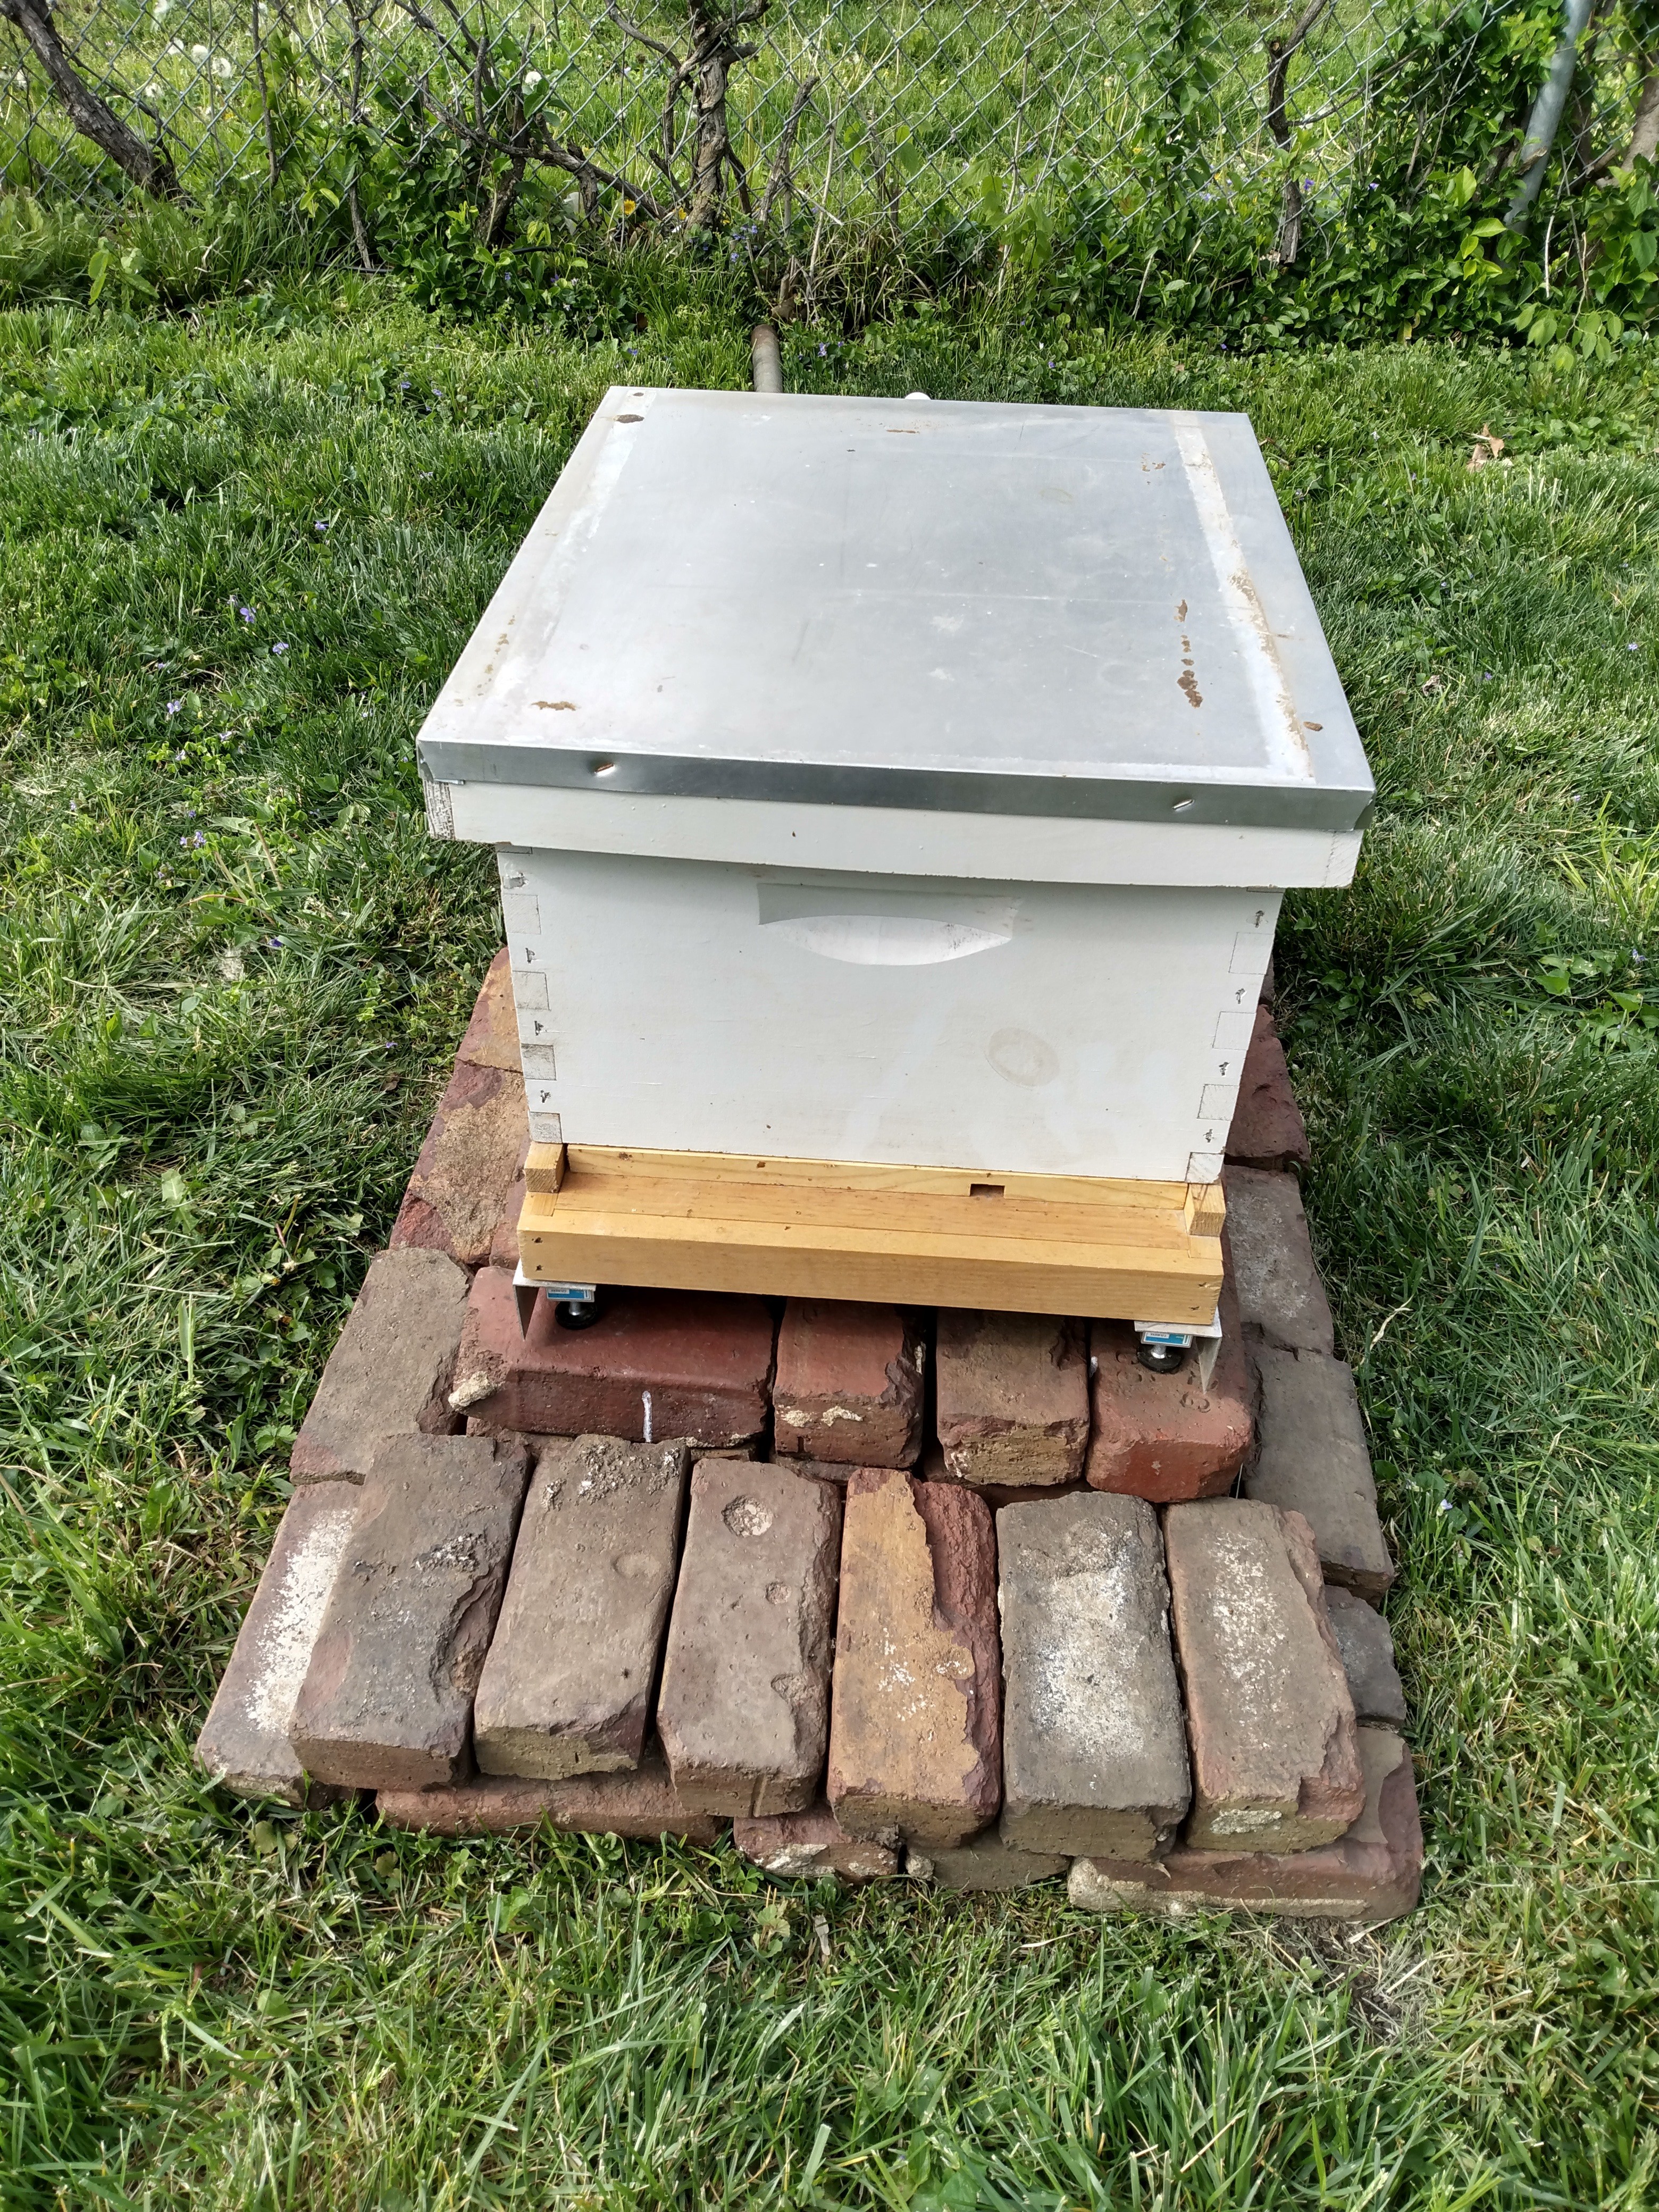
In my case, one of the strain-gauges/load cells had been damaged by pests (a mouse decided to take the tiniest nibble RIGHT where there were some internal wires, but in a way where repair would be a nightmare/impossible). While I briefly considered buying a replacement or starting from scratch, I ultimately decided that while 3 gauges in 4 corners is less than ideal, the hive ‘should’ be fairly well-balanced and this entire project is more for fun than anything mission-critical, so I just cut the wire on the problem gauge and accepted that if the load shifts much my measurements will be off. Additionally, I’ve had good luck with the style of strain-gauges used in bathroom scales and I have a handful of extras (plus they’re pretty cheap), so if/when I add hives I’ll most likely use those.
After designing and milling my own PCB, I put all the sensitive bits in an outdoor enclosure I already had and connected everything. I opted to use phone-plugs for all of the hive-specific sensors (temperature and weight) in order to make it literally plug-and-play; ultimately, I found that the plugs on the strain gauges were a little finnicky (they are after all measuring incredibly small changes in resistance), and so if I were doing it over I’d probably just use screw-terminals for everything. Regardless, everything worked quite well and is much neater and cleaner looking than when I did this previously. I also already have a weather station at my house (which is where the hive is located), so I have outdoor temperature (and rain, which I might play with too) that I can use as well.
For the data-visualization piece, I settled on using the ‘apexcharts-card’ as the native graph card has a lot of limitations, especially when using multiple sensors with different values. After spending an evening playing around with the options, I ended up with something that I’m pretty happy with.
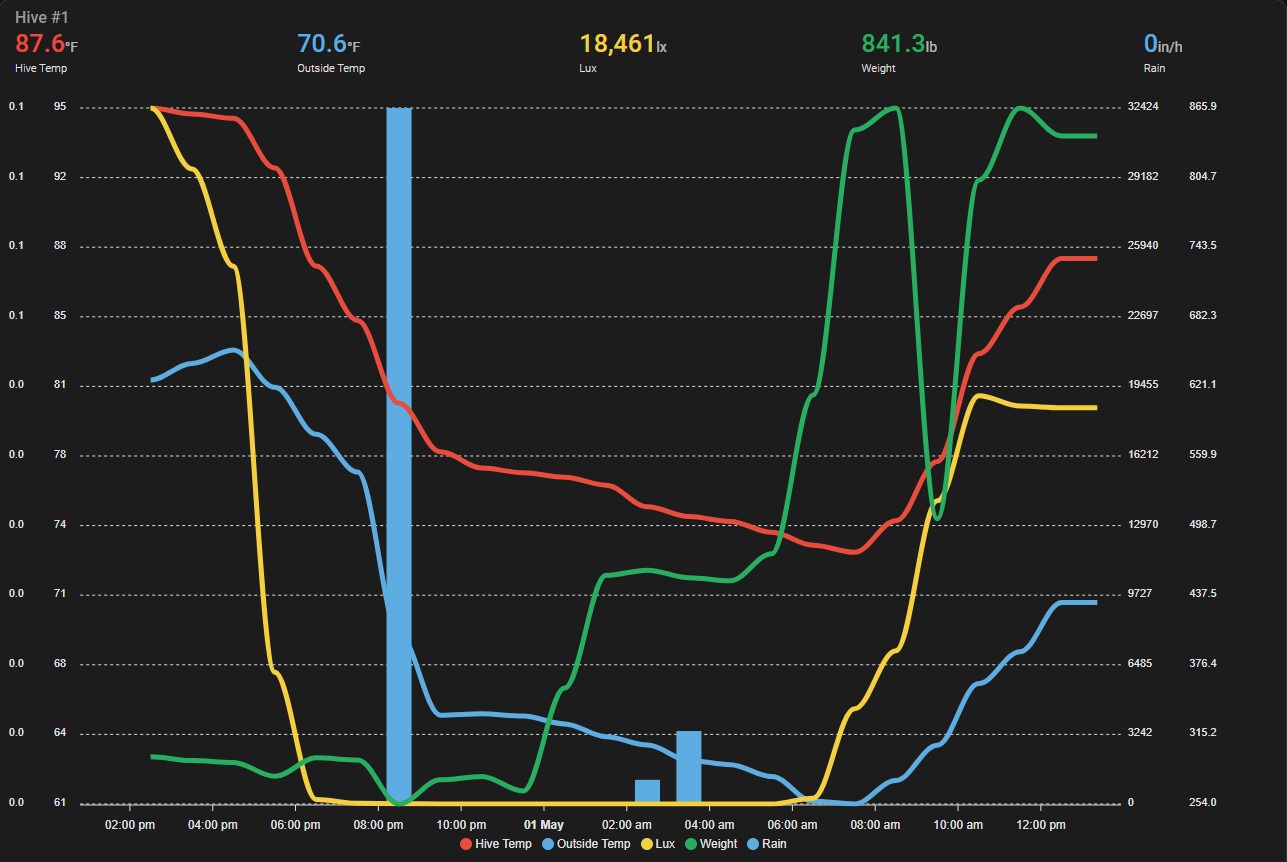
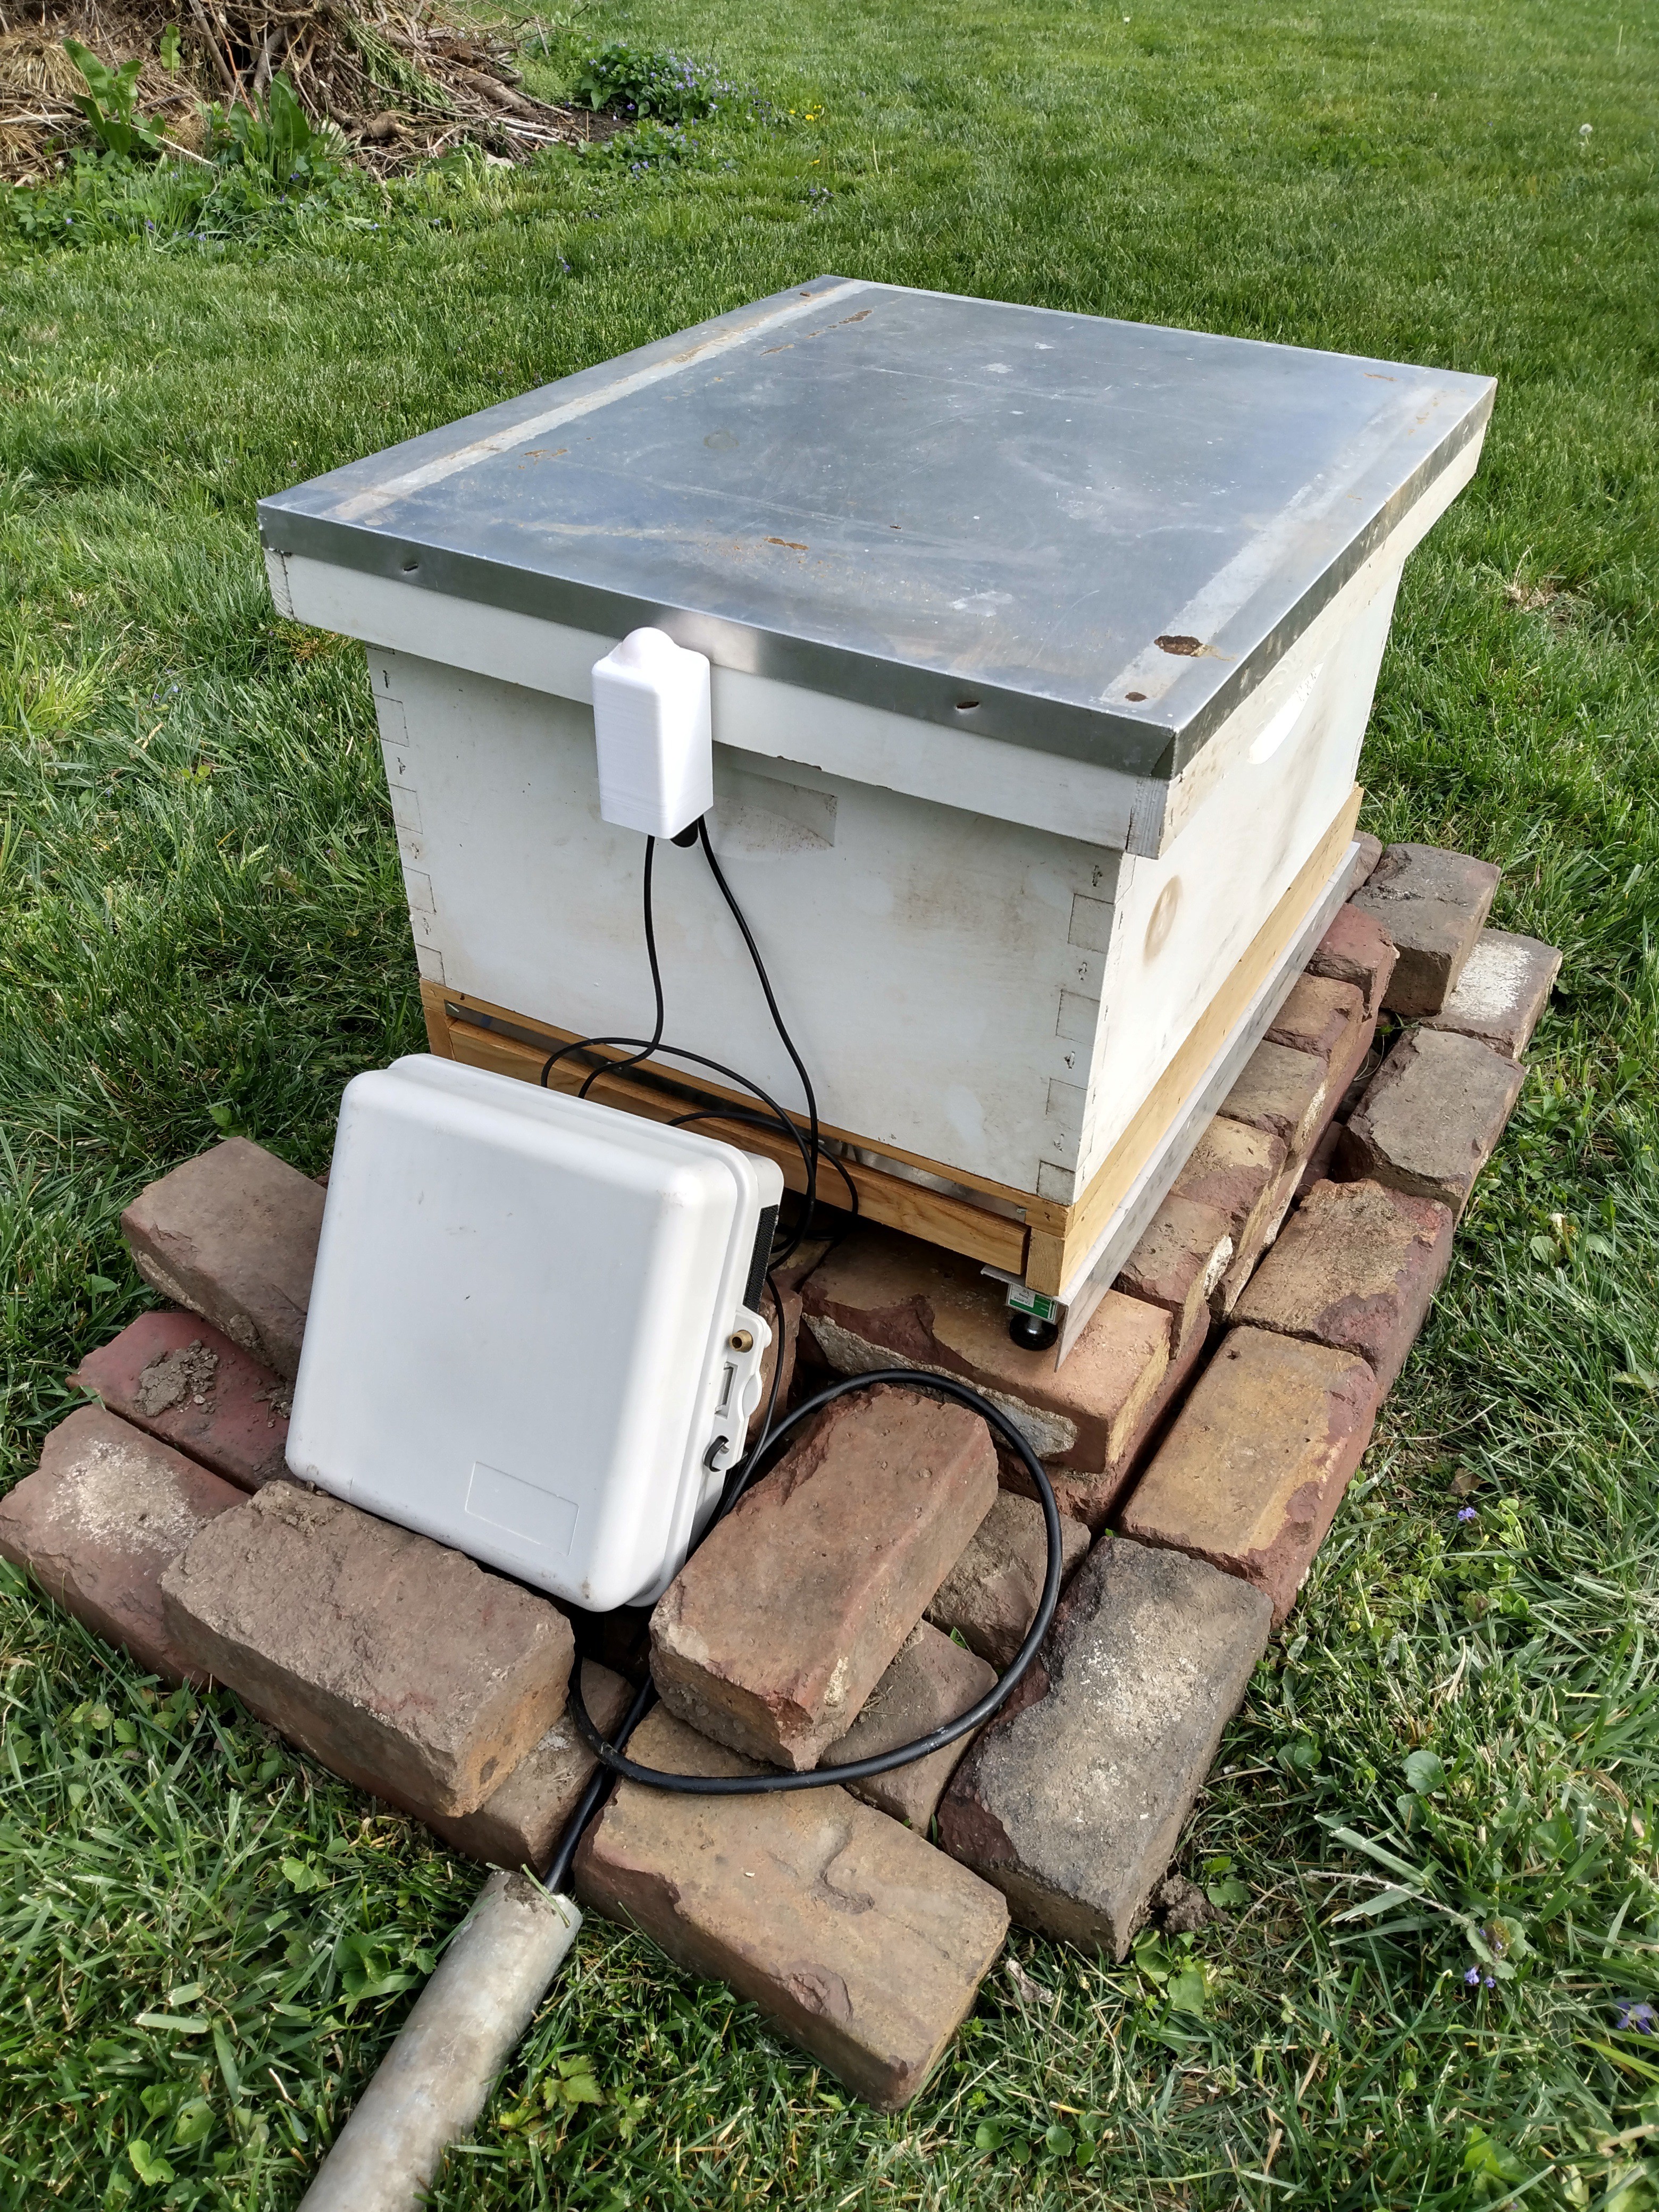
While testing everything out in my garage, it all worked perfectly, but I also only had a few weeks between starting the project and implementation. About a week before our bees arrived, I set it up outside and while initially everything seemed to work as-intended, after a few days I noticed my weight readings were WAY off. Suspecting the phone plugs (I’m using a phone line splitter to combine the strain gauges as well as then connecting the combined connection to the PCB), I gave them a good jiggle or two and got more reasonable readings again, but shortly after ended up with the same issues. My suspicion is that weather conditions are enough to subtly change the connection properties of the phone plugs (since they’re basically just held connected with tension), and since I’m measuring very tiny changes in resistance this is throwing my readings off measurably. My current plan is to ditch the phone line splitter and solder the wires together, but that will still leave me with a phone plug on the PCB in addition to the shortcomings of my strain gauge setup (3 of the 4 gauges working and a more flexible mounting mechanism than I’d prefer). I’m not very hopeful that this will completely eliminate my strain gauge issues and ultimately, I plan to replace it all with bathroom scale style strain gauges that I have time to thoroughly test out. I’ll keep this project updated as it progresses to what will hopefully be a finished and reliable setup.
 Ben Brooks