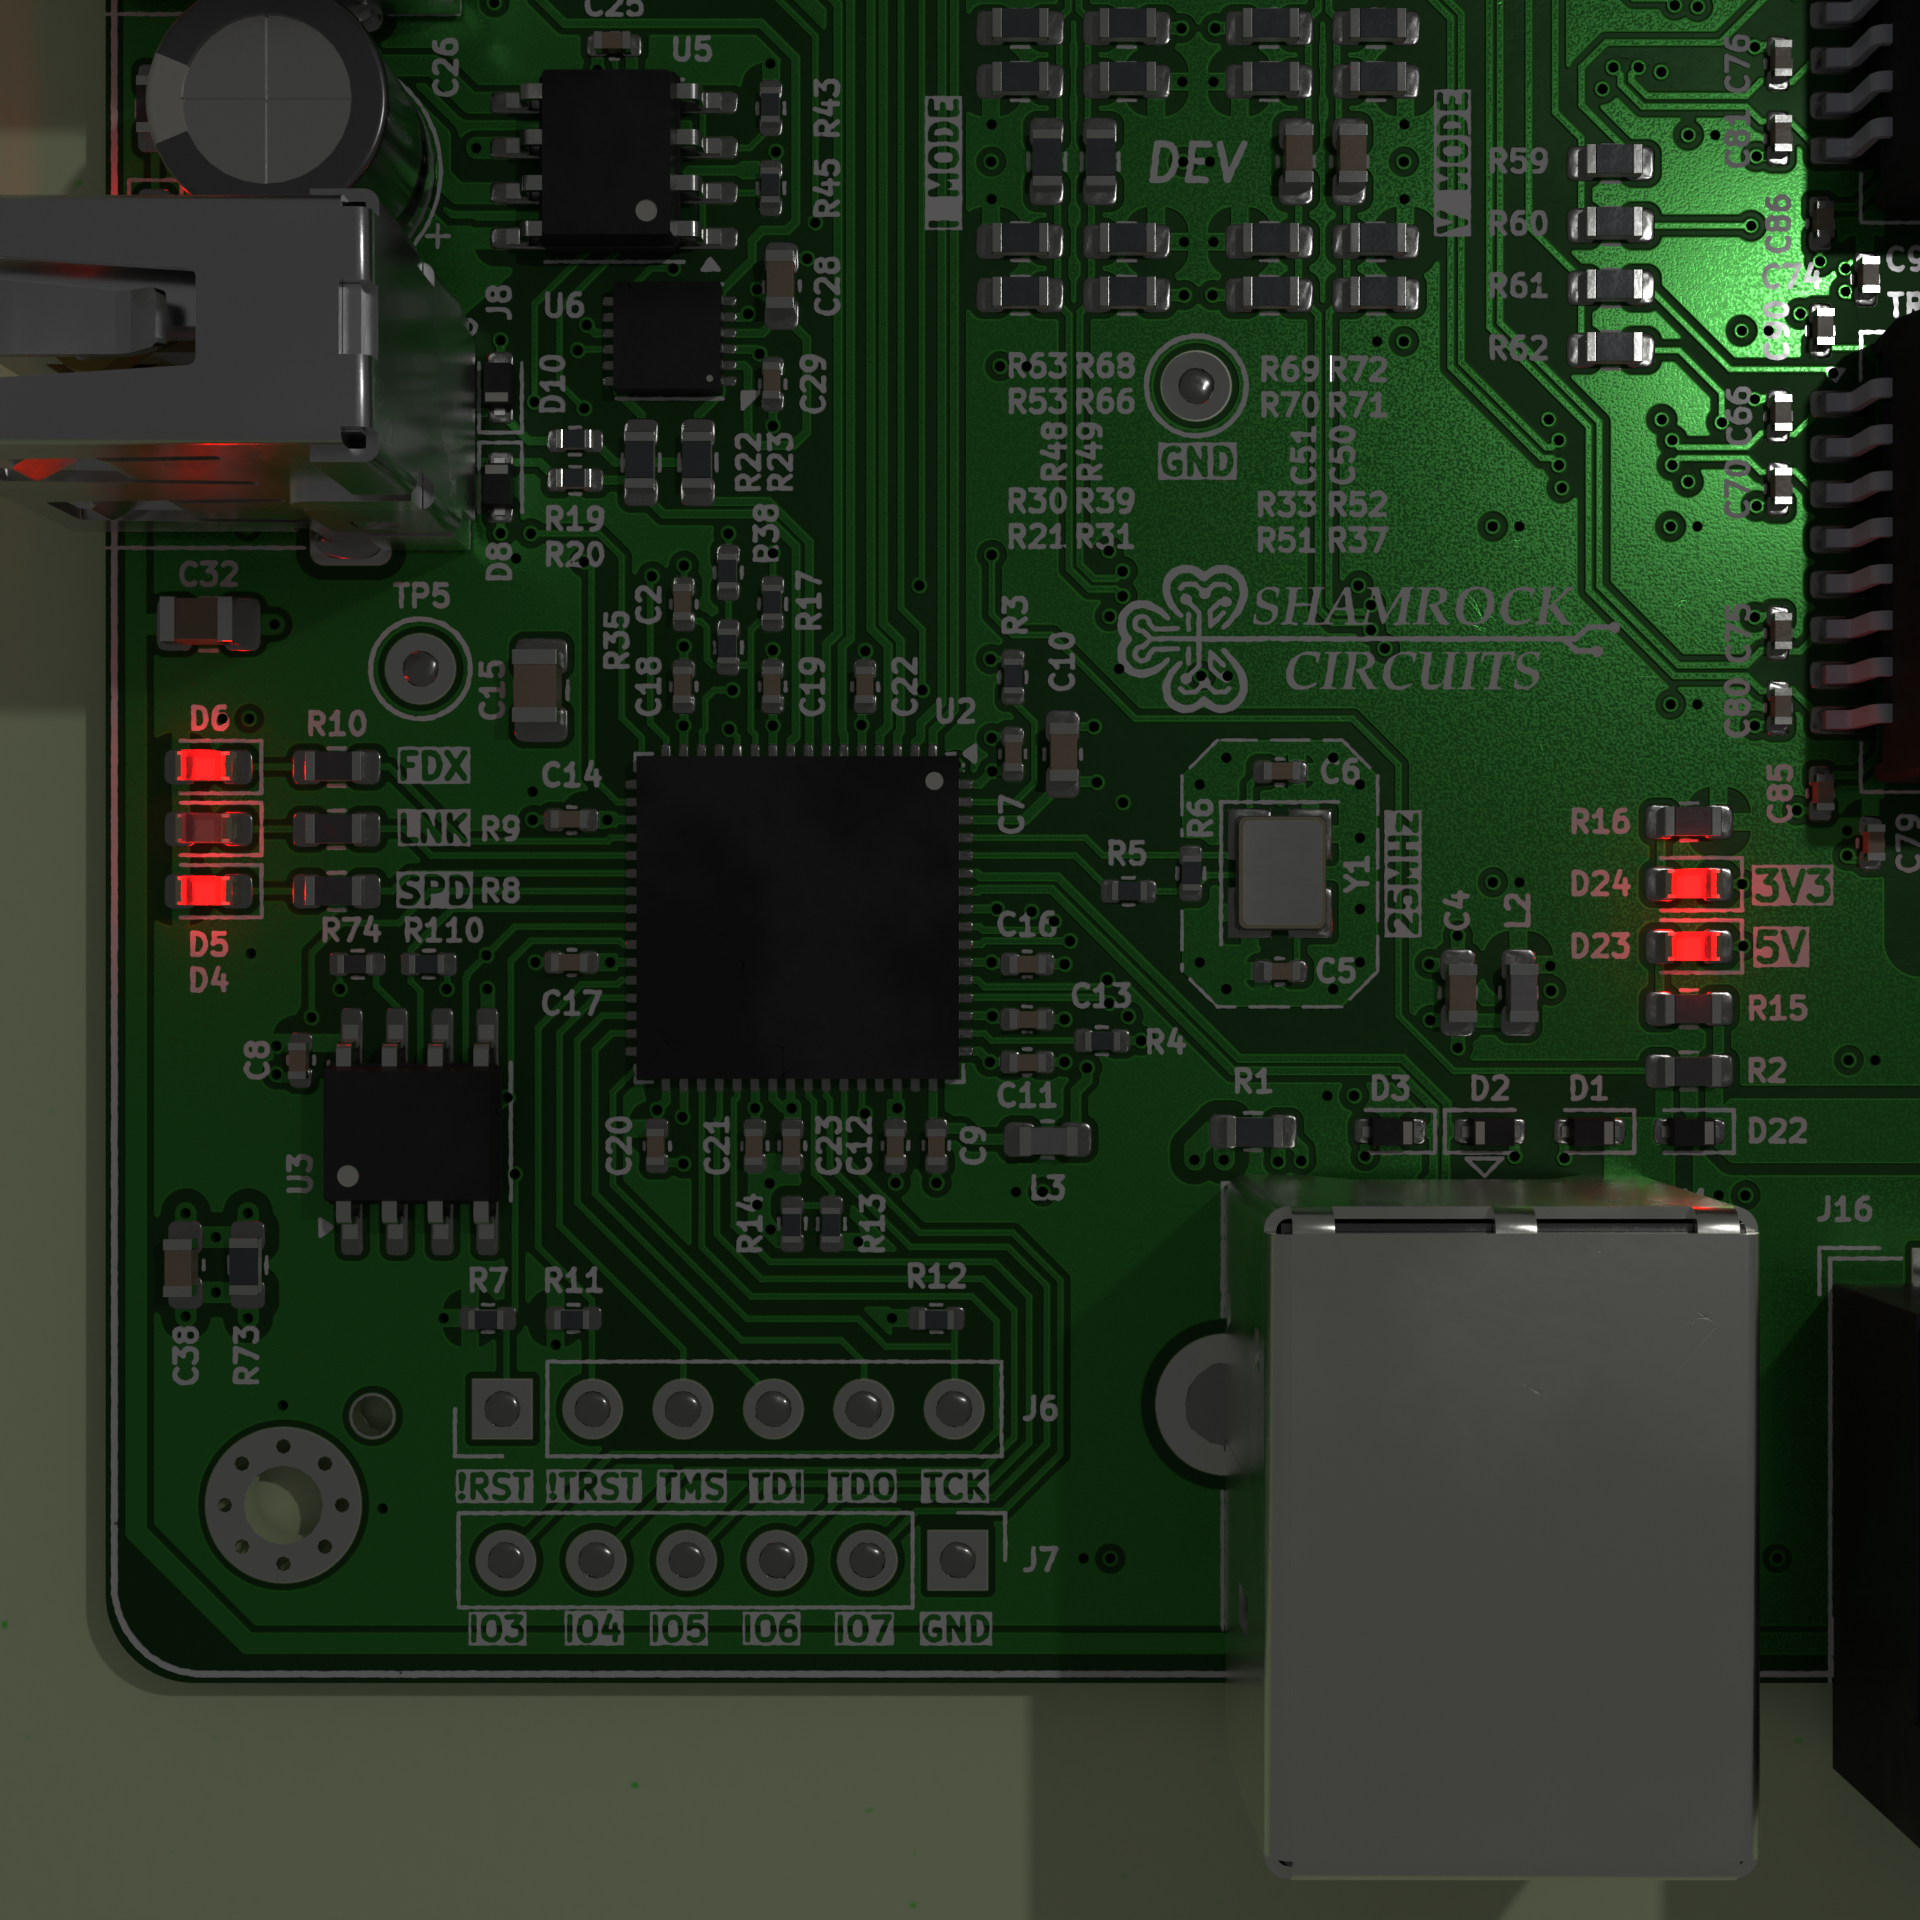
I opened up blender for the first time in two years to test out the pcb2blender plugin for Kicad (here). Shown below was my first attempt. I'm pretty happy with the results, but there's still lots of tweaking/learning ahead [those LEDs for example]. I'll update this log later when I have some more time to play with the tool.

Update - The next morning I was able to create this one. I'd really like to learn how to generate a realistic glow on the LEDs, but I think that will have to be a full weekend project. Coming from other CAD tools like fusion and KiCad, Blender has a very unintuitive user interface (I did the donut tutorial, but that was >2 years ago now).

Second Update - I spent Saturday learning how to create a short animation, and how to create a more realistic lighting affect on my LEDs. For the LED’s I ended up separating the mesh using the “bisect” feature, and assigned a different material to the transparent portion of the LED. Then I placed a small point light source inside the transparent material. I did similar for the RJ45 connectors.

To make the light blink I followed this handy tutorial (How to Make A Flickering Light in Blender), and for tips on the animation workflow I followed Blender Guru’s legendary donut tutorial (Part 12).
Here’s the end result....
In the future, I’d like to do another animation including the enclosure, and have the components dropped onto the PCBA. For now though, I’ll call my Blender side quest a success.
 Jesse Farrell
Discussions
Become a Hackaday.io Member
Create an account to leave a comment. Already have an account? Log In.