
(Spark Chamber in CERN’s permanent exhibition “Microcosm”.)
Since the first time I saw the spark chamber at the CERN exhibition nearly 20 years ago, I’ve been fascinated by how particle trajectories are directly visible between the plates of these big tubes. This detector shows the paths of muons produced by cosmic rays in the upper atmosphere. It uses two large scintillators placed above and below the tubes, detecting two events happening simultaneously. When this occurs, it means a particle has crossed the detector, triggering high voltage between the plates and creating sparks along the ionized path of the particle.
Inspirations and idea
To detect these muons, the common practice is to use a scintillating material and a very sensitive light sensor. High-performance sensors, such as photomultiplier tubes, are very expensive and complicated to operate. However, there are now silicon versions of photomultipliers (SiPMs), which are at the heart of many projects involving scintillators for gamma-ray spectrometers or muon detectors. Below are some links to very interesting projects:
https://hackaday.io/project/185211-all-in-one-gamma-ray-spectrometer
https://hackaday.io/project/194457-pomelo-gamma-spectroscopy-module
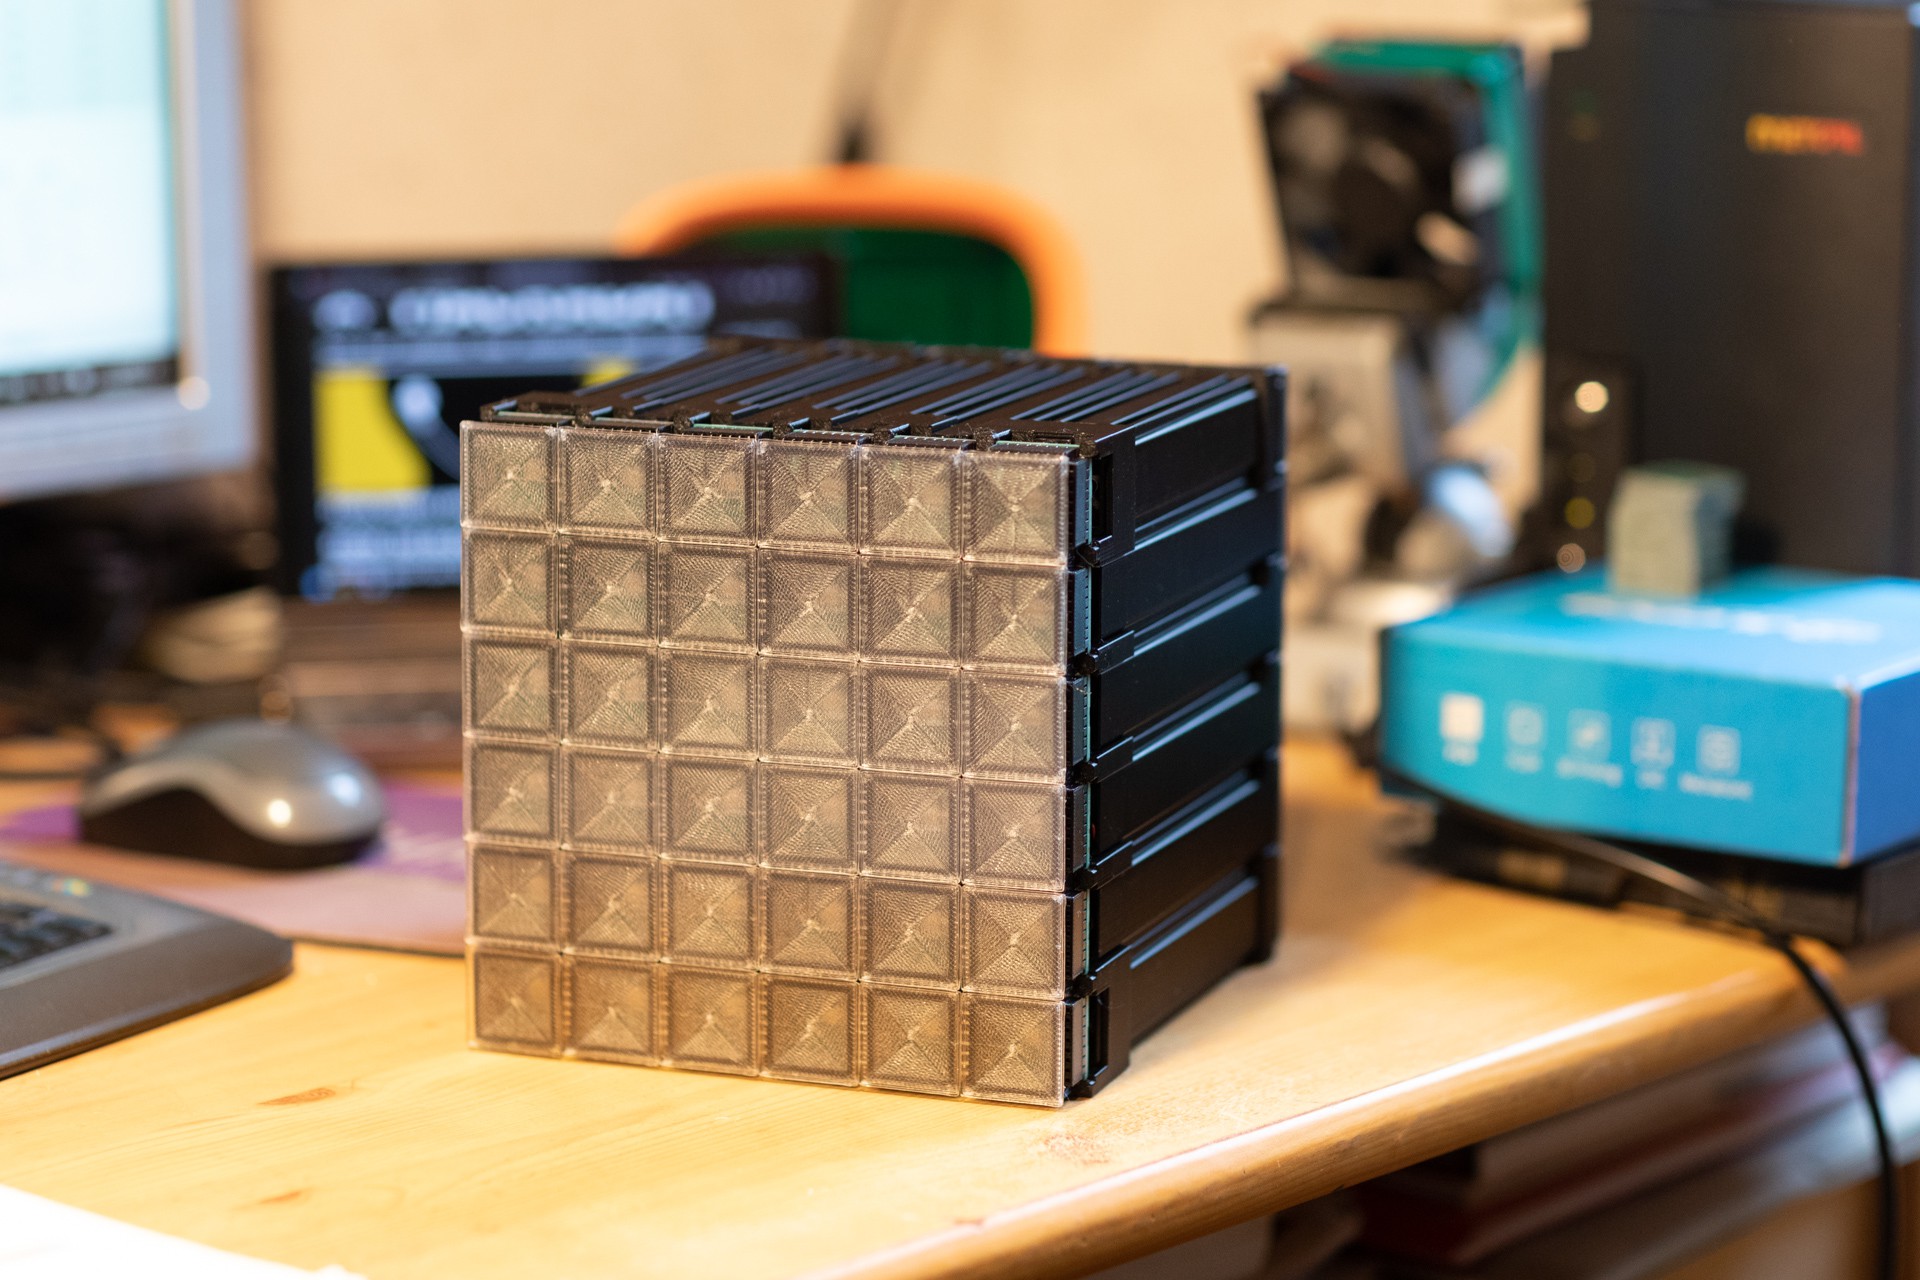
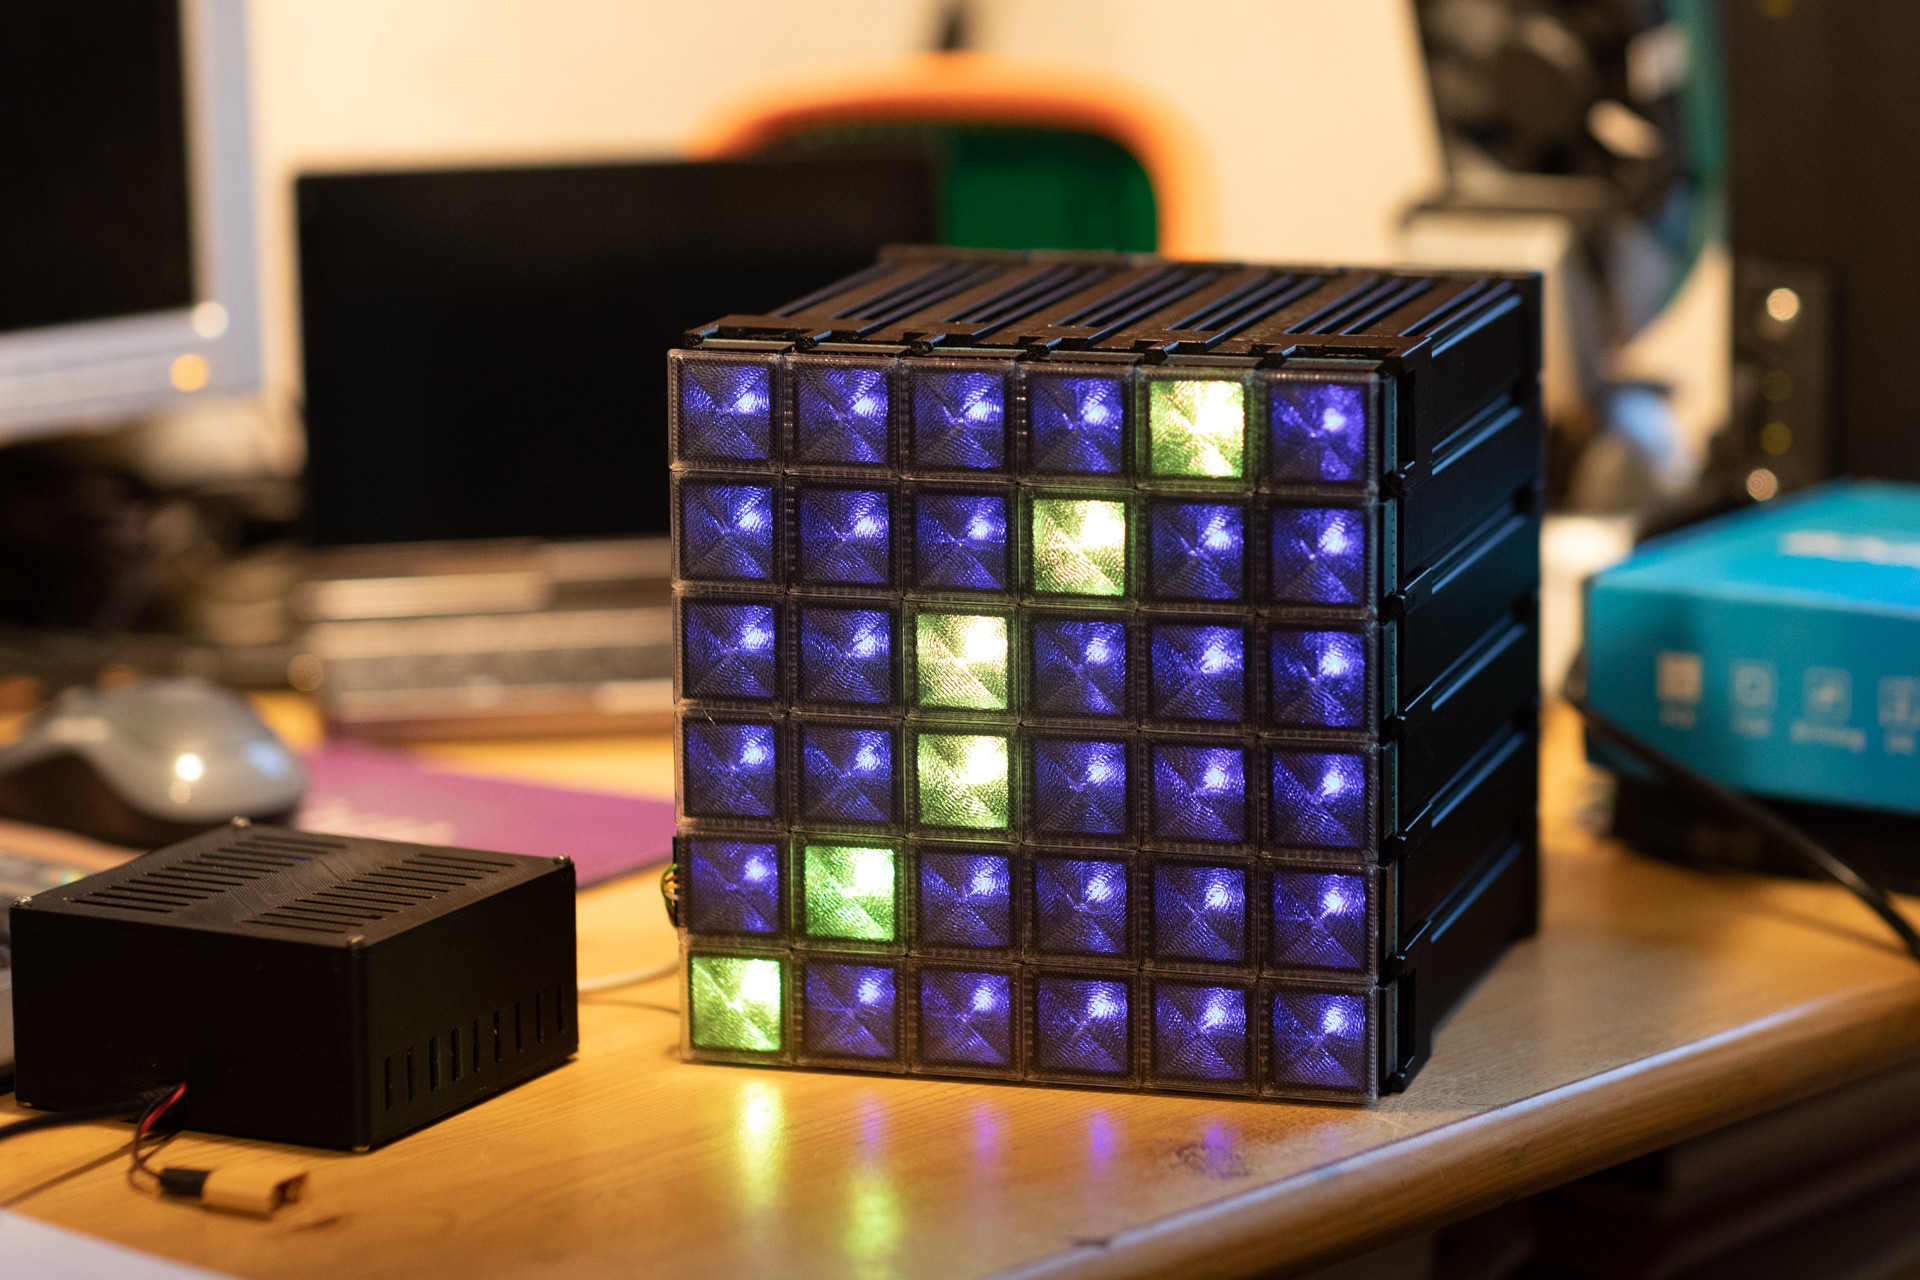
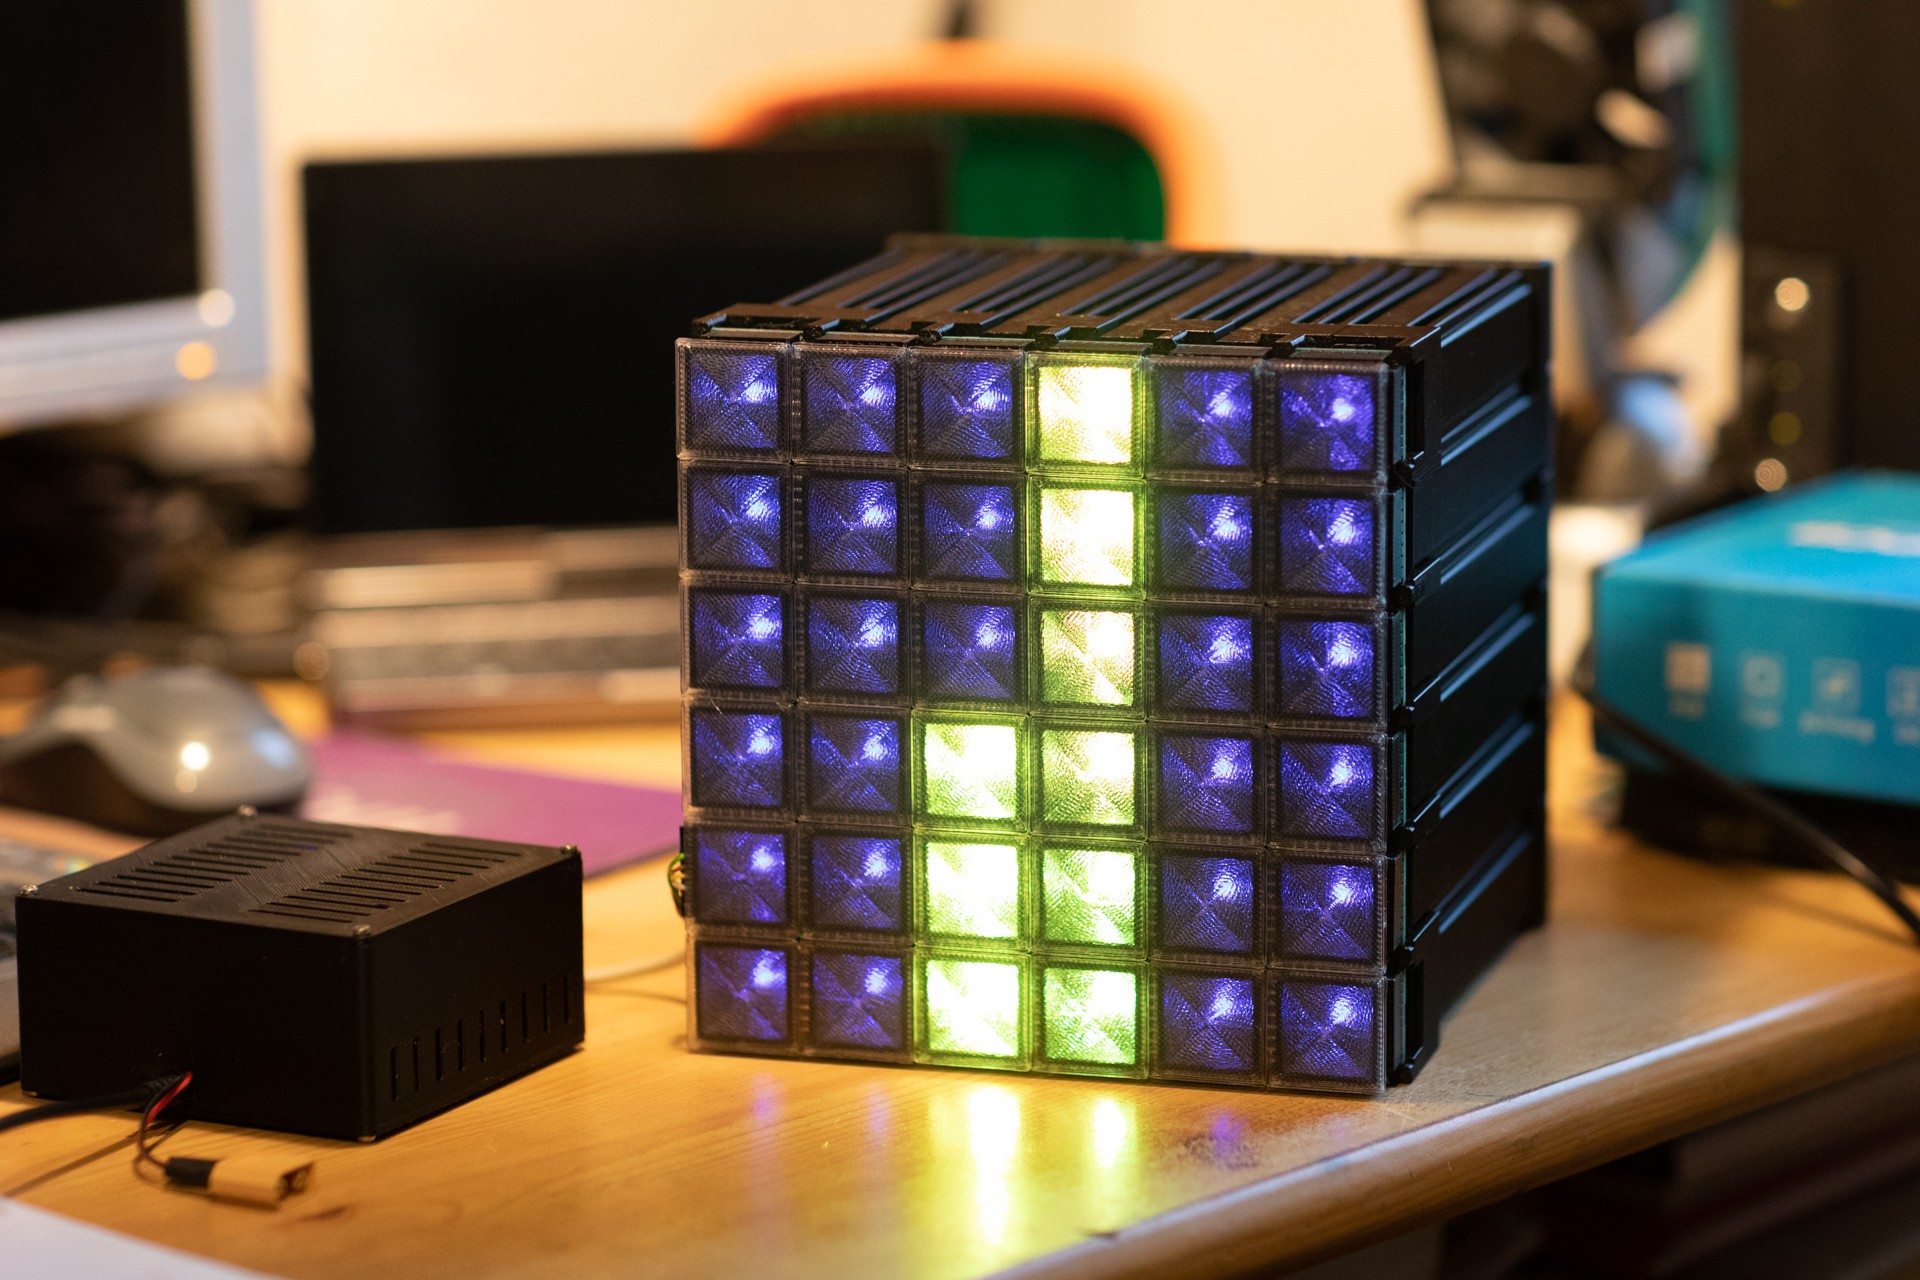
My idea is that by combining small muon detectors, we might be able to see the trajectories of the particle showers caused by cosmic rays, similar to how a spark chamber works.
Scintillators
Luckily, I was able to get a piece of plastic scintillator, most likely made by Bicron. I discovered that cutting this material is rather delicate due to its low melting point. Any machining can melt the plastic. After trying different approaches, I got decent results with a large-teeth circular saw, rotating in water. To make the detector light-tight, I used aluminum foil and black tape.


I’m using the 3×3 mm BROADCOM AFBR-S4N44P014M SiPM. These are put in direct contact with the scintillator inside the wrapping.
SiPMs act like diodes: when placed in reverse with around 40 volts, a small amount of current creates a small voltage spike when a detection occurs. These voltage spikes are around a few millivolts and last a few nanoseconds.


Trigger
Microcontrollers cannot register such small and short signals directly. For the purpose of detecting a flash of light caused by a muon, the analog part can be simplified compared to the amplification stage needed for spectroscopy.
Using a high-speed op-amp (LMV793), I created a threshold detection that holds for a few microseconds, long enough to interrupt a small microcontroller.

Boards
To determine if a particle has crossed several scintillators, we need to propagate the detection status to surrounding detectors. If one detects a flash and one or more neighboring detectors also register something simultaneously, chances are high that a particle has crossed the detector.
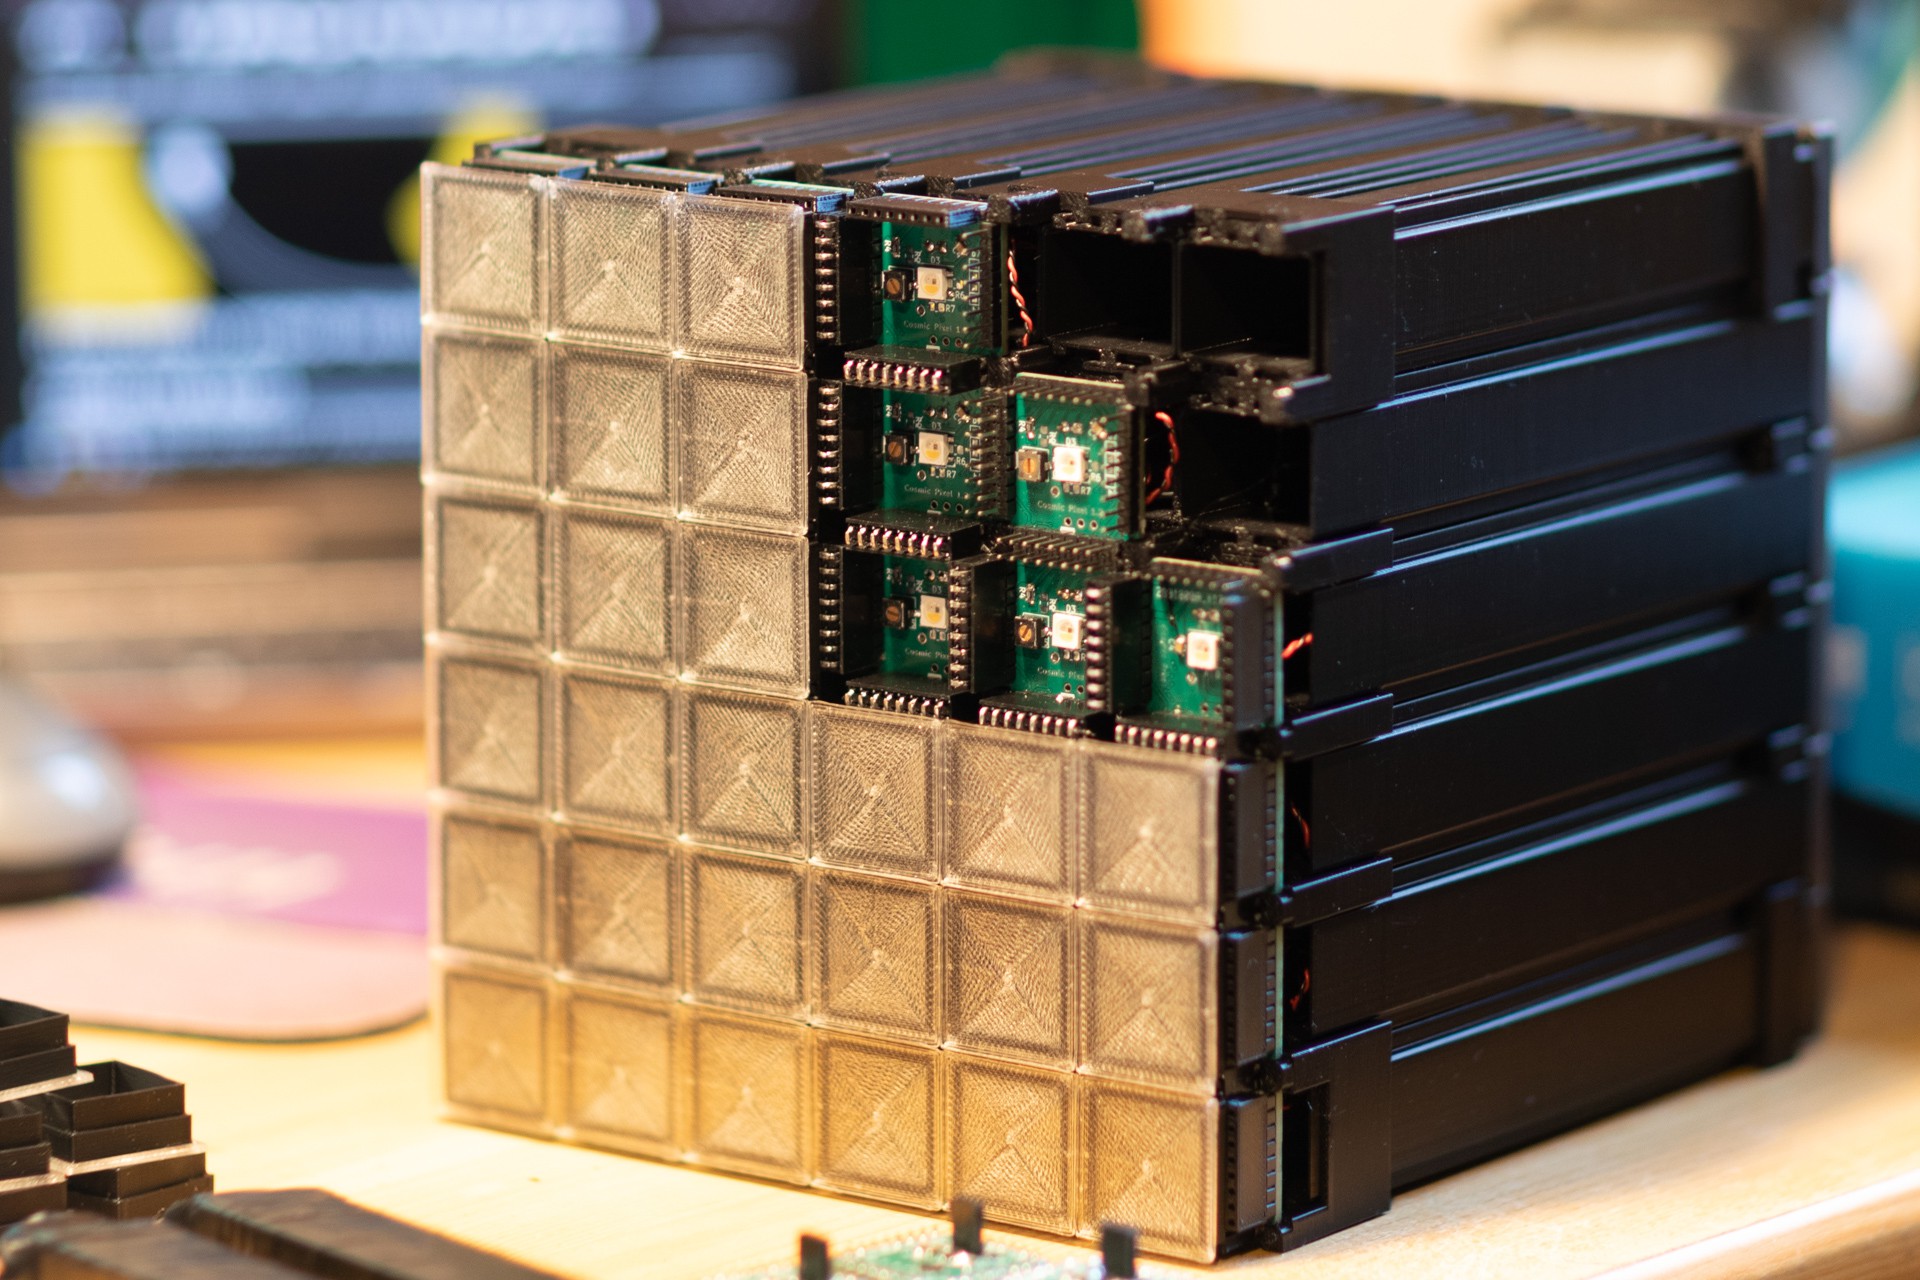
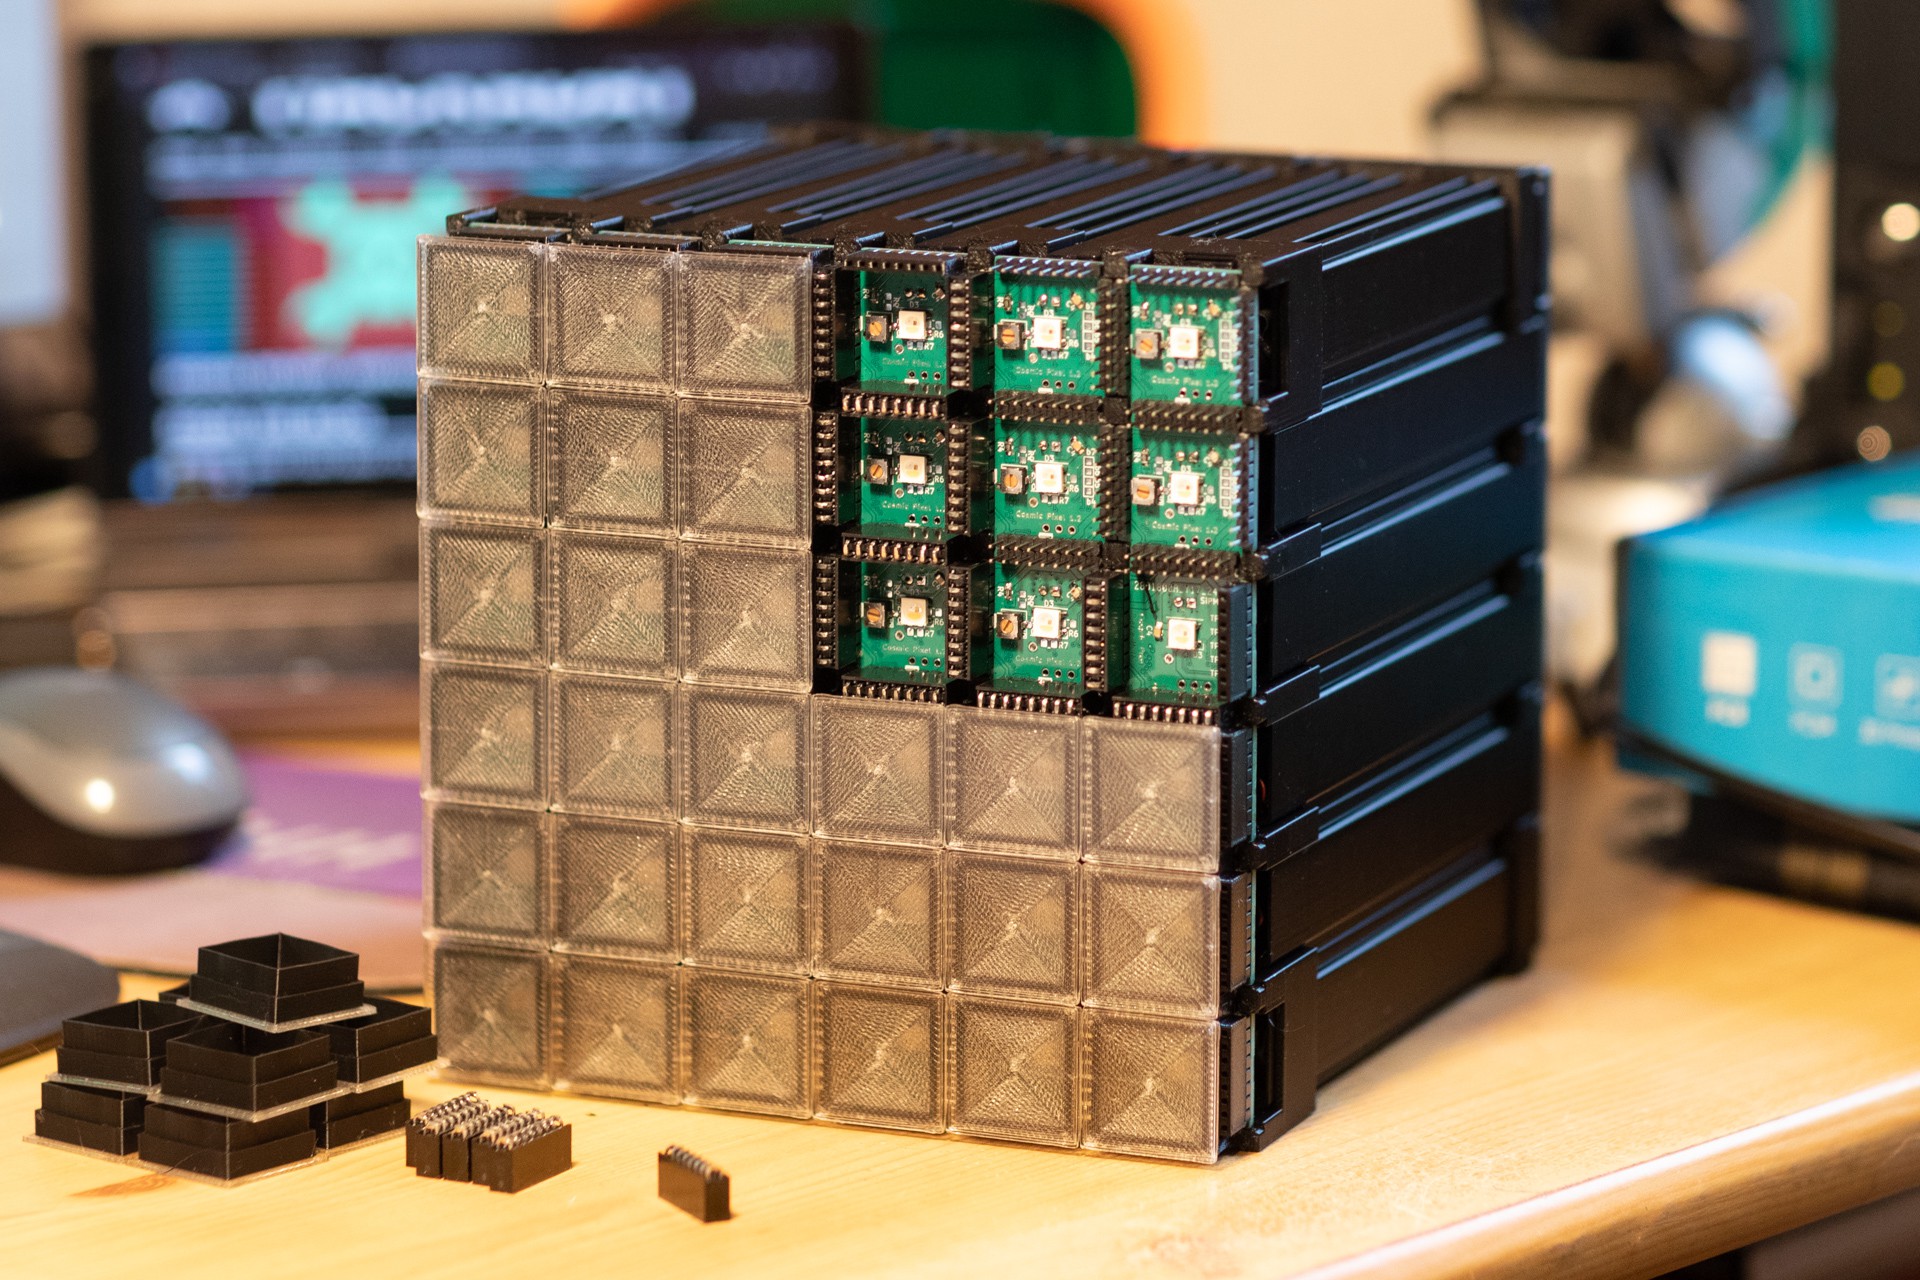
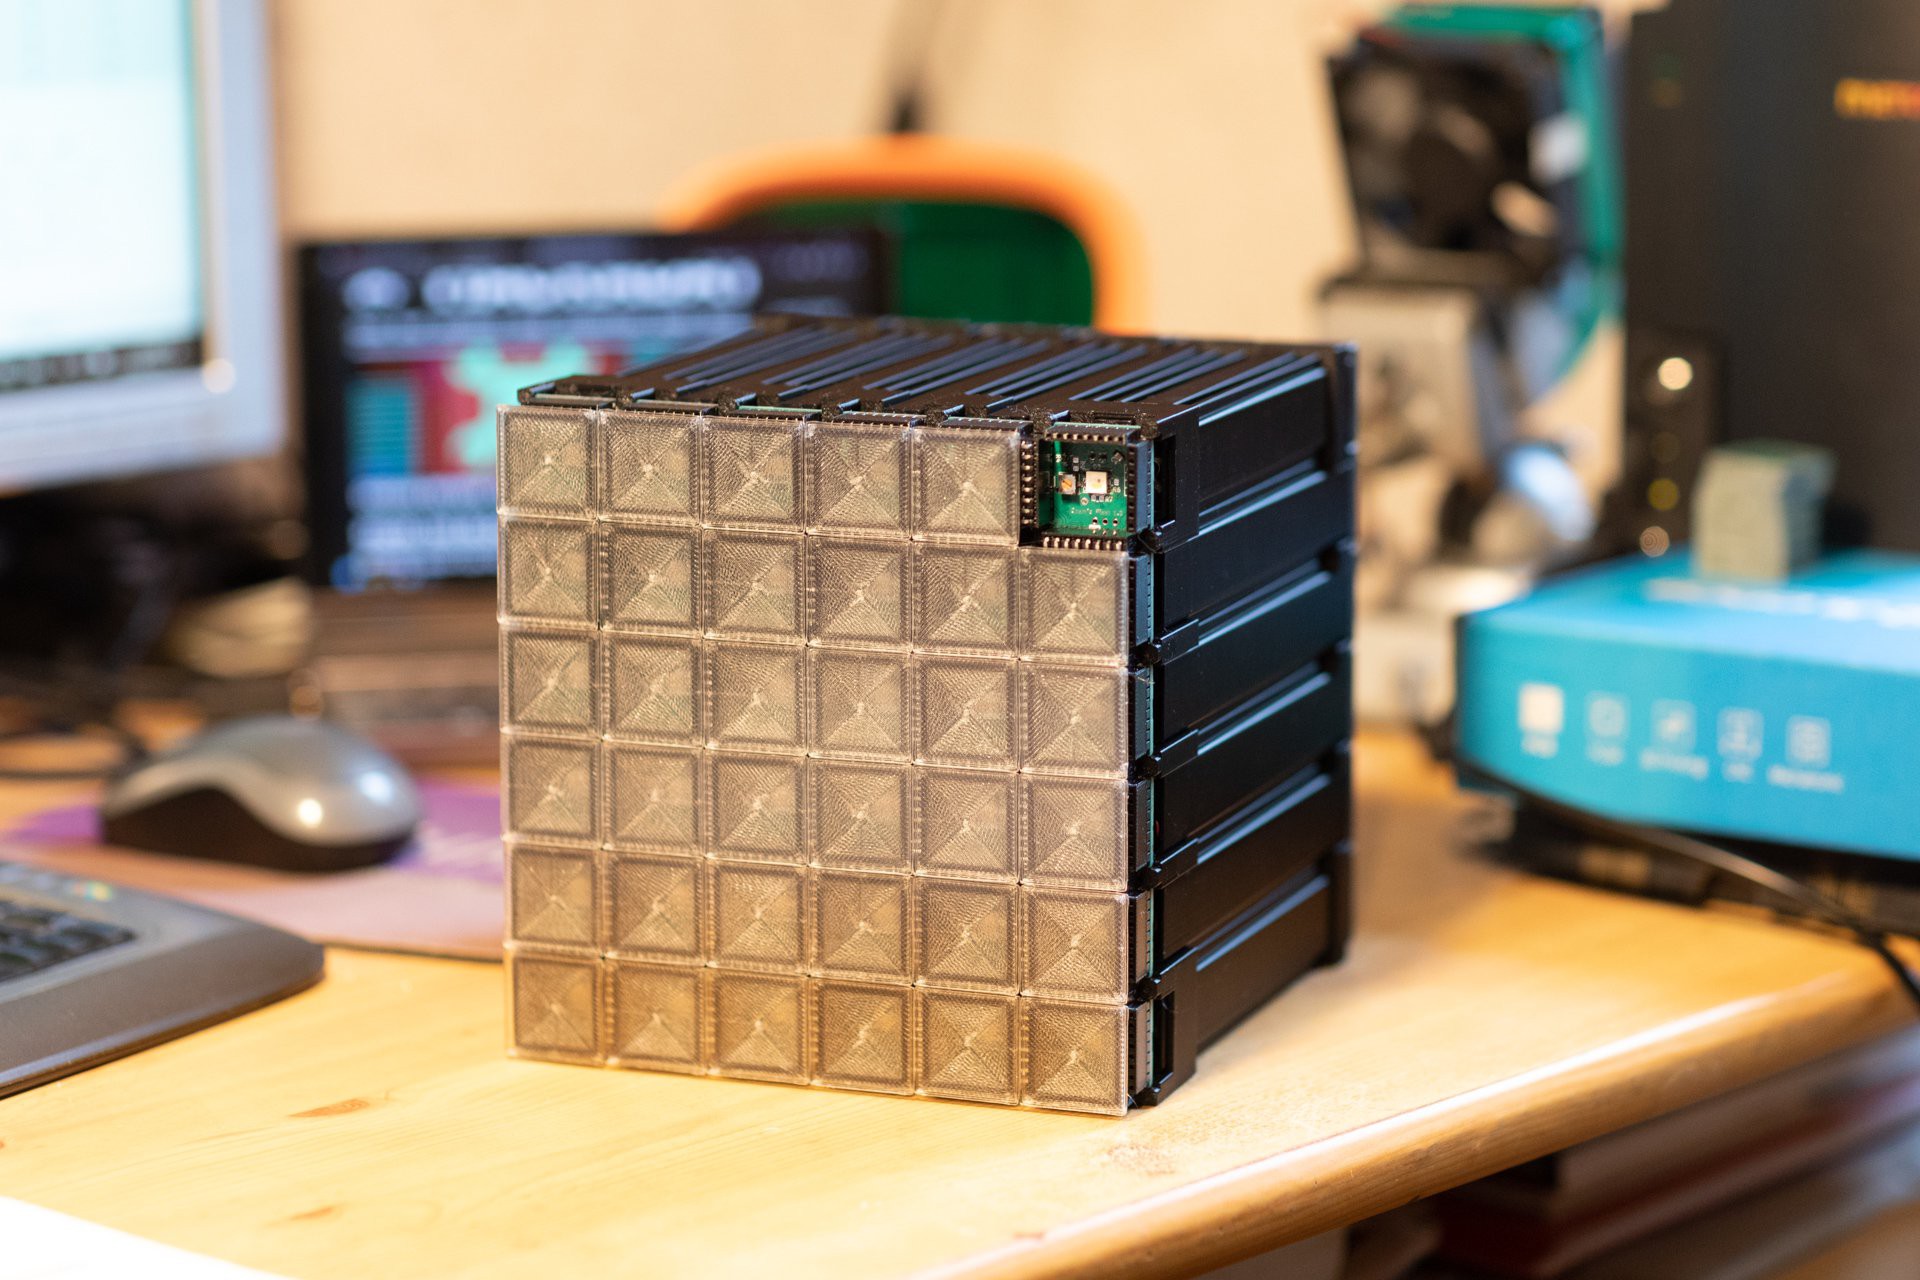
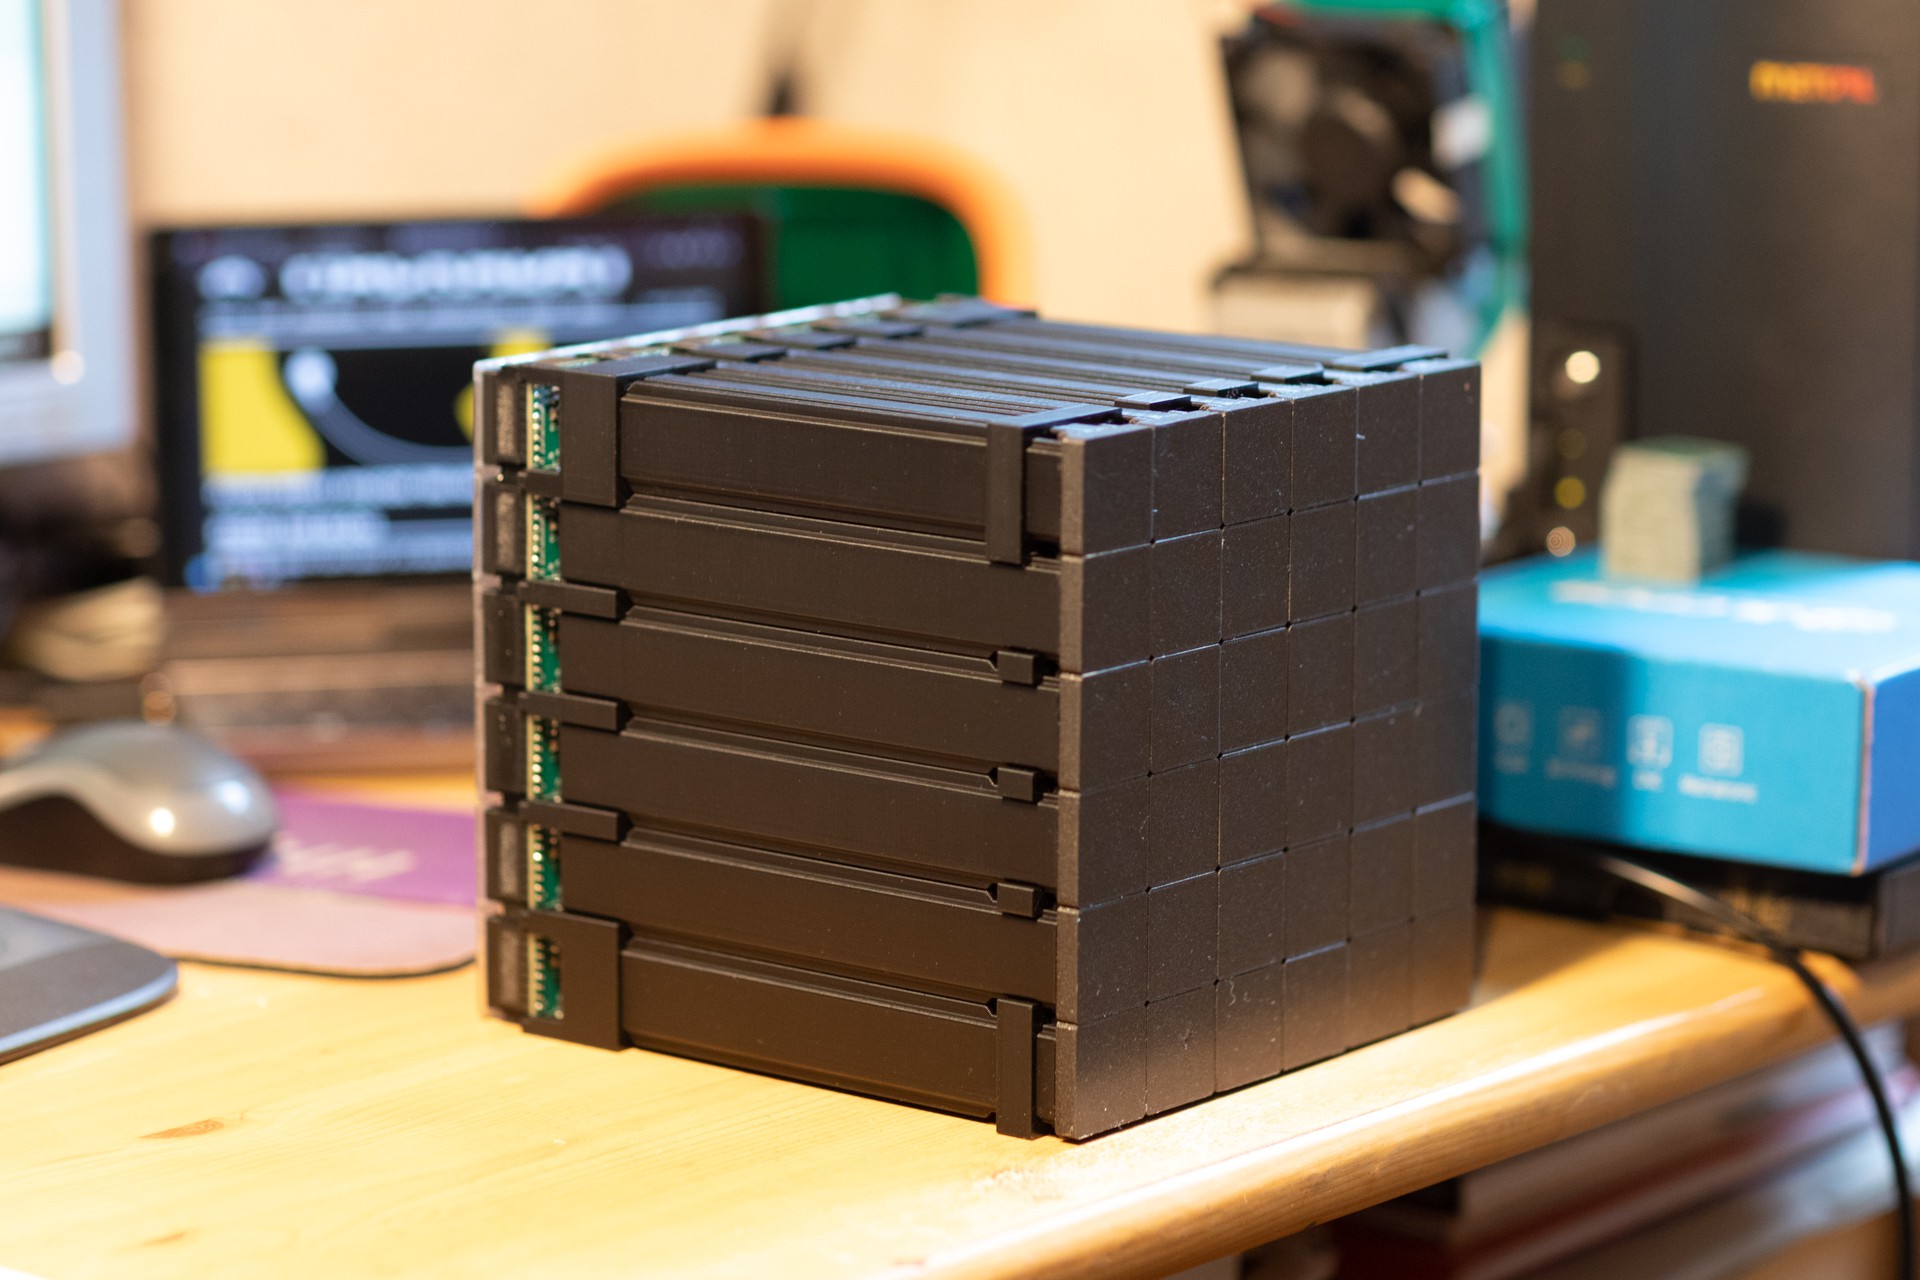
Each board is connected to its neighbors, relaying the detection signal not only to the four directly adjacent units but also to the diagonal ones. This setup enables any matrix shape. Each pixel is autonomous but works with its close neighbors to assess coincidences. I chose the PIC16F18346 for flexibility; it is overkill for just controlling an SK6812 serial LED, but it offers options like using the DAC for threshold control.


First tests
Before buying many SiPMs, which cost around 20 euros each, I conducted a few tests to ensure the concept worked. I noticed some differences between boards, especially in threshold voltage. Therefore, my next iteration includes a potentiometer to adjust it.


Scaling up
Building more pixels and connecting them together highlighted how critical stable power supplies are. The 5-volt and 40-volt rails are propagated board-to-board via header connectors, and any imperfection could worsen as the matrix grows. Extra care must be taken to filter out any parasitic signals.
 Muth
Muth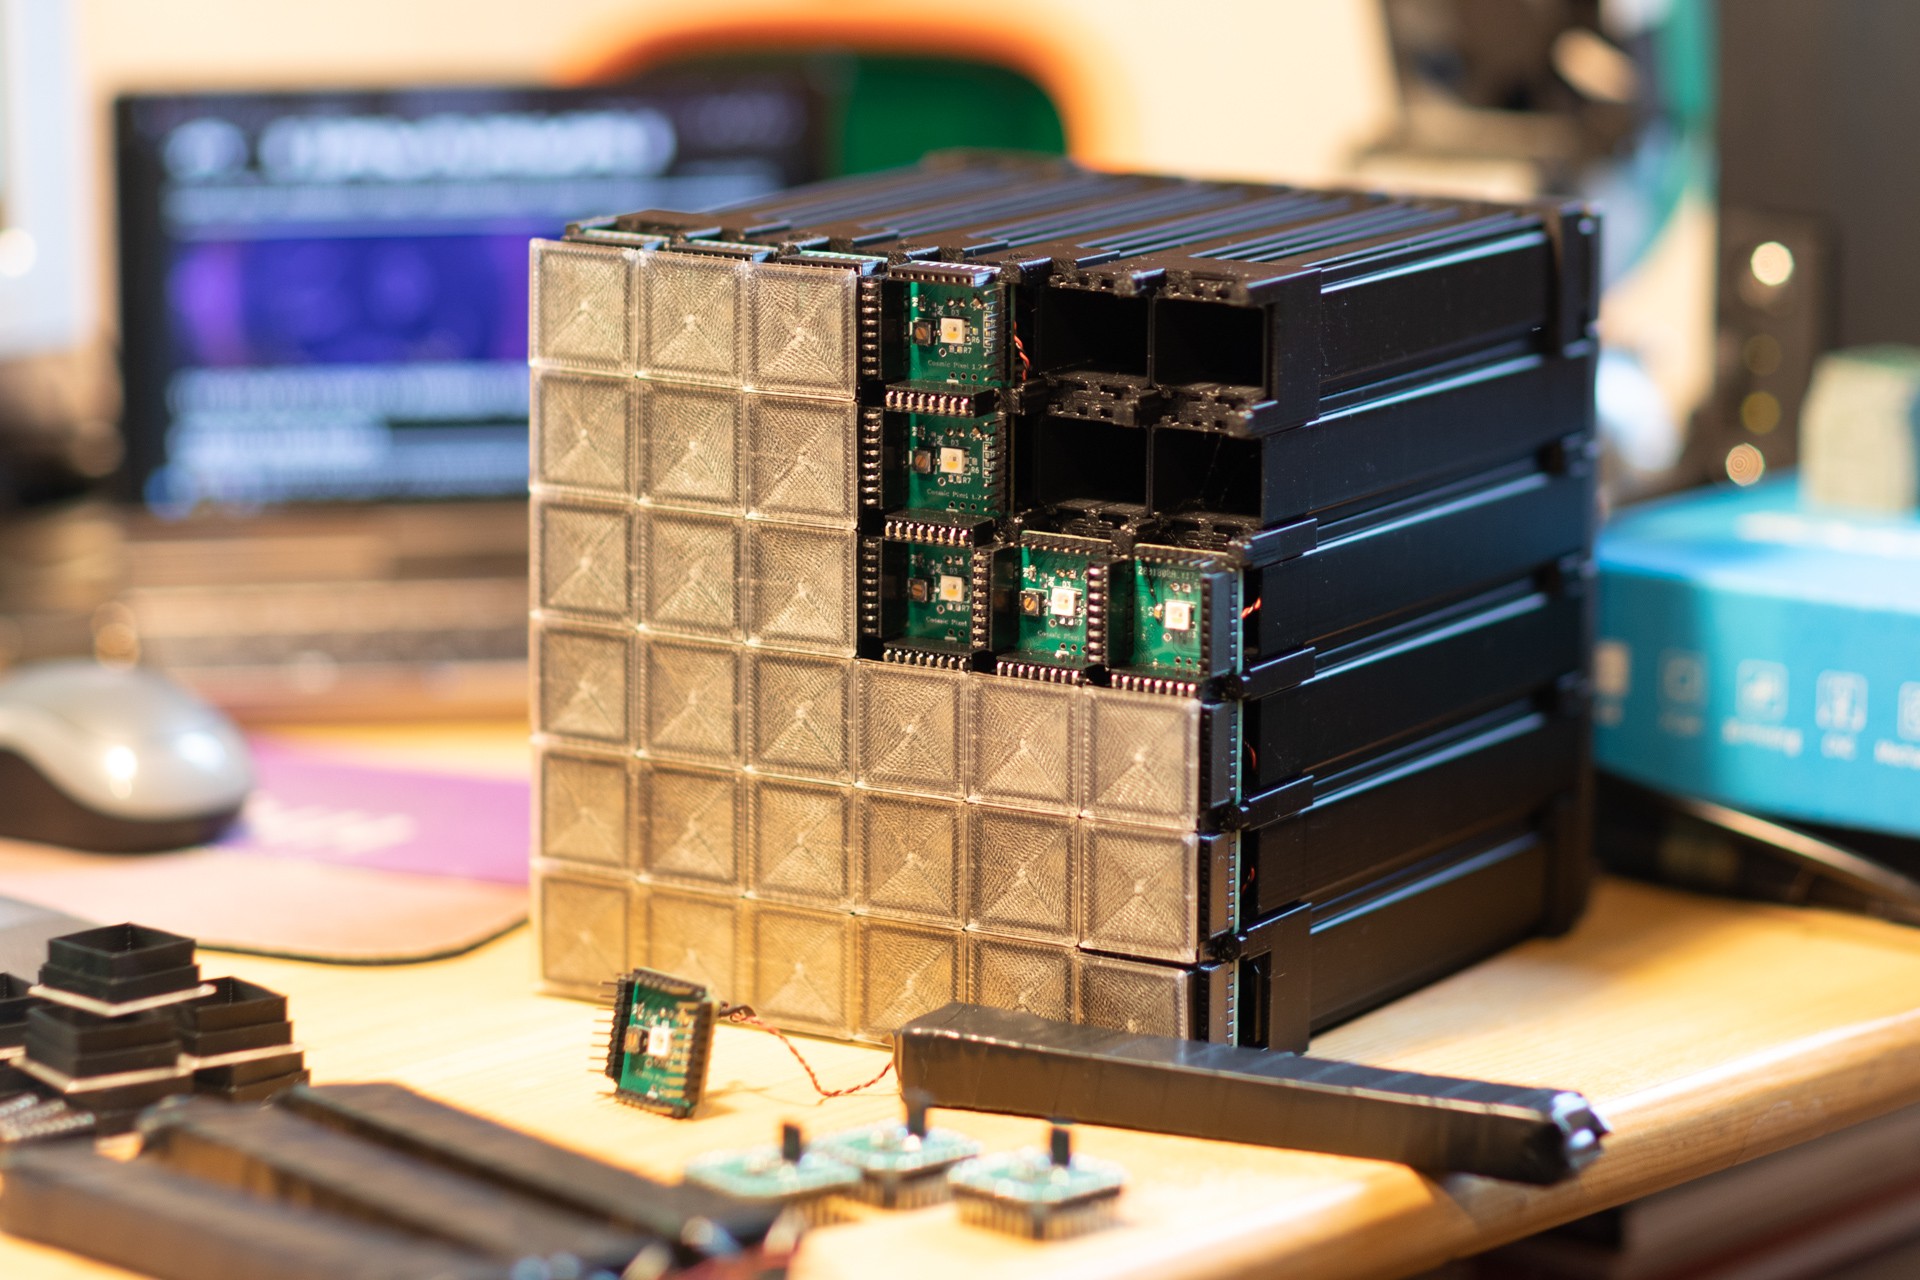




As someone who's got a block of PVT scintillator and who has seen the CERN exhibition in person, this project hits all the right spots.
Remembering white coatings on PbWO4, I looked it up (https://www.researchgate.net/publication/278742199_Lead_Tungstate_and_Silicon_Photomultipliers_for_Transmission_Z-spectroscopy_in_Cargo_Inspection_Systems) and the name of the material is "Spectraflect", providing 97-98% diffuse scattering. Apparently it's just BaSO4 as a pigment.