 Keenan Pinto
Inspiration and Concept
After the Gameboy Advance SP, I always wanted a Gameboy Micro, but by that time I had a playstation and portable devices were fading out of interest.
Thats why this project is so special, I feel like the business card challenge Inspired me to create "PiCardo", a business card-sized device that brings the charm and excitement of the Gameboy Micro. PiCardo combines nostalgia with innovation, making it a unique entry for the Hackaday Business Card Challenge.
Journey and Development
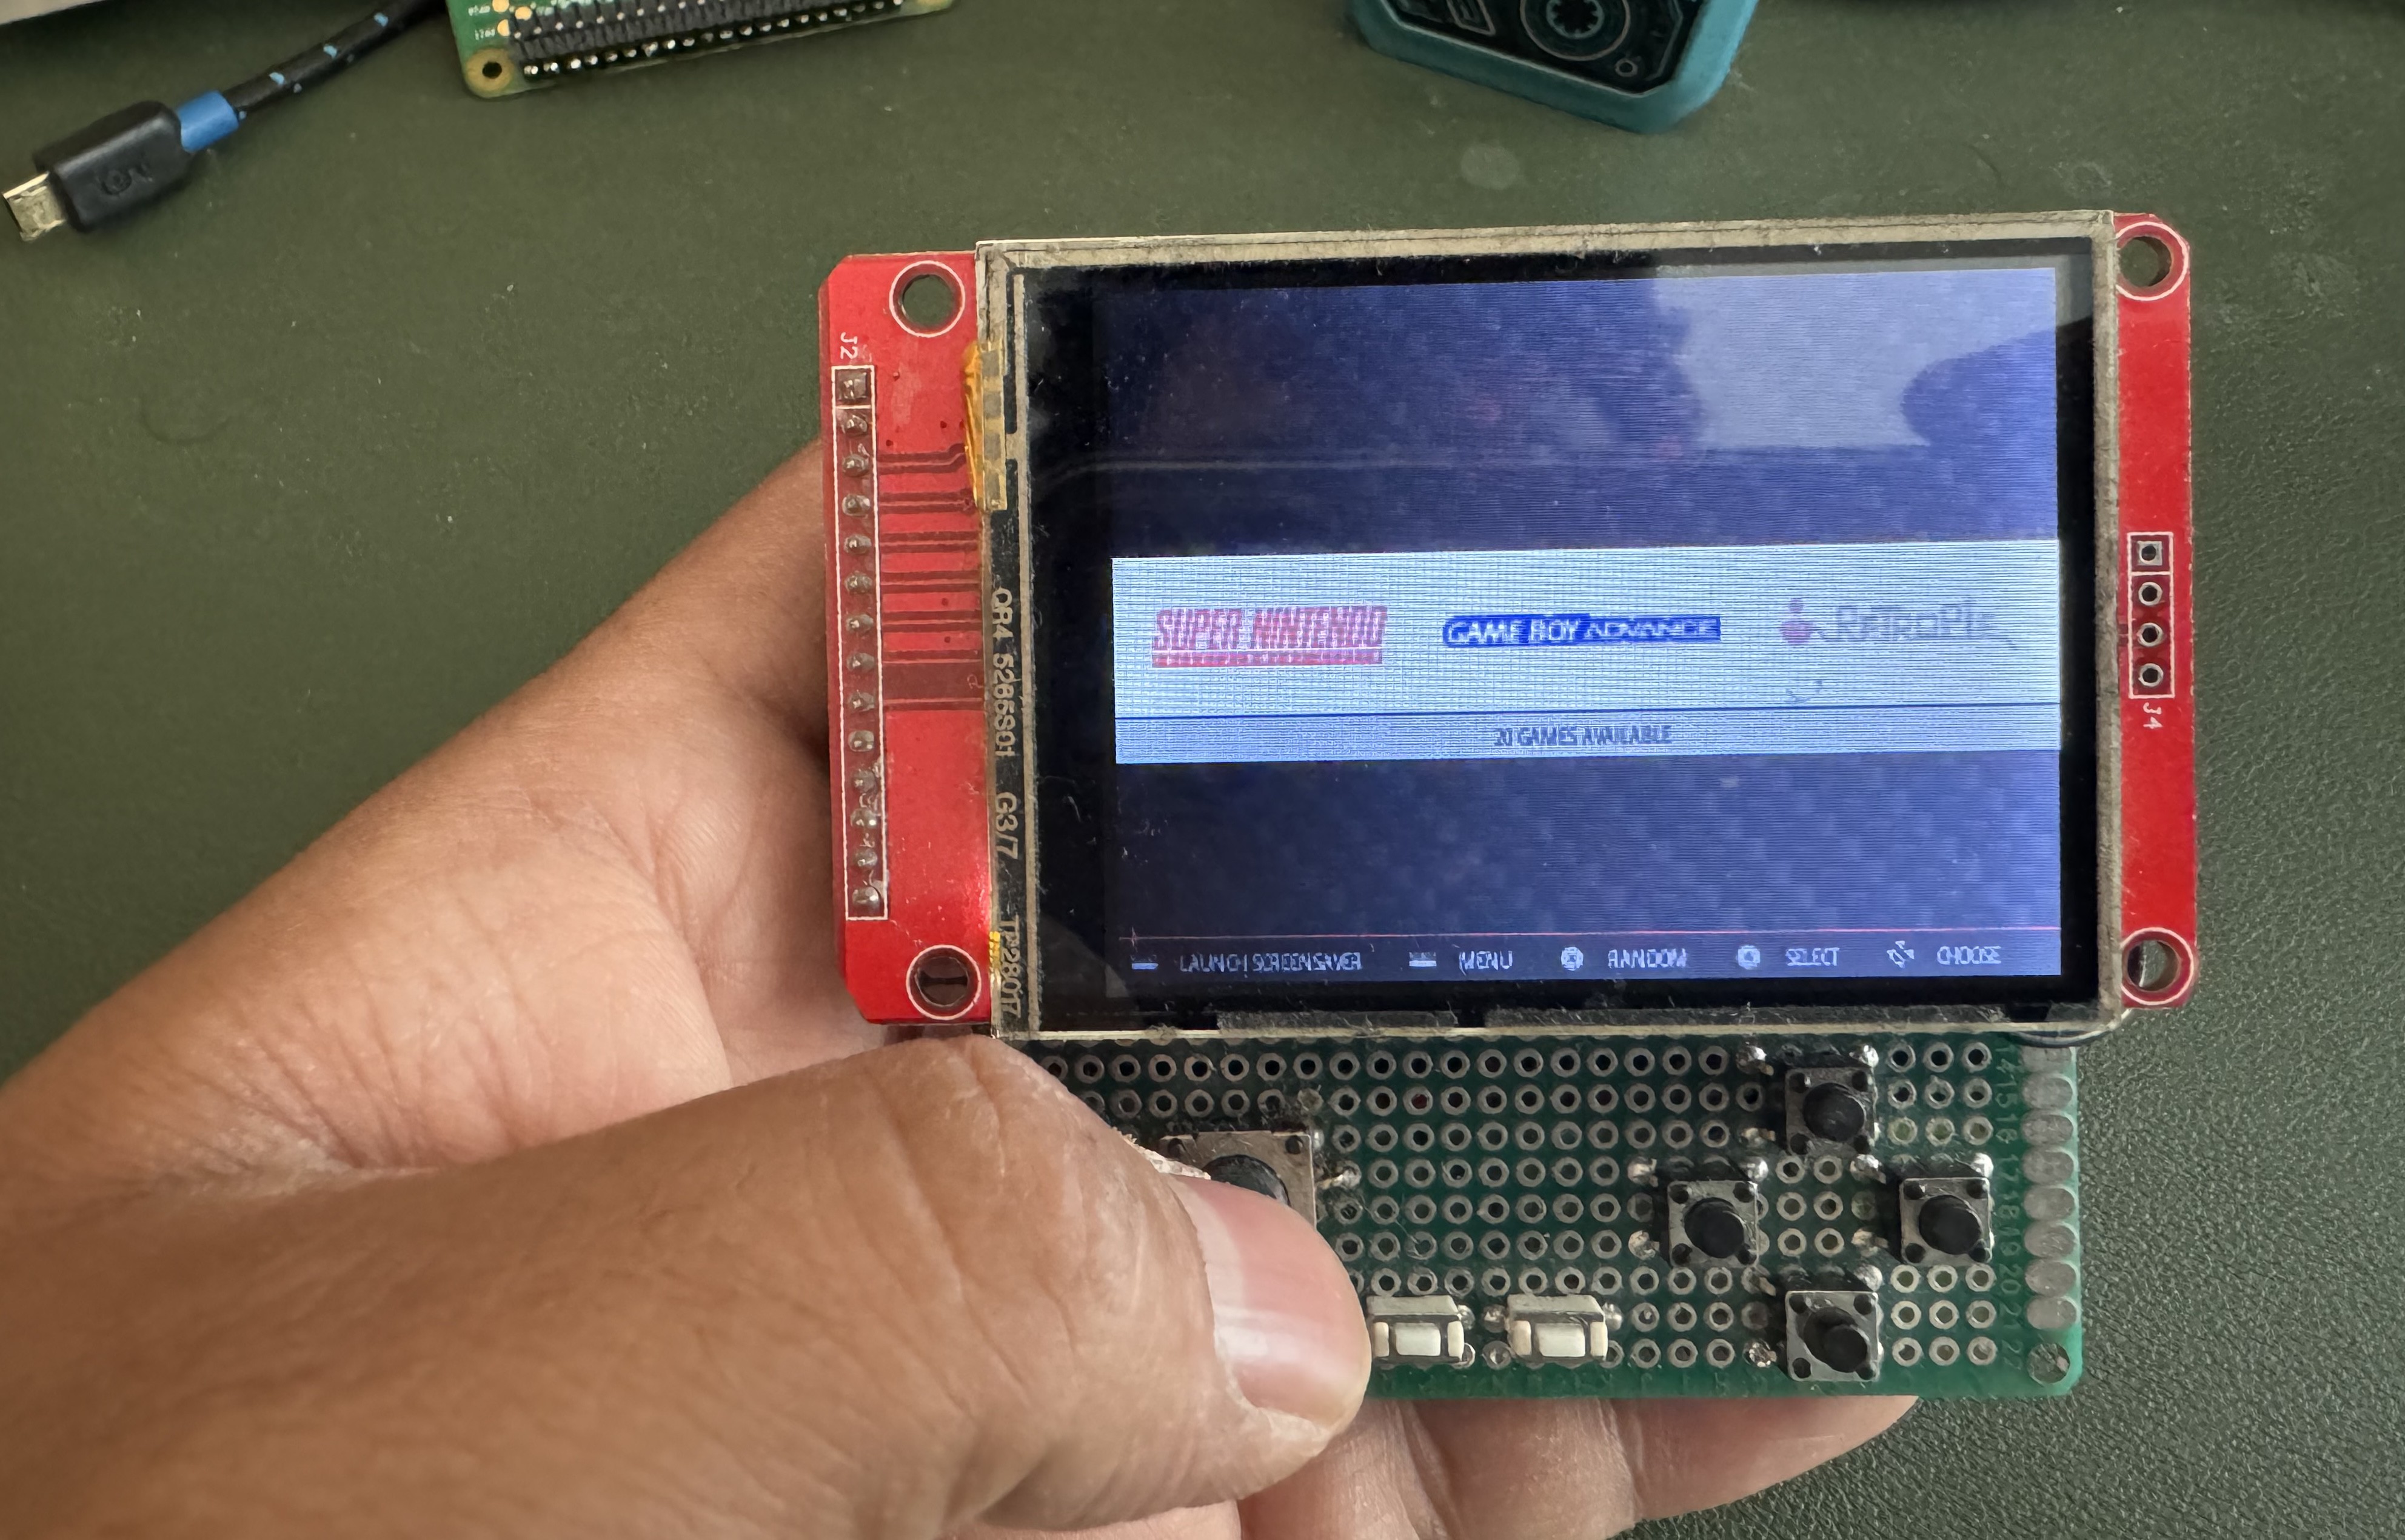
The journey to PiCardo started with a perfboard-based prototype, where I hand-soldered wires and integrated different modules to prove everything worked. It was a hands-on, messy, and incredibly rewarding process that involved a lot of trial and error. Once the hardware was functioning, I moved on to testing all the necessary software to ensure compatibility and performance.
I was super happy with the framerate as most people online complained about lagging. I'm not sure if it's me but it looks pretty damn good. (Kudos to the fbcp-ili9341 library for making this possible)
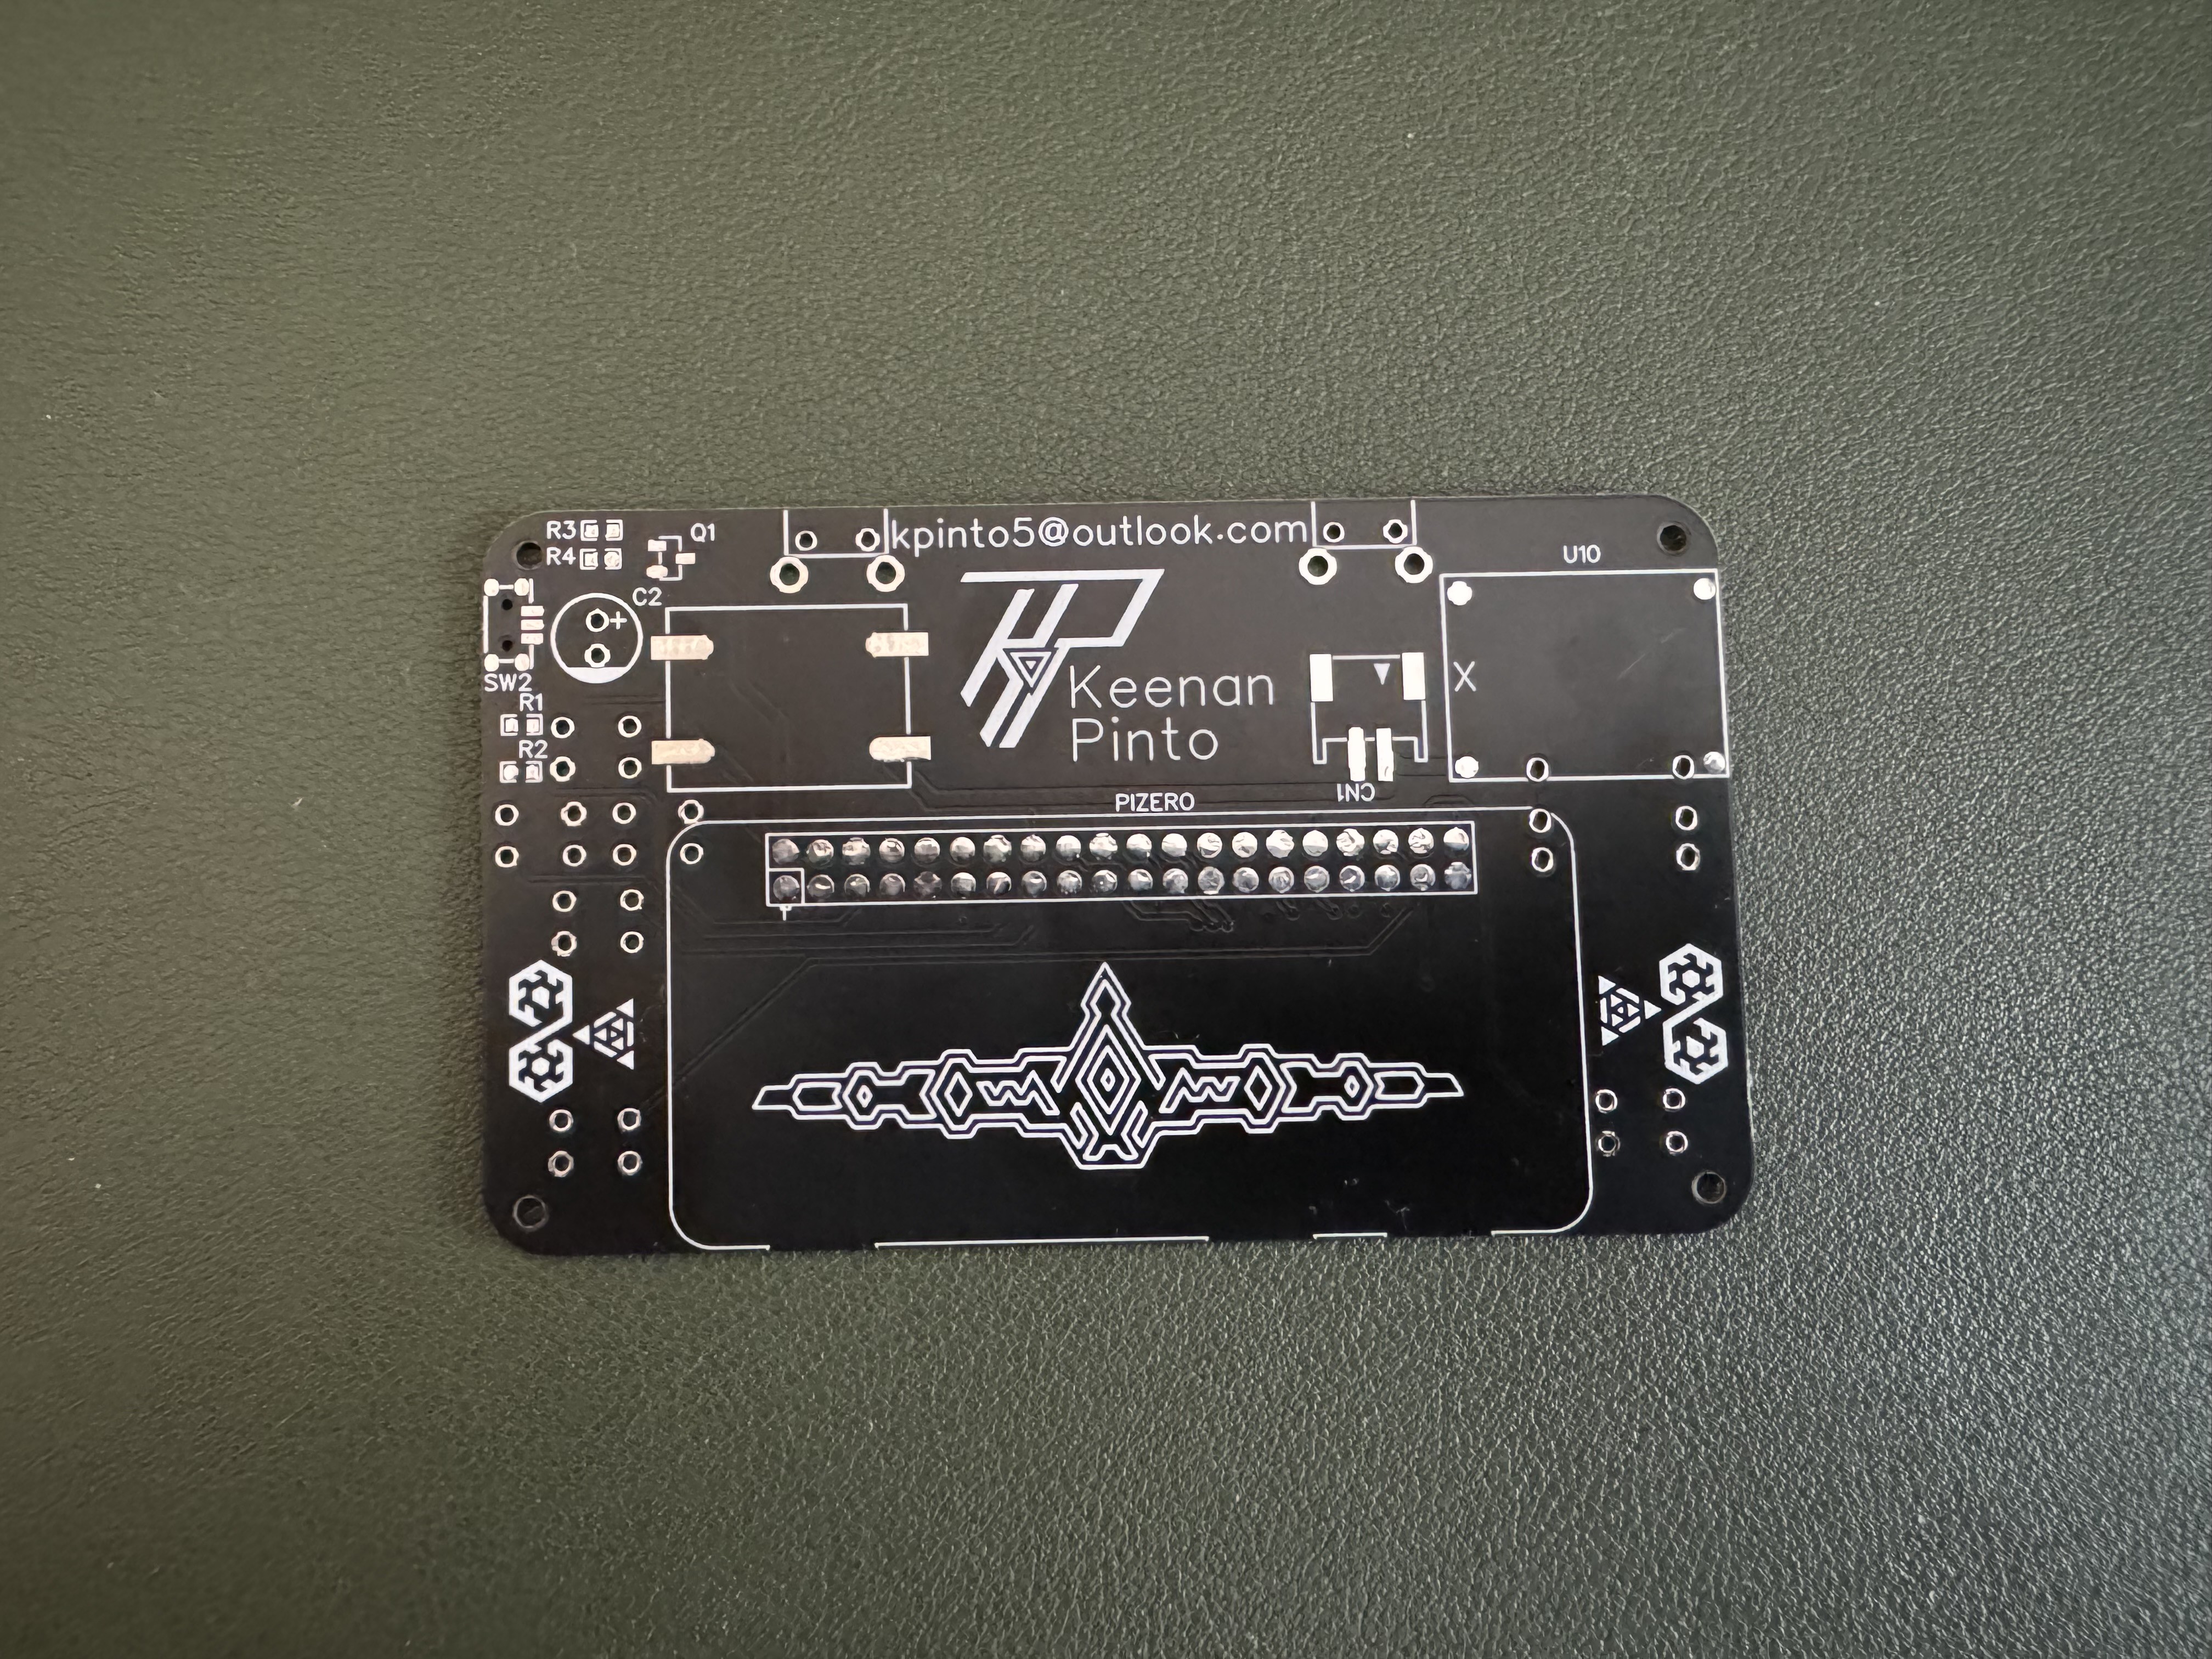
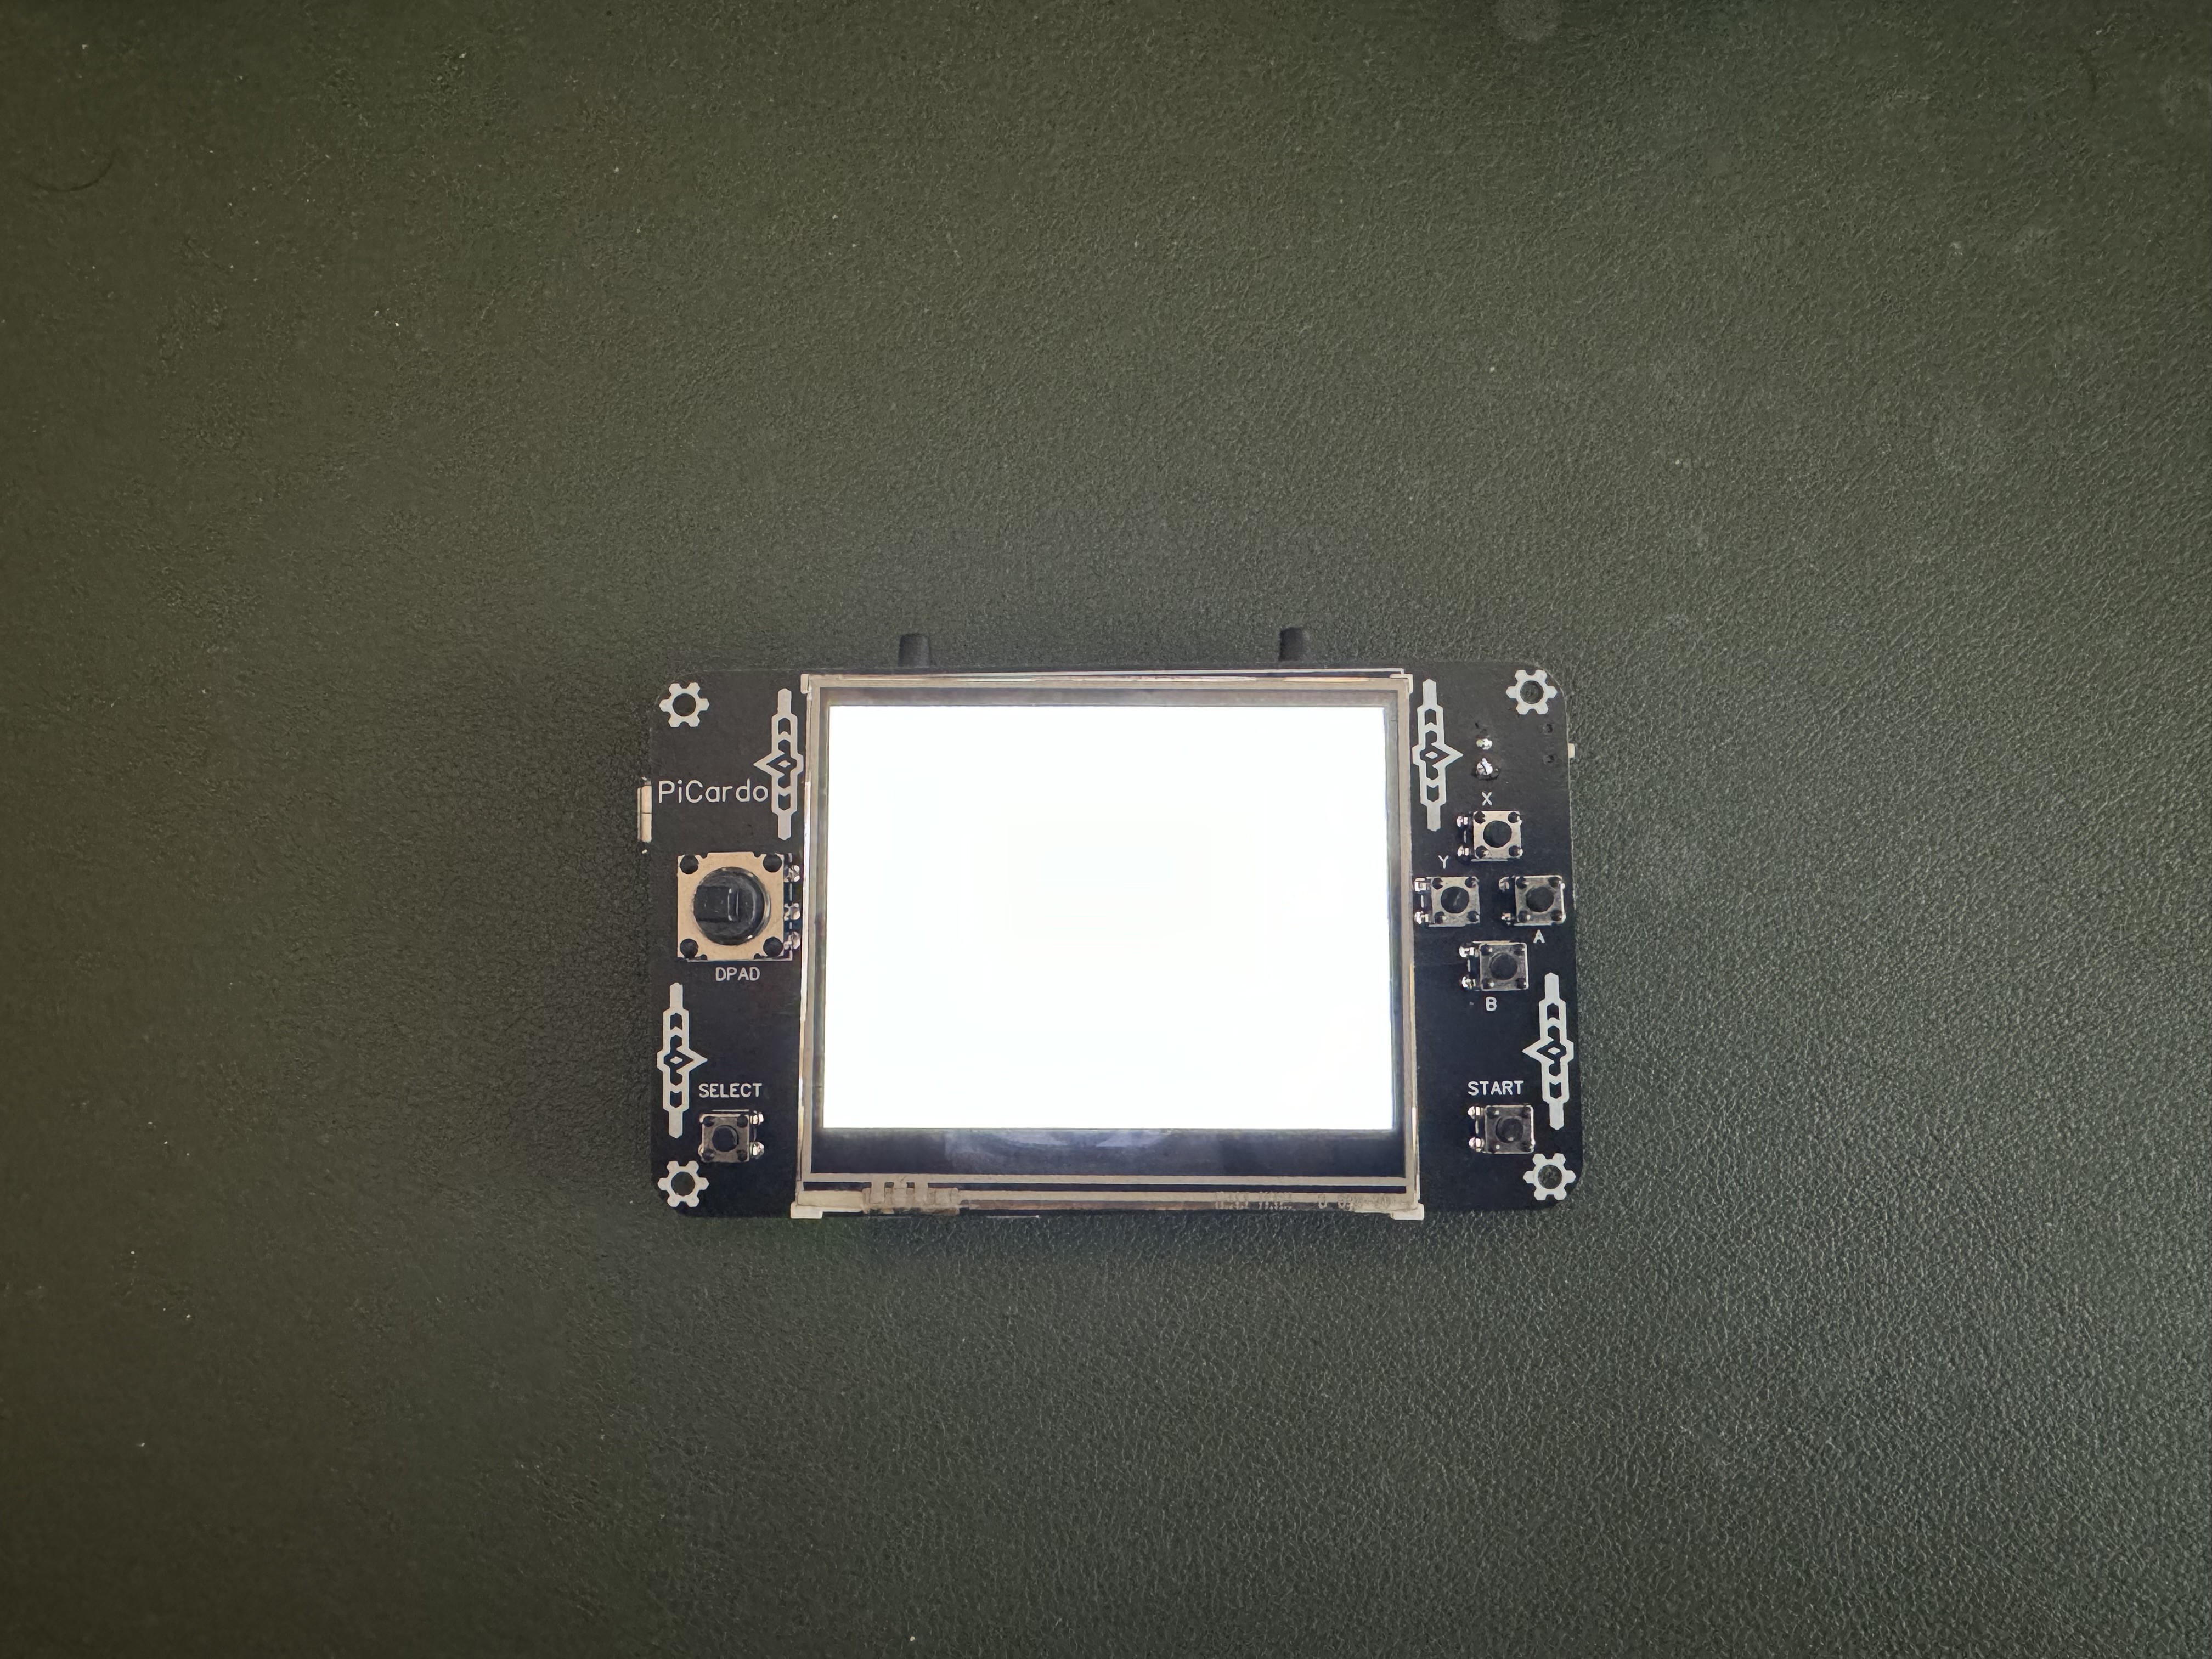
When the Hackaday Business Card Challenge came up, I saw it as the perfect opportunity to take PiCardo to the next level with a custom PCB. This transition was both exciting and challenging. The PCB version fits perfectly within the size constraints, and while I did encounter a hiccup with the wrong screen (resulting in a white display), the system works flawlessly when connected to a monitor via HDMI. (which opens up a whole new set of ideas!!)
Design and Development Process
1. Prototyping: Started with a perfboard and hand-soldered wires to integrate different modules, proving the concept and functionality.
2. Software Testing: Ensured all necessary software worked seamlessly with the hardware. Play a few games
3. PCB Design: Transitioned to designing a custom PCB for the Hackaday challenge, making the device more compact. I used EasyEDA for this
4. Assembly: Soldered components onto the PCB, ensuring all connections were secure. My local hackerspace Labitat came to good use here!
5. Testing and Debugging: Tested the device with a monitor via HDMI due to the incorrect screen, validating that the system works perfectly otherwise. SSH and all other functions working correctly.
Check out the other sections for:
- Components
- Software Setup
- Future enhancements
Here's a quick look at how it plays
 CiferTech
 Arnov Sharma
 Juan Flores
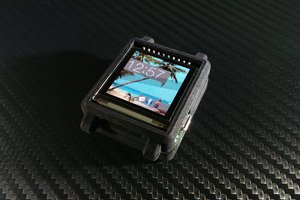
 WΛLLTΞCH