This days I finally received the seestar s50 telescope that I ordered directly from the manufacturer. From the moment of ordering until today, when it was delivered, 10 days passed, including the time for customs procedures. Shipping is done via DHL mail, the device is well packed and arrived without any damage.
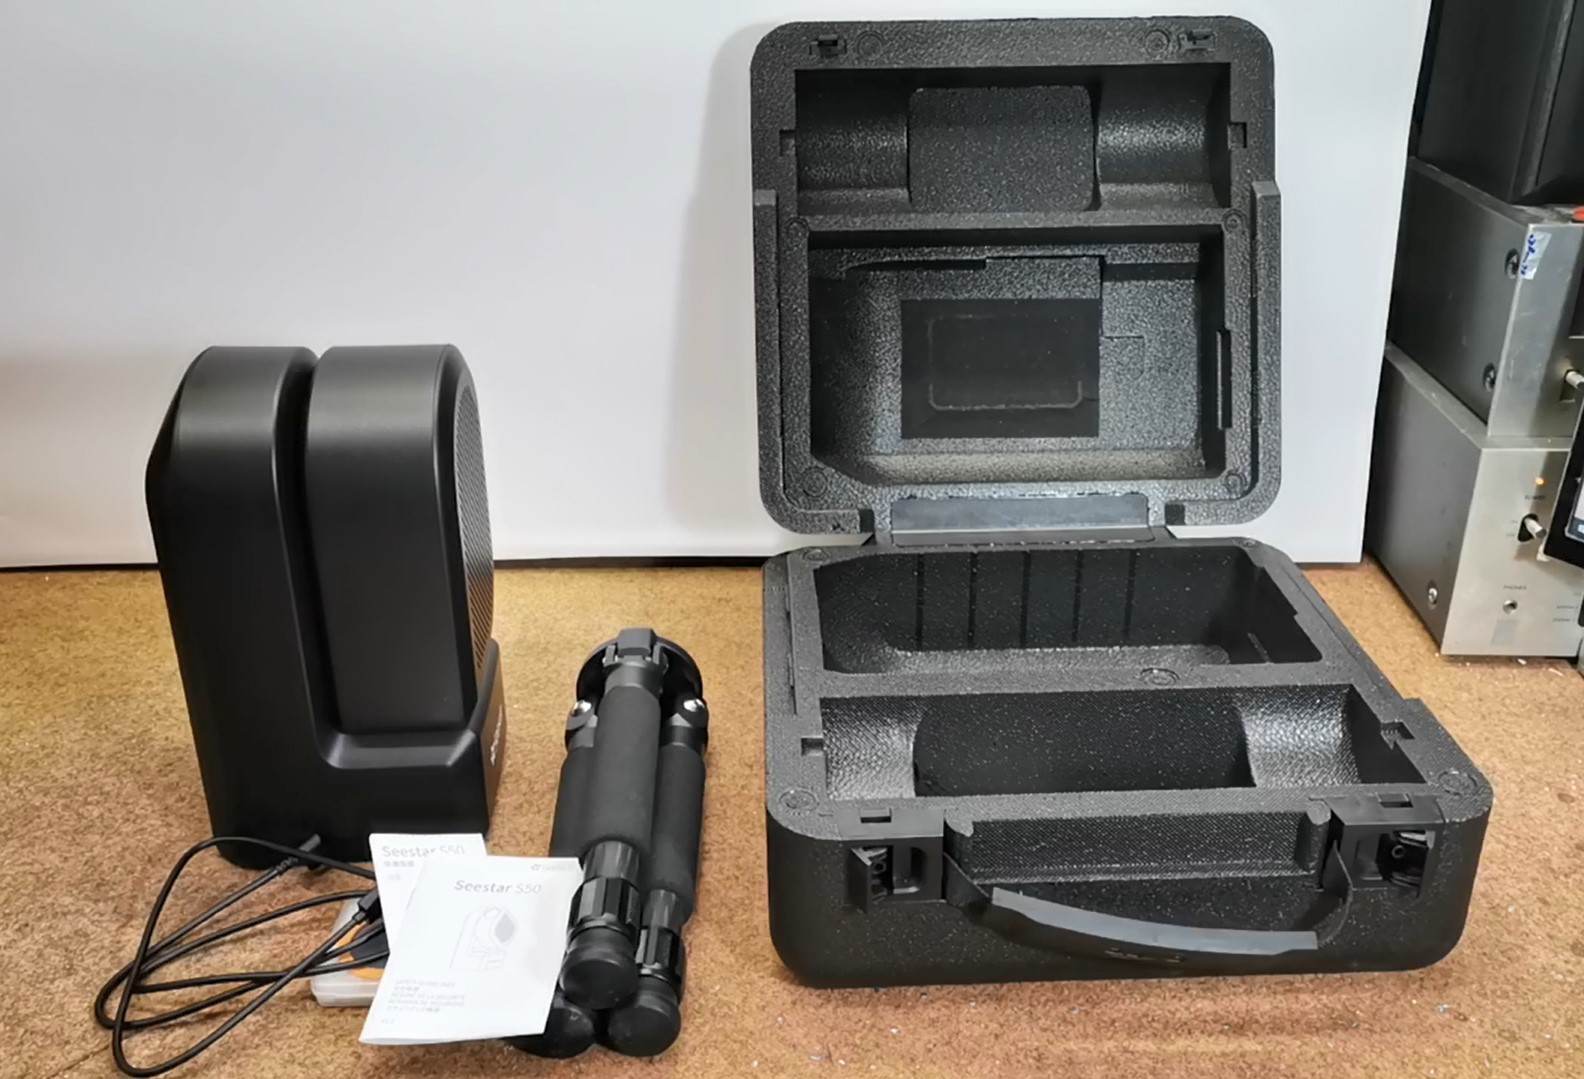
The hard styrofoam box contains the Seestar S50 telescope, a small but robust tripod, a solar filter, a battery charging cable, and brief instructions. Even at first glance, it is clear that it is a solidly made device, which is expected for a device of that price class. However, according to the possibilities offered, this price is not only justified, but also relatively low.
Honestly, my experience in the field of astrophotography is almost non-existent with the exception of a few semi-successful attempts to photograph Saturn, Jupiter, and the Orion Nebula, but also excellent photos and videos of the Moon. Namely, I own several telescopes, the largest of which is the Dobsonian type with a parabolic mirror with an aperture of 11 inches (28 cm), and I have quite a lot of experience in observing deep sky objects. I did my photography attempts (unfortunately only with a cell phone) on my Go-To - Meade ETX 70 telescope. For those reasons I think I can give a real review as a representative of a novice astrophotographer.
Now, first after charging the telescope battery, we need to download and install the Seestar app on our smartphone.
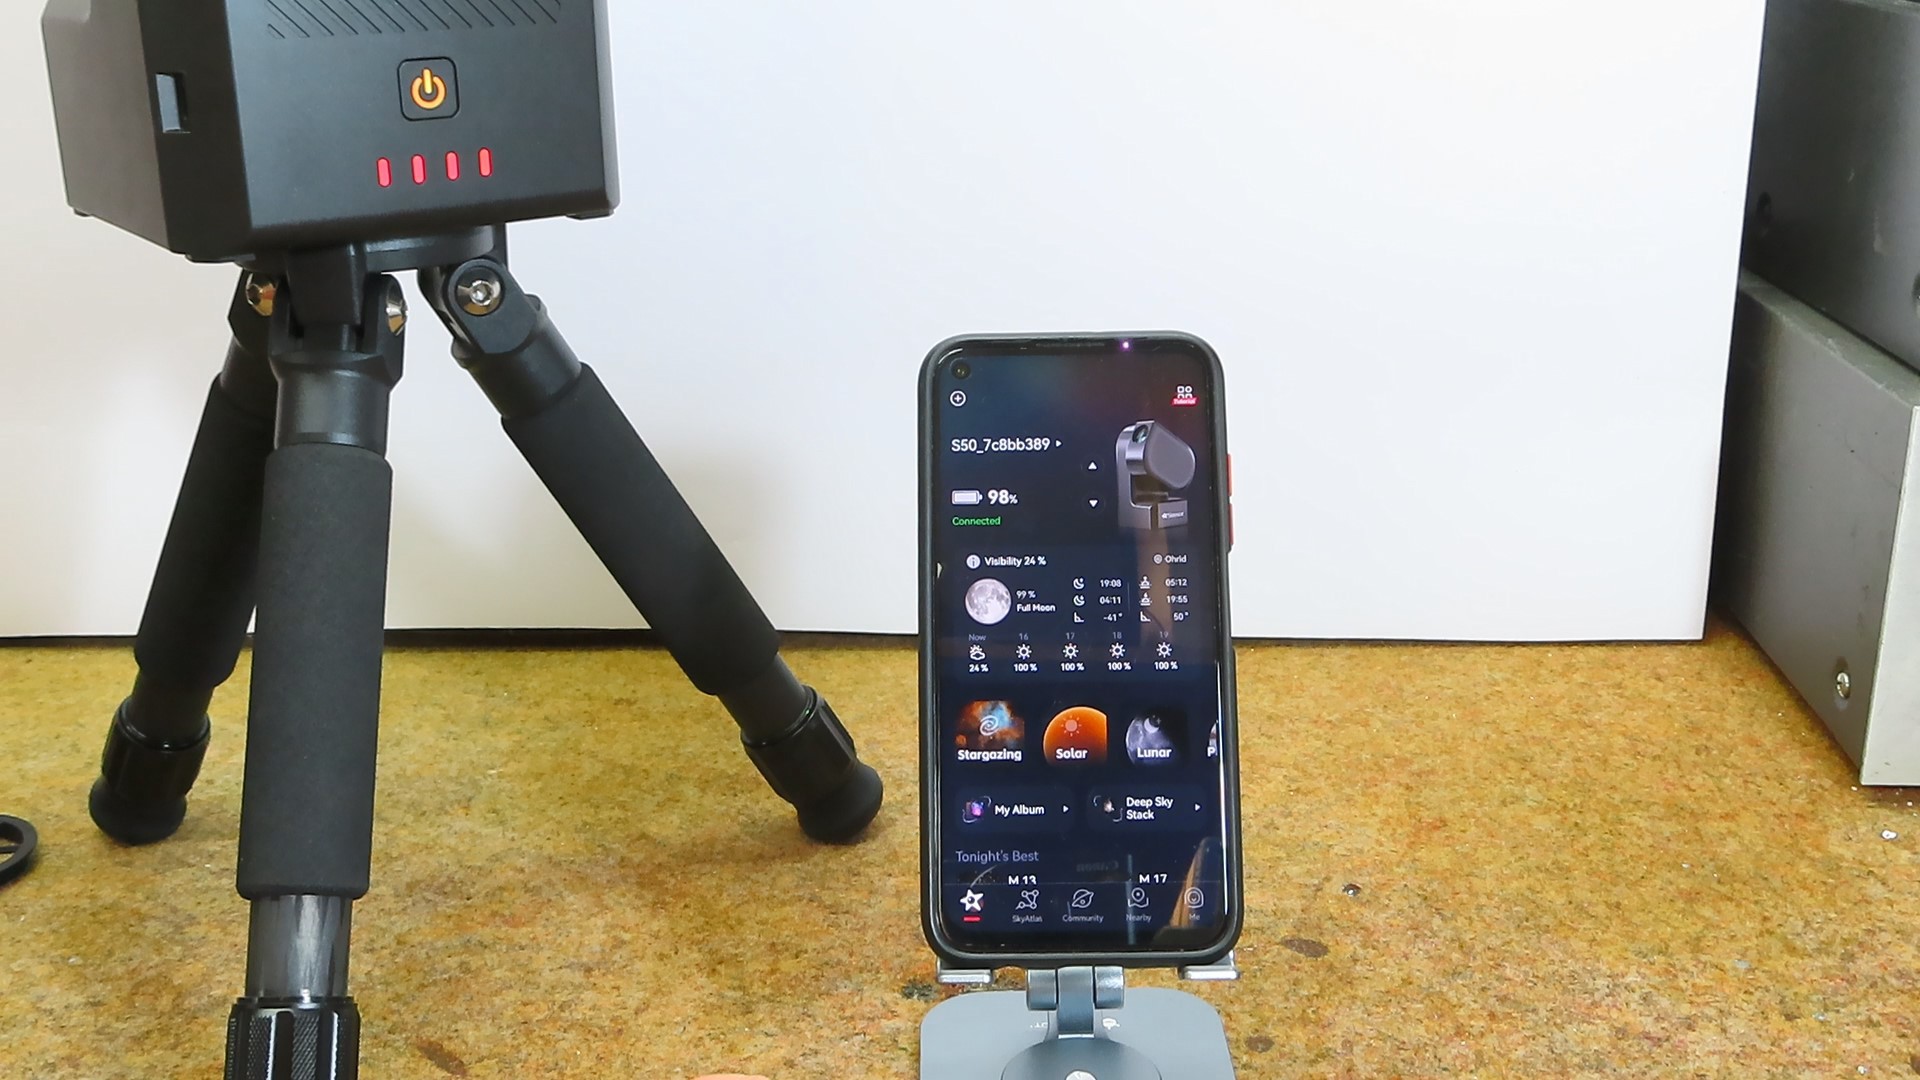
There are versions for Android as well as iOS operating systems. After starting the application, we need to connect the telescope with bluetooth connection, and then to the Wi-Fi access point contained in the telescope. Now everything is ready for the first observation. One of the basic adjustments for a telescope to work well is leveling. At the beginning, this procedure is a little more difficult, but with time, the leveling is done in less than a minute.
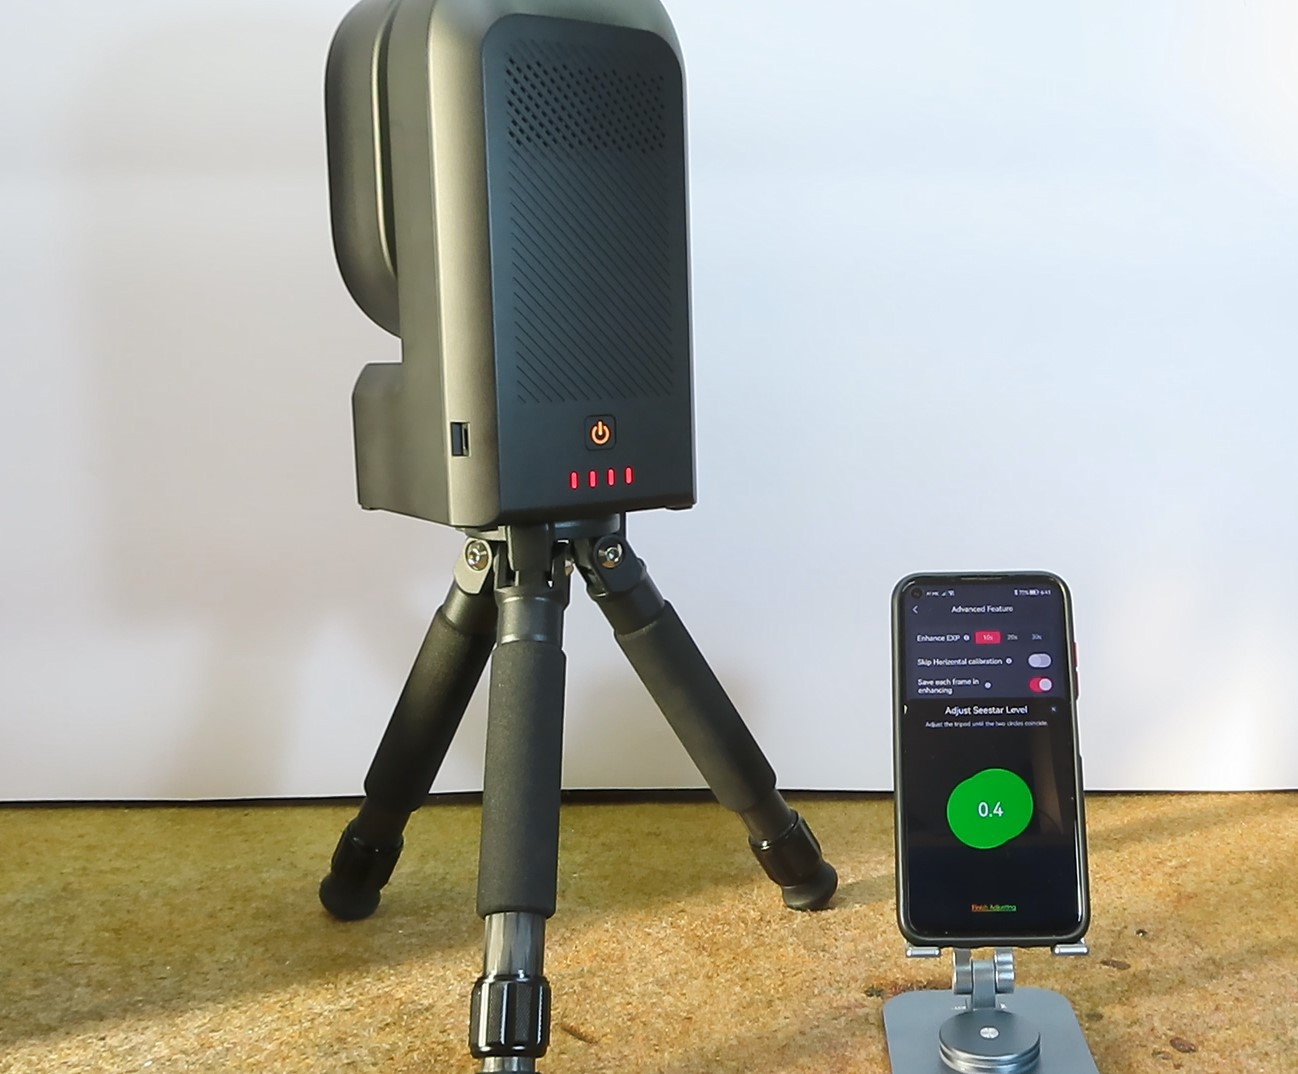
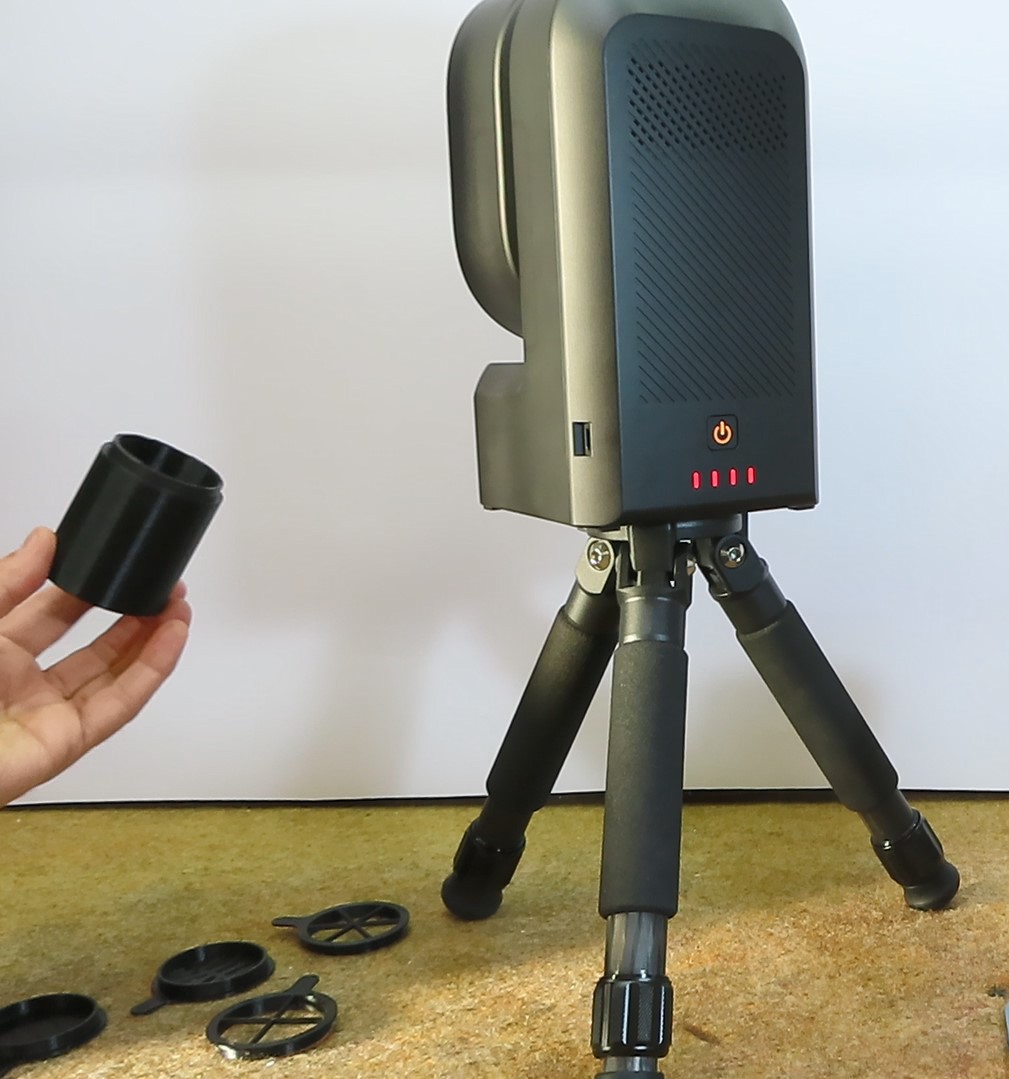
To level well, the two green circles need to overlap as much as possible. The overlap factor is displayed as a single decimal number, and for sufficient accuracy it is recommended that it be less than 0.5. We can simplify this procedure a lot if we get a tripod level adjuster, the price of which is about 30 dollars. If you own a 3D printer, you can make several useful accessories for which you can find .stl files on the Thingiverse website.
Now we can start observing. In the Seestar application, we first determine which type of object we want to observe. We can choose between Stargazing, Solar, planetary, and Scenery. The program also suggests objects that are most suitable for photography in the given period. We can also choose the sky Atlas option where we manually select an area of the sky. Here we can also select one of the many objects that are best for observation at the moment. When we select an object, for example one of the proposed ones, we press Go Gazing and the telescope is automatically directed to that object. When the object is found, the telescope verbally informs us that the object is centered, at which point we need to press autofocus and photography can begin. The duration of photography depends on the object and can last from a minimum of 10 seconds for very bright objects, up to several hours for darker objects.
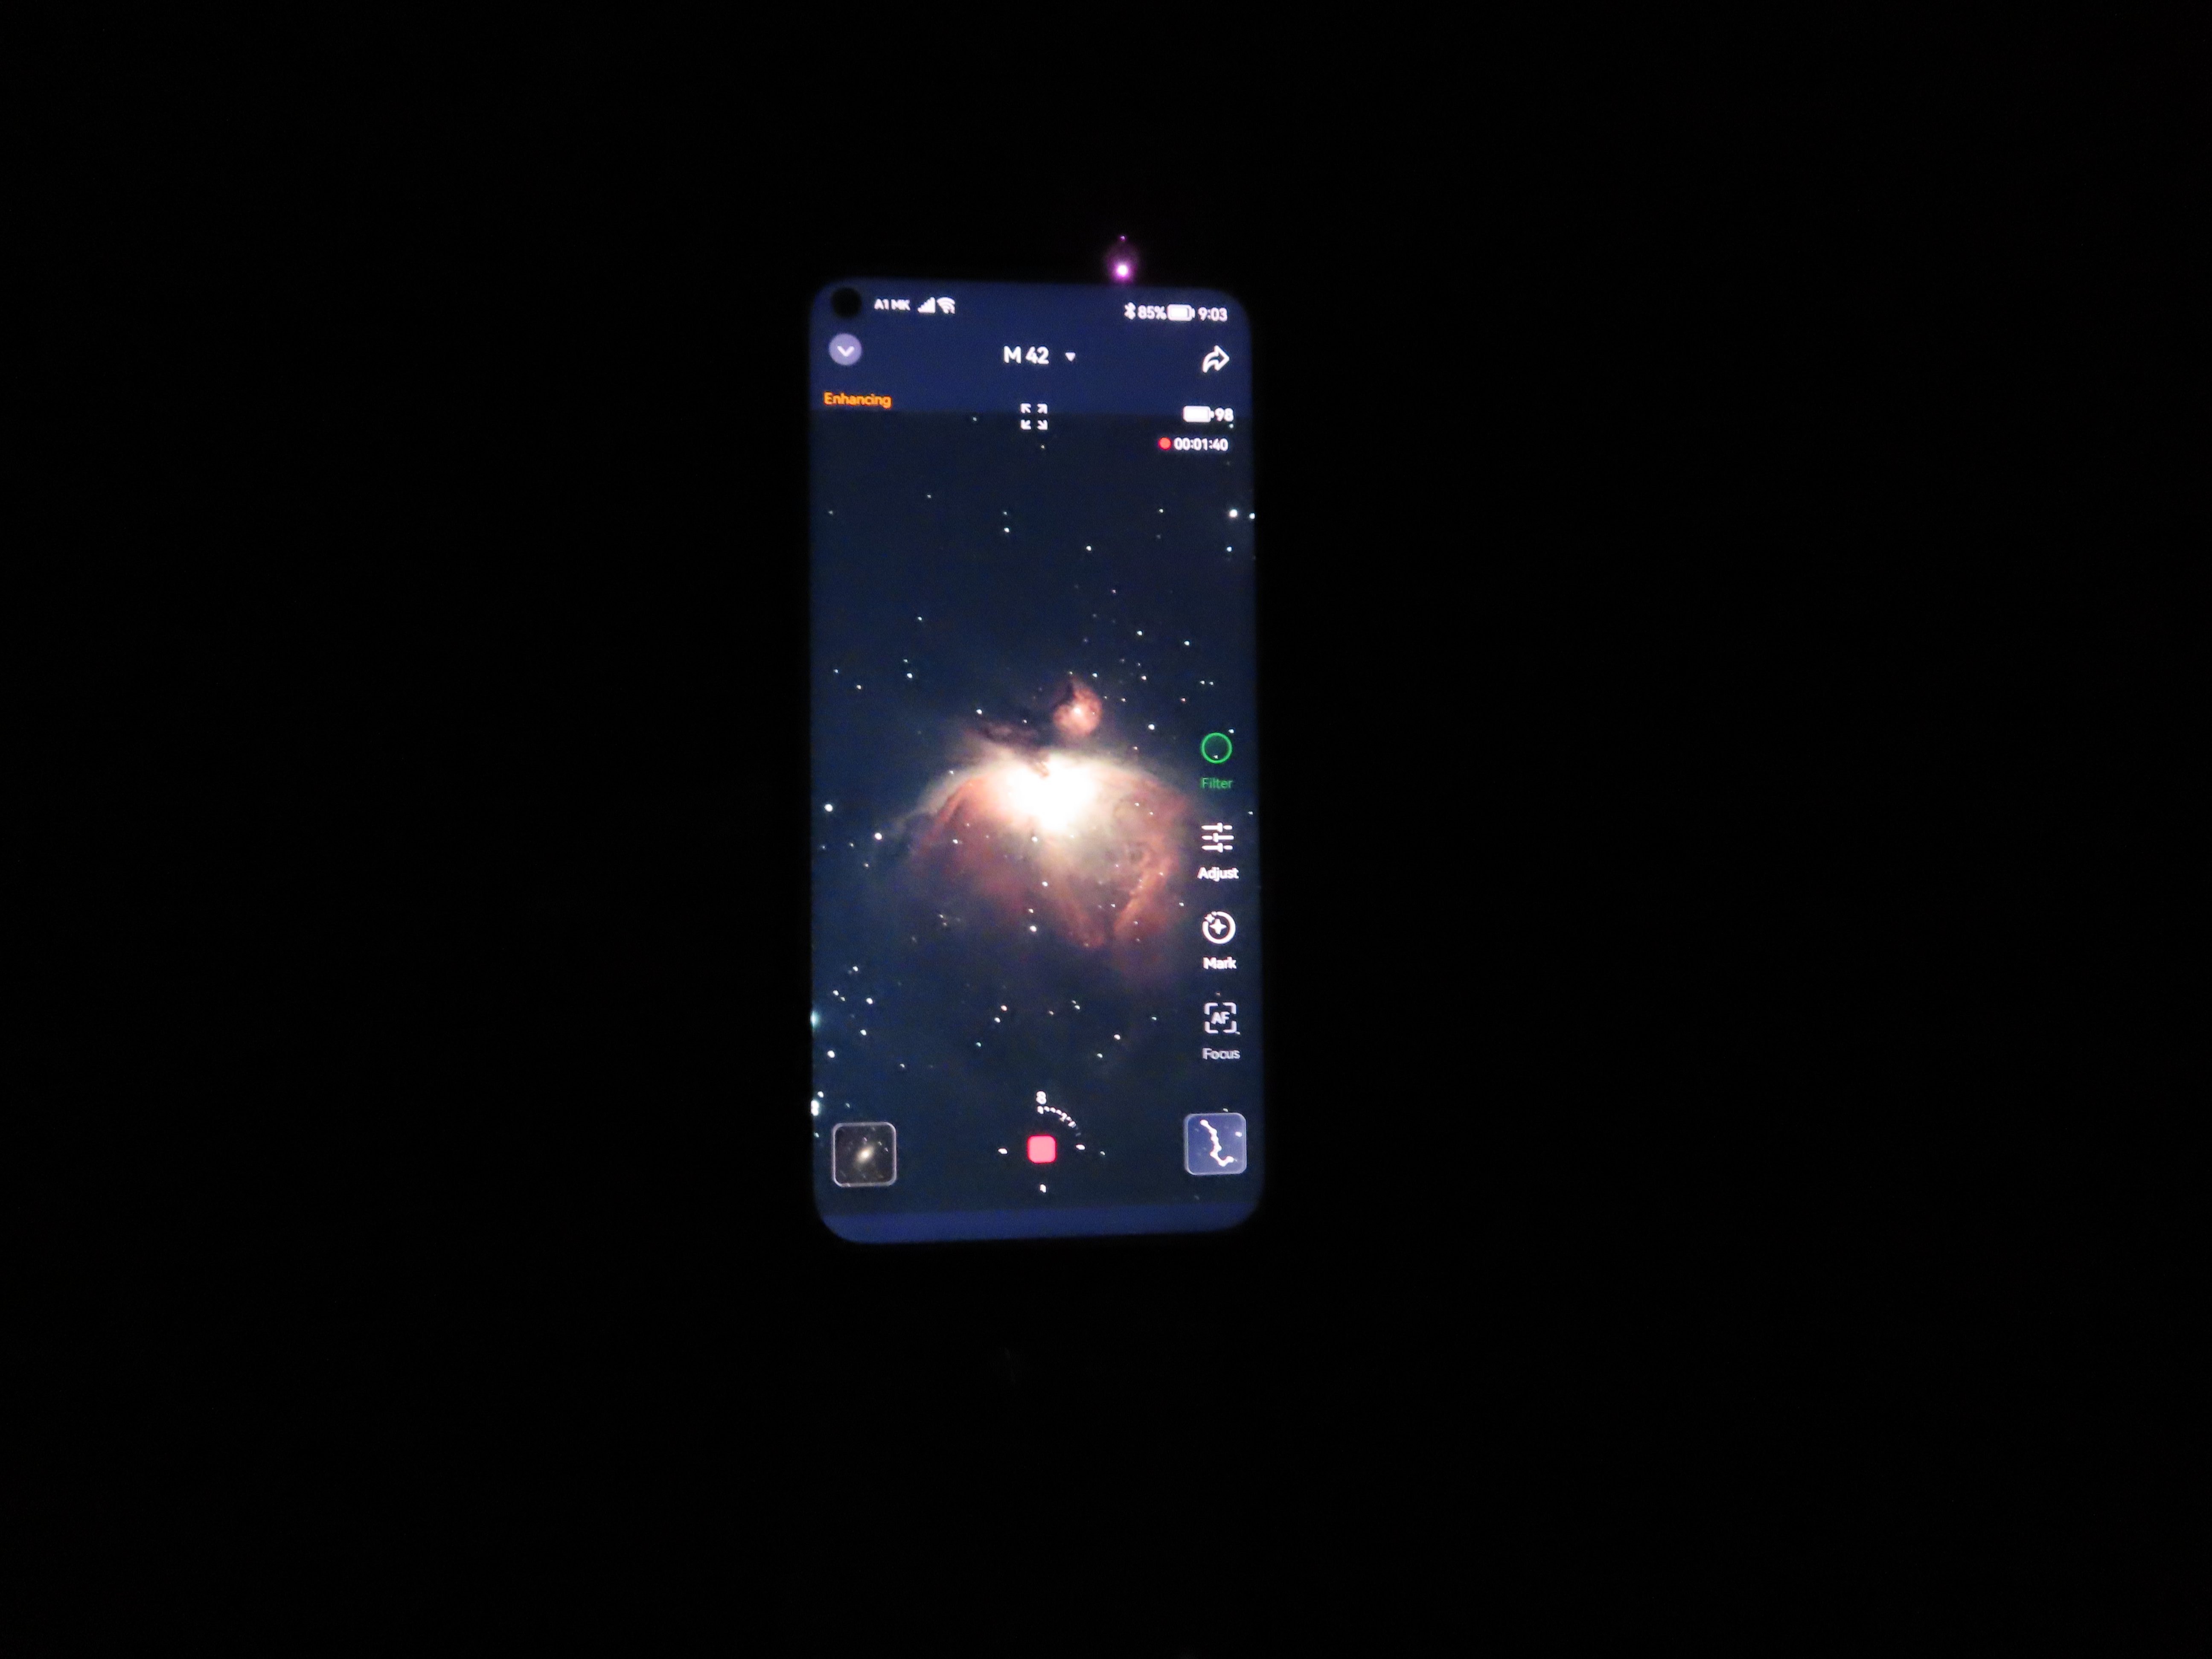
The Seestar S50 comes with built-in 64GB eMMC storage, providing approximately 50GB of available space for data storage. We can transfer the images stored in the Seestar using a USB cable or through a Wi-Fi network. We can transfer the images stored in the Seestar using a USB cable or through a Wi-Fi network. However, if we connect the telescope in this way on a PC with a Windows Operating System, a message will appear that the disk is not formatted and so on, and we will not be able to see the data. The reason for that is that the disk is factory formatted with a Unix data system, so we can only view it with Linux or Mac OS. For that reason...
Read more » mircemk