PICO9918
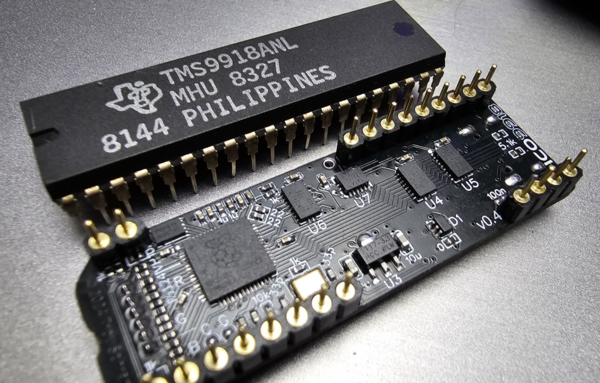
A drop-in replacement for a classic TMS9918A VDP using a Raspberry Pi Pico.
The TMS9918A emulation is handled by my vrEmuTms9918 library which is included as a submodule here
Supported devices
This is a list of devices the PICO9918 has been tested and confirmed to work on.
- Texas Instruments TI-99/4A (NTSC and PAL)
- Texas Instruments TI-99/4QI
- Dan Werner TI-99/22
- ColecoVision (NTSC and PAL)
- Coleco ADAM (NTSC)
- AtariBits CV-NUC+
- Memotech MTX500
- MSX
- NABU Personal Computer
- Powertran Cortex
- Sega SG-1000 / SC-3000
- Sord M5
- Tomy Pyūta / Tomy Tutor
- Tomy Pyūta Jr
Homebrews:
If you have tested the PICO9918 on any other device, please let me know and I'll happily update this list. :)
Unsupported devices
So far, there aren't any.
F18A compatibility
Work is being done to add F18A compatibility to the PICO9918. The video below was captured directly from the PICO9918 VGA output running various F18A demos on a TI-99/4A.
Pre-release firmware for F18A compatibility mode is available in Releases.
Purchasing options
Fully assembled and tested PICO9918 v1.1s are available on my Tindie store:
Also (more convenient for North America)
Hardware
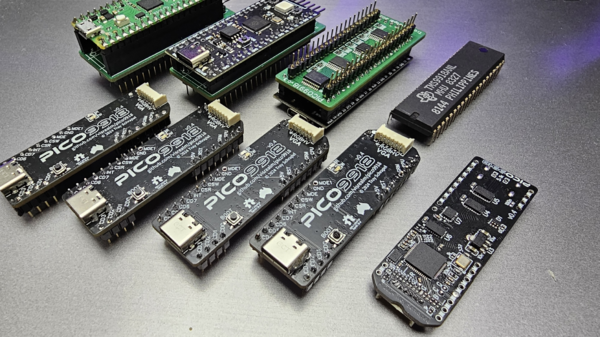
There are two main variants of the hardware.
v1.1 (formerly v1.0 and v0.4)
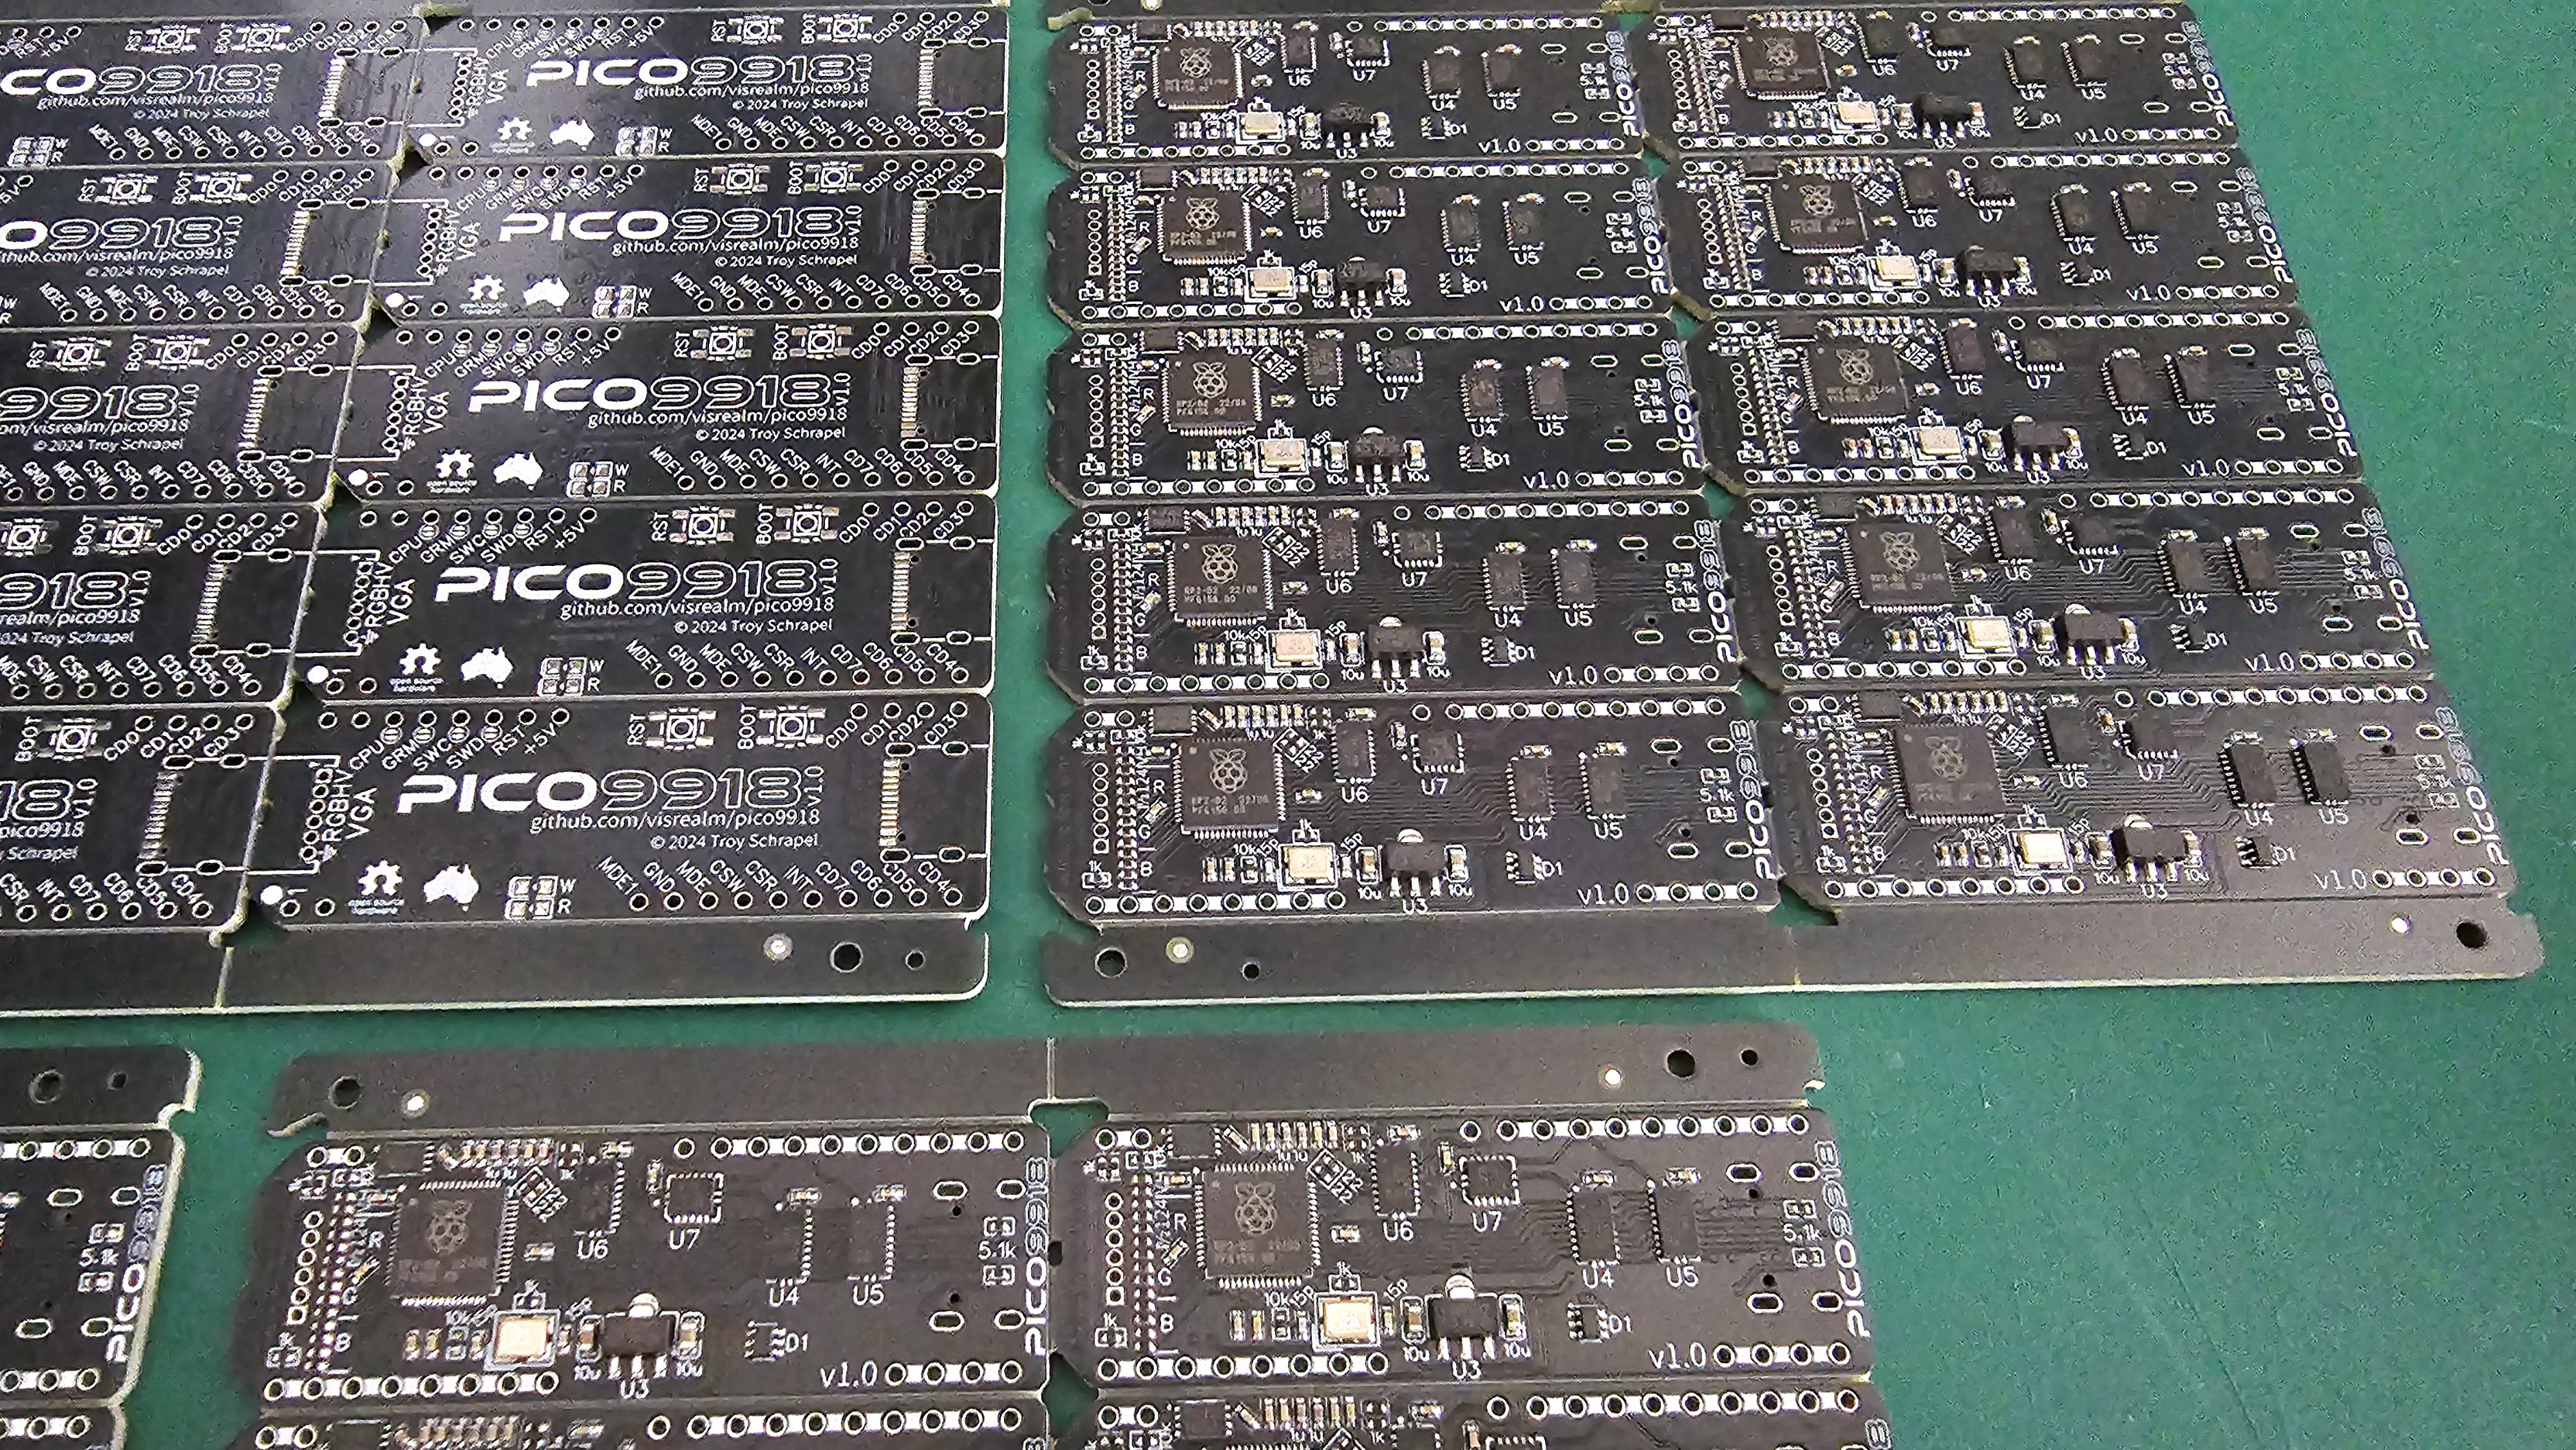
PICO9918 v1.1 is the single board version which doesn't require a piggy-backed Pi Pico. This is the version you can currently buy pre-assembled from Tindie and ArcadeShopper.
v0.3
v0.3 is relatively cheap and easy to build, schematic and gerbers are available. This version makes use of an external Pi Pico module piggy-backed onto the PICO9918 PCB.
Schematics
Schematics and Gerbers are available in /pcb
Firmware
If you're not interested in building the firmware yourself, you'll find the latest firmware in the Releases.
To install, just hold the 'BOOTSEL' (or 'BOOT') button while plugging the Pico into a PC, then drag the pico9918.uf2 file on to the new USB drive which should have the volume label RPI-RP2. The Pico will restart (and disconnect) automatically.
Development environment
To set up your development environment for the Raspberry Pi Pico, follow the Raspberry Pi C/C++ SDK Setup instructions. The latest PICO9918 source can be configured and built using the official Raspberry Pi Pico VSCode plugin.
Windows
The build system expects python3 to be available. If you have installed Python 3 outside of the Microsoft Store, you may need to alias your Python executable.
You can do this from an elevated (Administator) command prompt in your python directory e.g. C:\Program Files\Python310\ by creating a symlink with the command: mklink python3.exe python.exe.
The custom python build tools are used to convert binary data (images) into code. These also require the pillow library - (Installation instructions for pillow)
Discussion
For all the latest news and discussion on the PICO9918, you can follow this AtariAge thread
Videos
Initial "raw" videos recorded in the moments following the first boot on my TI-99/4A.
These videos are showing the v0.2 hardware with an external Pi Pico providing the required GROMCLK signal to the TI-99. This signal has been added to v0.3. I'm still waiting on v0.3 boards to arrive.
It freaking works!
Don't mess with Texas!
80 column mode
And now v0.4 - the single board version:
v0.4 prototype working!
F18A mode development preview
Licensing
Hardware
The hardware design files in this repository are licensed under the CERN-OHL-S. See LICENSE_HARDWARE.md for details.
Firmware
The firmware code in this repository is licensed under the MIT License. See LICENSE_FIRMWARE.md...
Read more » Troy Schrapel


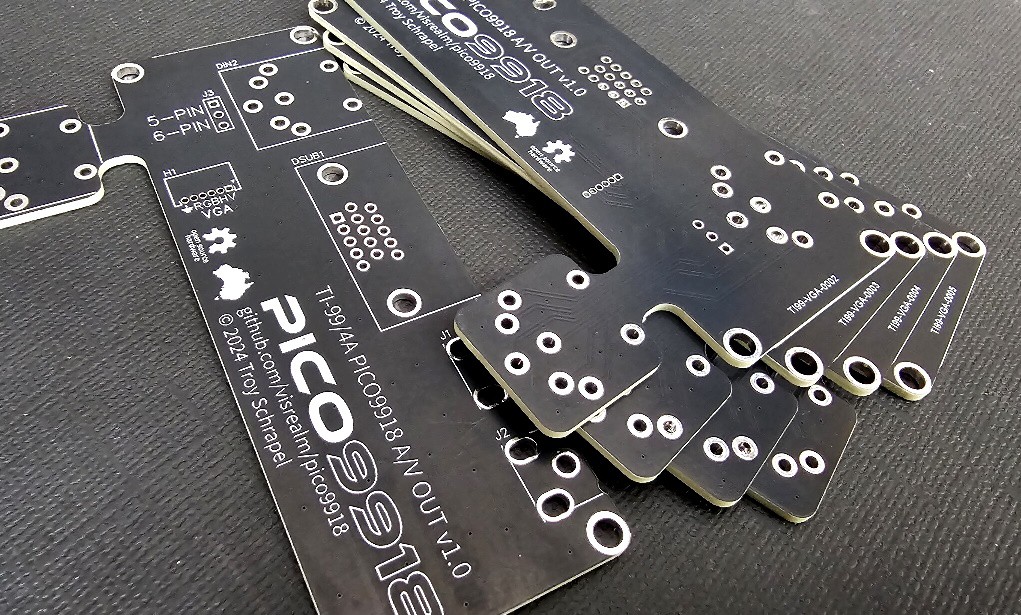
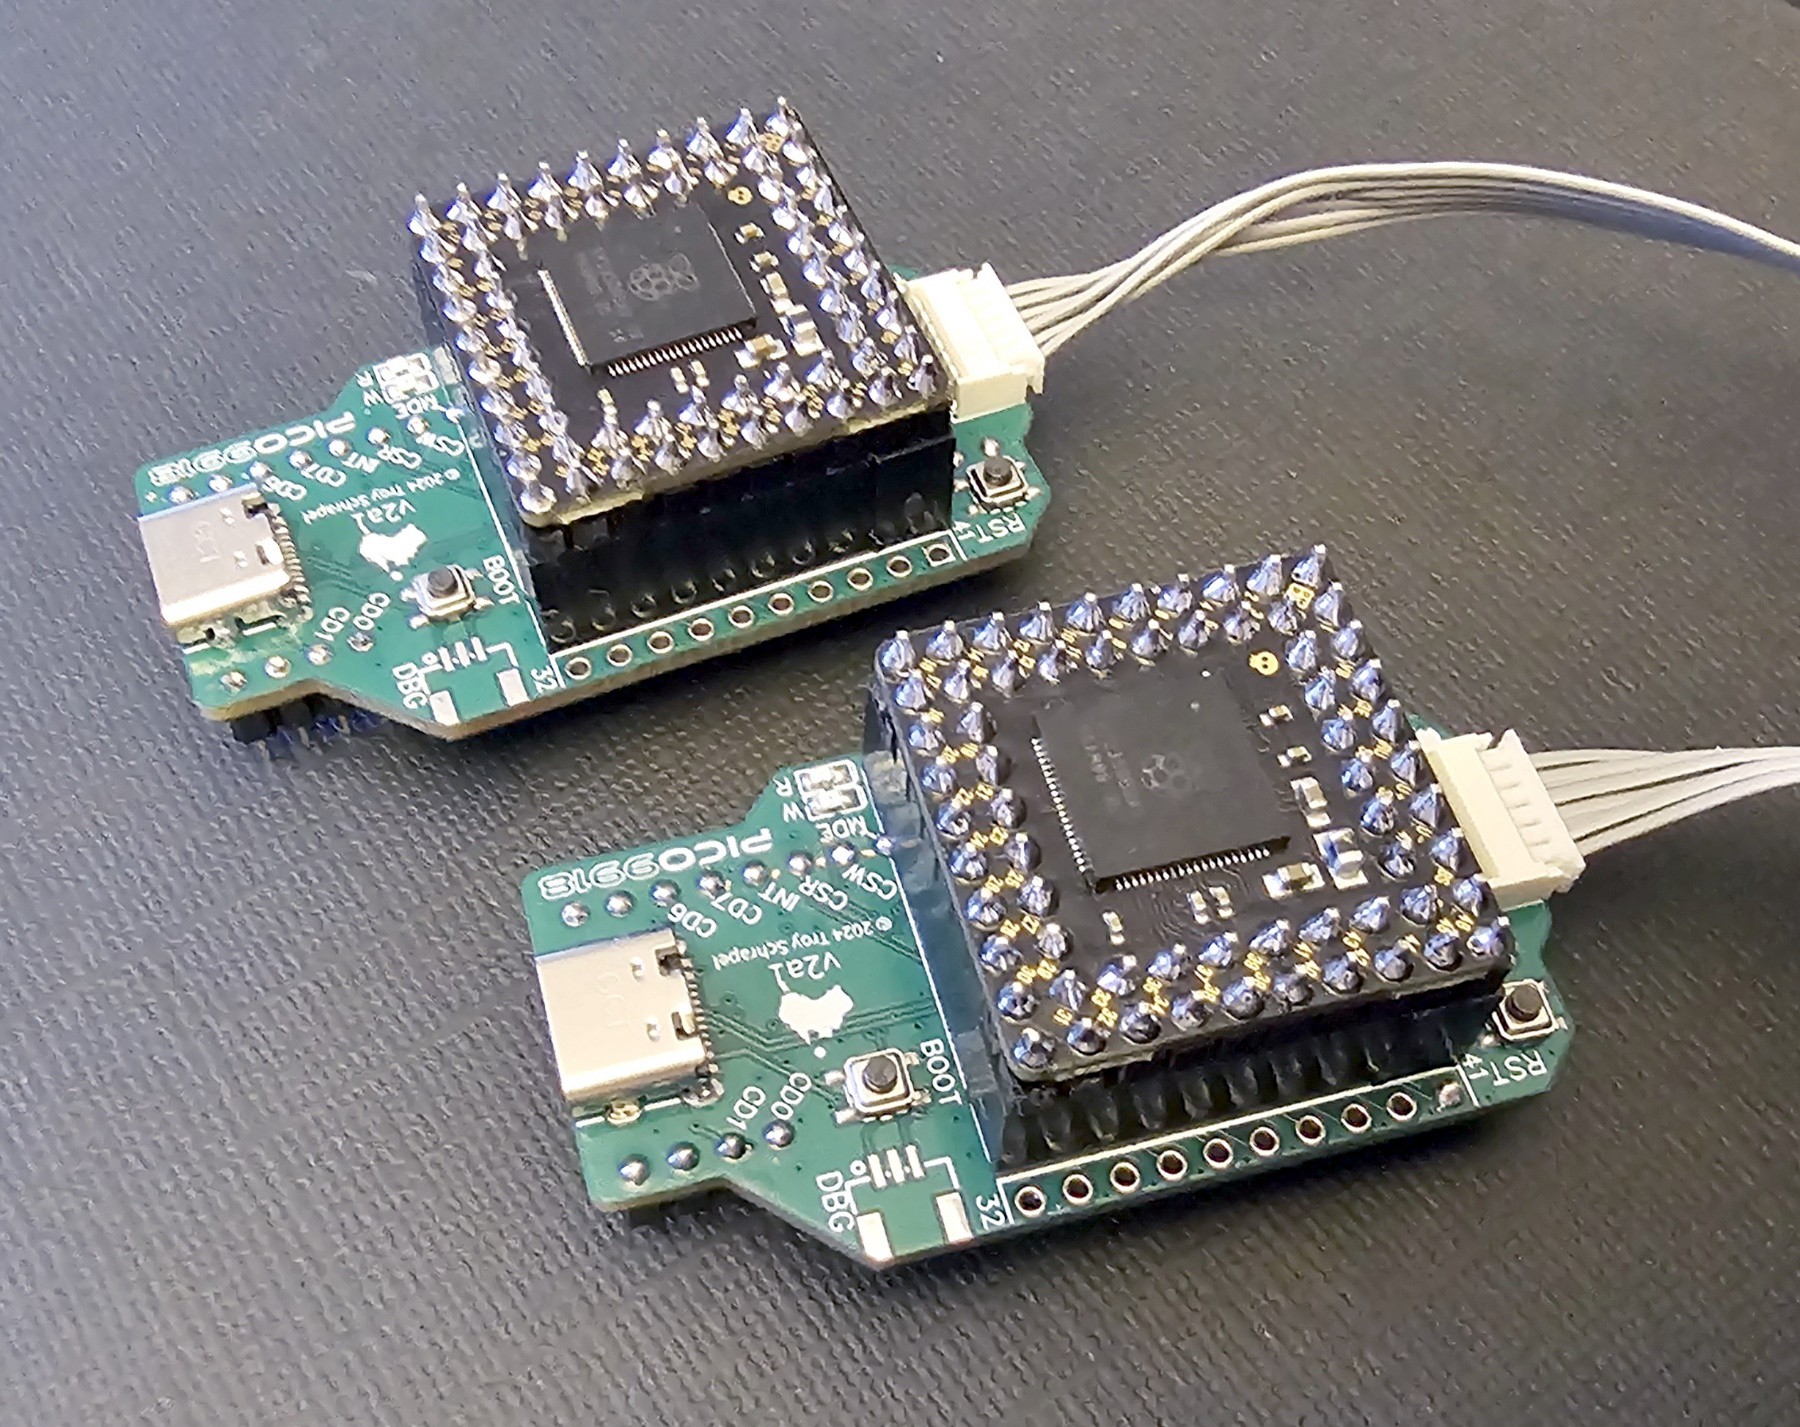

/i/214054/products/2024-08-20T03%3A56%3A01.075Z-top-with-dongle.png?1724101487)
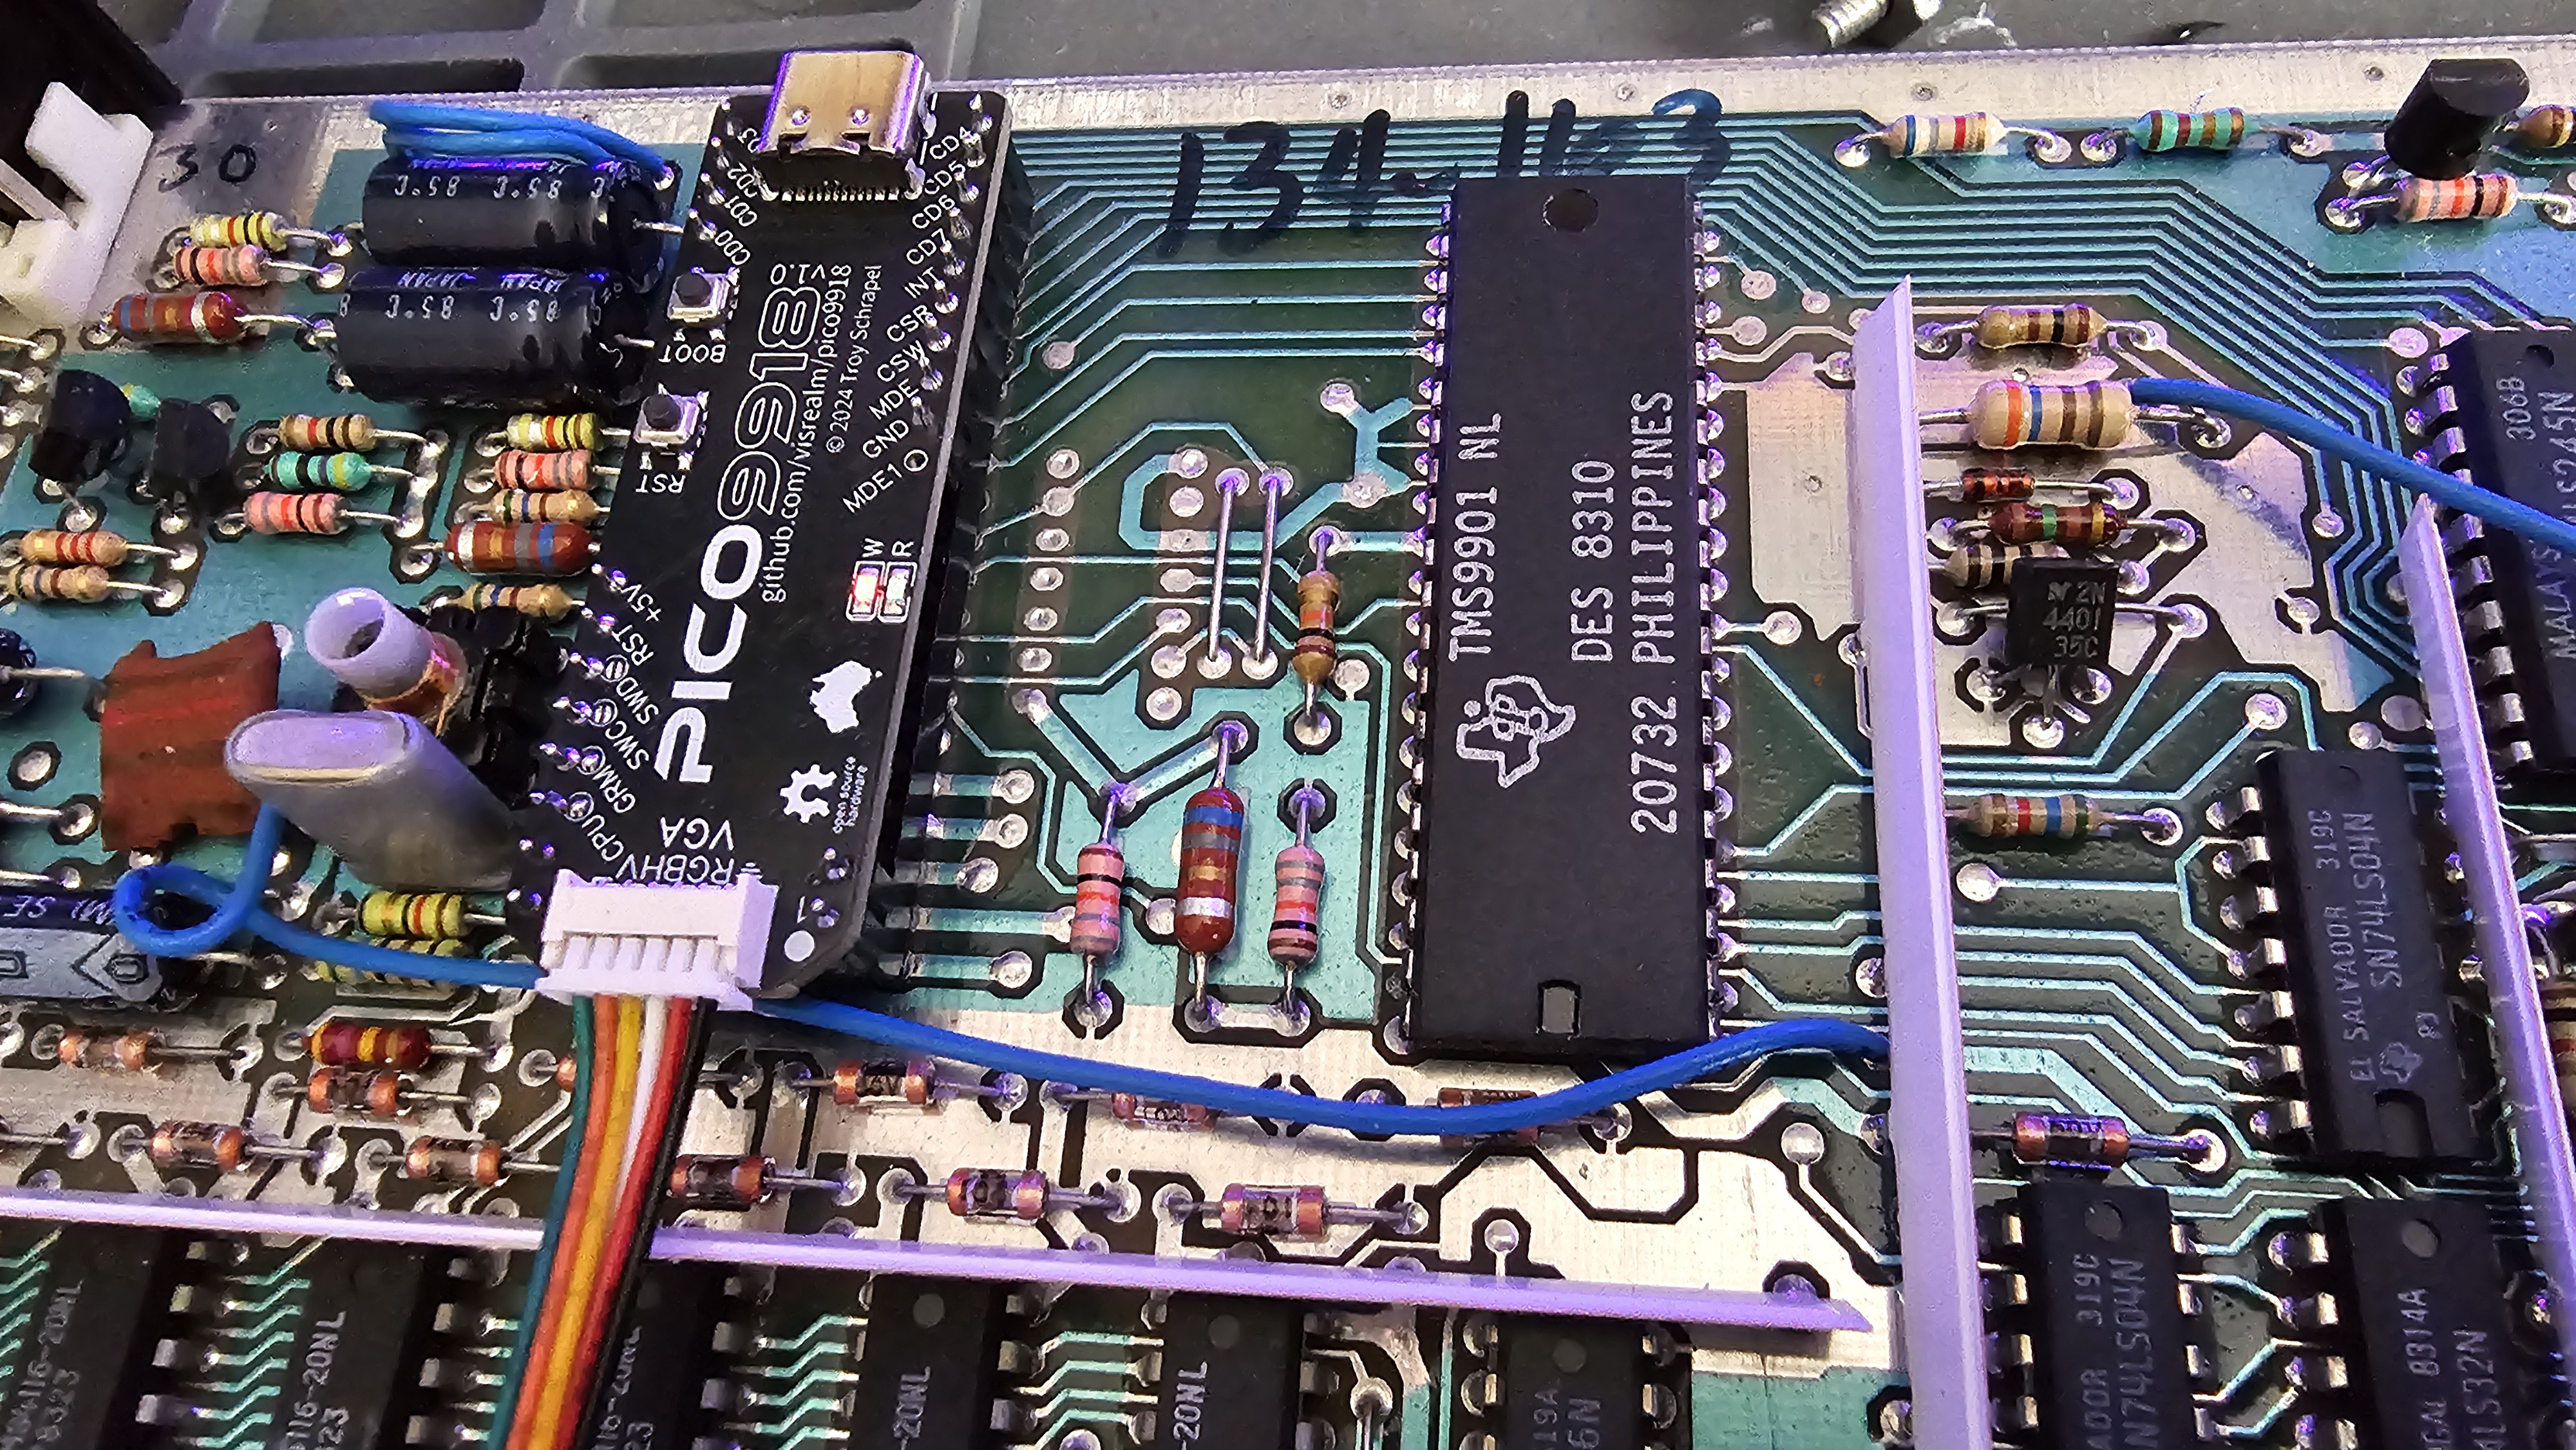
This is an impressive project! The PICO9918 is shaping up to be a fantastic drop-in replacement for the classic TMS9918A VDP. It’s exciting to see the prototype running smoothly on the TI-99/4A. Your detailed updates and plans for future revisions are very informative.
For more information, use this calculator. Keep up the great work!