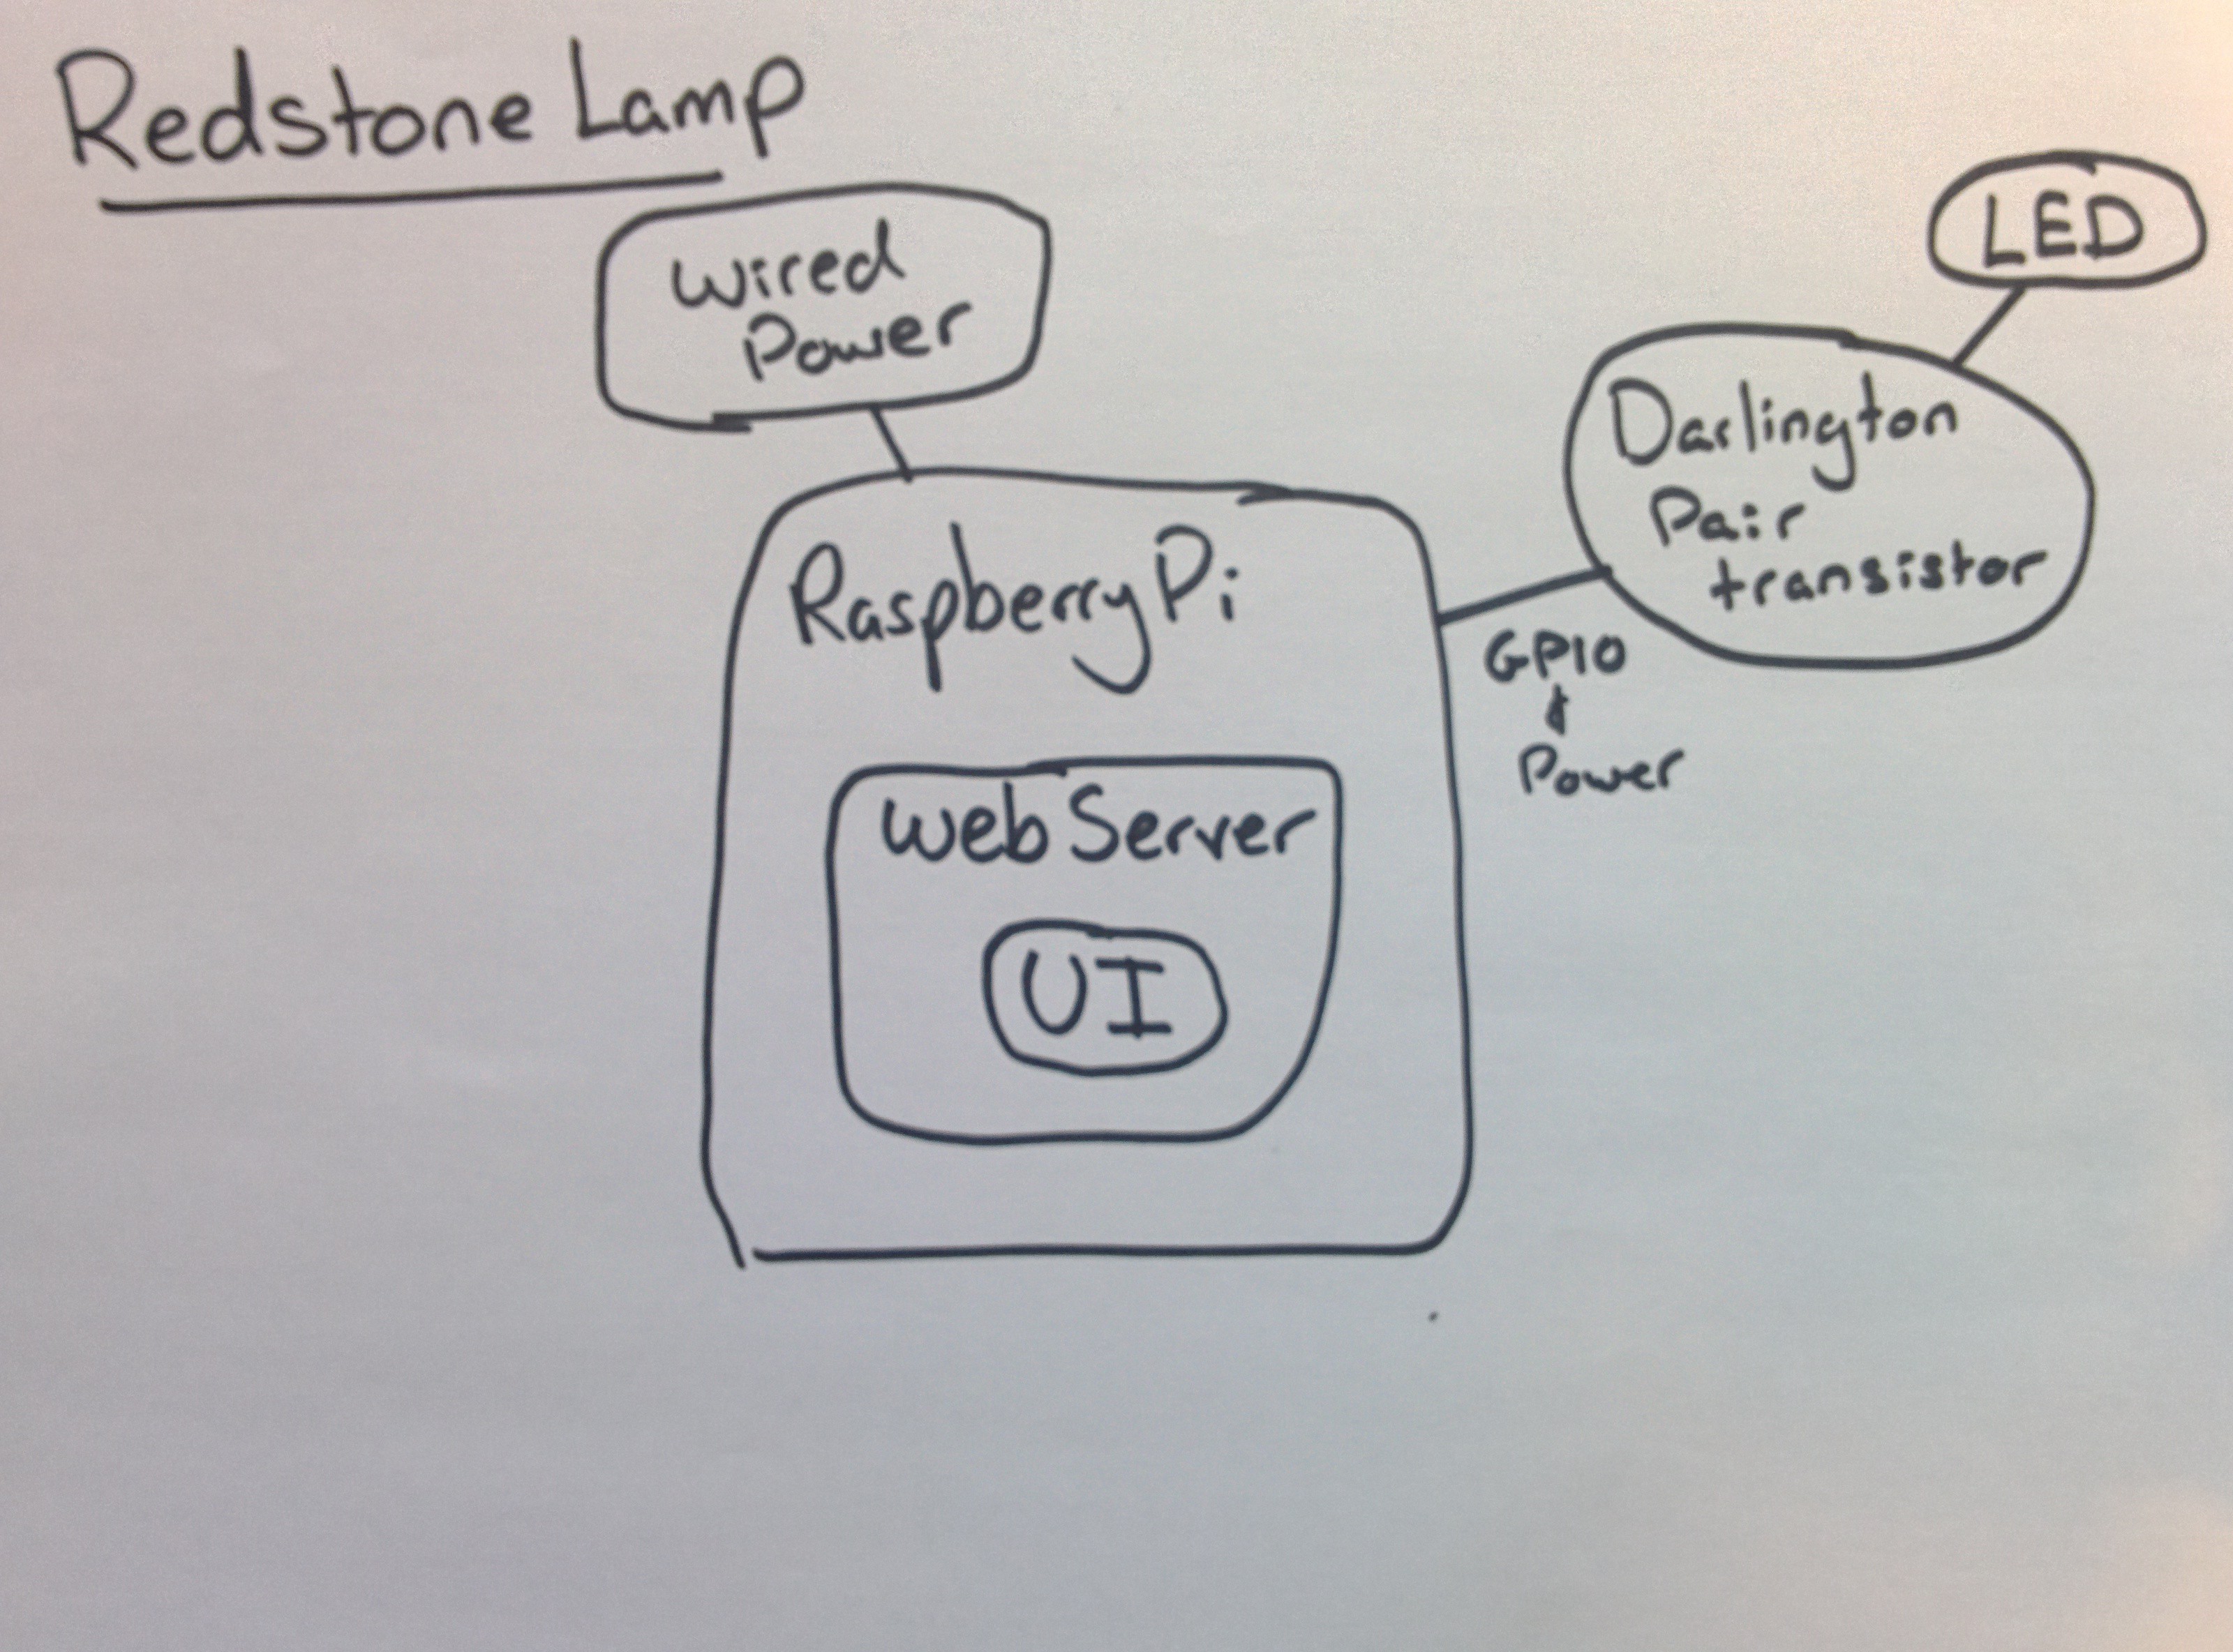
System Diagram:
The system diagram is a fairly simple one, I am planning on running the whole thing via a RaspberryPi & so this natively provides most of the hard parts.
A "full size" wirelessly controlled redstone lamp. Full sized == 1m cubed
To make the experience fit your profile, pick a username and tell us what interests you.
We found and based on your interests.
System Diagram:
The system diagram is a fairly simple one, I am planning on running the whole thing via a RaspberryPi & so this natively provides most of the hard parts.

ust a little teaser for anyone that is following the project and, like me, getting very frustrated with the lack of progress!
Well good news, it's now winter which means no more quad flying or climbing trips in the great outdoors. I've also moved house and now have plenty of indoor workshop space to get cracking... Wait, isn't this where I insert the excuse not the reasons the get going...
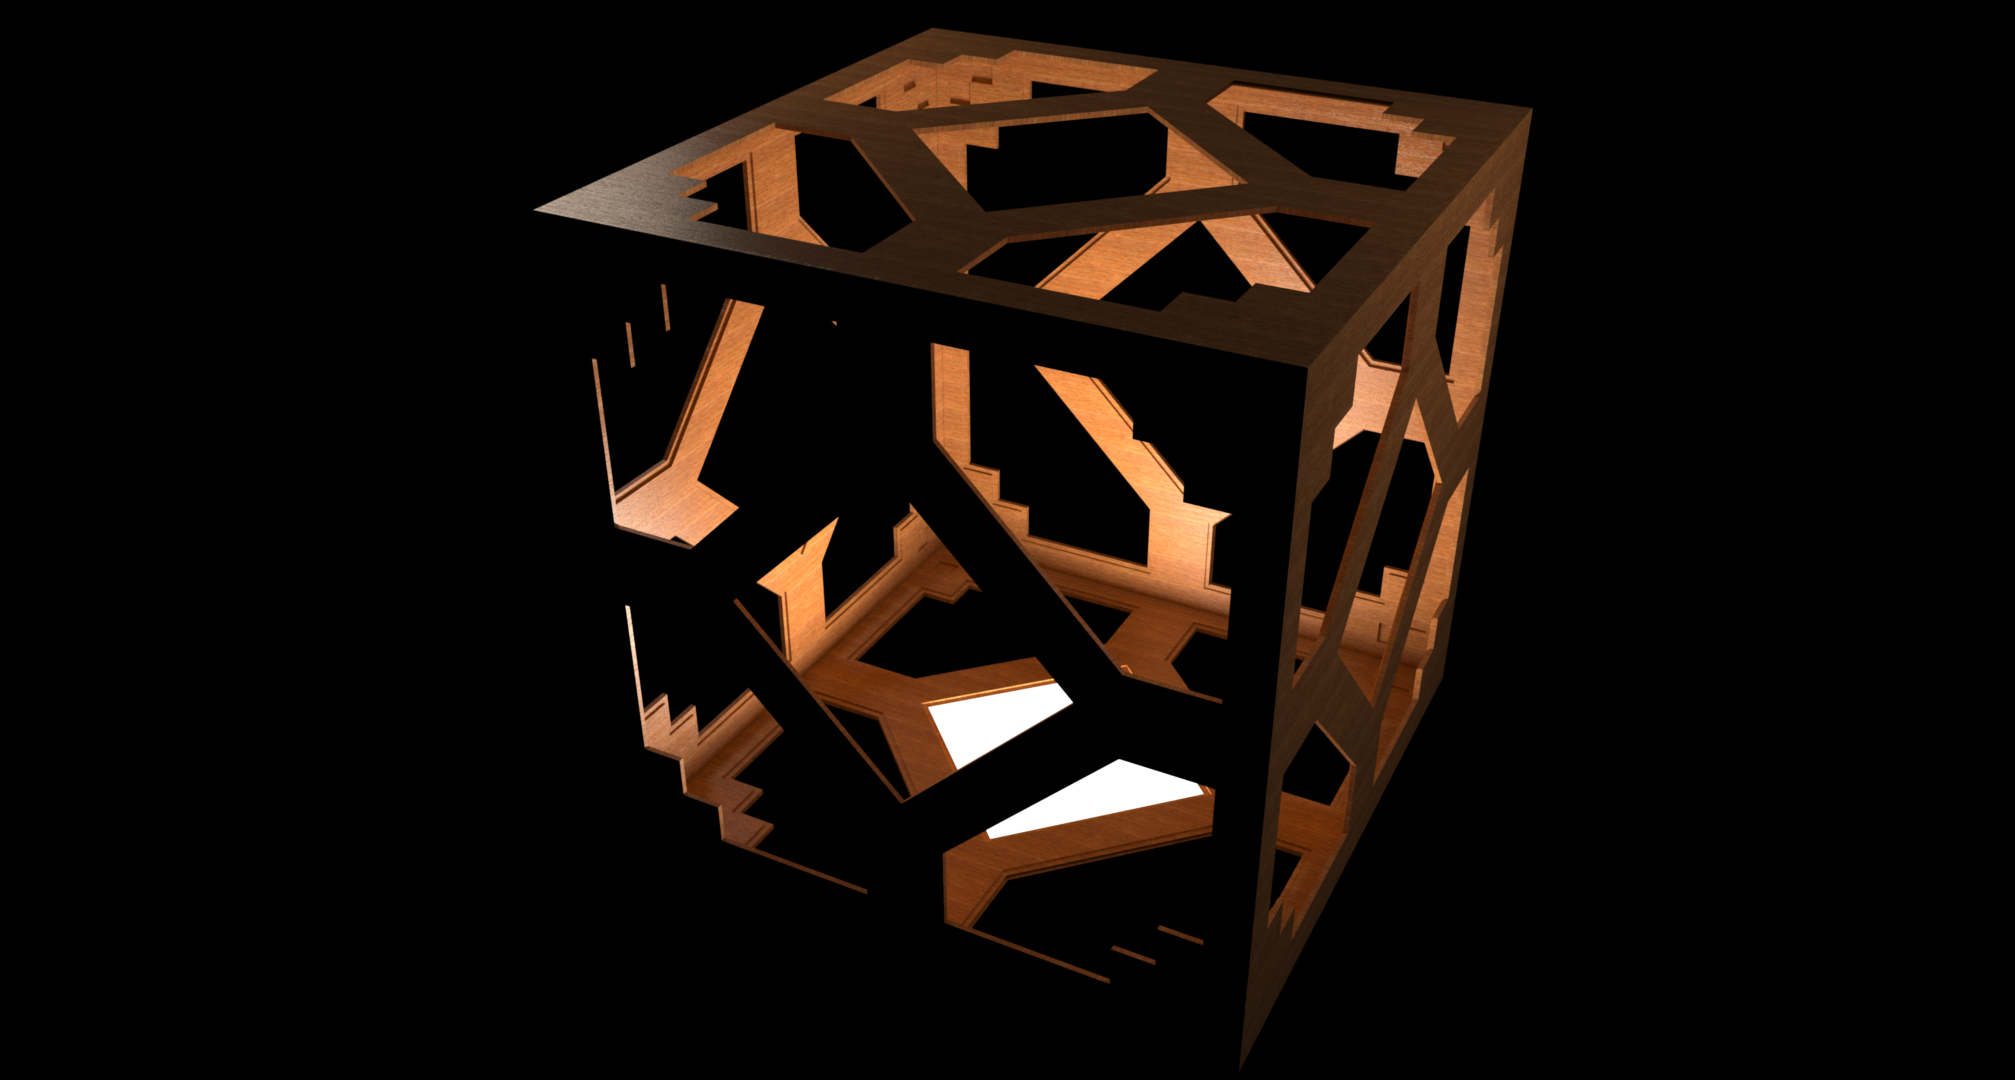
Anyway, have a look the pretty neat render I did today, which coincidentally is now also the project picture, and keep an eye out for lots of new updates!
So it's taken me quite a while, but I have uploaded a youtube video showing where the project is at and a few of the future aims, it really complements the rest of the content here on the projects page.
you can find a link over to the right of the project page
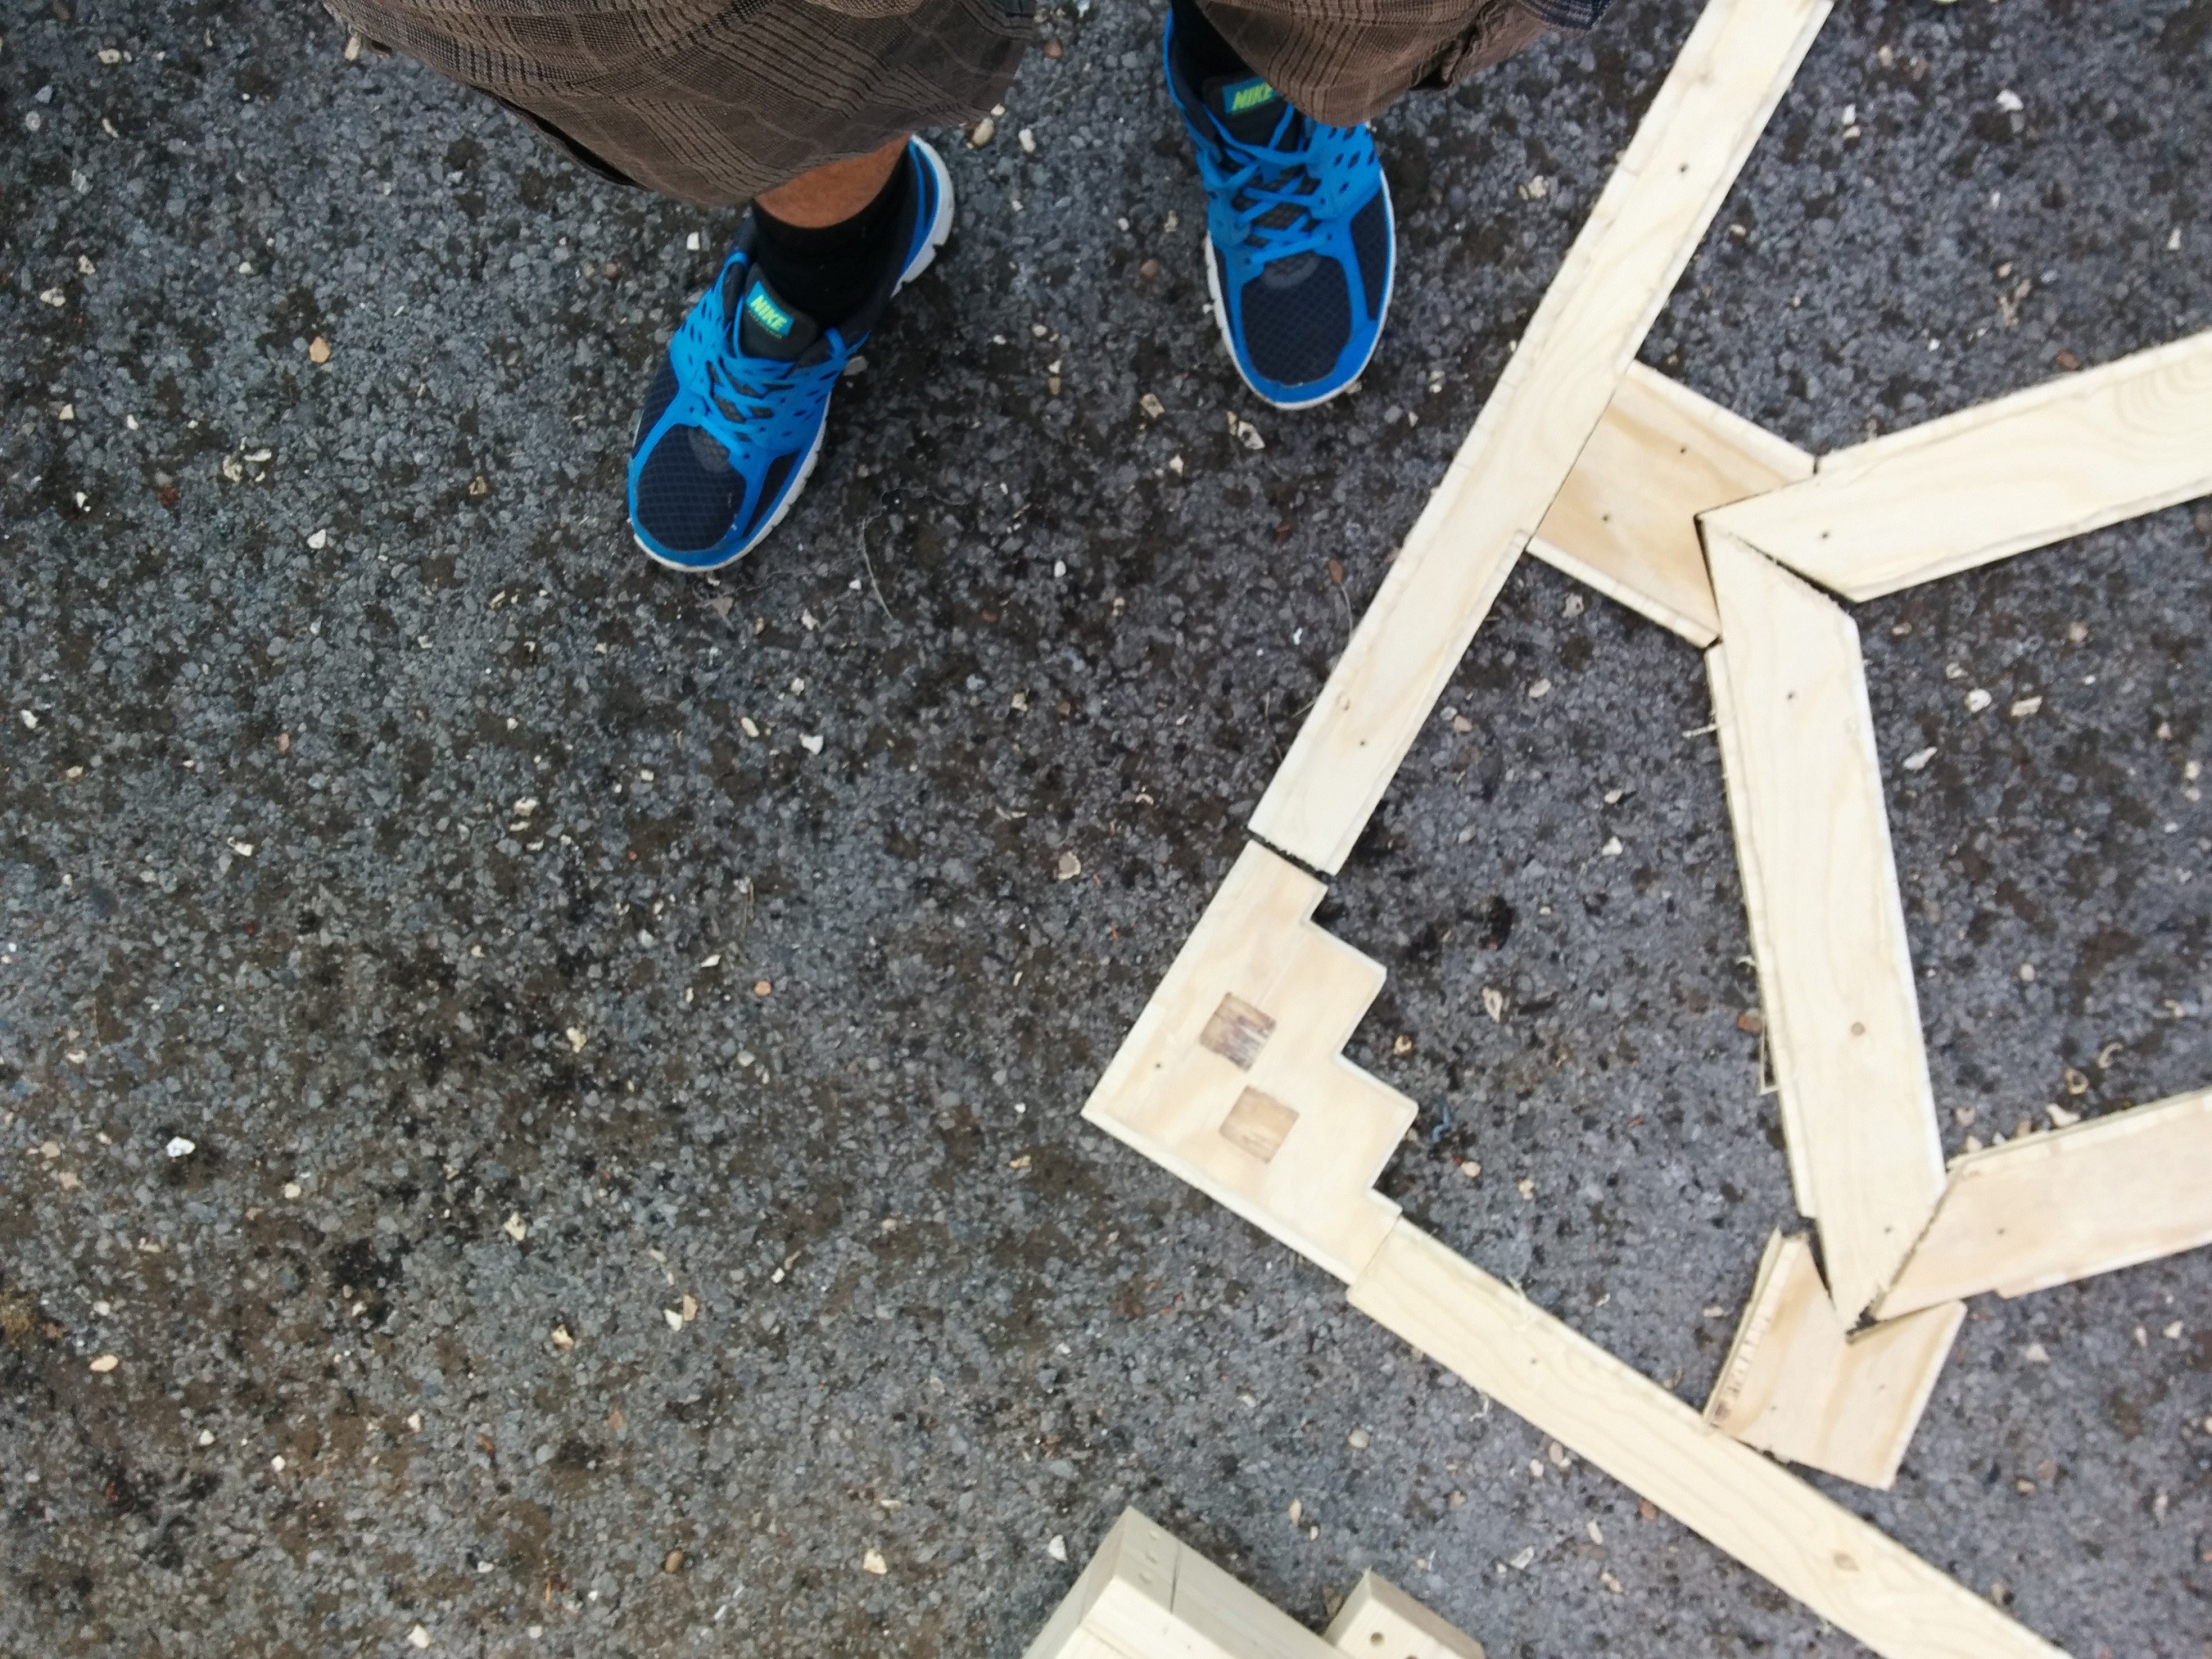
This log is a WIP however the first side is slowly coming together now. It has all the components made and they have started to be glued together. Pictures below show the first layout. I will update with pics of the glueing process when I get round to taking some.

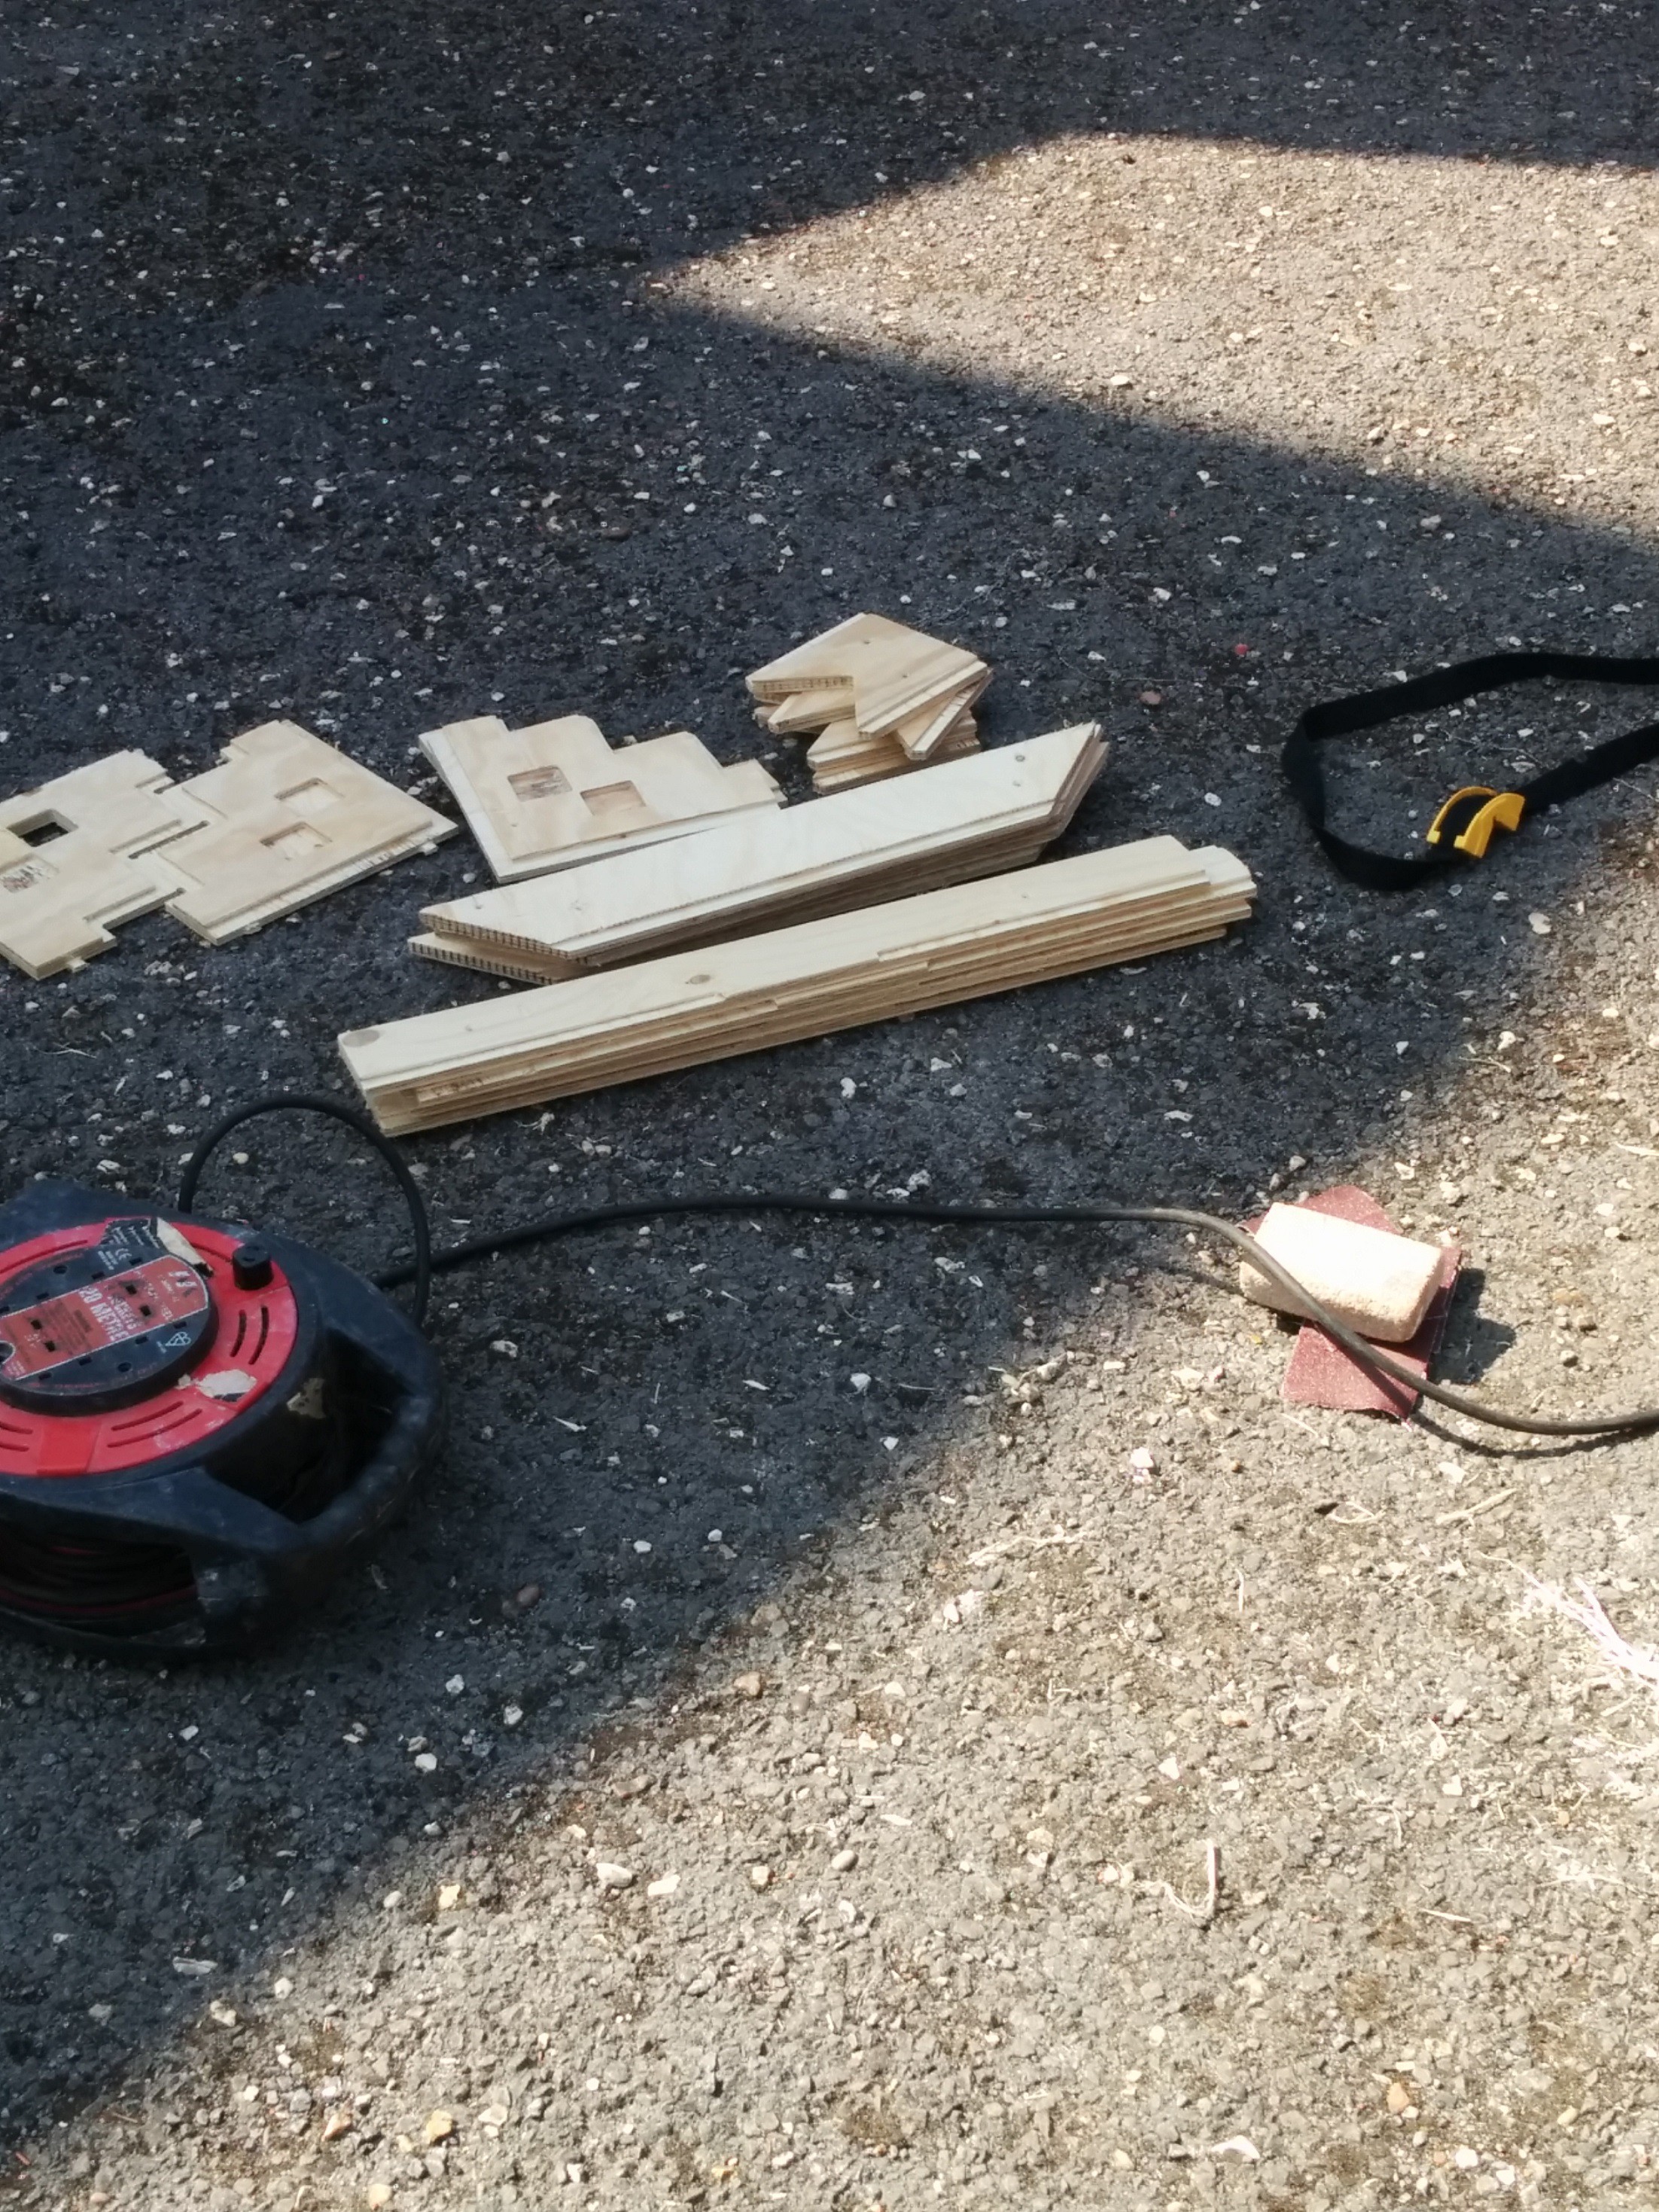
The first parts have been milled! & It is slowly starting to come together. Below are a selection of pictures of the milling and milled parts, there isn't a lot of detail in this post except that we had a few problems with Bits breaking & job files being incorrect but we now have a template for finishing the rest of the milling process (hopefully in time).
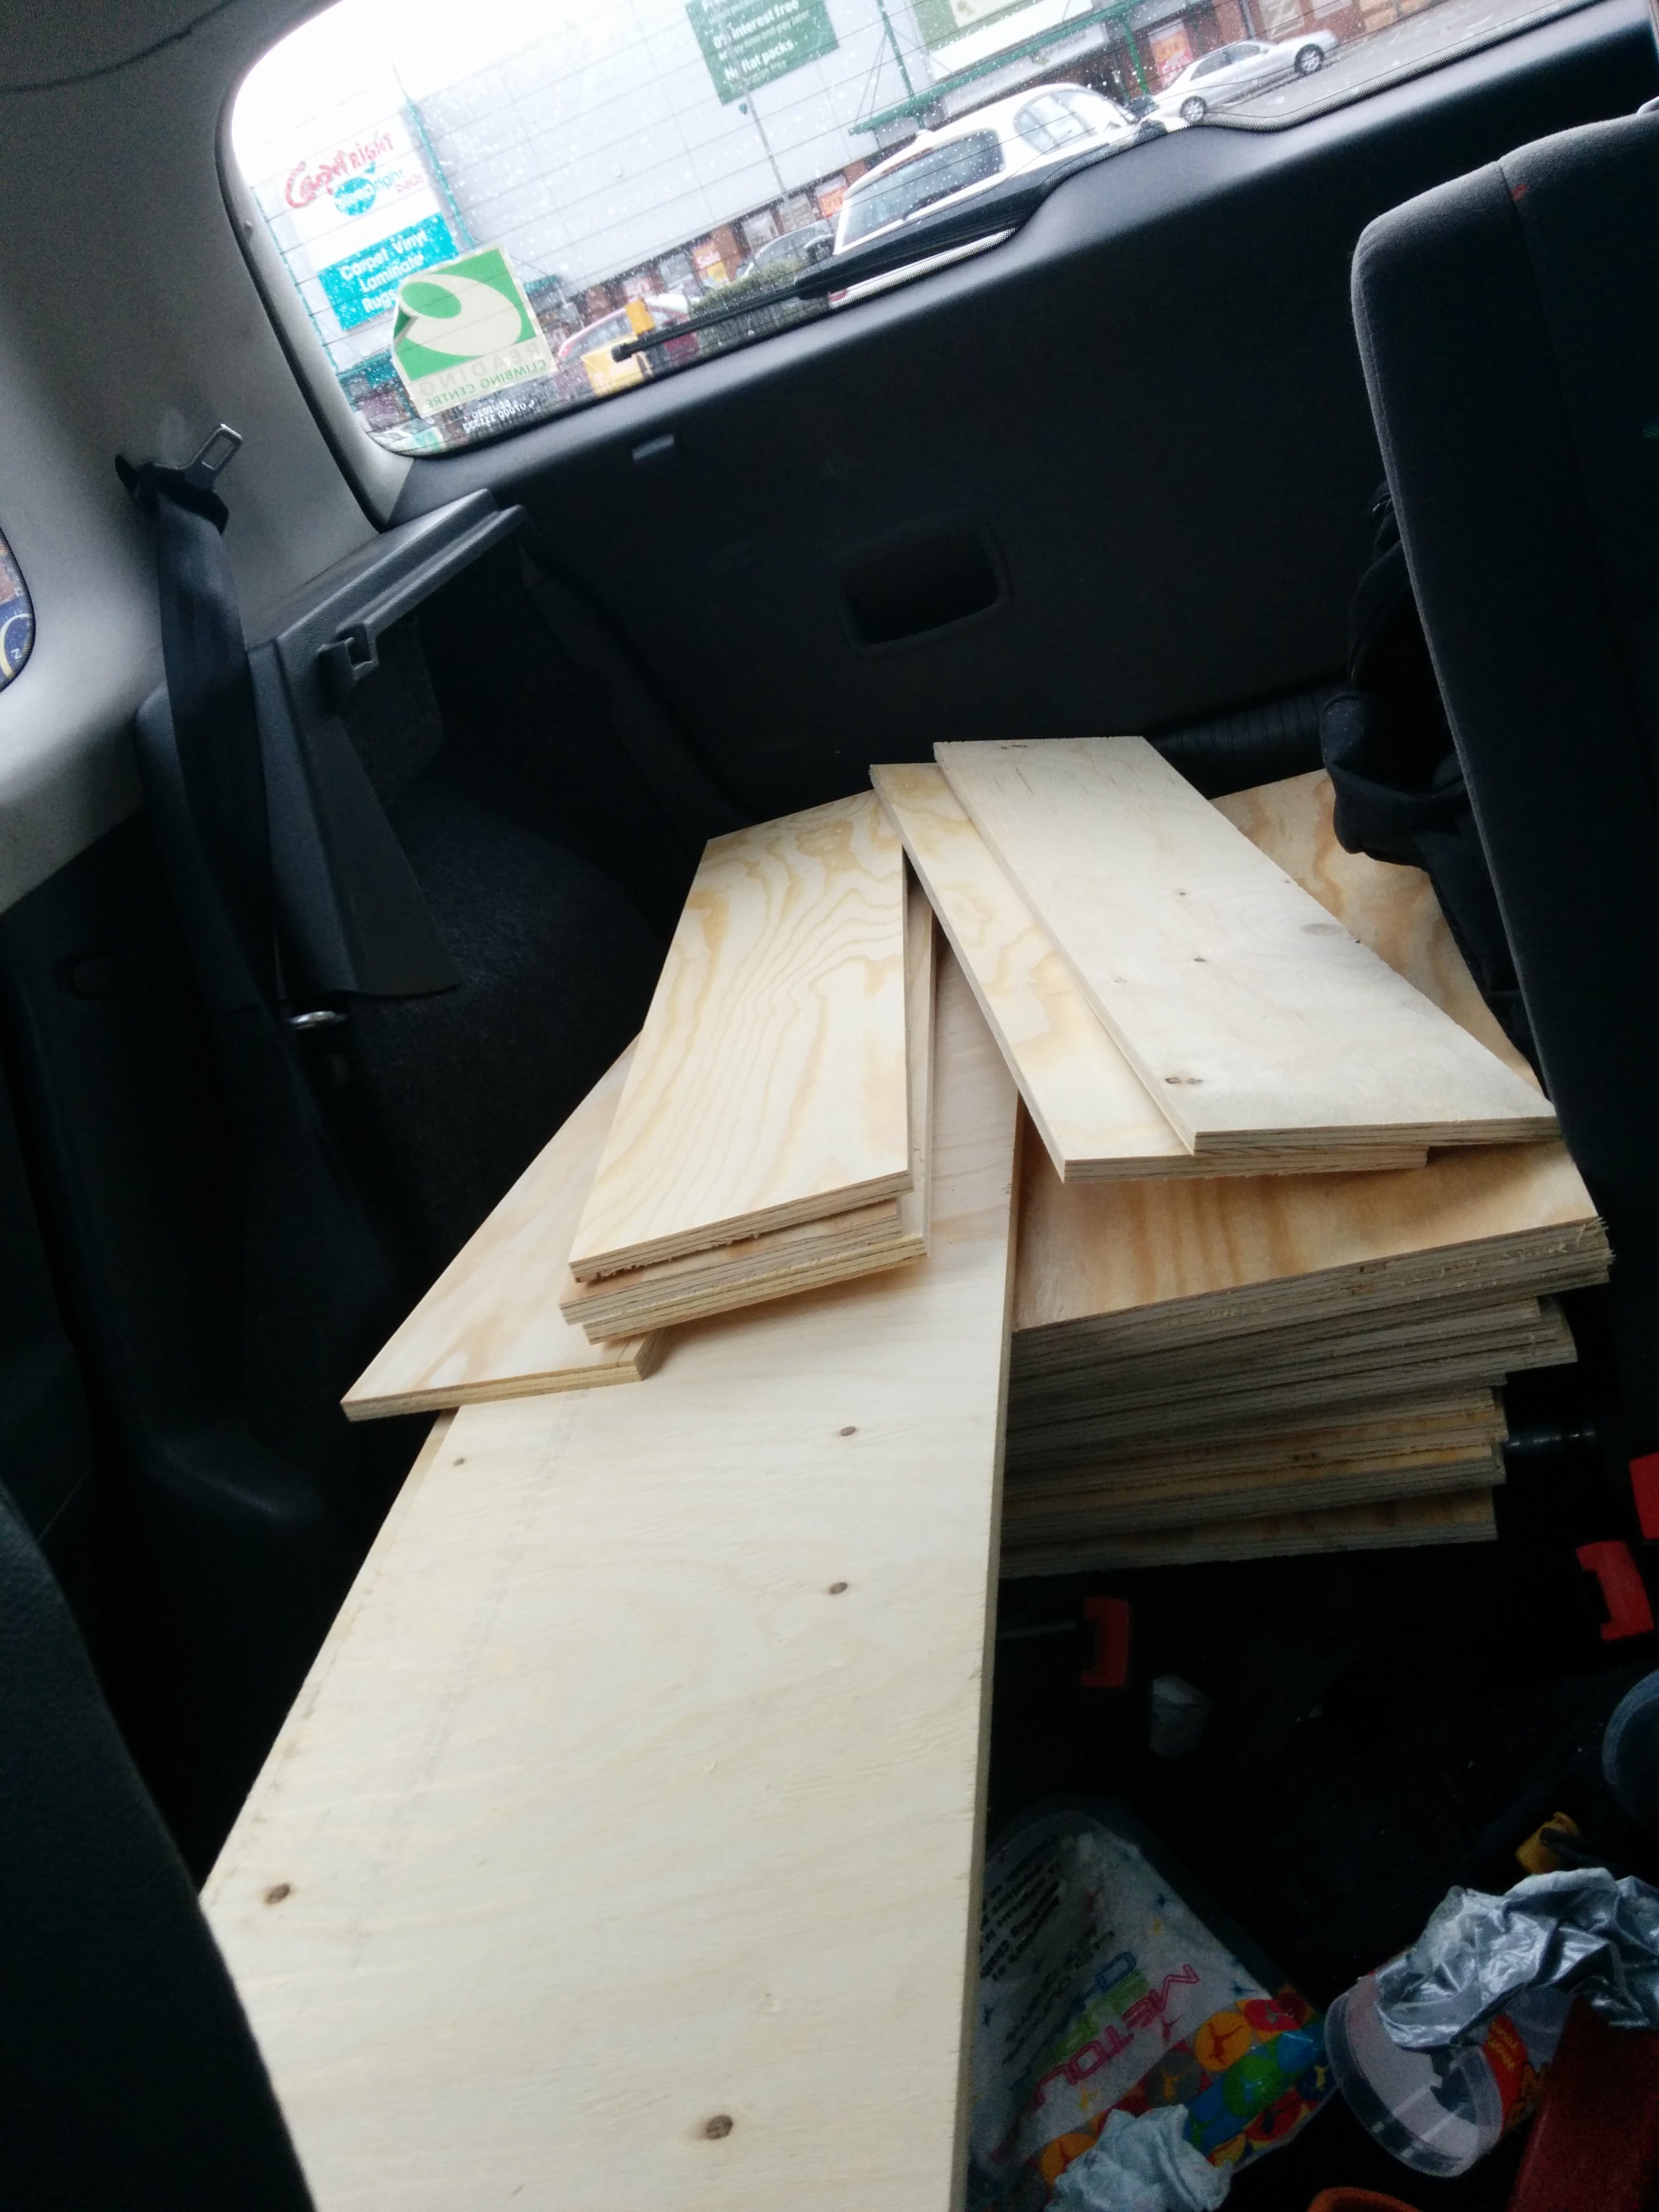
In the boot!
Milling!
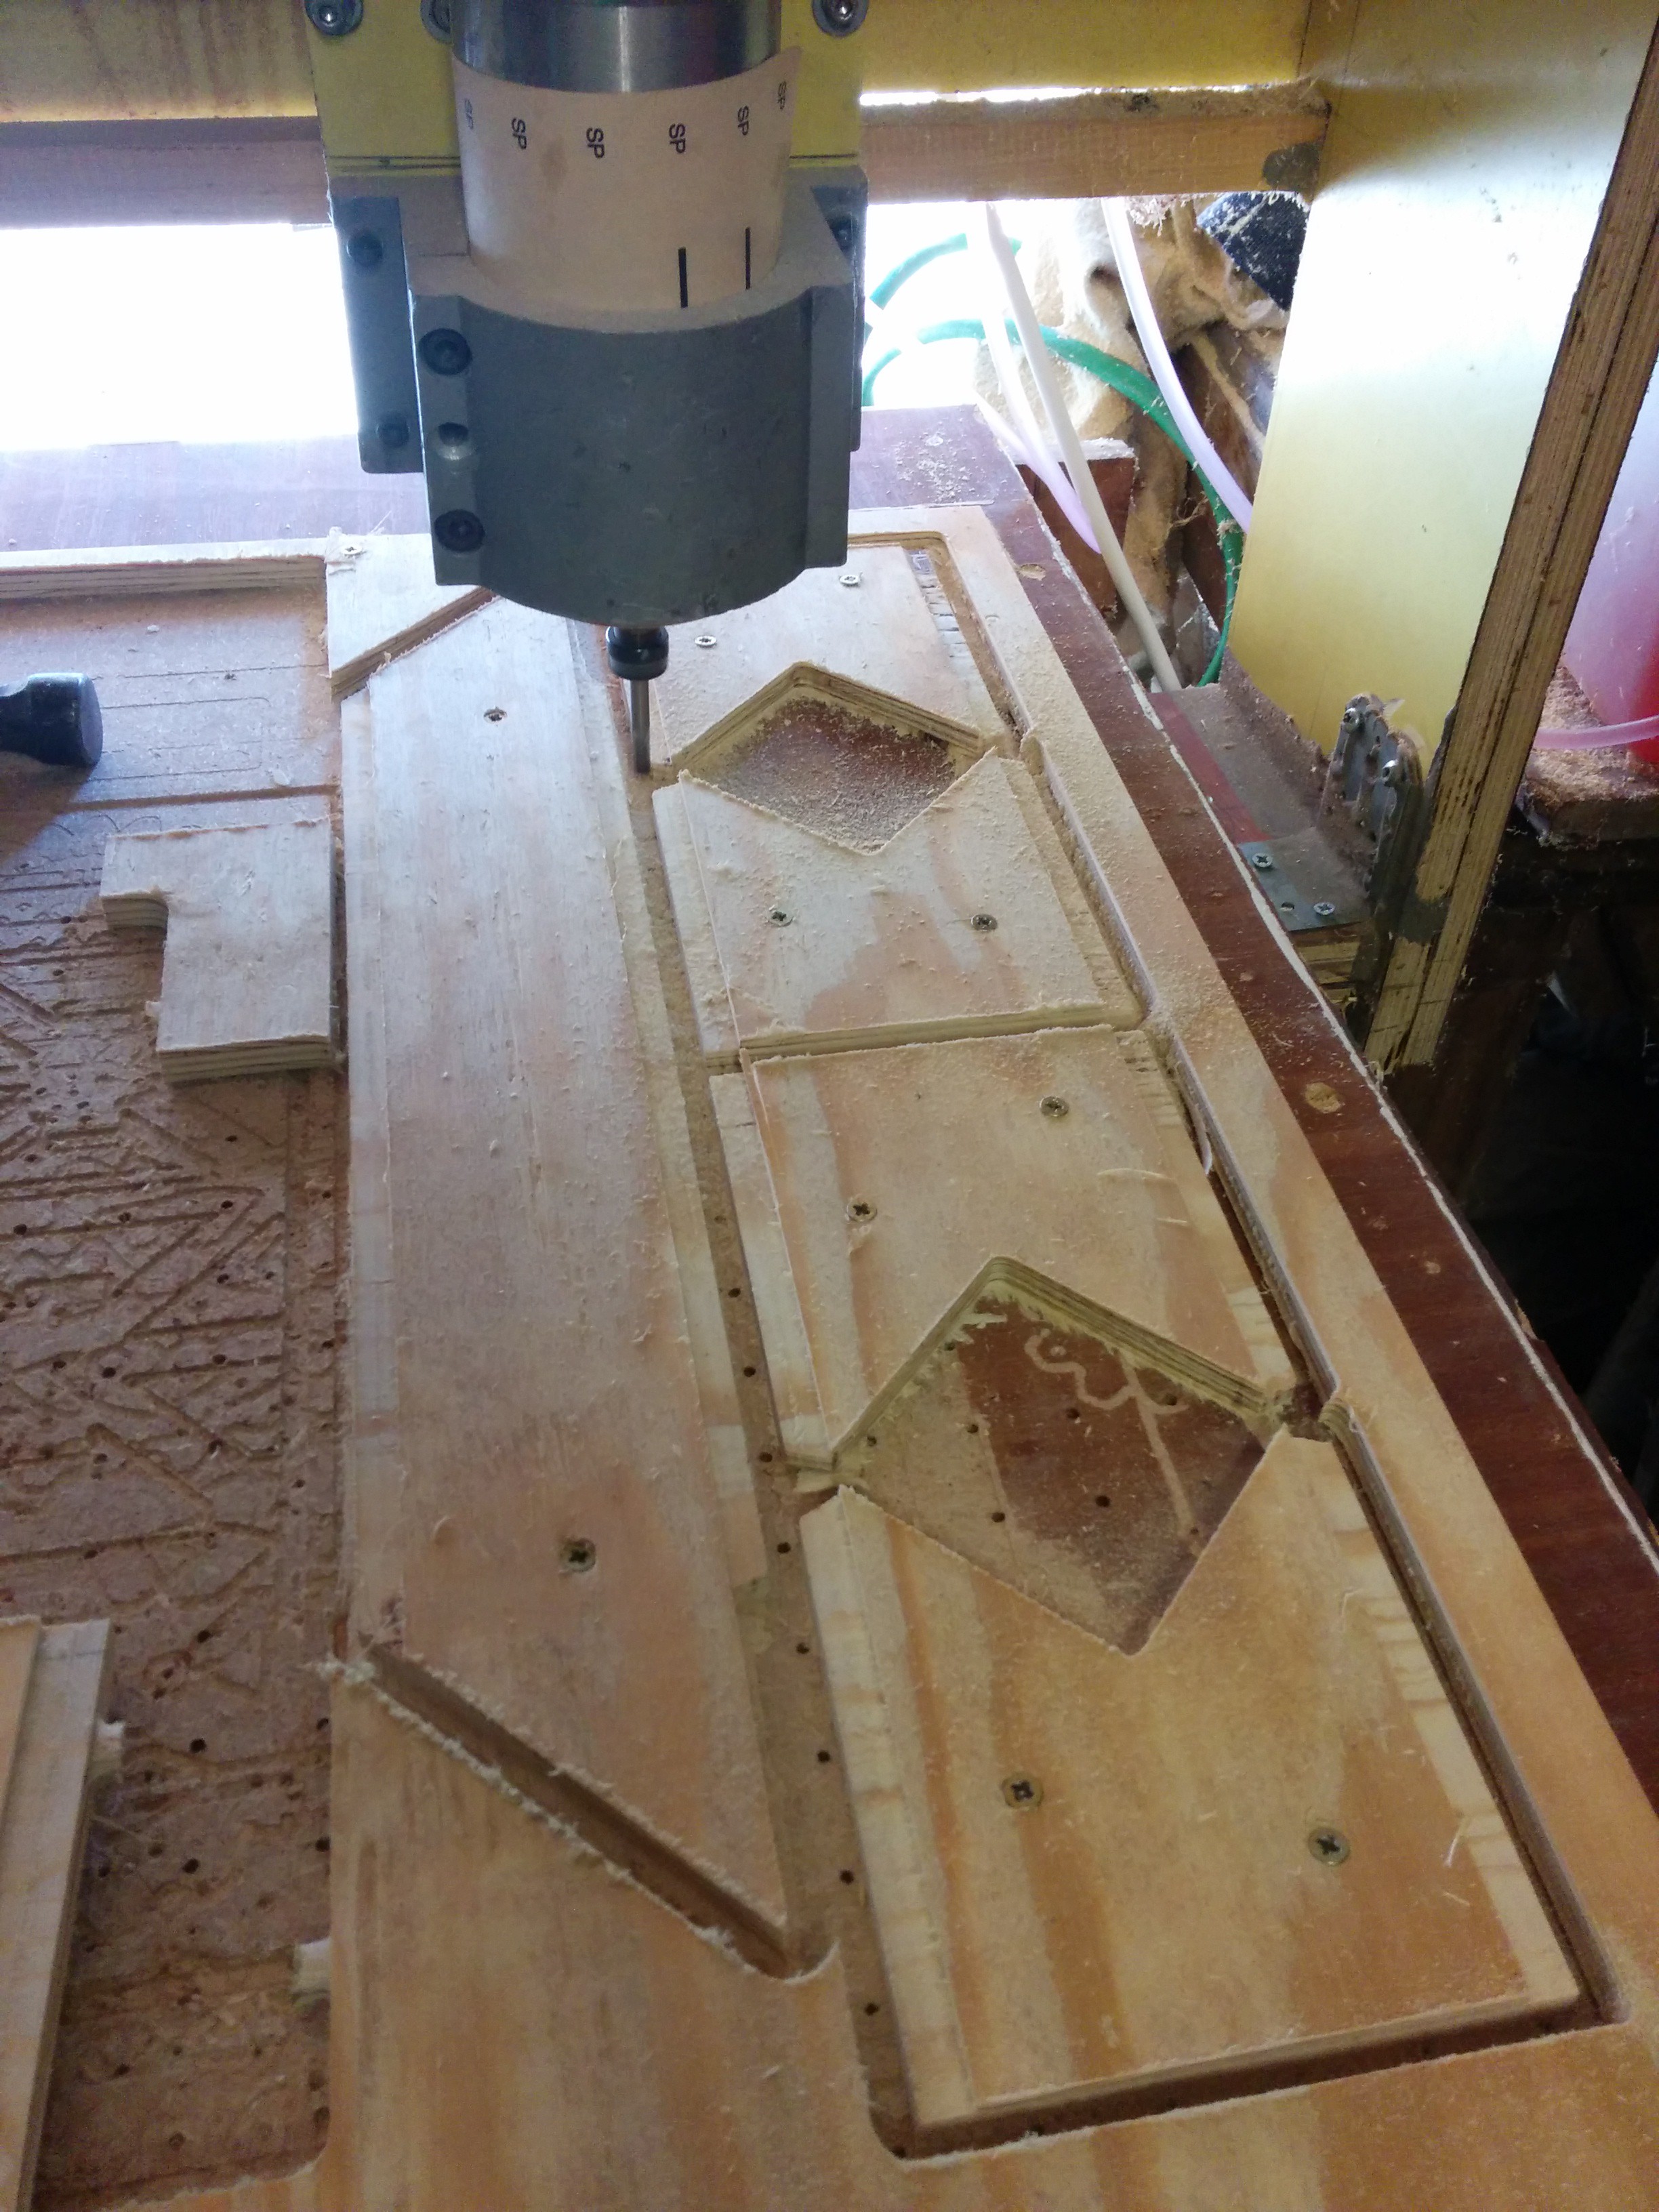 Having to hand sand the burrs and crap off of each part...
The design for the redstone lamp how now been completed on Sketchup, it consists of four individual pieces. These pieces are:
Parts Together:
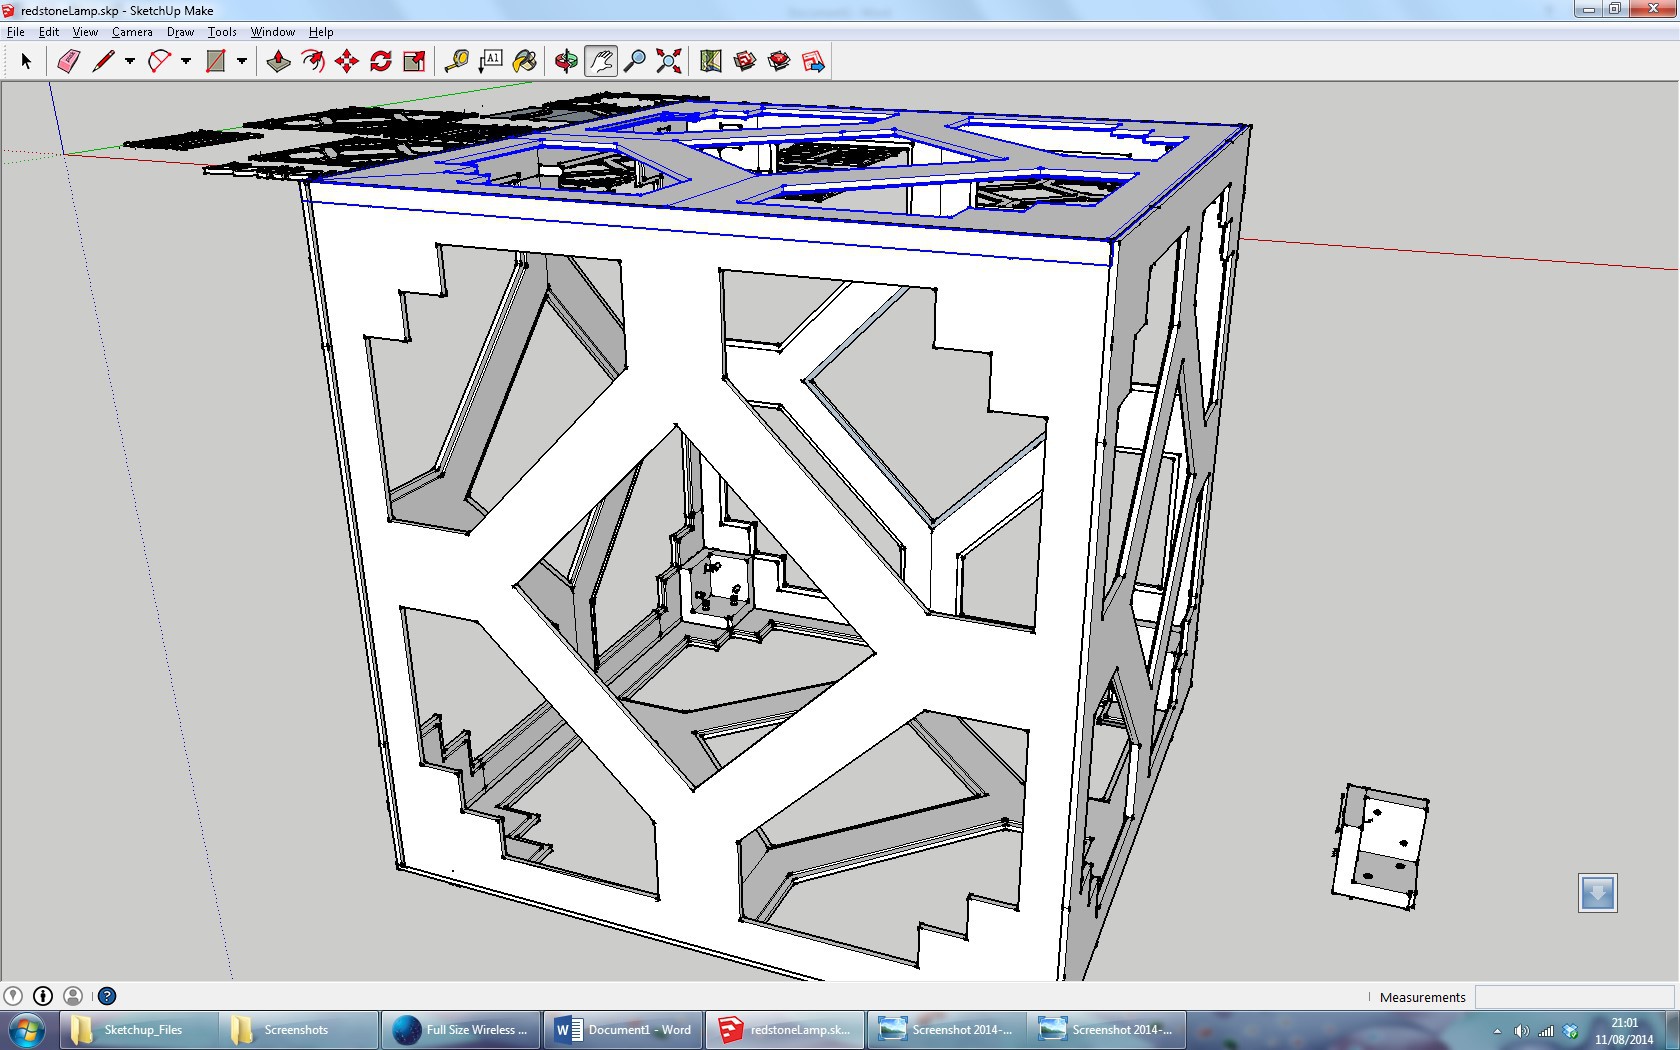
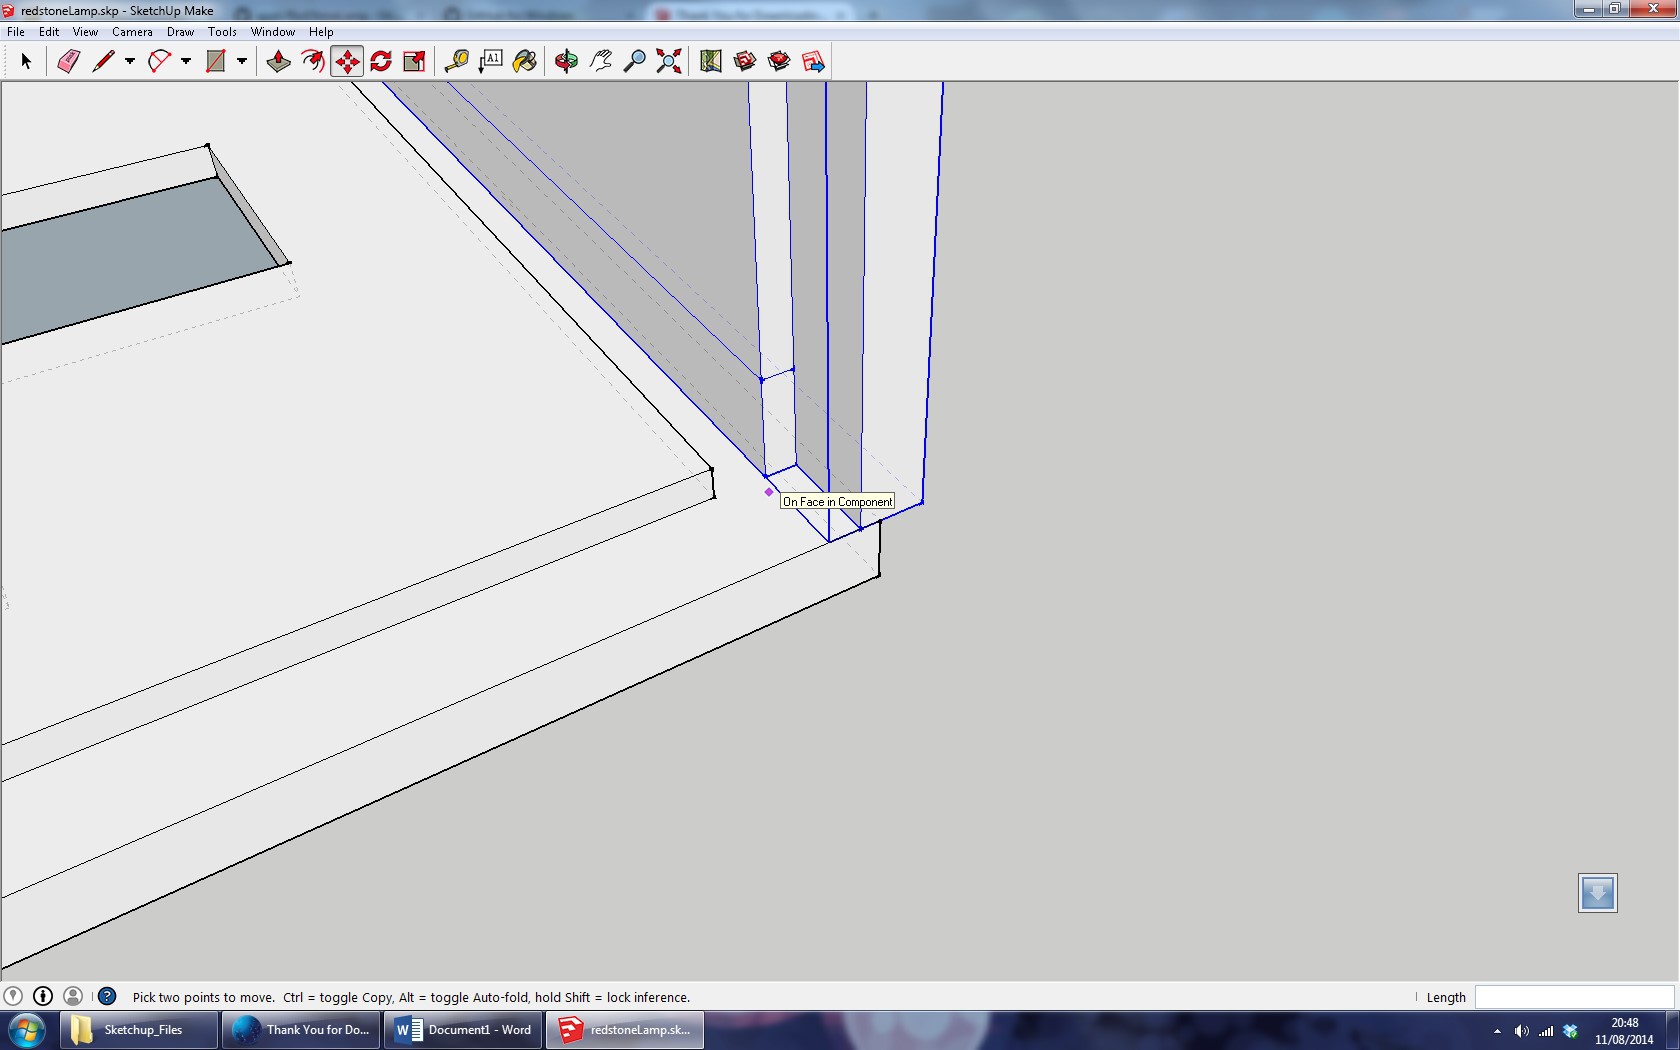
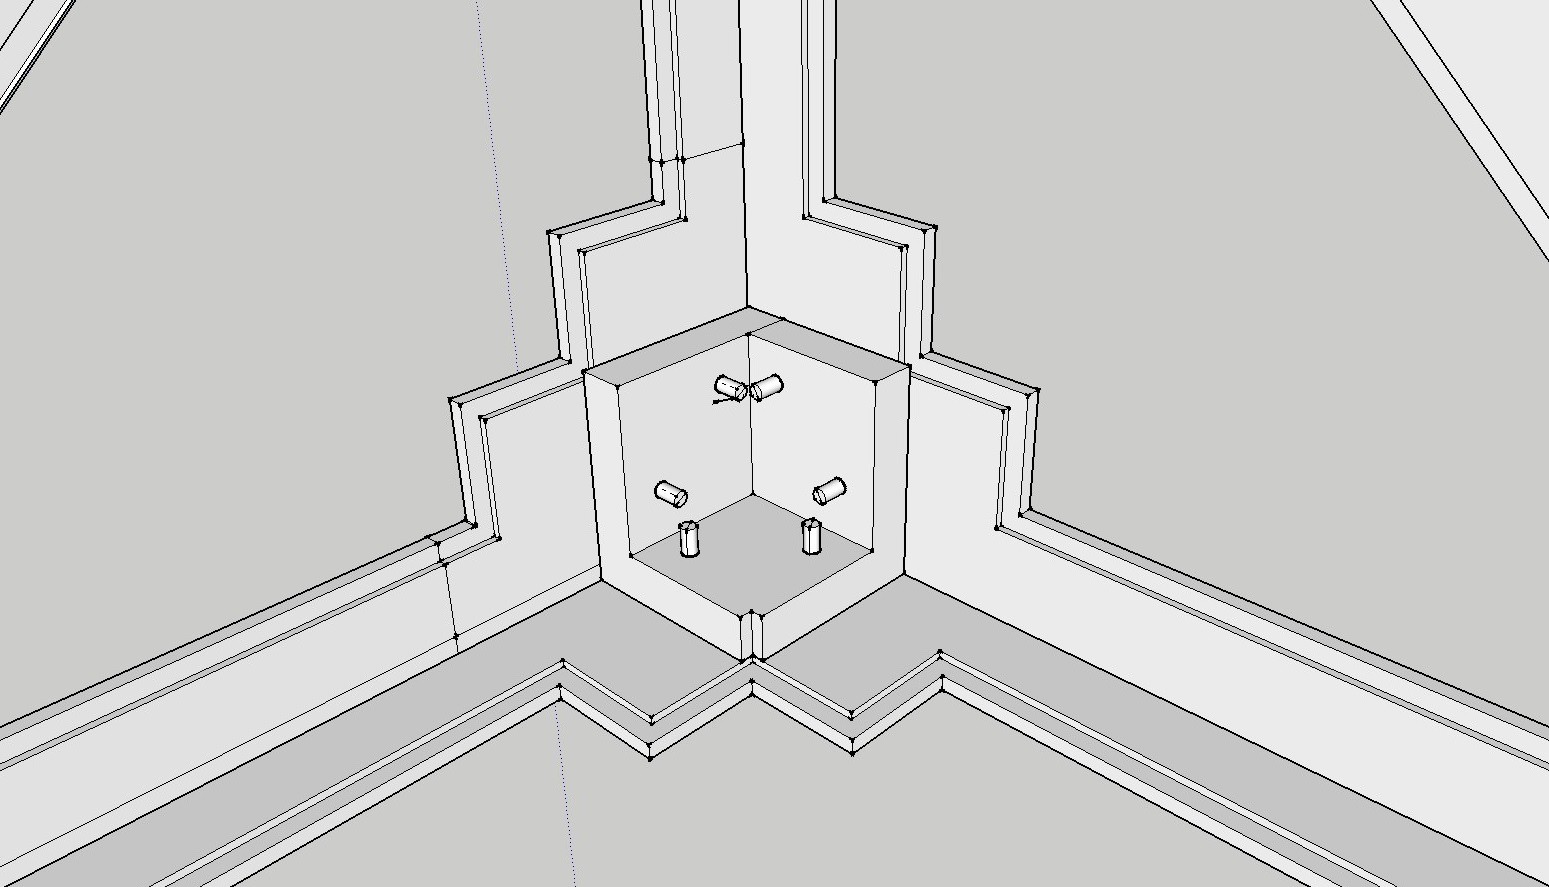
These sides all have sections cut away from the edge of the components in order to slot the box, this aids in transport as it will be able to be flat packed down into six 1m^3 sections. A corner section, with the side slightly moved can been seen in the picture below.
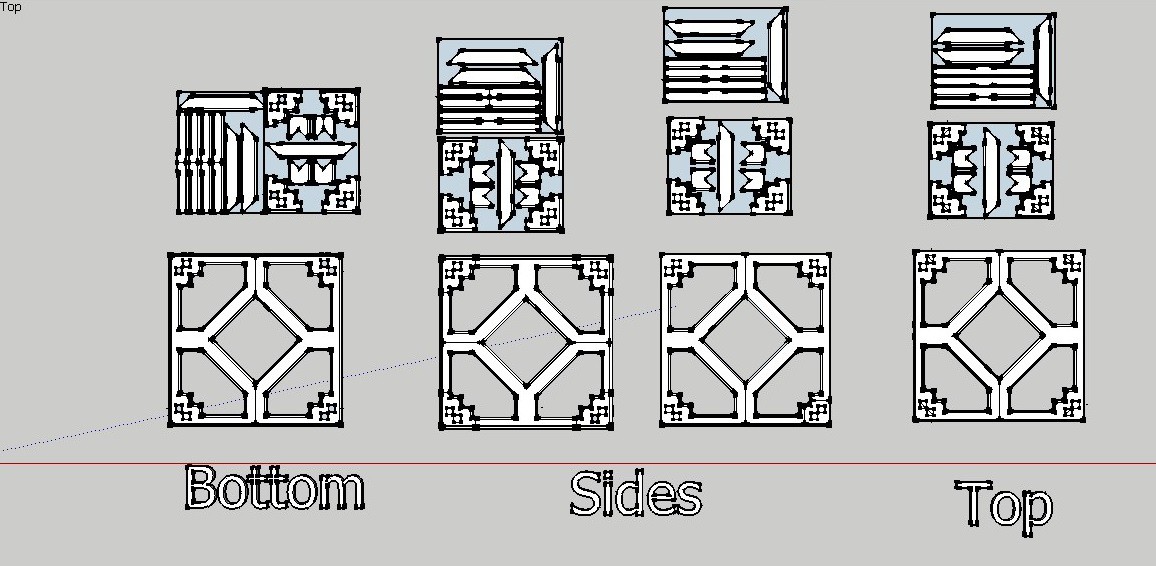
Once this design had been finalised the sides of the lamp needed to be cut up into much smaller sections so that they were able to be milled. The CNC bed was 720mm x 550mm and so the sections were cut and tessellated to take up as little space as possible to bring down costs. In the following picture you can see the final of all the components for each side.
Final Cut Up:
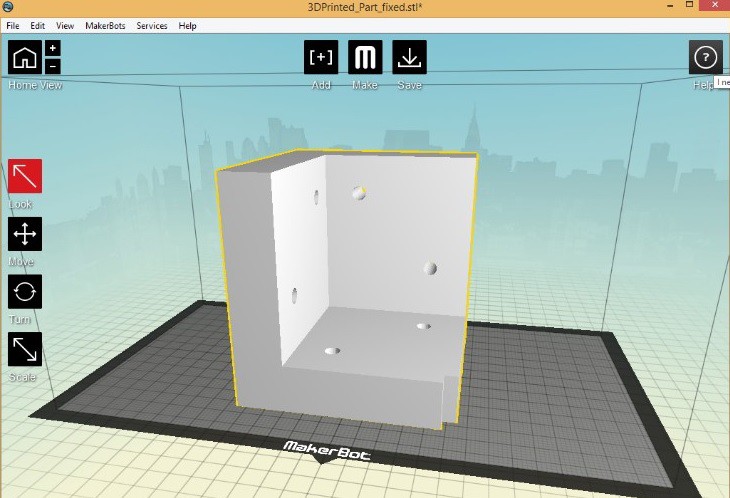
In order to add strength and connect the sides a 3D printed part was designed to bolt the components together, this part will be 3D printed on my lamp however it may be cheaper to mill this in future iterations, in the pictures below it is shown on a Makerbot Replicator 2 bed and it was rather larger than anticipated!
3D Printed Part in Lamp:
The design of all the components to be made is now “complete” barring any alterations made when the milling process is started. Next blog will be on the milling process, what I changed about the design (not as much as anticipated!) and the sanding/gluing process
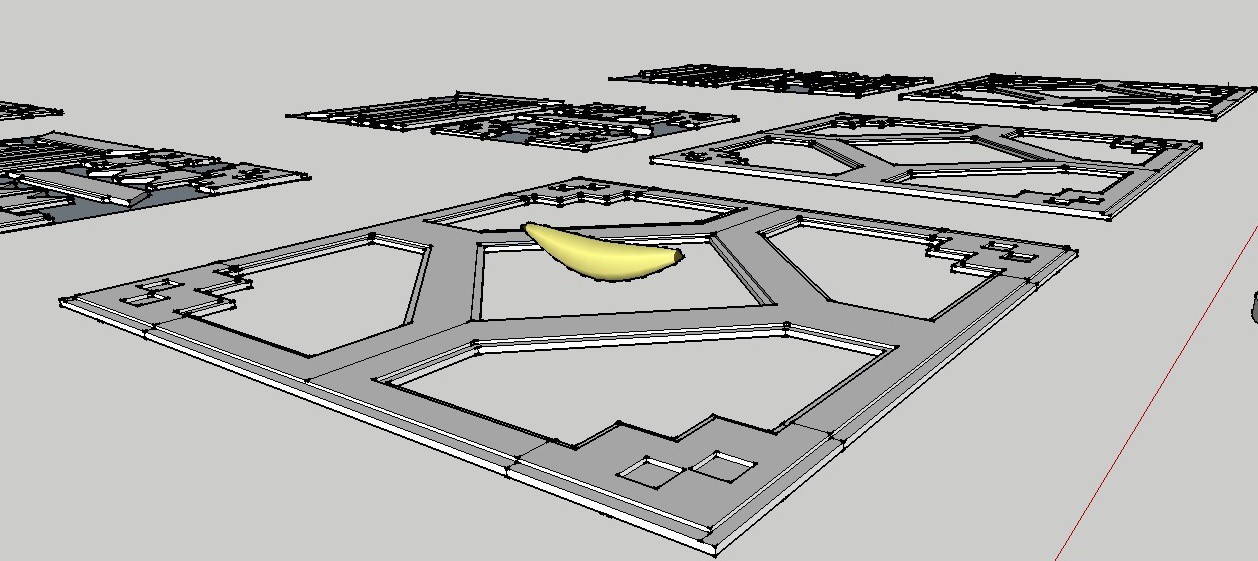
Easter Egg (Thanks for reading):
Banana for scale
Just a quick starter log.
The Repo is now up to date with sketchup file being used to build the thing! Along witha few pics of the start of the build.
So what is coming? Well I am planning on writing a few logs to cover the work I have done last week & on the follow up work that will be happening. These will be on:
These logs should appear in the next week, & I am still milling, glueing & thinking about the next parts of the box so stay tuned!
P.s. There will be some sort of Video & System diagram appearing too as they are requirements of the HaD Prize. If you come across me in your voting remember to vote RED.
Create an account to leave a comment. Already have an account? Log In.
Become a member to follow this project and never miss any updates