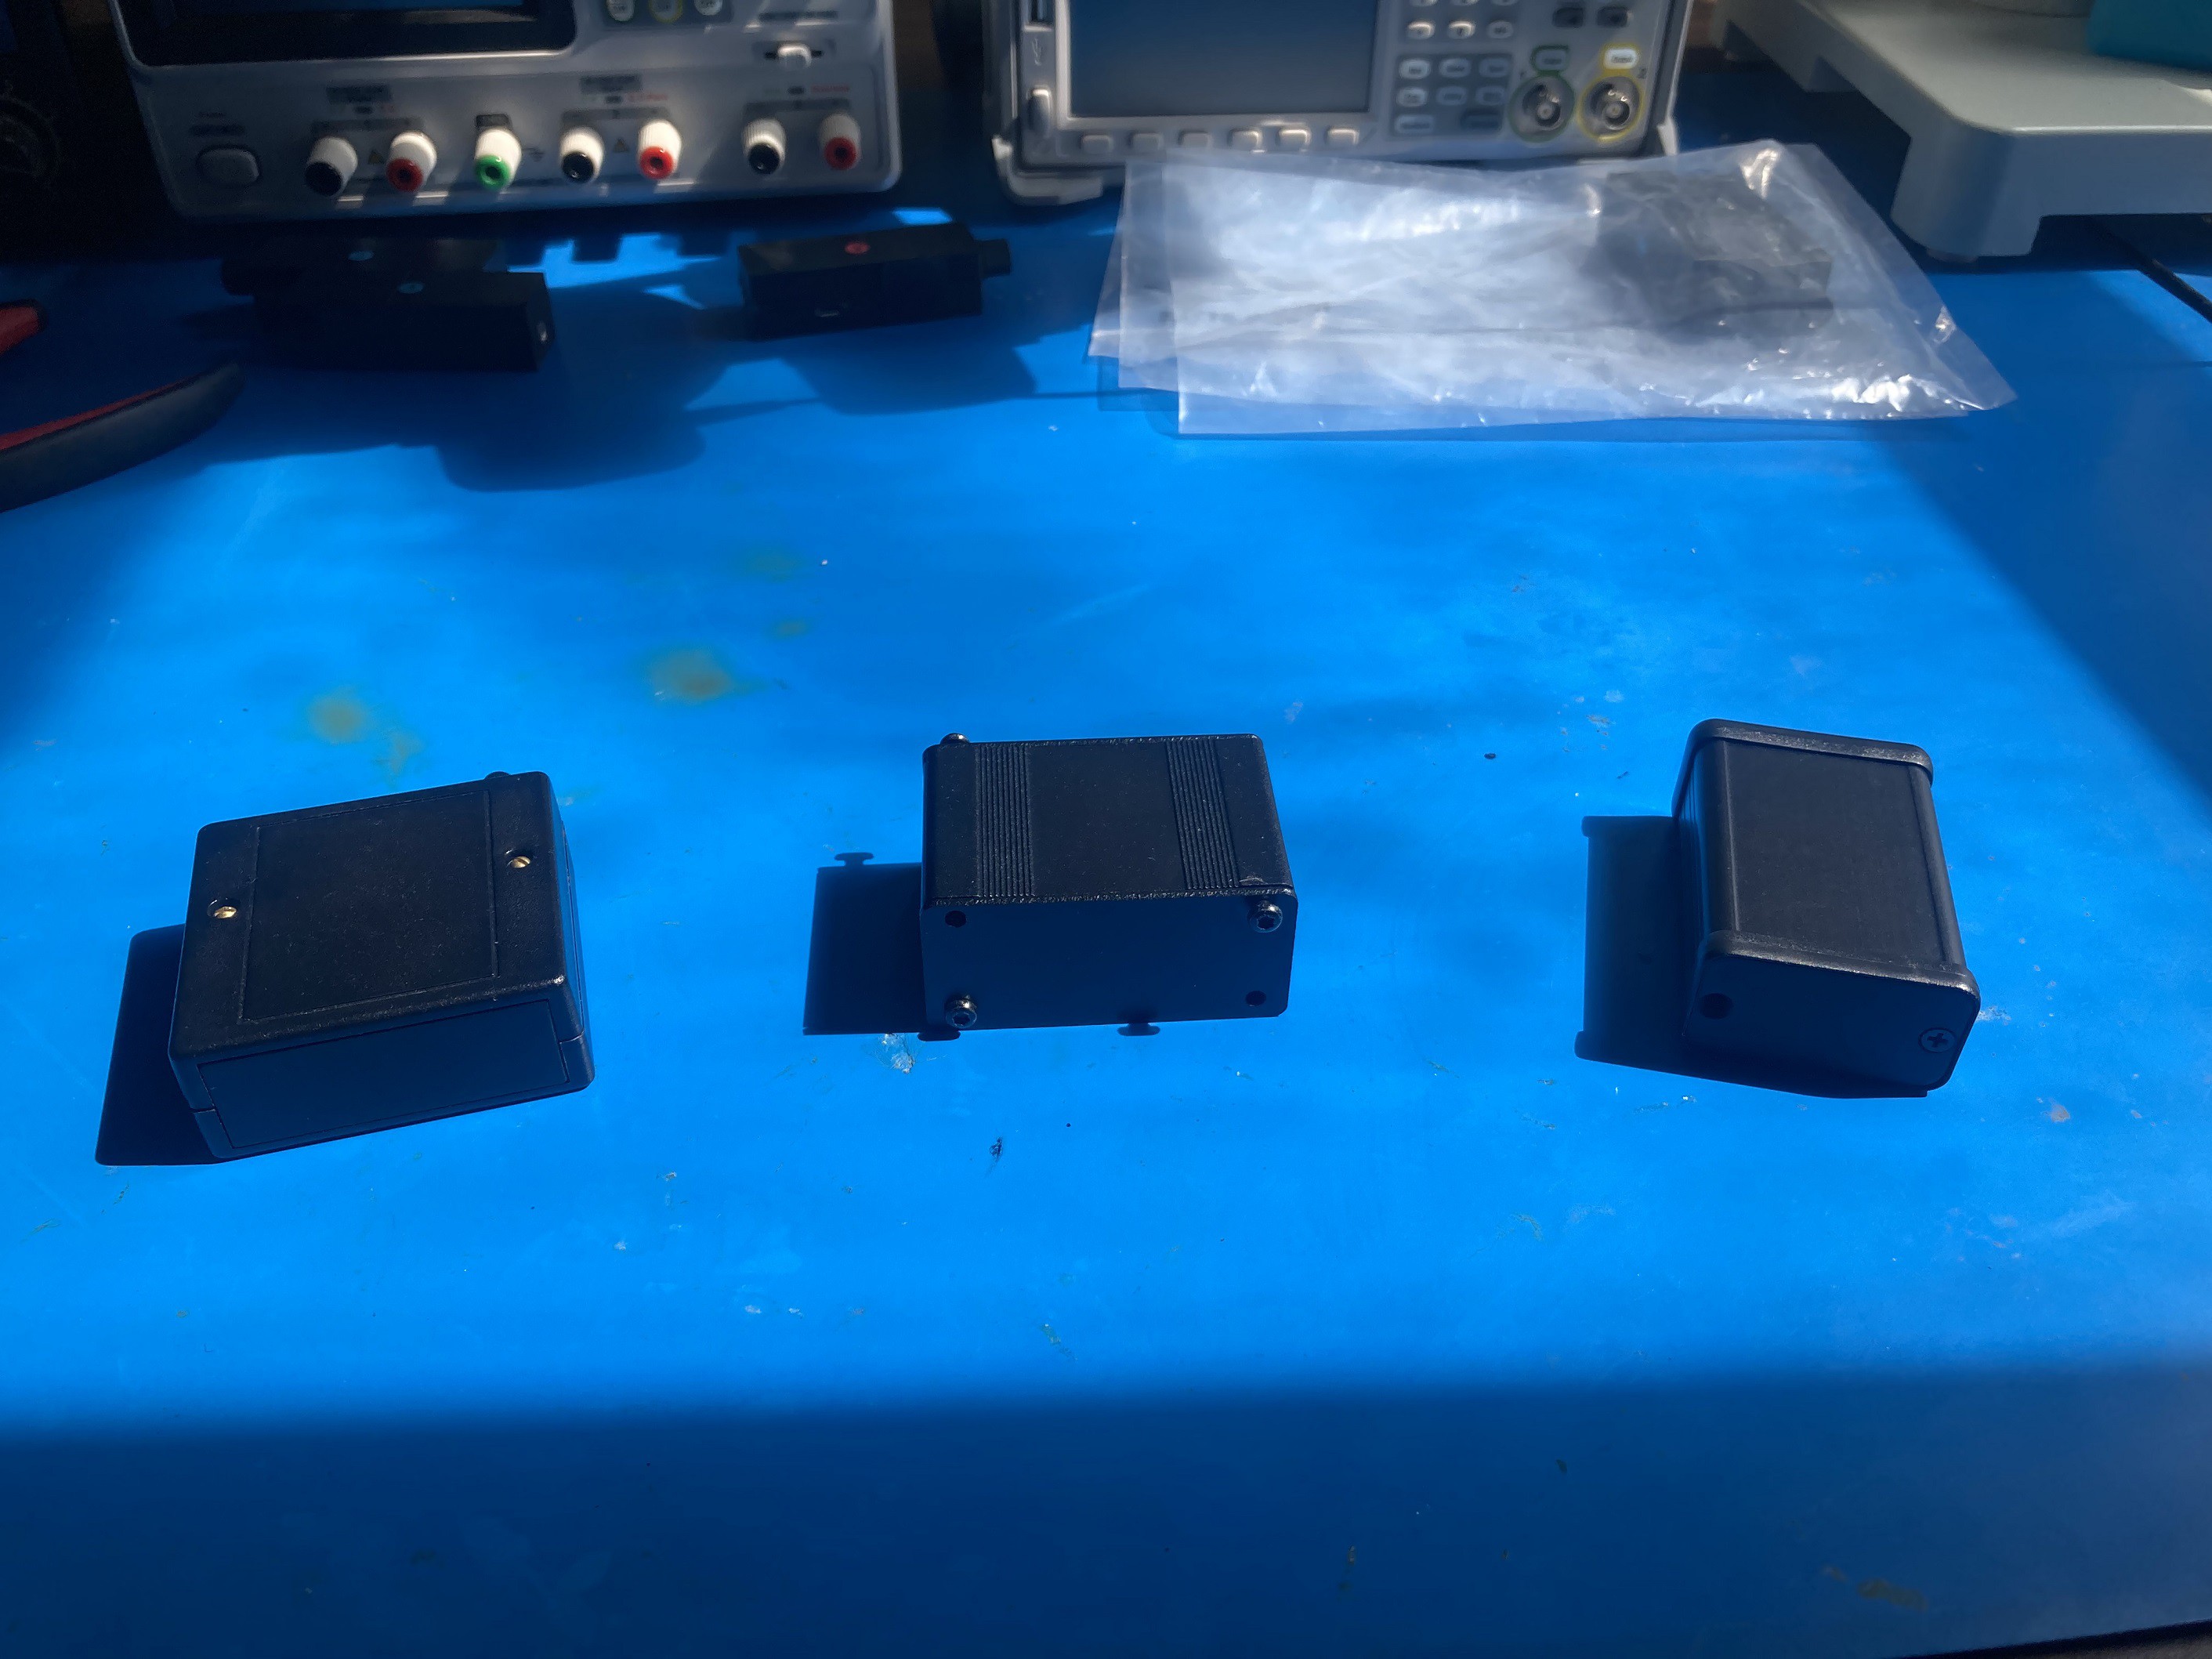
Building on what I'd learned from testing v1 and v2, I started looking into off-the-shelf cases for the next version of Porter. After digging around a bit, I decided to try out 3 candidates: the PacTec Hand Held, the Box Enclosures BEX SERIES 1, and the Hammond 1455D601BK. Here's what they looked like on my workbench (in the order listed above):
Since I was planning on using a 1/4" jack to allow compatibility with external effects, I didn't have a convenient way to mount the headphone amp to a guitar (existing devices use a permanent plug, which addresses the mounting problem, but introduces the non-compatibility problem; it also is prone to breaking). I figured most guitars have straps, so a belt clip could work to attach it to the guitar strap (or, you know, to a belt). I ordered a candidate belt clip from Alibaba and tried it on each of the candidate enclosures:
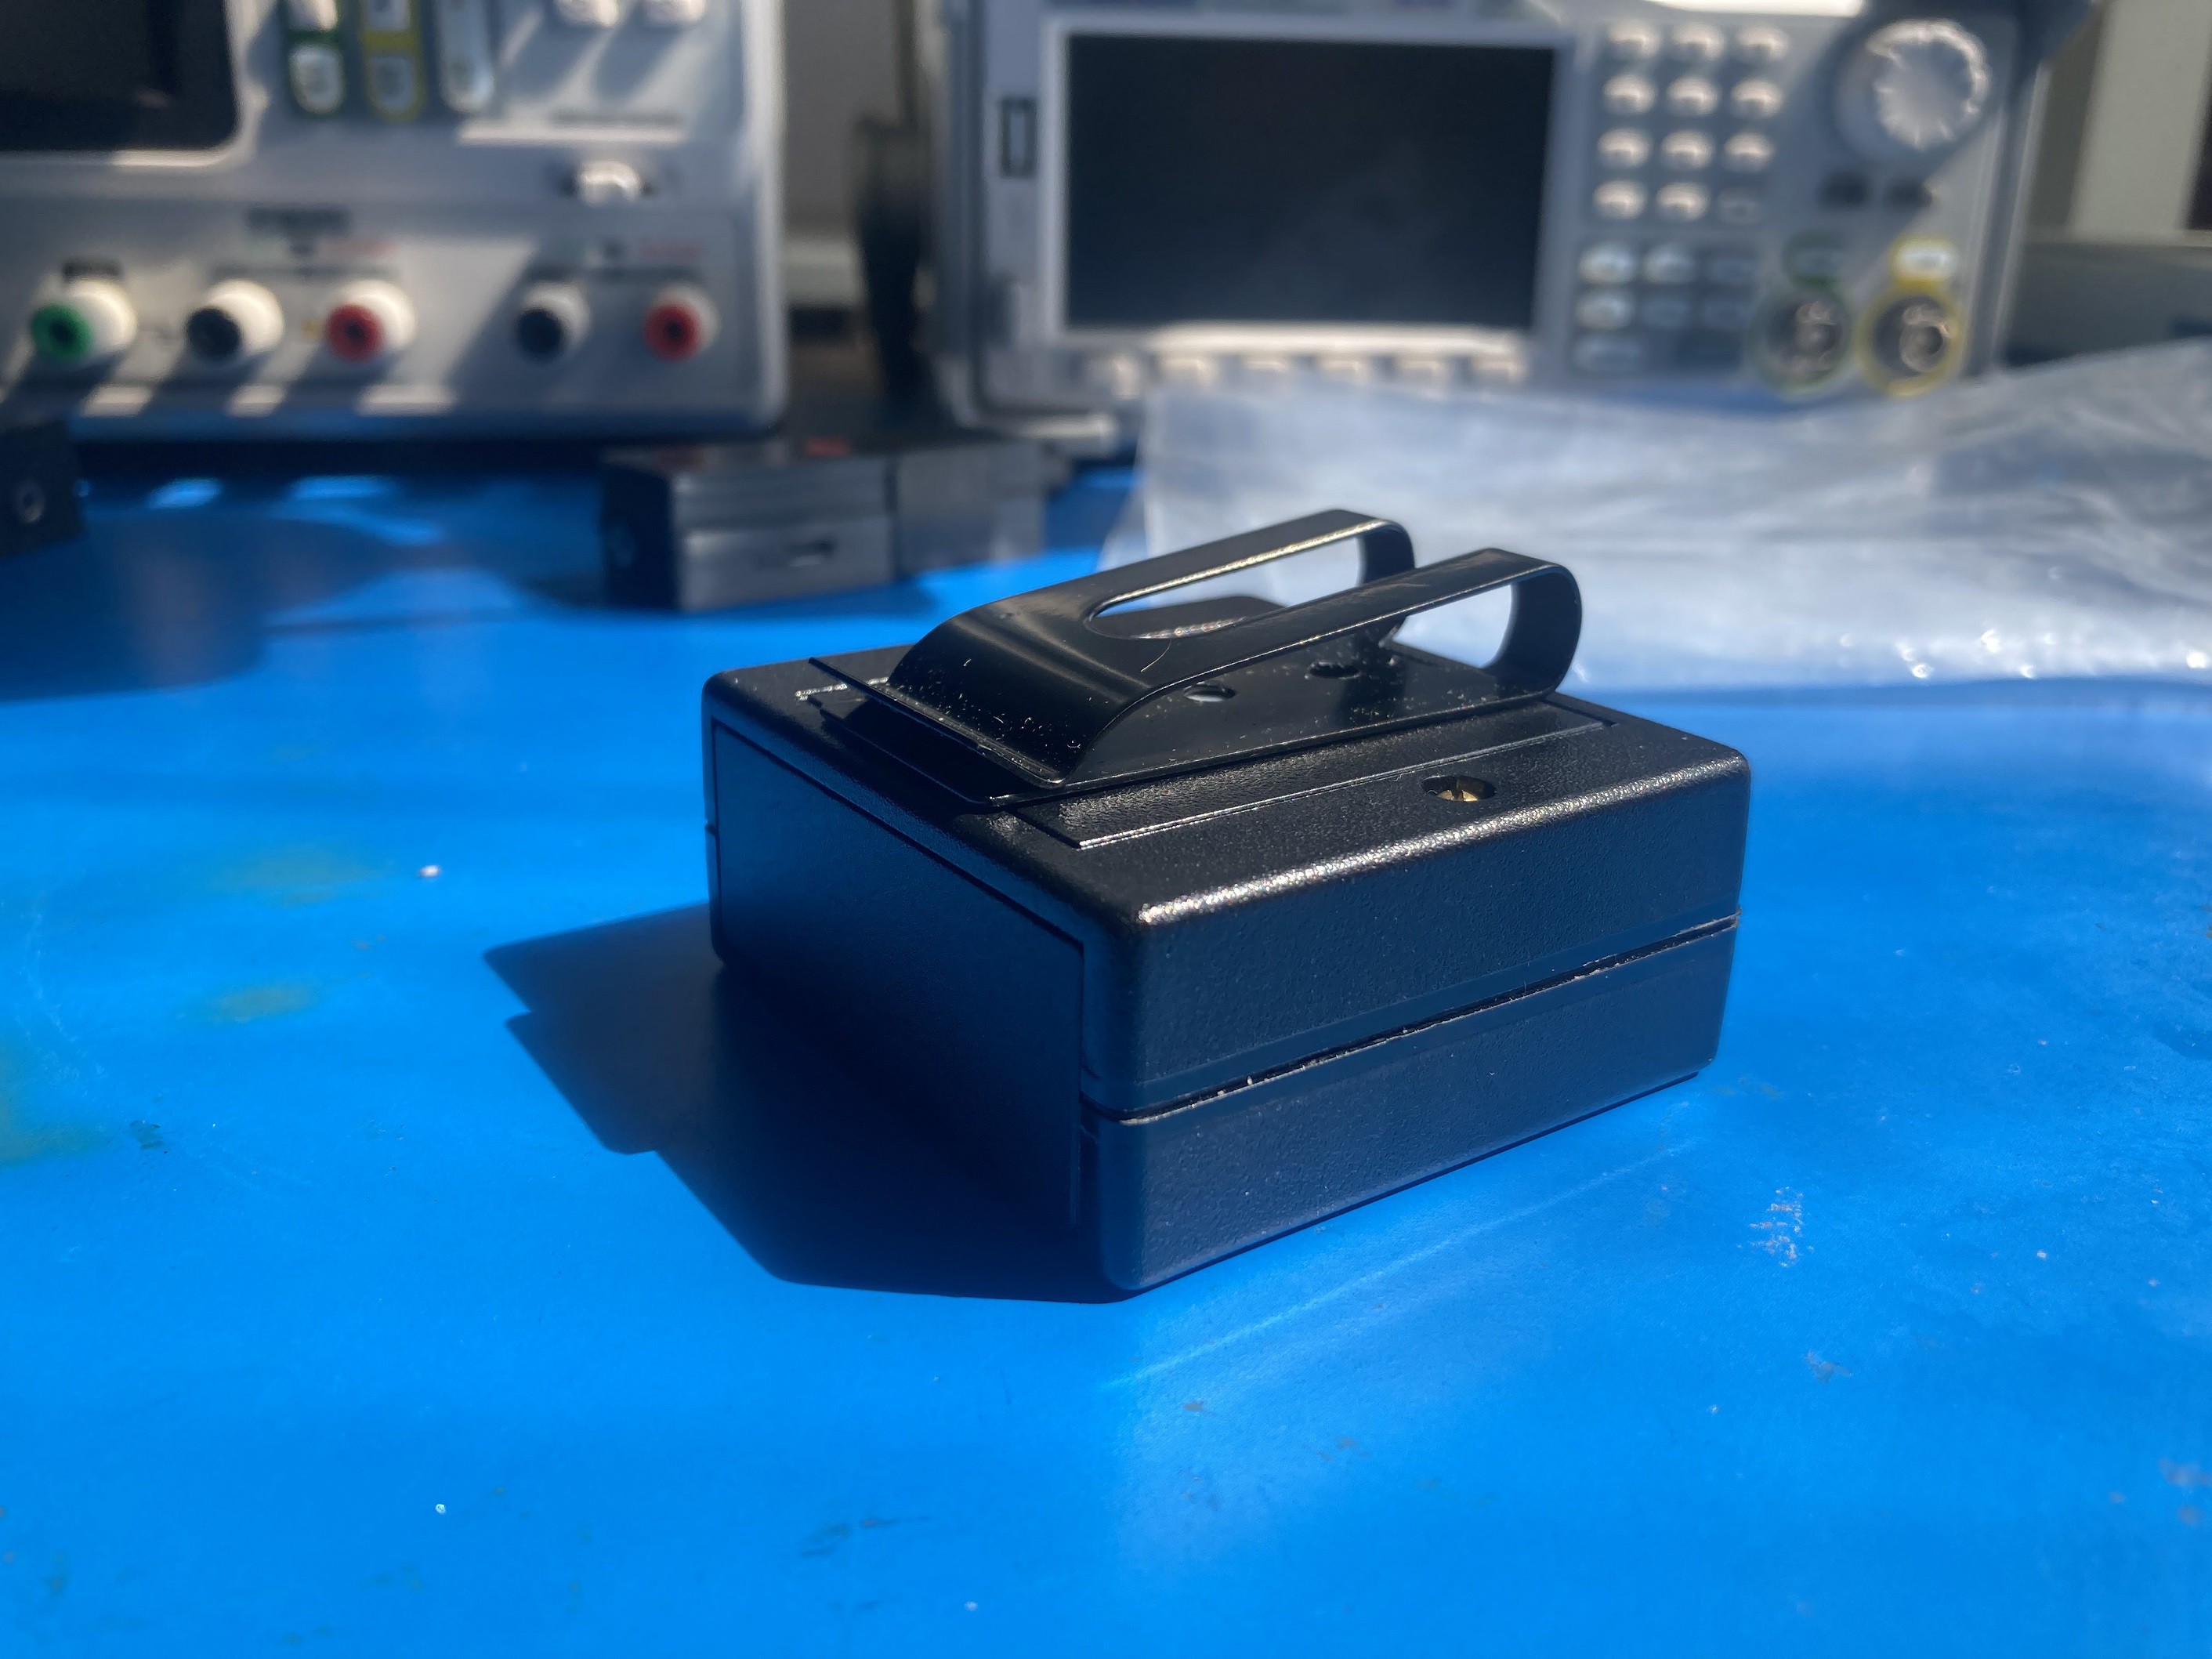
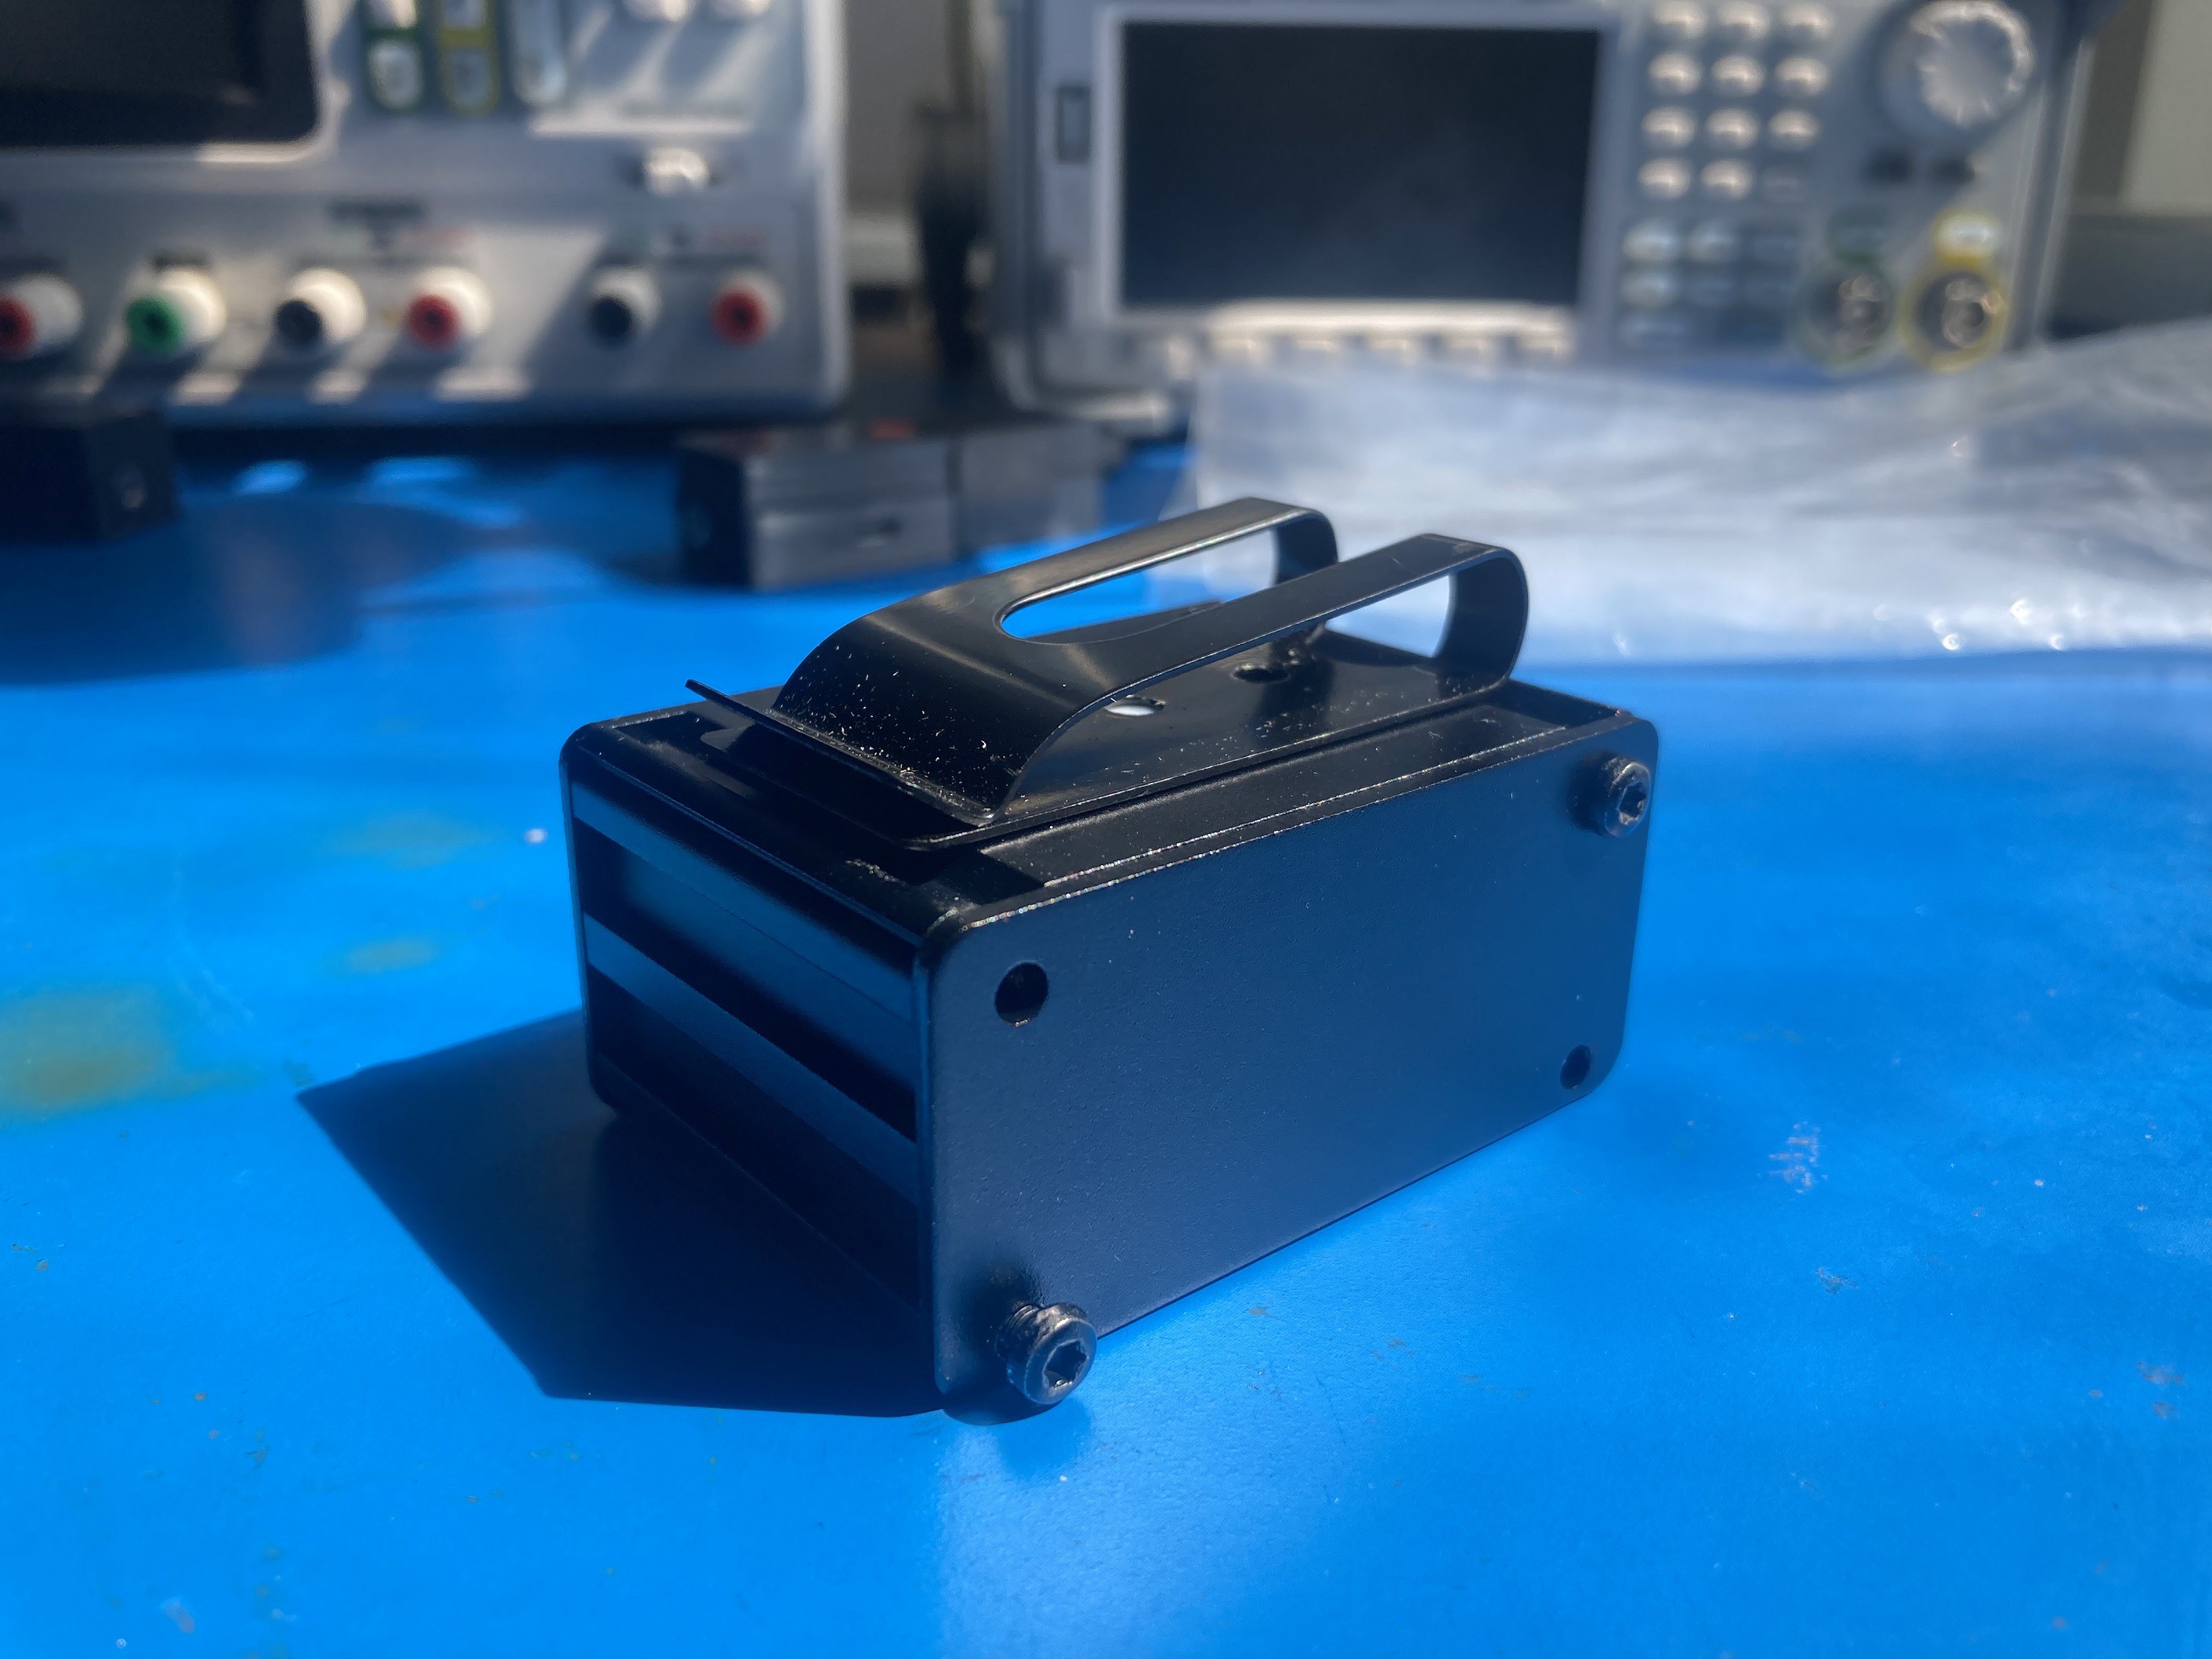
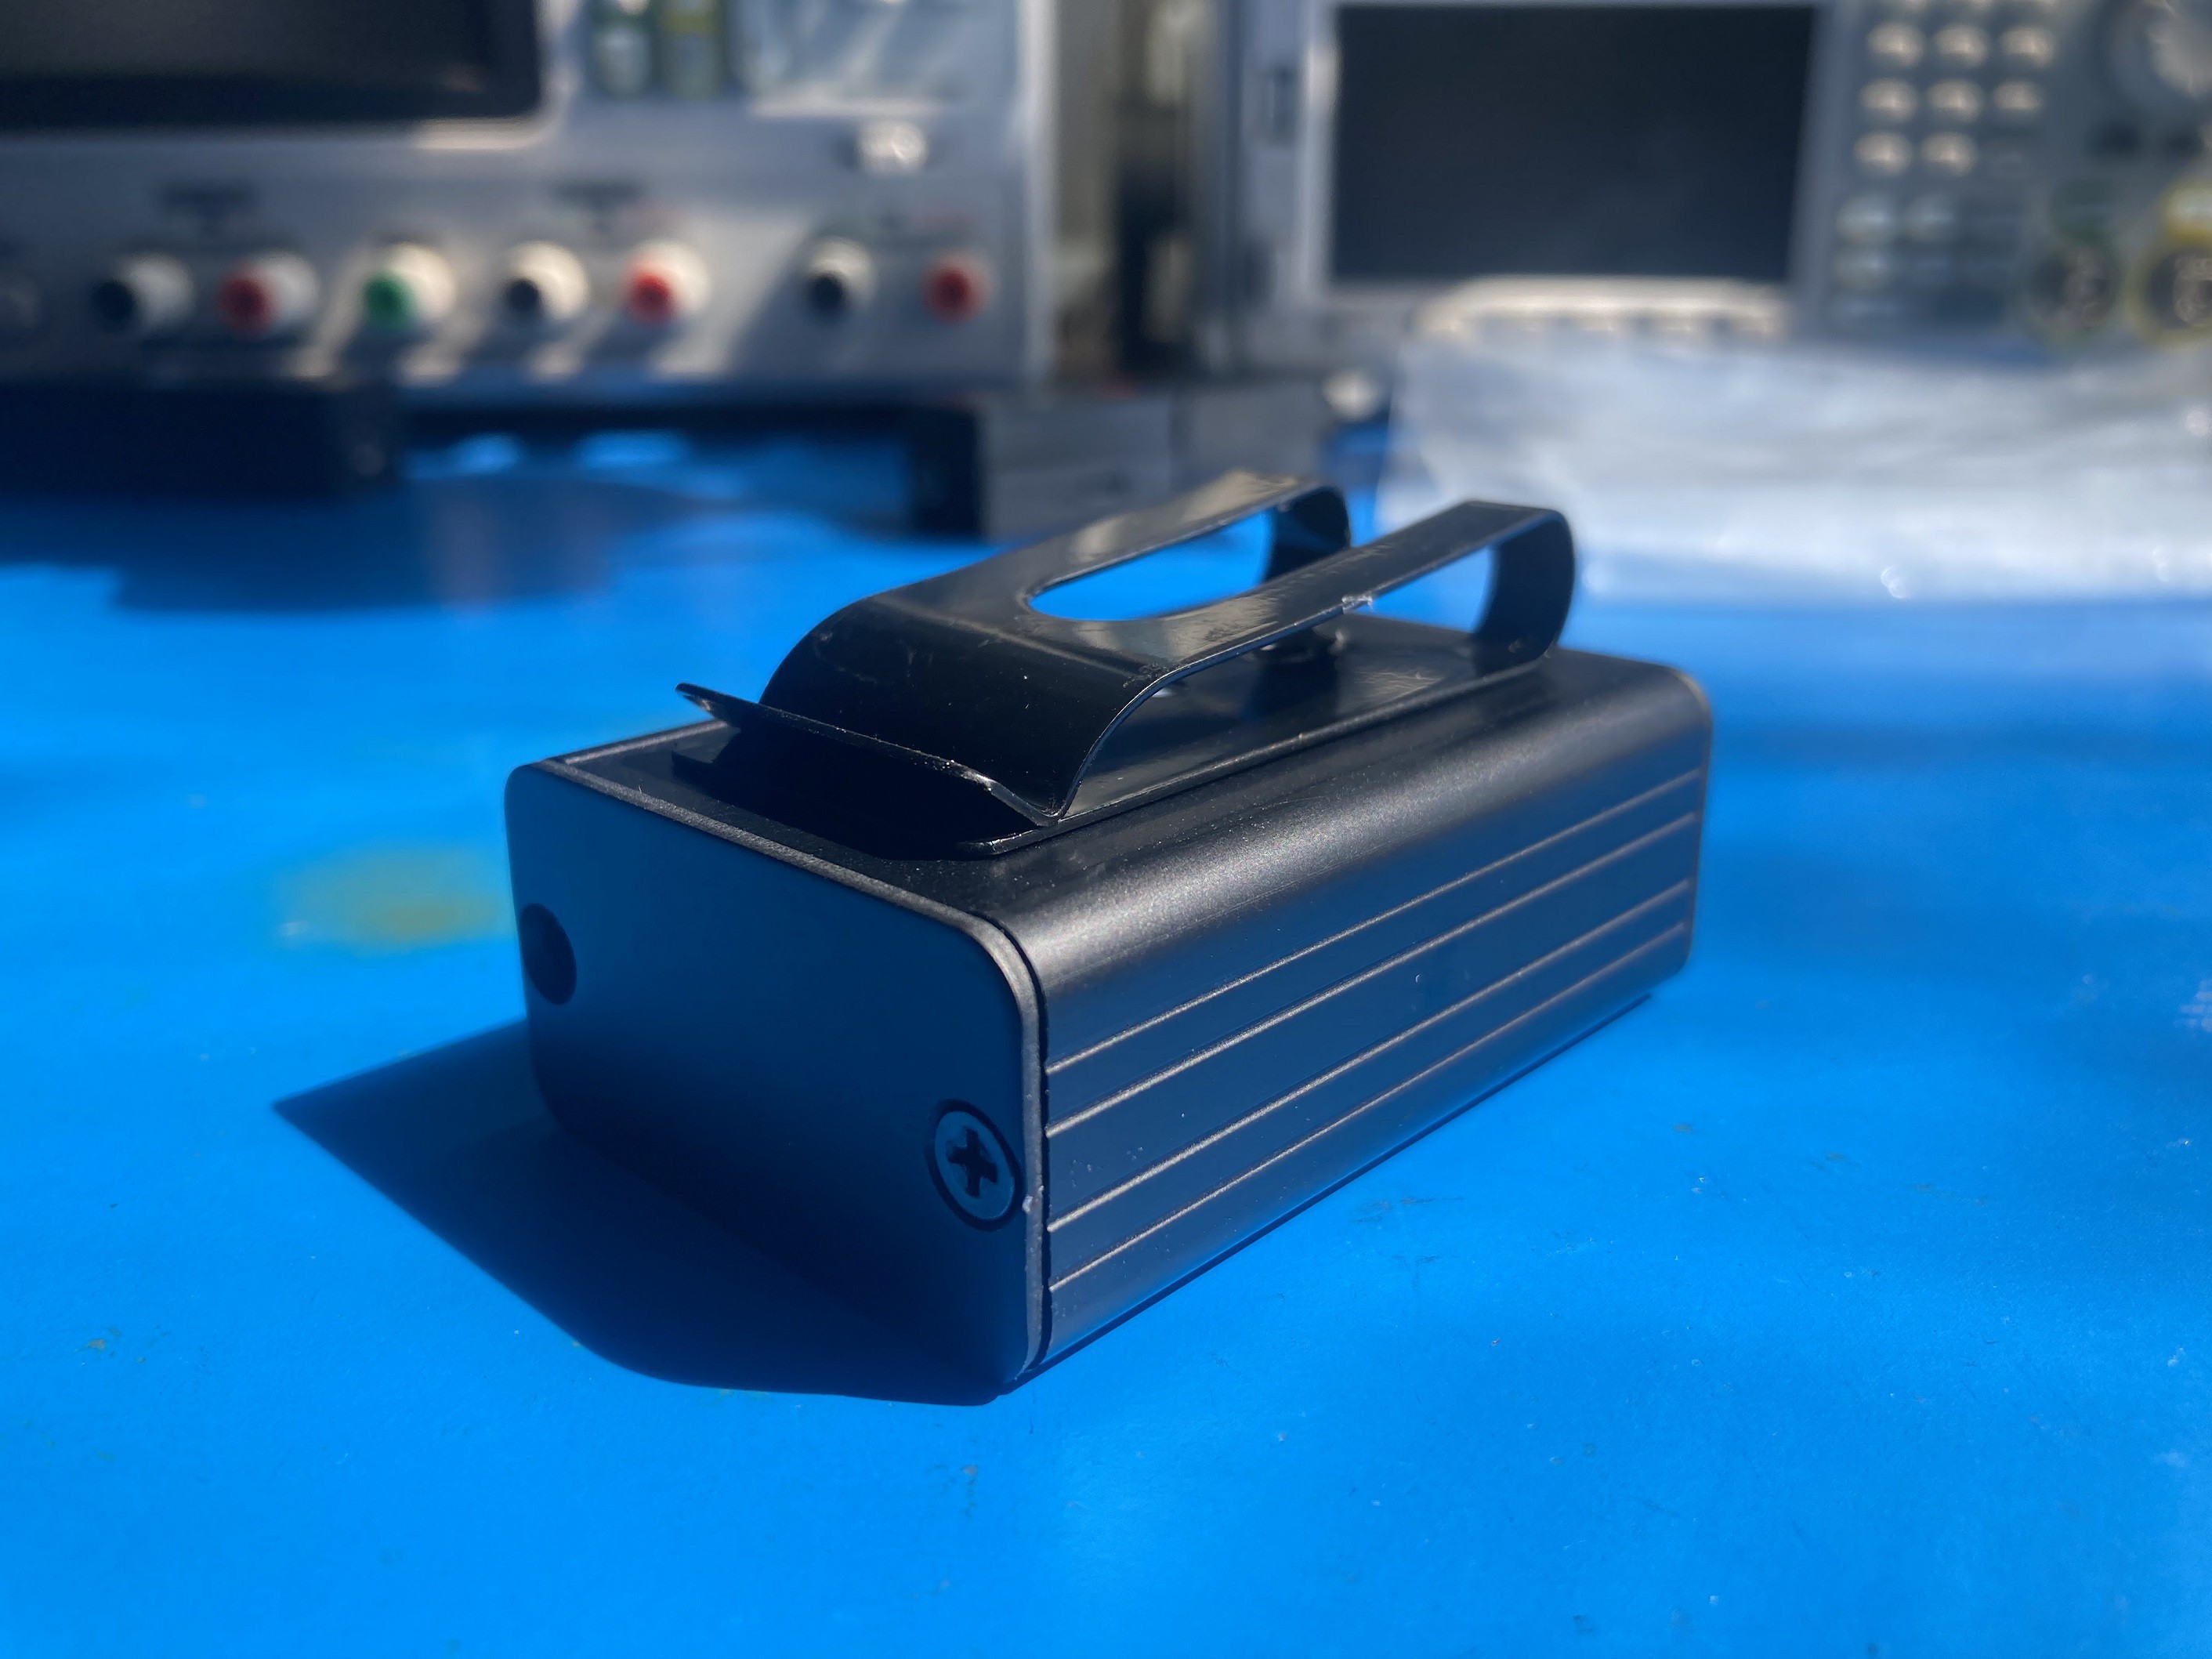
The Hammond case was such a standout that I knew instantly it was the way to go. It fit the clip nicely, felt really good in the hand, and had a perfectly understated but distinct visual style. Perhaps not obvious from the pictures is that the PacTec case is plastic, which is reflected in its dramatically lower cost than the other cases (about $4 vs about $12). The end panels can also conveniently be replaced with PCBs for further low-cost customization (as demonstrated by this project). But given how rugged and just darn attractive the Hammond case was, I decided it was worth the extra cost.
My next step was to put my 3D printer to use for the second time: making custom endpanels to help me coordinate component placement with the v3 PCB design. I already had a 1/4" instrument input jack, an 1/8" headphone output jack, and a USB charging input, and I knew I needed to add a volume knob per my beta testers' feedback. As the design matured, I ordered candidate components, 3D printed the PCB, and did some test assemblies to make sure everything lined up before placing the PCB order:
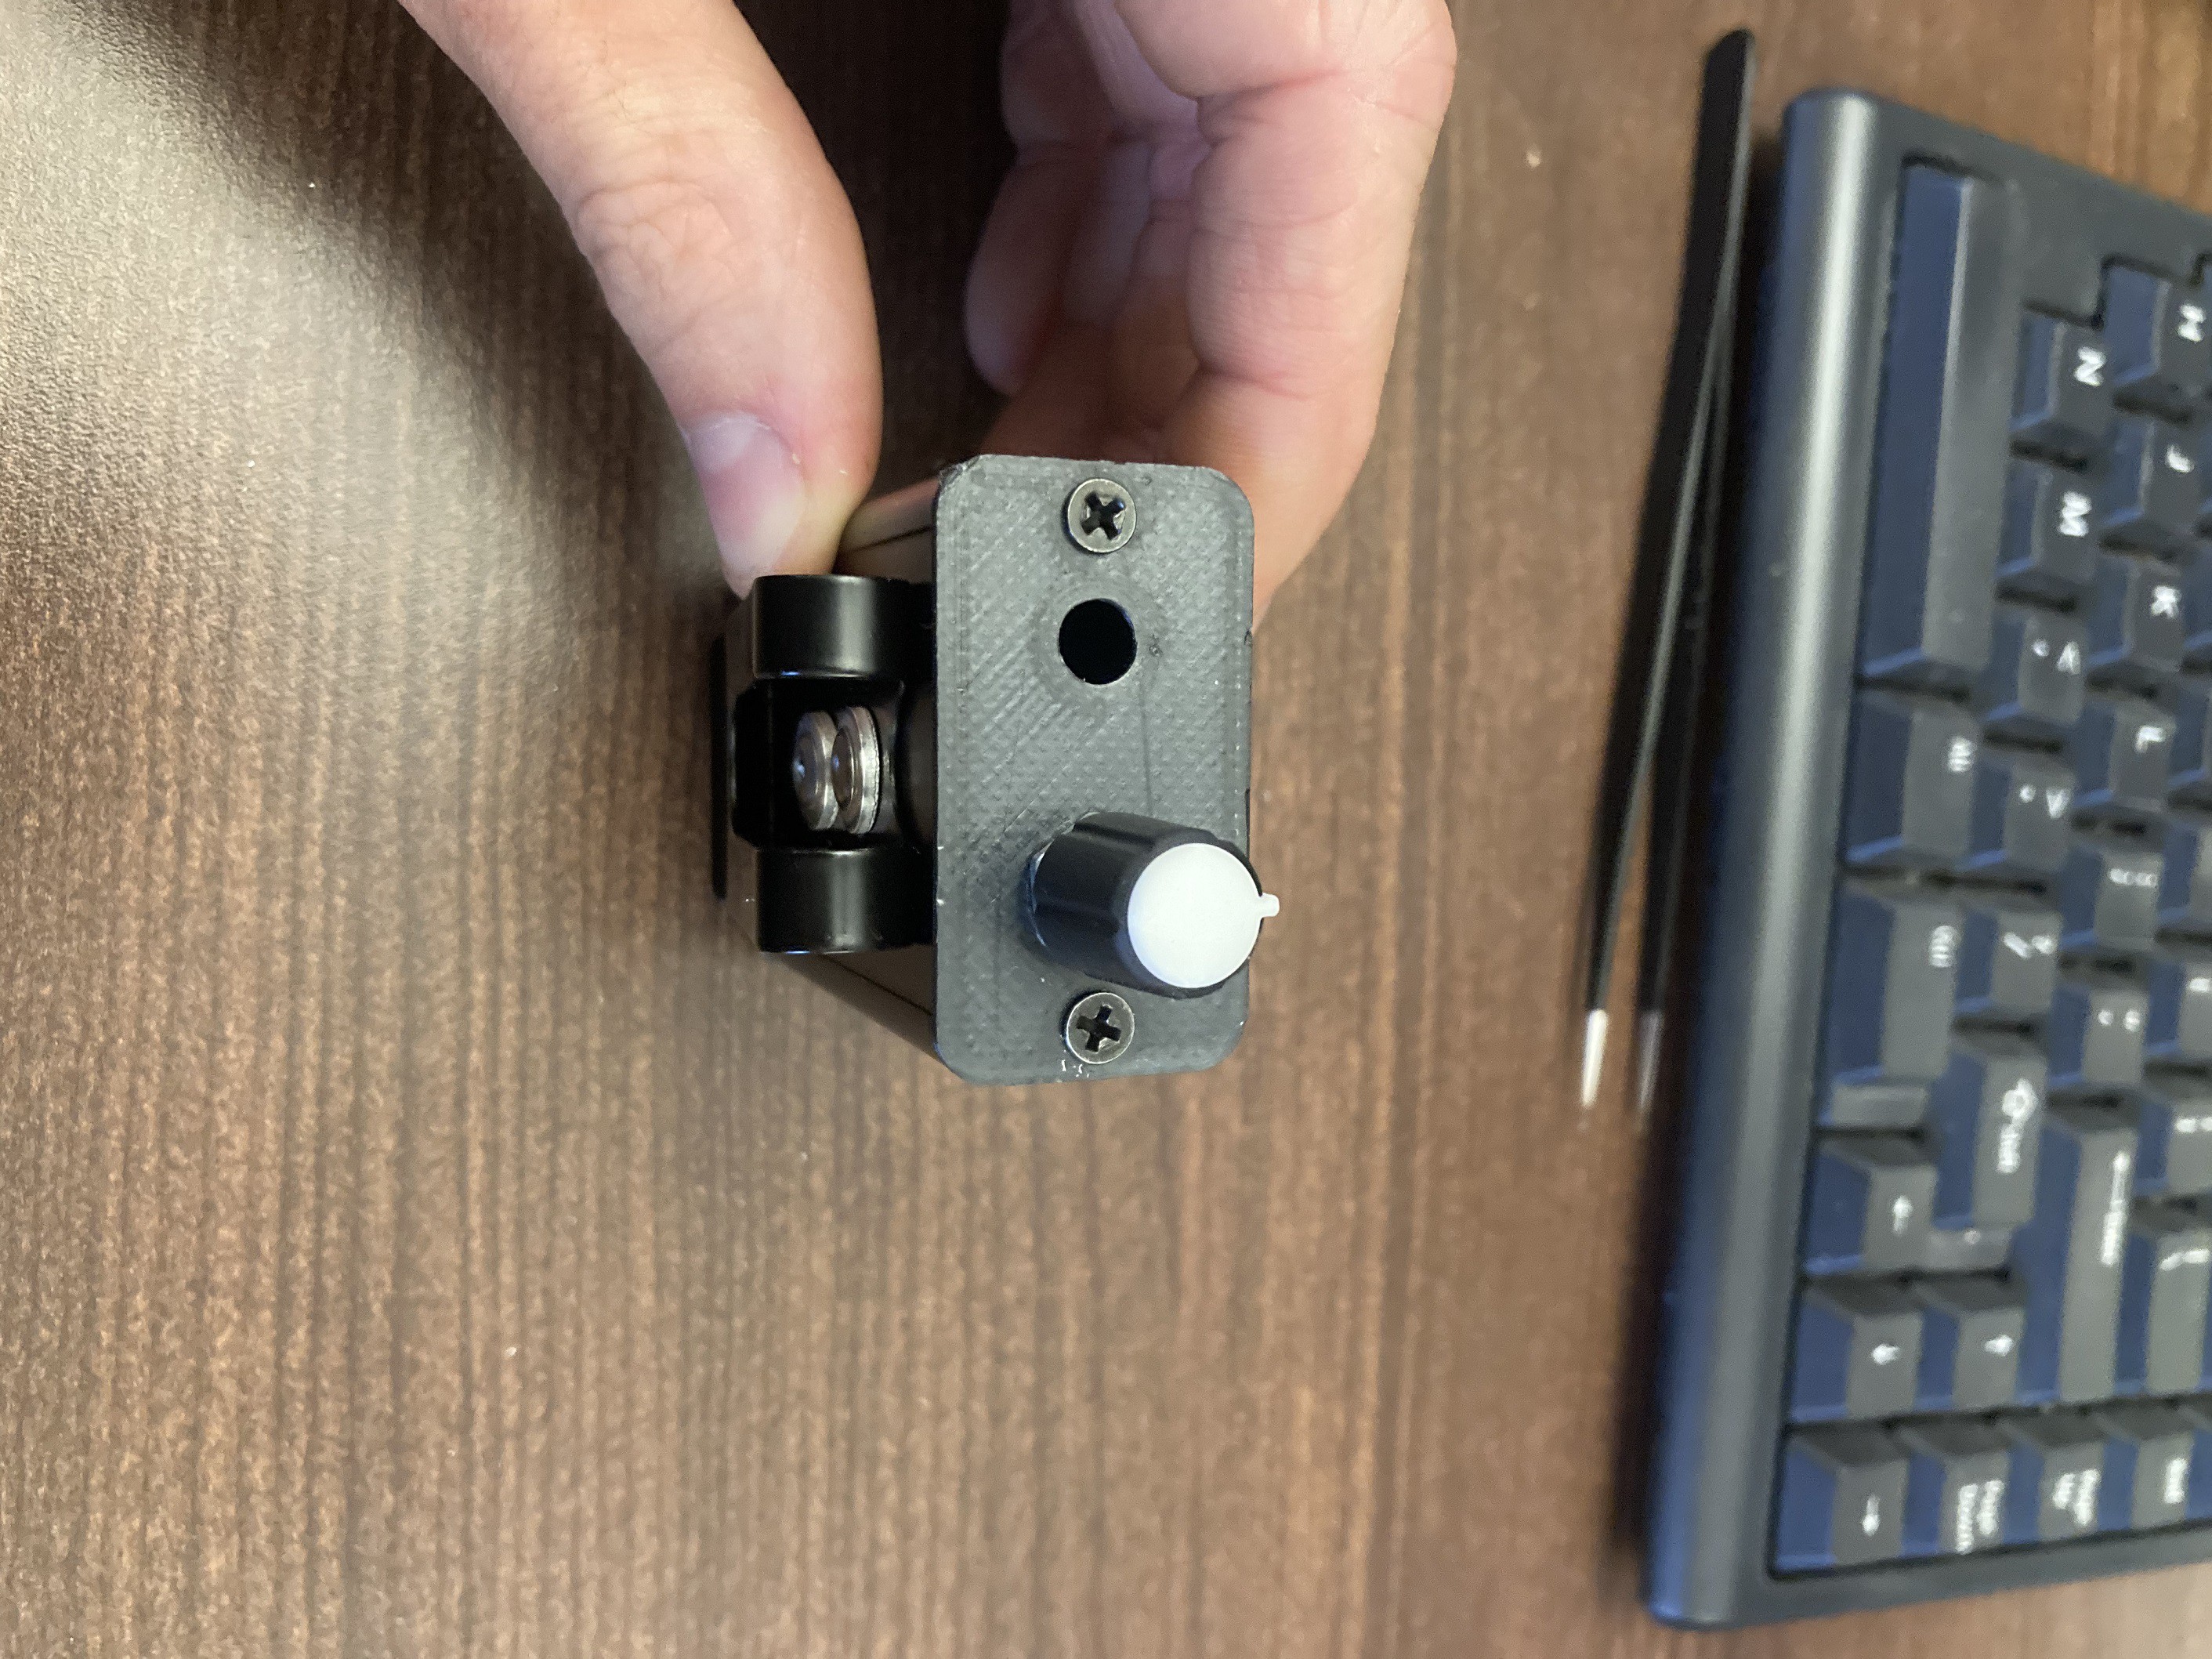
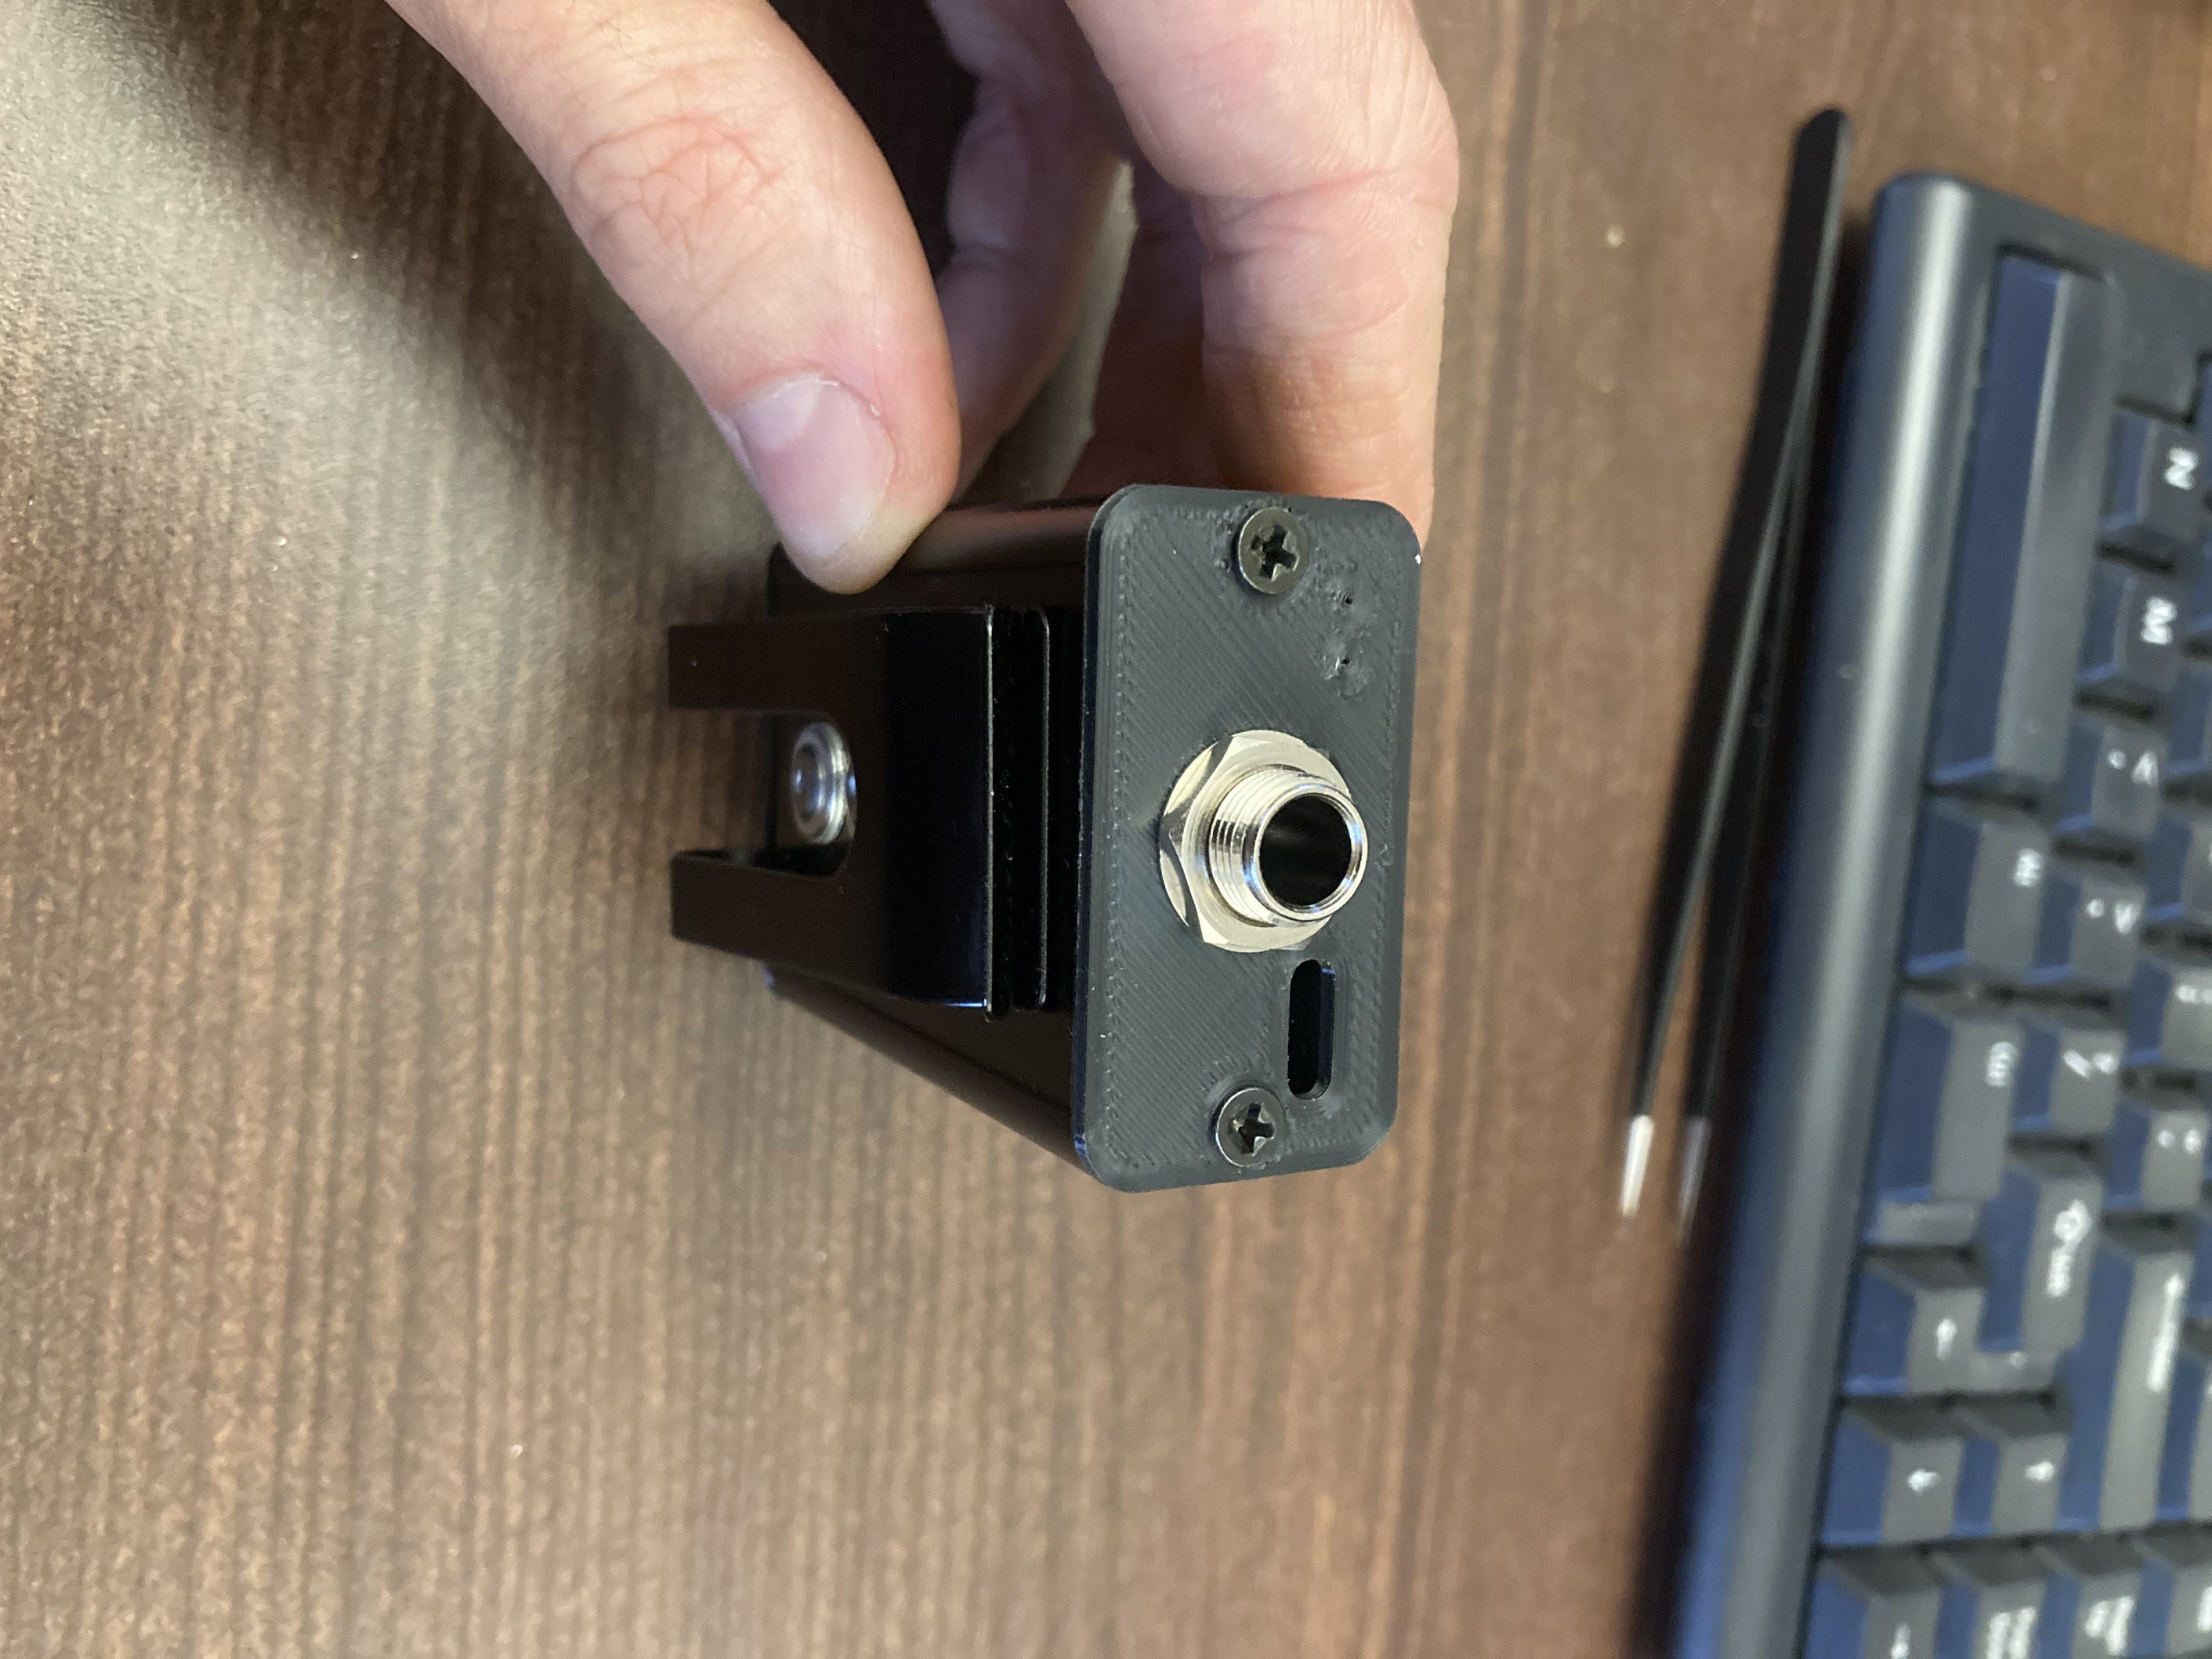
I also did some work on figuring out how to attach the belt clip. After considering several options like tapping threads for tiny screws, using rivet nuts, and using low-profile binding barrels, I went with simple blind rivets in the end. I would have preferred something removable, but between the thin wall of the enclosure and tight clearance to the 1/4" jack and volume pot, the options turned out to be very limited.

This post is getting pretty long, so I'll cut it here, and talk about the v3 and v4 electrical design in a new post!
 Gavin
Gavin
Discussions
Become a Hackaday.io Member
Create an account to leave a comment. Already have an account? Log In.