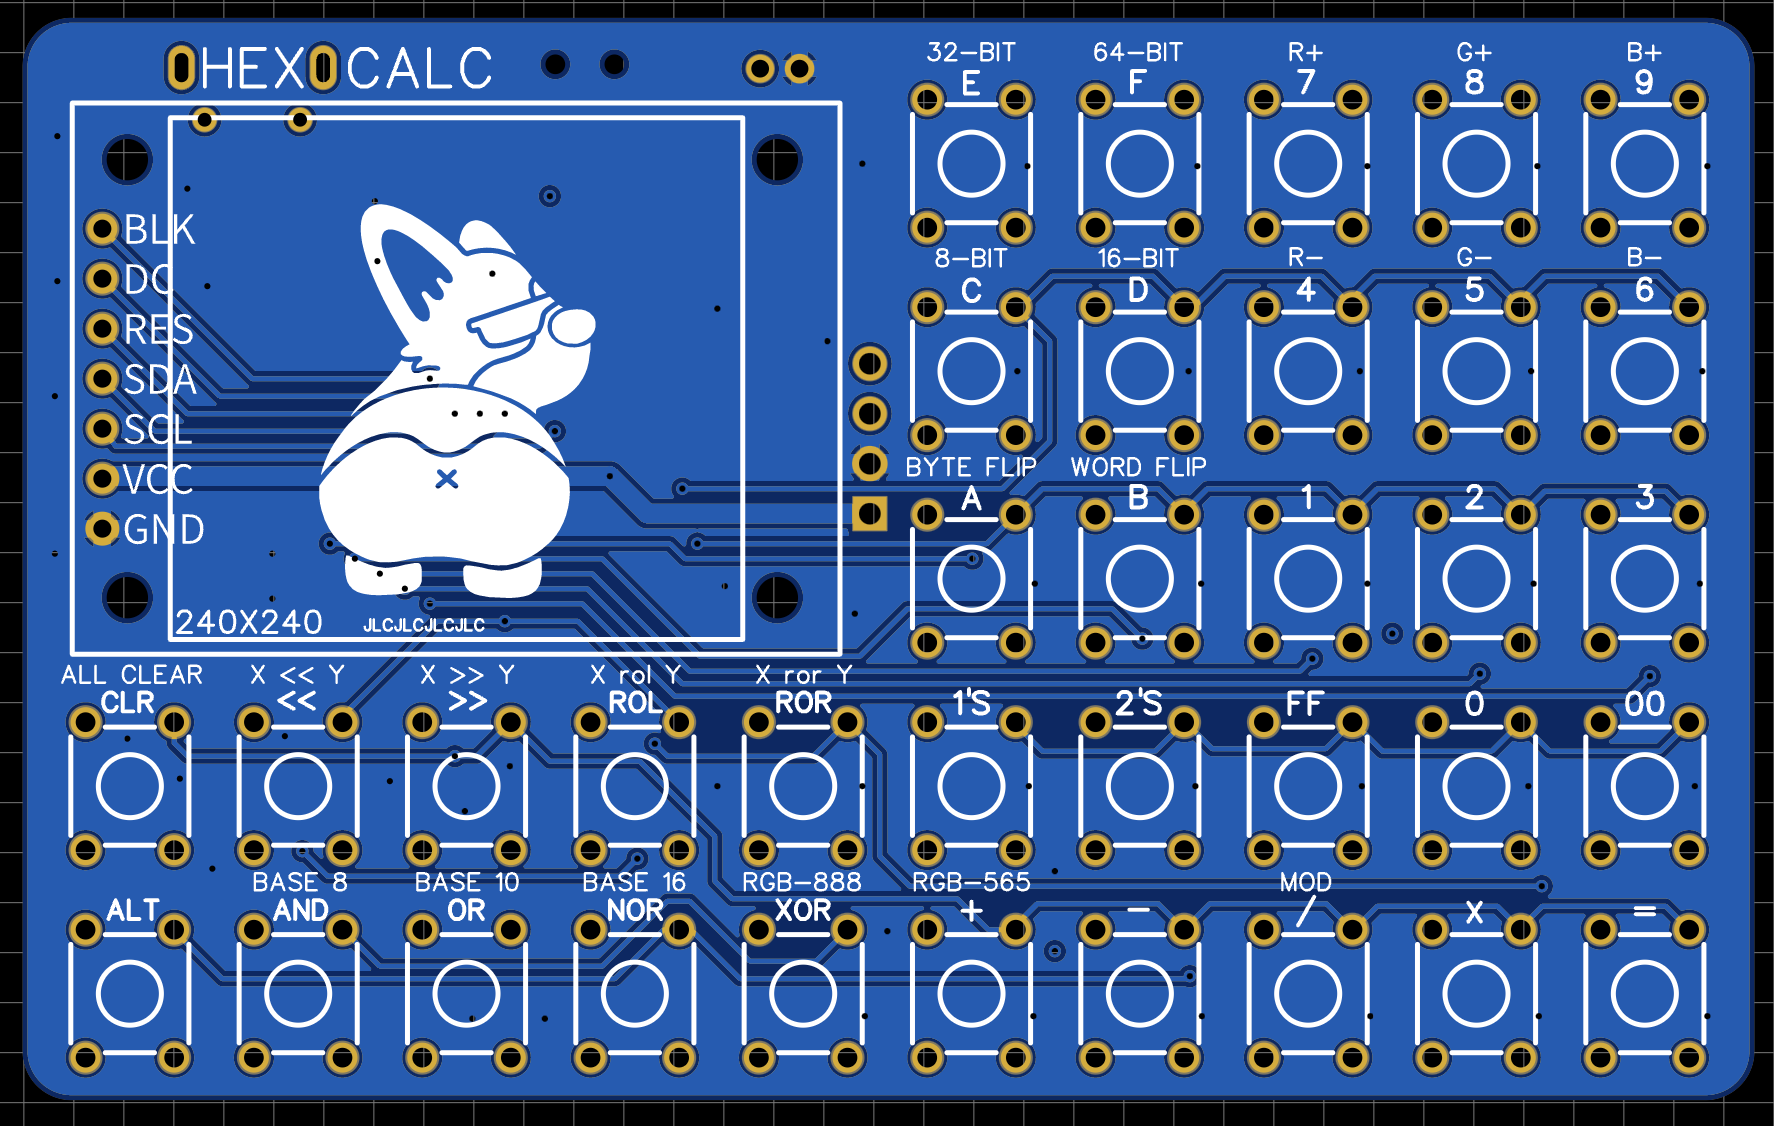
This is a calculator the size of a business card. But it’s no ordinary calculator, it’s a calculator designed for micro-controller developers. It's your compass for navigating a world of bits, nibbles, bytes and words. And in this world, things don't always seem to add up. Where else can 99 + 99 = 32? Or 0 - 1 = FF? To really understand how these numbers work, it sometimes helps to see them at a bit-level and that's where the HexCalc shines.
Choose Your Base
As humans, we like to work in our ten-finger-based number system, but computers that represent everything in zeros and ones need an extra layer of interpretation to better visualize them. Hexadecimal—which uses 4 bits per nibble—is the most common these days because our systems operate in multiples of 4—8-bit, 16 bit, 32 bit, 64 bit, etc. But back in the days of the UNIVAC and PDP-8, three-bits was the common divisor for their 6-bit, 12-bit, 24-bit and 48-bit words. Thus “Octal” was the standard.
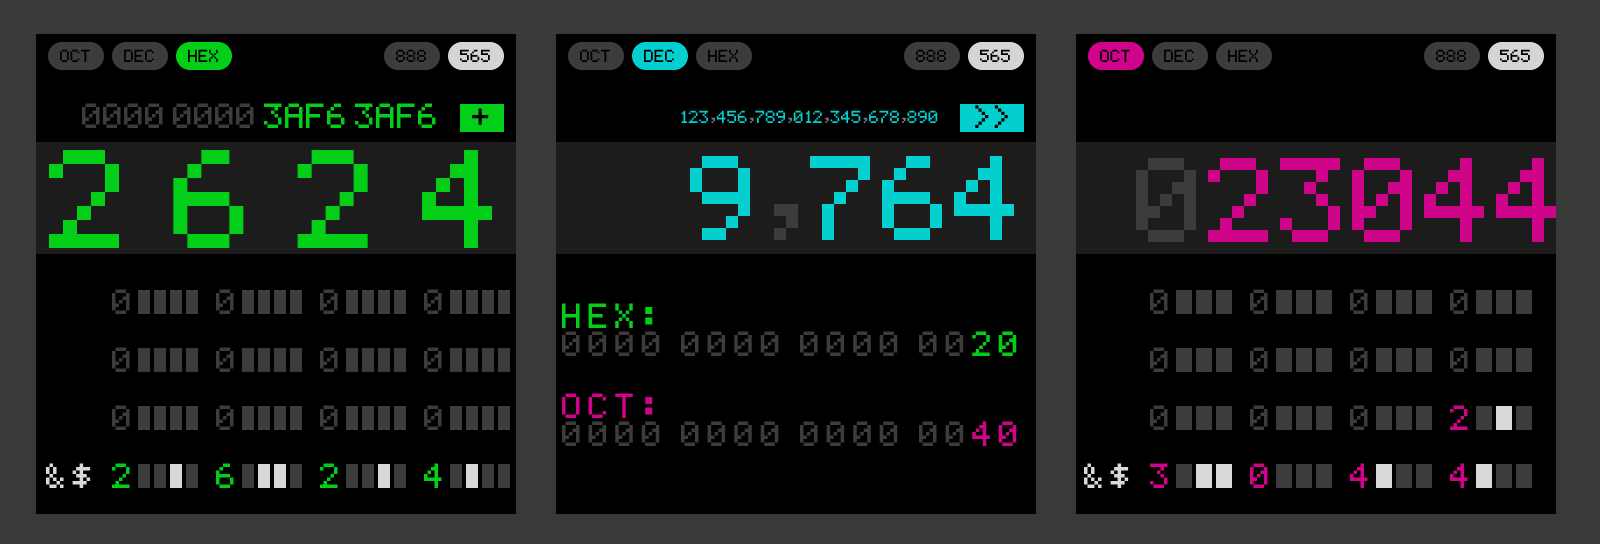
The HexCalc works in each of these bases and makes it a little easier to visualize how these numbers are composed by their underlying bits. Simply punch in a number and a binary visualization appears below. In addition, the ASCII character corresponding to each 8-bit chunk appears on the left—a handy little addition!

Conversion between bases is a snap. Just enter a number in one base and change the mode to another base and the new representation of that number will appear.
You can also specify the bit-depth for values as 8-bit, 16-bit, 32-bit or 64-bit. This ensures that your numbers stay within the boundaries of your memory constraints and wrap around in the most confusing possible ways—just like in your C++ program!
Maths

Of course this is a “calculator” so it also does all the typical math stuff like add, subtract, multiply and divide. These functions are all integer based and not floating point—so there are no decimals. They also stay true to the chosen bit-depth, wrapping around as they normally would in your program.
In addition to the basic stuff, the HexCalc also supports:
- bit-math (AND / OR / NOR / XOR)
- Modulus
- Left / right shift and left / right rotate
- Byte-flip and word flip
- 1’s compliment
- 2’s compliment
Seeing Color
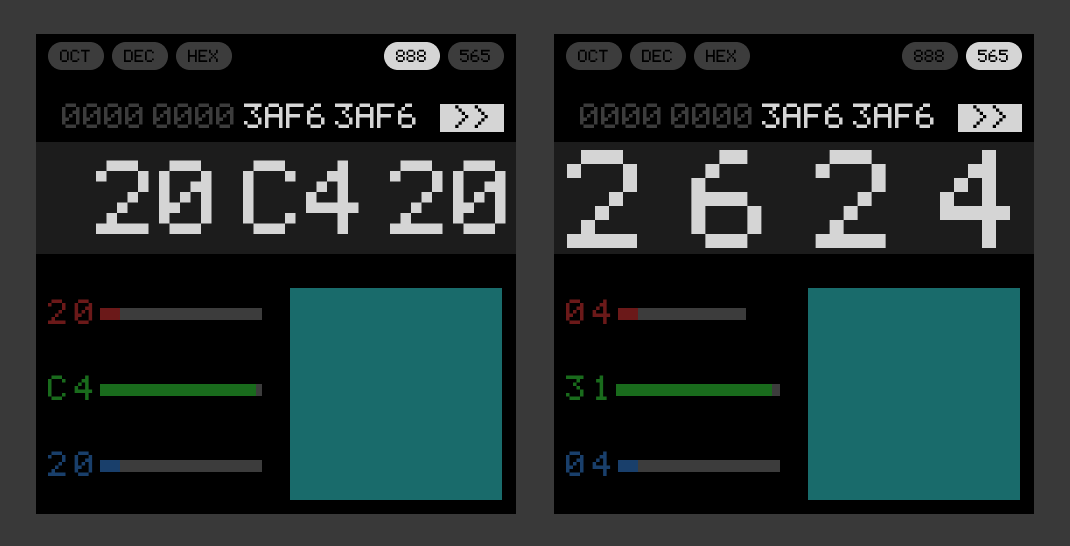
Of course there is one more useful thing you can do with hexadecimal numbers—describe colors! The HexCalc provides separate modes for 16-bit and 24-bit color. 24-bit color is pretty straight forward—you get one byte for each color. But 16-bit color uses the 5-6-5 standard where green gets an extra bit (because our eyes are more sensitive to it).
Now you can dial in a 24-bit color and swap over to the equivalent-ish 16-bit color mode and get the color code. And, of course because the screen itself uses native 16-bit color, you can ACTUALLY SEE what the color looks like in a preview on the screen!
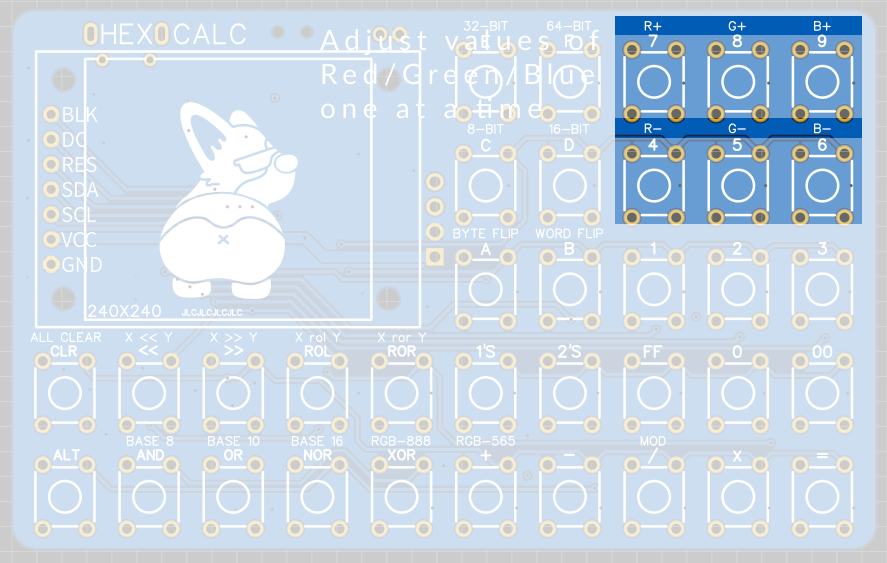
The color visualizer breaks down each color into its RGB components and there are separate buttons for incrementing / decrementing each color value. This is particularly useful in 16-bit color mode where the RGB values are interlaced across the 4 nibbles.
In addition, while in 24-bit color mode, the Byte Flip and Word Flip buttons will now swap color channels:
- Byte Flip will swap the red and blue channel. (because it is flipping the byte order)
- Word Flip will rotate the red color channel into blue, green into red, and blue into green.
Hardware
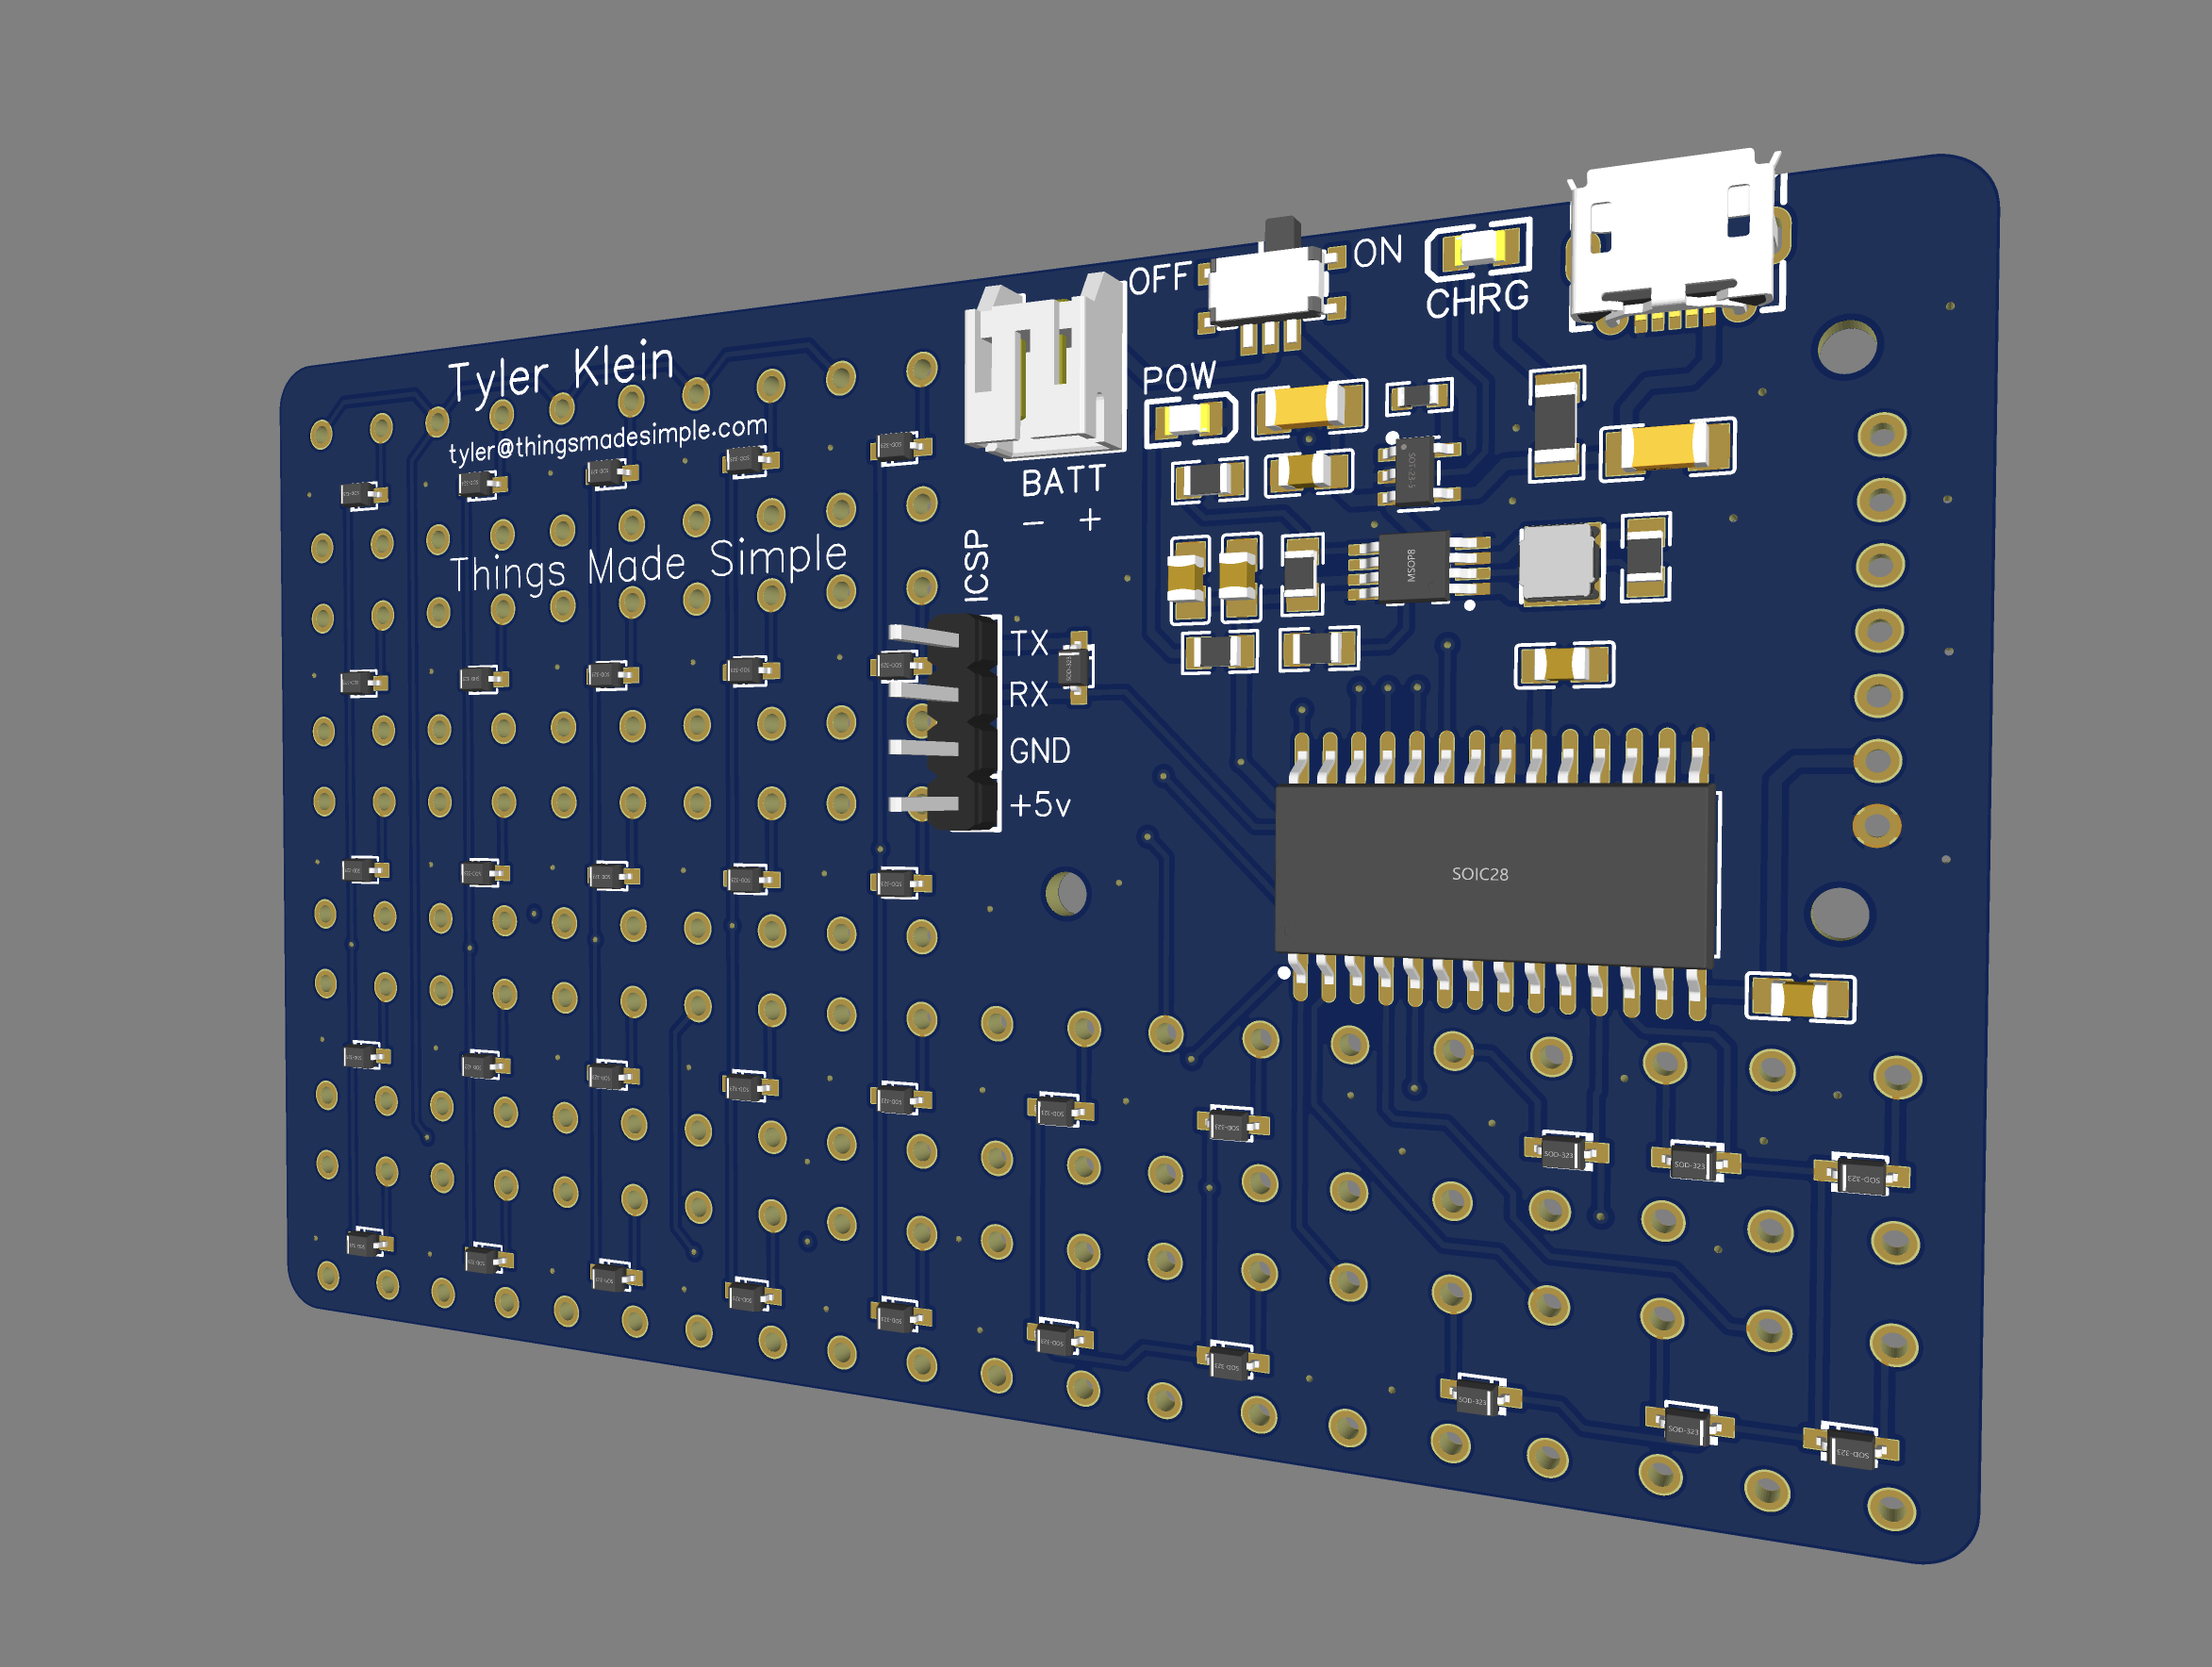
The hardware isn't anything too crazy. It leverages the Li-Po Charger Boost circuit from sparkfun https://cdn.sparkfun.com/assets/5/b/9/a/3/LiPoChargerBooster5V1A_v10.pdf to power an AVR128DA28 microcontroller. This allows for a pretty versatile set of power options (USB, LiPo Battery, or +5v). In order to save battery life, the system will automatically turn off the screen backlight after 30 seconds without a button press. The timer duration can be adjusted in the code to your liking.

The keyboard is simply a matrix of microswitches and diodes connected directly to the microcontroller, and the screen is just one of those cheap 240x240 pixel SPI TFT that you can find for a couple of dollars on AliExpress.
Building a Case
While the PCB definitely has its charm, I thought it would be fun to add a case to keep things a bit more protected. The screen, with its separate PCB needs a good bit of clearance, and that means the top of the case leaves a pretty big gap above the buttons. Rather than replace the buttons with taller ones, I ended up adding a grid that the buttons slip into and filled the gap with individual keys that extend up to the faceplate. This has the added benefit of increasing the button size.
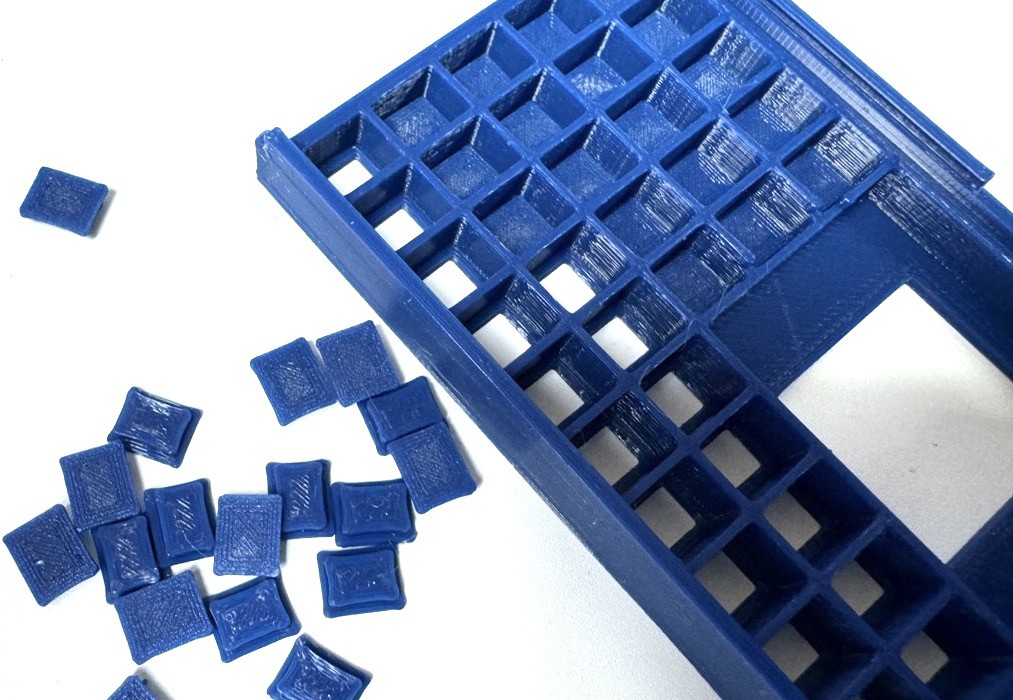
By keeping the buttons flush with the front of the case, I was then able to add a graphical layer to the front of the case without having the cut out the individual buttons.
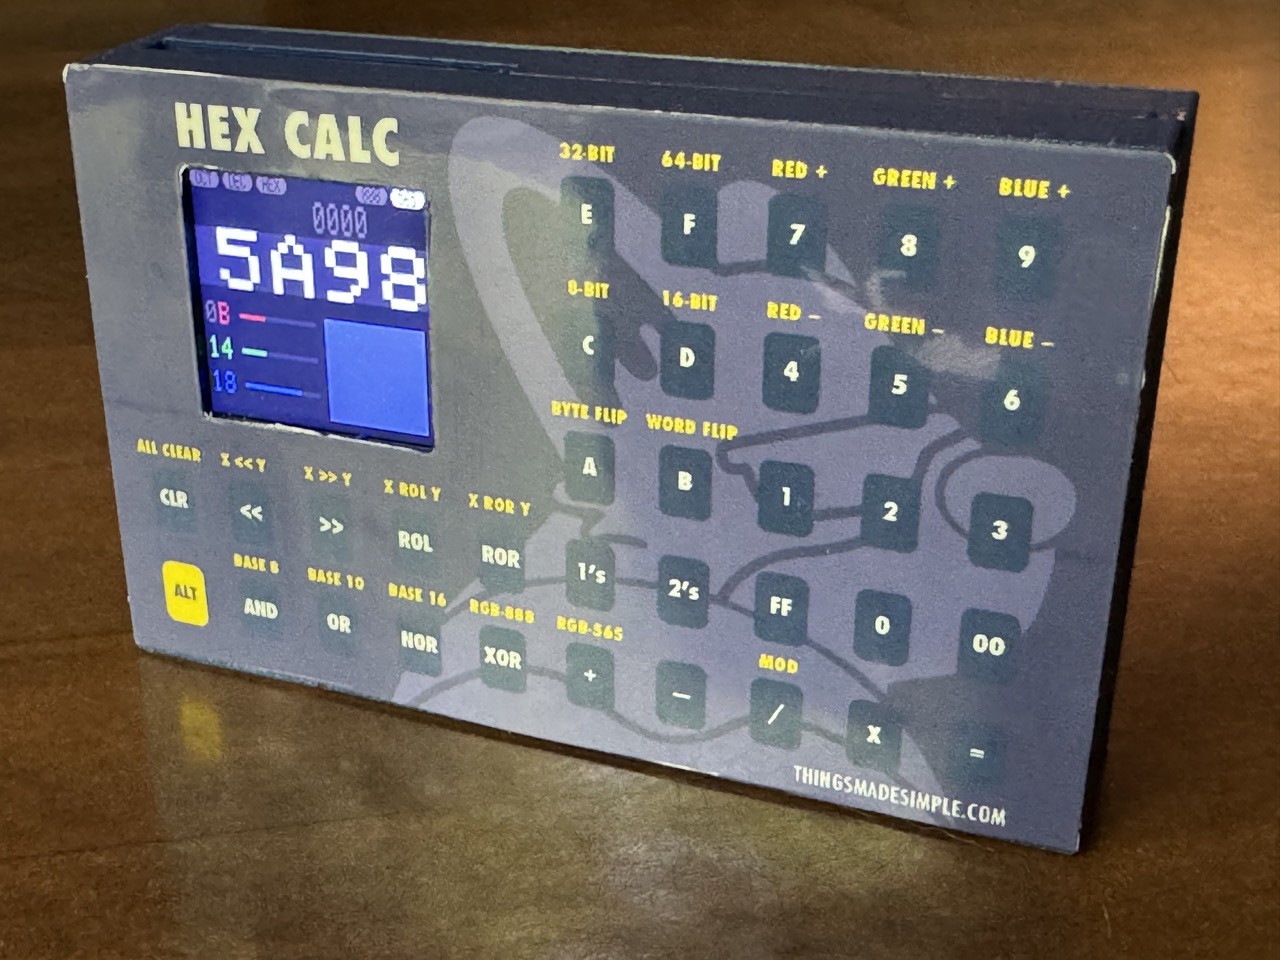
This is still a proof of concept, and the decal is made from laminated paper. Still, you can press the buttons through the paper without too much issue. I think in the future it would be fun to experiment with printable vinyl as well.
 Tyler Klein