 Quackieduckie
Thanks to support by PCBWay we're releasing a MOD2 variant that allows for removing the electronics of the Ticwatch from the metal shell and then encasing them in a screw mount printed case. This allows for a reduction in weight, better balancing and also future proofs this projects if you want to adapt the screw mount system to make your own modules. We recommend you print this in PETG, ASA, or perhaps even Nylon. PLA will just break if you're not careful. Mind you this is still experimental at this point and we are also still trying to get headless mode to work reliably.
According to a recent paper by the BSI, the German institute for information security, a drone is a threat if it's able to exploit the following:
• Taking control of wireless devices such as mice, keyboards, smart whiteboards or webcams and
sniffing/manipulating information by using a drone as a relay station.
• Using a drone as WIFI Access Point, collecting requests from mobile devices like smartphones,
searching for known home networks and local networks previously used by the device. With the use
of geolocation services, one could map out a targets office locations creating contact and movement profiles.
• By impersonating a device’s trusted networks, a drone could be used as a fake access point
intercepting and manipulating all the traffic transmitted through it.
Fake Access points and Bluetooth exploits have been tested and they work. However a lot of stuff still runs quite wonky and currently there's no known way to attach a second network adapter to it, so it has to be adapted to very specific use cases. The chipset of the Ticwatch however does seem to support a second network connection for monitor mode but we just haven't been able to utilize it successfully alongside a persistent connection to the smartwatch yet.
Advantages Over Directional Antennas:
- Persistence and Low Profile: Remains discreet once deployed, battery of the smart watch will last you a day.
- Accessibility: Reaches areas inaccessible by long-range antennas (e.g., rooftops).
- Remote Access: Can be accessed via LTE.
The hacking drones we have seen are bulky and loud. We want to create a more stealthy yet functional drone.
Objective
The idea is to have a mobile server capable of remotely scanning networks in usually inaccessible areas, while keeping the design simple enough to be reproducible. Though we try to keep things as DIY-friendly as possible, assembling the electronics and installing the custom ROM will be challenging if you're a complete beginner.
Components and Construction
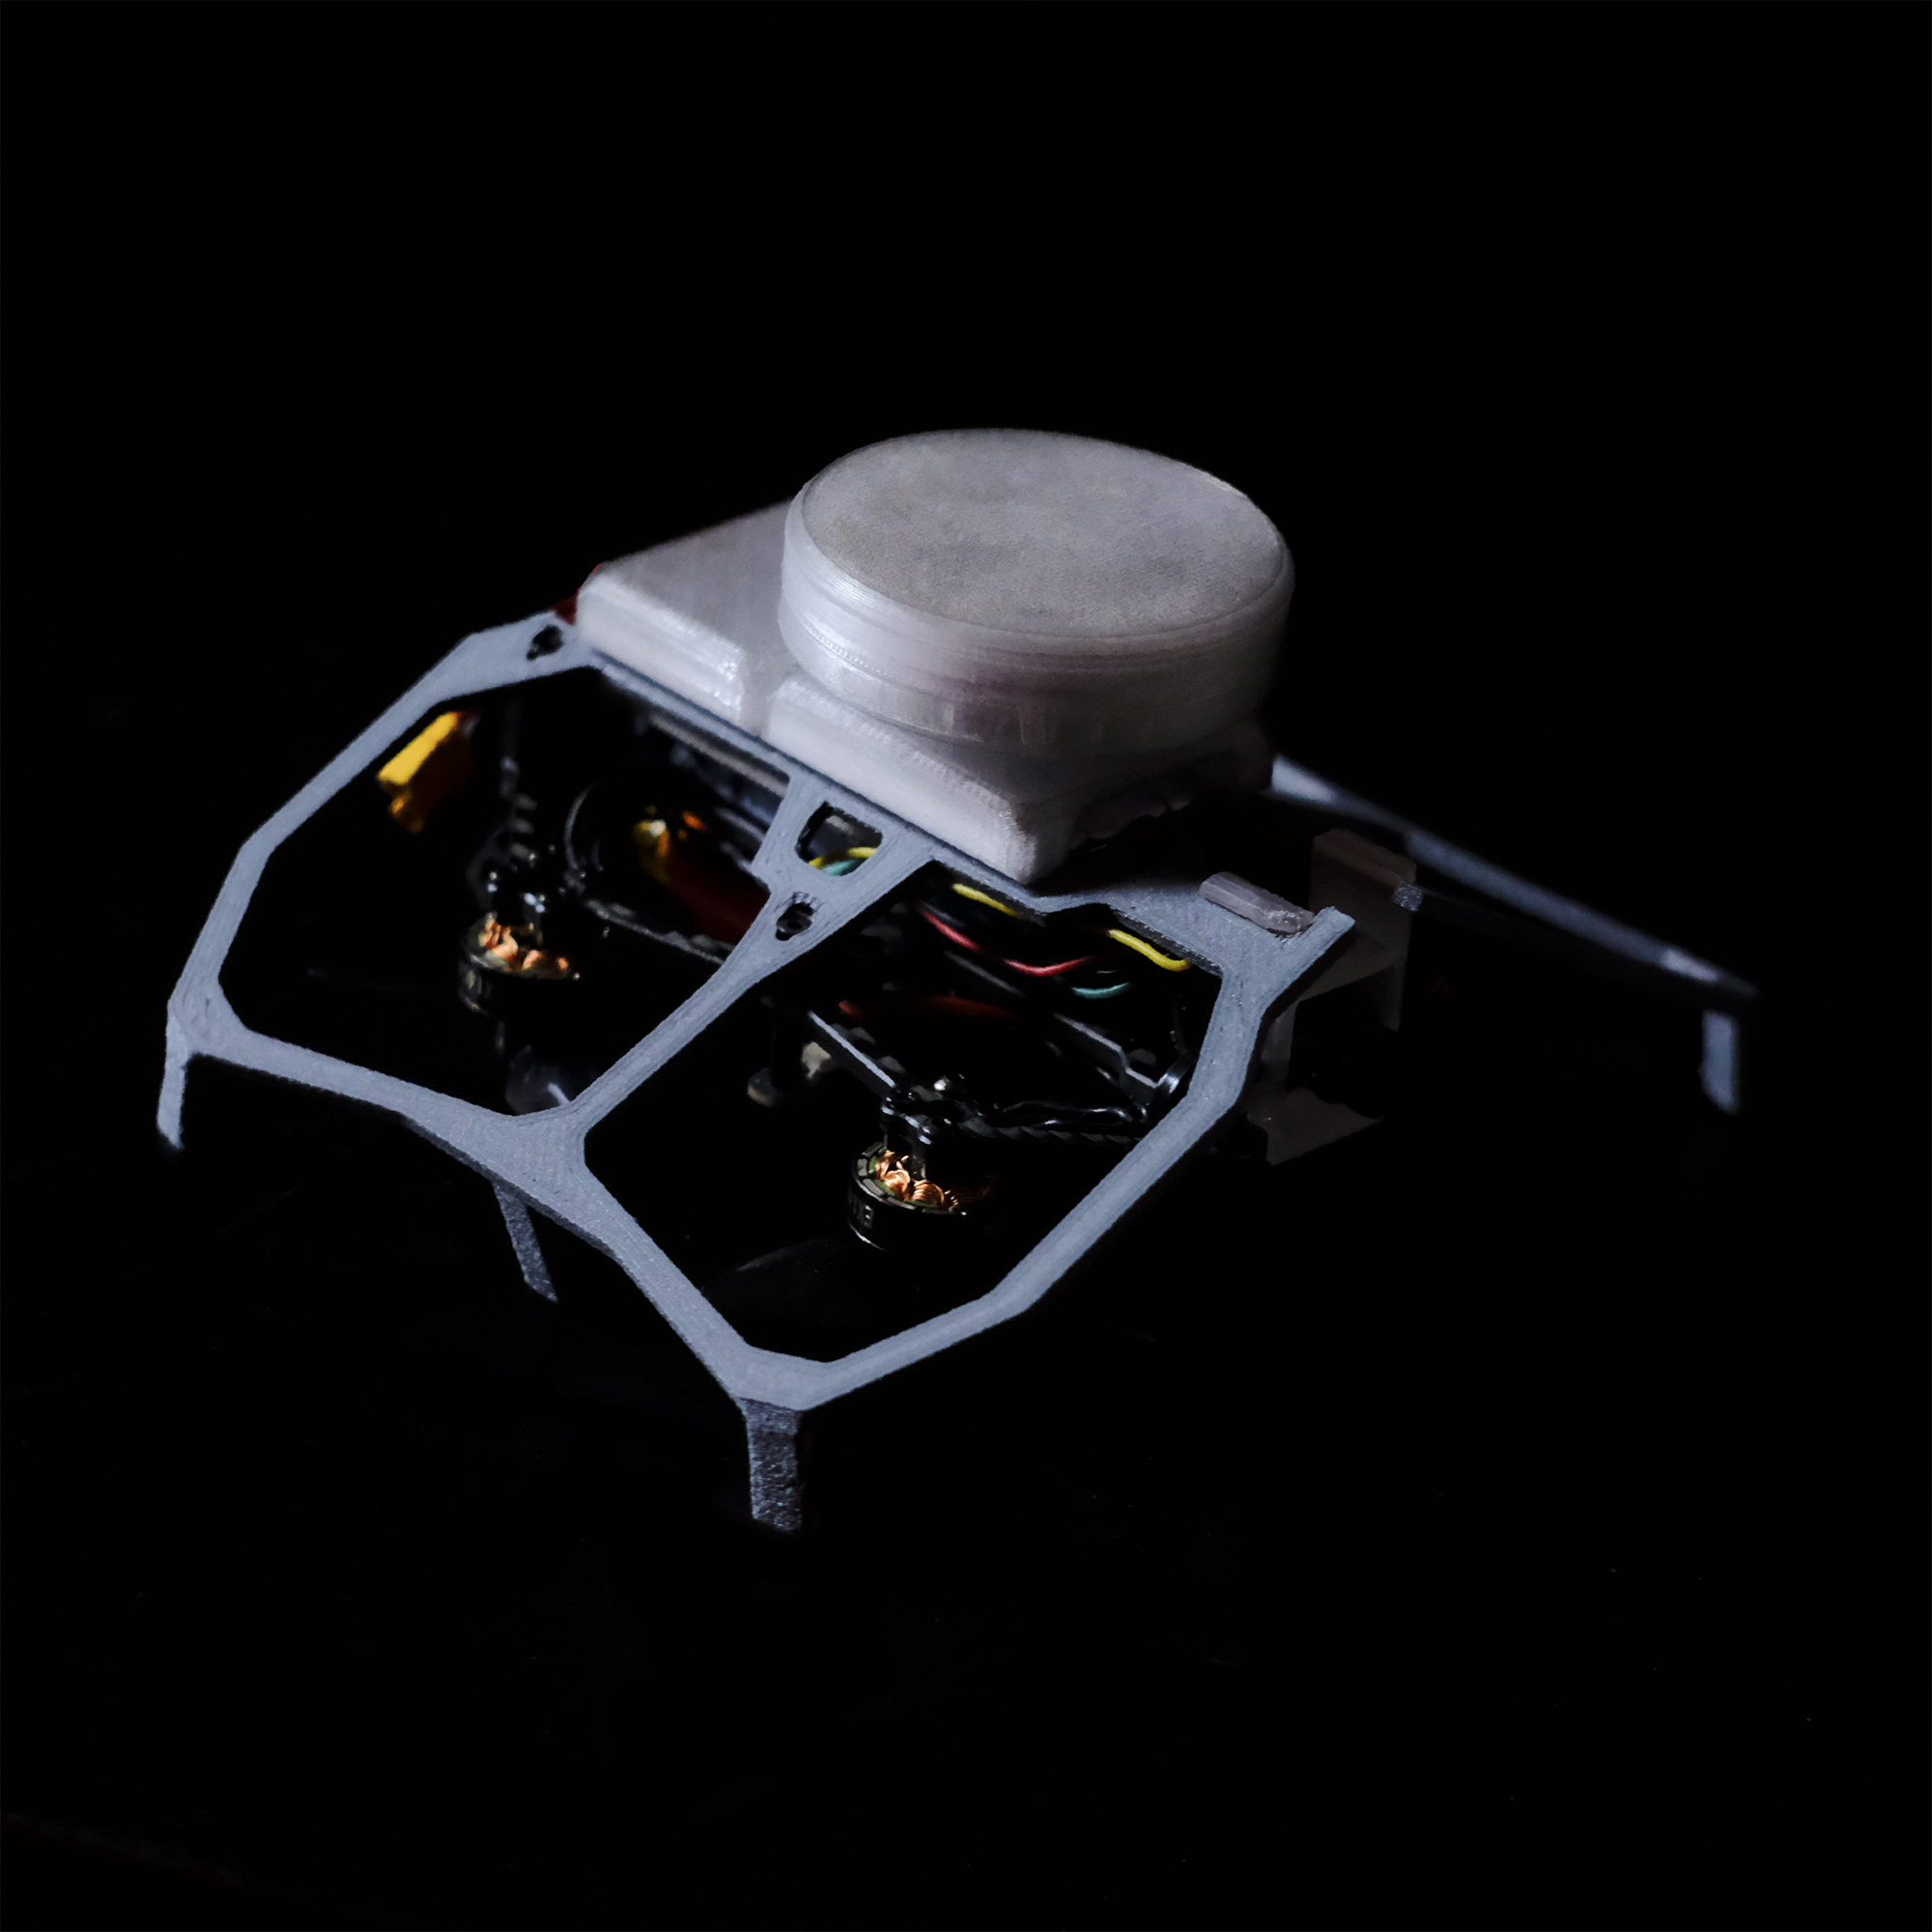
This project uses an AstroRC 2.0'' frame and components as its base. Construction requires soldering skills and experience with assembling FPV drones, as the assembly video is in Mandarin.
Initially, we used a Raspberry Pi Zero W with an LTE module and battery, the first sketch below is the result of that. However, this setup was overly complicated and too heavy for the small, originally used 2-inch propellers.
We discovered the Kali team’s documentation for installing NetHunter on a TicWatch Pro 3 LTE, which was perfect for this purpose. Surprisingly, no other drone platform had implemented this.
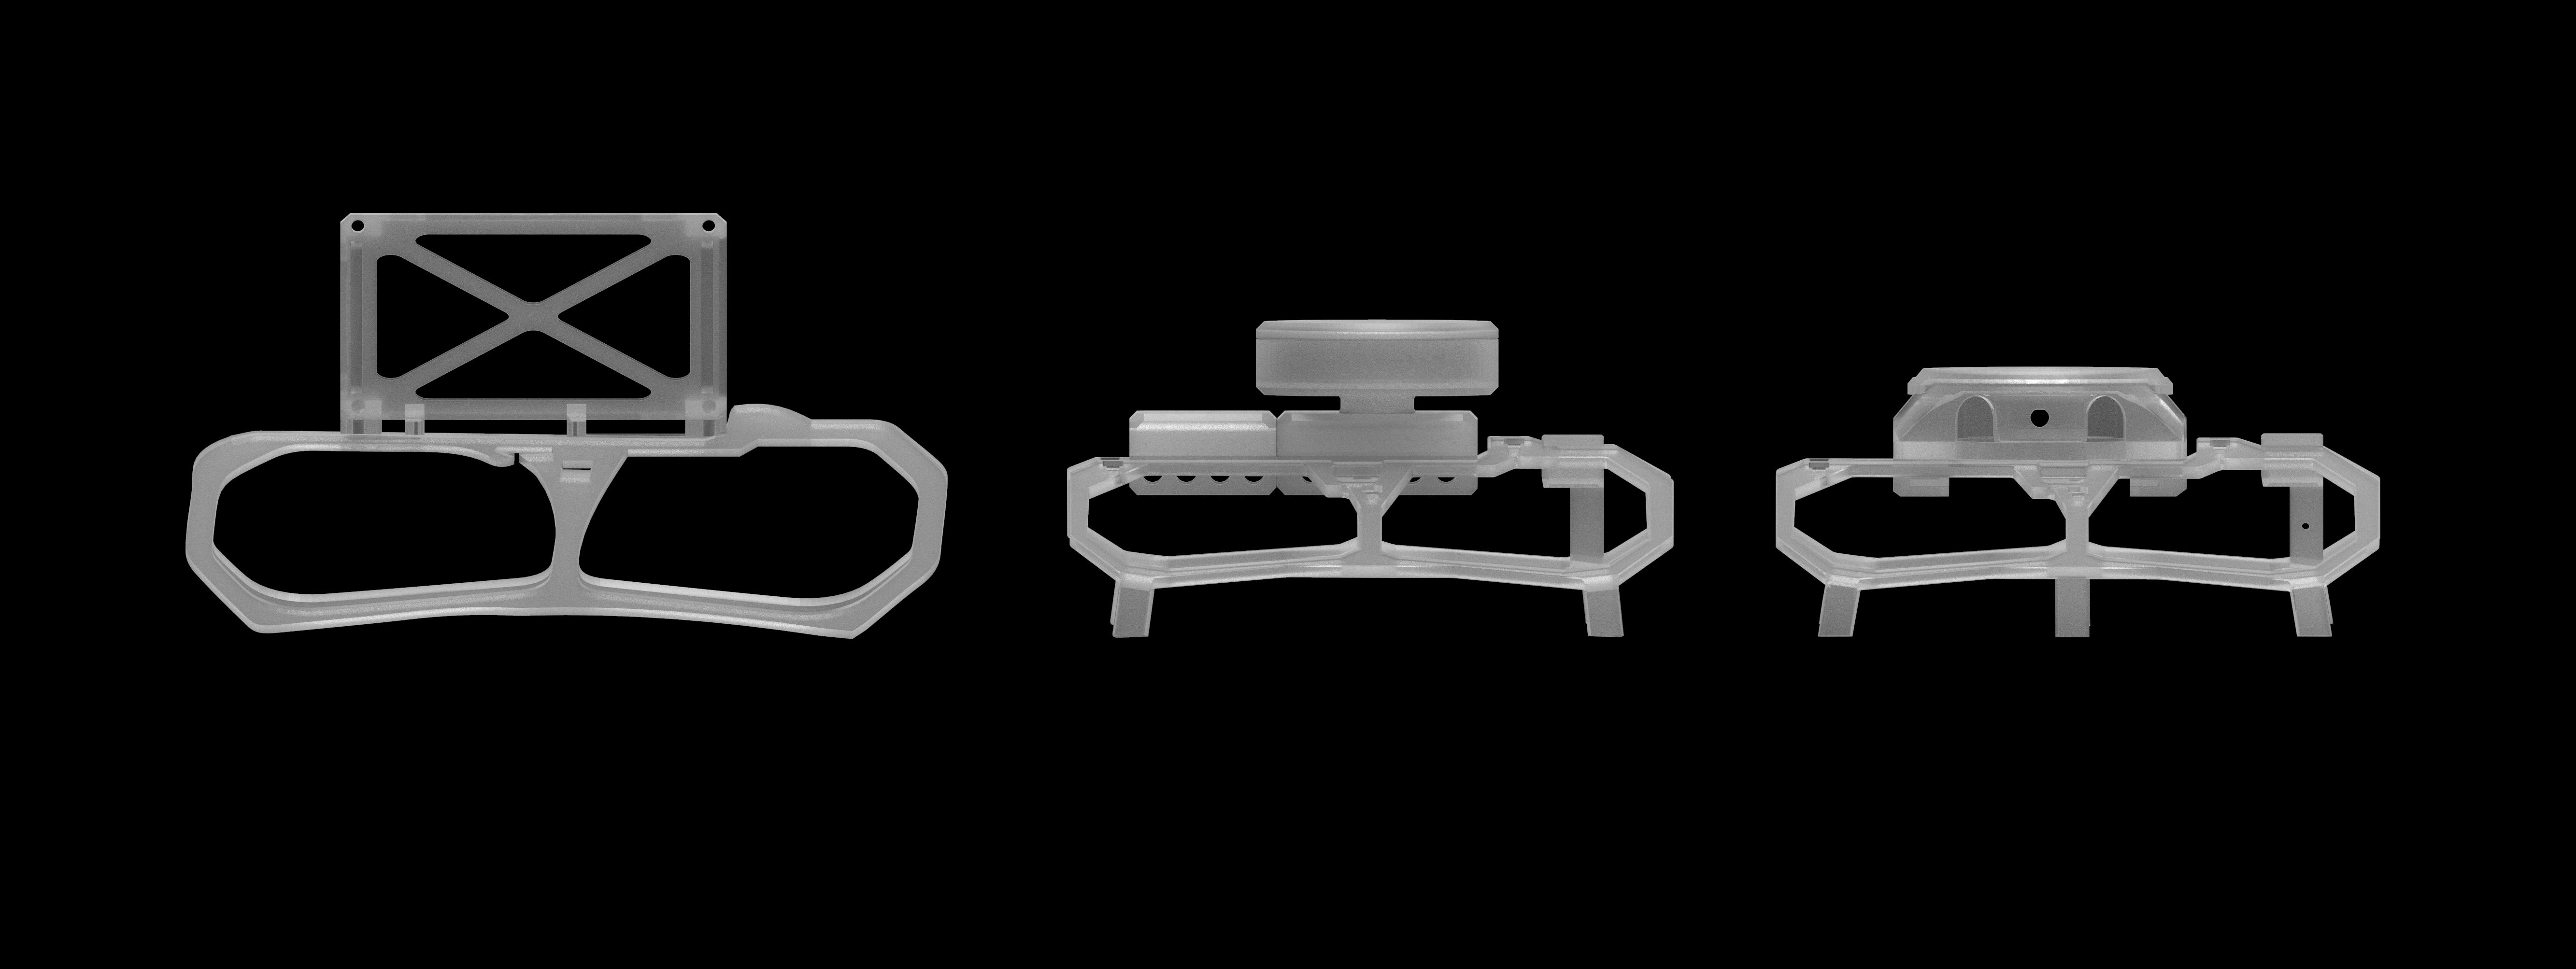
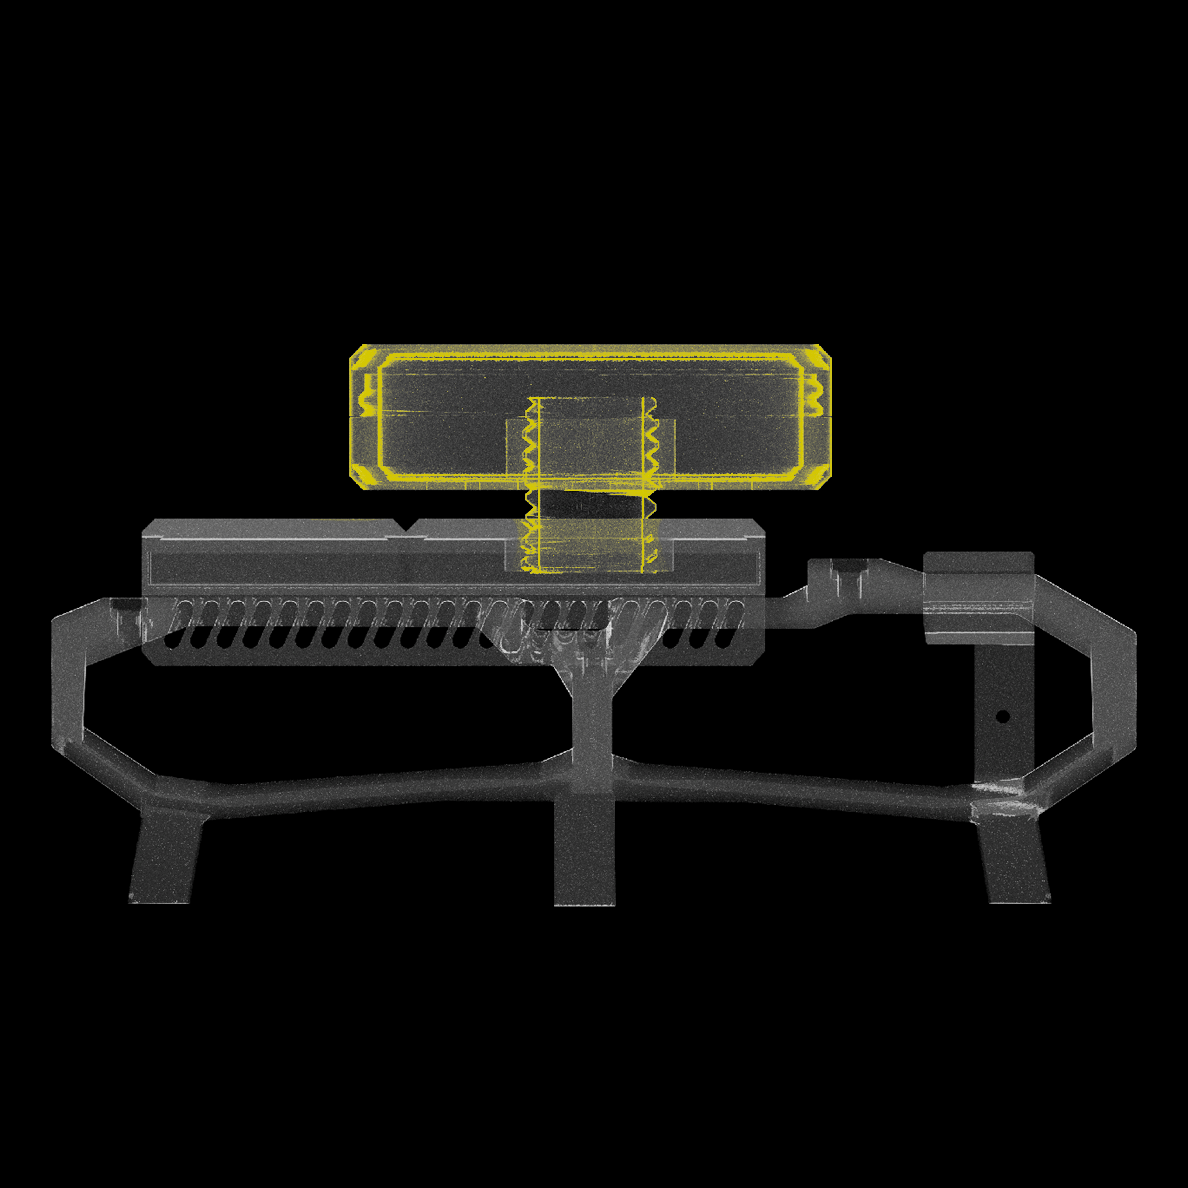
The design evolved from a rough sketch to a more balanced design with extended rotor protection, landing feet, and a watch container inspired by lidar. The current design is flat and light, featuring a watch case and rotor protection with opposing landing gear, making it easier to print and assemble.

Parts printed in high quality on an A1 Mini in about 1.20h
The final 3D printing files are straightforward and don't require supports, they are suitable for various filaments with implemented tolerances, we have tried both PETG and PLA but ASA could be an interesting candidate as well, without any of them being too heavy for the drone. We designed the parts using Tinkercad, Fusion360, and ZBrush.

Test Flight of the current design, parts and load is well balanced now, the Nethunter software is still fairly wonky though and we're contemplating on going back to a raspberry pi if it can't be improved.
We reverse engineered parts of the original Carbonfly and modified it with landing gear that is out of the way of the propellers and a wider frame, Currently we're using 2.3'' propellers that have been slightly shortened via pliers.
Here's a documentation on how we got an ssh tunnel working reliably, it uses a crontab to automatically enable it later, however you will still need to enable ssh at boot as well if it's not already enabled by default. This also requires a public ip address, we used one of our servers for this.
Some of the commands below will have to be entered via custom command option in nethunter, if you have a bluetooth keyboard you might be able to avoid some of the hassle but this only occured to us in retrospect, the commands below are designed as one-shots, meaning you wont have to enter a response in terminal when you fire them up.
## 1. Generating an SSH Key
Run this command to generate an SSH key without needing to press Enter on the TicWatch
mkdir -p ~/.ssh && ssh-keygen -t ed25519 -f ~/.ssh/id_ed25519 -N ""
## 2. Copy the Public Key to the Remote Server
On the TicWatch, display the public key:
cat ~/.ssh/id_ed25519.pub
On the remote server, add the key to `~/.ssh/authorized_keys`:
nano ~/.ssh/authorized_keys
Paste the key, save, and exit
Set correct permissions:
chmod 600 ~/.ssh/authorized_keys
## 3. Testing SSH Access from TicWatch to Remote Server
ssh -i ~/.ssh/id_ed25519 -p 22000 user@remote.server.ip
If successful, the key is working!
## **4. Creating the Reverse SSH Tunnel**
Run this command on the TicWatch:
ssh -R 4444:localhost:22 -o "StrictHostKeyChecking=no" -o "ServerAliveInterval=60" -o "ServerAliveCountMax=3" -N -f -p 22000 user@remote.server.ip
This forwards port 4444 on the remote server to the TicWatch’s port 22.
On the remote server, test if the tunnel is active:
netstat -tulnp | grep 4444
To SSH into the TicWatch from the remote server:
ssh -p 4444 user@localhost
## 5. Fix: Ensure SSH Server is Running on TicWatch
If "Connection reset by peer" appears when trying to SSH, restart the SSH server:
sudo service ssh restart
Then check if SSH is running:
pgrep -a sshd
## 6. Making the Tunnel Persistent
### Create a Background Monitoring Script
Create the script:
sudo nano /data/local/check_ssh.sh
Paste:
#!/bin/bash
sleep 60 # Wait for Wi-Fi to connect
while true; do
if ! pgrep -f "ssh -R 4444"; then
ssh -i ~/.ssh/id_ed25519 -R 4444:localhost:22 -N -f -p 22000 user@remote.server.ip
fi
sleep 10
done
Modify, save and exit
Make it executable:
sudo chmod +x /data/local/check_ssh.sh
### Start the Script at Boot
(crontab -l 2>/dev/null; echo "@reboot nohup /data/local/check_ssh.sh &") | crontab -
This ensures the SSH tunnel restarts every 10 seconds if it stops.
## 7. Troubleshooting SSH Tunnel Issues
### Check if the Tunnel is Running on Remote Server
netstat -tulnp | grep 4444
If no output, restart the tunnel from the TicWatch:
pkill -f "ssh -R 4444"
ssh -i ~/.ssh/id_ed25519 -R 4444:localhost:22 -N -f -p 22000 user@remote.server.ip
### Ensure SSH is Running on the TicWatch
sudo service ssh restart
### Check SSH Connectivity from TicWatch
ssh -i ~/.ssh/id_ed25519 -p 22000 user@remote.server.ip
If SSH works, the tunnel should now be permanently accessible from the remote server and from here on out you'll be able to mess with the functions of kali nethunter via remote shell!
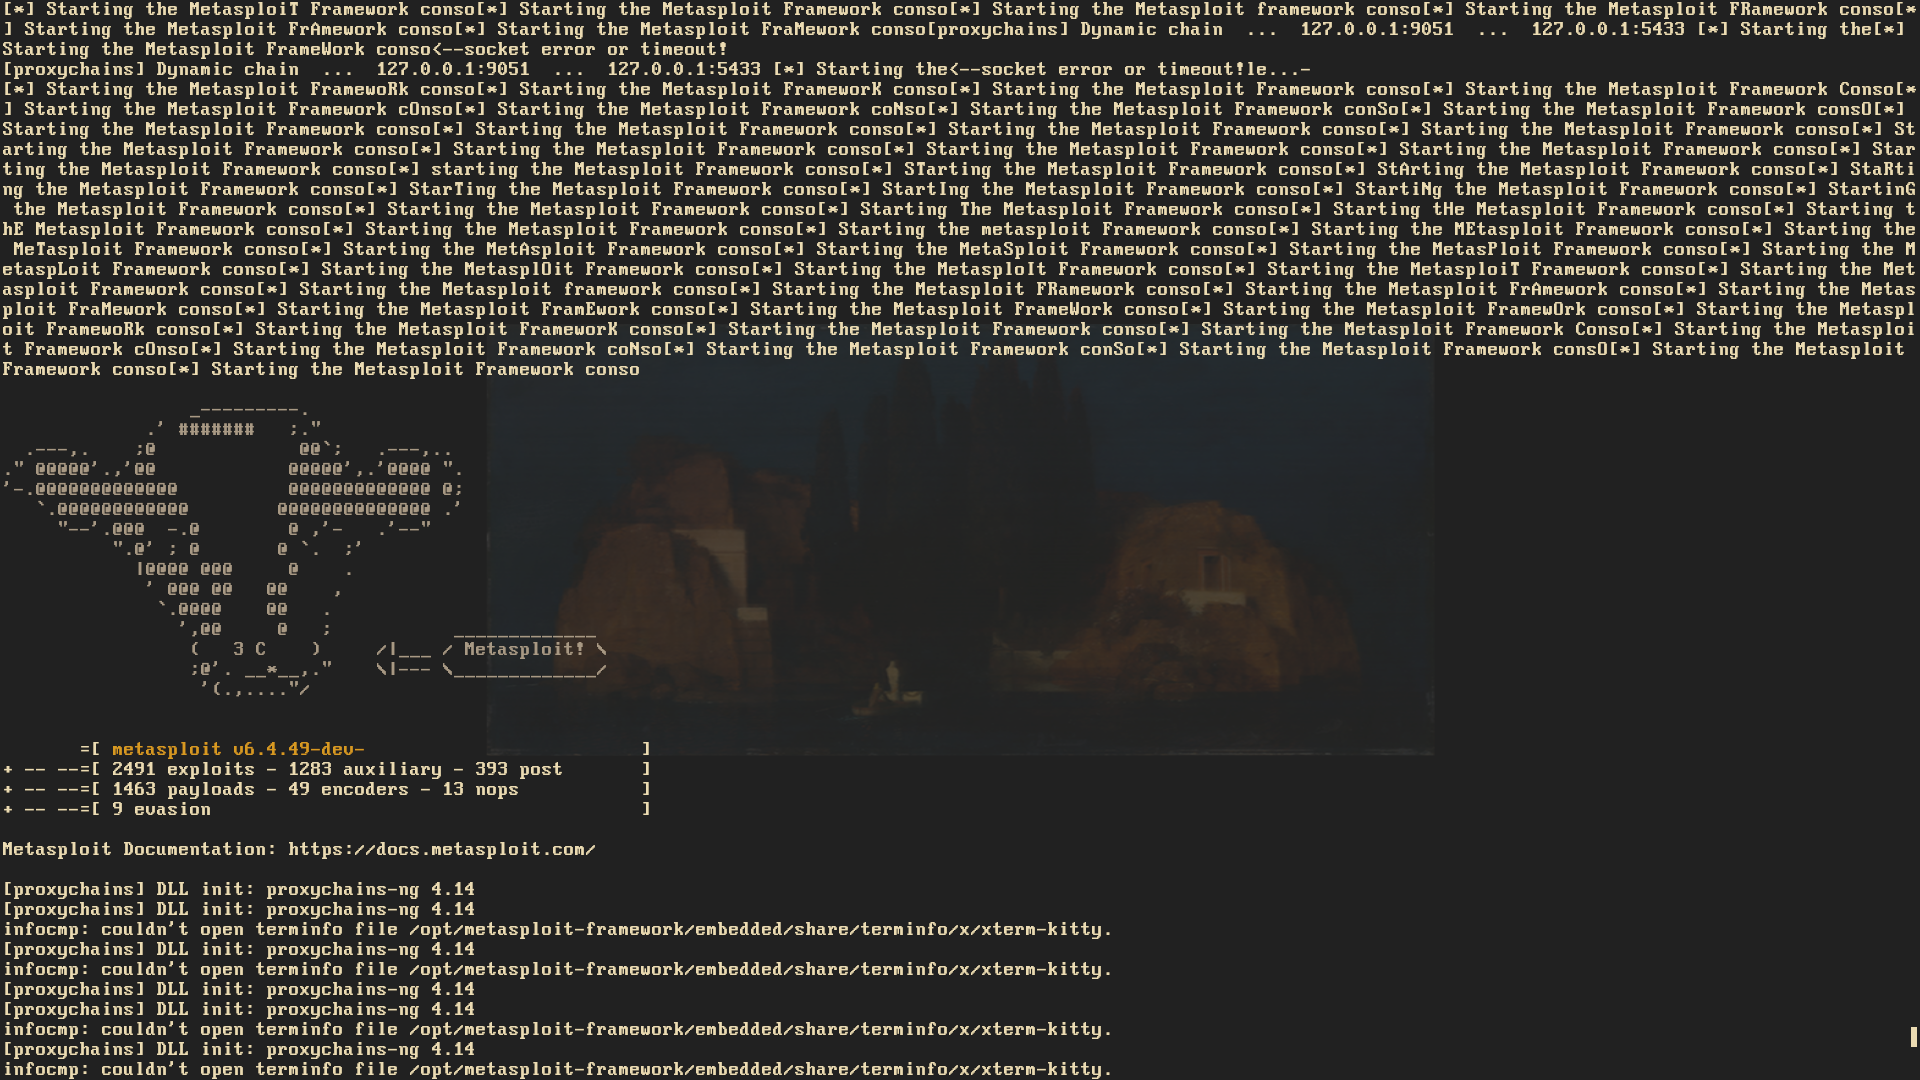
Furthermore, If you'd like to run more programs through the watch without having to have them locally we figured out a half reliable way to do it through proxychains
To do this it's crucial that you have your ssh keys on the drone so you won't have to enter a password to access it, this has caused us complications, for which reason we can't tell at this point.
Next you'll have to set up a SOCKS Proxy to allow the server to route traffic through the remote device:
ssh -i ~/.ssh/id_ed25519 -D 127.0.0.1:9051 -N -f -p 4444 user@localhost
This results in local traffic to be routed through 127.0.0.1:9051 the port here being a free one of our choosing.
The next thing you'll have to spend some time on, modify this script so it suits you:
#!/bin/bash
# Define connection details
REMOTE_USER="user"
REMOTE_PORT=4444
PROXY_PORT=9051
SSH_KEY="/home/user/.ssh/id_ed25519"
LOG_FILE="/home/user/proxy_log.txt"
# Function to check if SOCKS proxy is running
is_proxy_running() {
netstat -tulnp | grep -q ":$PROXY_PORT"
}
# Function to kill stale SOCKS proxy processes
kill_stale_proxy() {
local pid
pid=$(pgrep -f "ssh -D 127.0.0.1:$PROXY_PORT")
if [[ -n "$pid" ]]; then
echo "Killing stale SOCKS proxy process: $pid" | tee -a "$LOG_FILE"
kill -9 "$pid"
fi
}
# Check if the SSH tunnel is active
if nc -z localhost "$REMOTE_PORT"; then
echo "✔ Remote device is connected! Starting SOCKS proxy..." | tee -a "$LOG_FILE"
# Ensure no stale proxy is running before starting a new one
kill_stale_proxy
# Start SOCKS proxy if not running
if ! is_proxy_running; then
echo "Starting SOCKS proxy on port $PROXY_PORT..." | tee -a "$LOG_FILE"
ssh -i "$SSH_KEY" -D 127.0.0.1:$PROXY_PORT -N -f -p "$REMOTE_PORT" "$REMOTE_USER@localhost"
echo "✔ SOCKS proxy started successfully on port $PROXY_PORT" | tee -a "$LOG_FILE"
else
echo "✔ SOCKS proxy is already running on port $PROXY_PORT" | tee -a "$LOG_FILE"
fi
else
echo "Remote device is not connected. No proxy started." | tee -a "$LOG_FILE"
fi
This script will ensure that the SOCKS proxy only starts when the connection is active. All stale SOCK instances will be killed before starting a new one, no one likes stale SOCKS and all events will be logged.
Be sure to make this script executable and try it out before making it either permanent via crontab or our preferred, potentially more reliable solution via Systemd (Script here needs the user changed):
[Unit]
Description=Auto-start SOCKS Proxy when TicWatch connects
After=network.target
[Service]
ExecStart=/bin/bash /home/user/start_proxy.sh
Restart=always
User=user
[Install]
WantedBy=multi-user.target
Lastly, before we get to testing it out, configure the ProxyChains config to include this at the very least, subnet value might need to be changed:
# Use Dynamic Chaining
dynamic_chain
# Proxy DNS requests - prevents DNS leaks
proxy_dns remote_dns_subnet 224
# Allow LAN traffic (important for 192.168.x.x scans)
localnet 192.168.0.0/255.255.0.0
# Set a proper timeout
tcp_read_time_out 15000
tcp_connect_time_out 8000
# Define the proxy to use with your Ticwatch
[ProxyList]
socks5 127.0.0.1 9051
That's it!
Next run a bunch of tests on it to see if the routing works:
Test Public IP Routing - IP needs to match the one of the ticwatch
proxychains4 curl https://api64.ipify.org
Test DNS Resolution - DNS should resolve correctly
proxychains4 nslookup scanme.nmap.org
Test External Scanning - if it gives you a positive scan result, you're good to go
proxychains4 nmap -sT -Pn -p 80,443 scanme.nmap.org
Now the sky is the limit!
(As long as you don't use monitor mode without a timed script reconnecting you to your ssh tunnel)
Can this compete with proprietary drones performance wise? - No
Is it really fun to mess around with though? - Yes and in theory it all works, it's just wonky but enjoyably wonky so far.
Future Plans
We're working on getting the stand by mode to work on the flight controller, this would allow the drone to take off after completing it's job even if it takes longer than a few hours. However, even without that feature one could land this drone for a contracted pentest, get at least two days of access on a fully charged Ticwatch and then later collect it.
This project has been made possible due to a collaboration with Chris from Techno's hackerspace in Berlin for the drone components and assembly, foxo from the foxolab hackerspace in Monza for the software and further hardware development, Lauwura for troubleshooting and concept design by QuackieDuckie.
A full bill of recommended can be found below but generic parts going with the AstroRC kit will do, especially if you're already into drones and got some reusable stuff laying around. The camera cage can hold a nano sized fpv camera.
Despite the software flaws, the current build is usable, with some minor tweaking needed for some of the features described in the video below and perhaps people here will come up with some neat ideas as well.
If you're a software guy with experience in Kali Nethunter hit us up on here!
Special Thanks to ligi, lassulus and zet from c-base for helping with getting networking to work properly.