 Tom Nardi
My first thought was to simply scale up the SAO design. The three LEDs used to illuminate the cutout in the rear of the PCB would no longer be enough of course, so I would double that to six. Combined with using clear hot glue as a diffuser (as described by TwinkleTwinkie), I hoped that would be enough to evenly illuminate the larger logo. With six LEDs, I reasoned the badge could be powered by a pair of CR2032 coin cells to keep things simple.
But I didn't get much farther with this idea before finding it a bit too boring. It would barely count as an electronic badge if it just lit up a few LEDs. My next thought was to add two SAO ports to the top to spice things up. This would make the badge a little more interesting (though admittedly, thanks to the SAOs and not my own work), but I figured at that point the coin cells were out of the question. So I switched over to a pair of AAs in series to provide 3V -- a bit lower than I'd like, but it's worked well enough for the Supercon badges...
I got a little farther with this version, but then lost steam again. I still didn't think the idea was worth the time and expense of actually designing and building it. There needed to be a hook.

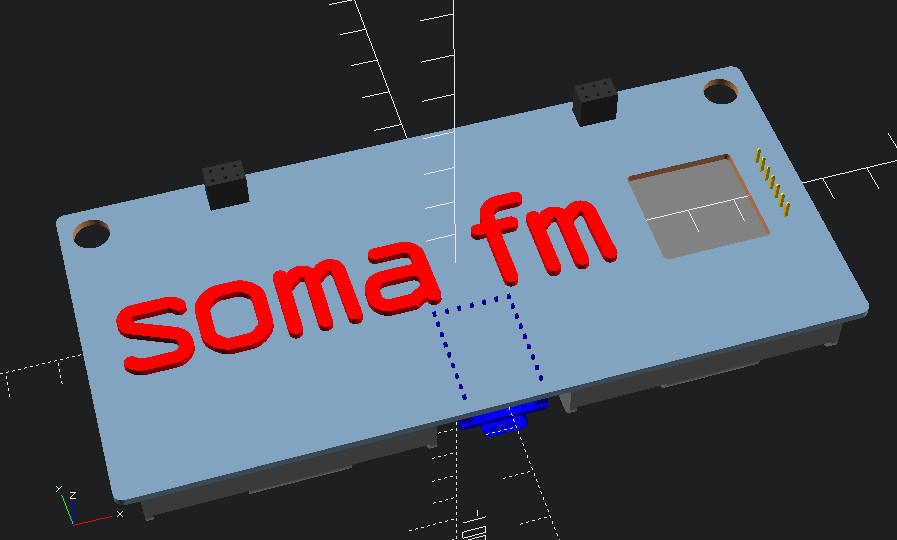
Suddenly it hit me: the most visually interesting thing about SomaFM is the unique art for each channel, so why not show those on the badge? I already had a rough OpenSCAD render of the badge to get an idea of how large I wanted the logo to be, so I went in and started trying out different sized displays to see what would compliment the overall layout. I eventually settled on something in the 1.2 to 1.5 inch range, and then further narrowed that down to the 1.3 inch ST7789.
Naturally, showing images on a display now meant some kind of microcontroller would be involved. Again taking inspiration from Supercon badges of the past, I figured just soldering an RP2040 dev board onto the badge would be the path of least resistance. I didn't need WiFi, and wanted USB-C, so that pointed me to the Waveshare RP2040 Zero.
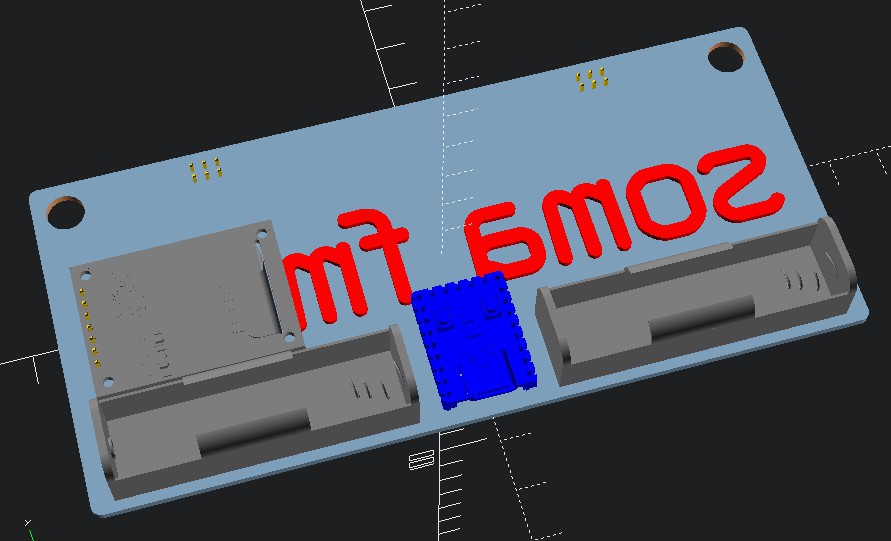
I started plugging 3D models of the various bits of hardware into my OpenSCAD render to get an idea about clearances and that sort of thing, and pretty soon I found myself looking at a proper badge. Now I just had to build it.
Discussions
Become a Hackaday.io Member
Create an account to leave a comment. Already have an account? Log In.