Close
0%
0%

Tiny2048

A pocket sized RGB LED version of the 2048 game

Similar projects worth following
2048 is a simple but addictive game where you try to add up to 2048 by combining matching numbers on sliding tiles. I wanted to make a pocket sized version for the Tiny Games Challenge.

Features:

  • WS2812b LEDs representing the different numbers in the game with colours
  • LIS3DH accelerometer for either tilt or tap based controls
  • ESP32-S3 MCU for the brains and connectivity - overkill for the game itself, but I want to be able to use this as a dev board later
  • Onboard battery and USB-C charging

  • Clear cases courtesy of PCBWay

    David08/25/2024 at 13:23 0 comments

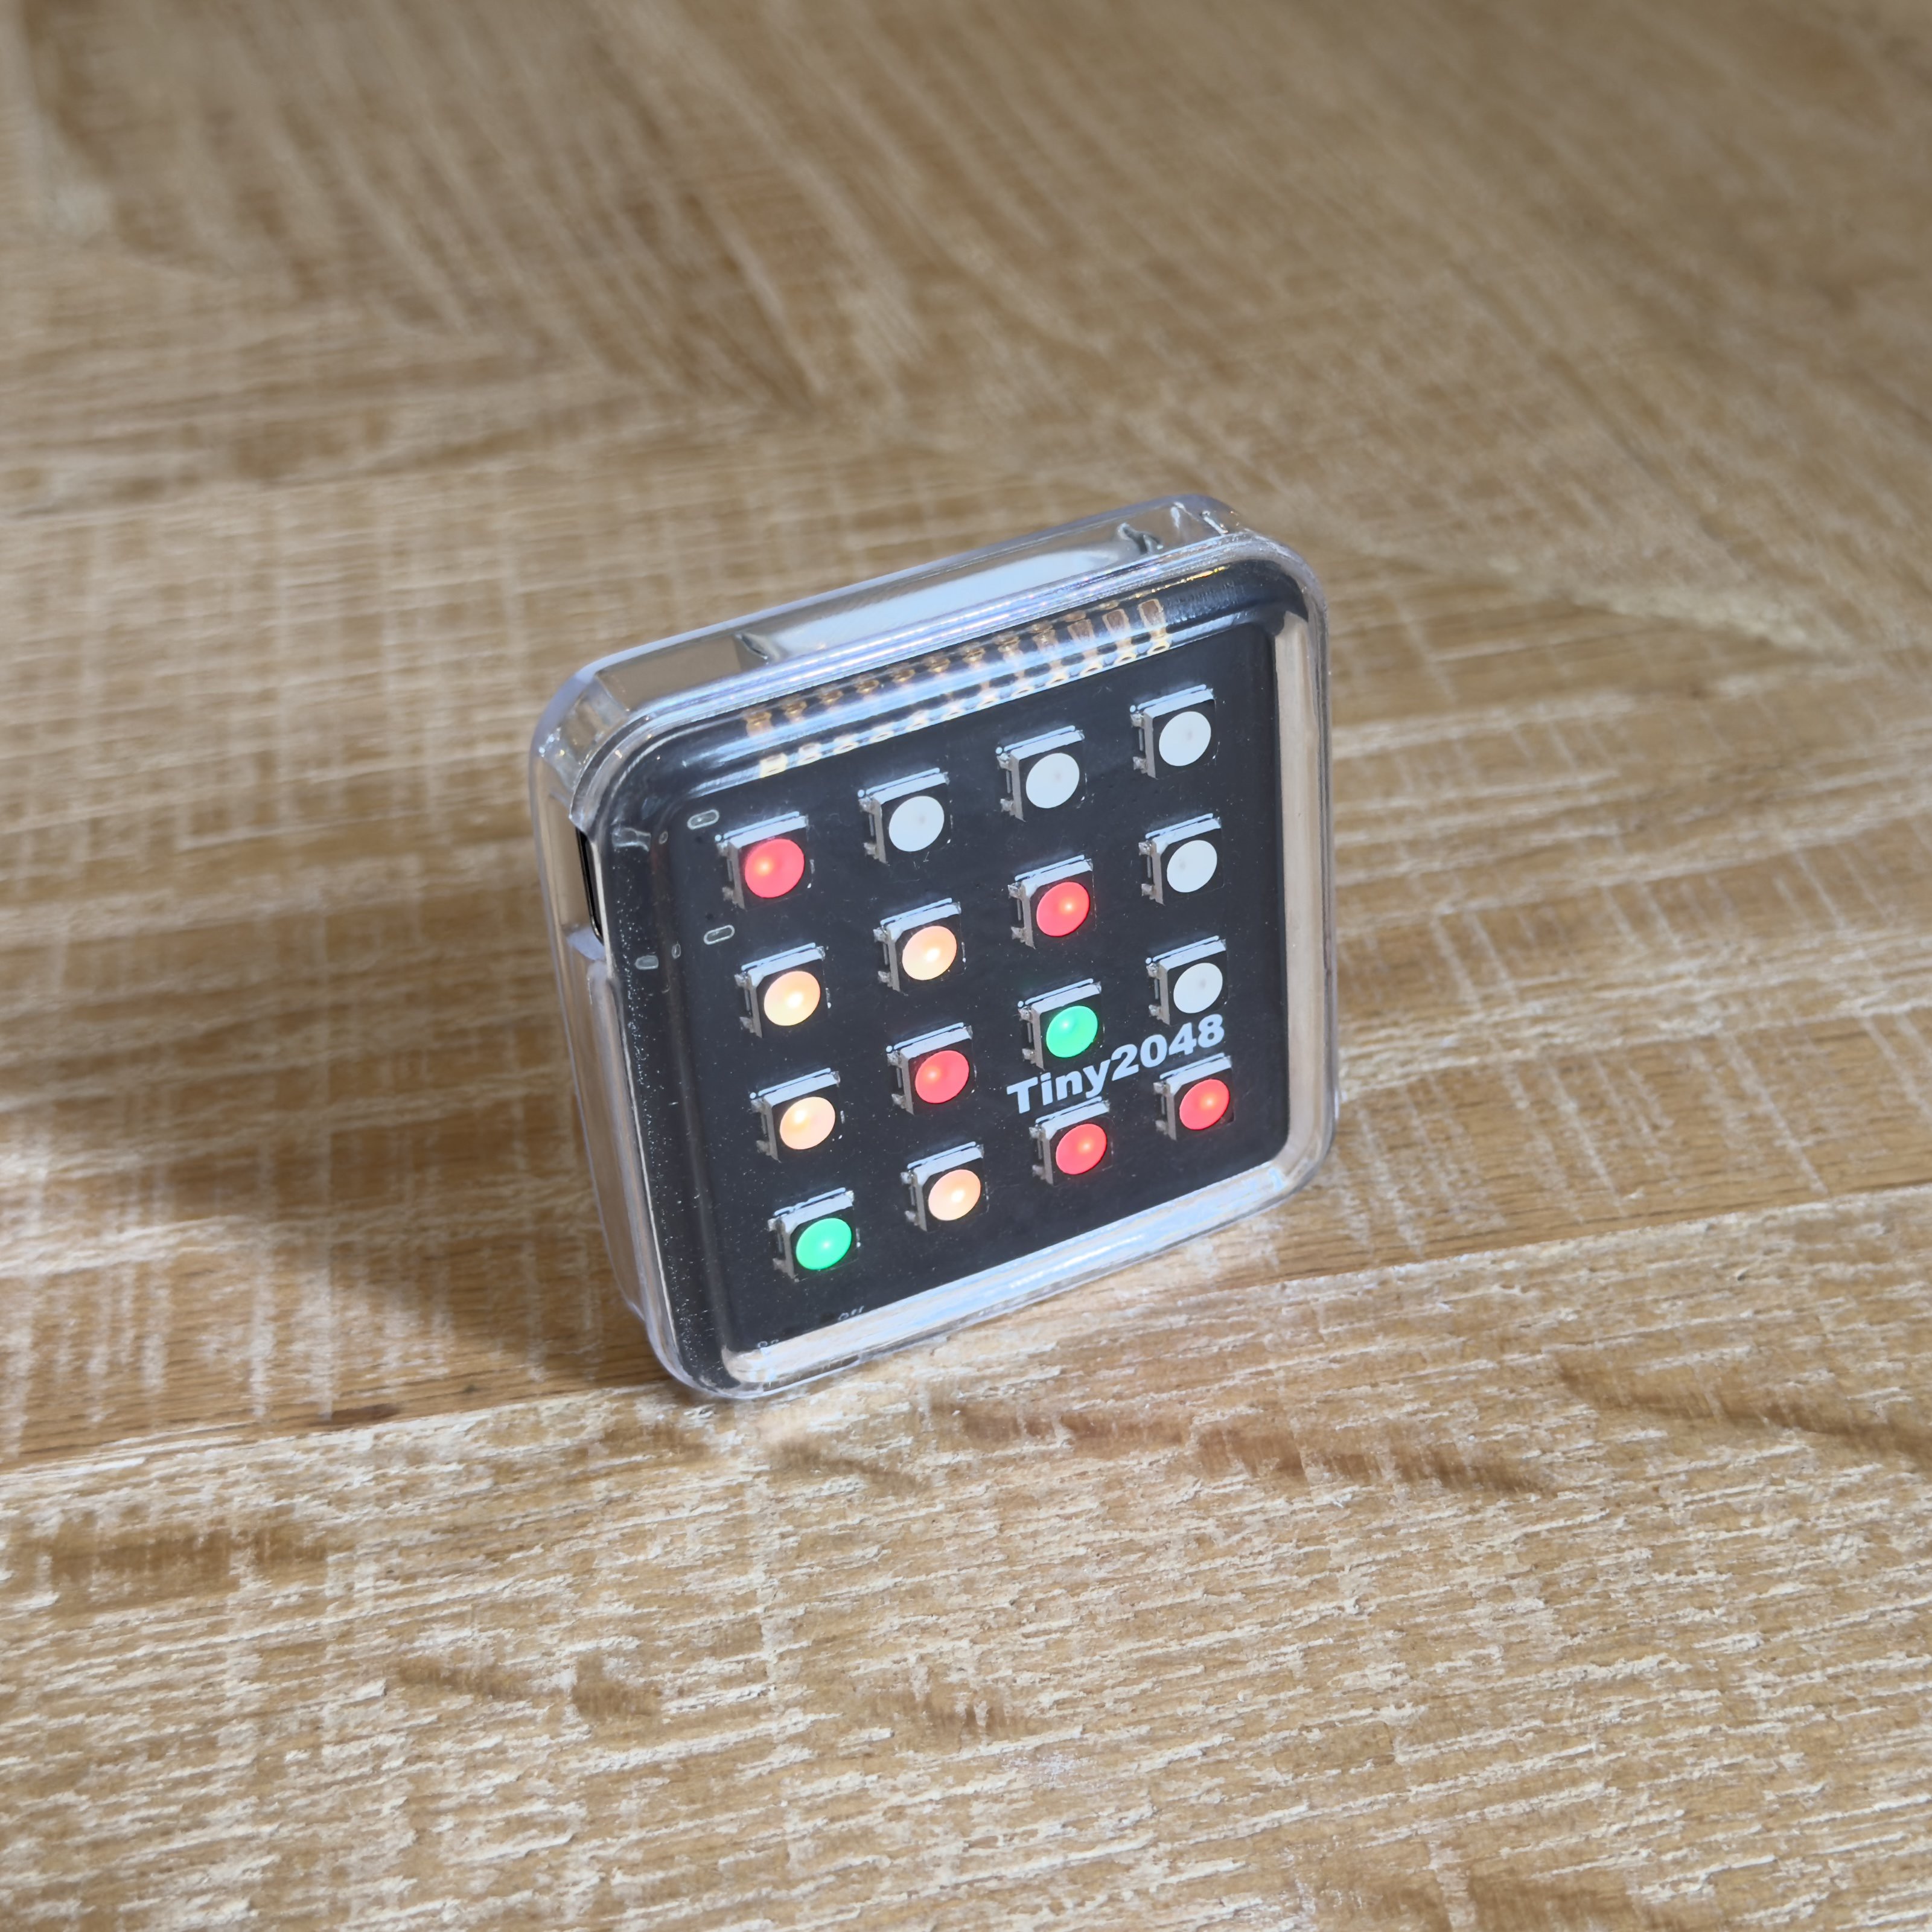
    A photo of the assembled game running in one of the clear cases that PCBWay made for me

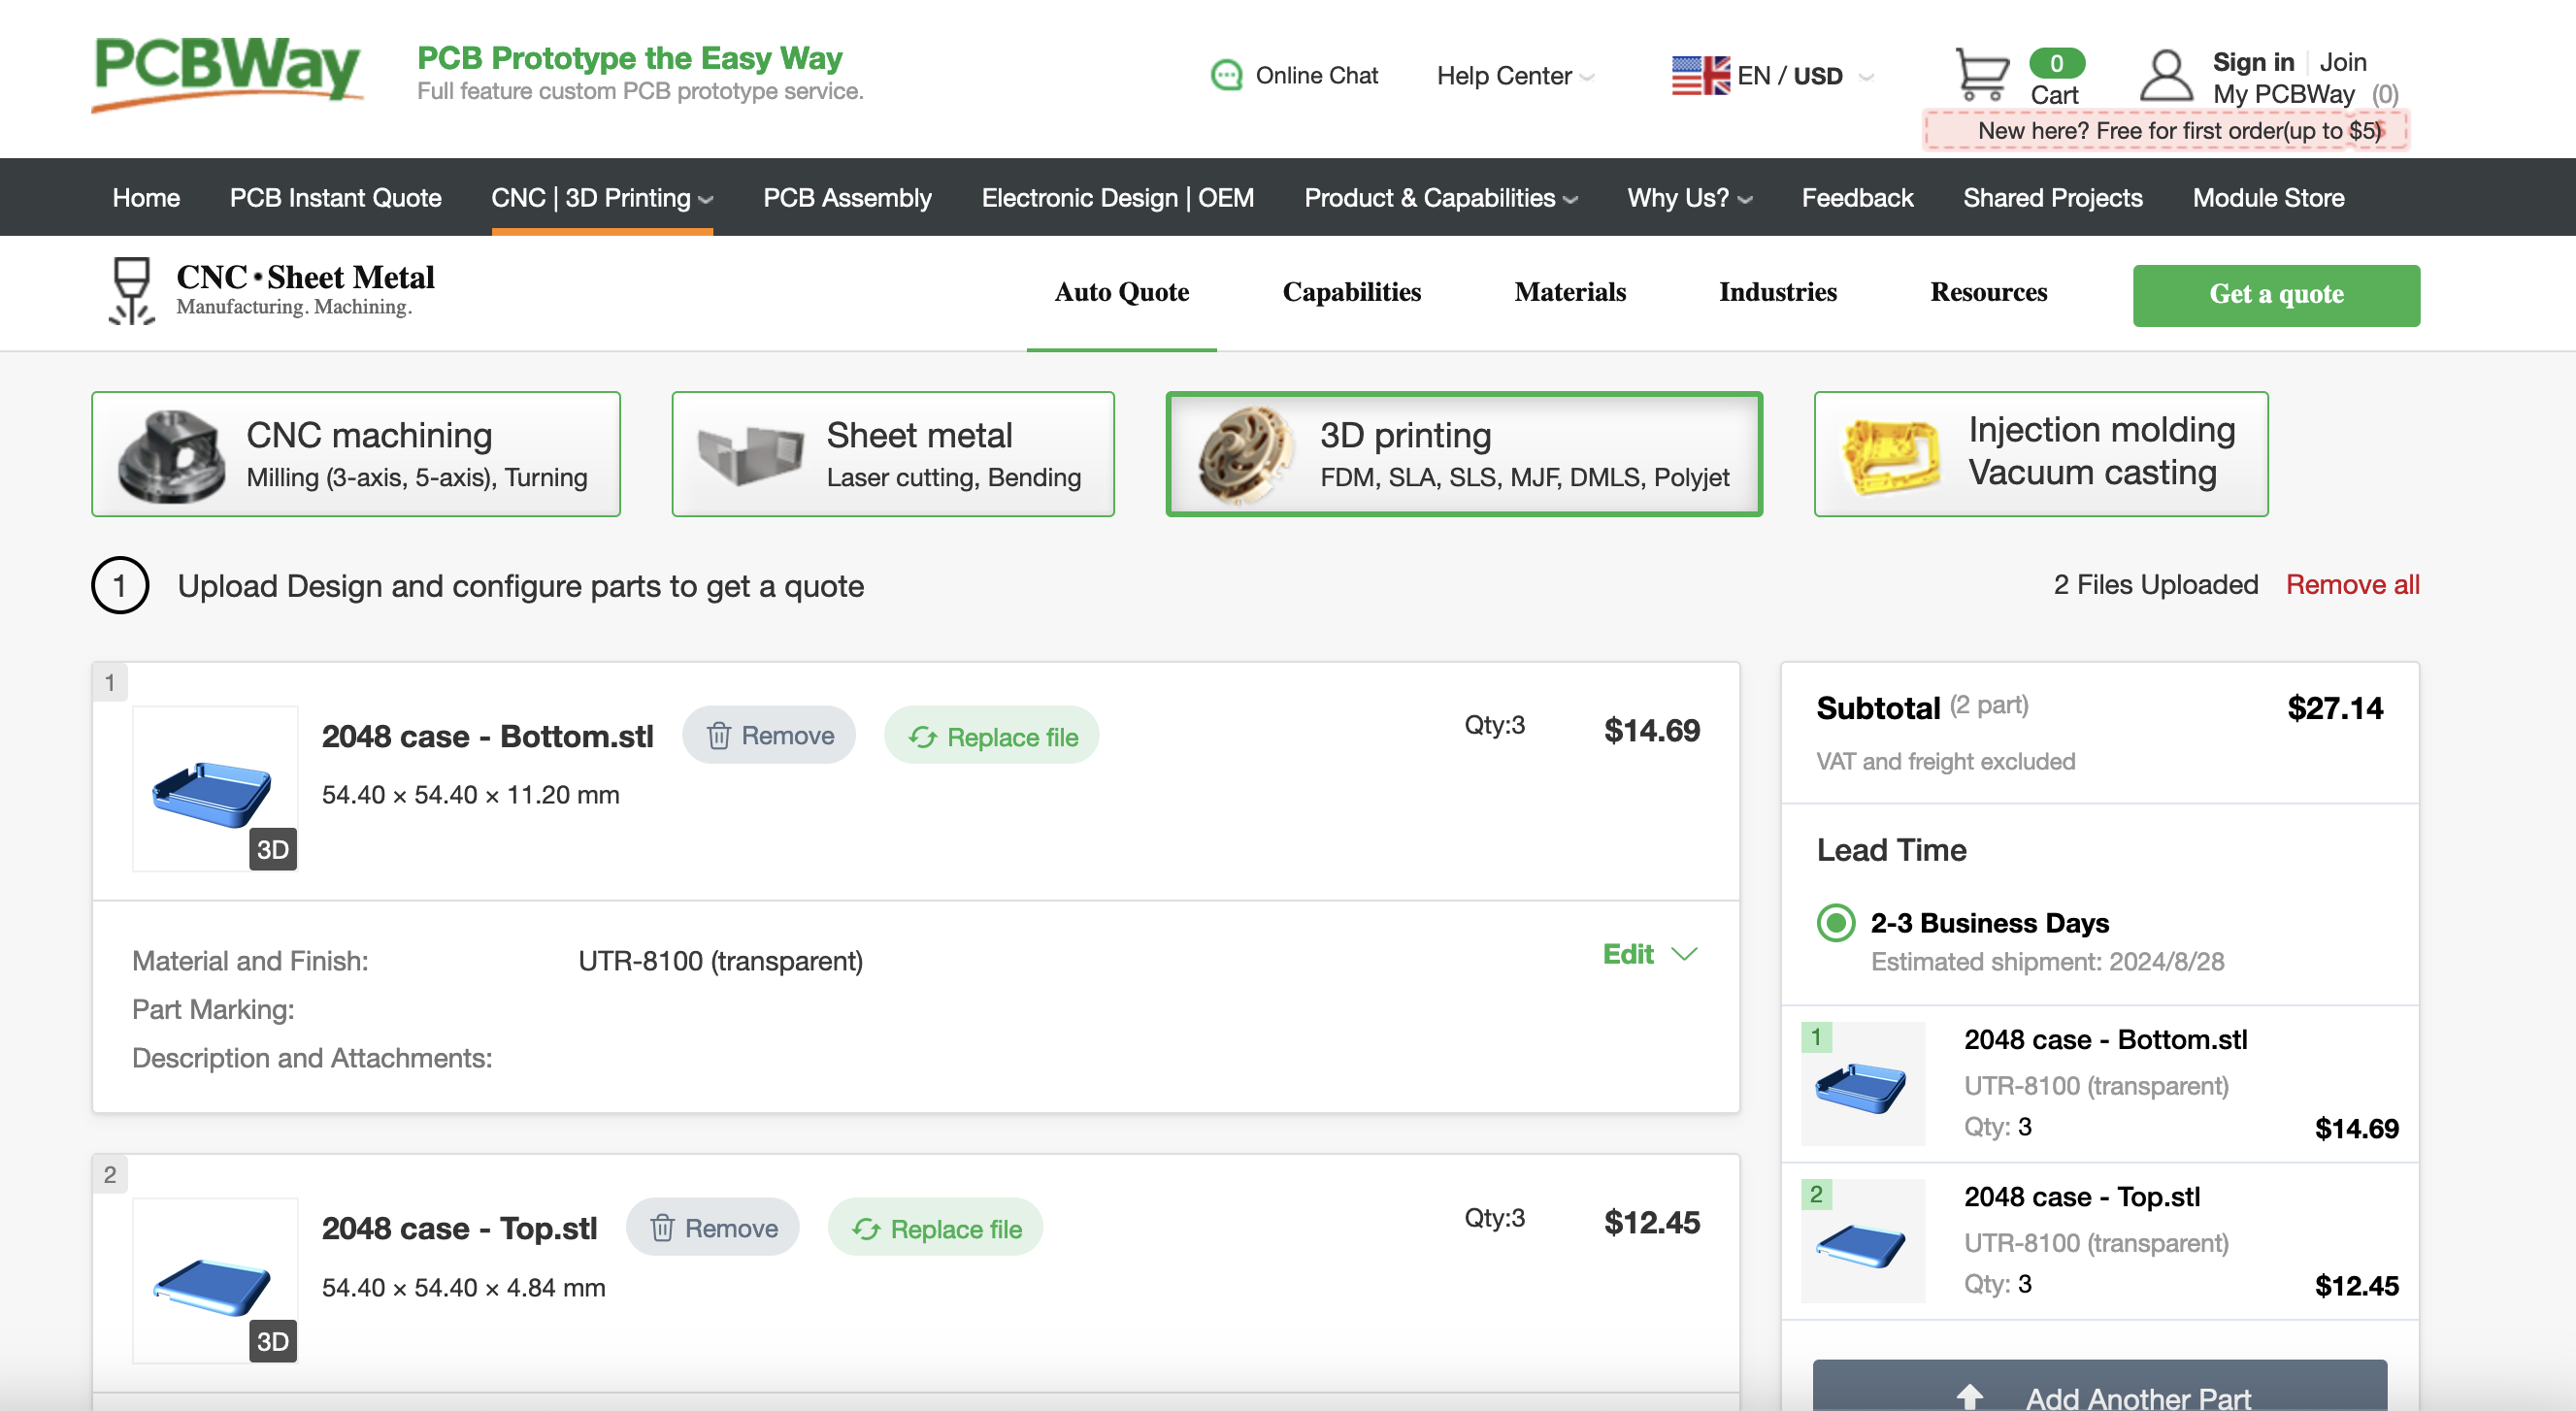
    PCBWay saw this project and very kindly offered to sponsor it! Initially they suggested that they could make some more boards for me, but at this stage I was more interested in their 3D printing service as I have been wanting to experiment with making clear resin cases for a while.

    After uploading my models to their service and specifying the manufacturing options (much like you do when ordering PCBs) I sent my order Number over to Liam, my contact at PCBWay, who gave me a voucher covering the cost of manufacturing and shipping so that I could see what the service is like.

    A screen grab of the 3D printing order form at PCBWay.com

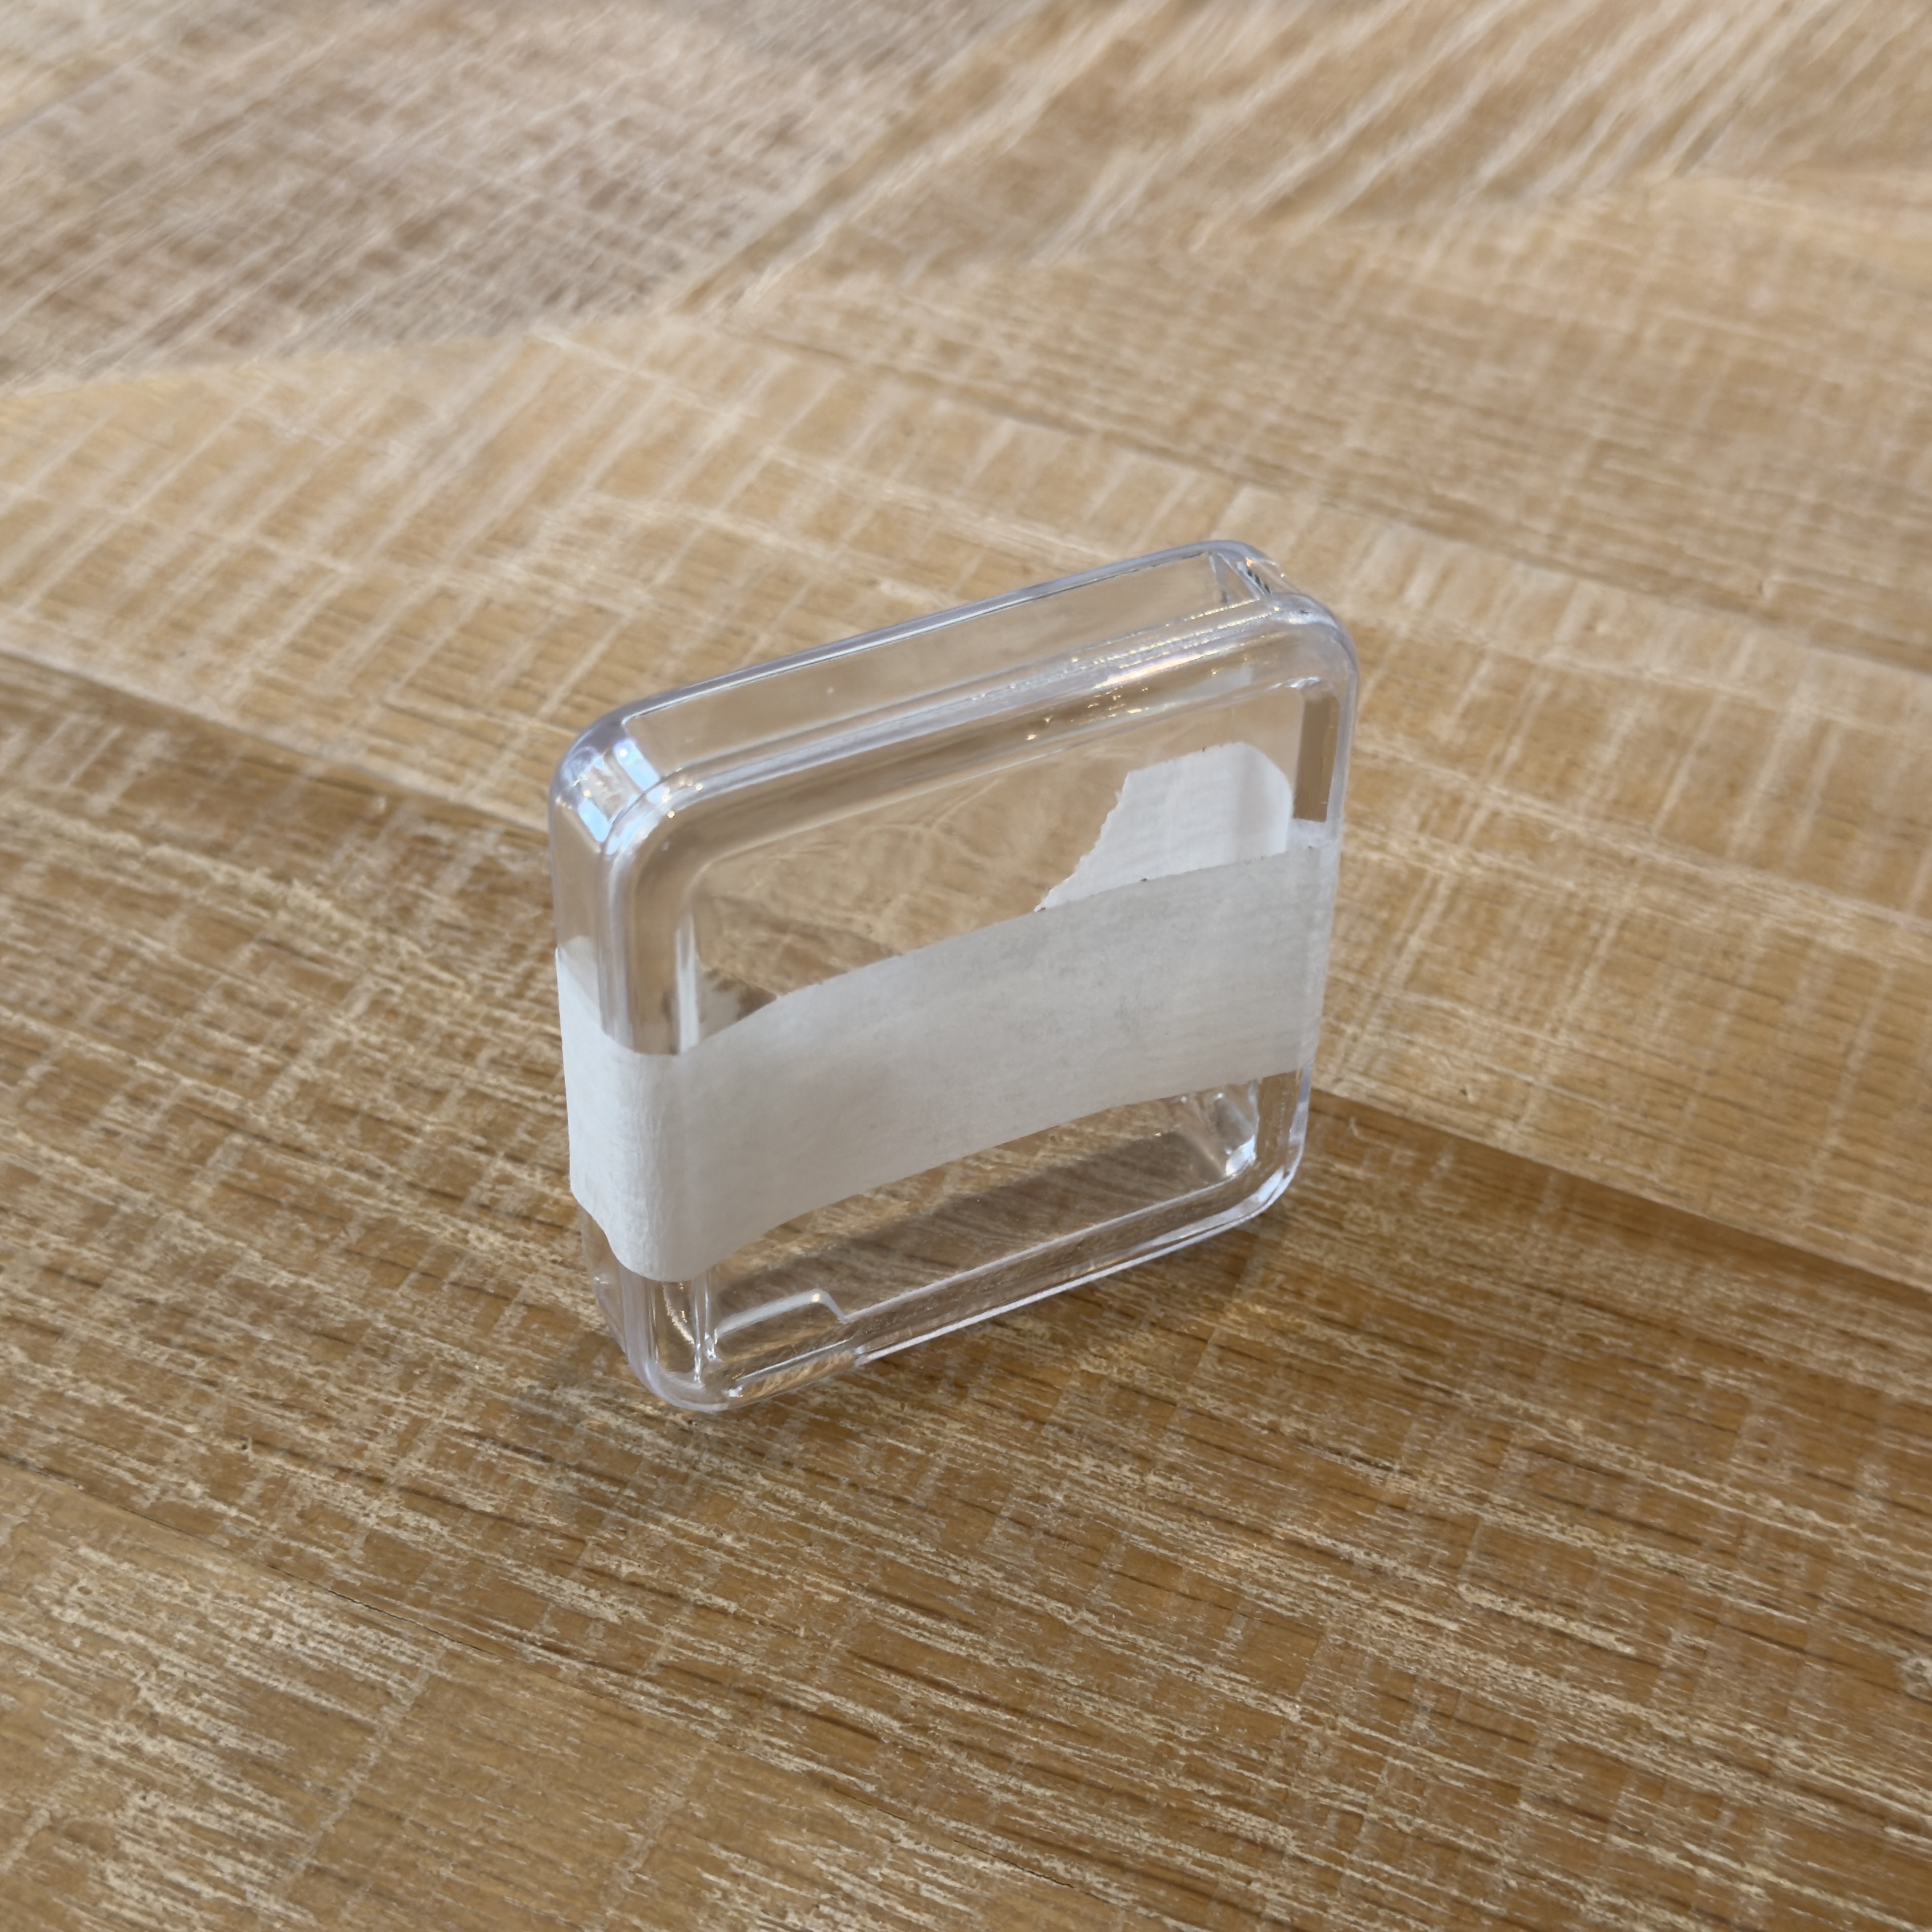
    A little over a week later I was excited to get a notification from DHL saying that my order was due to be delivered the next day. The case parts arrived really well packaged, and it was nice to see that someone had taken the time to match the tops and bottoms together before shipping - the kind of attention to detail that reminds you that there is a real person at the other end who takes pride in their work :)

    A photo of one of the matched up cases, freshly unpacked.

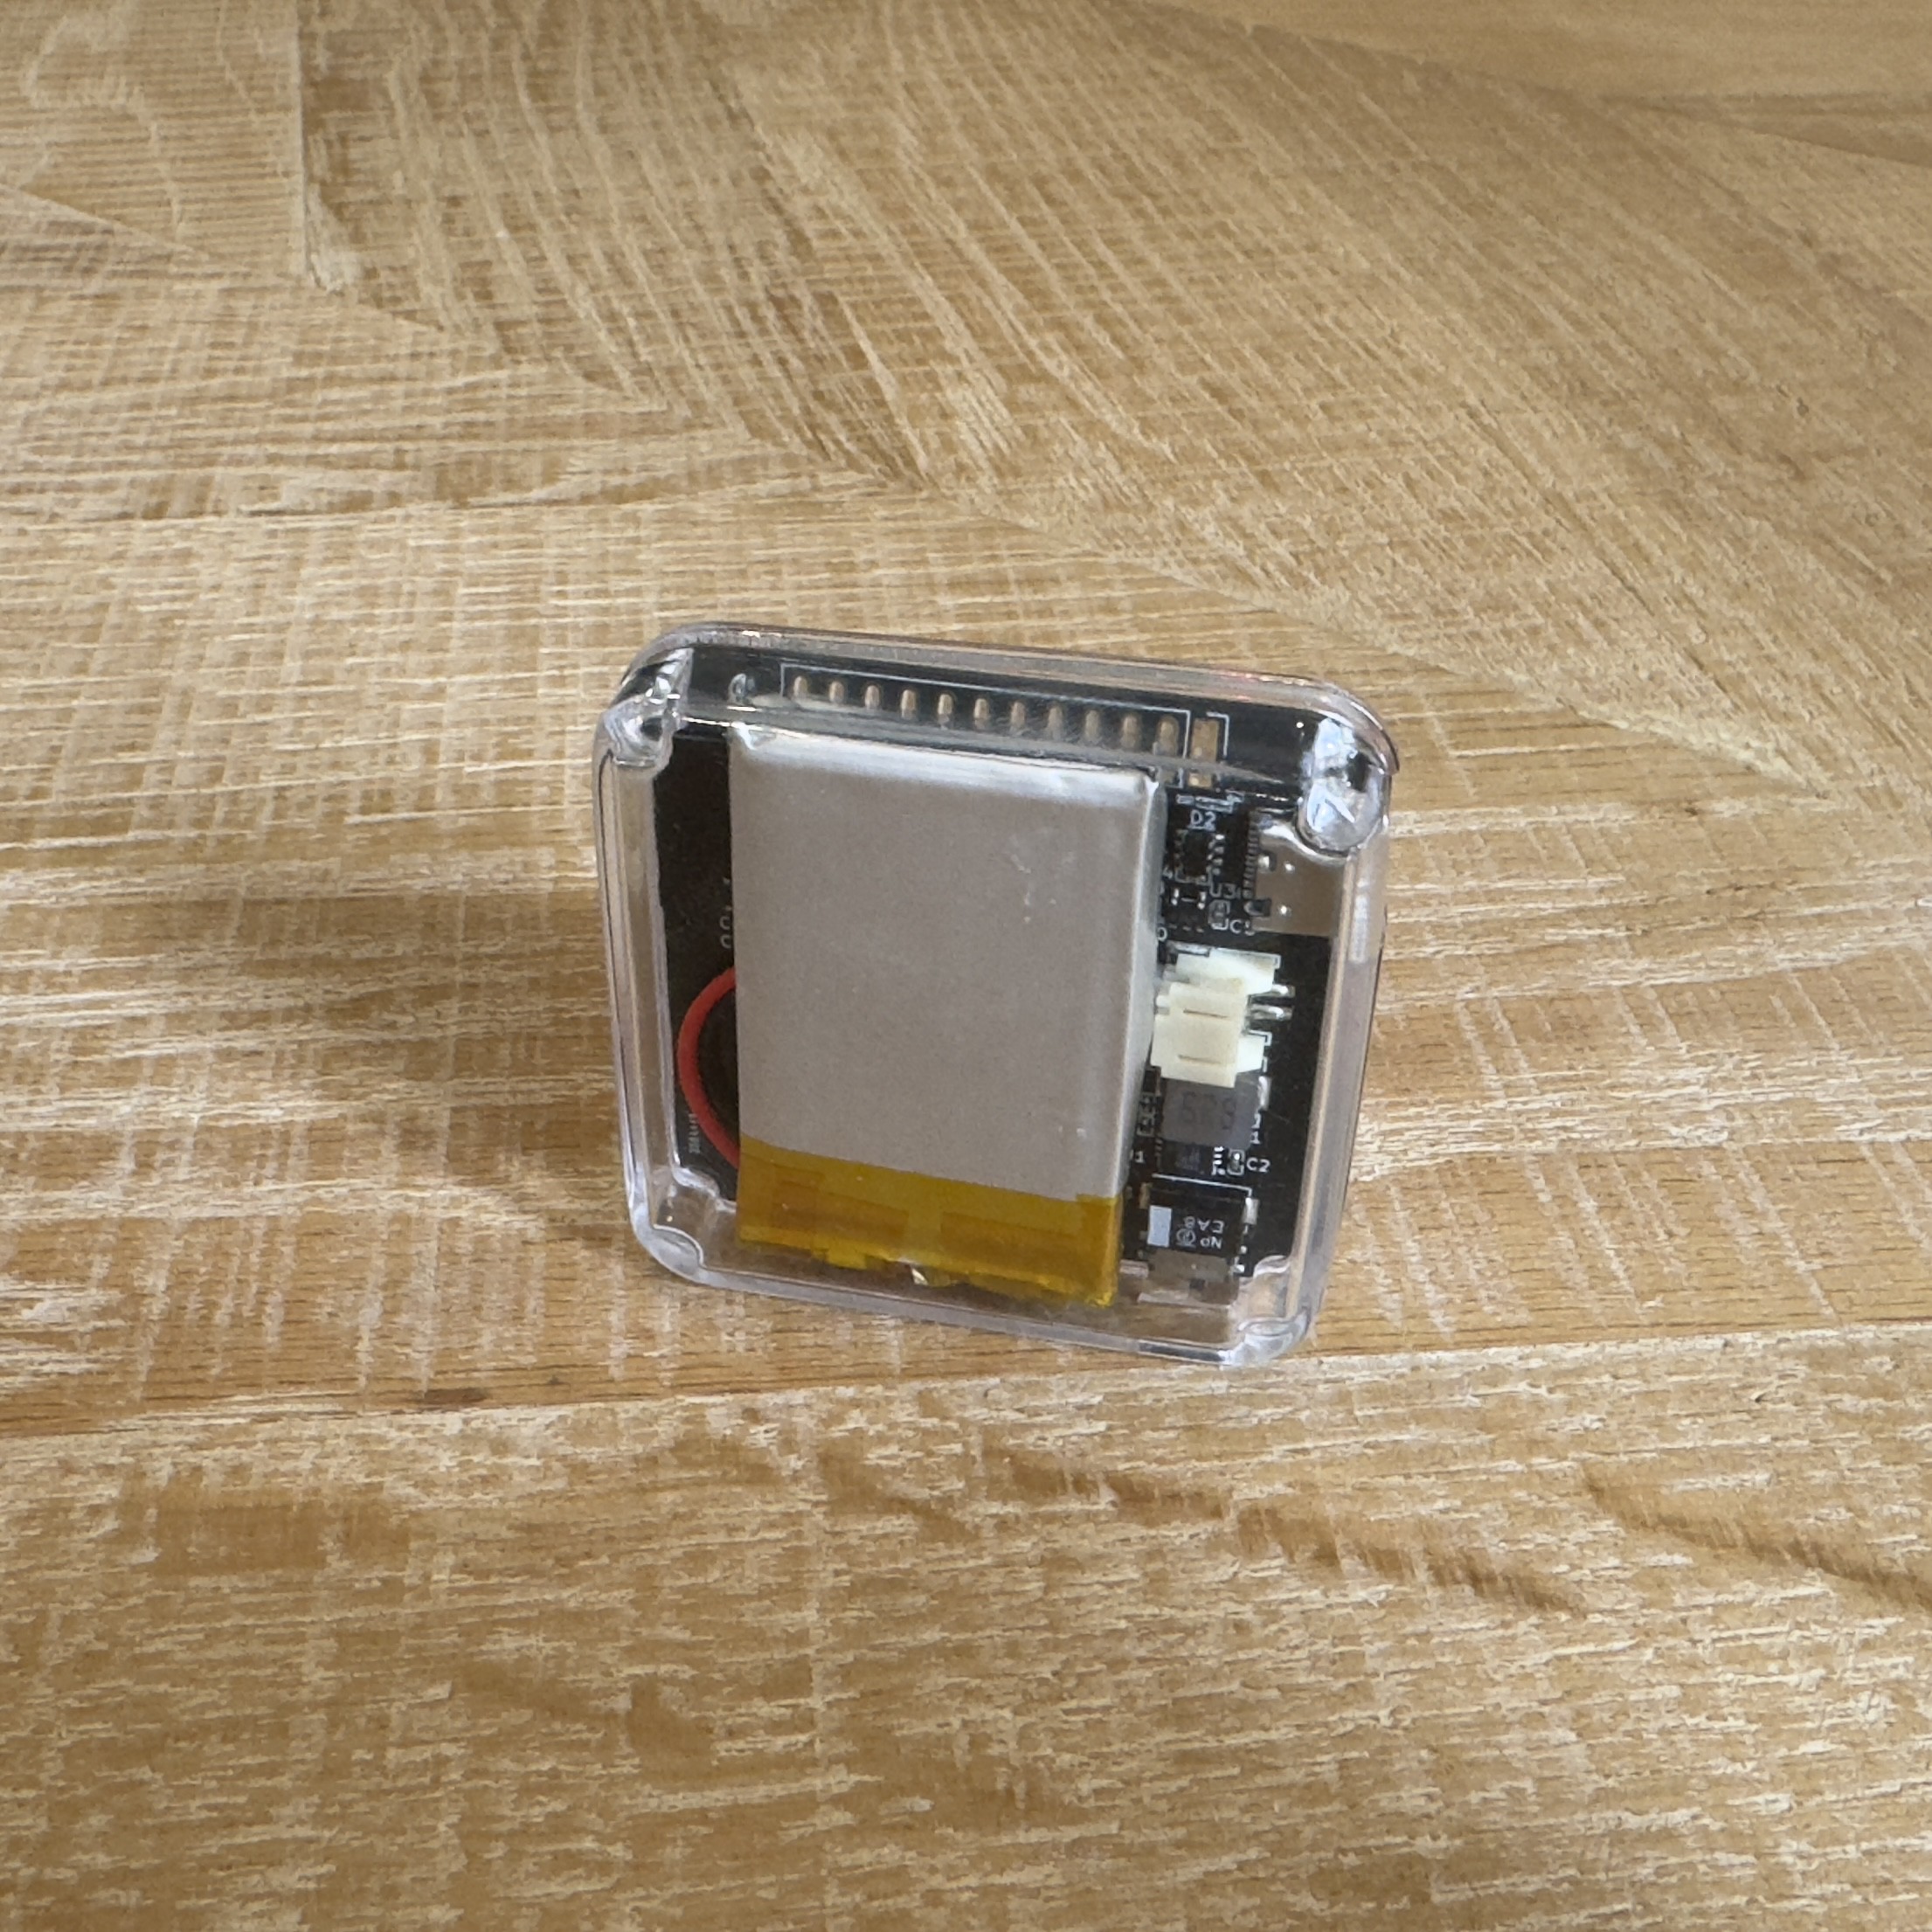
    The cases themselves have turned out really nice. They are very clear and snap together well. If I were to make a second batch I'd probably leave a bit more clearence between the top face of the case and teh LEDs as it's a little snug, but luckily the material has th tiniest bit of flex which means I get away with this. Overall I'm really pleased with how these have turned out, and how polished and professional the game looks with the clear cases installed! Thanks again to Liam and PCBWay for generously sponsoring this project and letting me try out their 3D printing service for free. I will be using them again in the future (as a paying customer) and I would definitely recomend giving them a go!

    A photo of the back of the game, with the electronics on show throught the clear case

  • Code and a case

    David08/11/2024 at 16:19 0 comments

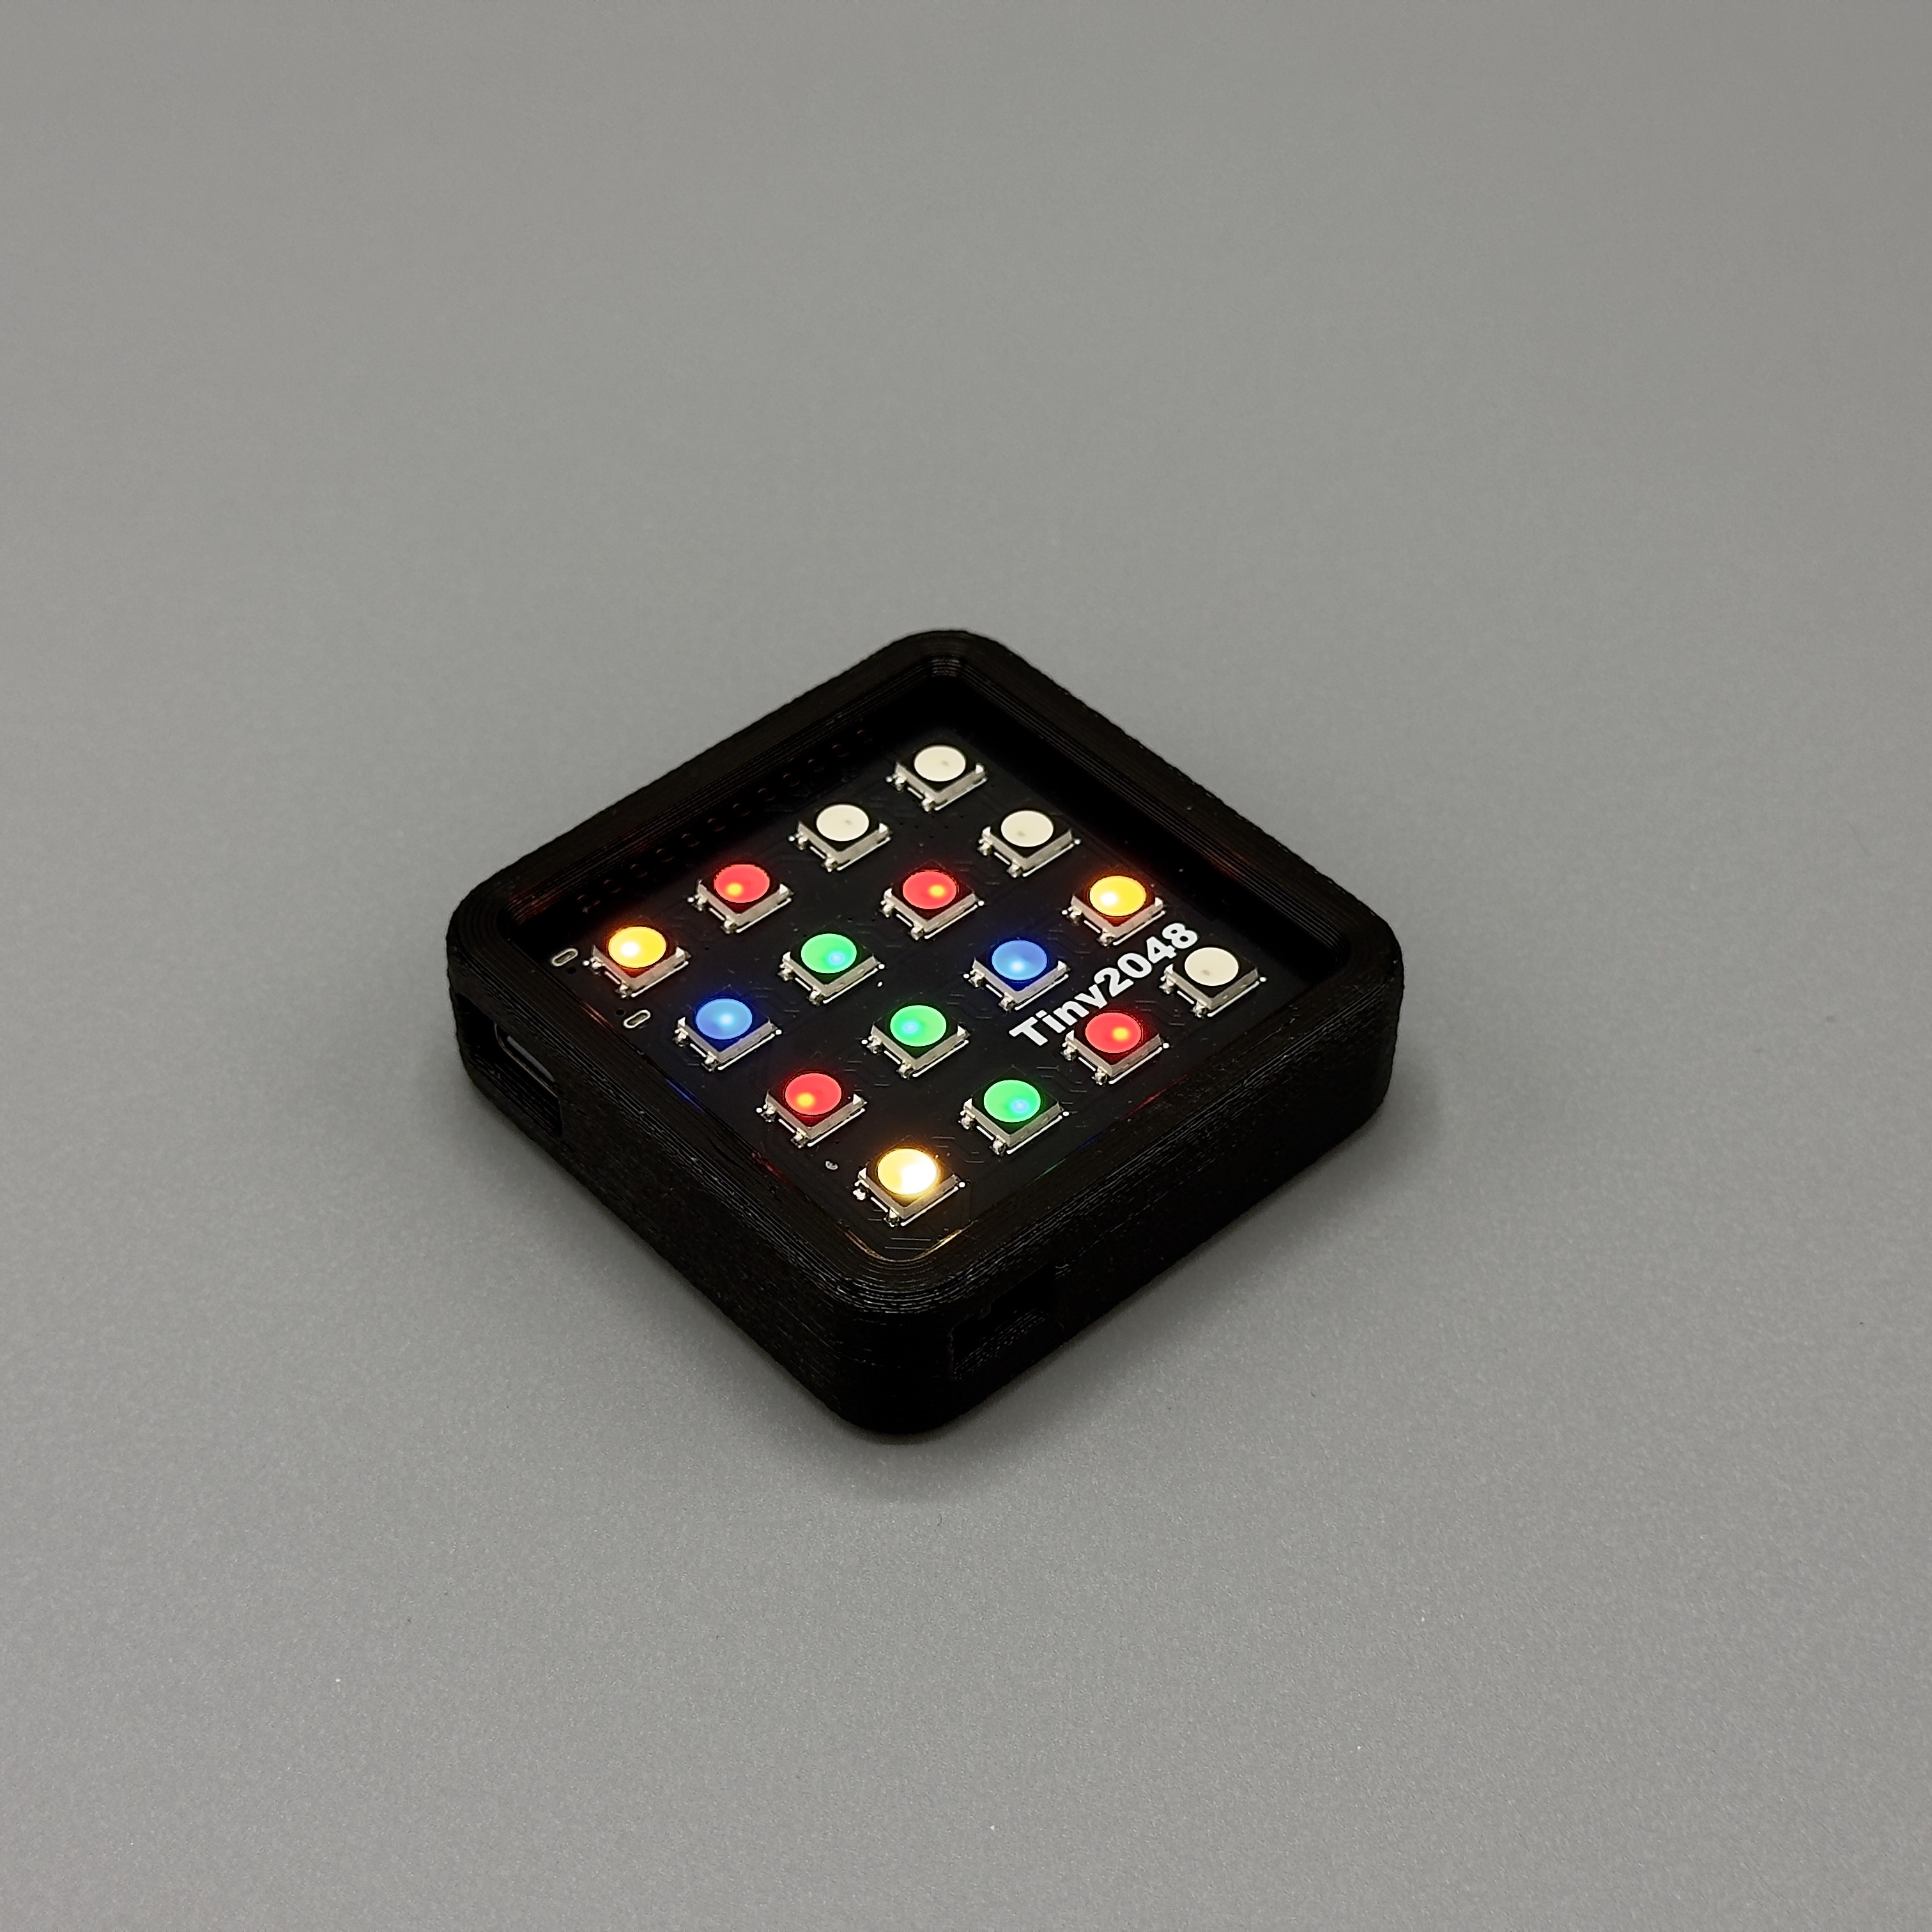
    Assembled Tiny2048
    A photograph of the assembled Tiny2048 with a game running


    I got the code written and a case designed this weekend, so this is now a playable game!

    The code is Arduino based, and written using PlatformIO. I've implimented all the rules listed on the wikipedia page for 2048 with tilt-based input for the controls. Getting the input right was a challenge and it took me a few attempts to come up with something that felt consistent and intuitive. I've ended up with a very rudimentry gesture detector, which requires the game to be held level between turns. This prevents accidental inputs and allows the player to be intentional with their input. It's not perfect but it does the job and there's plenty of room for tweaking later down the line.


    Using colours to represent values also turned out to be a little tricky. I've had to be careful to try and make sure that each colour used is sufficiently unique so that different tile values don't get confused. I've got a set that works alright right now but I might come back to this and experiment with things like changing brightness or animated effects to make them even easier to tell apart.


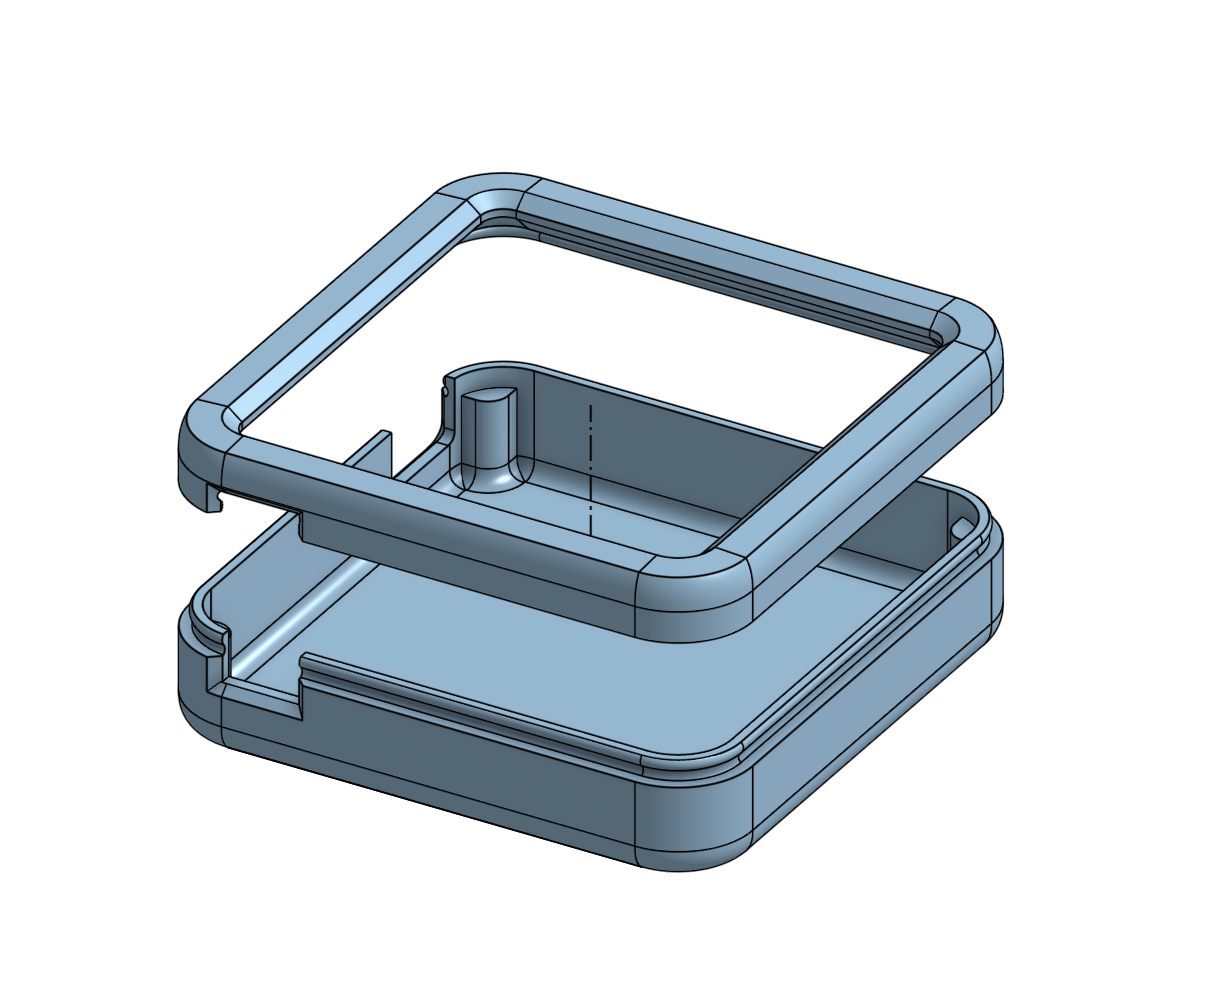
    The case was designed in Onshape. I have mixed feelings about this as I usually try to stick to open source tools as much as possible so that my projects don't run the risk of becoming locked behind a paywall, and so that they are as accessible as possible. I have to say though, Onshape was a breath of fresh air compared to the battles I seem to have with FreeCAD. I was able to design and print the case, and I'm really pleased with how well the snap-fit rim I used works.

    Tiny2048 case exploded view
    A screenshot of the Tiny2048 case in Onshape

    This project is largely done now, I will probably keep tweaking it over the next couple of weeks, and I'll definitely be using the boards for some other projects in the future - The esp32 means there's plenty of scope for internet-enabled blinking things. I'm also going to have some clear cases made as PCBWay reached out and kindly offered some free resin printing to me. I'll post a review of this service once these arrive as it's something I've been meaning to try for a while and I think the clear case will look really good. 


    In the meantime here's a video demoing the game being played (with some cheesy music to cover up my breathing!) It's hard to capture the vibrancy of the LEDs on camera but it honestly looks great in person!

  • Working PCBs!

    David08/06/2024 at 07:57 0 comments

    My PCBs arrived last night and after loading up a quick test program I can confirm they work! I’m hoping to get my firmware written later this week and then I’ll start thinking about designing a case. 

  • Getting something together in a weekend

    David07/29/2024 at 15:56 0 comments

    This was a rare weekend to myself so I decided to make the most of the limited time available to try and get the board designed and sent off for manufacture.  One of the key things I want to do with this project is to design something with built in battery charging so that's where I started. I'm using a MCP73831 for this, along with a TPS61092 to boost the battery voltage up to 5V. I don't have a huge amount of experience designing charging/power circuitry but this is the same pair of chips that are used in the PowerBoost 500 by adafruit so I figured it's a proven combination. I ended up basically just implementing the reference designs in both chips respective datasheets which was relatively straightforward. I also took care to pay attention to the recommended component choices and layout for the boost converter as this is something that I've missed in the past and paid the price for it!

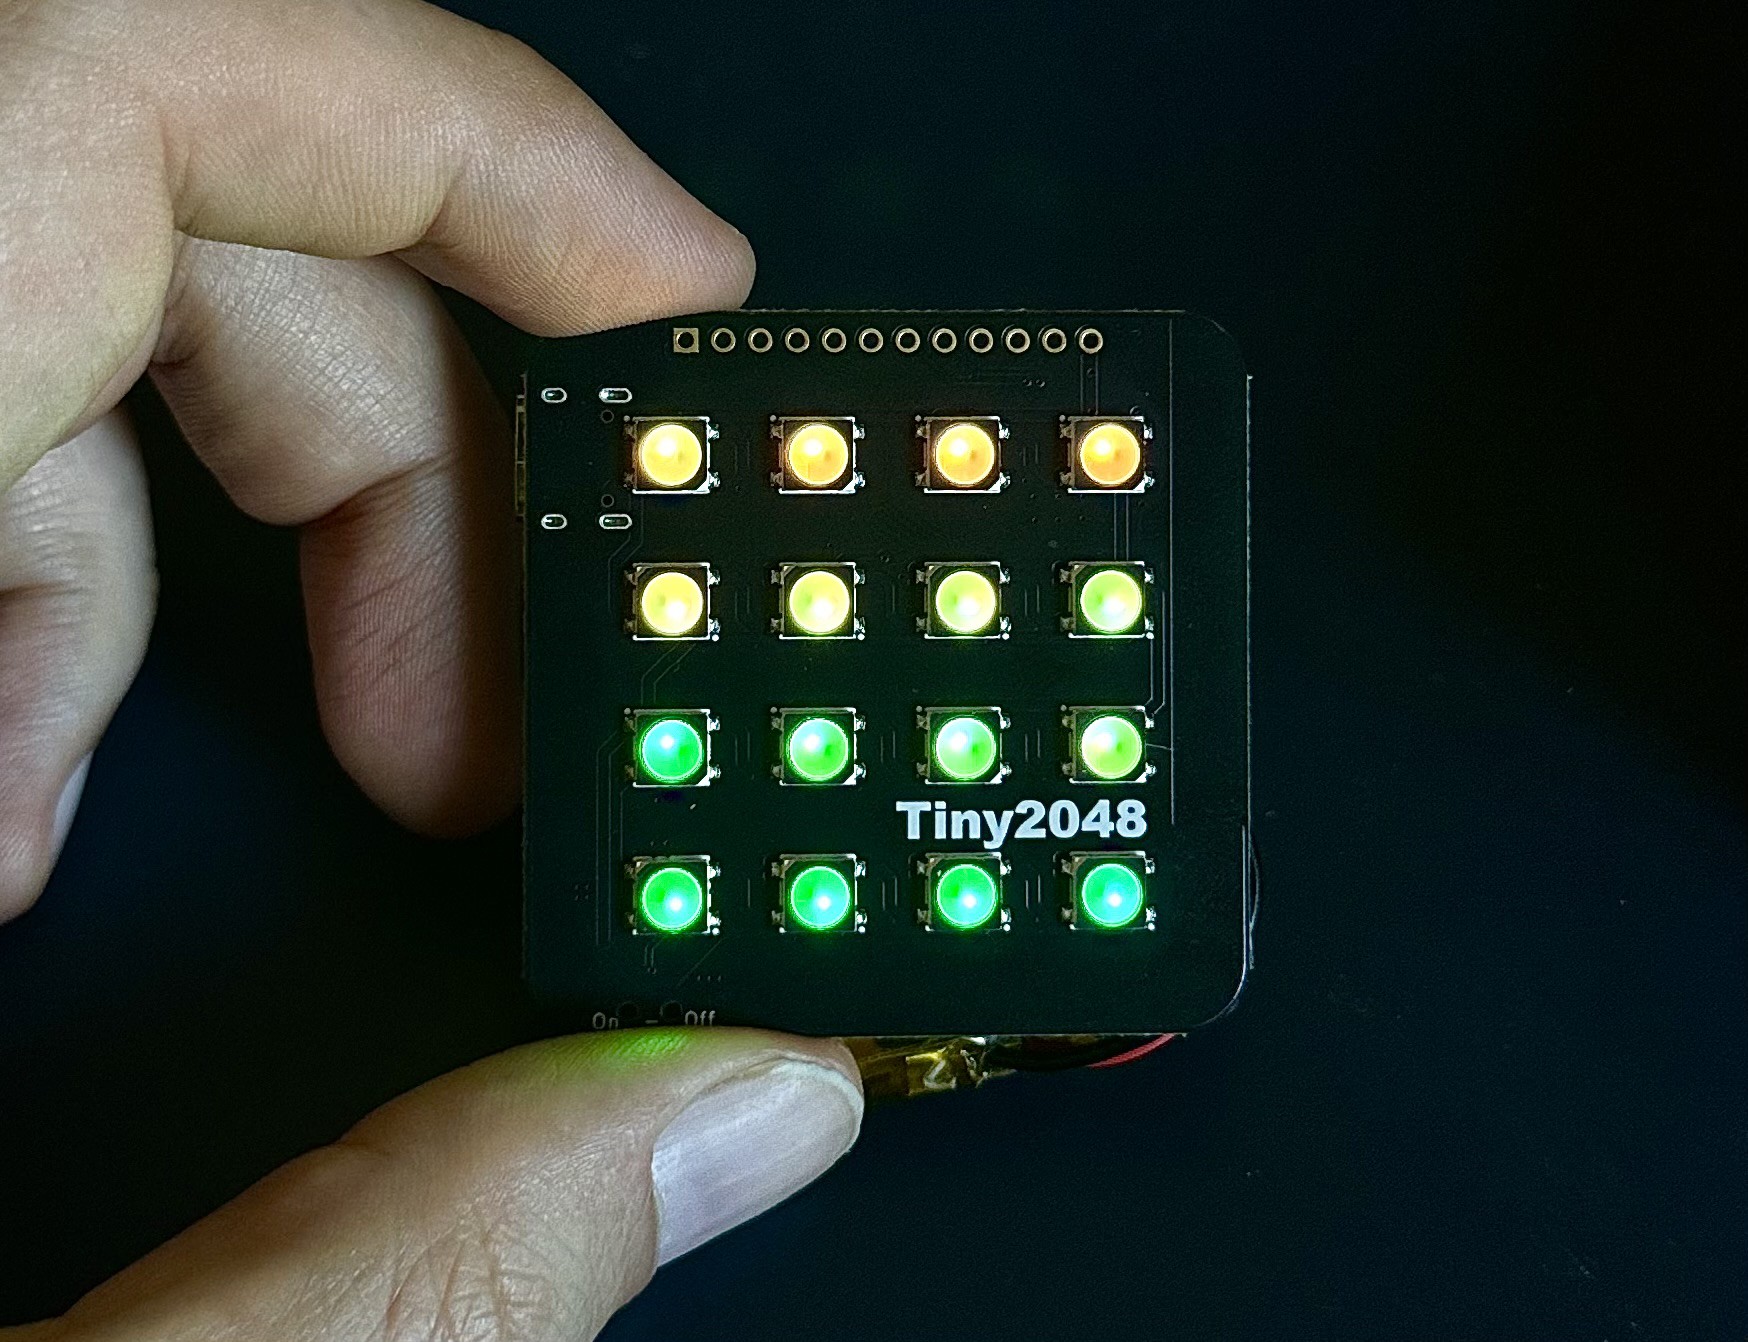
    With the hard (for me at least) part done I moved on to the rest of the project. The LED matrix is just a string of WS2812B LEDs arranged on a grid. These are powered from the 5V output and controlled by an ESP32-S3-MINI-1. This is a slightly risky choice as I plan to have these boards assembled professionally. All of the pads for the module are hidden underneath it which means it is harder to debug/bodge if I've made any mistakes. On the other hand, the smaller form factor is convenient given that space on my board is constrained. Plus I think it looks cooler! (that's an important consideration right?). To hopefully mitigate this a little I've broken out a bunch of IOs on the top edge of the board so at least there are some spare pins available. It also means I can use this as a dev board for future projects which I've already got ideas for.

    In order to actually control the game I decided to go with an accelerometer. Specifically the LIS3DH, which I've used before. I'm planning to implement either tilt or tap based controls (or possibly both). I considered using buttons around the edges of the board so that you could squeeze the edge you want tiles to move towards. In the end though, I decided that the accelerometer based approach would be more fun and versatile.

    Laying out the board was quite tedious and it took a few attempts before I was happy with it. I wanted to keep a large area clear for the LiPo battery which I plan to attach with some double sided tape. I also wanted to maintain reasonably large margins free from components (except for the USB port and a power switch)  around the edge of the board to make it more enjoyable to handle and easier to mount in a case if I decide to make one.

    I wanted to get a feel for the size and ergonomics of the board before getting it made, so I exported a model of it and printed a rough version out on my 3D printer. Satisfied that it was at least nice to hold, I submitted my order to JLCPCB to be manufactured and assembled. Now I just have to wait for it to arrive and hope I didn't make any silly mistakes!

View all 4 project logs

Enjoy this project?

Share

Discussions

soni wrote 08/06/2024 at 15:44 point

nice,

but meybe increase a button? no free space between buttons

  Are you sure? yes | no

Phil Weasel wrote 08/06/2024 at 07:19 point

Lovely idea, supercurious how the controls turn out. Imagine if you find a way to make the led touch sensitive .... that would be sick

  Are you sure? yes | no

Dixbit wrote 07/31/2024 at 21:34 point

Using RGB LEDs to "tinyfy" 2048 is a really clever idea! For a weekend projet the PCB looks very good, I hope too it will work :)

  Are you sure? yes | no

Similar Projects

Does this project spark your interest?

Become a member to follow this project and never miss any updates