Huzzah! I updated two files: circuit_graver_motion.py and run_circuit_graver.py, so that the motion system runs as a simple X/Y Cartesian machine. Relevant parameters:
actuators = [self._motor_x, self._motor_y, self._servo_z]
max_accels = [3000, 3000, 1500]
max_vels = [3000, 3000, 500]
actuator_currents = [0.5, 0.5, 0.2]
x_rpu = 1/8
y_rpu = 1/8
machine_extents = [30, 30]
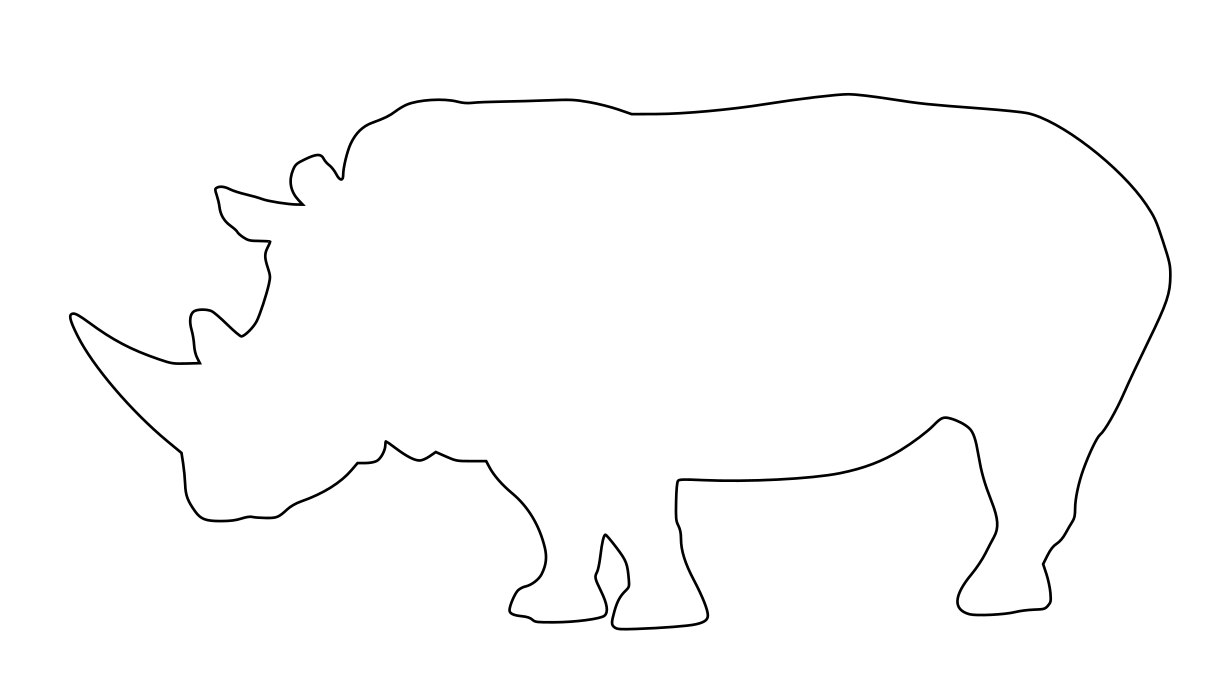
More, probably much more, on controls in the future, I promise. For now, know that I can name and instantiate motors, adjust their maximum rates, and feed them *.svg files. Like this one, the ubiquitous test rhino:
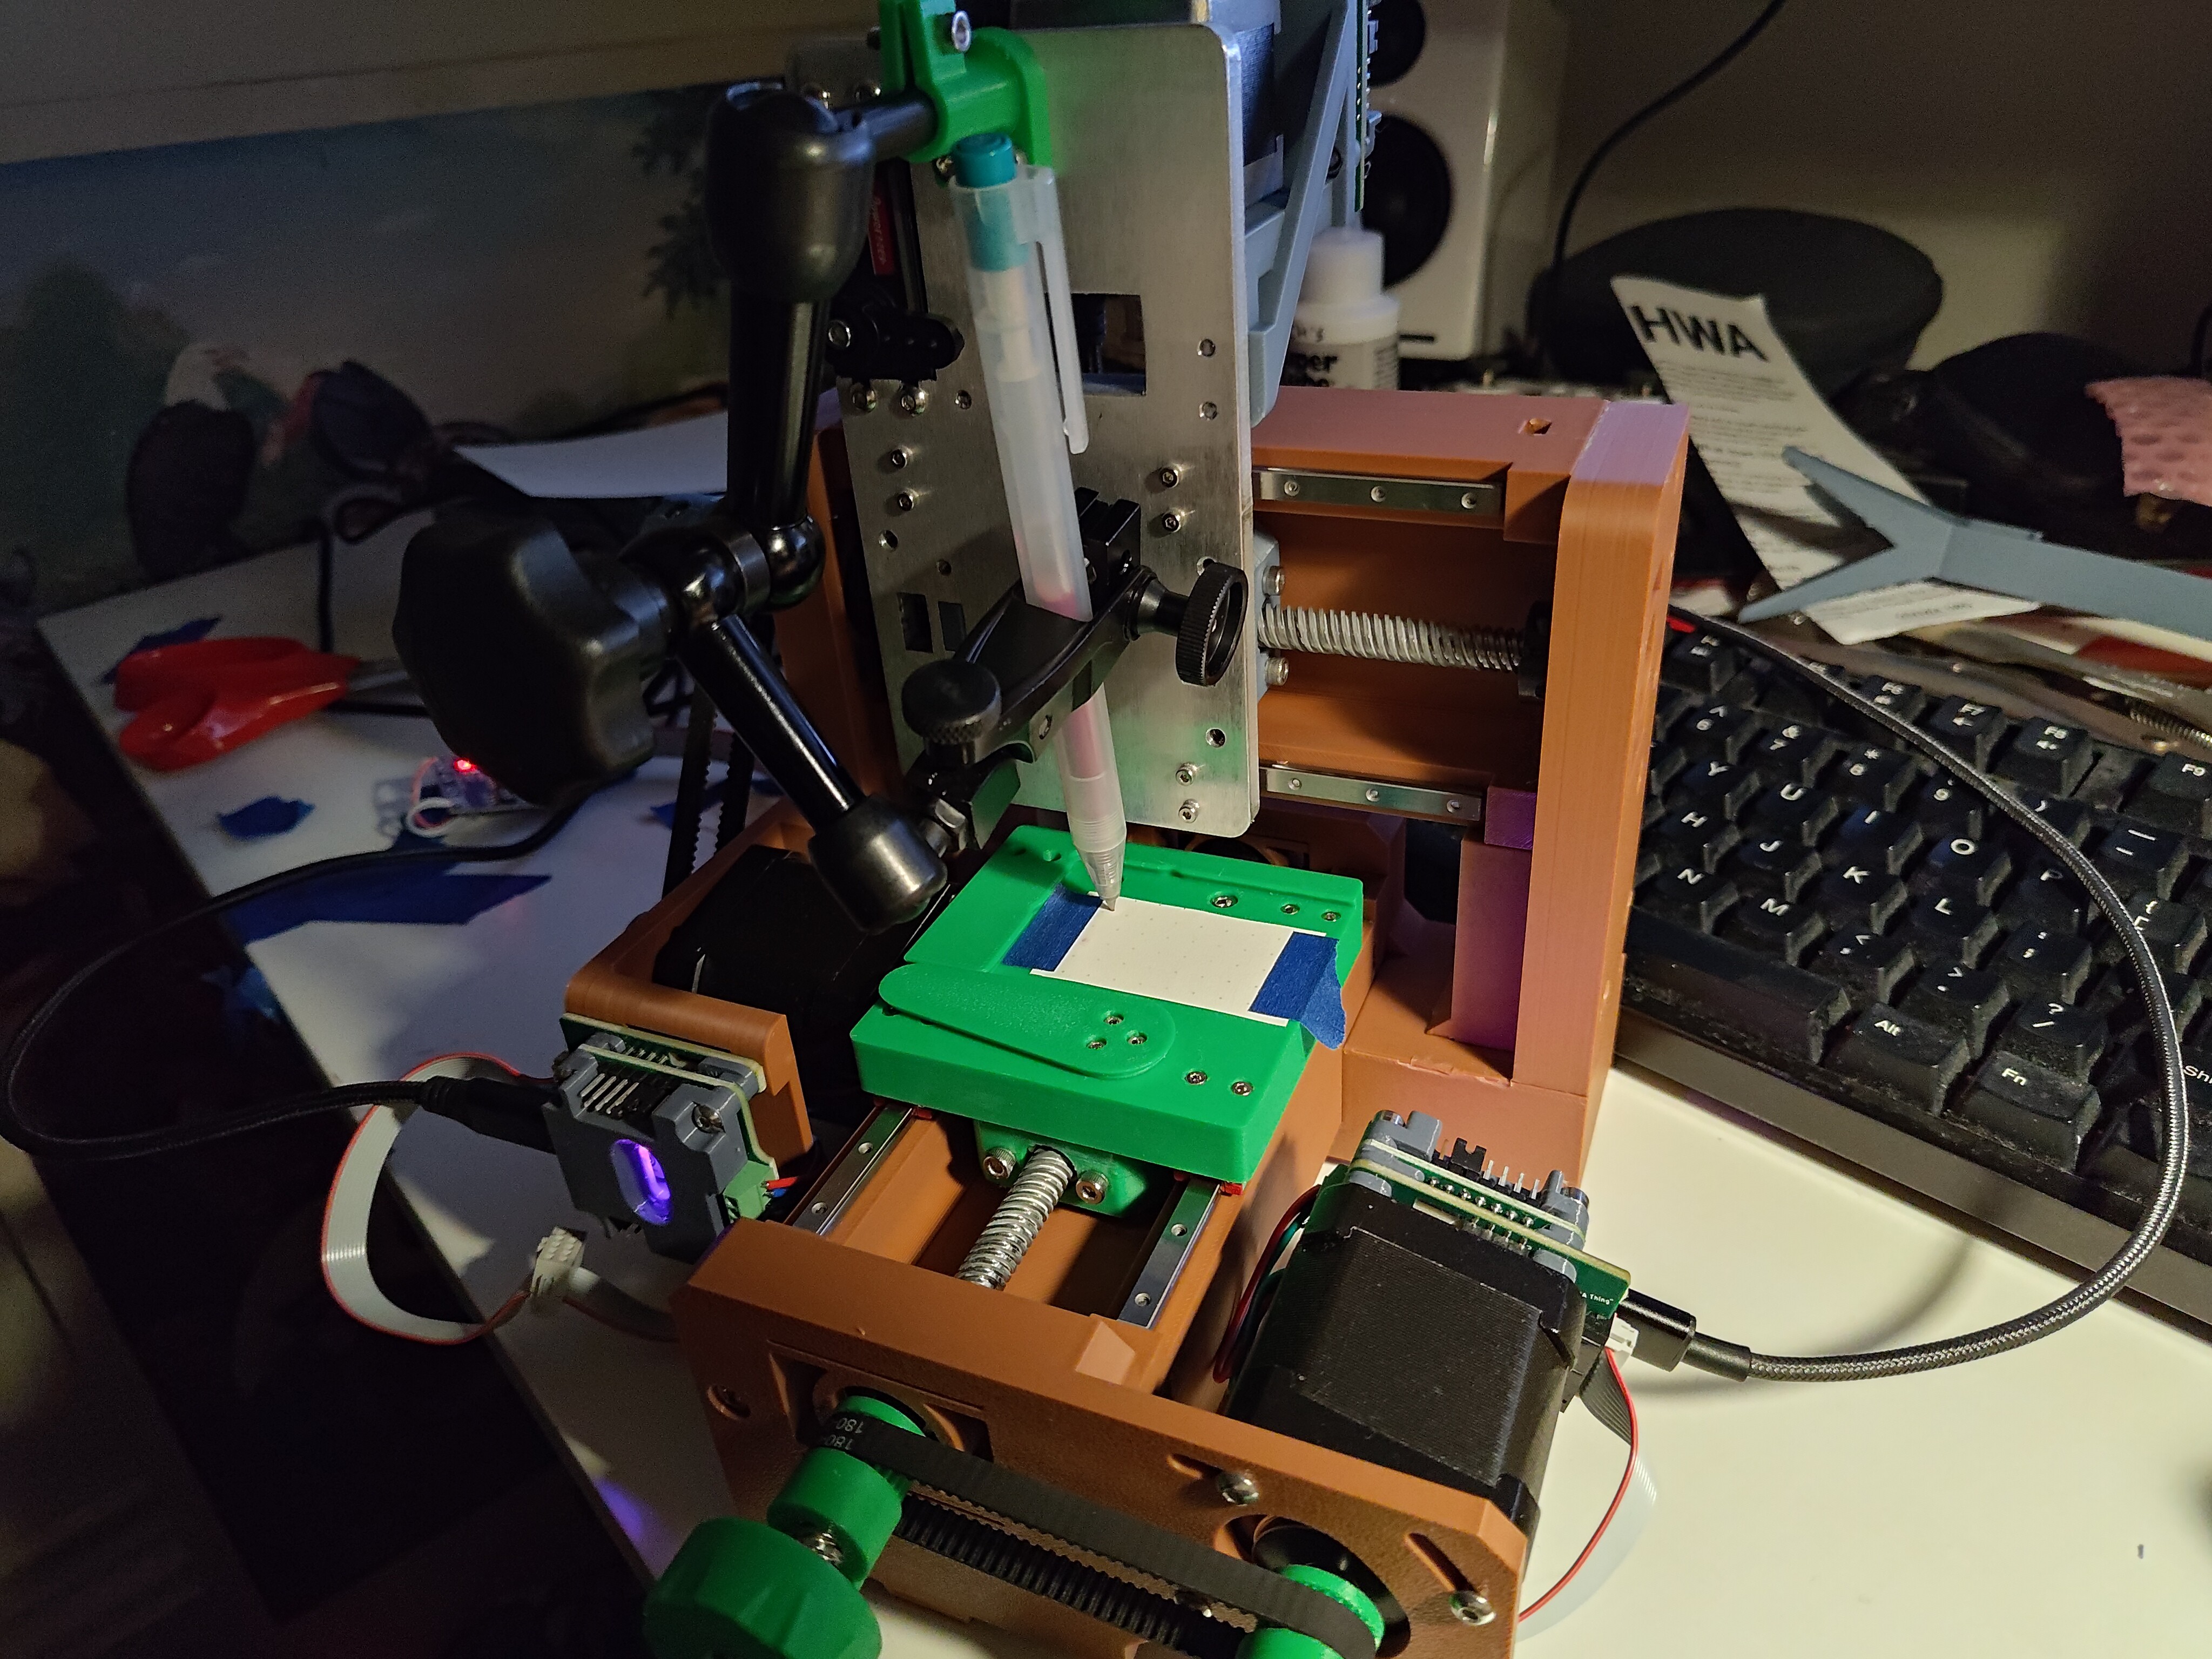
 I used the dial indicator mount and arm to secure a ballpoint gel pen above the stage, and mounted a bit of paper using some tape:
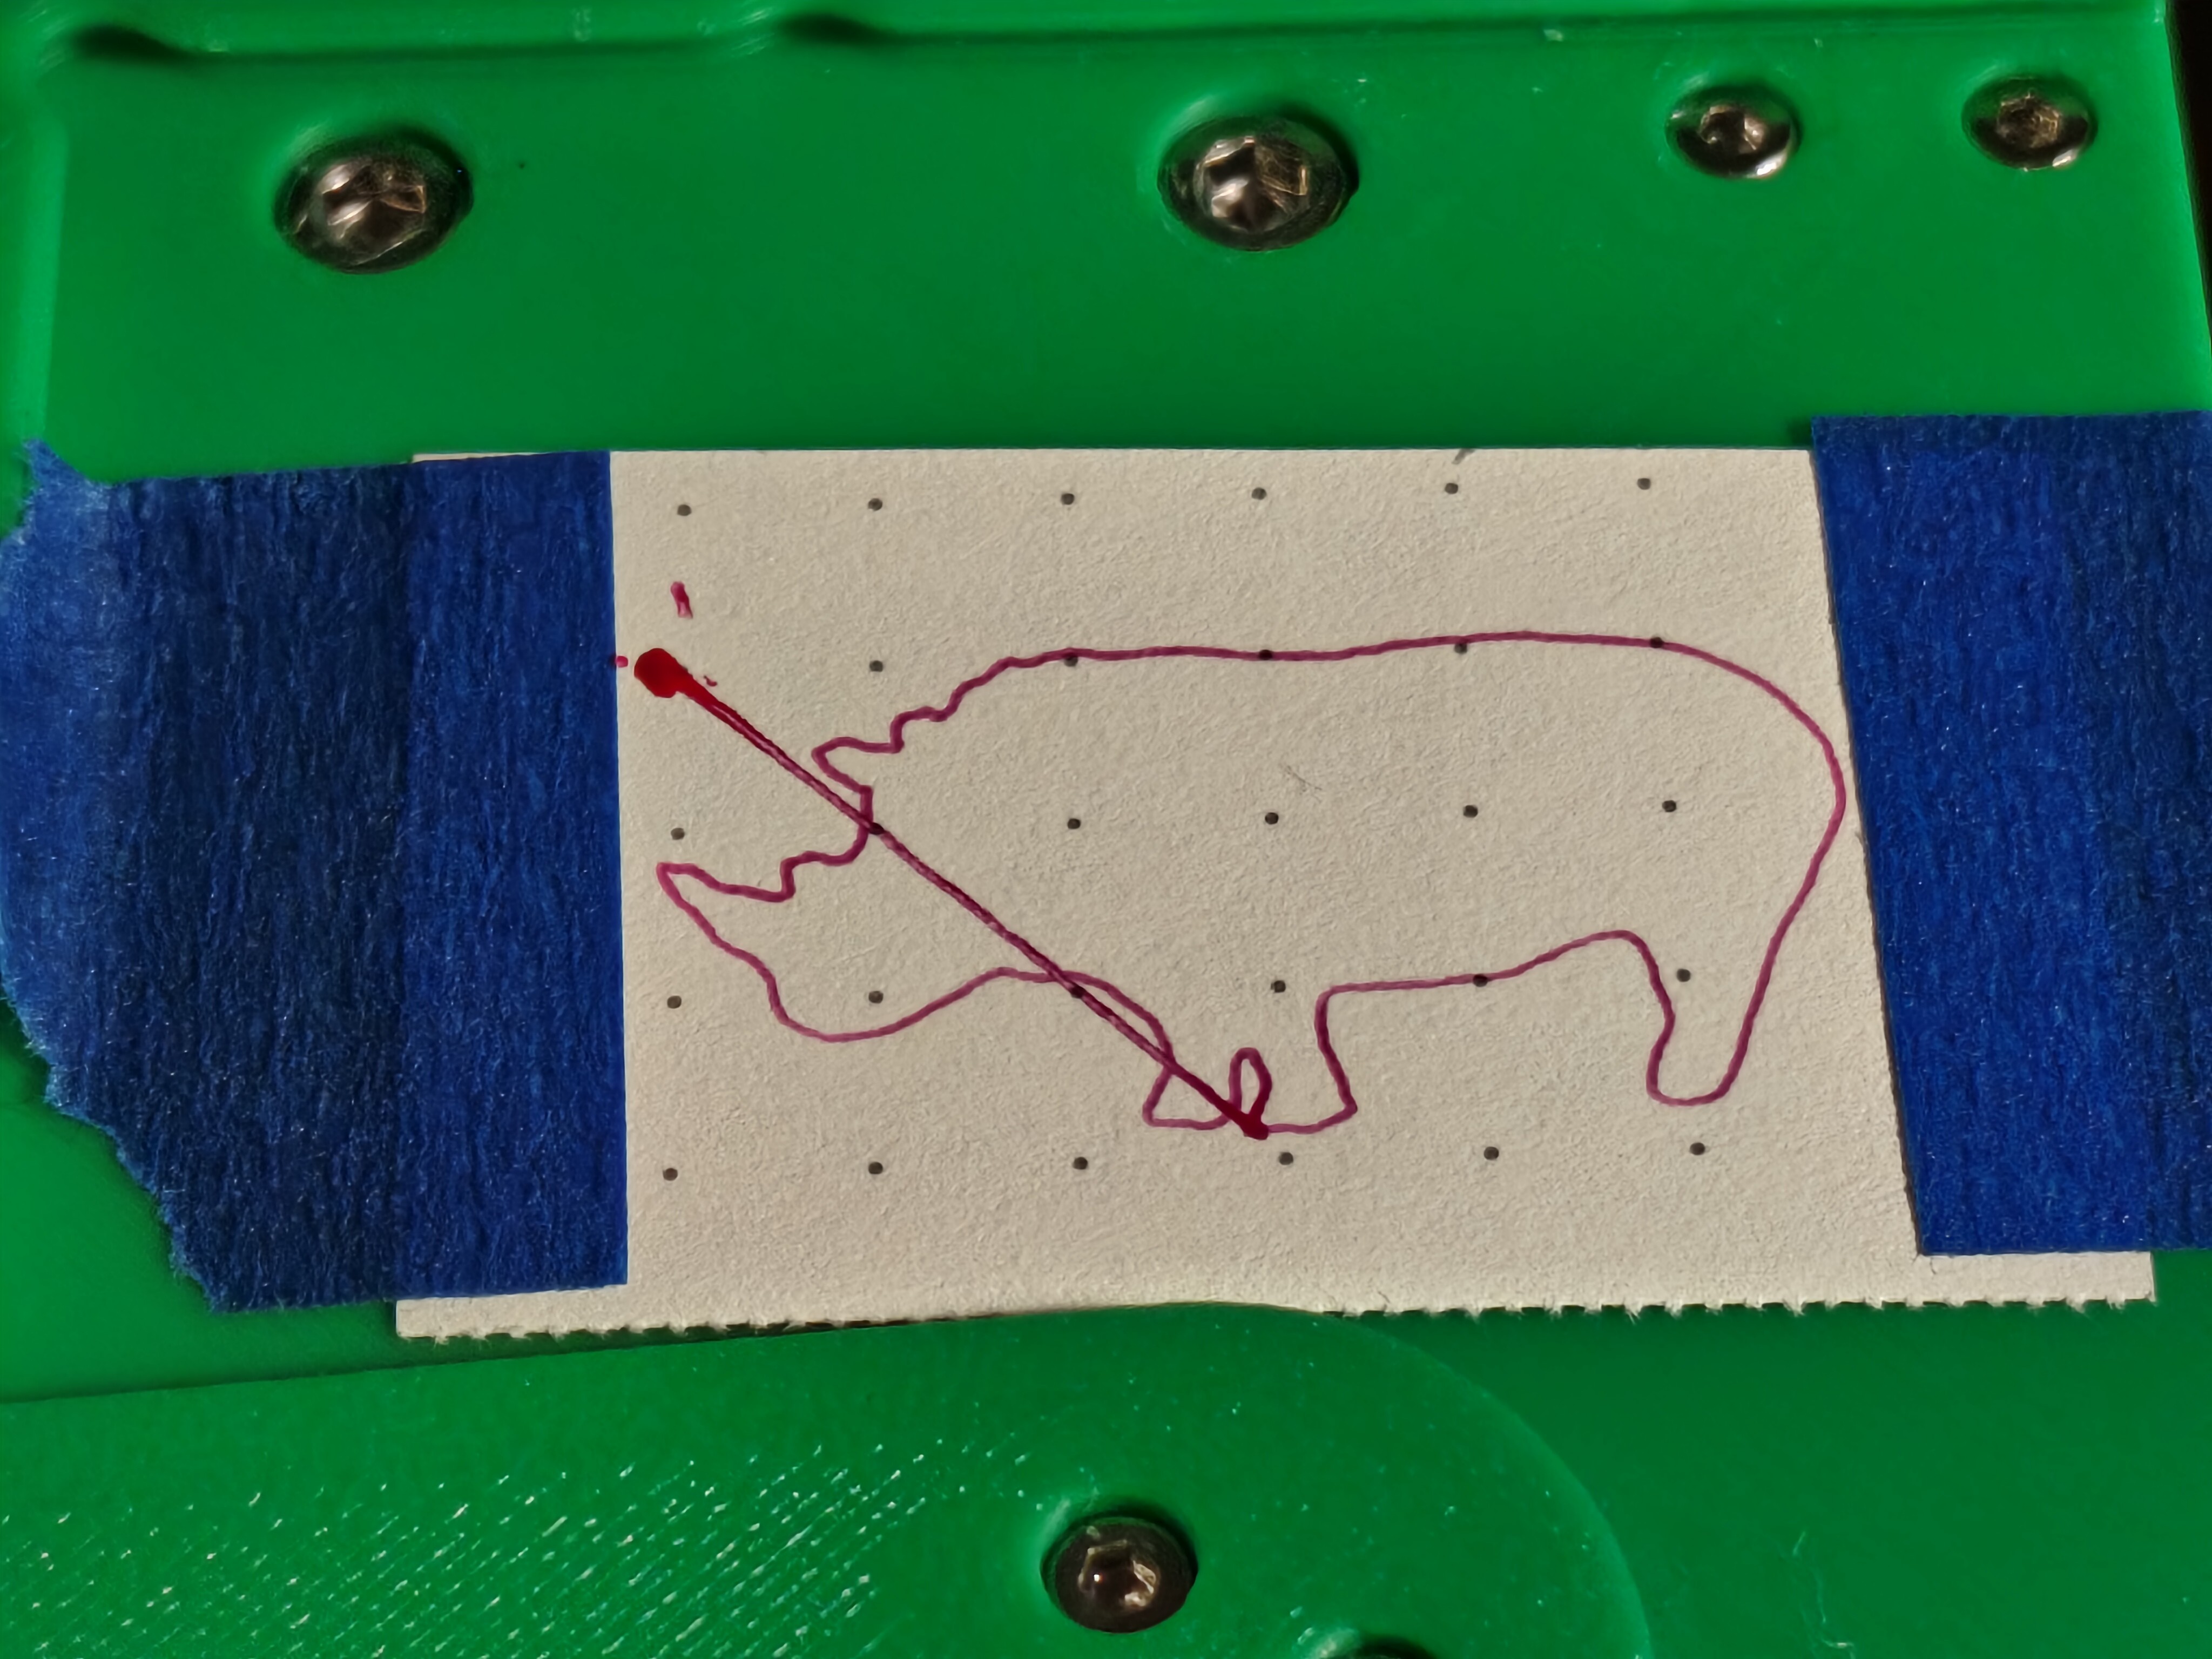
Rhinos, by and large, turned out quite well at 30 mm horn-to-tail, noting that a pen-up servo would help the render a lot by avoiding the annoying line:

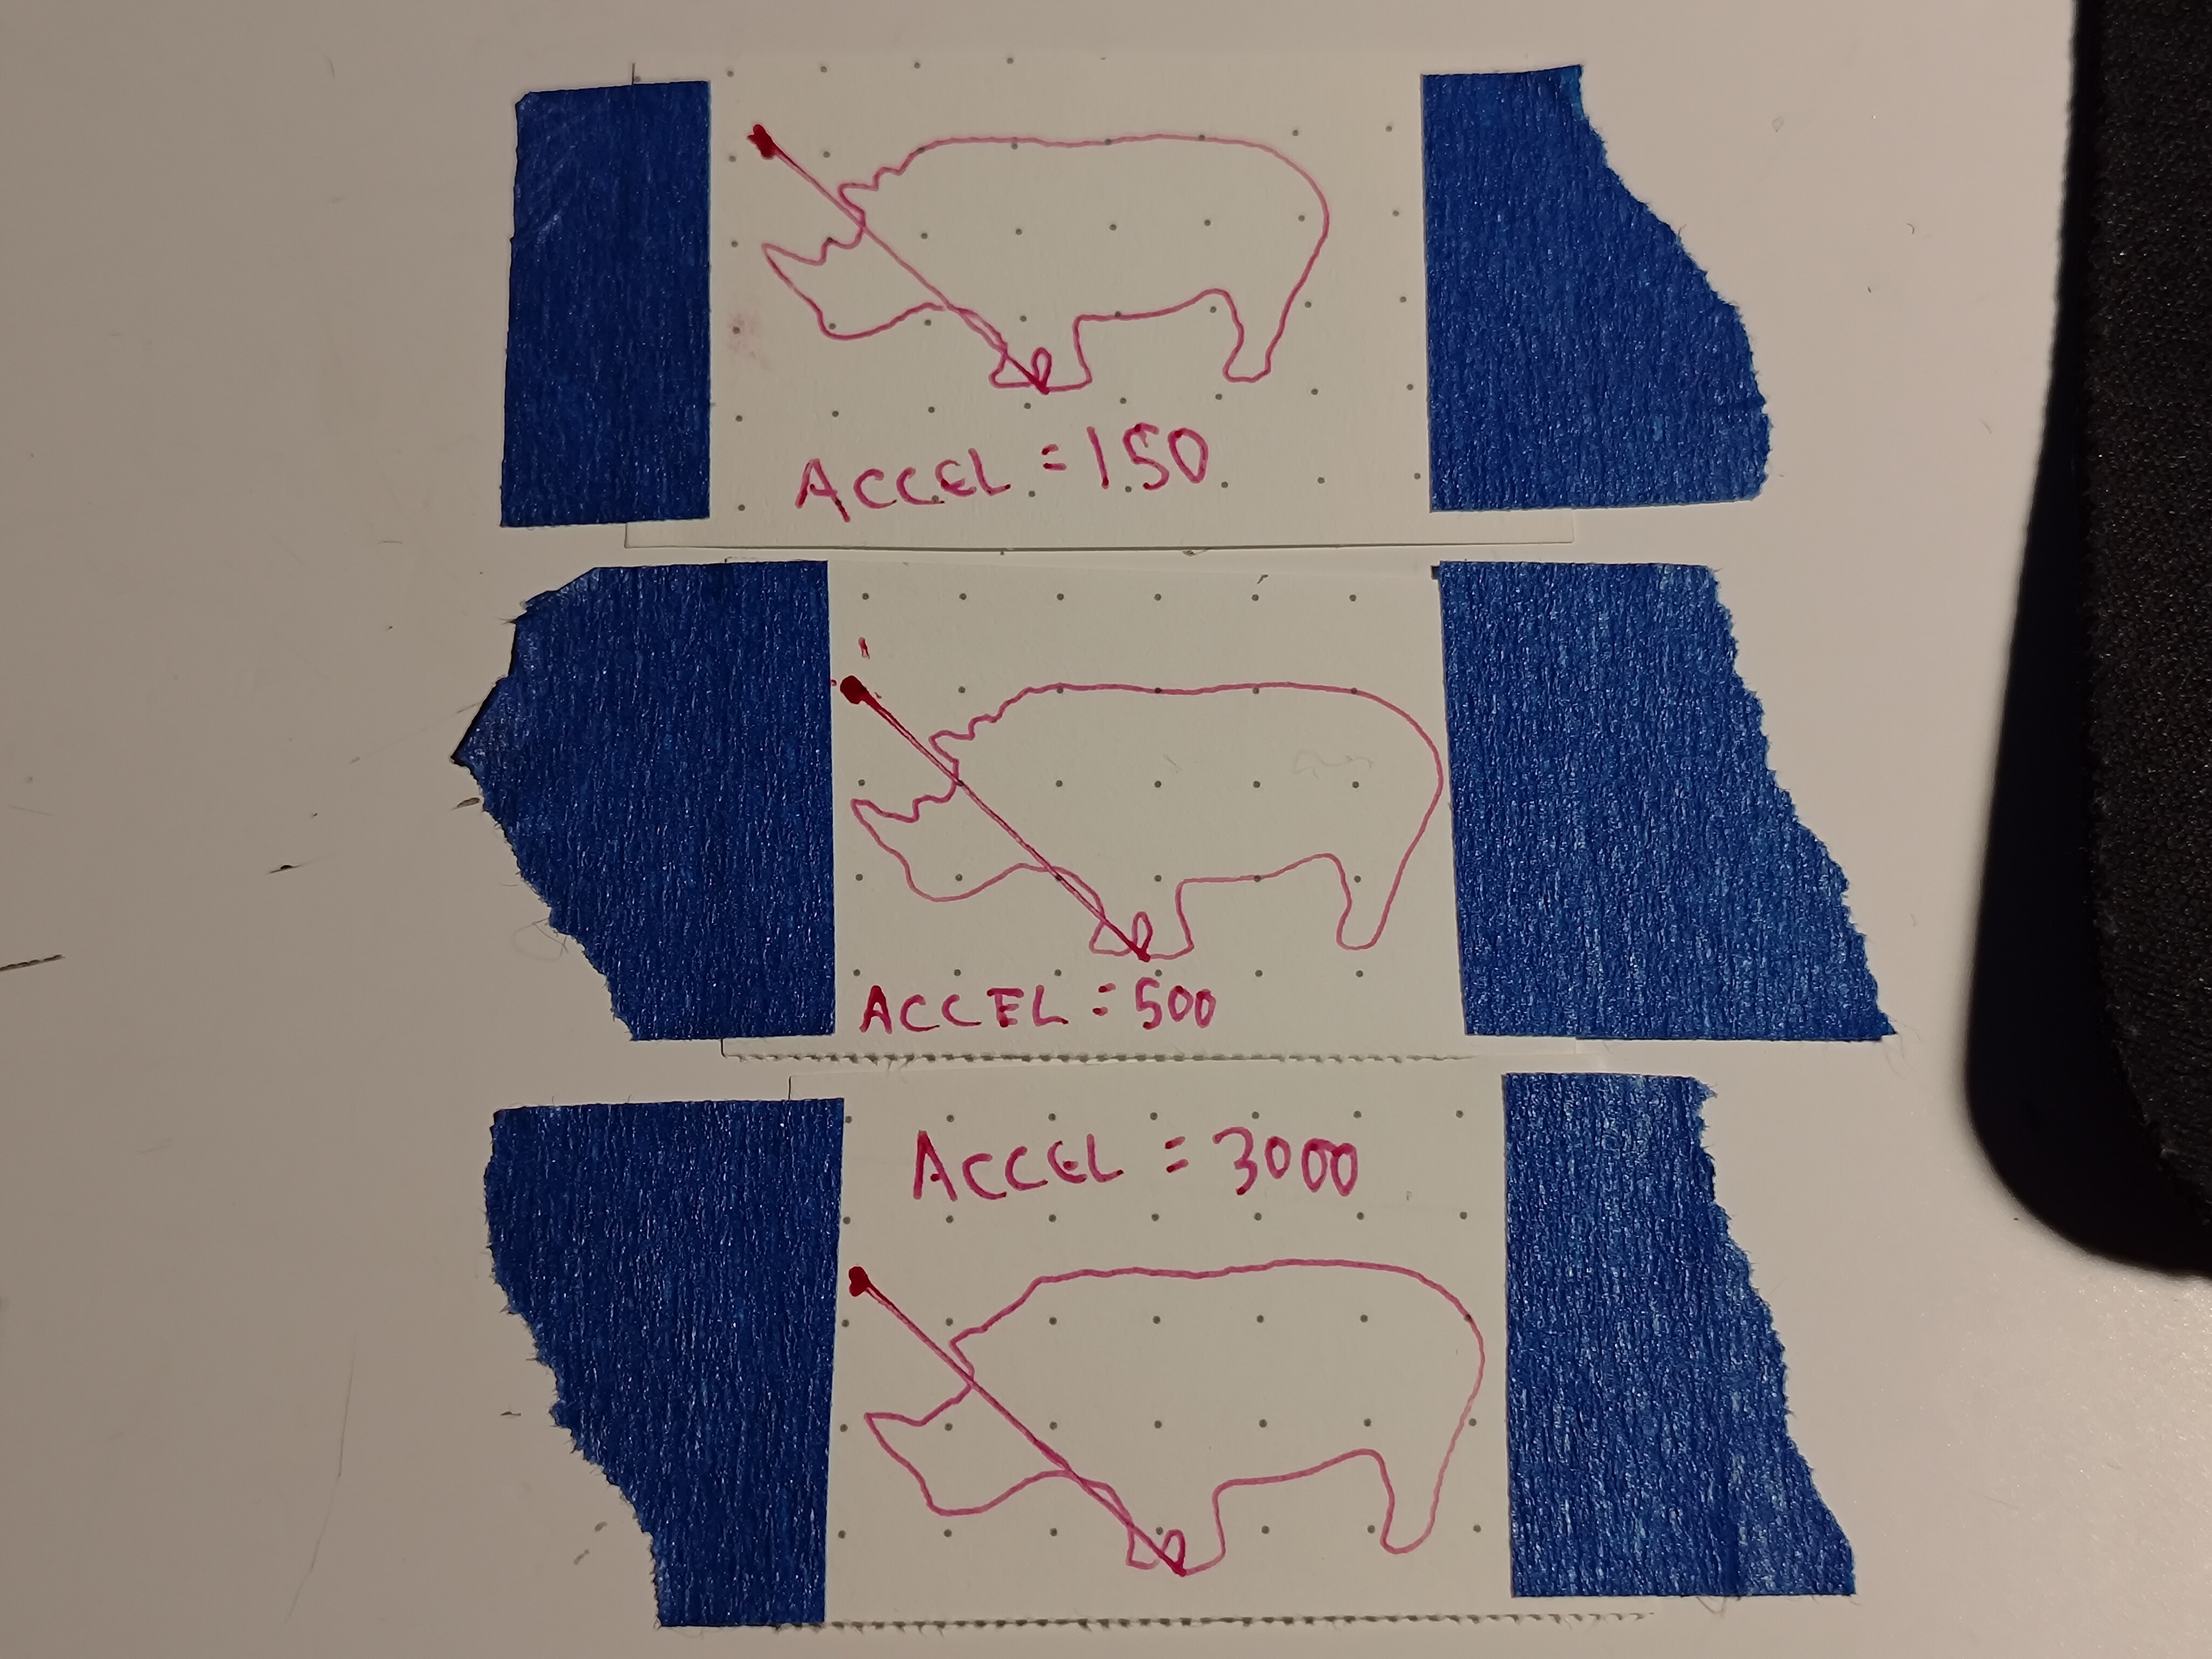
At quite high accelerations, various rhino parts started to round off, but that isn't an issue; the circuit graver will run far slower than this during carving operations!

Up next, waking up the Z-axis servo and R-axis stepper! I just ran out of power ribbon cable and IDC connectors, so once I have those I'm hoping for a full 4-axis test, maybe with the Z-axis actually carving a bit of FR4.
 zakqwy
Discussions
Become a Hackaday.io Member
Create an account to leave a comment. Already have an account? Log In.