 zakqwy
The microscope I bought last fall to better see Circuit Graver work is pretty amazing. And also not amazing, perhaps; at this point, USB microscopes like this have been around for some time, and I'm just a bit late to the game. To recap, I have a USB-C version labeled for 50x - 1000x from a company called TAKMLY, and it cost around $40 at the time.
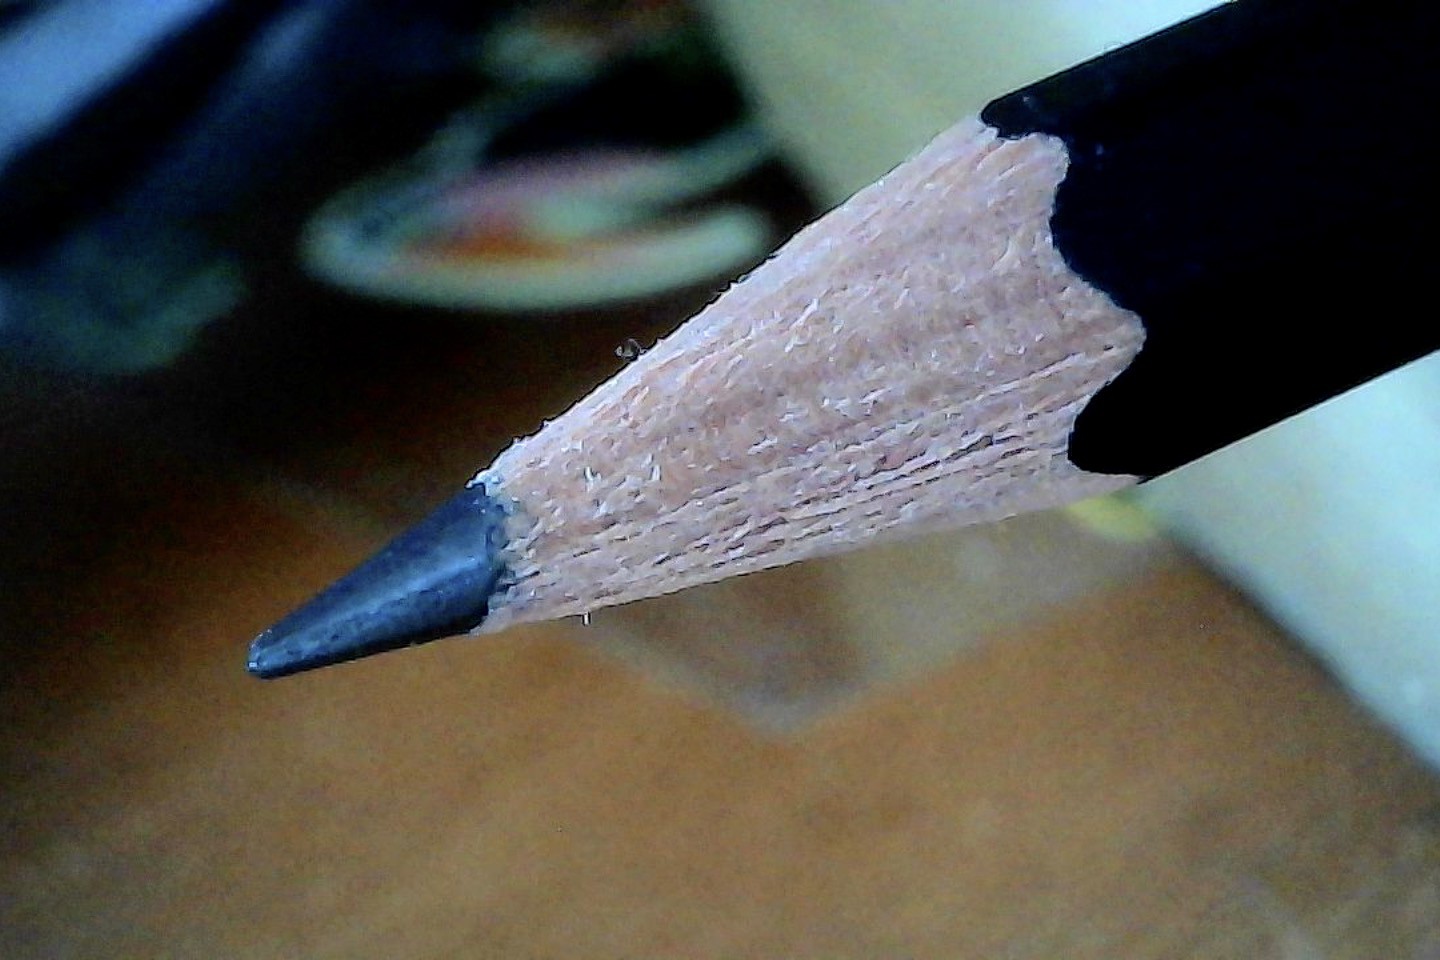
The microscope enumerates as a webcam and takes reasonable-looking 1920 x 1080 pictures. With decent but not excessive illumination the noise levels are pretty good, and the LED dimmer is a simple way to adjust exposure to prevent washout. It seems they achieve this on the cheap by opening the aperture pretty wide, so the main issue, particularly at high magnifications, is a short depth of field. Of course, this condition exists with commercial microscopes costing far more; it's just one of those tradeoffs you make when seeking out a high-quality image. Here is a shot I took at lower magnification of a recently sharpened pencil:
... and then zoomed in, showing little green bits of pollen which has suddenly appeared on every surface in my apartment:

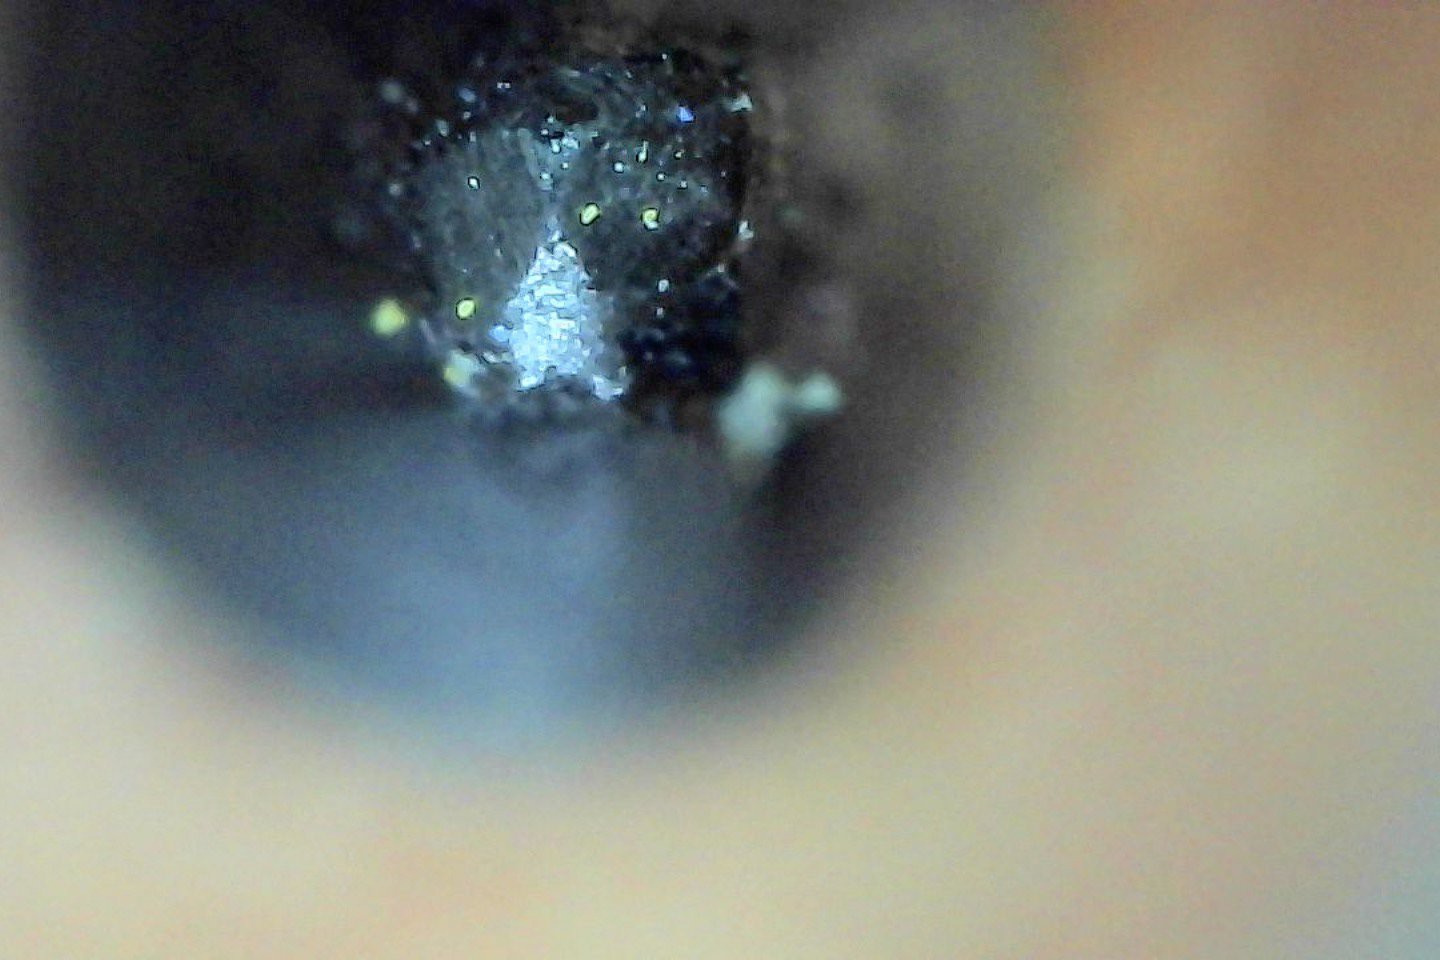
... and zoomed in even more and viewed head-on; this picture took a long time to set up and isn't great, but the magnification is impressive. Note the shallow depth of field; only a fraction of a millimeter is in focus:
Held flat against my recently-dusted and pollen-encrusted electric piano shows a notably better image, since the focal plane matches the plastic surface and I was able to carefully adjust illumination while keeping everything still. Look how porous the plastic is up close! No scale here; might be time to finally buy a cheap calibration slide. I bet the green pollen bits are in the range of 10-25 microns:

Due to the shallow depth of field and high magnification, just holding the sample and microscope stable relative to each other is tough. The included table stand has some adjustment but lacks the weight to really keep the microscope stable, and the clip that secures the stand to the barrel tends to slip off a bit too easily. So just having a multi-axis stage that lets me adjust the microscope and be assured it will stay where I leave it is a great improvement. Seems like a nice excuse to make a new platten for this machine:
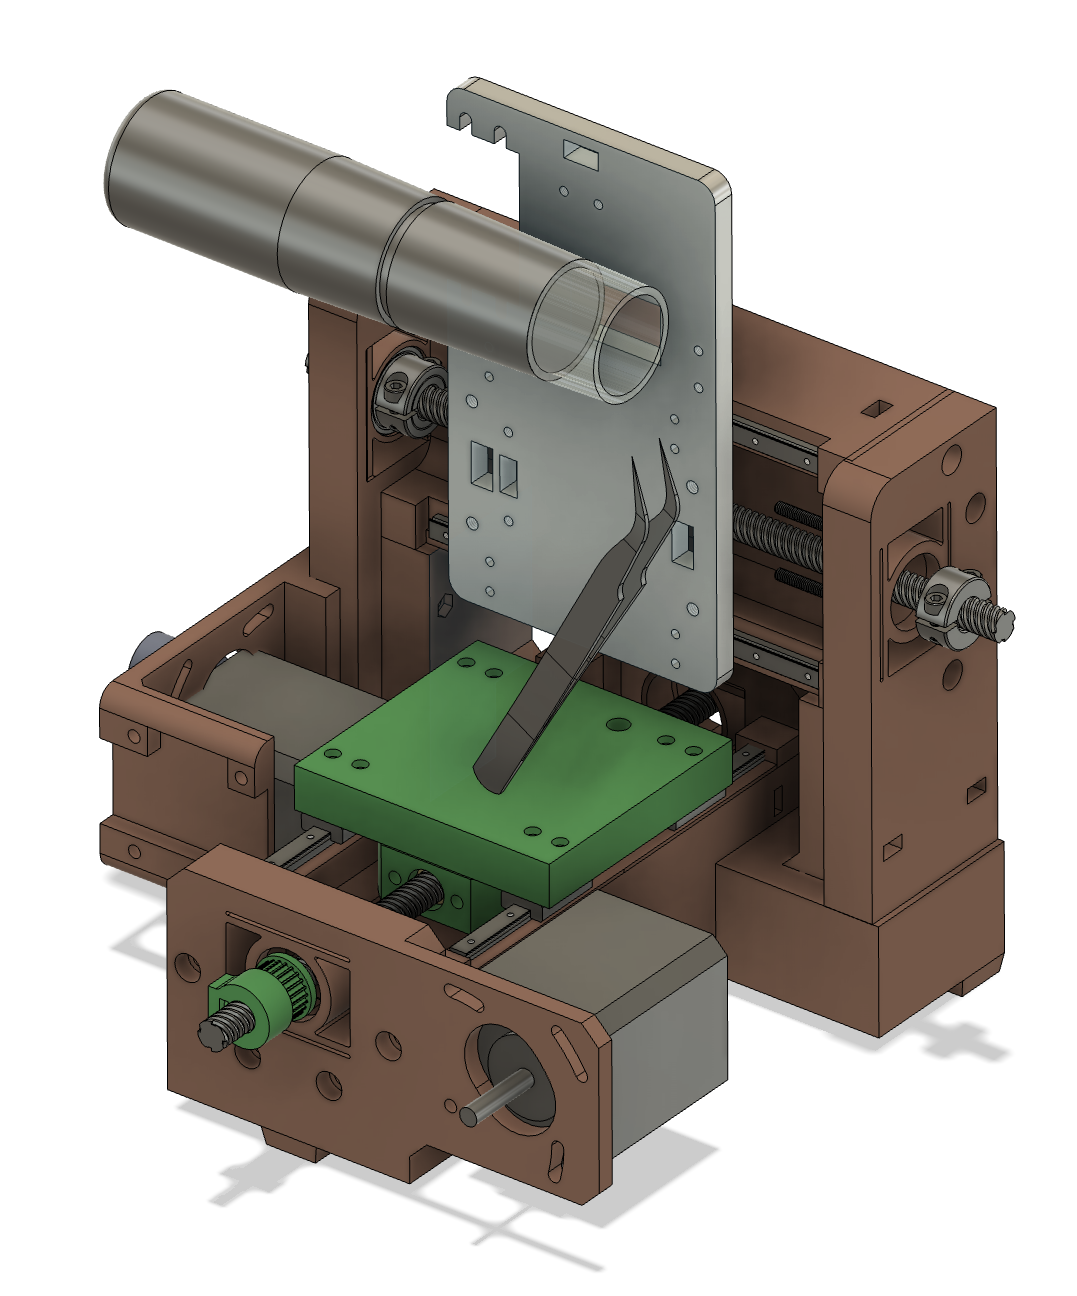
I want to use one of the two "good" axes for precise focusing, so I oriented the microscope parallel to the X axis. Note the workholding plan; I'm going to devise a clever clamp for my tweezers that lets me pick up a sample and quickly secure it to the machine, probably with some kind of flexure and securing knob. Left-right (to the camera view) sample orientation is adjusted with the Y axis, while a bit of vertical movement is allowed by pivoting the tweezers at their base. Perhaps future work could hijack the R-axis to actuate the camera's zoom ring, but for now, just operating it manually will dramatically improve image quality.
And of course, once the system is working I can automate the X-axis and take a series of shots at precise focus intervals, and then use some kind of focus stacking software to mash them together. That's not something I've done before, so maybe it's less trivial than I assume. One thing at a time.
Discussions
Become a Hackaday.io Member
Create an account to leave a comment. Already have an account? Log In.
Oh, this is an *excellent* idea!
Are you sure? yes | no