Once I confirmed that this thing could work and it looked pretty interesting it was time to fix minor mistakes I've made in the first board and also draw a PCB that would have addressable RGB LEDs, USB, and some headers to stack it in multiples. That was the idea from the beginning but I wanted to move incrementally because I guess everyone knows what it feels like when you dream a big project but after initial testing realize it isn't that promising, but you already ordered parts/boards/made promises :)
Anyway, now I had two versions of the display, one is mostly the same as the first prototype, but with fixed routing and the second with all the bells and whistles that I could fit on a board of that size.

RGB version required more GPIOs to have all the features I wanted. The nice thing is that CH32V003 exists in so many different packages, and my favorite is 20-pin QFN (some people think that I must hate myself as a reason for choosing it). Another great thing (it may very well be the best one) about the whole CH32 thing is ch32v003funproject. I'm not sure if I ever would become brave enough to use the official SDK for these chips. Even though not everyone agrees to call it fun dealing with Makefiles, heavy reliance on #define statements for every second feature, and requirement to have a reference manual for the chip you are working with, I think it's the next best thing after you got acquainted with Arduino. Also if you hate (scared of) STM HAL, or can't wait an eternity to recompile and flash your ESP32 project every time you have changed an argument in a function, ch32v003fun can give you something you've been craving for. It makes working with registers easy by extensively documenting everything and providing a vast amount of examples of their usage. It also compiles in seconds and flashes your MCU even faster with a single press of a button! :D The first few times you may think it didn't do anything but then you see your LED blinking, and wonder, why no other framework can work so fast.
Sorry for getting too lyrical and all. Have I told you that there is also a bit-banged USB stack for this 10 cents MCU?! Yeah, there is one, and it even has a working bootloader - rv003usb.
So, that's it, we have 21 WS2812 compatible LEDs, USB Type-C port, two headers to daisy-chain multiple displays and communicate between them via UART or I2C. And also a switch, that will help us enter the bootloader and do some interactions in standalone mode.

The actual LEDs have different (smaller) package, but they are compatible with the 2020 footprint of WS2821B, headers are also missing because they are somewhat special and I couldn't find a 3D model, and couldn't be bothered with making my own, but I'll show you the picture:

I've ordered 10 of each boards and after some time I had everything ready to do some soldering:

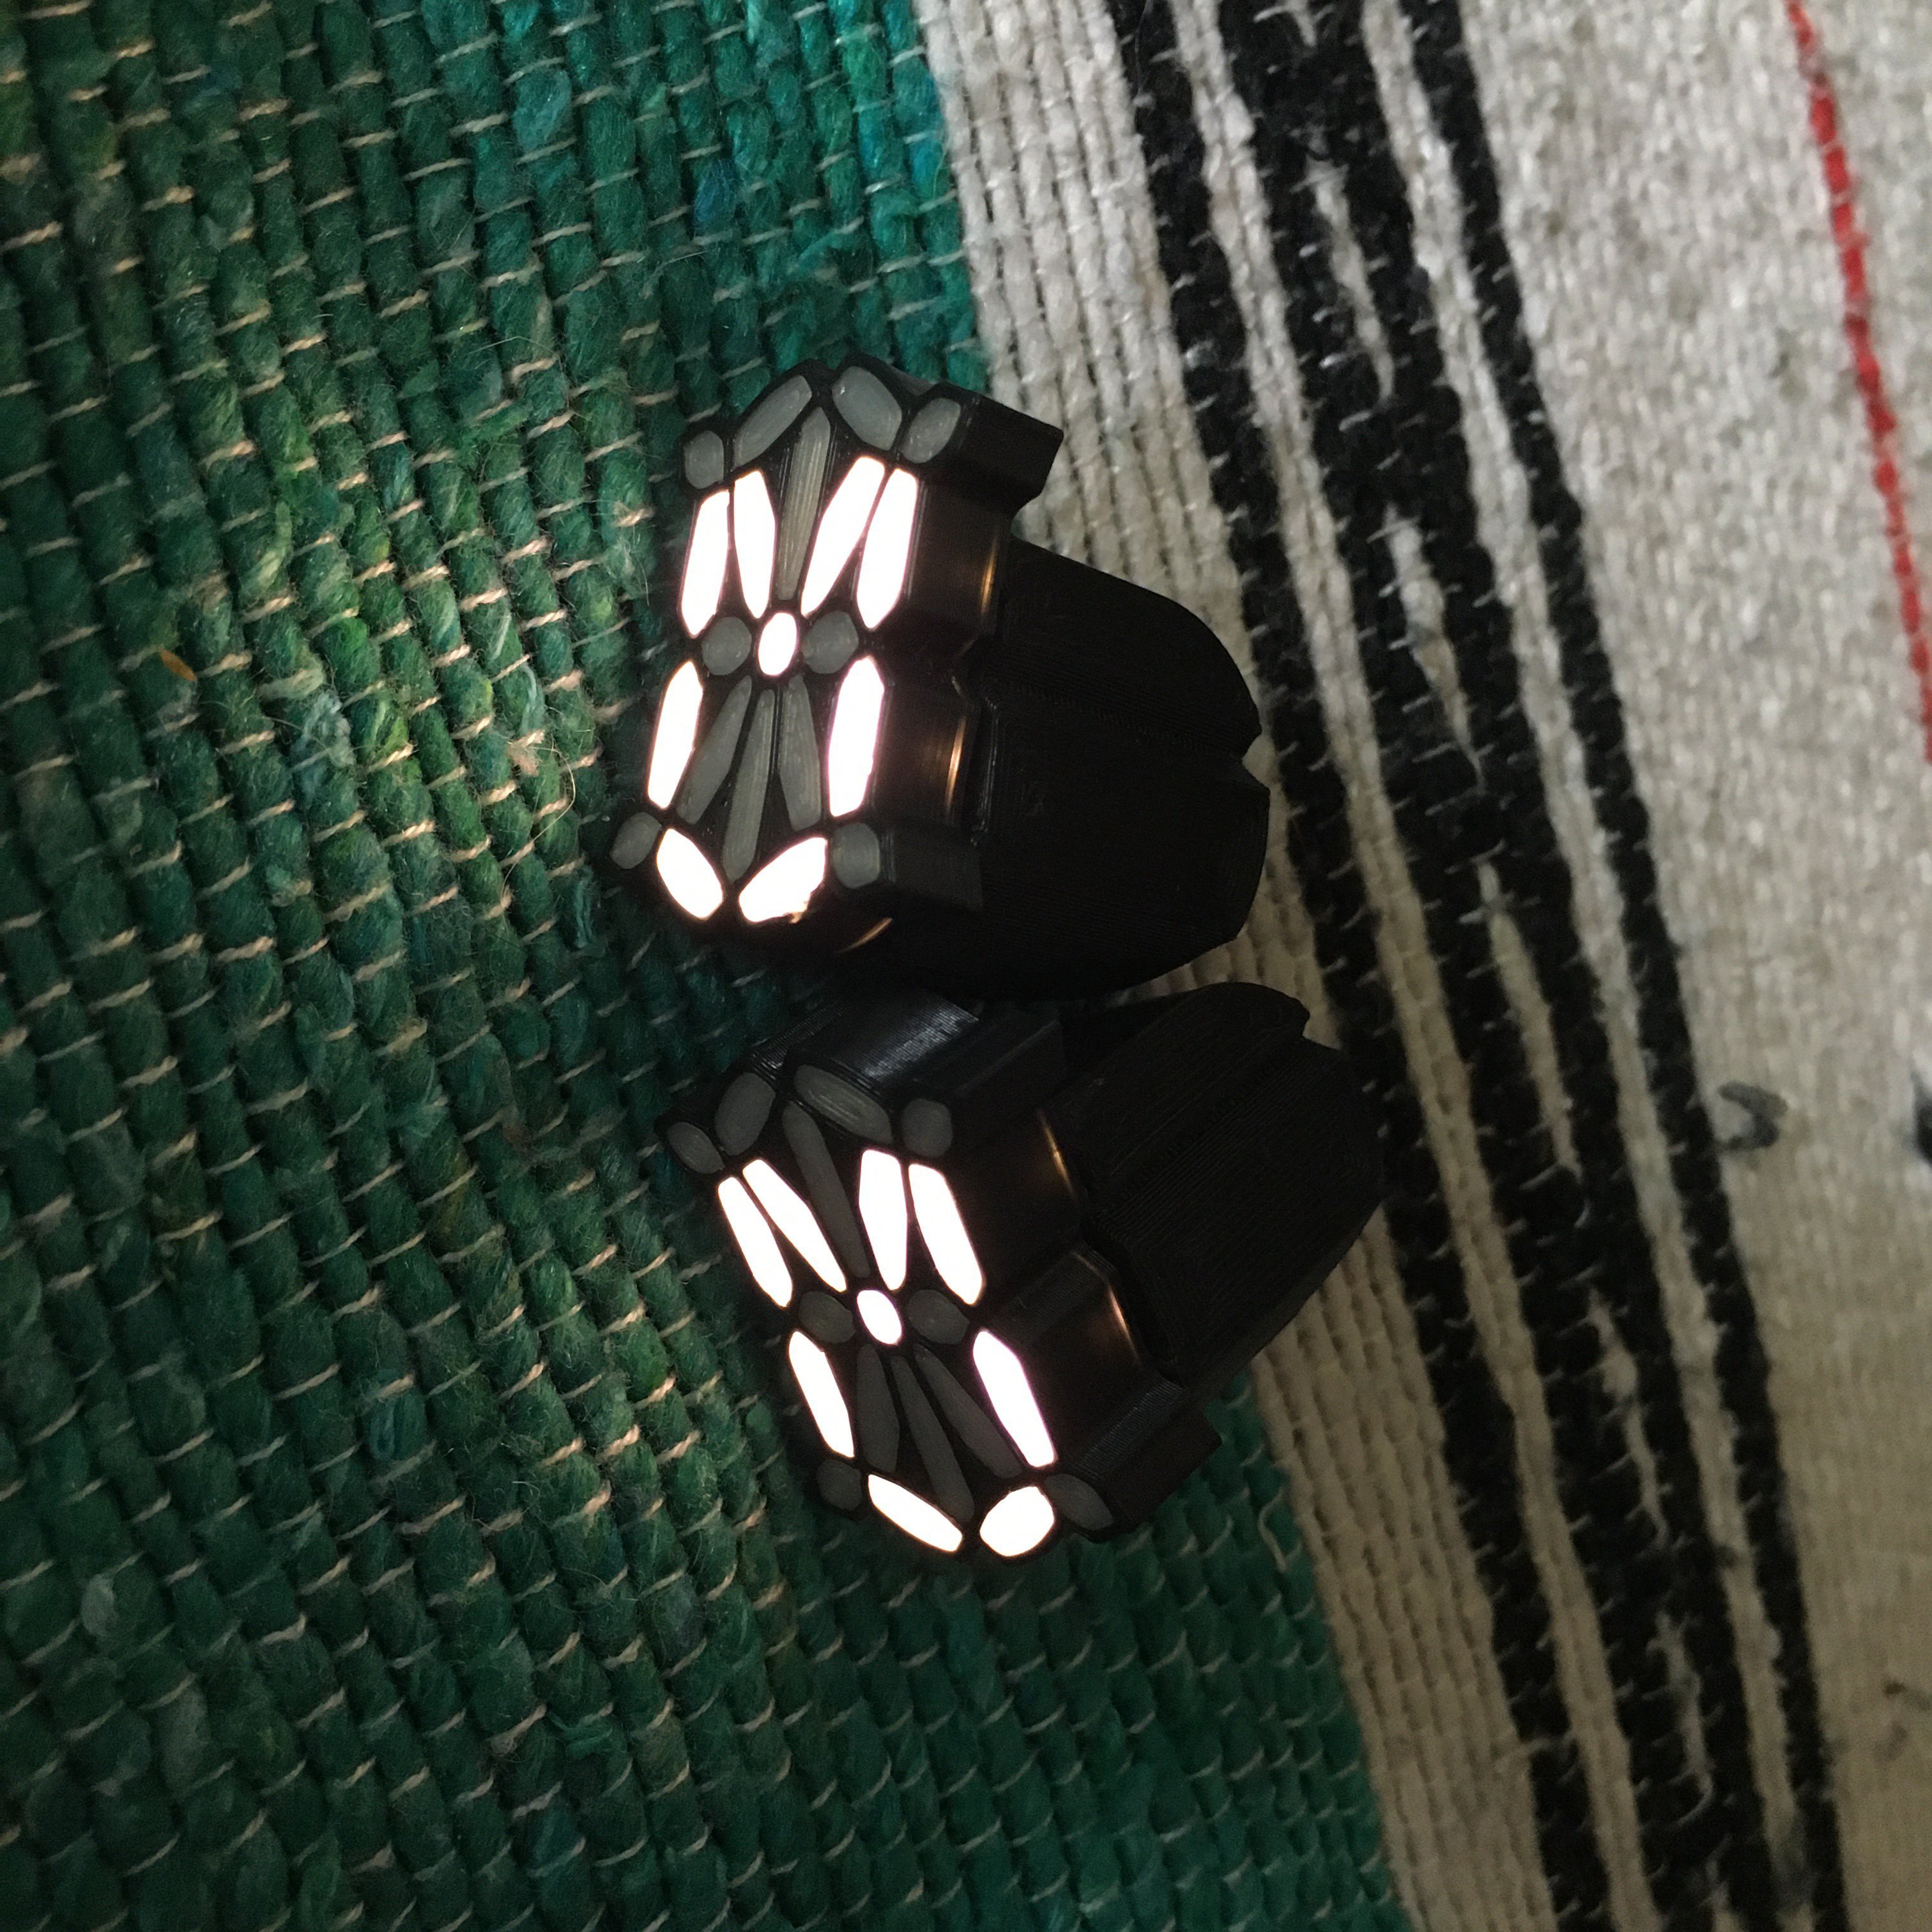
Also while waiting for PCBs to arrive I've printed more light diffusers and decided to make them thinner.

And after soldering I had something to gift to my friends and people who helped me to start this project in the first place.

My friend liked it so much that he filmed a nice motivational video for me :)
Next time I'll finally tell you and show what I've been doing with RGB version trying to fulfill my initial vision.
While you are waiting you can take a look at this github where I uploaded single-colored version and soon will add the RGB one, and also now this project has it's own little web page here: https://subjectiverealitylabs.com/SC002/
 monte
monte
Discussions
Become a Hackaday.io Member
Create an account to leave a comment. Already have an account? Log In.