 Ben Combee
I decided my Supercon 8 badge was a bit unbalanced, so I made a second specimen of the Video Button tonight. This one is a little more temporary and was done entirely with kapton tape.
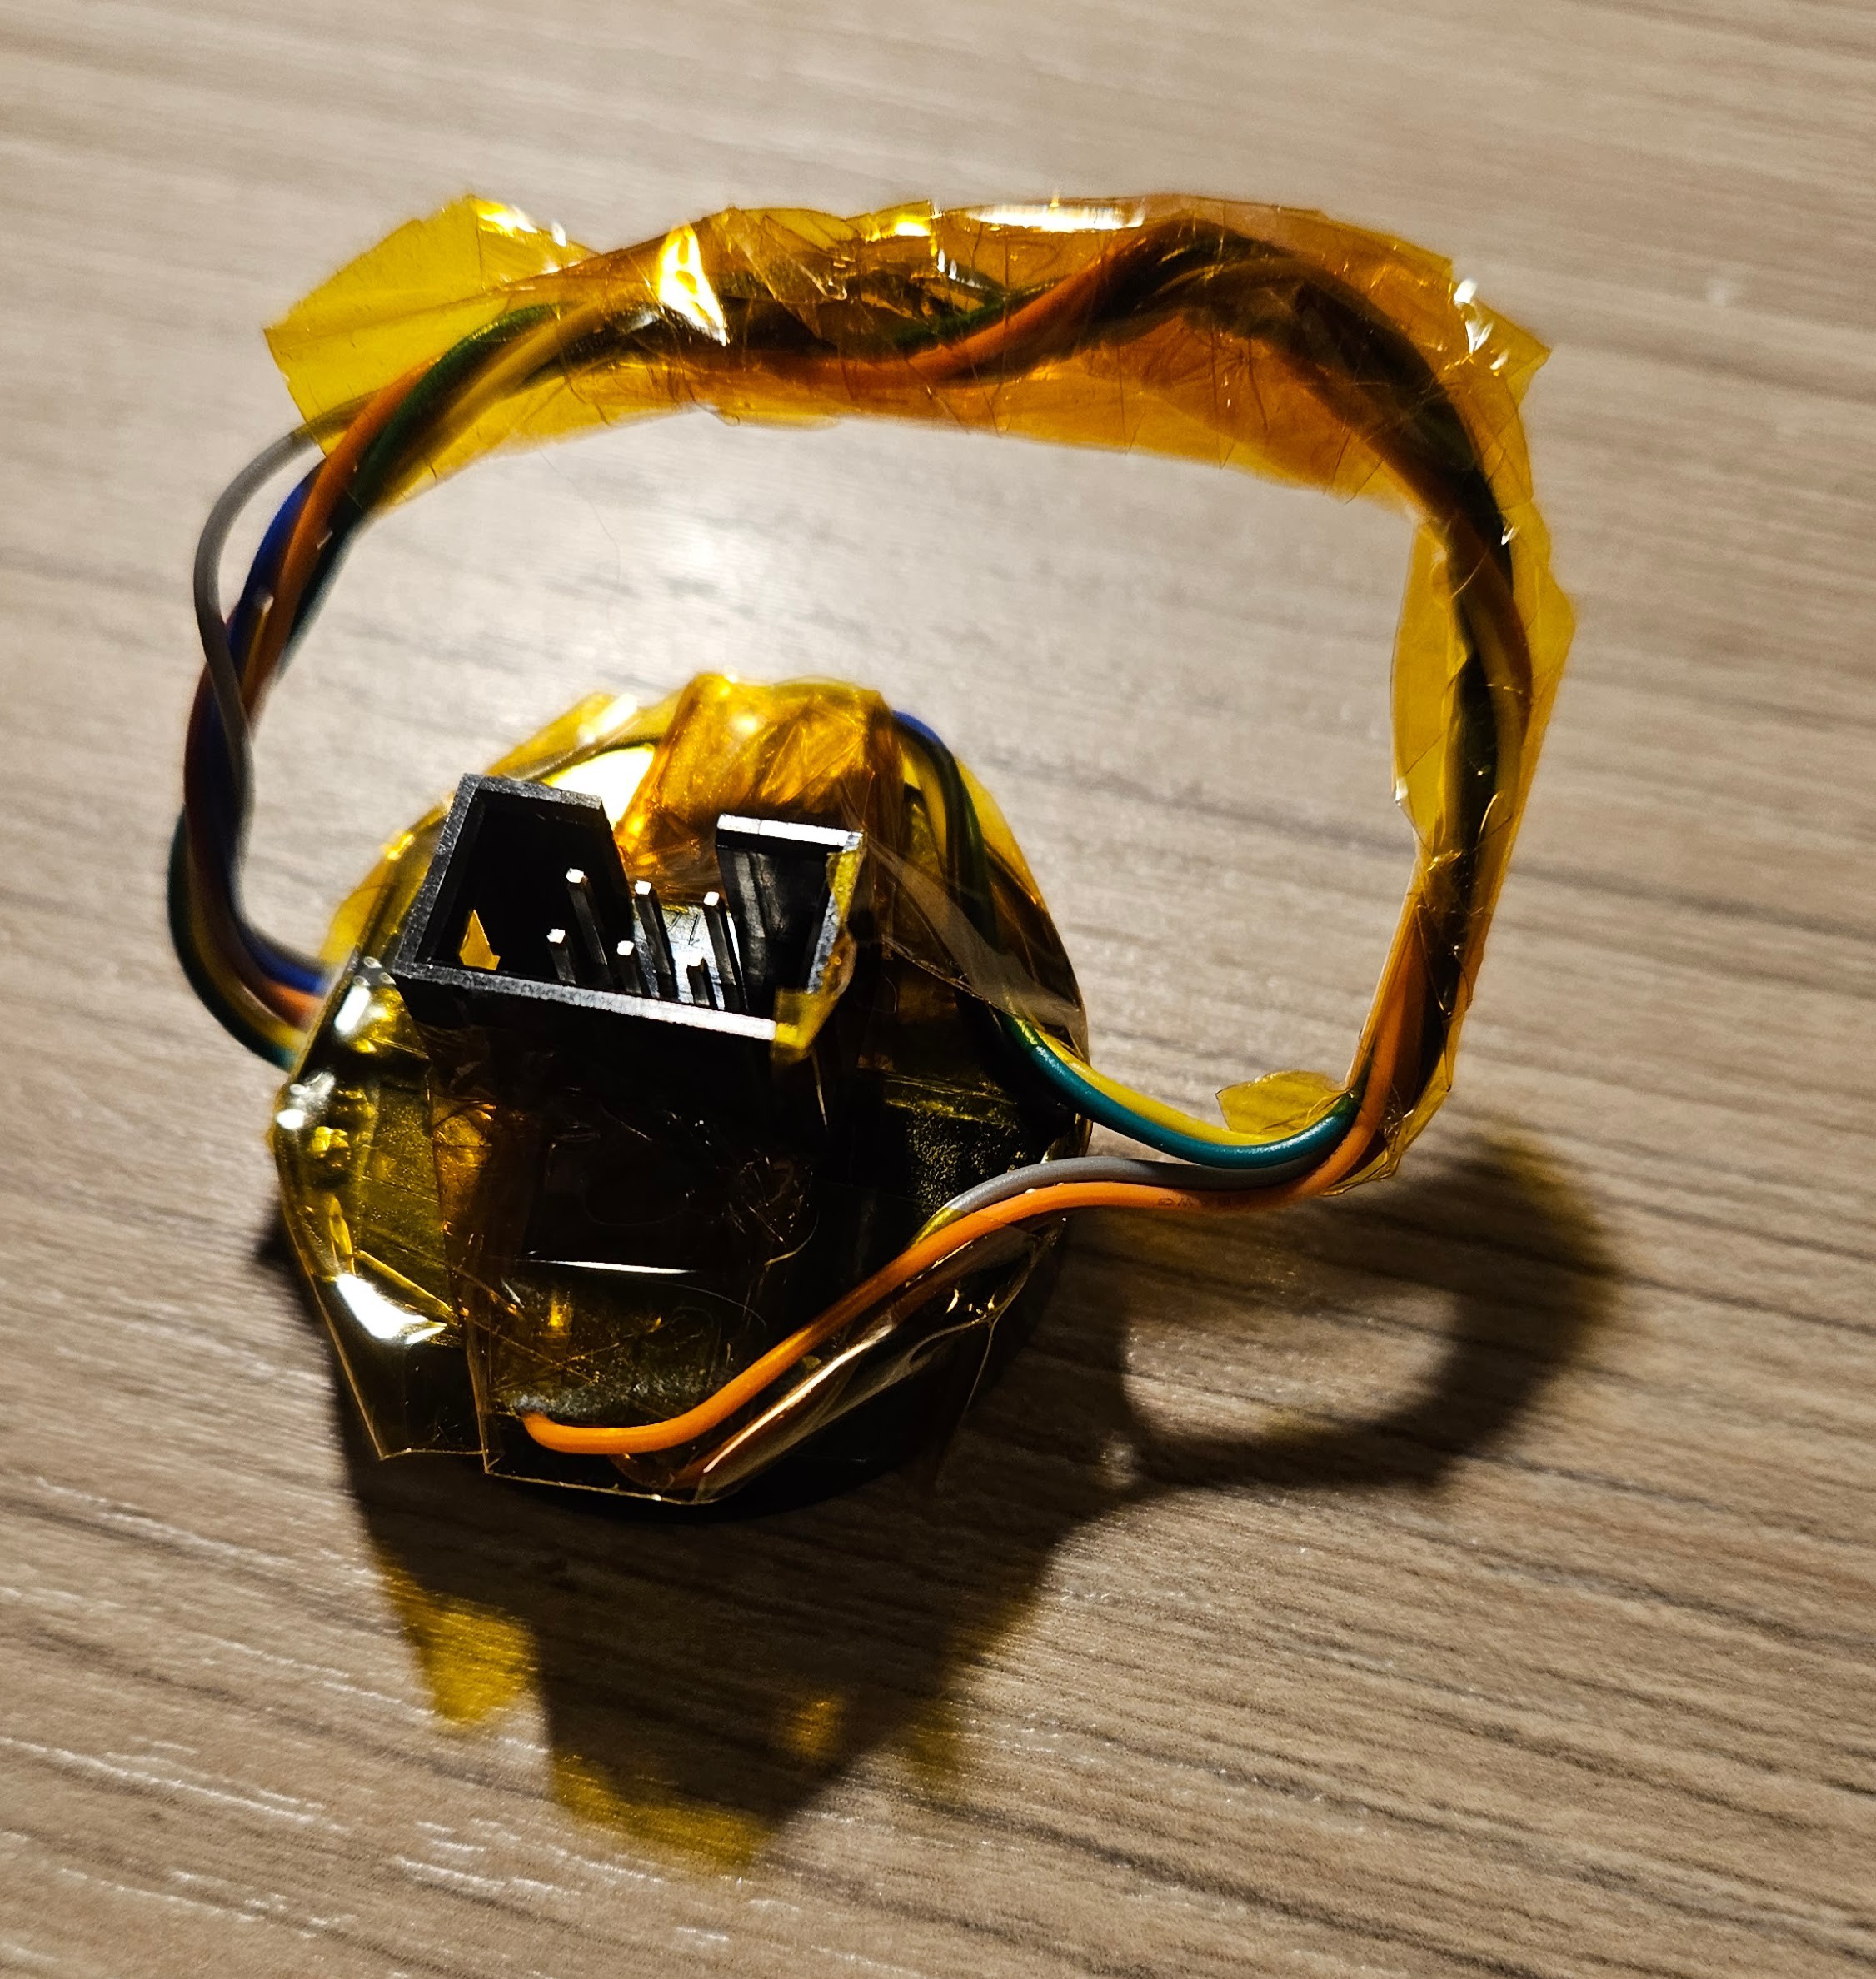
I first applied a layer of tape to the back of the Waveshare unit, then took the cable from the Waveshare box and fit the pin connectors onto the bottom pins of a surface mount 2x3 header. This is what you normally solder to the board, but they also were just the right size to fit over the breakout connectors.
This is when I discovered that the wiring of the cables isn't consistent from module to module. The order is the same, but the colors of wire used vary. After fitting all the wires to the connector, I used ample tape to wrap the set of three wires, then to connect those header assemblies to the display module. I also previously twisted the wires to make a more compact bundle between the display connector and the SAO connector, and used more tape to wrap that bundle.
This time, I programmed the display with a name tag animation of the Combee Pokemon zooming with my name and handle floating above. This was only a 20 second video, so it converted quickly and didn't take up much space.
I also learned that the small screwdriver included with the kit isn't just for removing the back screws. It's also the perfect size to insert to press the "boot" button on the side. No more breaking mechanical pencil leads for me.
Having done a couple of these, I think I'm ready to make a small PCB that can take the place of the back of the case. The trick will be finding internal points on the display PCB to connect to to get the signals. I suppose you could desolder the side connector, but I'd rather not be destructive.
Discussions
Become a Hackaday.io Member
Create an account to leave a comment. Already have an account? Log In.