The Arduino Opla IoT Kit is a versatile kit designed for creating and managing Internet of Things projects. The "Opla" stands for "Open-source Programmable Logic Analyzer," but in the context of the IoT Kit, it represents a set of tools and components to help you develop connected applications.
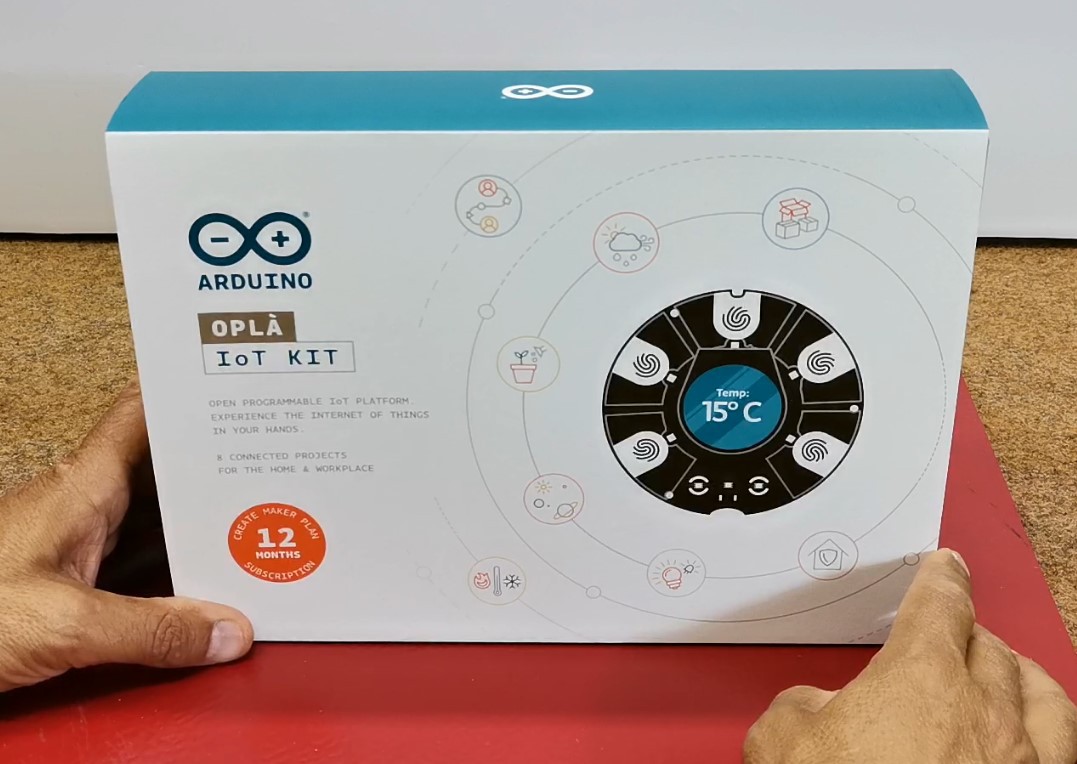
This kit provides a robust set of components for creating a wide range of IoT applications, from simple sensor projects to more complex systems involving cloud connectivity and data analysis.
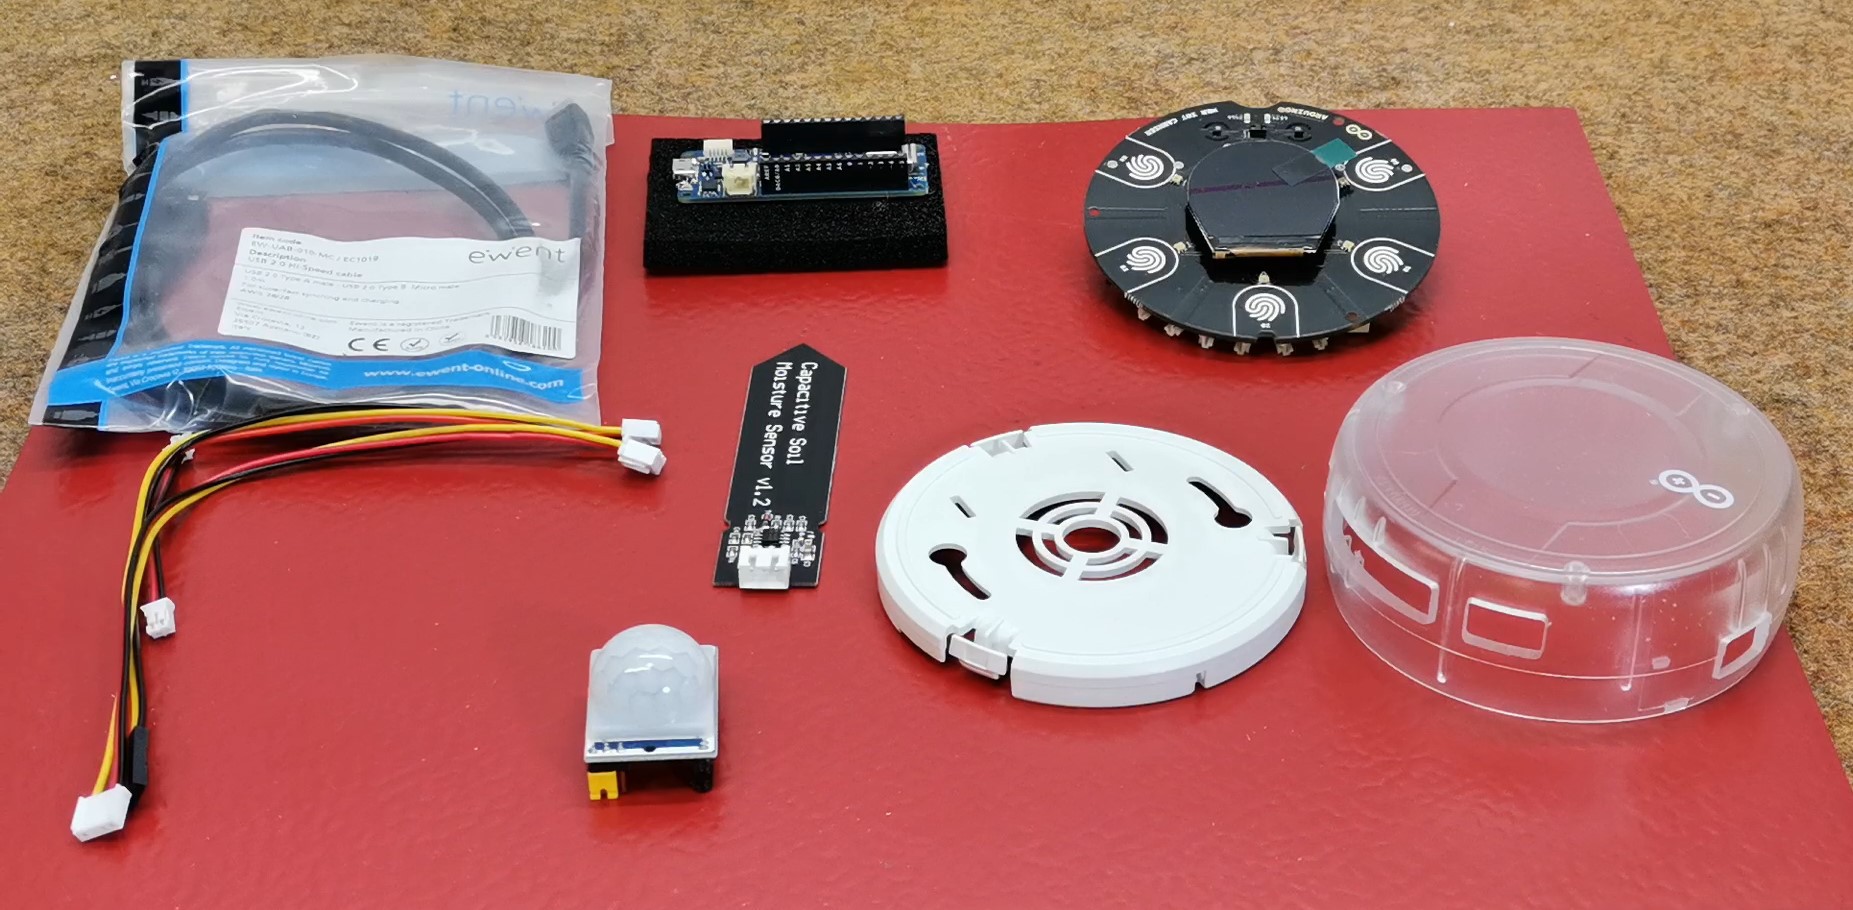
First, let's see what components this kit contains:
- MKR IoT Carrier with a place for a 3.7V lithium battery
- Arduino MKR WiFi 1010 board
- Plastic box for carrier
- moisture sensor
- PIR sensor
- and various cables that are needed to connect external components, as well as a USB cable for connecting to a PC
- MKR IoT Carrier board contains several sensors for:
- Temperature and humidity
- Pressure sensor
- Light sensor
- 5 capacitive buttons
- than 2 relays
- micro SD card reader
- different types of connectors
- and on the front side, color display.
On the arduino page dedicated specifically to this kit you will find a detailed description, pictures and assembly instructions as well as many projects that can be made with the given components.
Тhis is my first time meeting with this kit, so I will present you a very simple project, actually a famous game called "Simon says" for which this module fully corresponds physically, considering the central round display, touch sensitive buttons , RGB LEDs, as well as audio support.
To make this project we need only MKR IoT Carrier and Arduino MKR WiFi 1010 board. Since this is the first project with this kit I will explain the assembly of the device step by step. First, we mount the microcontroller board on the appropriate base, making sure that the markings on the board and the base match.
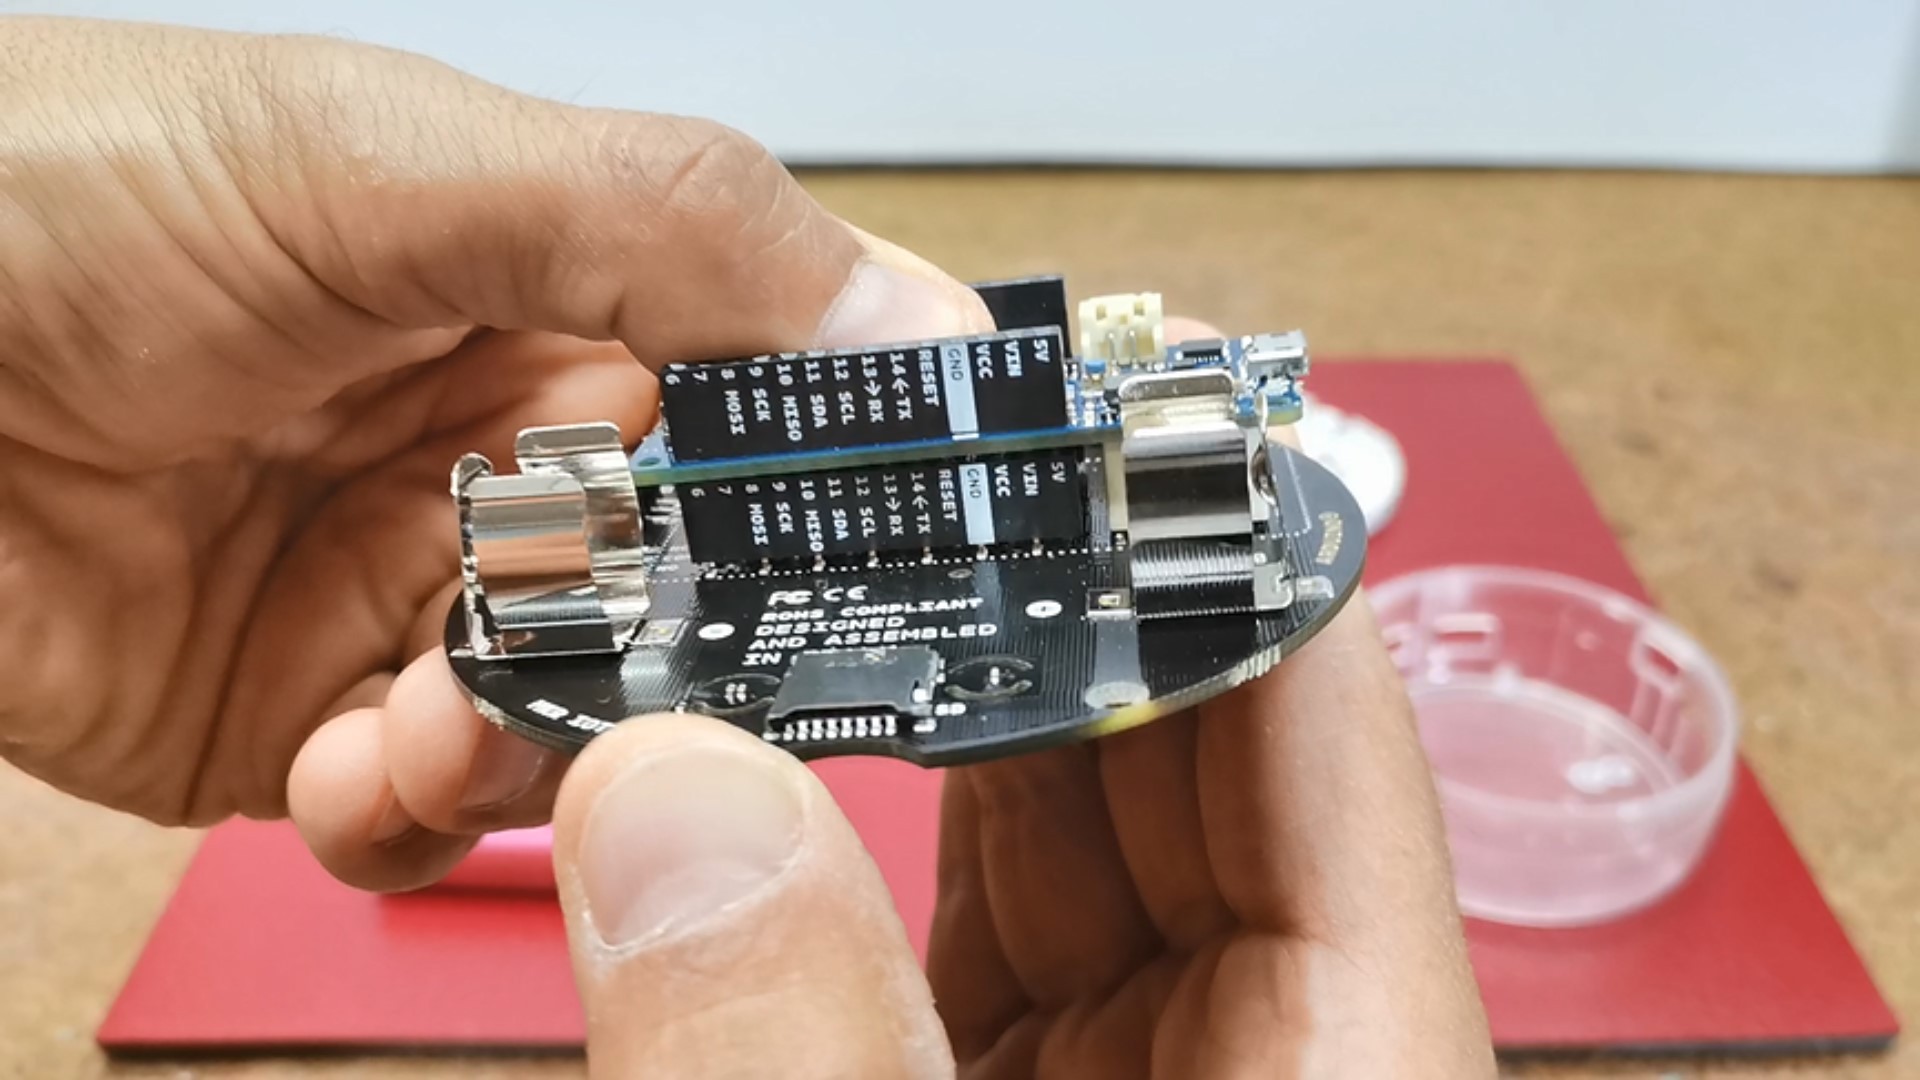
If you want to power the board and carrier with a battery, you will need one Li-Ion 3.7V battery, while paying attention to the polarity. Тo make project more portable and compact, you can place the MKR IoT Carrier in the plastic casing. This provides good protection for the hardware and makes it easier to attach it to surfaces (for example, a wall), while also providing a nice glow for the RGB LEDs. Now the device is assembled and we can move on to the software part.
First we need to download the Arduino IDE software from the () given address. I am specifically using the current latest version 2.3.2.
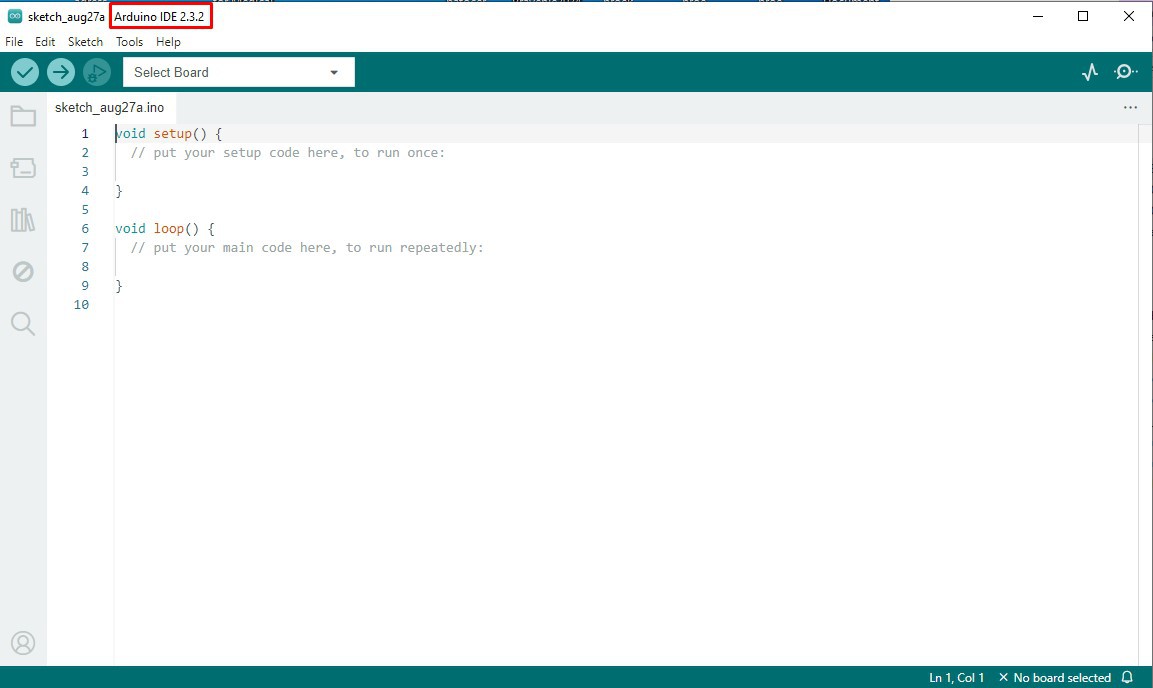
You can also use the Arduino Web Editor (requires an account), which is directly connected to Arduino IoT Cloud, but more about that on another occasion. Then we connect the module to the USB port of the computer and the arduino IDE editor will show options for updating the libraries and boards, where we need to install them. I have already performed this operation before. Next we select the appropriate COM port and we are ready to install the first code. And now, logically, to make sure that everything is connected and installed correctly, we will upload a very simple Blink sketch.
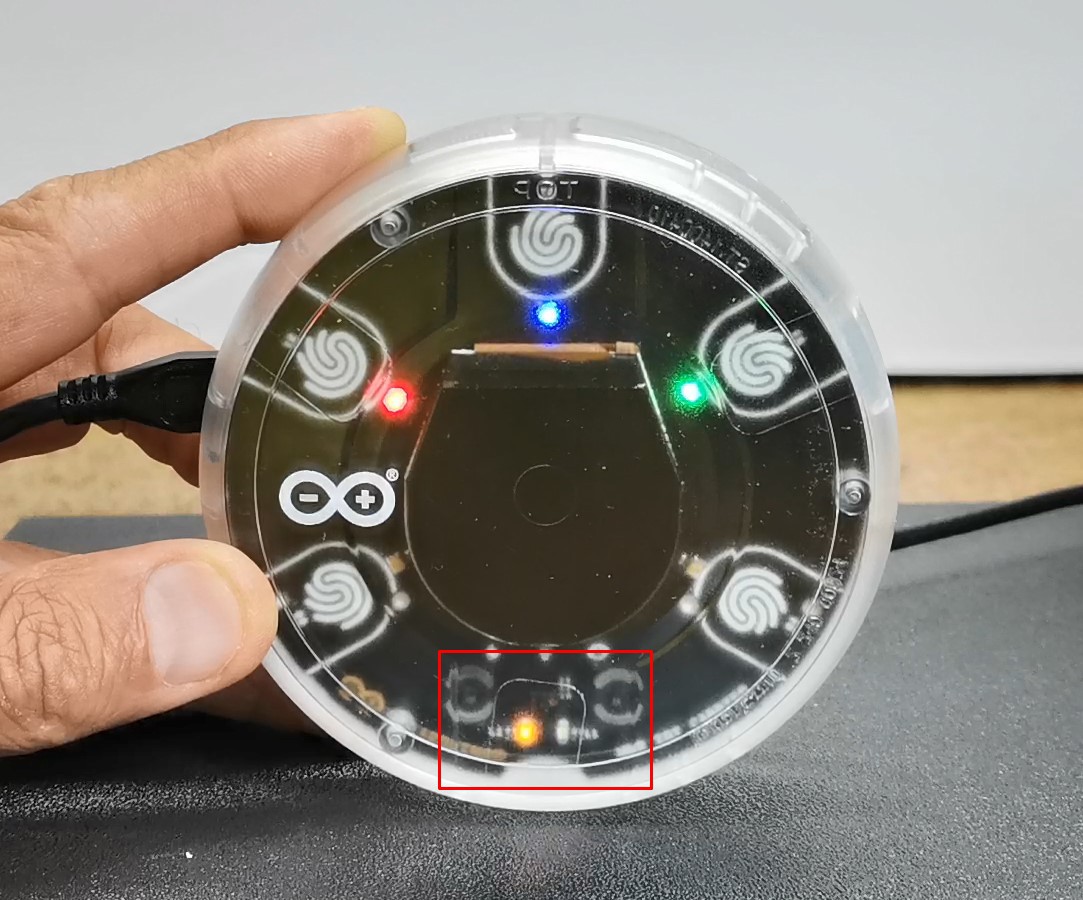
The onboard LED of the Arduino MKR WiFi 1010 is connected to pin13, and a small relay is also connected to the same pin, so that both visually and acoustically we will be able to make sure of the functionality of the device. Now we can finally upload the previously mentioned sketch for Simon Says game. Let me not forget to mention that the original sketch () is the work of Julián Caro Linares and all credit goes to him. We paste the code in Arduino IDE and press compile. If we get error we need to install "Arduino_MKRIoTCarrier" library.
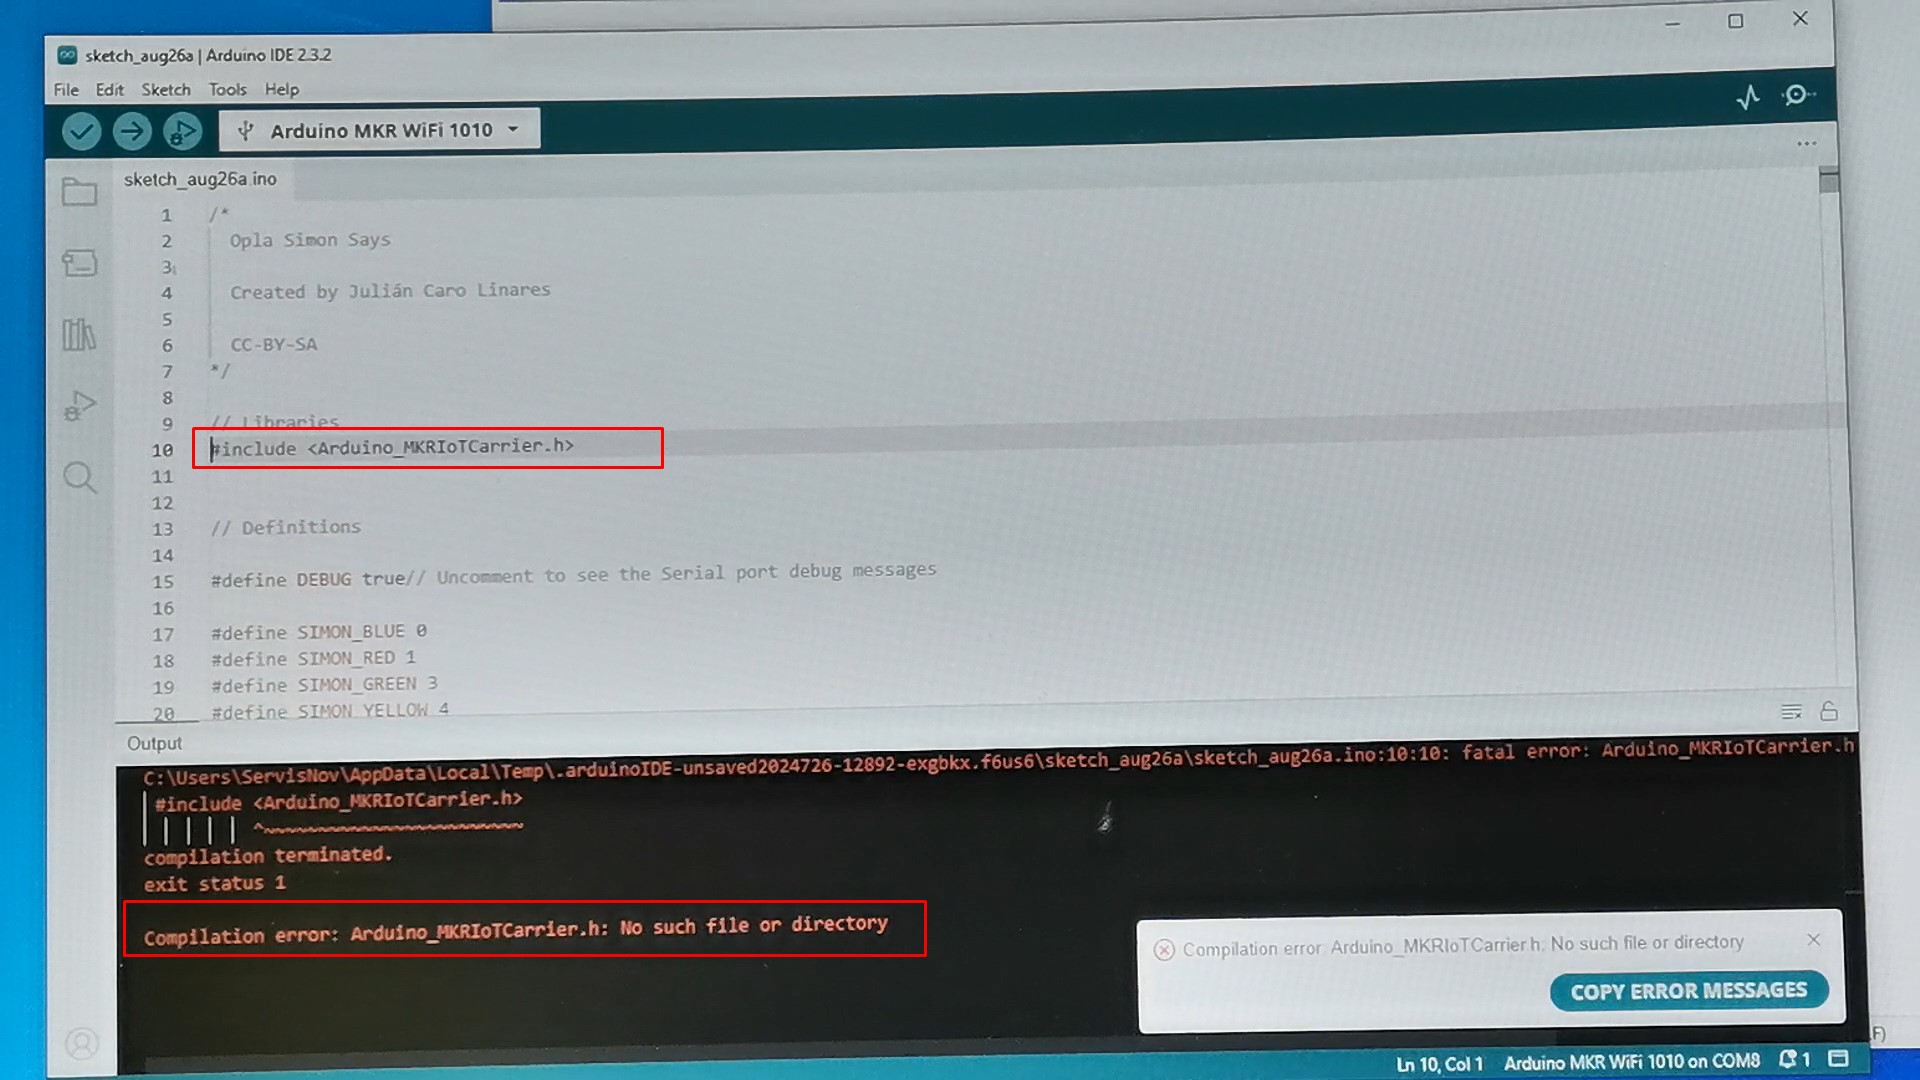
In Sketch - include library - manage libraries - search for desired library and...
Read more » mircemk
 Sandeep Patil
 Embedotronics
 Marco Camilli
 Abid Jamal