Rohan Barnwal
What You'll Need
Components Required
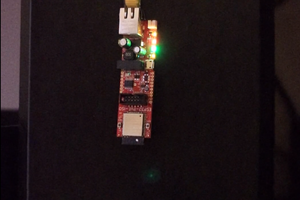
- ESP32 Board: The main controller used for this project
- USB Cable (Type A to Type Micro USB): To connect the ESP32 board to your computer
- Internet Connection: The ESP32 will need to connect to Wi-Fi to send an email
Software and Libraries
- Arduino IDE: Download from the official Arduino website.
- Email_Mail_Client Library: Install via Arduino Library Manager or download from Github repository
Project Overview
This project enables your ESP32 to send an email when a specific event occurs, such as a sensor being triggered. The "Email_Mail_Client" library simplifies the process of connecting to an SMTP sever, composing an email, and sending it, all from your ESP32.
Why This Project ?
Automating emails can be incredibly useful for a variety of applications. Imagine receiving an email notification when your home security system detects motion, or getting an alert when your greenhouse's temperature goes beyond a certain threshold. This project makes such application possible and demonstrate how simple it is to integrate email functionality into your ESP32 projects.
How It Works
Connecting to Wi-Fi
First, the ESP32 needs to connect to a Wi-Fi network. You'll input your SSID and password in the code to establish this connection.
Sending the Email
The library handles the communication with the SMTP server and sends the email. You'll need to configure the server settings, including the SMTP server address, port, and your email credentials.
Step-By-Step Instruction
1. Setting Up the ESP32
1. Install the Arduino IDE: If you haven't already, download and install the Arduino IDE
2. Install the ESP32 Board: Go to 'FILE > PREFERENCES' in the Arduino IDE, and add the following URL to the "Additional Board Manager URLs": https://dl.espressif.com/dl/package_esp32_index.json
3. Install the Email_Mail_Client Library: Open the Arduino IDE, go to "SKETCH > INCLUDE LIBRARY > MANAGE LIBRARIES", search for "ESP_Mail_Client" and install it.
2. Writing the code
Here is a simple code example that sends an email when ESP32 is powered on:
#include <WiFi.h>
#include <ESP_Mail_Client.h>

// Replace with your network credentials
const char* ssid = "your_SSID";
const char* password = "your_PASSWORD";

// SMTP server credentials
#define SMTP_HOST "smtp.gmail.com"
#define SMTP_PORT 465
#define AUTHOR_EMAIL "your_email@gmail.com"
#define AUTHOR_PASSWORD "your_password"

// Recipient's email
#define RECIPIENT_EMAIL "recipient_email@example.com"

// Create an ESP_Mail_Session object
ESP_Mail_Session session;
SMTP_Message message;

void setup() {
  Serial.begin(115200);

  // Connect to Wi-Fi
  WiFi.begin(ssid, password);
  while (WiFi.status() != WL_CONNECTED) {
    delay(1000);
    Serial.println("Connecting to WiFi...");
  }
  Serial.println("Connected to WiFi");

  // Set SMTP session configuration
  session.server.host_name = SMTP_HOST;
  session.server.port = SMTP_PORT;
  session.login.email = AUTHOR_EMAIL;
  session.login.password = AUTHOR_PASSWORD;
  session.login.user_domain = "";

  // Compose the email
  message.sender.name = "ESP32 Project";
  message.sender.email = AUTHOR_EMAIL;
  message.subject = "ESP32 Email Test";
  message.addRecipient("Recipient", RECIPIENT_EMAIL);
  message.text.content = "Hello from ESP32!";

  // Send the email
  if (!MailClient.sendMail(&session, &message)) {
    Serial.println("Error sending email");
  } else {
    Serial.println("Email sent successfully!");
  }
}

void loop() {
  // Nothing needed here for now
}
3. Uploading the Code:
1. Connect your ESP32 board to your computer using a USB cable.
2. Select your ESP32 board and the correct COM port from 'TOOLS > BOARD' and 'TOOLS > PORT'
3. Click the upload button in the Arduino IDE to upload the code.
4. Testing the Project
After uploading the code, open the Serial Monitor from the Arduino IDE ('TOOLS...
Read more »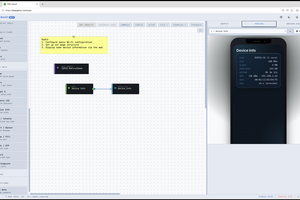
 Geoffrey Wells
 Louis Irwin
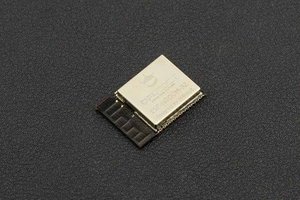
 muzi
muzi